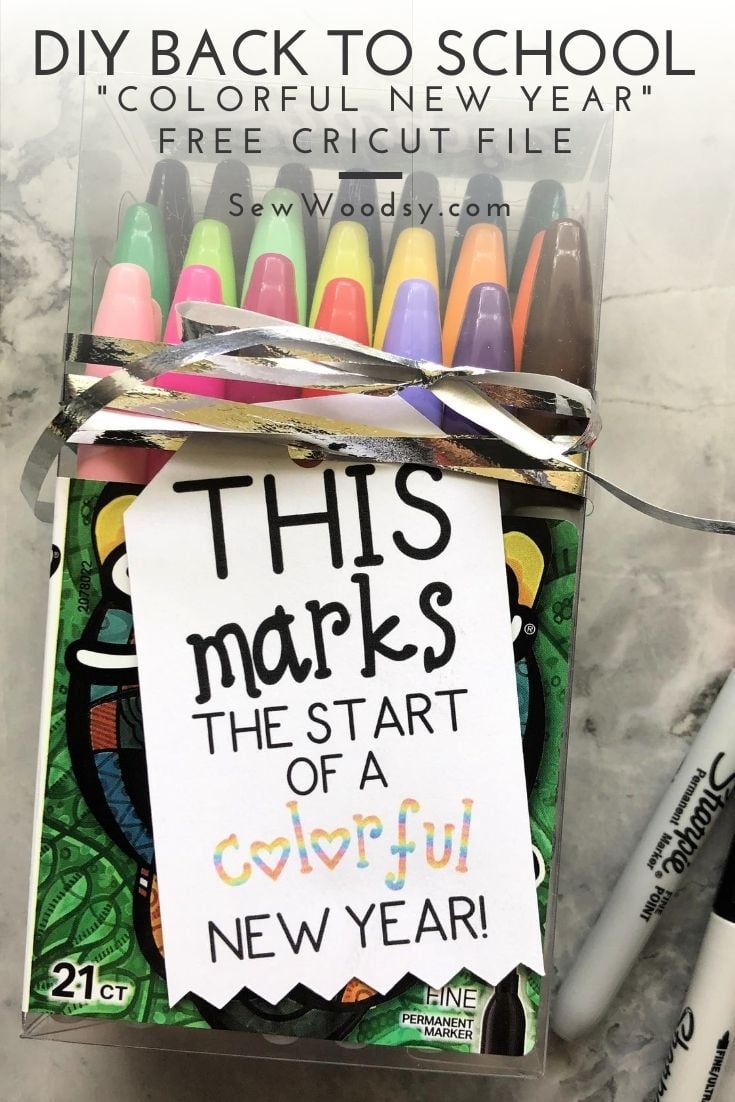
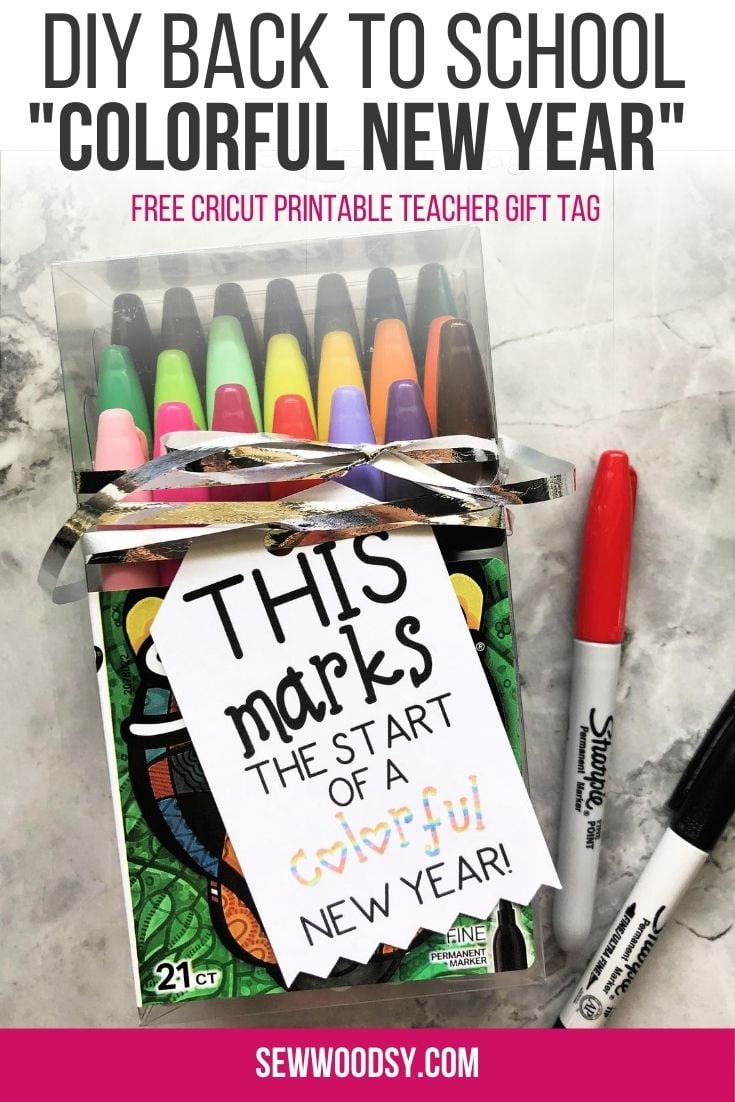
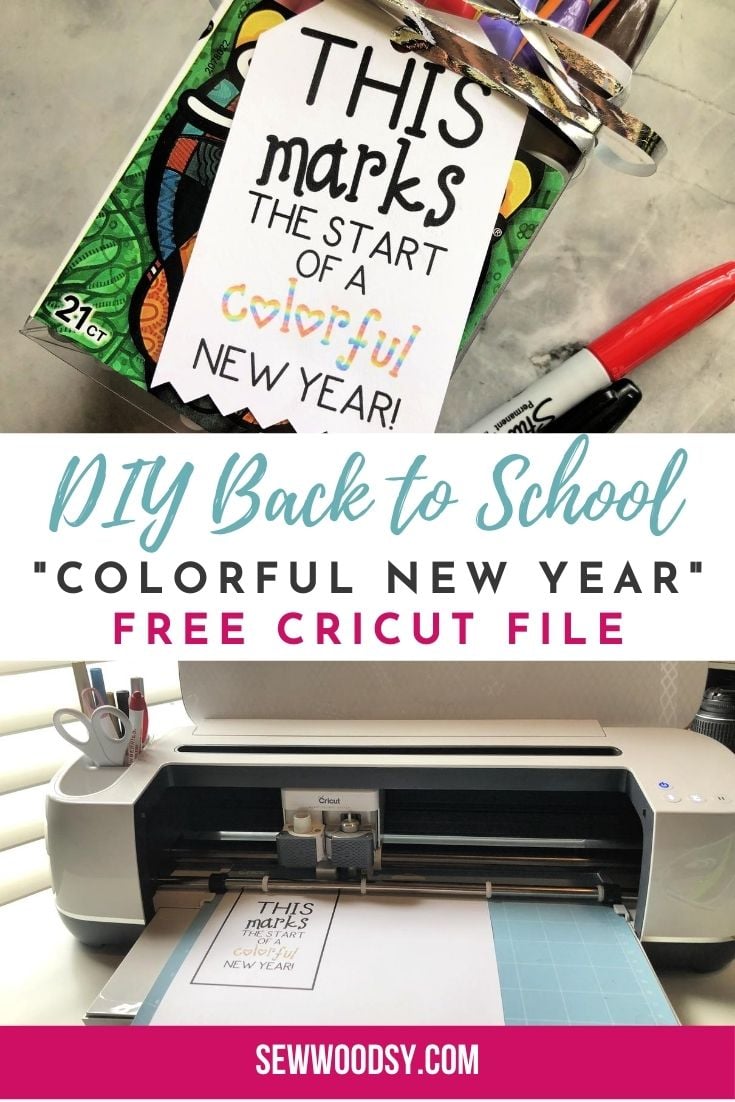
Look for a cute customized back to school teacher gift? I have two versions of my Back To School “Colorful New Year” Printable Gift Tag. I have a free Cricut Design Space file to print then cut using your home printer and Cricut OR you can simply scroll to the bottom and download the free printable and hand cut out the tag.
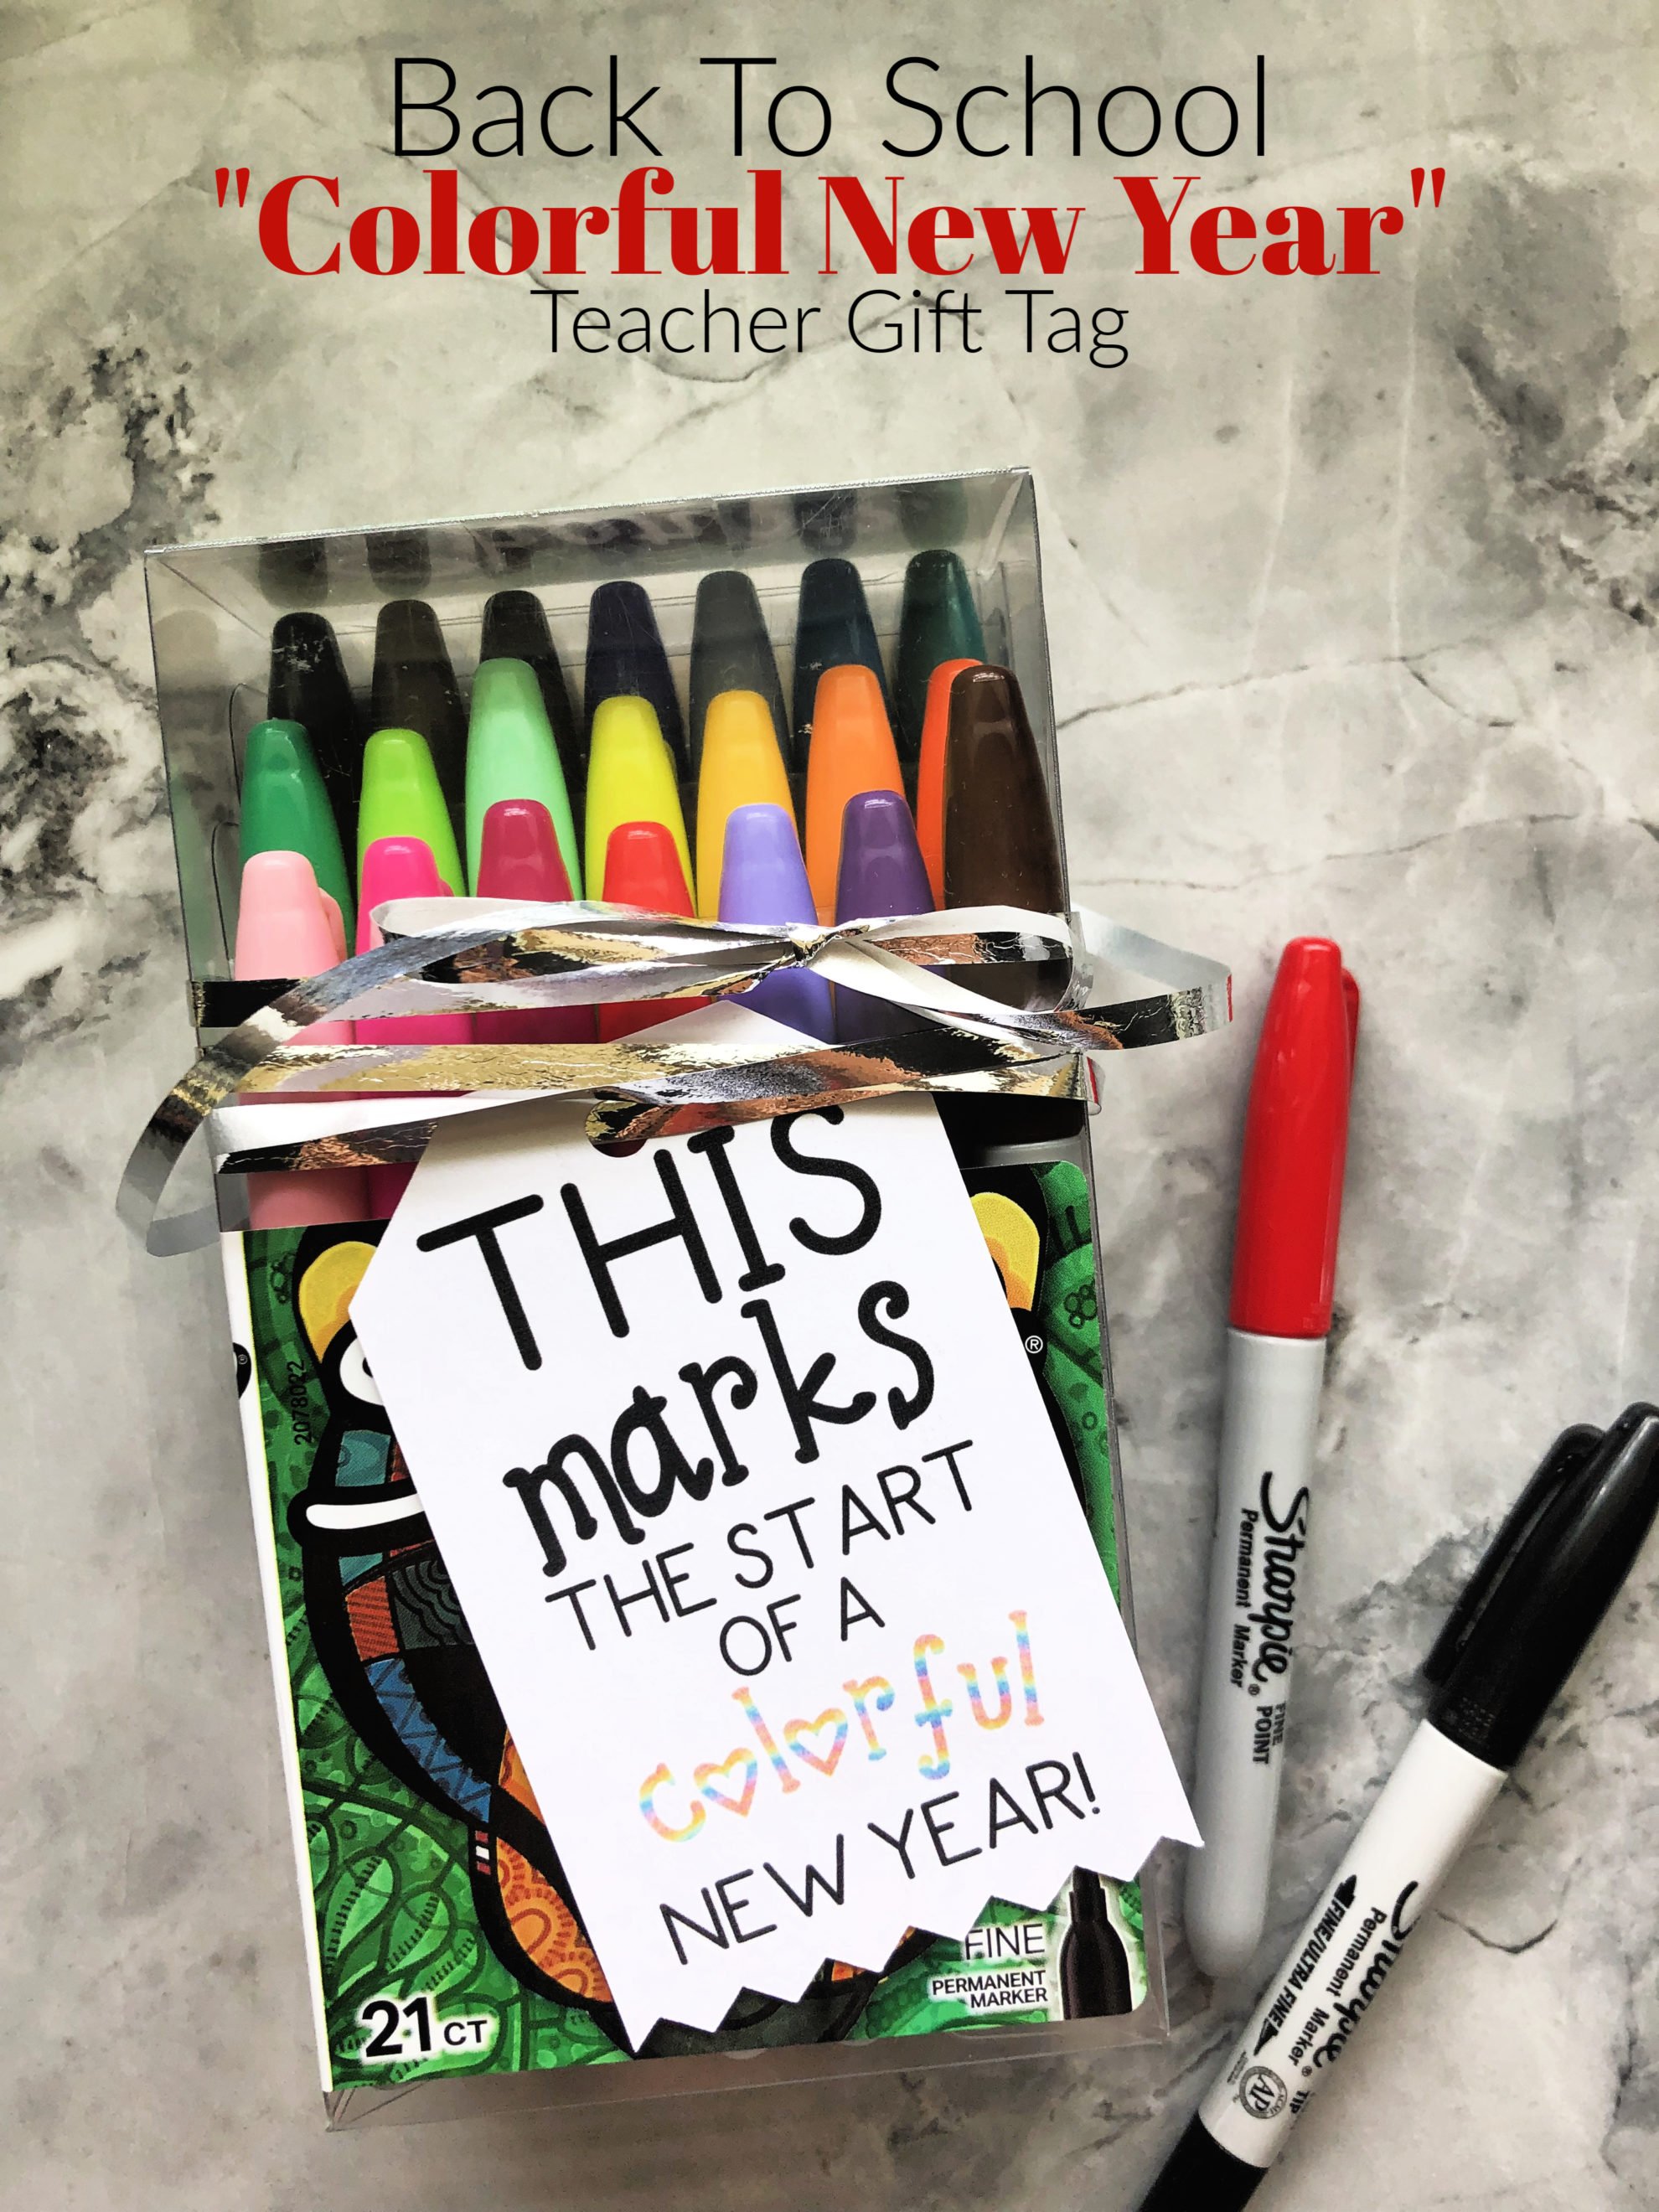
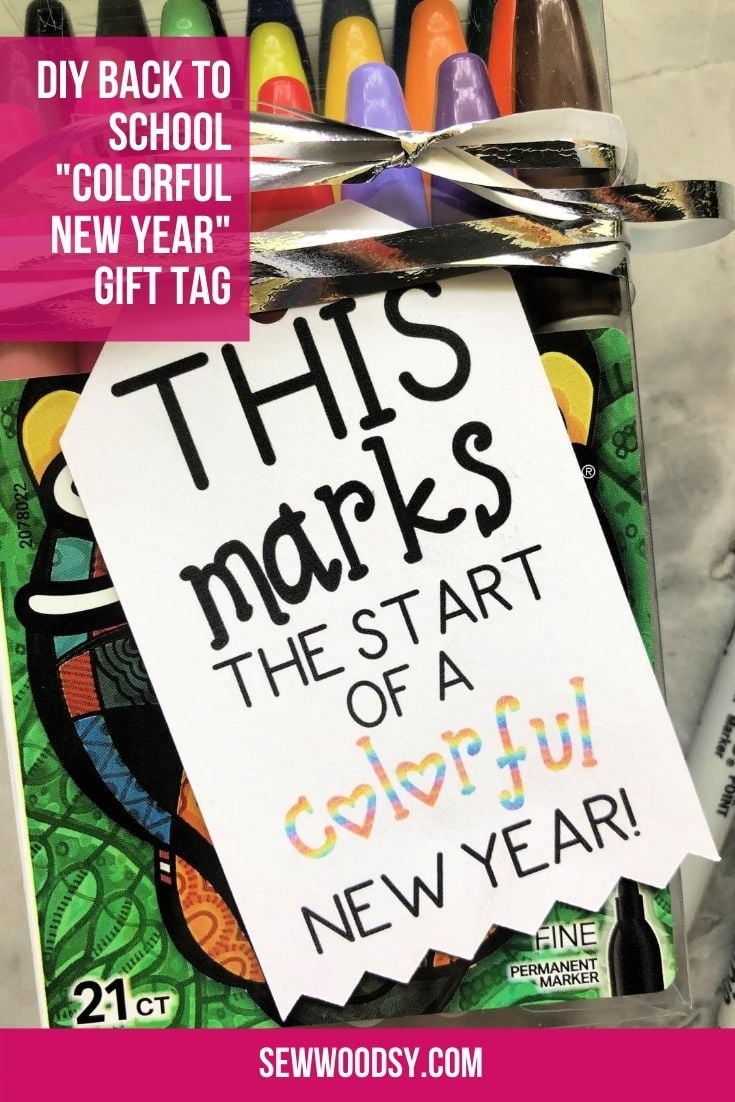
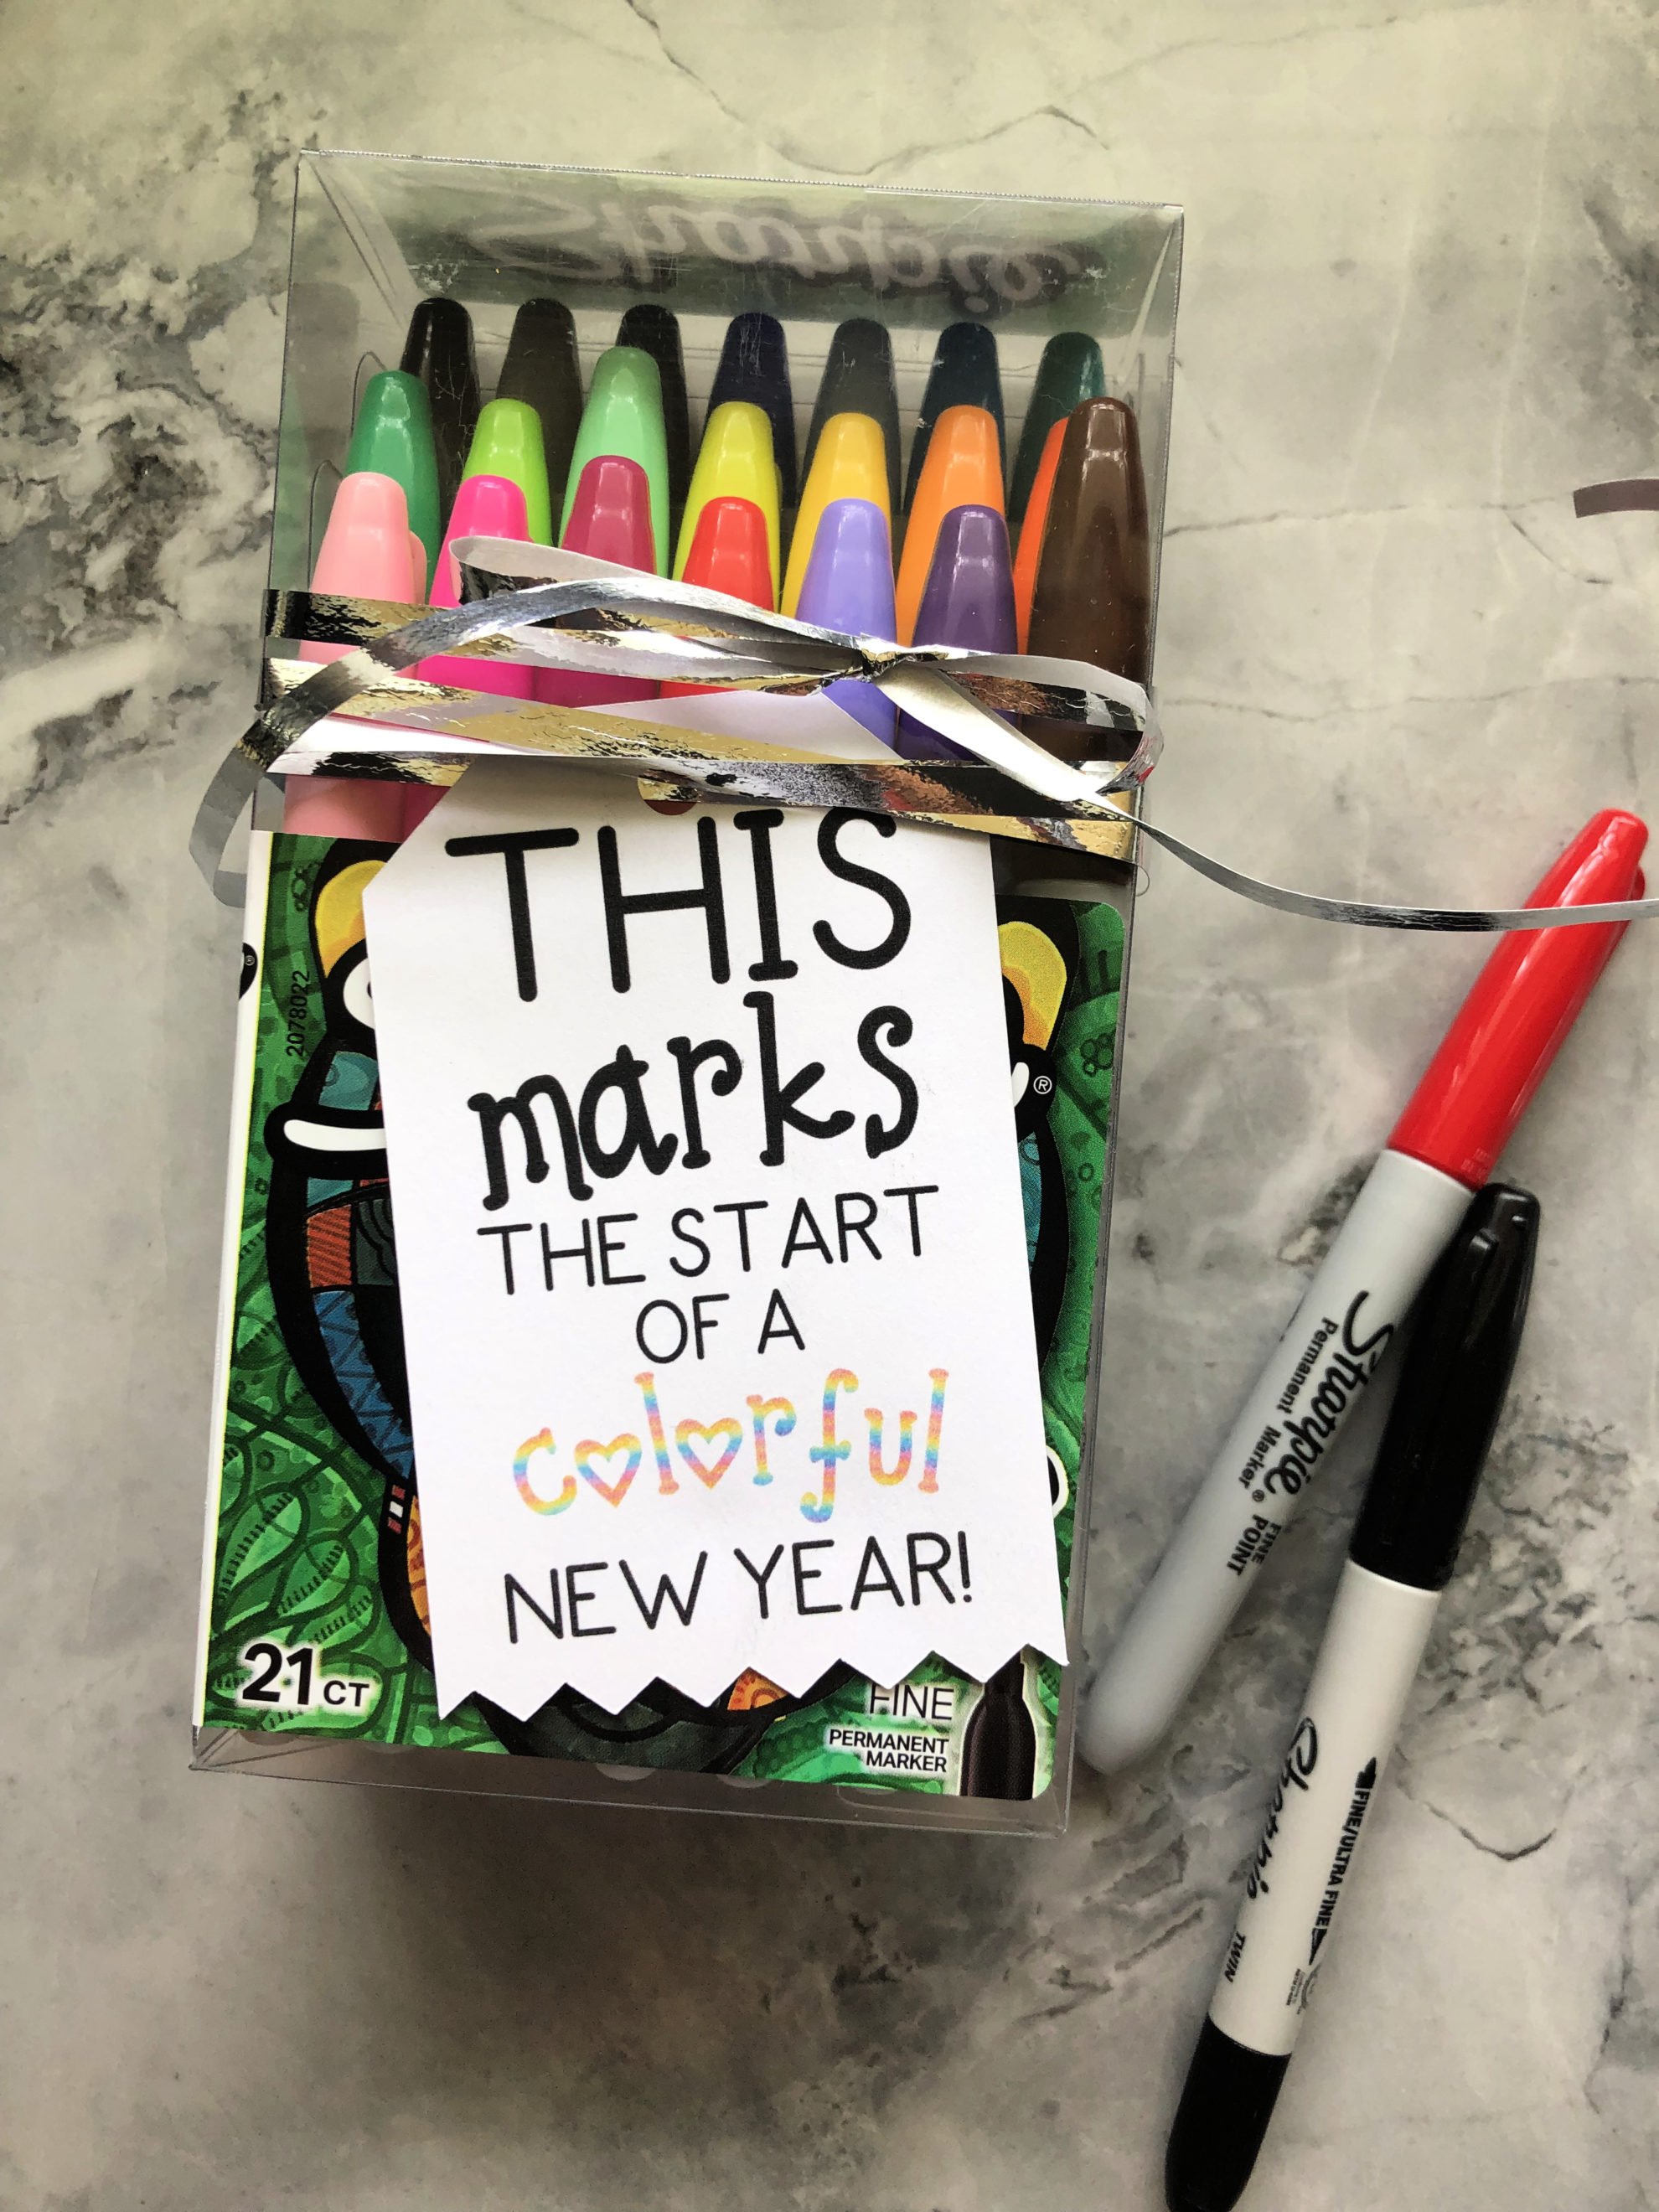
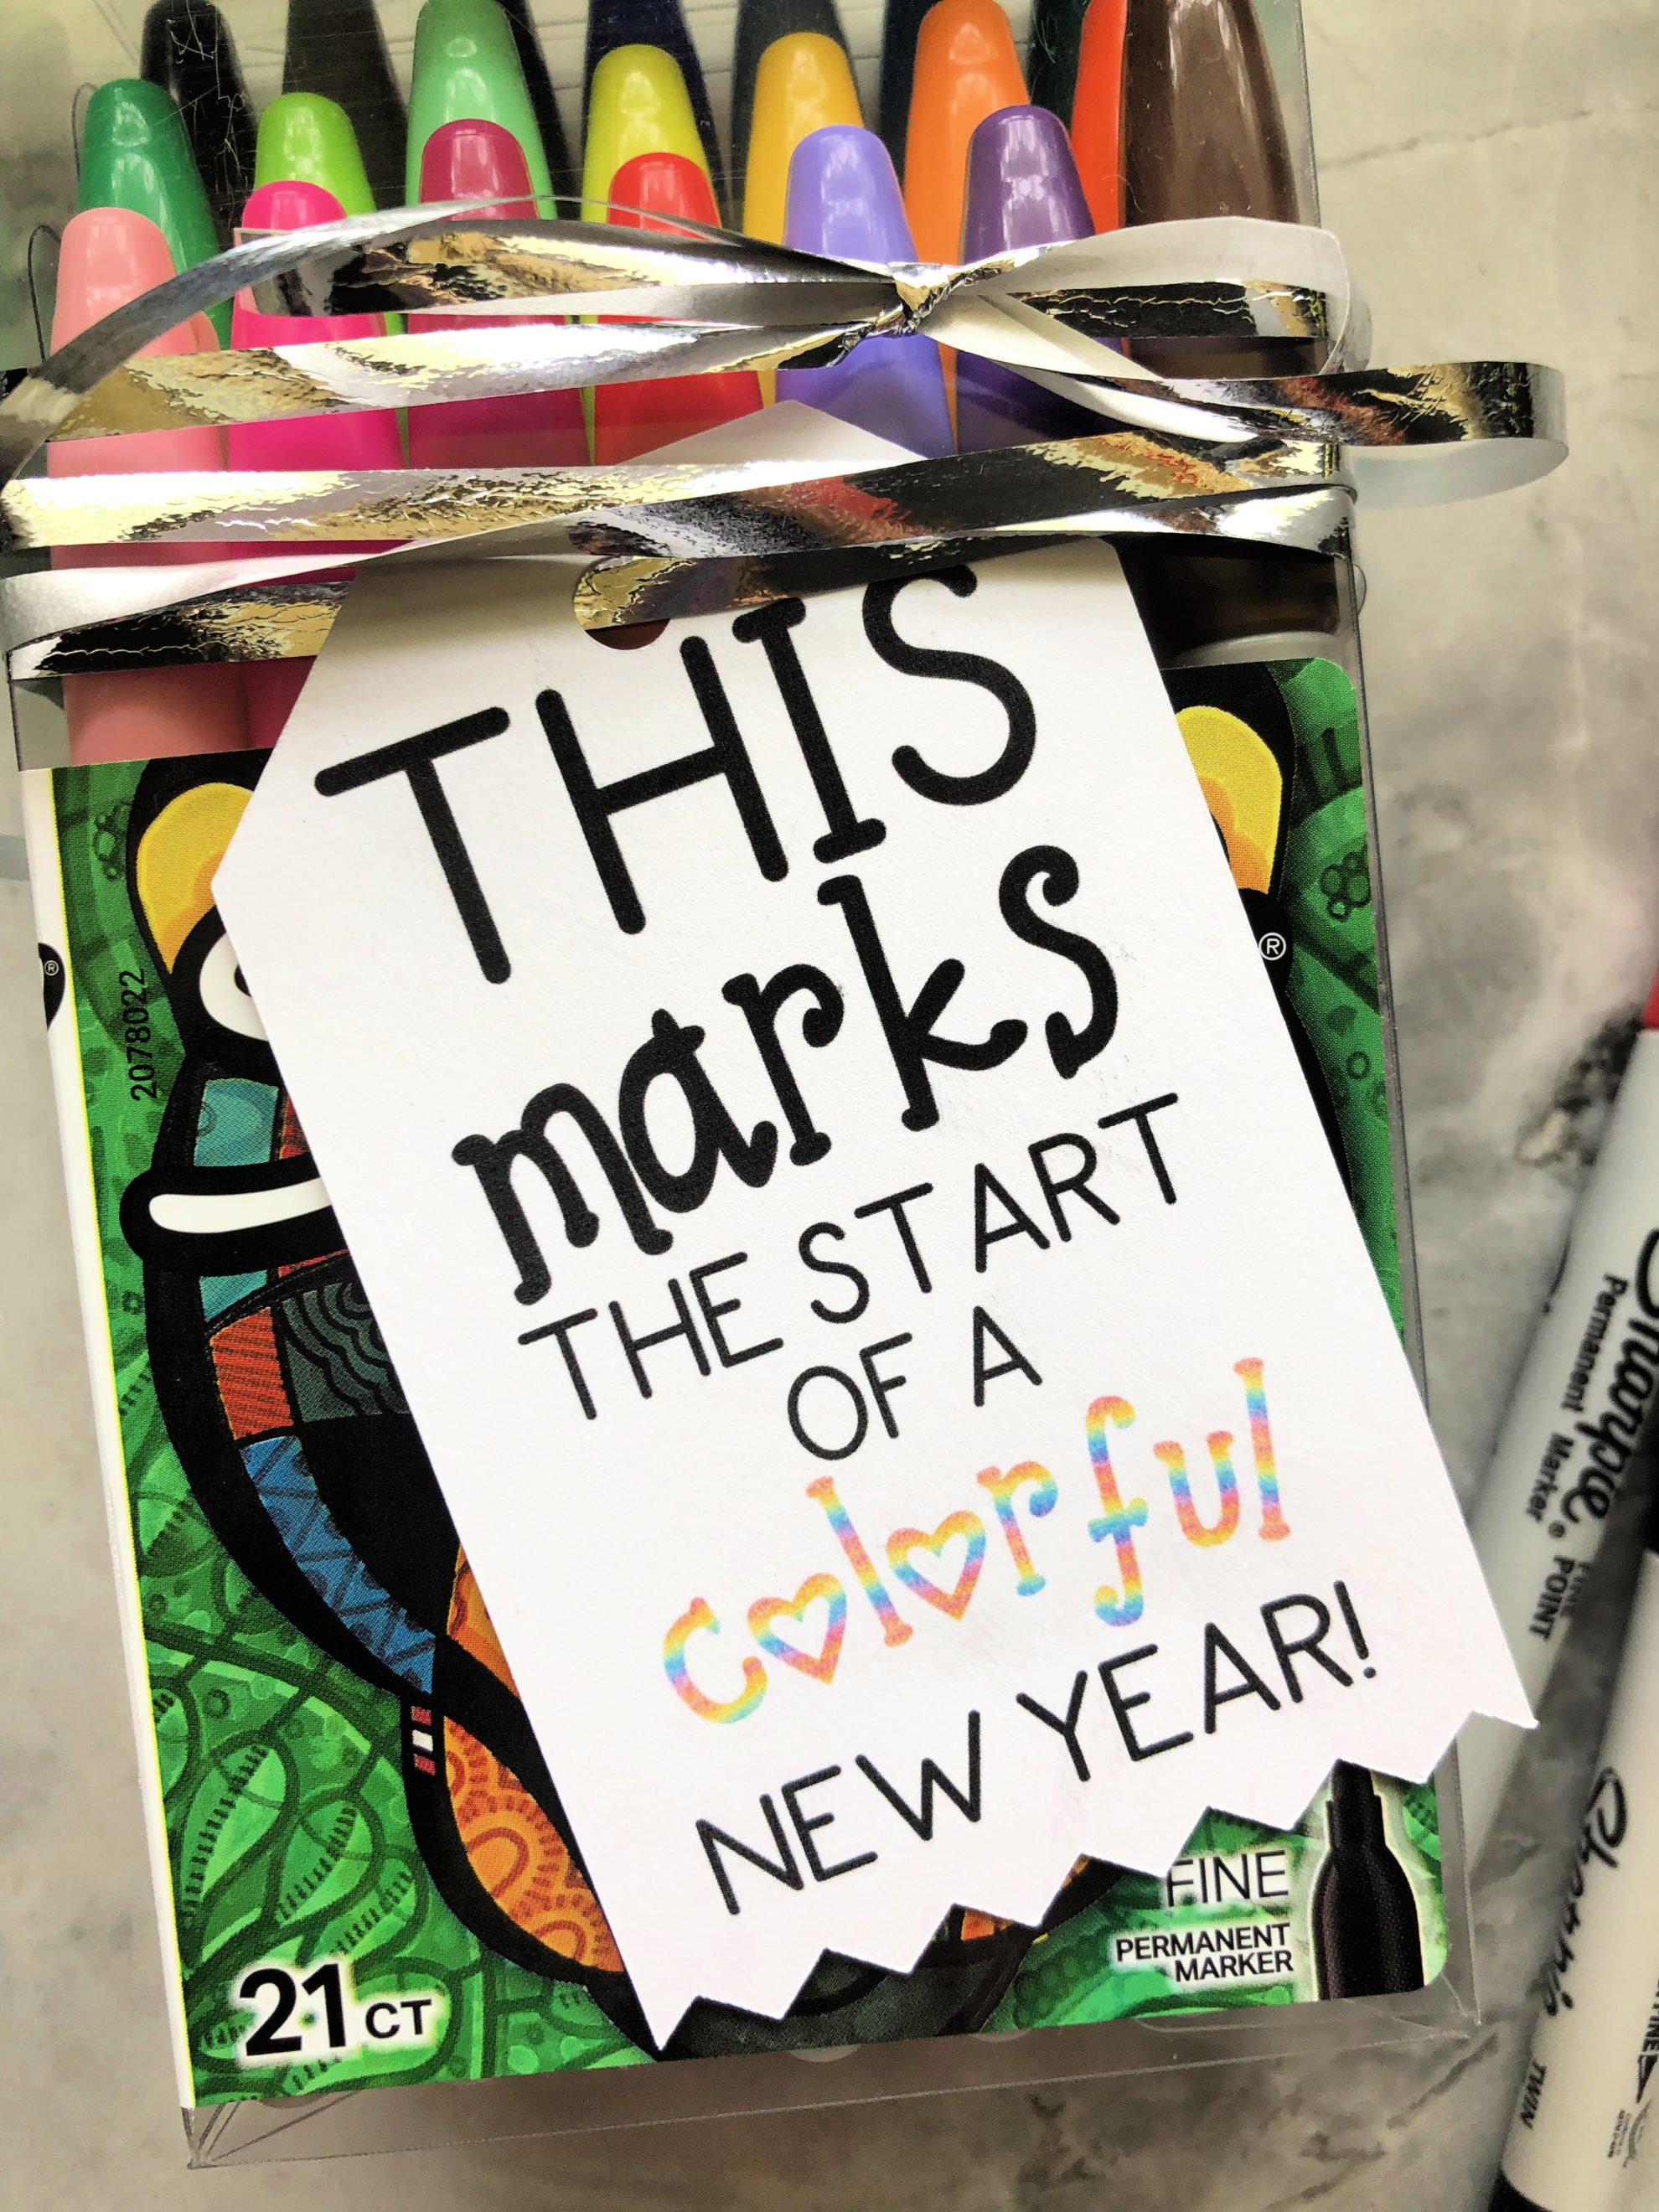
It’s that time of year! All the kiddos are heading back to school. What better way to greet your new teacher then with giving her something a little extra! Like some much needed Sharpie markers with this adorable DIY Back To School “Colorful New Year” Gift Tag that you can print then cut on the Cricut. Dare I tell you that it will take 10 minutes!?!
I don’t know about you, but I love Sharpie markers. Most people I meet feel the same way. My son starts Kindergarten soon and I wanted to give his teacher a little something (you know on top of the massive supply list that the school requires). That’s when it hit me that I should give her some Sharpie Markers! I didn’t just want to give her the markers I wanted to attach a cute Pinterest-worthy style back to school tags onto the marker box for her. Thanks to my Cricut Maker I was able to make it happen in under 10 minutes time!
If you own a Cricut machine and use Cricut Design Space than you are in luck my friends! I have a free file already created just for you.
Cricut Gift Tag Supplies
- Cricut Maker
- “This Marks The Start Of A Colorful New Year” Cut-File in Cricut Design Space
- White or Cream colored Card stock
- Printer
- Ribbon
- Sharpies or any other fun gift for the teacher!
Directions
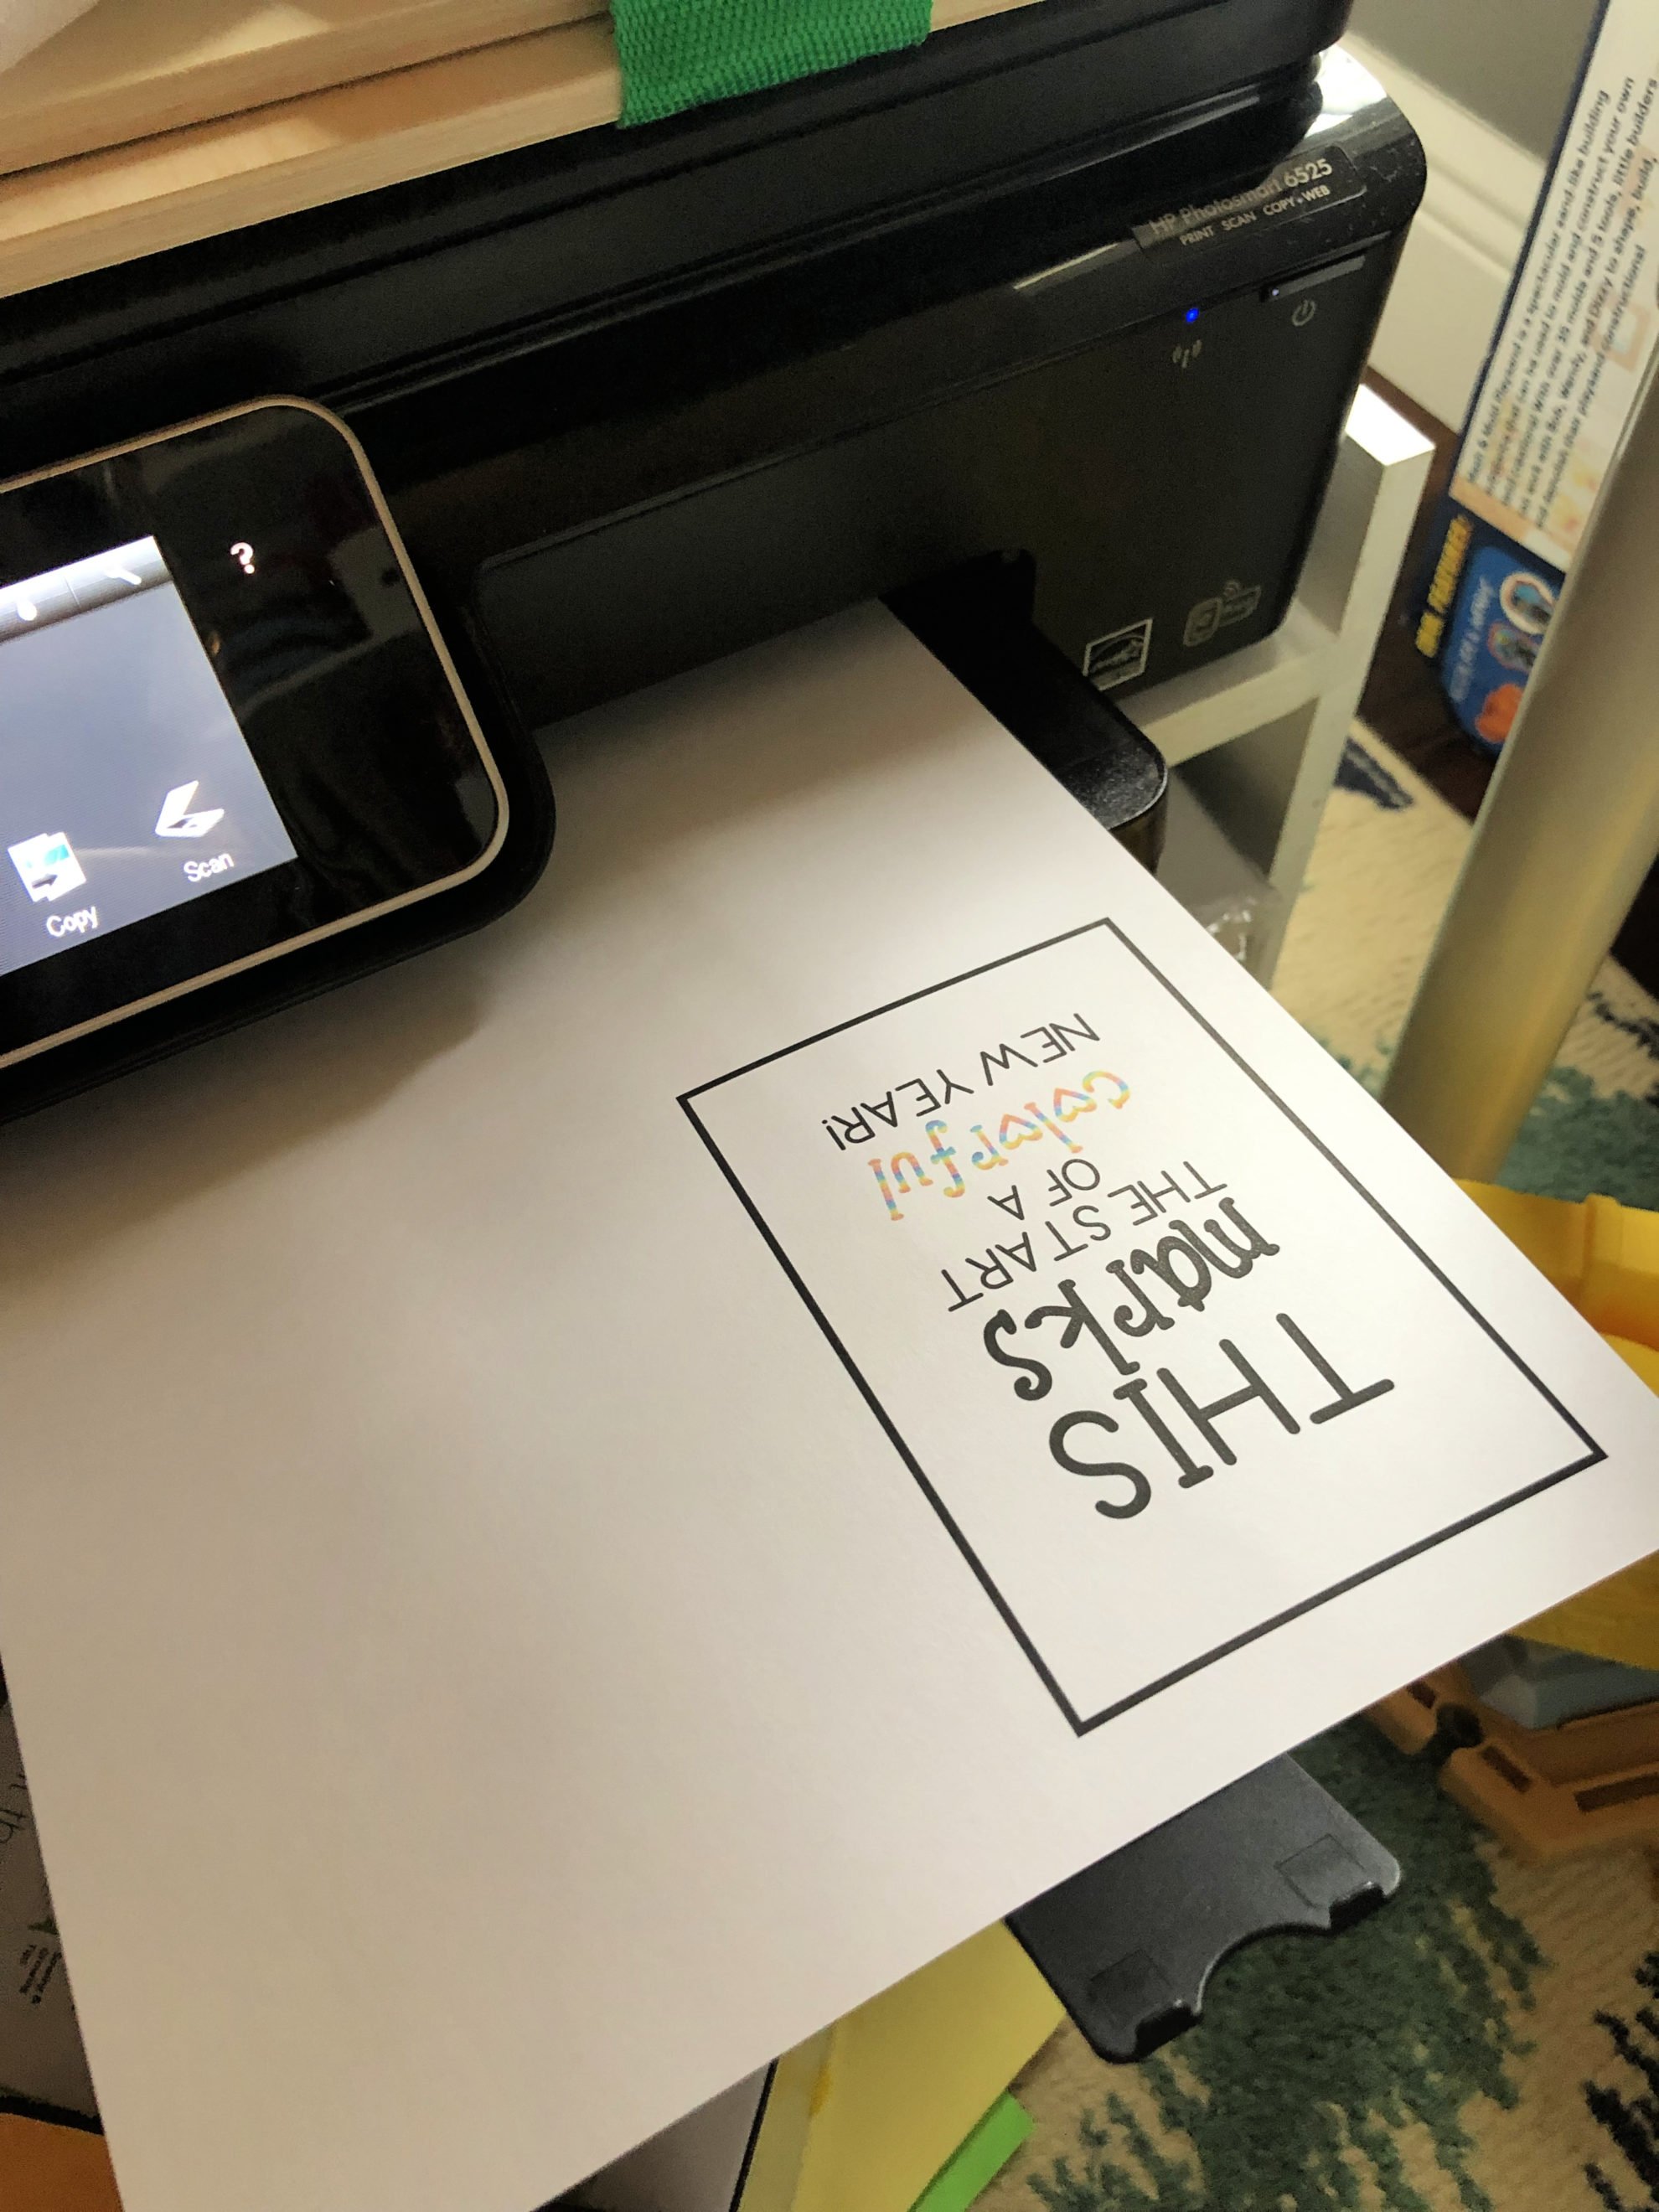
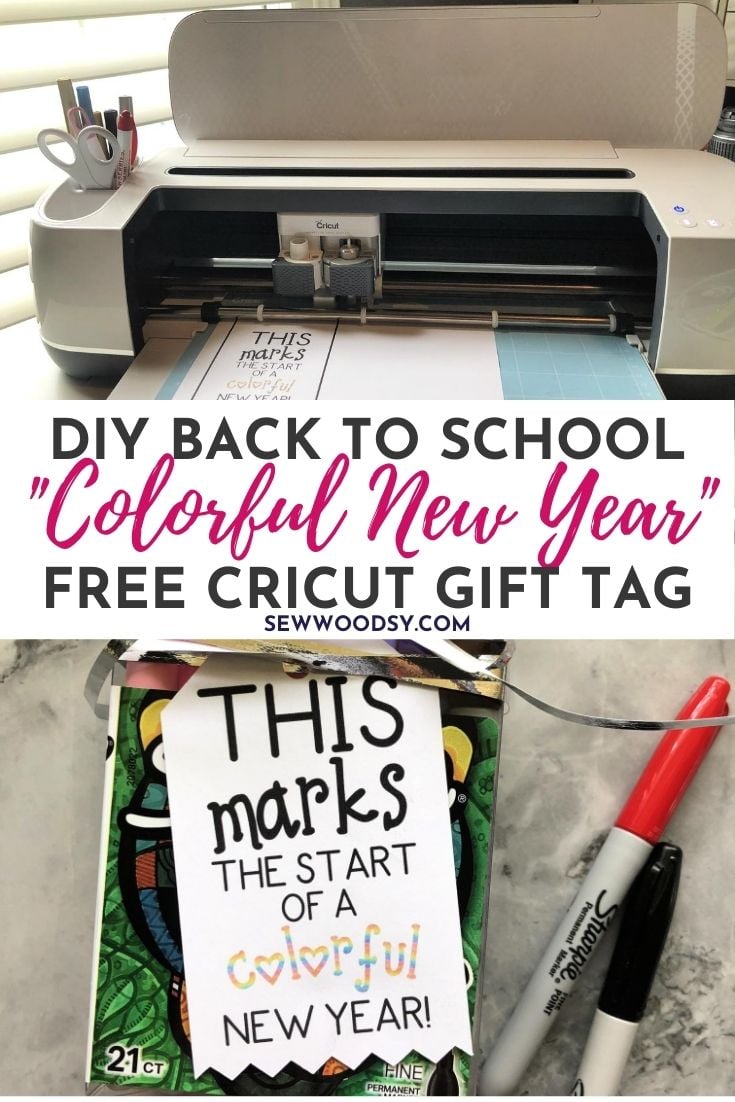
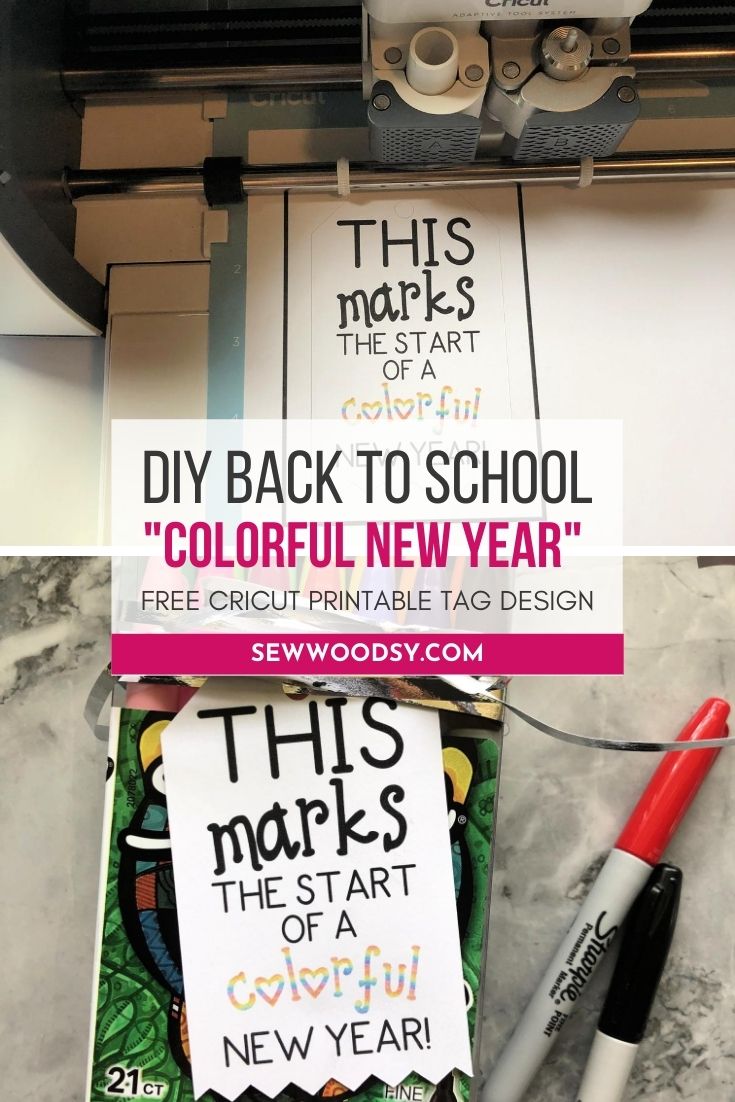
Once your in Design Space and you select “Make It” you will load 8 1/2 x 11 white card stock into your printer. If you’ve ever worked on a print-then-cut project you’ll know that it prompts you to print the file first then you remove it from the printer, and then load it onto the mat.
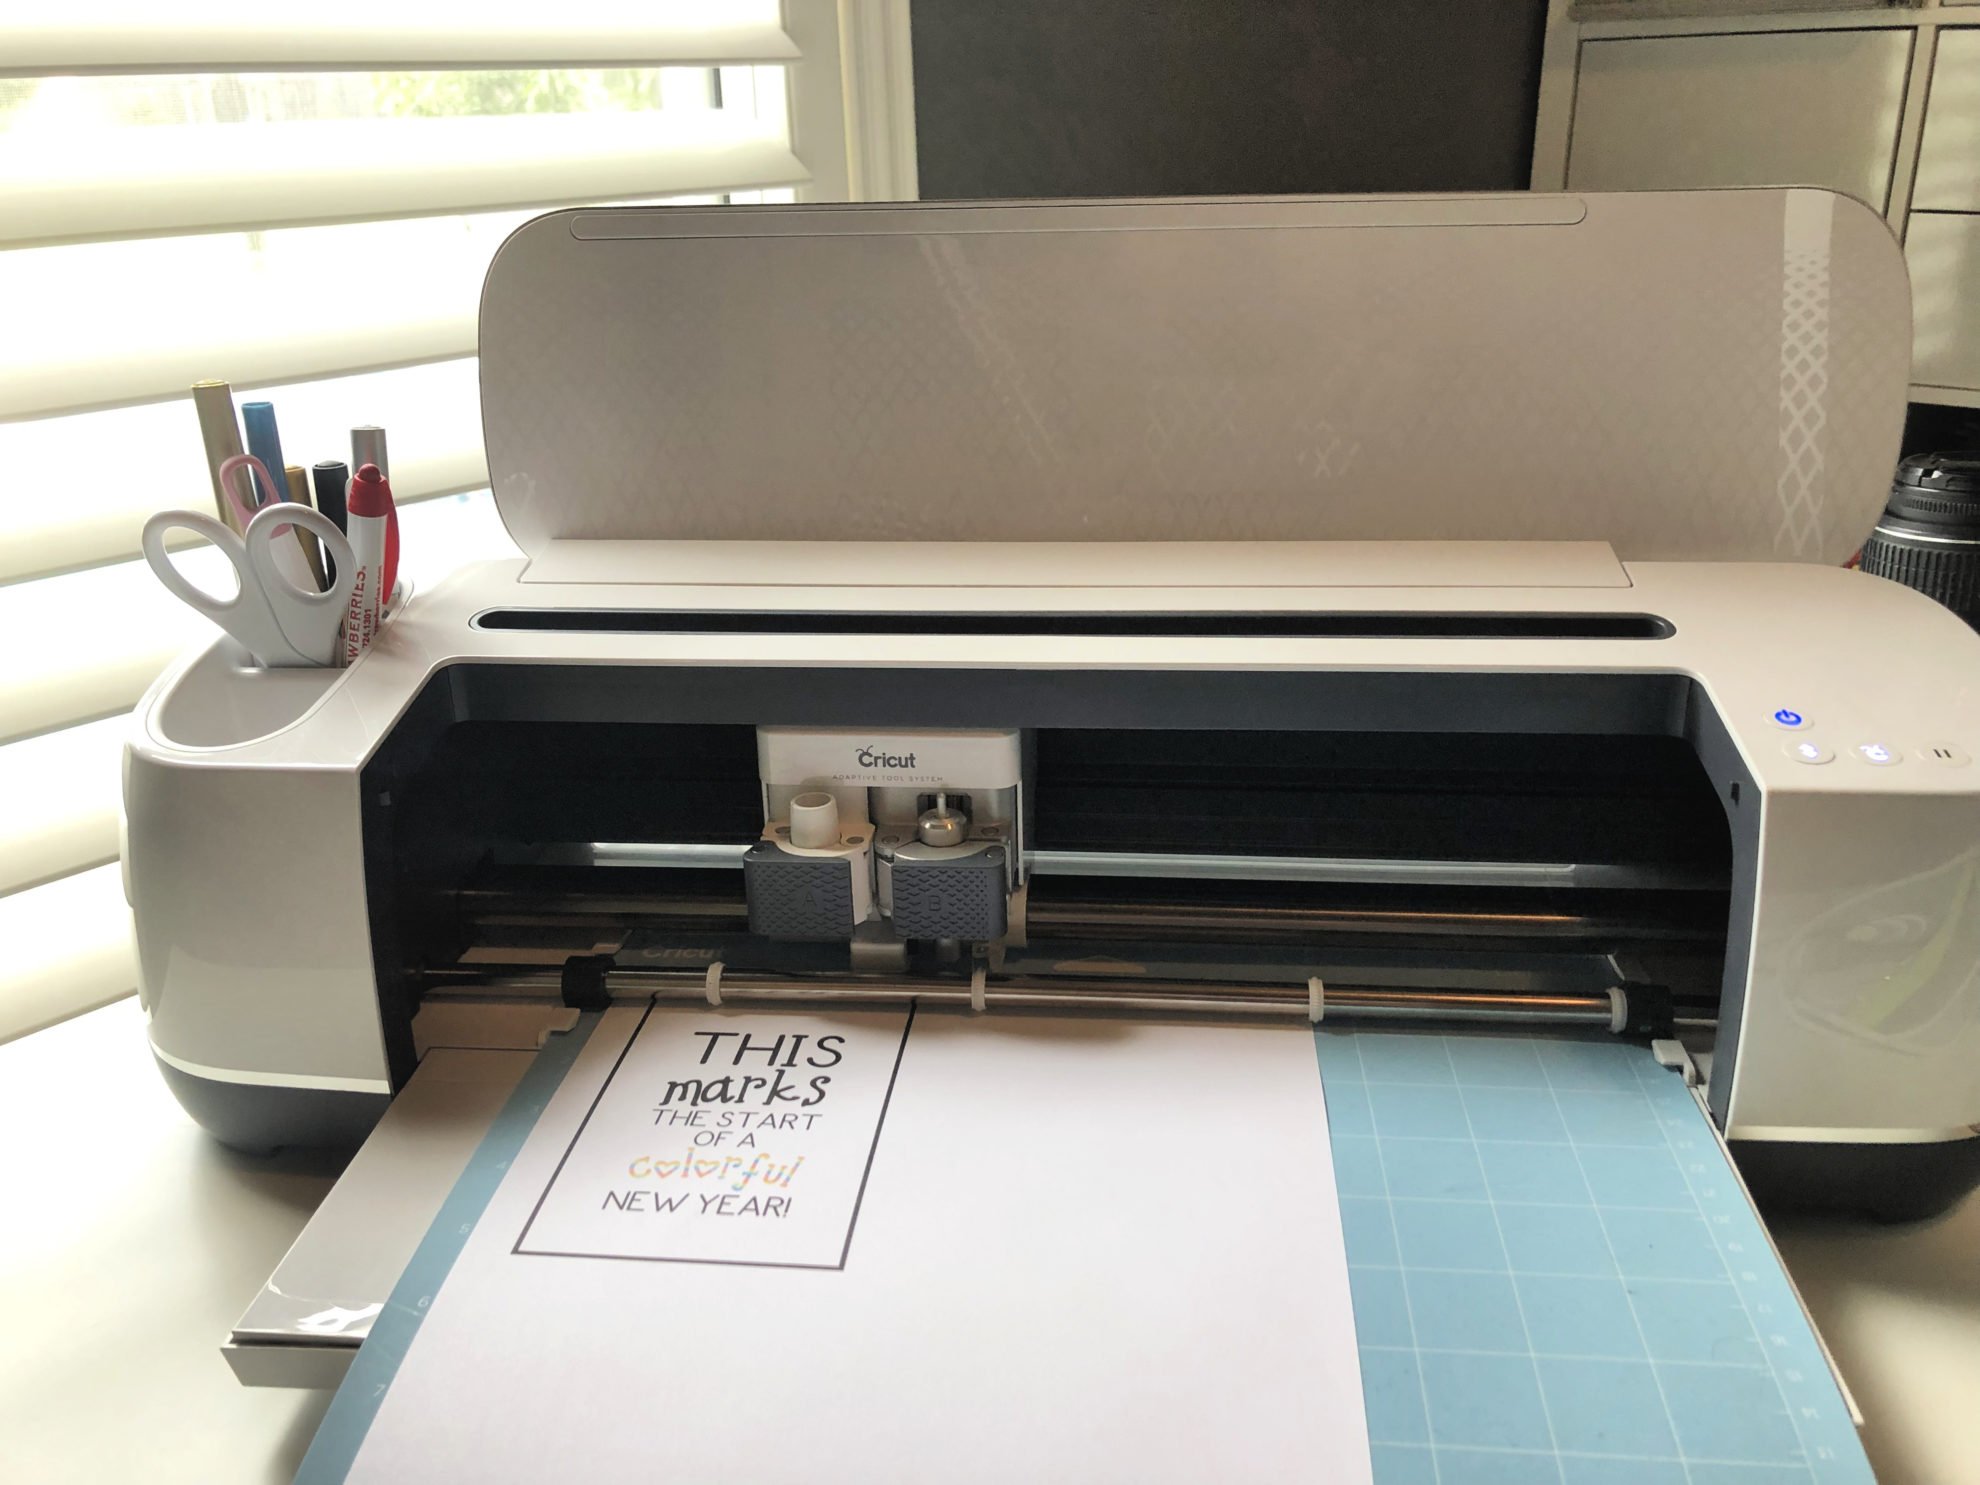
Once the tag is printed the Cricut Maker will prompt you to load the cardstock on to a mat. Don’t worry–that black line around the text is a guide for the machine.
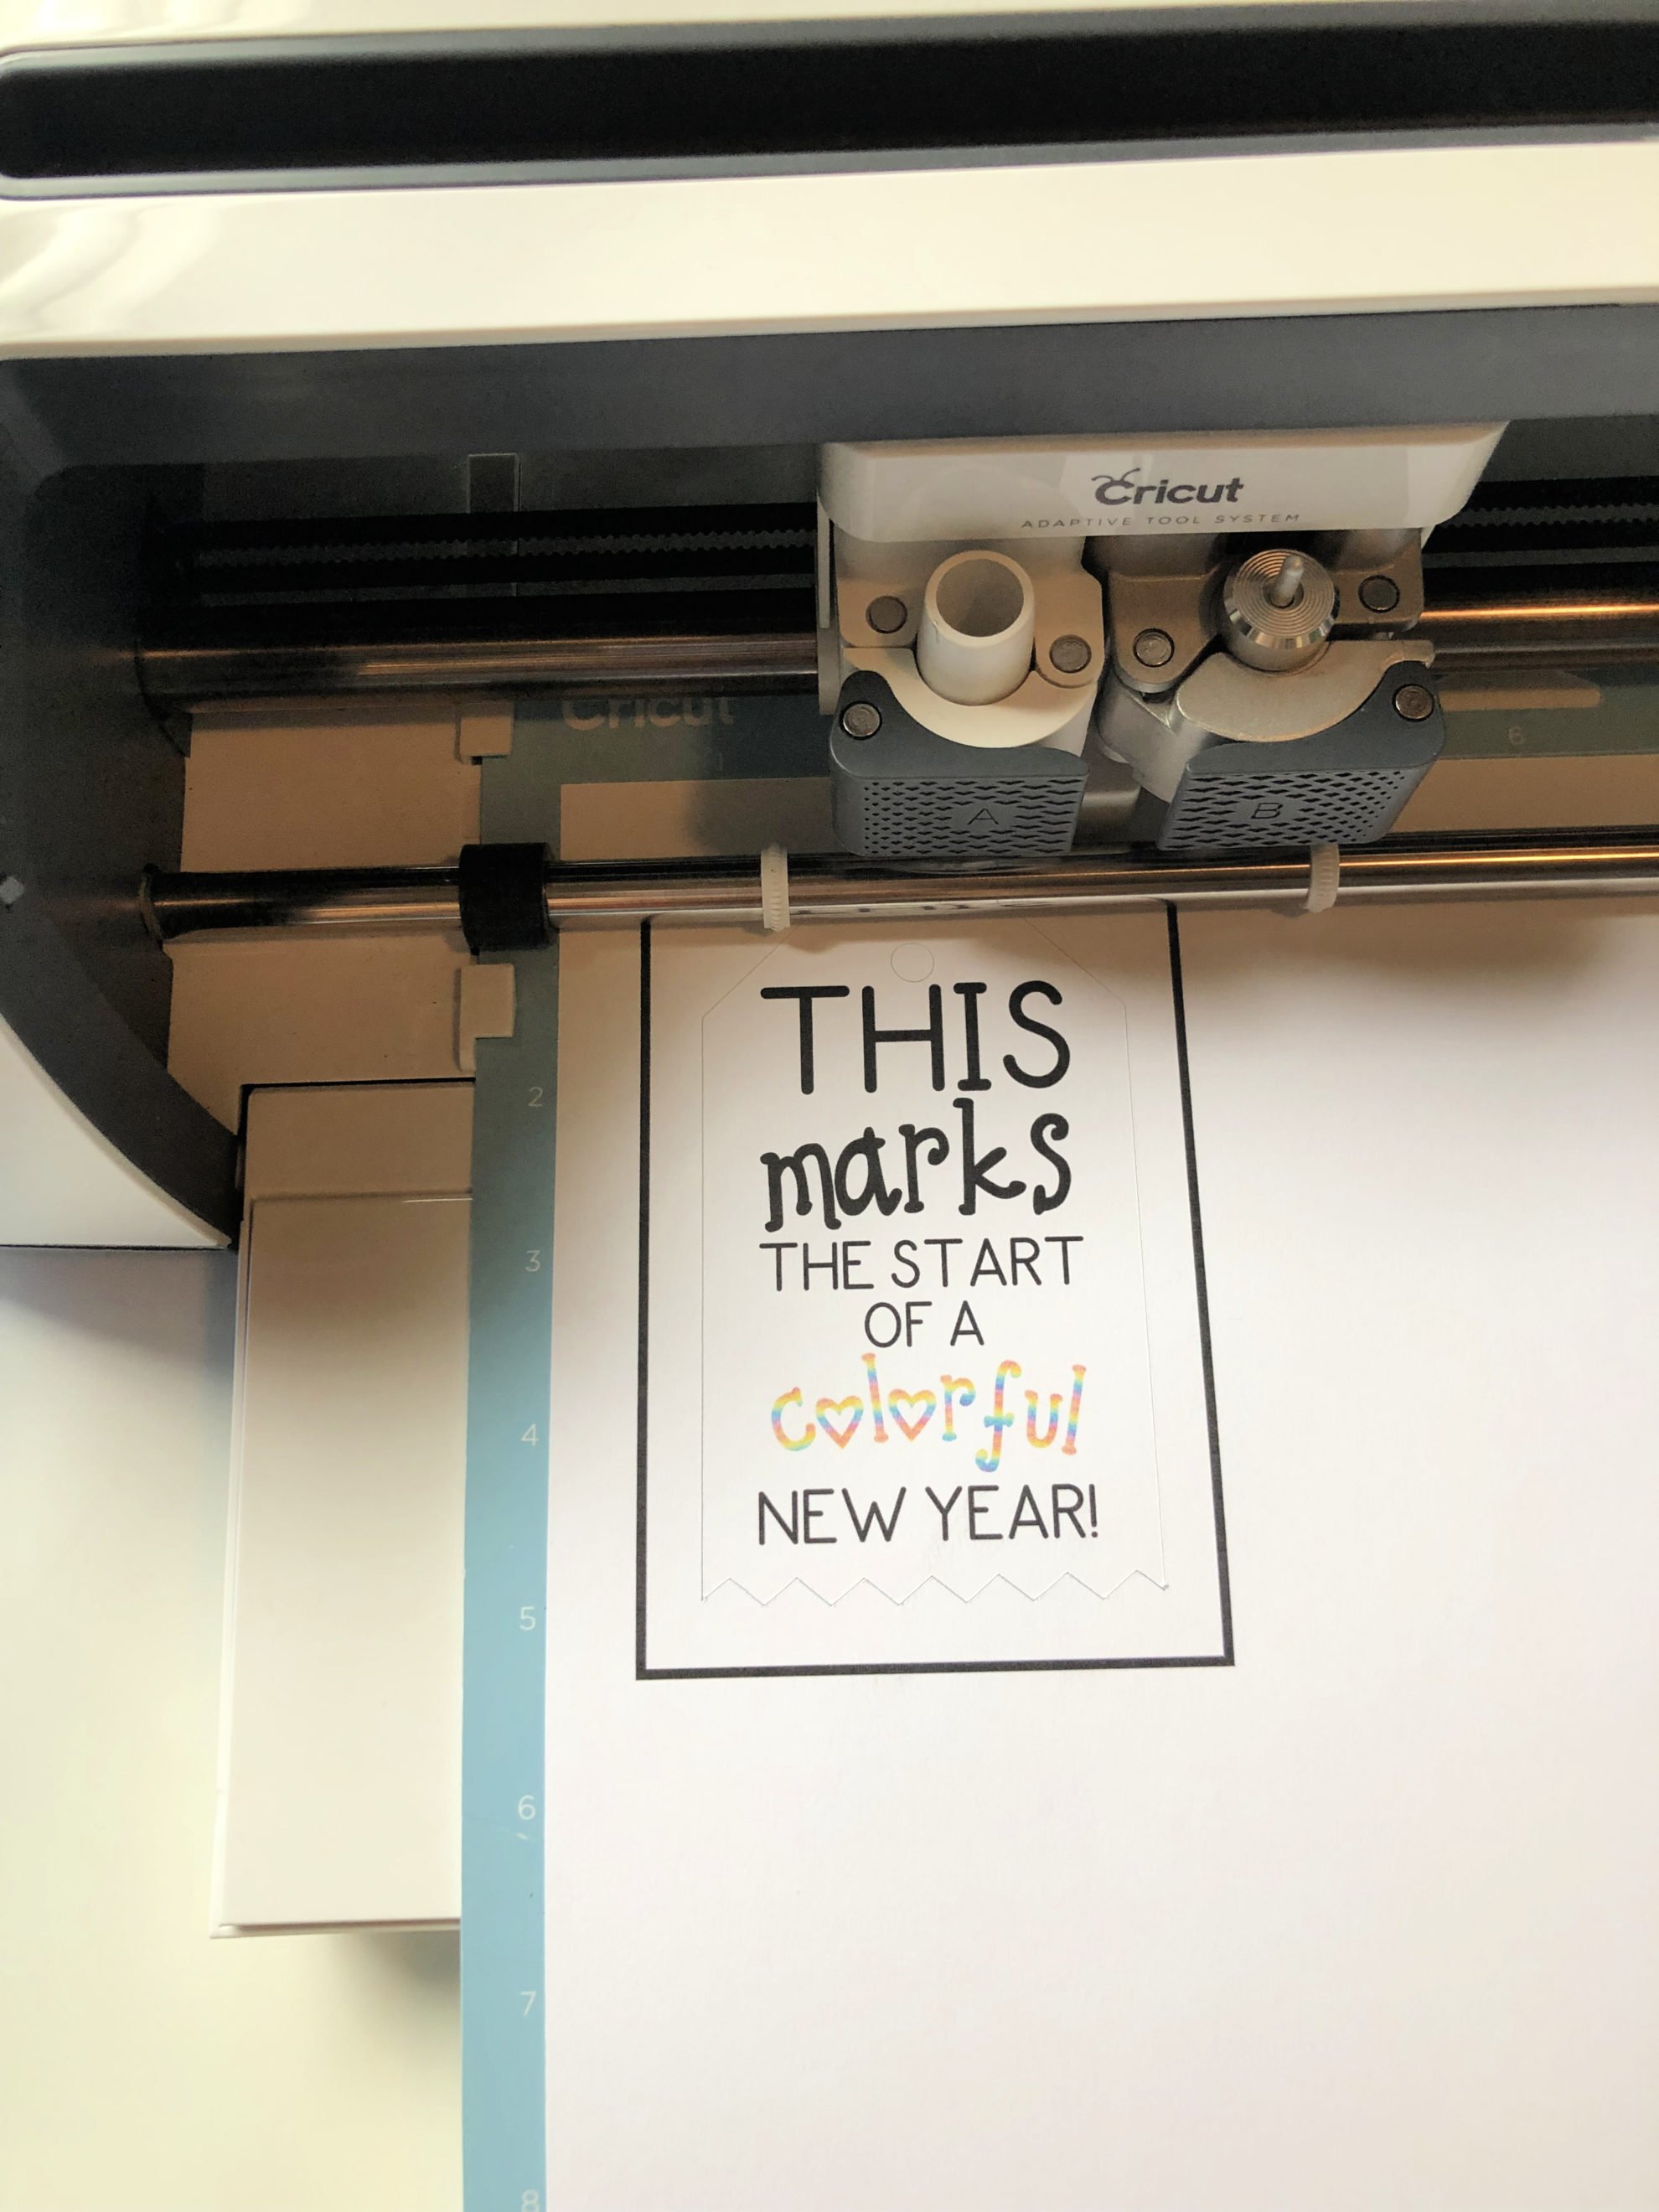
This is what it will look like once it’s cut. Then you simply curve the mat to carefully peel the cardstock off the mat.
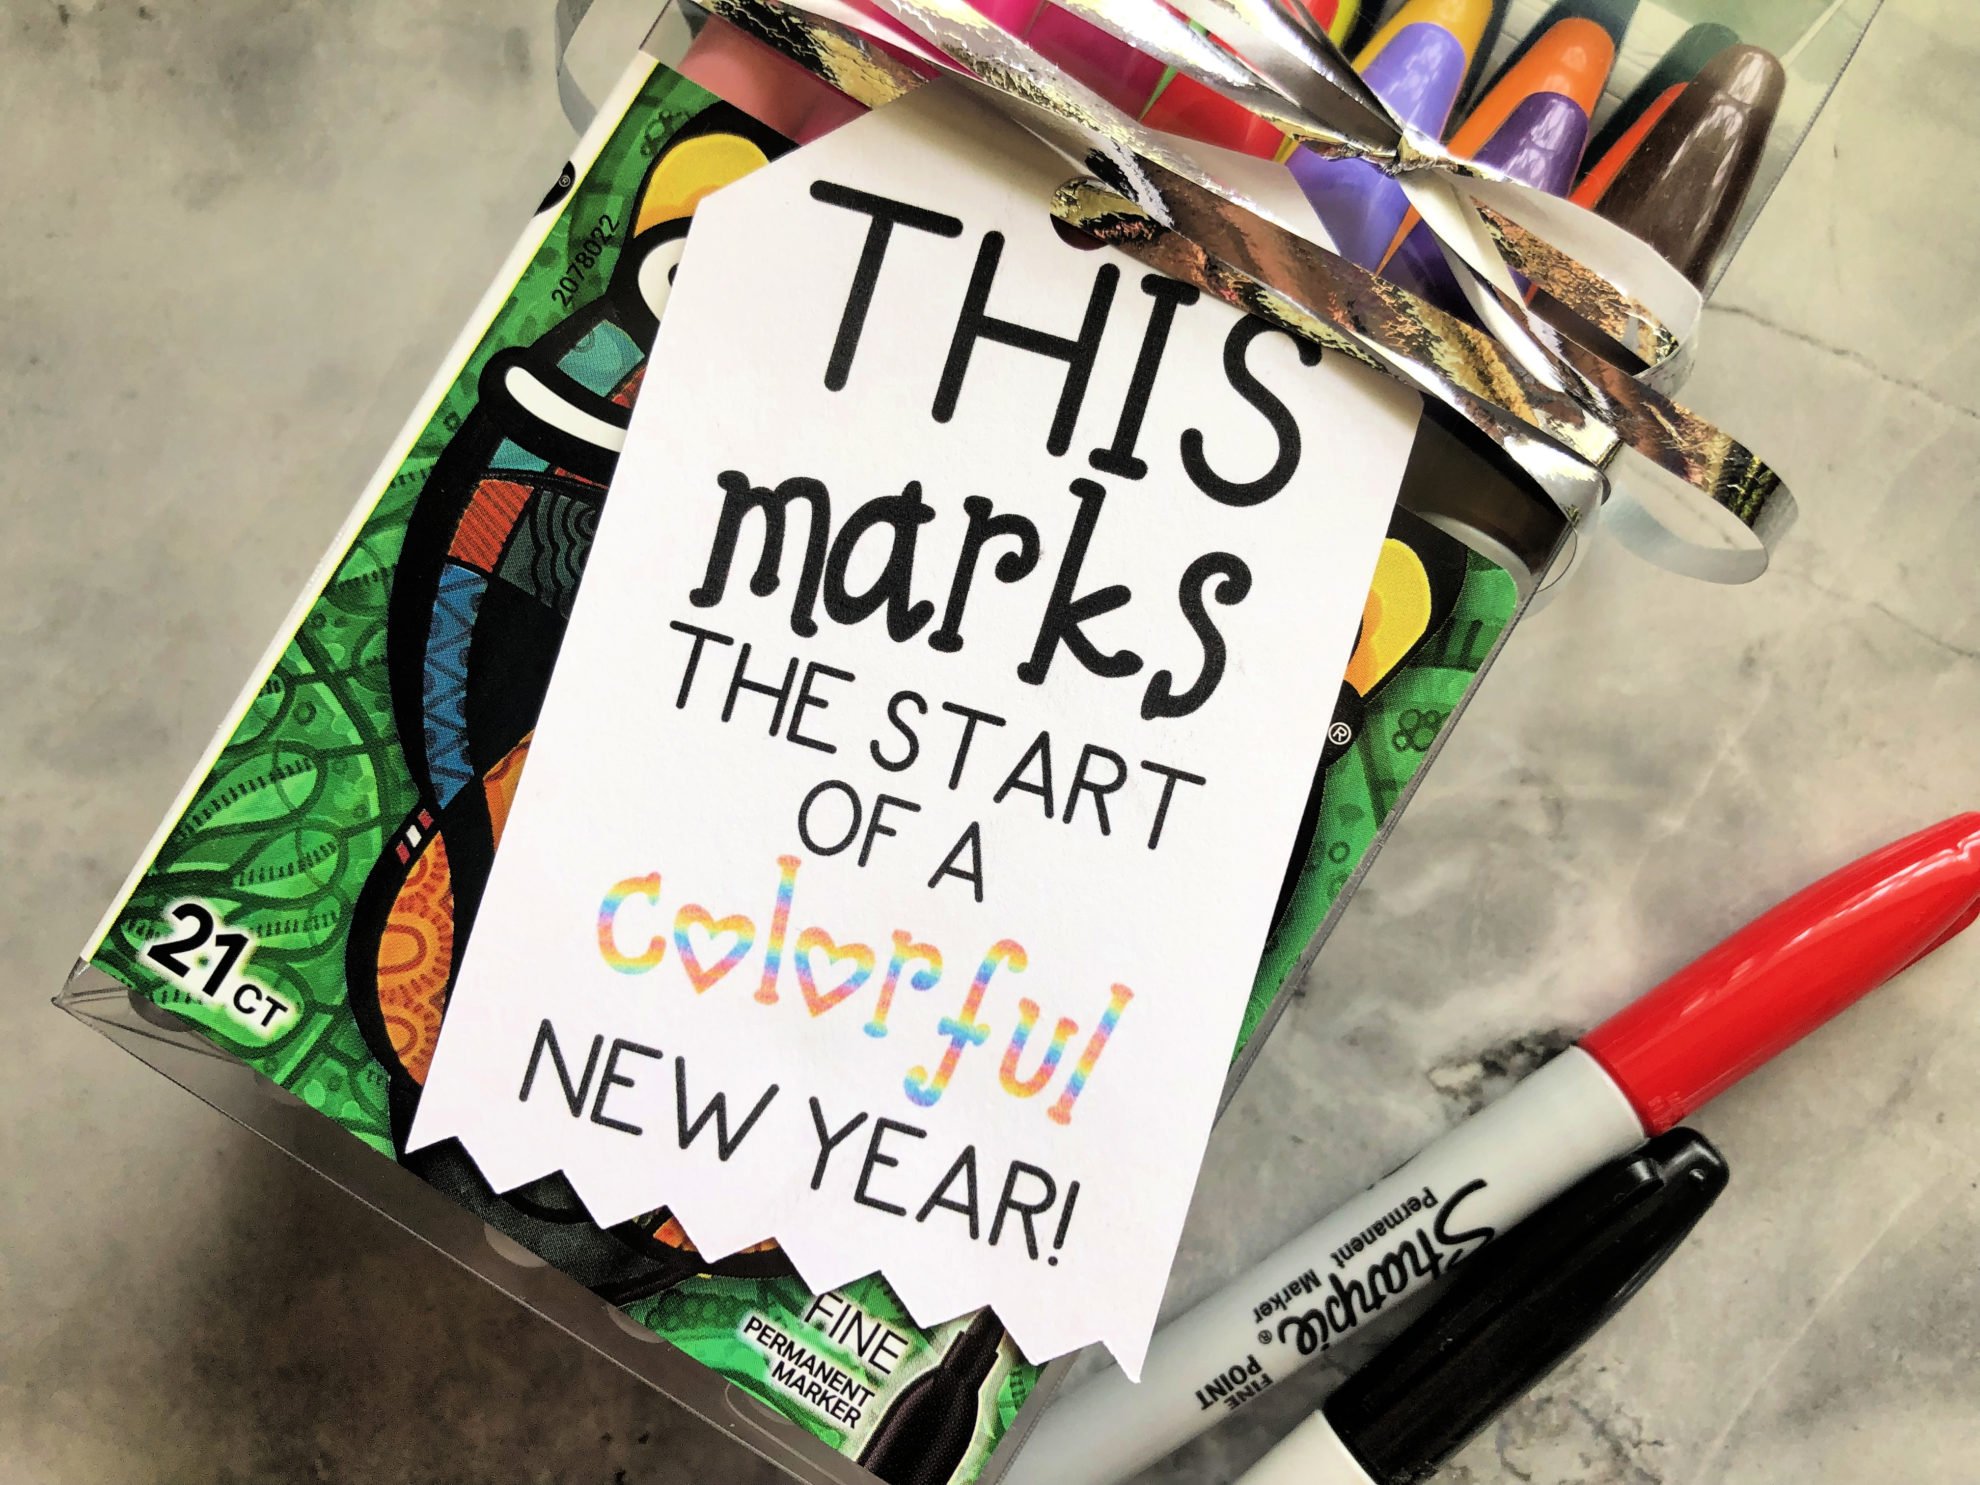
I let my son write “From: Ryder” on the back of the tag, so that she knew who it was from.
Let’s face it, meet the teacher can be pretty hectic and if every parent and their child shows up at the same time the likelihood of getting any real one on one time is slim. So it’s always best to put who it’s from in case the teacher doesn’t remember!
I hope you love this back to school gift tag as much as I do!
Printable Gift Tag
Don’t have a Cricut? No problem! I have created a printable file. All you need to do is download the free printable gift tag file on a desktop computer! Please note, the file will not download on a phone or tablet.
DIY Back To School “Colorful New Year” Gift Tag
Back-To-School DIY projects
Looking for more “back-to-school” DIY projects you can make for both your littles and teachers? Here are a few more!
- “I teach Preschool, What’s Your Super Power?” Free PNG File
- DIY Creative Workspace for Preschoolers
- “King of the Playground” PNG File
- “Elementary School Rocks” PNG File
I hope you found this super simply Cricut project helpful and that you will either make my Back To School “Colorful New Year” Printable Gift Tag using your Cricut or simply print and cut out.
Leave A Reply!