• Skip to primary navigation
  • Skip to main content
  • Skip to primary sidebar

Sew Woodsy logo

  • DIY
  • Crafts
  • Cricut
  • Travel
  • About
menu icon
go to homepage
search icon
Homepage link
  • Home
  • Thanksgiving
  • DIY
  • Cricut
  • Travel
  • About Us
    • Email
    • Facebook
    • Instagram
    • Pinterest
    • Twitter
    • YouTube
  • ×

    Sew Woodsy » Project » Crafts

    Published: Apr 14, 2015 by Katie · This post may contain affiliate links.

    DIY Birthday Bubble Favors

    Sharing is caring!

    7 shares
    • Facebook6
    • Twitter

    DIY Birthday Bubble Favors Anyone Can Make
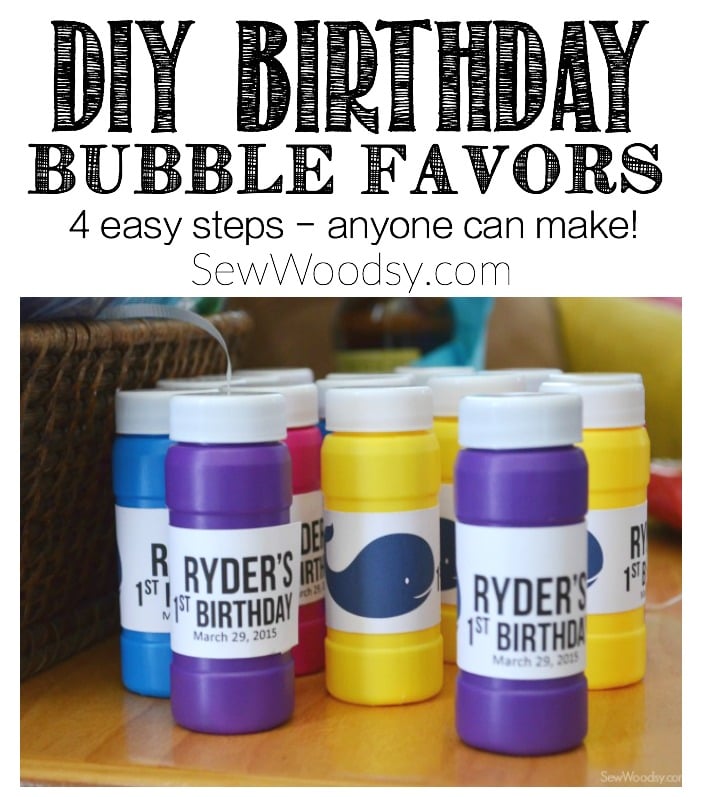
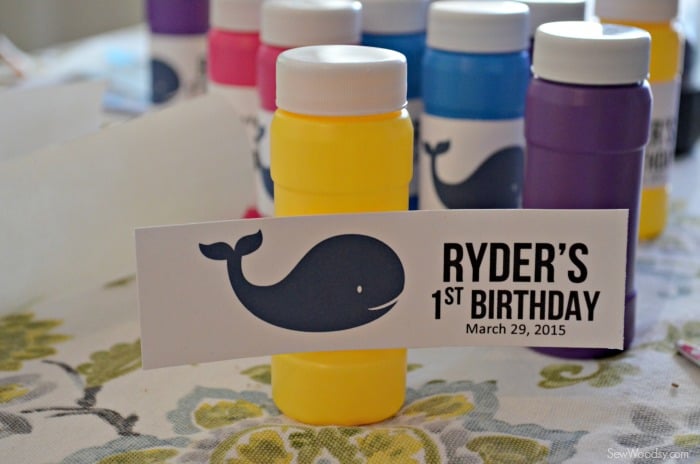
Last week, I shared the cutest 1st birthday whale invitations I used for Ryder’s birthday party. Today, I’m sharing these super cute DIY Birthday Bubble Favors that anyone can make!

    For week’s leading up to Ryder’s first birthday party I was working on a variety of DIY projects. One project that I waited until the last minute to do was making these DIY Birthday Bubble Favors. Sure, I could have just kept the bubbles as is and maybe put a little tag on them, but instead I wanted to make them a little more personable. Originally, I had planned to print the bubble wrappers on water resistant labels; however, I was having a little bit of a challenge getting my very basic design lined up in each of the individual labels so I opted to print on car stock and run it through my Xyron sticker maker.

    Supplies:

    • Microsoft Word
    • Printer
    • Cardstock
    • Scissors/Paper Cutter
    • Xyron Sticker Machine
    • Bubbles (found 8 pack at Wal*Mart in the party section for $2.99)

    whale birthday bubble wraps

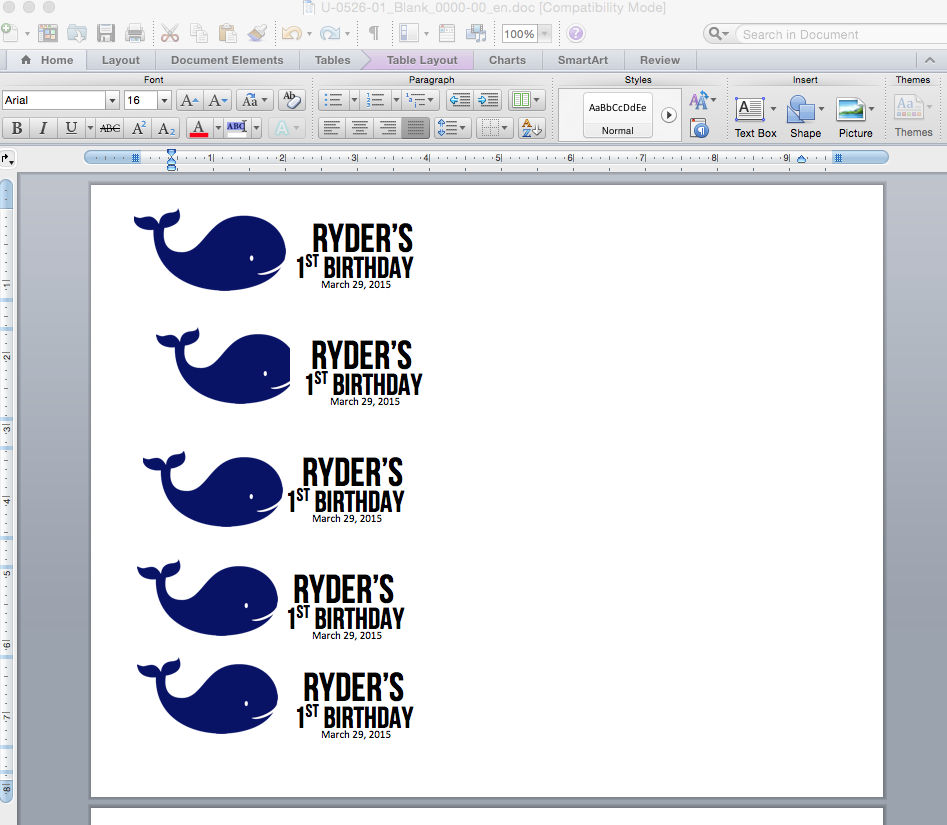
    I created my design in Word… nothing fancy. Anyone can do these! Once my design was created, I printed it out on card stock.

    Ryder's First Birthday Breakfast

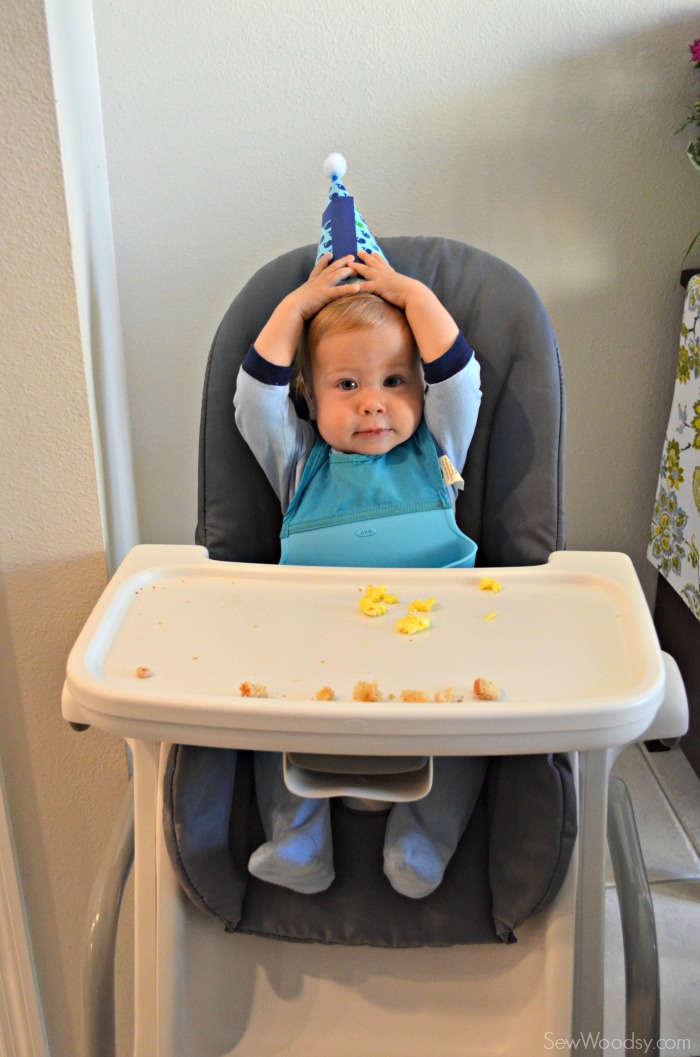
    Then, while Ryder was eating breakfast I got my craft on. Multi-tasking at its finest! He was also trying out his birthday hat for later on in the day. A tutorial on that hat to come!

    DIY Birthday Bubble Favors 2

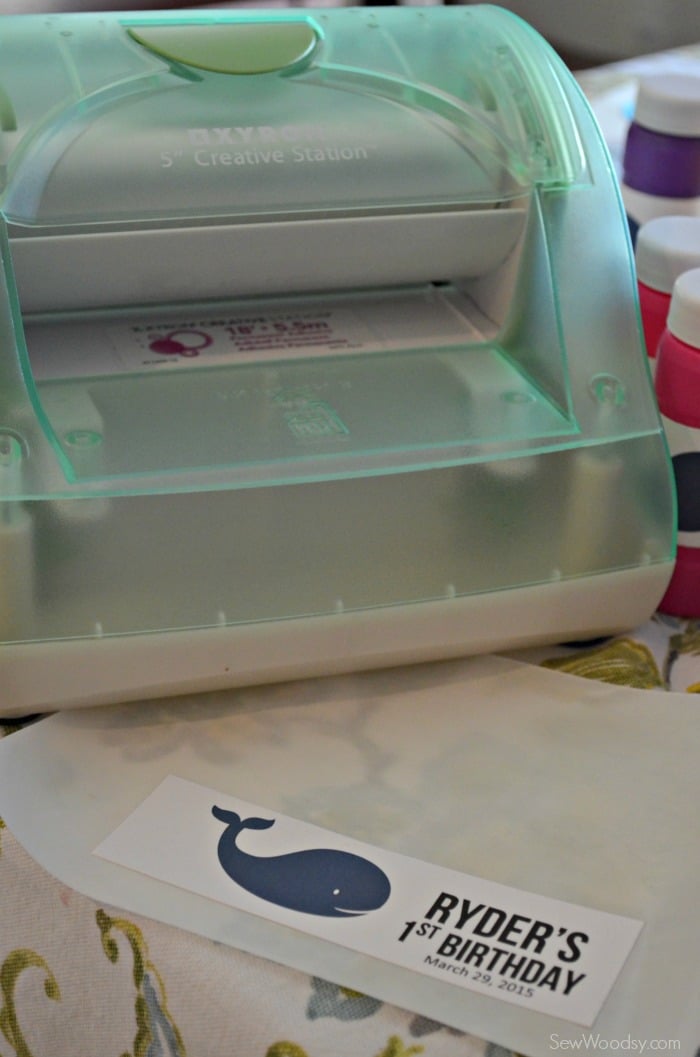
    Then I cut each of the wraps to the exact size I needed (just measure the original label on the bubble containers. Had I had more time these would have been a lot fancier. But at the end of the day, I’m still happy with how they turned out! I ran each of the pieces of cardstock through the sticker maker.

    DIY Birthday Bubble Favors 1

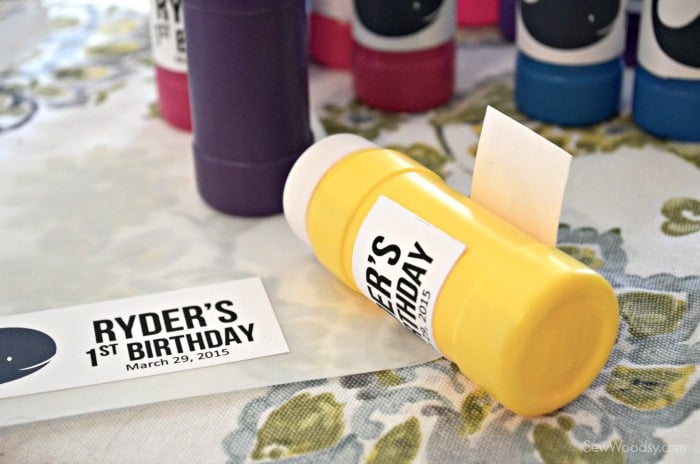
    Then I placed the labels onto the bubbles.

    DIY Birthday Bubble Favors 3

    Easy as that and I had 15 custom bubbles to give out for Ryder’s first birthday party.

    DIY Birthday Bubbles Favor

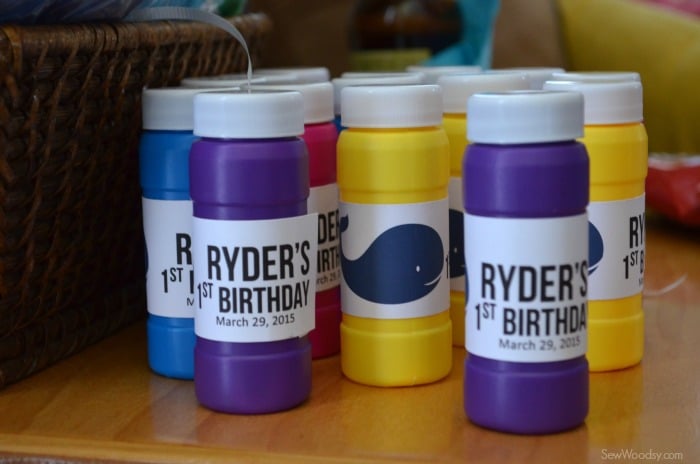
    These are so simple to make and take maybe 30 minutes tops from start to finish! Of course the more intricate the design the longer it will take to make. But for a first birthday party a simple design works just fine! *I will note that after making these favors I would have printed the wraps on regular printer paper. The wraps started to unwind a little and I think it was because of the thicker paper.

    Disclaimer: There are affiliate links in this post. If you click on the link and purchase something we will receive a small portion of the sale. 
    « DIY Easter Bunny Onesie with Name
    DIY First Birthday Onesie »

    Reader Interactions

    Leave a Reply Cancel reply

    Your email address will not be published. Required fields are marked *

    Primary Sidebar

    • Email
    • Facebook
    • Instagram
    • Pinterest
    • Twitter
    • YouTube
    Male and female hugging on each other in the woods.

    Hi, we're Katie & Jon! Welcome to our home away from home!

    Sew Woodsy is a lifestyle blog focusing on crafts, home DIY projects, family, travel and all things life. Get comfy and join us on our adventure!

    More About Us →

    9 different logos from various media outlets where Sew Woodsy has been featured on.

    Easter Projects

    • Kids Easter Basket Ideas
    • 25 Easter Basket Ideas for Toddlers
    • Free Easter Coloring Pages
    • 17 Easter Craft Ideas

    Trending

    • How to Create a Natural Log Pathway + Video
    • Tips & Tricks on Installing Butcher Block Countertops
    • How to Host a Baby Shower at Work
    • How to Use Heat n Bond

    Male and female hugging on each other in the woods.

    Hi, we're Katie & Jon! Welcome to our home away from home!

    Sew Woodsy is a lifestyle blog focusing on crafts, home DIY projects, family, travel and all things life. Get comfy and join us on our adventure!

    More About Us →

    9 different logos from various media outlets where Sew Woodsy has been featured on.

    Easter Projects

    • DIY Follow the Bunny Pillow Cover
    • Bunny Kisses & Easter Wishes Burlap Garden Flag
    • Easter Bunny Family Pillow
    • DIY Easter Bunny Onesie with Name

    Trending

    • How to Create a Natural Log Pathway + Video
    • Tips & Tricks on Installing Butcher Block Countertops
    • How to Host a Baby Shower at Work
    • How to Use Heat n Bond

    Footer

    ↑ back to top

    9 different logos from various media outlets where Sew Woodsy has been featured on.

    About

    • About Us
    • Privacy Policy
    • Accessibility Statement

    Newsletter

    • Sign Up! for emails and updates

    Contact

    • Contact
    • Work with us
    • Advertise

    Copyright © 2010 - 2022 Sew Woodsy