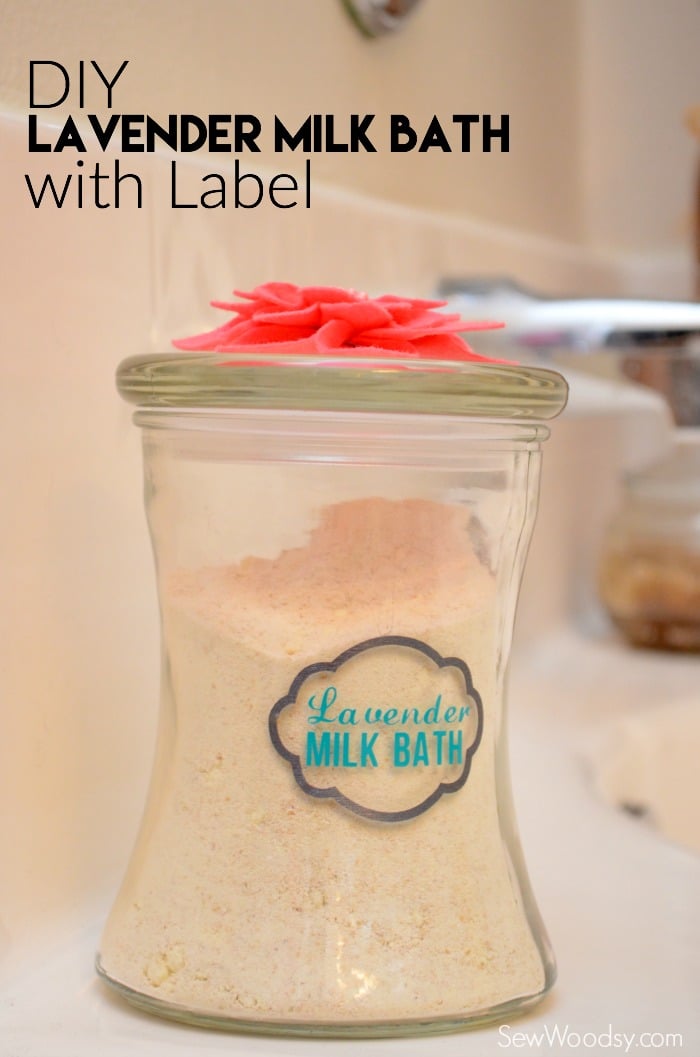
Today, I’m going to show you how easy it is to make your own DIY Lavender Milk Bath. I love making sugar scrubs, but find that I can only enjoy them in the shower. I love to take baths. I take at least 3 baths a week. I can always count on a little “me” time which is hard to find these days. I’ve blown through bottles of bubble bath over the past few months. Last month, my mom gave me a lavender milk bath to try–I loved it and although I know I should have used the entire package in one sitting I decided to savor it and use a little bit over the course of three baths! After it was done I was sad and wanted for more so that’s when I decided to make my own. That and I cleaned out our pantry and got the hair ball idea that I could make my own since I had expired powder milk that I didn’t want to go bad. With just a few house-hold ingredients you can easily make this DIY Lavender Milk Bath for yourself or give it as a gift.
Supplies:
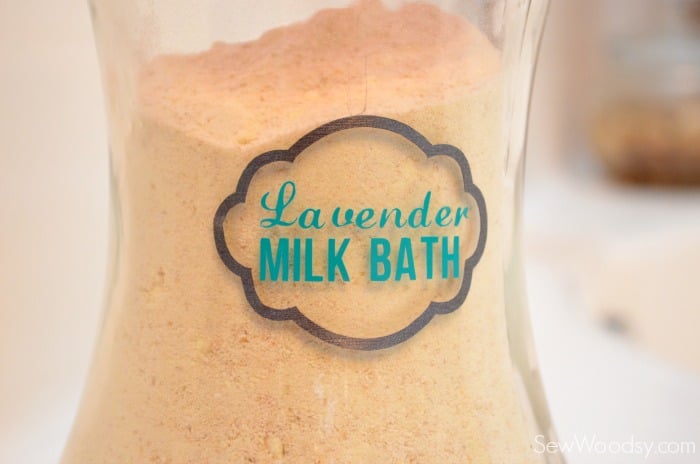
- 2 Cups Powdered Milk
- 2 Cups Oats, blended to powder
- 20 drops Lavender Essential Oils
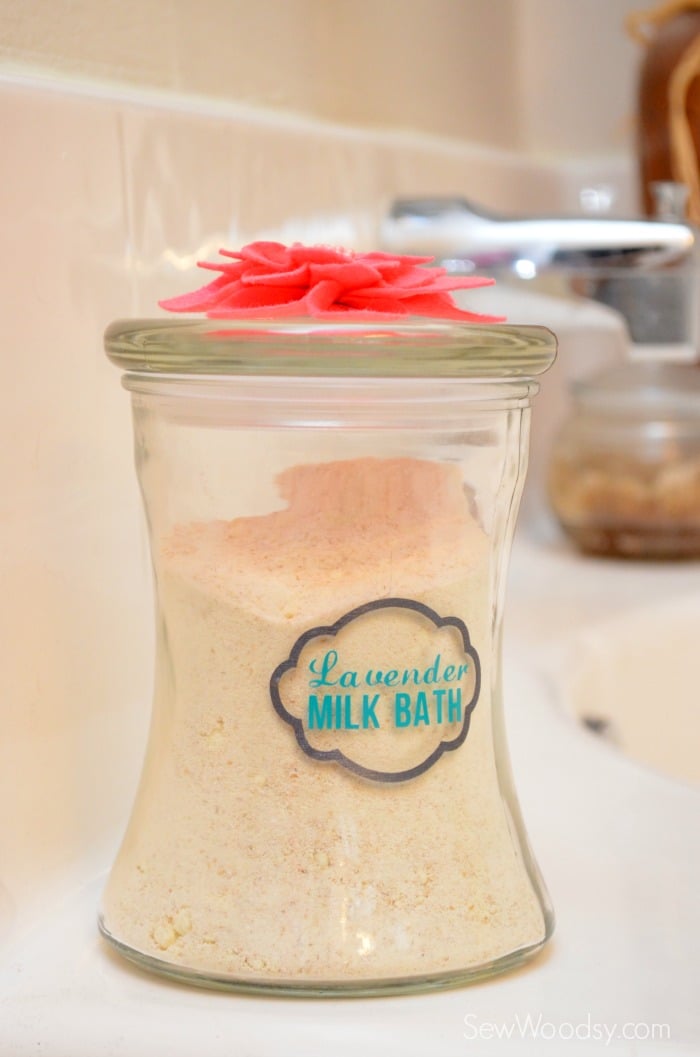
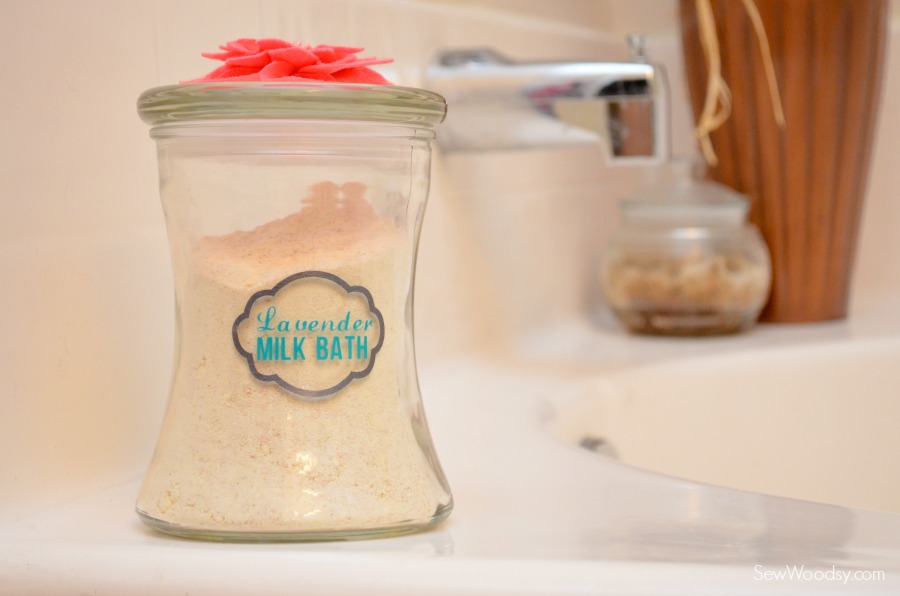
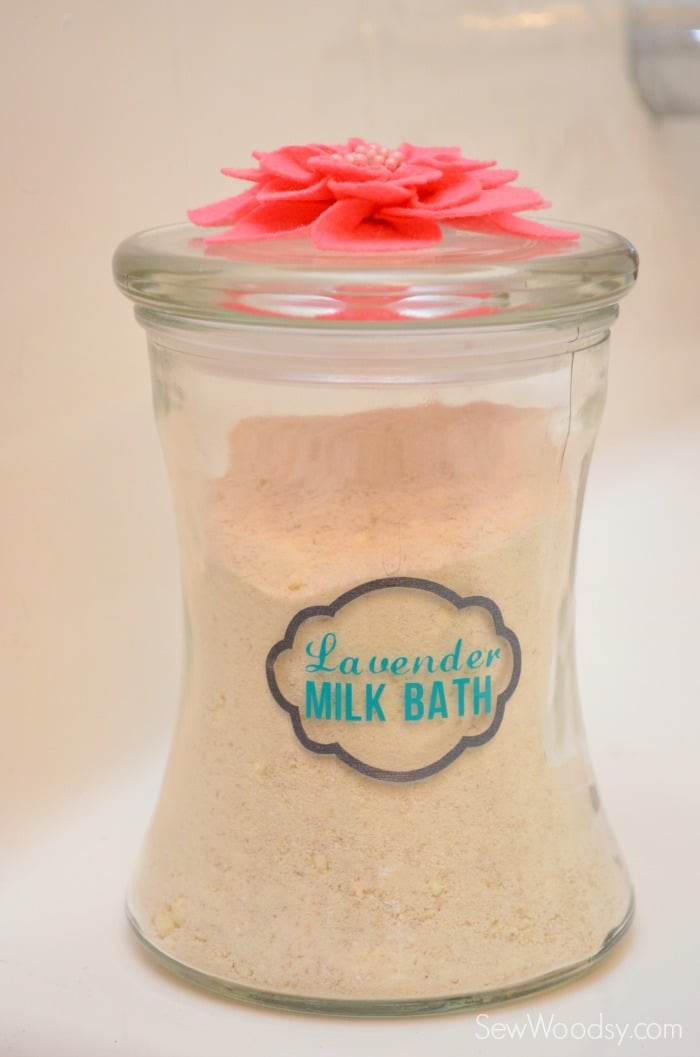
In a container combine powdered milk, oats, and lavender essential oils. Shake well until combined. Store in a cute air-tight container and enjoy a few scoops during bath time!
Here is how I made the label.
Supplies:
- Cricut Explore
- Cricut Design Space
- Cricut Tools
- Vinyl
- Plastic Applicator
- Glass Jar
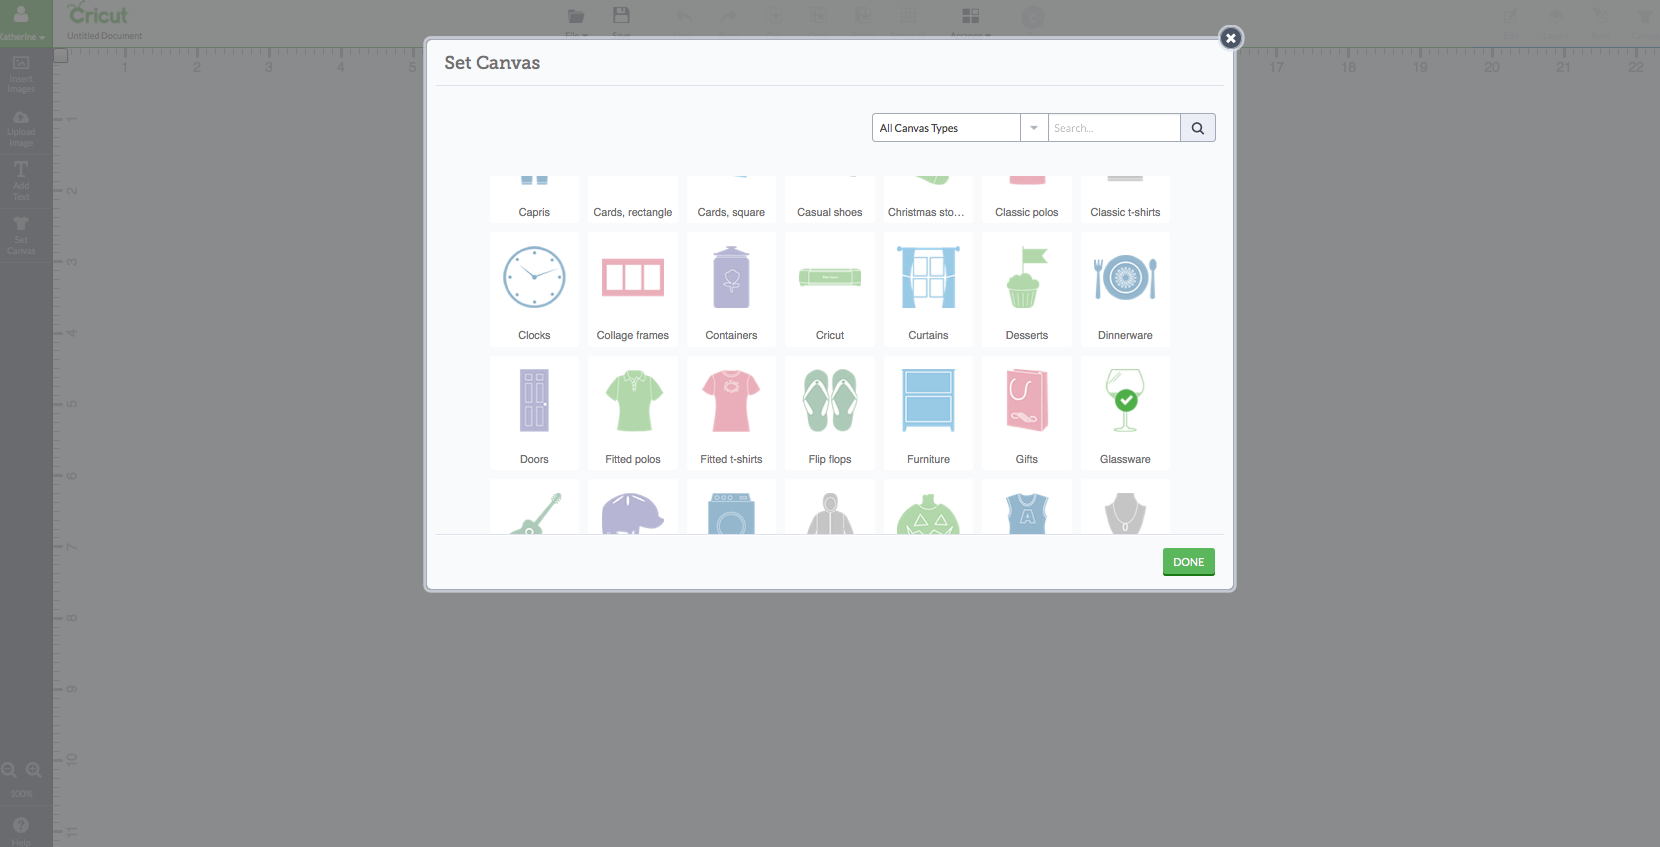
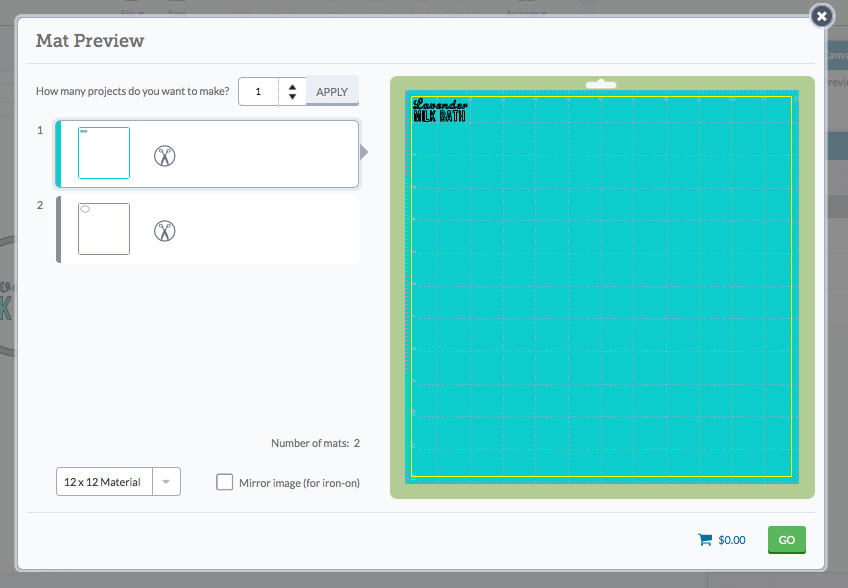
To make the cute container, I went on Cricut Design Space, and choose the jar canvas. You will find the jar by selecting “glassware”.
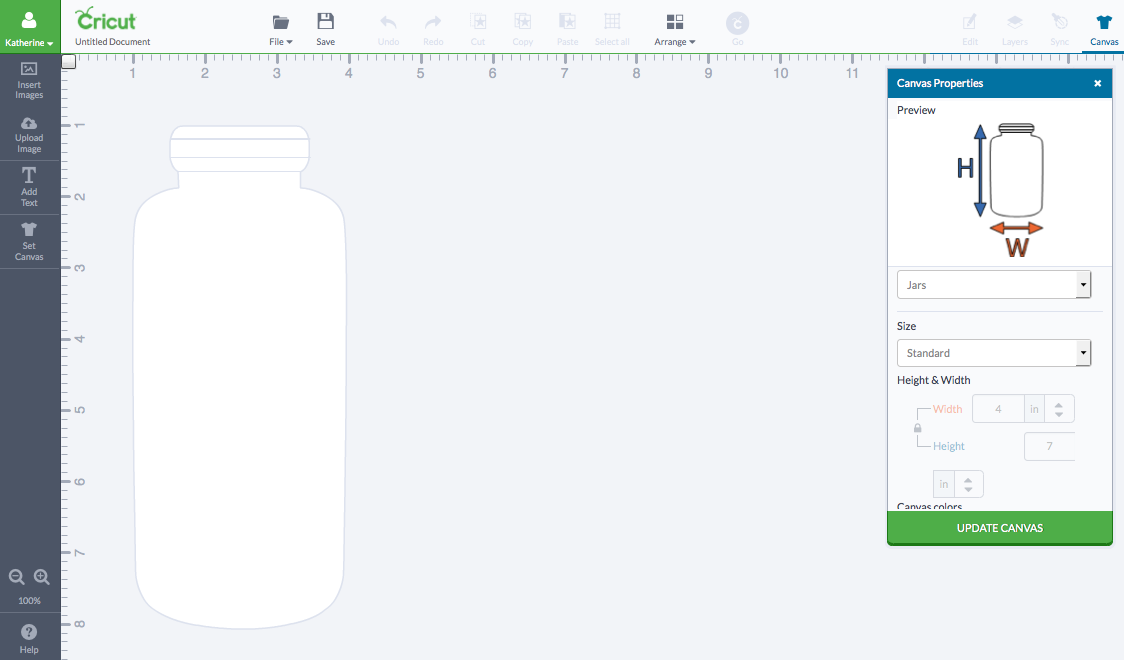
This is what my jar looked like. I was trying to set the height and width of the jar to match mine but it kept timing out–no biggie. I kept the standard jar side and worked around it!
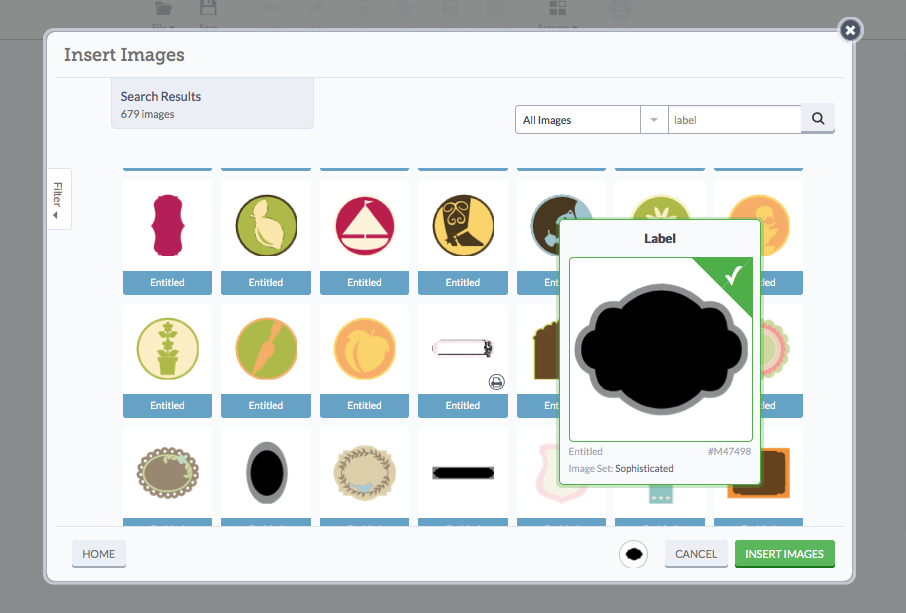
Next up, I choose a label design and inserted the image on to the canvas and added text.
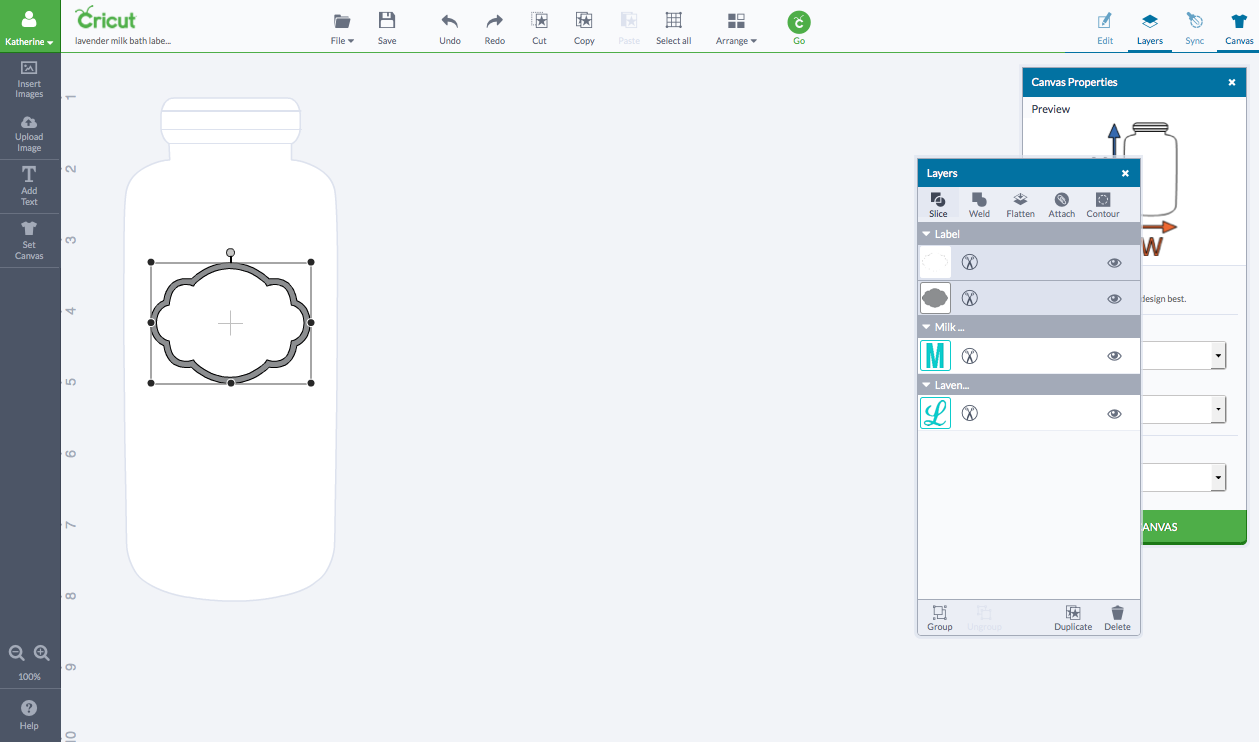
I wanted to just have a silver boarder for the decorative label. In order to do that I had to highly both the white and silver. Then I clicked on SLICE (top left corner in the layers box).
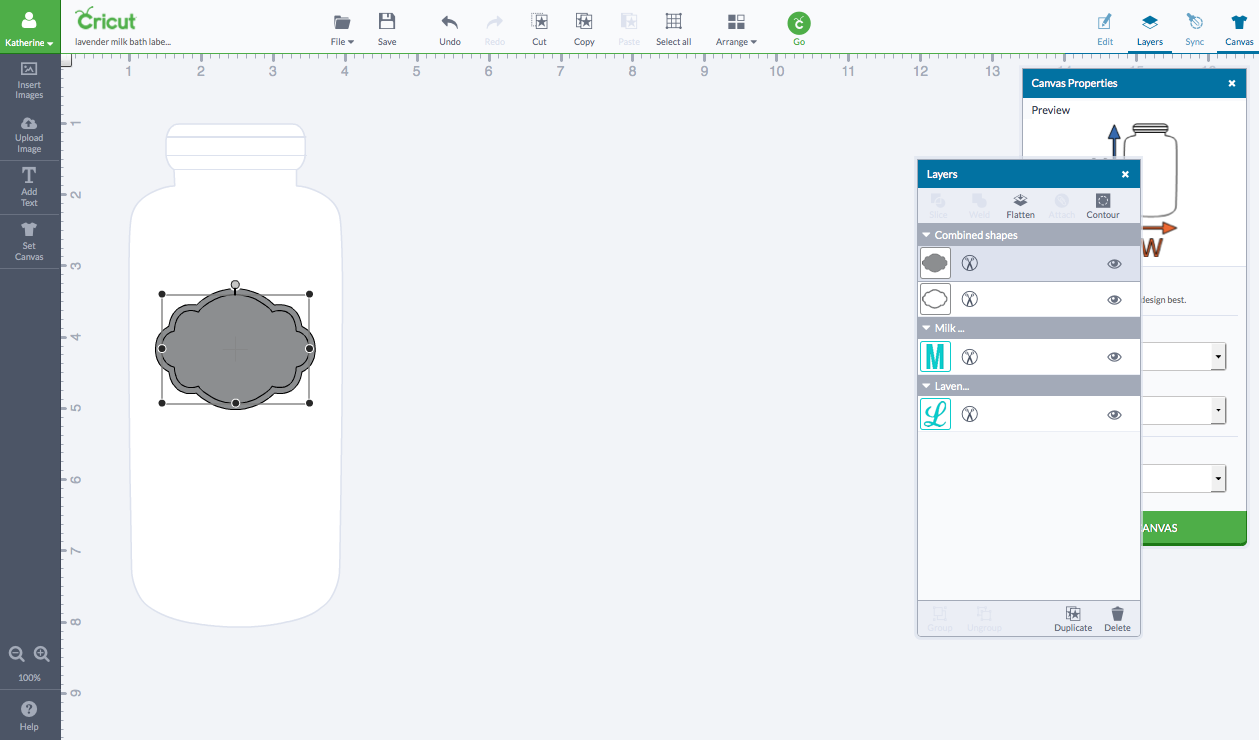
Once I did this it sliced the “silver” portion. This is what it looked like.
Then I just clicked on the “eye” on the silver layer and turned it off. Now I have just a silver boarder to cut.
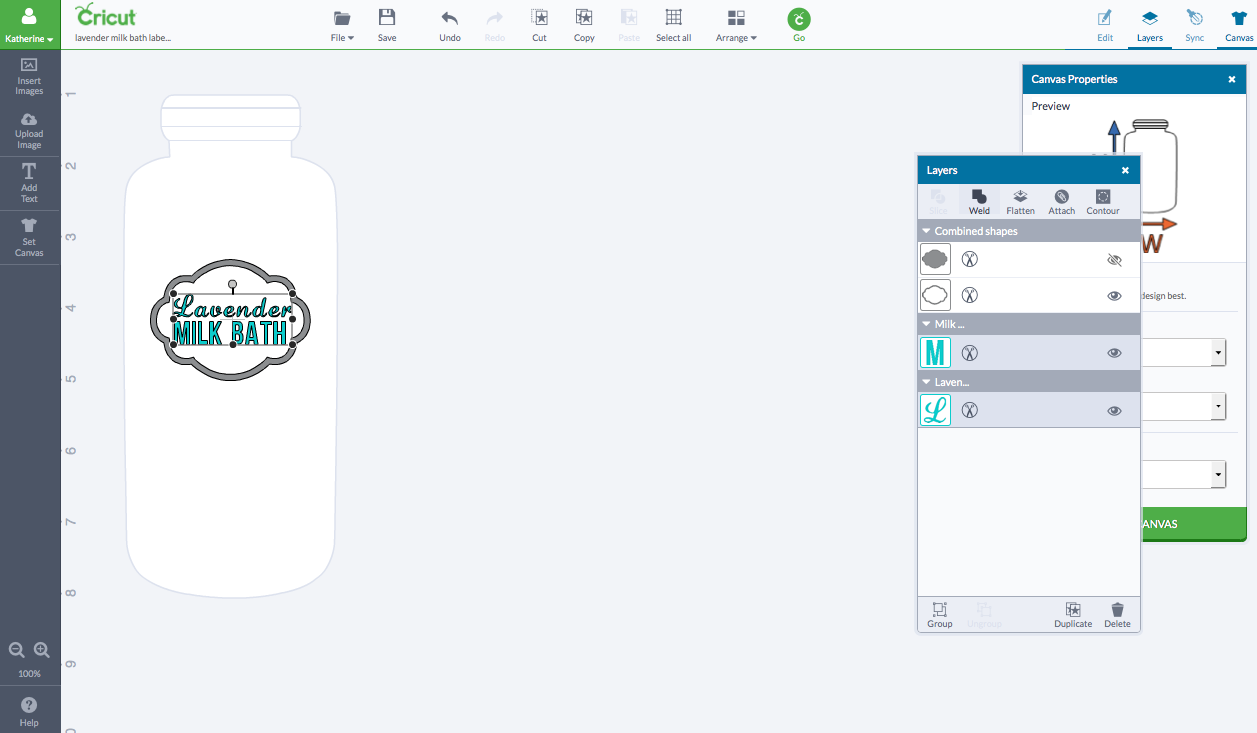
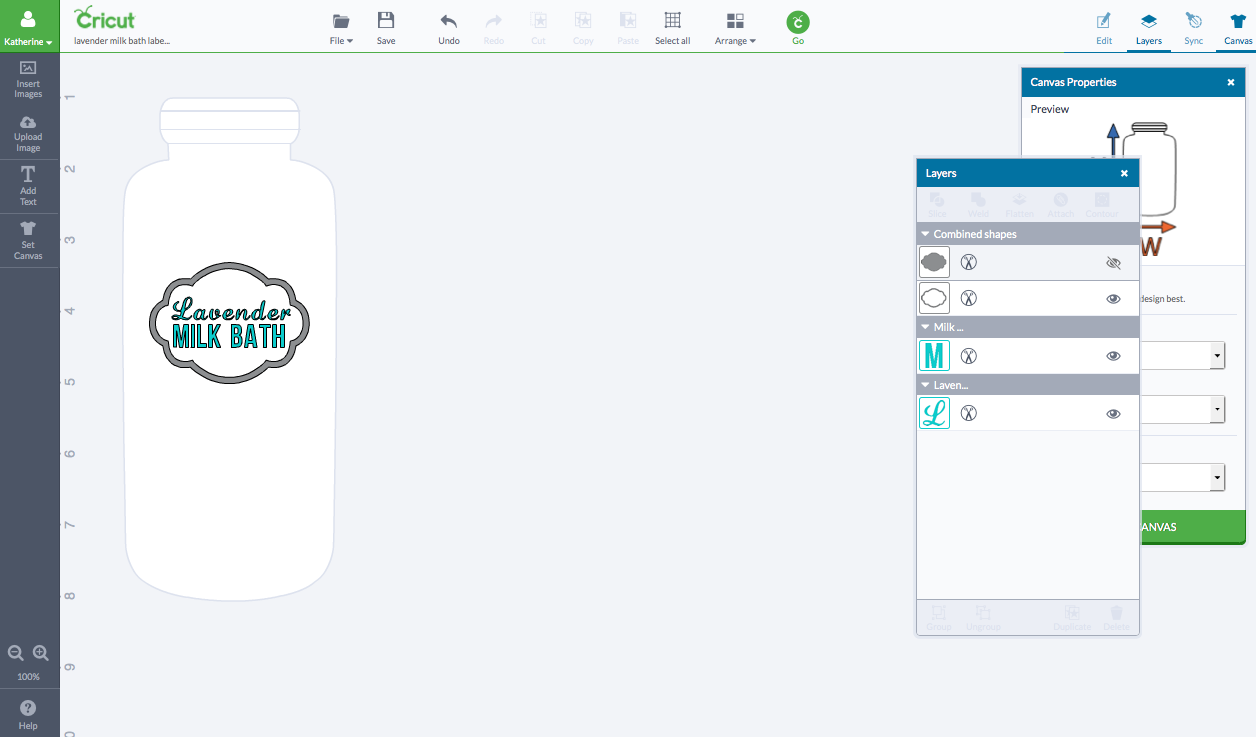
You’ll also want to “weld” the text together before cutting. Super easy to do. Just select both layers of the text. Then click the button at the top of the layers box called WELD. Now the text will stay aligned and together when cutting! In case your wondering what fonts I used the word “Lavender” is Lauren Script and “Milk Bath” is Bebas Neau.
Using my Cricut Explore I cut out the label using vinyl. Remember, because I selected two different colors the Explore automatically knows that we will be making two separate cuts! What a smart machine! 🙂
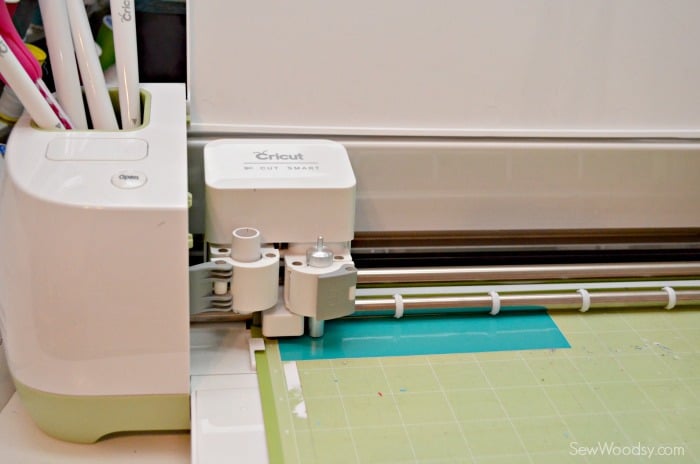
Select the vinyl setting and let the machine do the work.
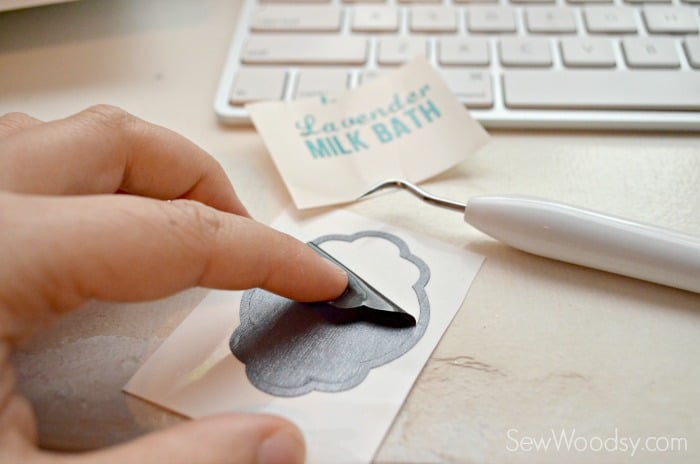
Weed out the negative parts to the label.
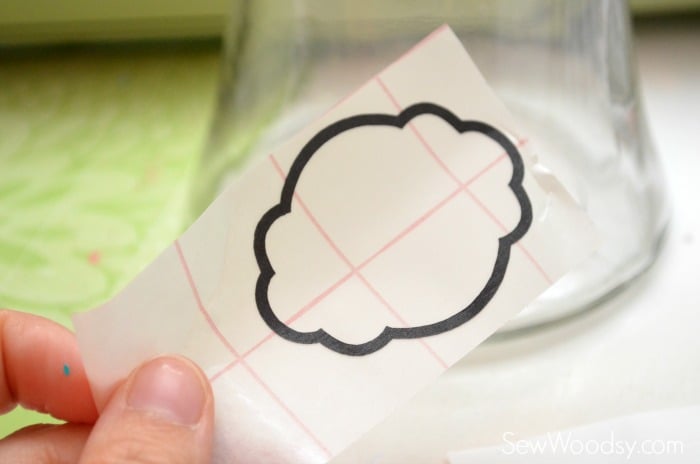
Place transfer tape on the vinyl.
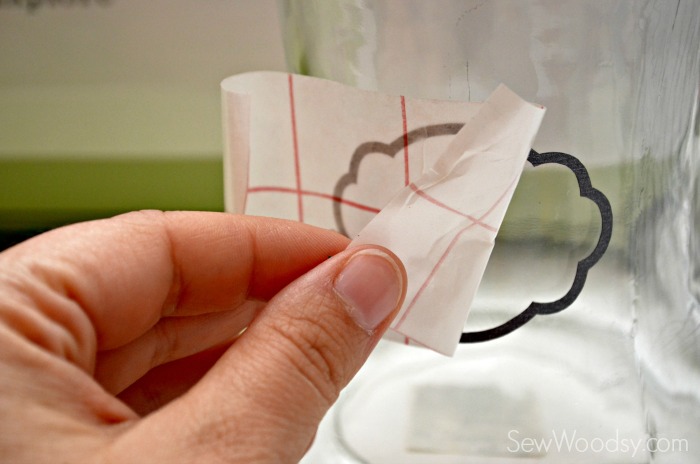 Adhere the vinyl to the jar.
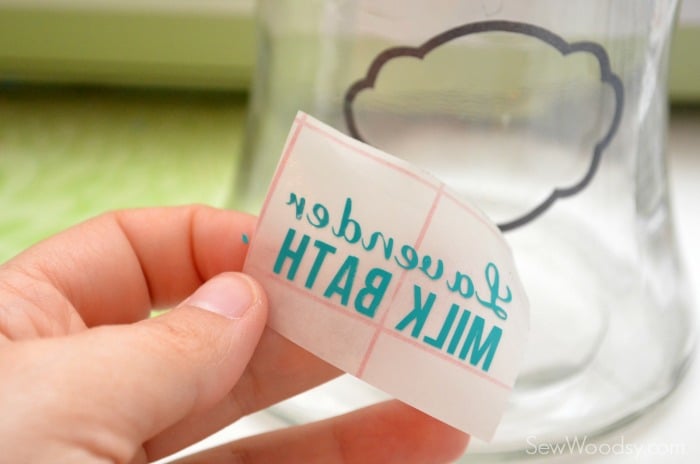
Then, repeat with the text of the vinyl on the transfer tape.
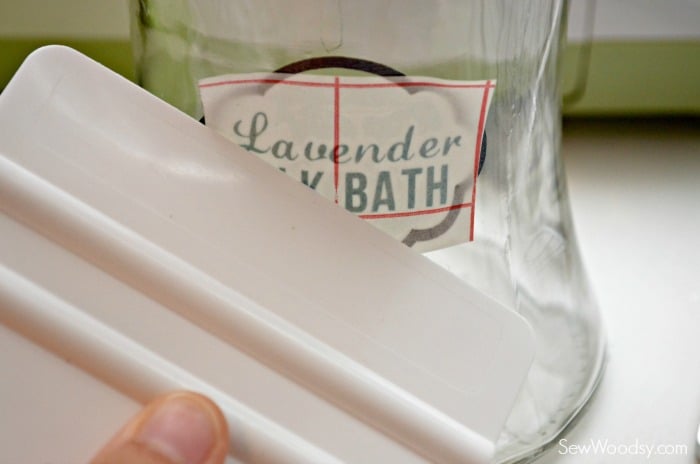
Smooth with a plastic applicator.
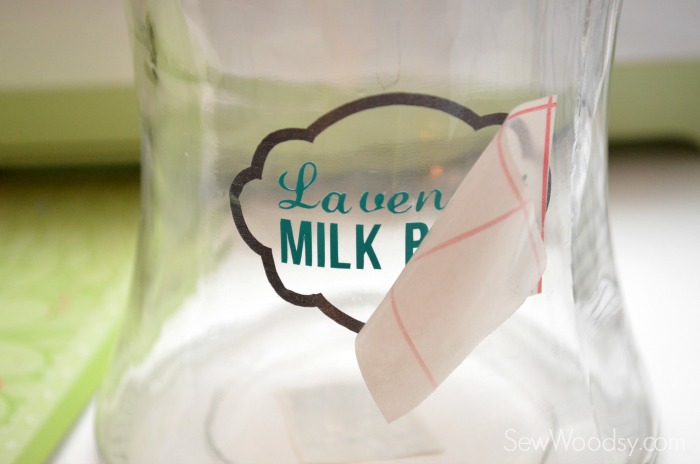
Carefully, peal back the transfer tape making sure the text stays adhered to the jar.
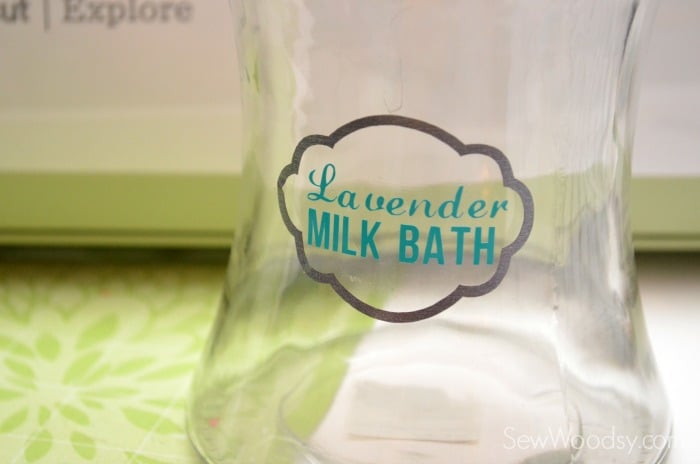
Easy as that a gorgeous label to go with your DIY Lavender Milk Bath.

If you’re planning to gift the Lavender Milk Bath then you’ll want to make a gift tag. Super easy to make thanks to the Cricut Explore.
I entered this project in to the last round of the Cricut Design Space Star. Our team’s theme this month is Holiday Cheer. I’m all for making homemade gifts and spreading holiday cheer to friends and family.
Disclaimer: There are affiliate links in this post. If you purchase from my link I’ll make a very small percentage from the sale. I’ve entered this project into the Cricut Design Space Star contest. If selected I have the chance to win a cash prize. As always all opinions are my own.
