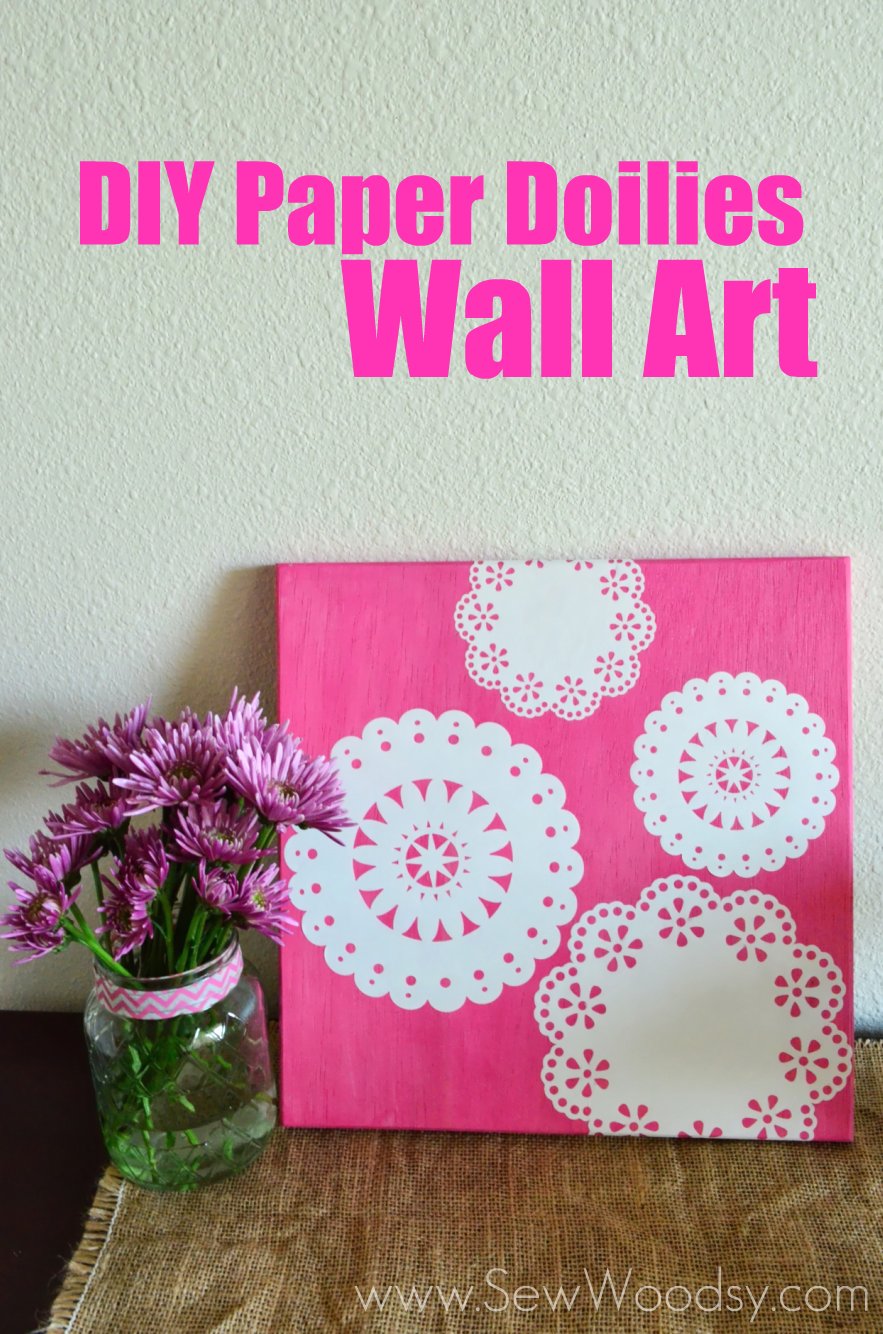
Last week, I shared my August box for the 12 Months of Martha campaign. This month Martha Stewart Crafts launched a brand new decoupage line! With over 57 items you’ll be sure to find something for any project you have in mind! While at the craft store browsing through all the new product I stopped by the canvas aisle. My original thought was to make wall art with canvas; however, I had complete sticker shock and did not want to spend $20 just on canvases! So, I got resourceful and did what any thrifty person does and went to our wood pile in our garage and decided to use a piece of wood! Plus, I really wanted to try out the new stain! I can not tell you how happy I am with this project! Super simple to create and the color really pops!
Supplies:
- 11 x 11 piece of PureBond Hardwood Plywood
- Sander
- Veneer Real Wood Edging
- Scissors
- Iron
- Towel
- Martha Stewart Crafts ® Wood Stain – Amaranth, 6oz
- Gloves
- Respirator
- Cloth
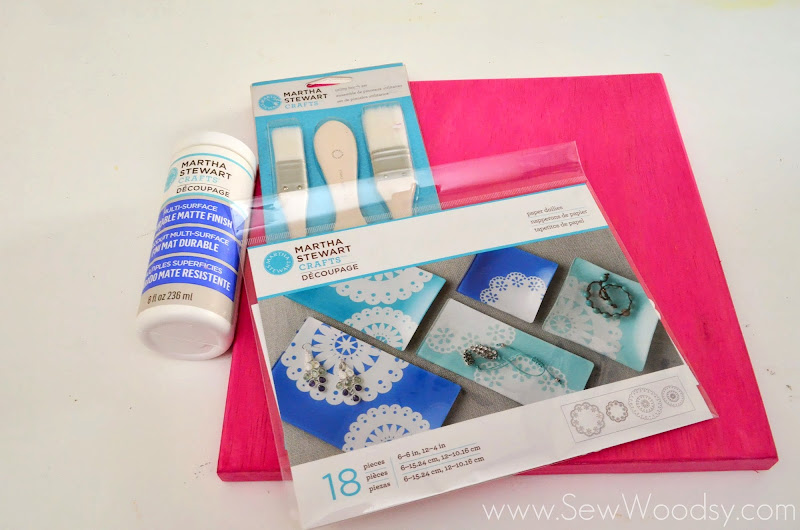
- Martha Stewart Crafts ® Decoupage Paper Doilies – White
- Martha Stewart Crafts ® Decoupage Brush Set
- Martha Stewart Crafts ® Decoupage Multi-Surface Finish – Durable Matte, 8oz
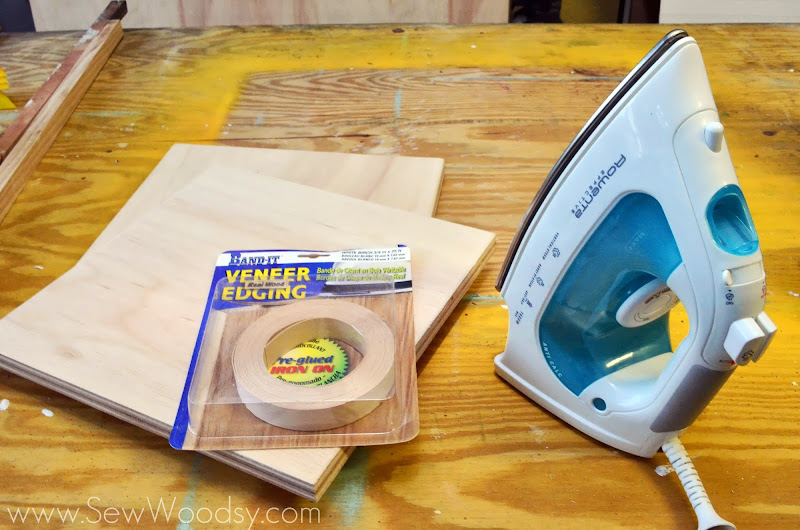
Cut your wood to 11 x 11. Then measure each edge of your wood and cut 4 strips of Veneer Real Wood Edging. Using an iron, iron on the edging (directions on the packaging). Easy as that! I learned this technique at Haven earlier this month!
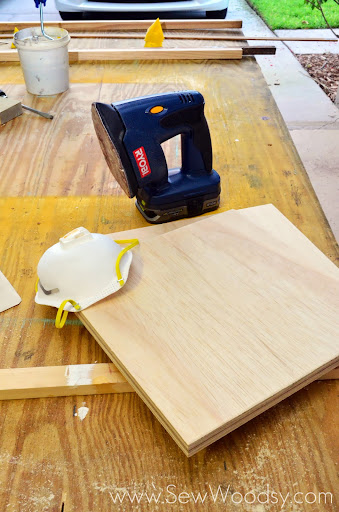
Using your sander, sand the edges and the face of the wood until smooth and the edging blends into the wood. Using a towel wipe the saw dust off the wood.
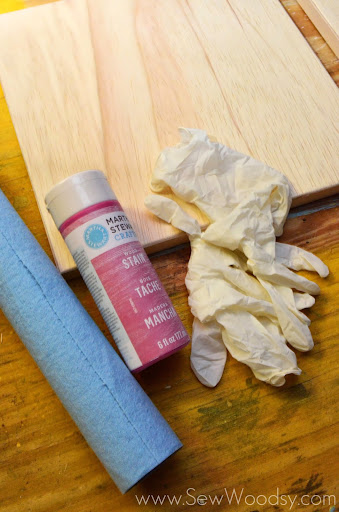
Put gloves and a respirator on and get ready to stain!
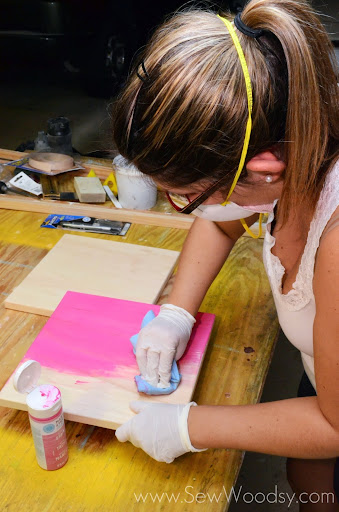
Using a generous amount of stain place it on the wood directly and wipe with a cloth.
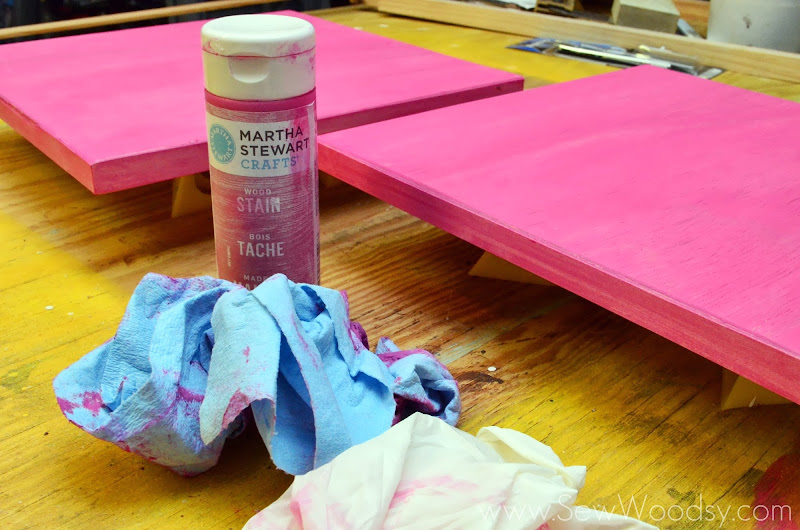
Make sure you wipe the edges as well, since those will be visible. Let the stain dry over night.
The next day, it was time to decoupage! I gathered all my supplies before I started and began to punch out the paper doilies (tons of little pieces).
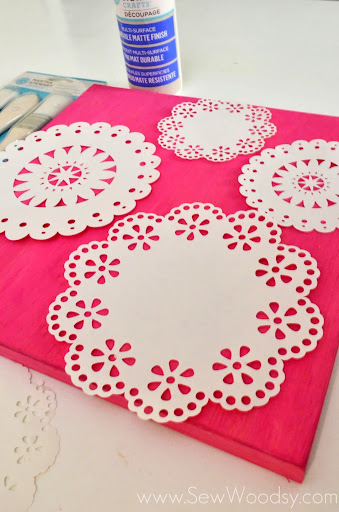
Once I had the doilies ready I placed a little bit of multi-surface decoupage on the back of each doily and then began to brush on a light coat of decoupage on top.
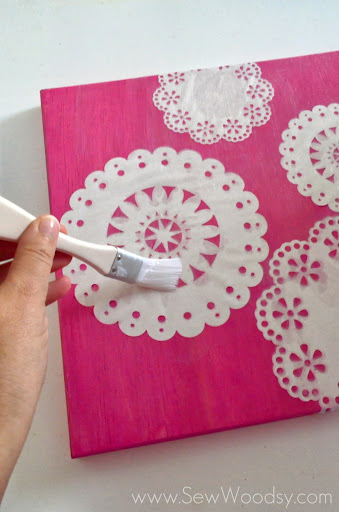
I also brushed the decoupage all over the wood. I let it dry 1 hour and then painted one more coat of decoupage on the wood.

I wrapped chevron washi tape around mason jars and added fresh flowers where my DIY paper doilies wall art will reside!


So what do you think? Can you believe this was once a naked piece of wood?
Disclaimer: I received the products for free as part of the 12 Months of Martha Campaign. I was not compensated to publish this post. As always all opinions are my own. There are affiliate links in this post.
