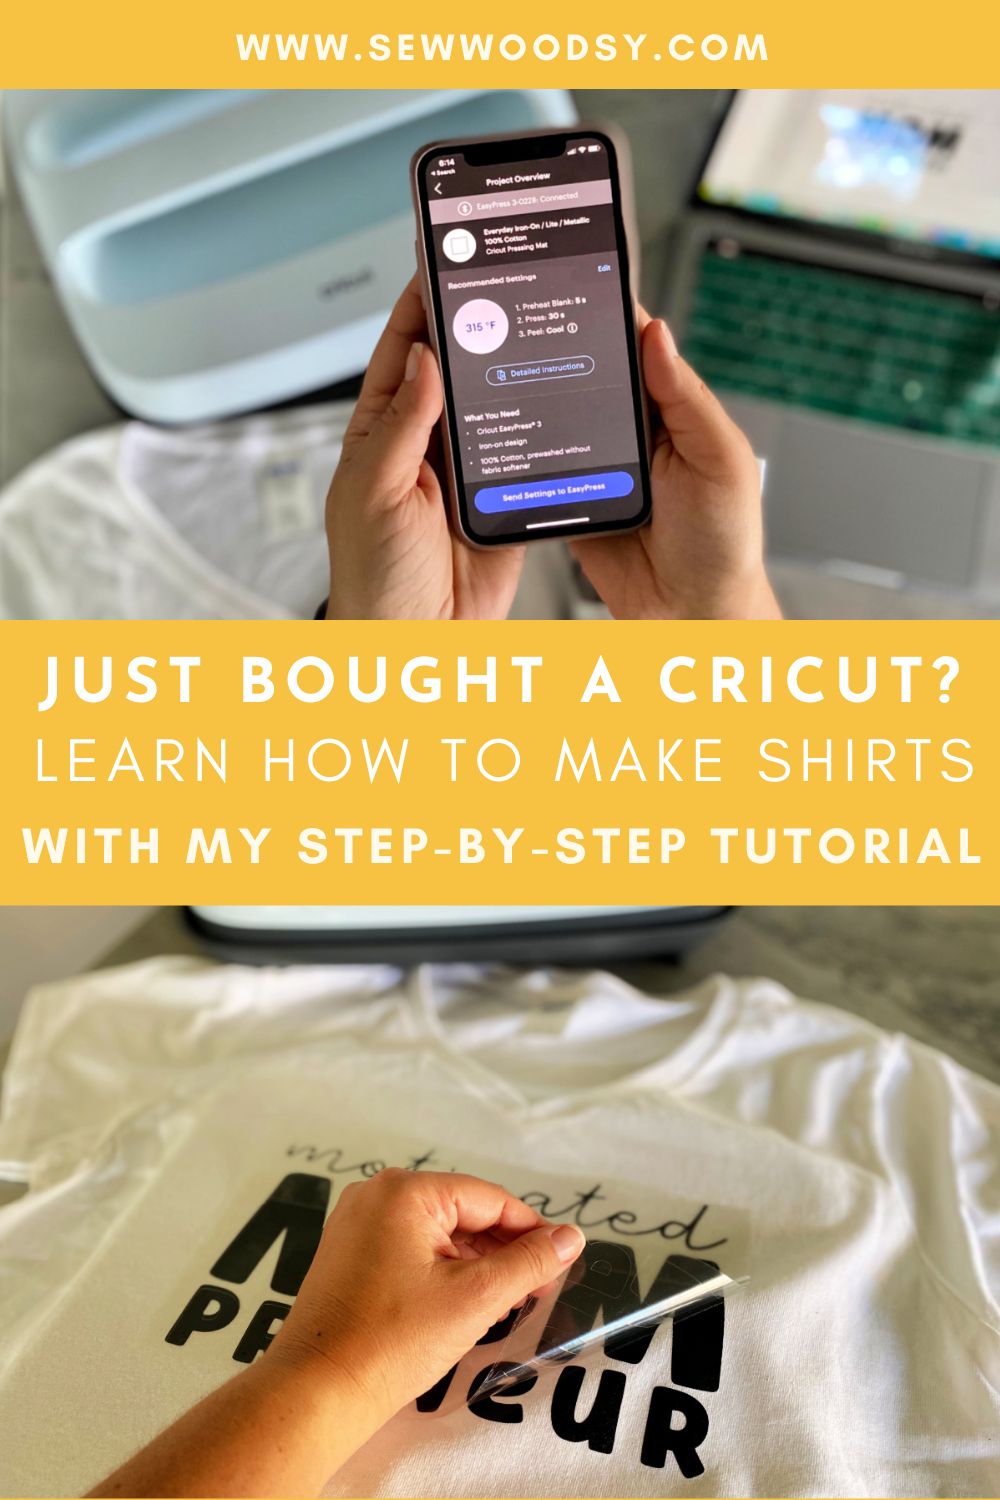
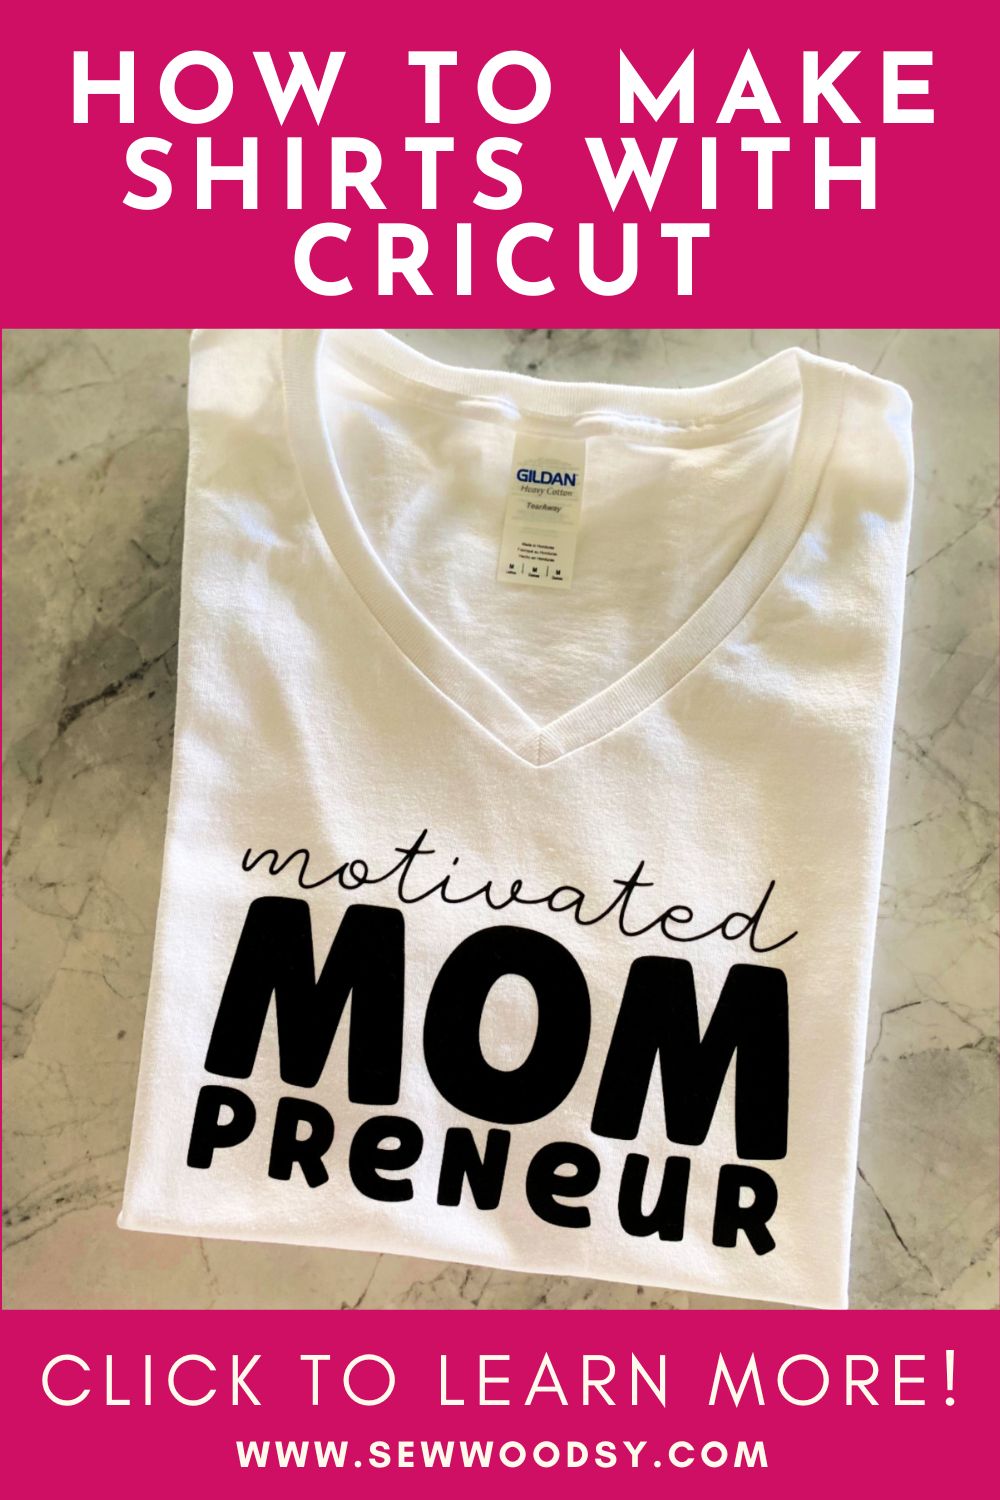
Do you own a Cricut and want to make a shirt using Iron-On Vinyl? I’m sharing How to Make Shirts with Cricut in must a few easy steps! Even the least experienced crafter can make a tshirt.
I’ve been making t shirts using my Cricut for over a decade now! Once I first discovered Iron-On Vinyl I was hooked. I made hundreds of cute onesies for my kids, then they graduated to adorable holiday shirts. Now that they are older and don’t think it’s cool to have their name on their shirts I don’t make them those cute shirts as often. But the minute they need a shirt I can whip one up in minutes. Which scores points with me since they still seem to be amazed and are proud that mom made it.
I love to make shirts for myself and also as gifts for friends. I always have a ton of blank shirts on hand so that I can make a shirt at any given time. Maybe you are looking to start selling shirts to make some extra money? If you just got a Cricut or maybe finally ready to tackle shirt making, I think you will find this step-by-step tutorial on How to Make Shirts with Cricut very helpful.
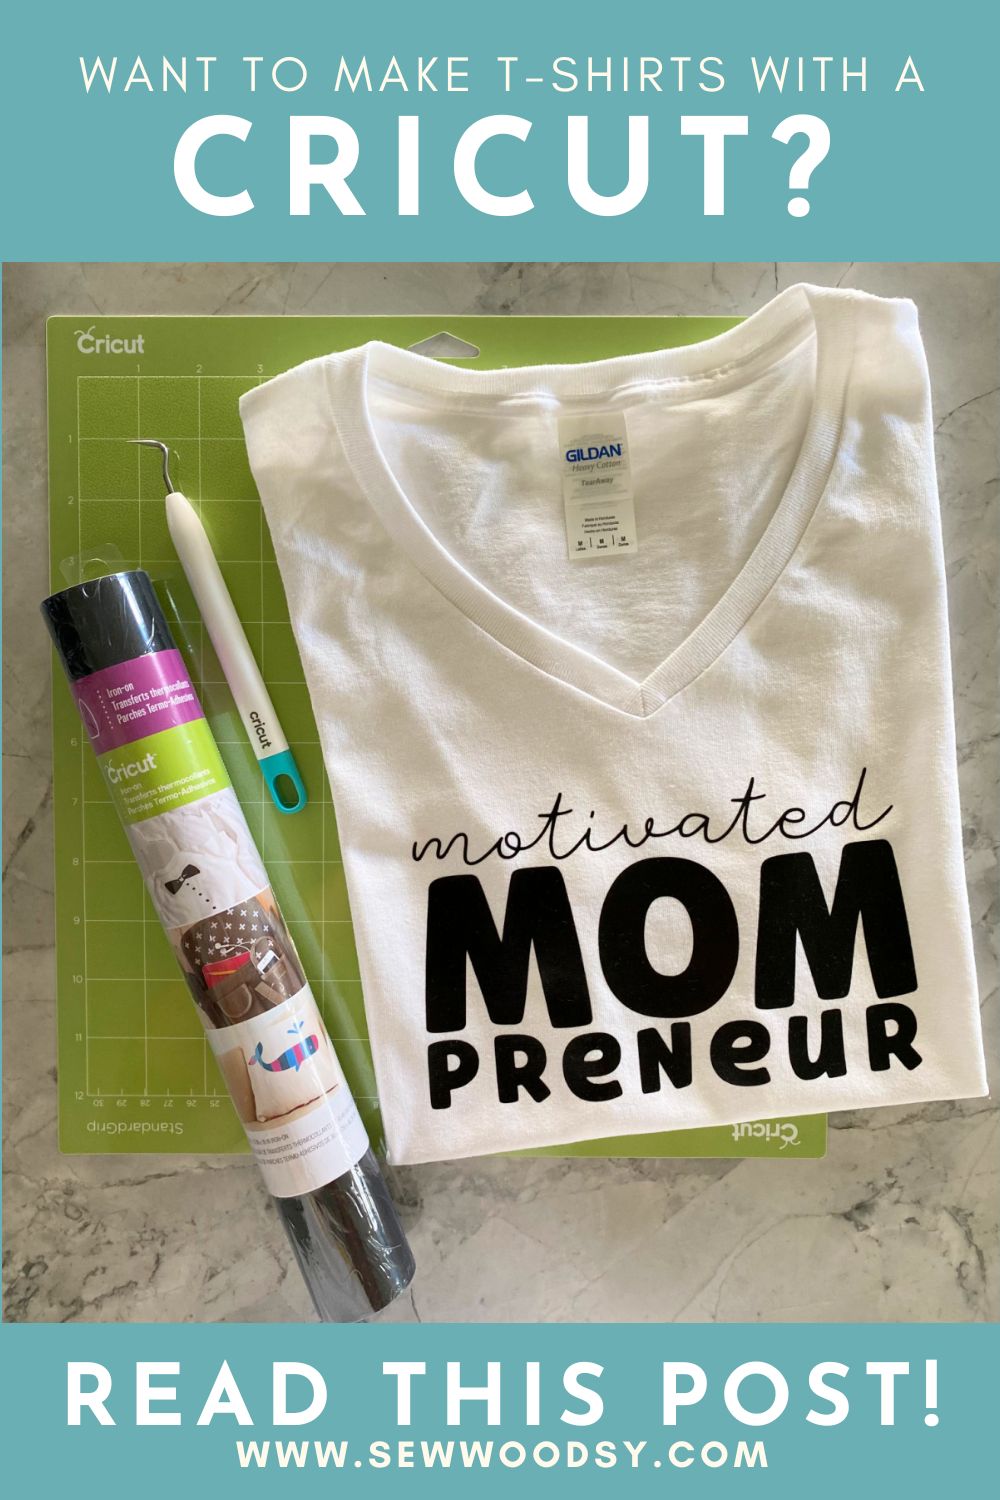
Supplies
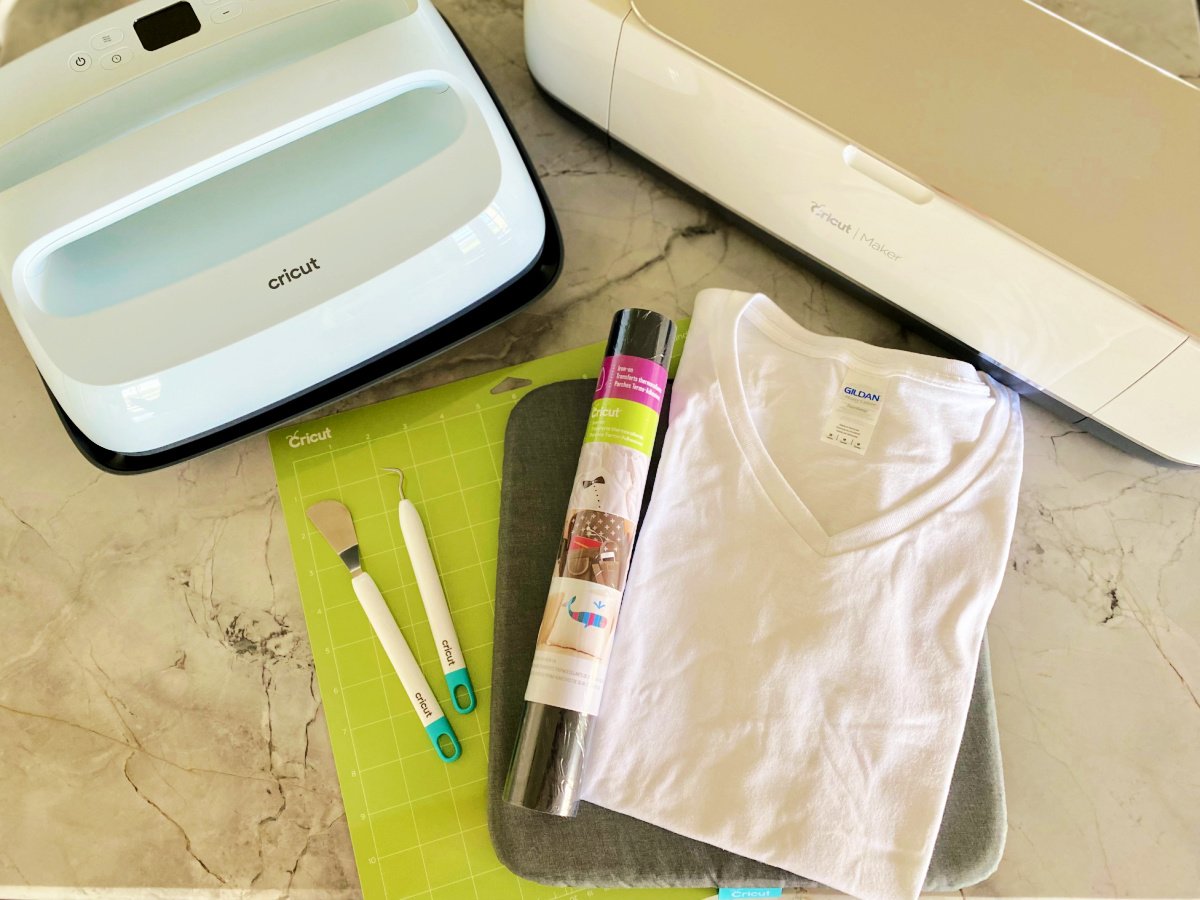
- Cricut Cutting Machine
- Cricut Design Space
- Cricut Heat Guide or Cricut Heat app (for Cricut EasyPress 3 and Cricut Hat Press)
- StandardGrip Machine Mat
- Fine Point or Premium Fine Point blade
- Cricut Everyday Iron-On
- Weeder
- Household iron, Cricut EasyPress, heat press, or Cricut Autopress
- Iron-On Protective Sheet (optional)
- T Shirt
How to Cut and Weed Iron on Vinyl
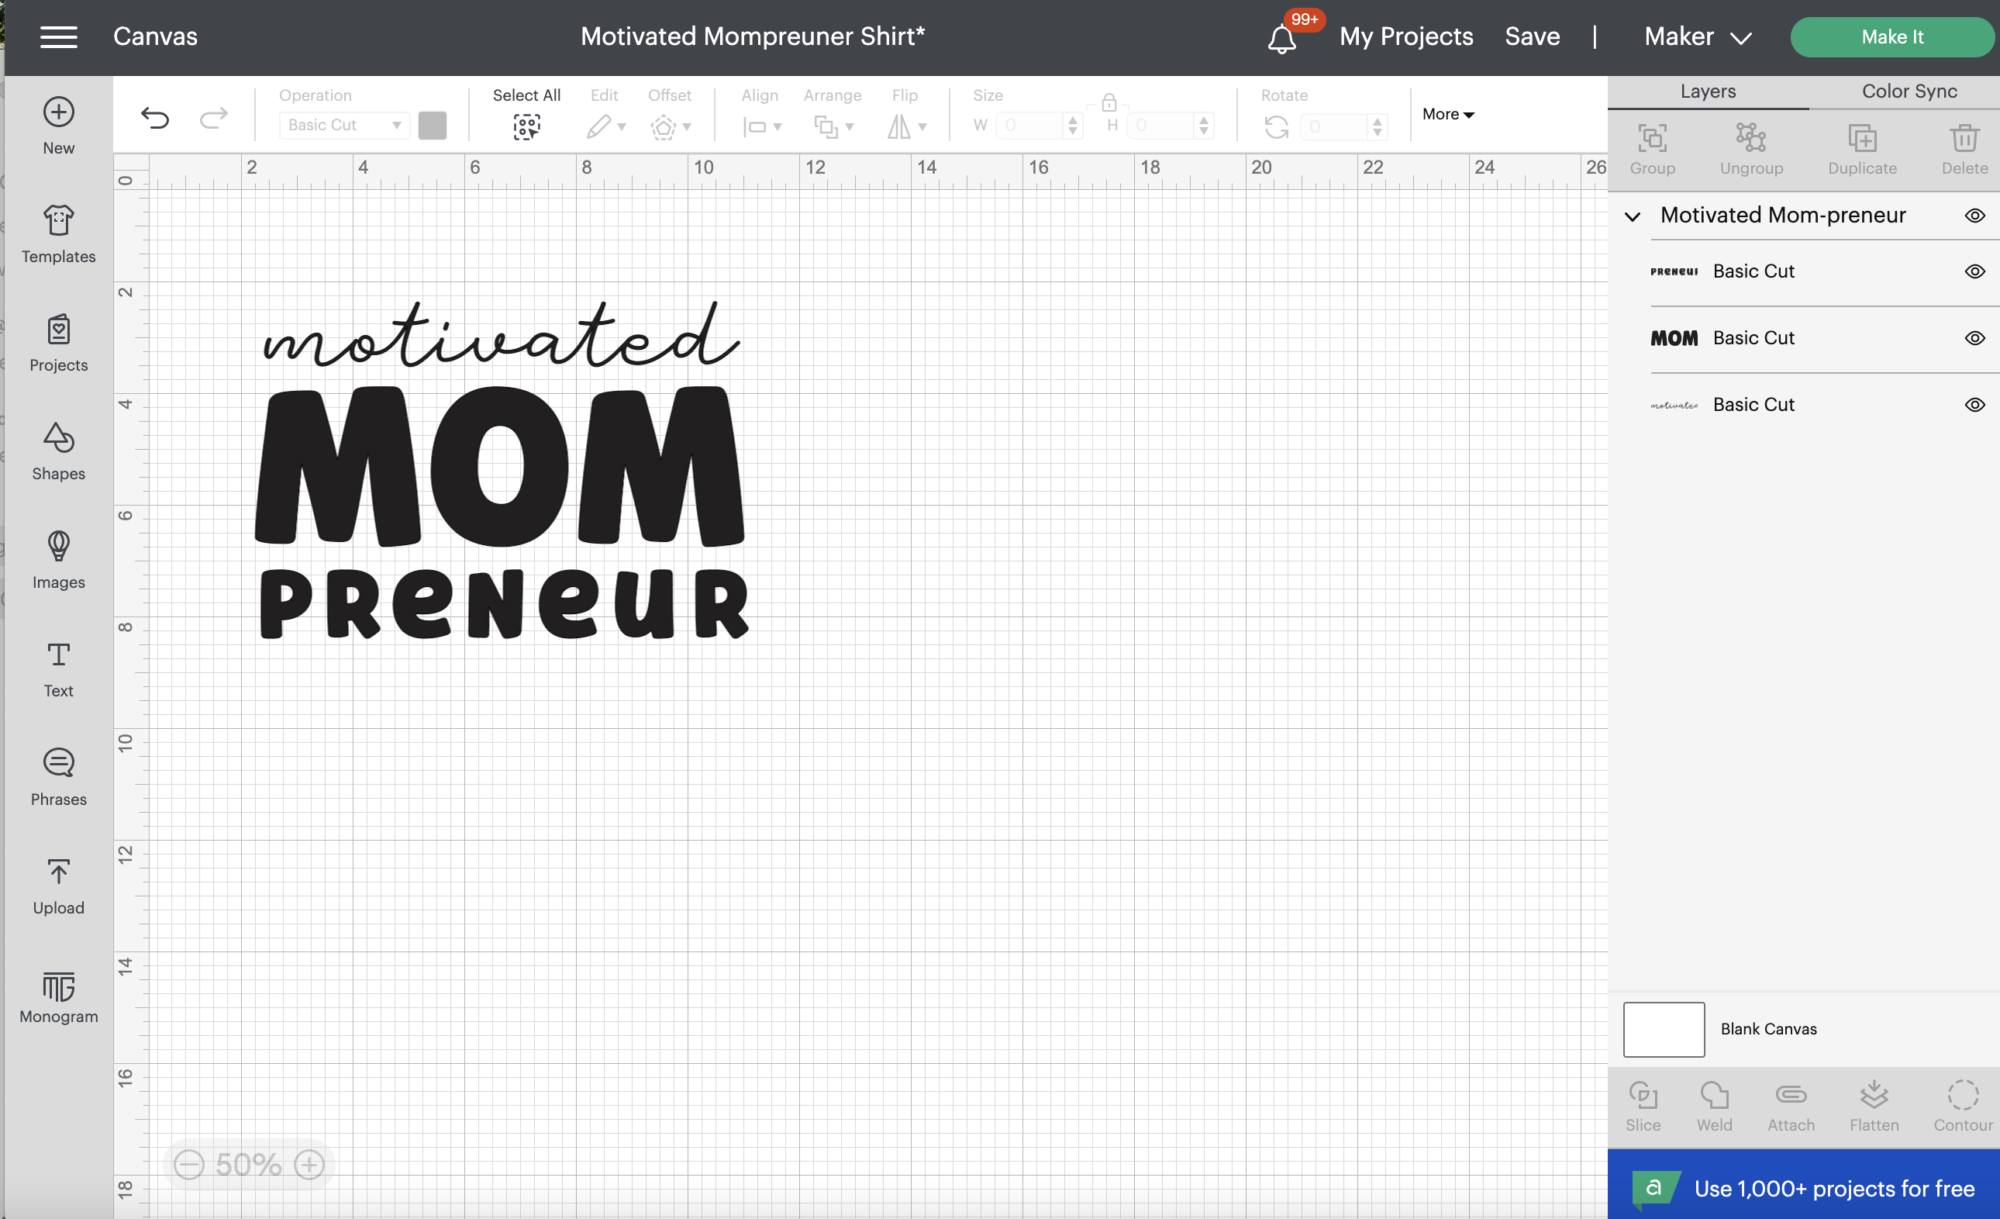
Select and size your design in the free Cricut Design Space software.
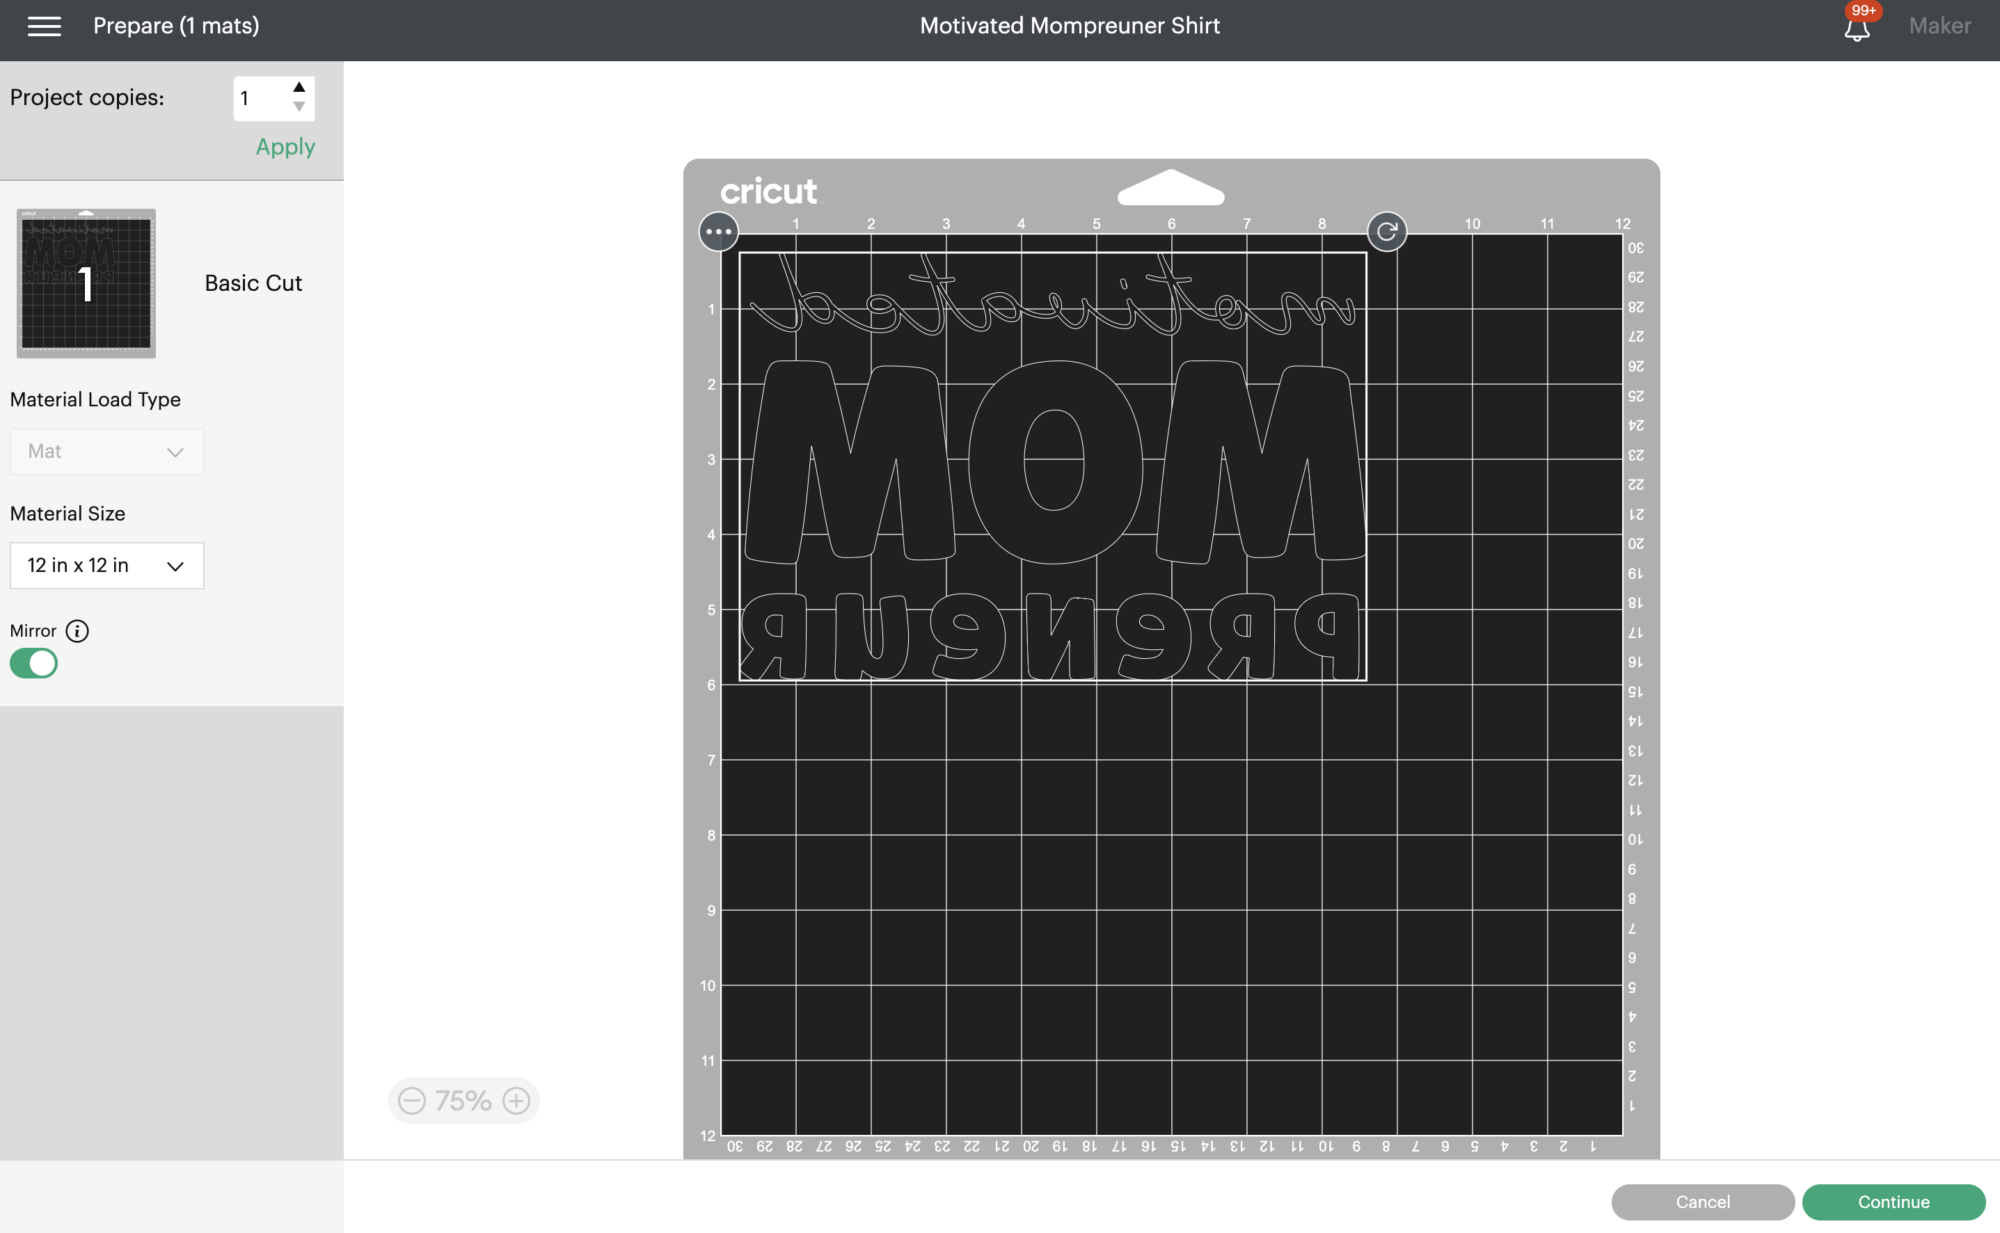
Be sure to mirror your mats before you start to cut. This is VERY important when cutting words.
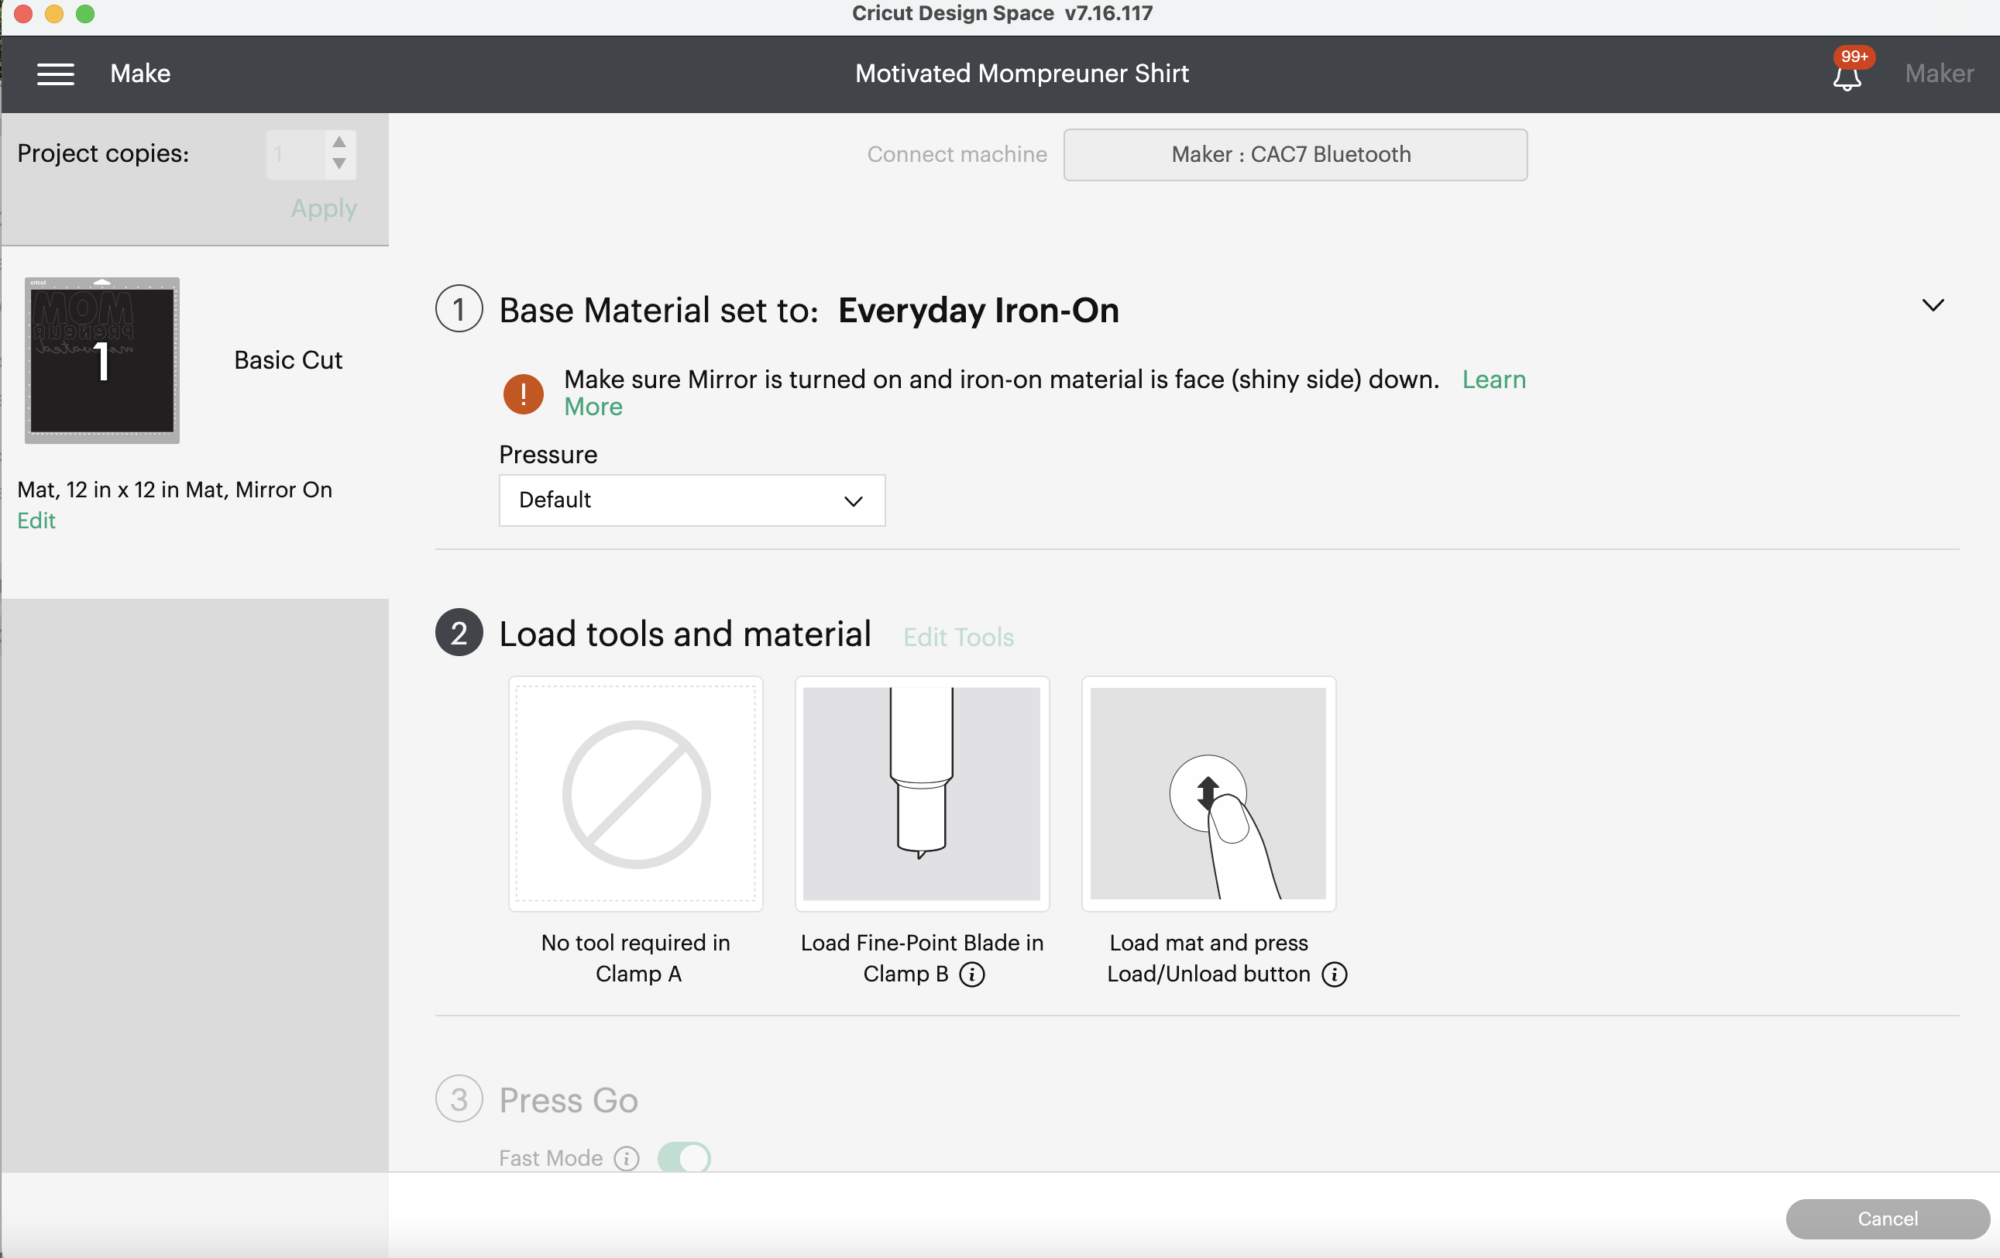
Select Everyday Iron-On from the list of materials. *If you are using a Cricut Explore machine, turn Smart Set Dial to Custom then use the drop down on the screen to select.
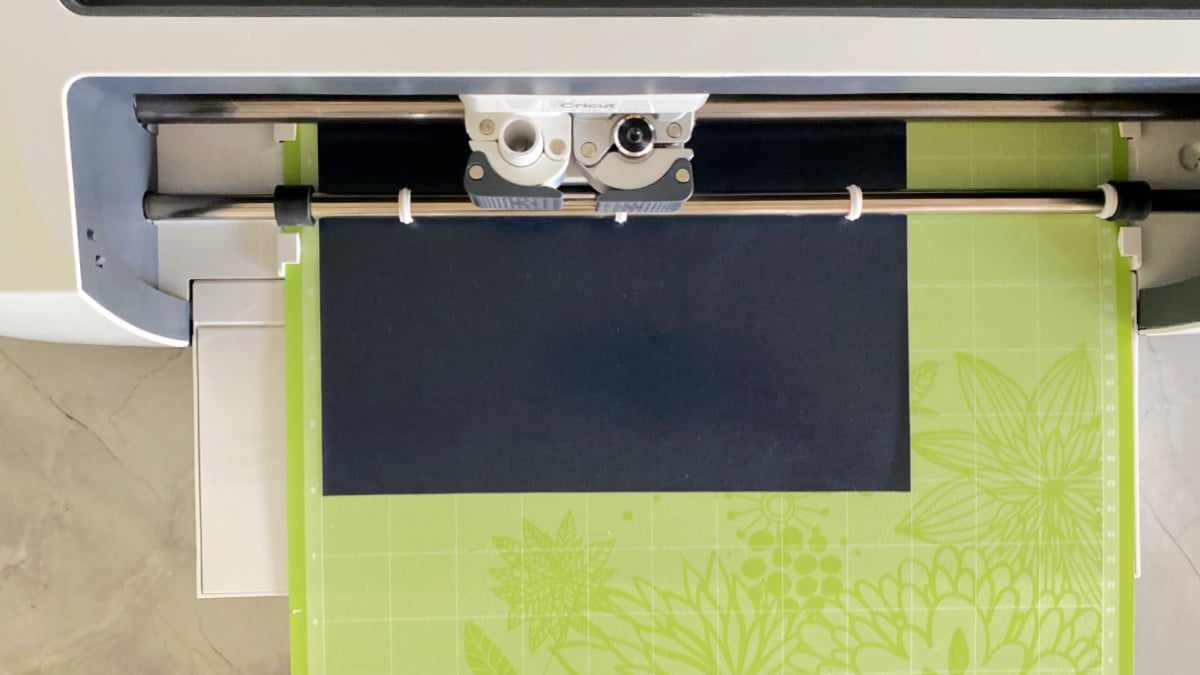
Place Iron-on sheet, liner (shiny) side down, onto Cricut StandardGrip cutting mat. NOTE: If using Smart Iron-On with Cricut Joy or Cricut Maker 3, it may be loaded into the machine without a mat.
Load the mat into the machine. Wait for the light to blink then select “go” and cut your design.
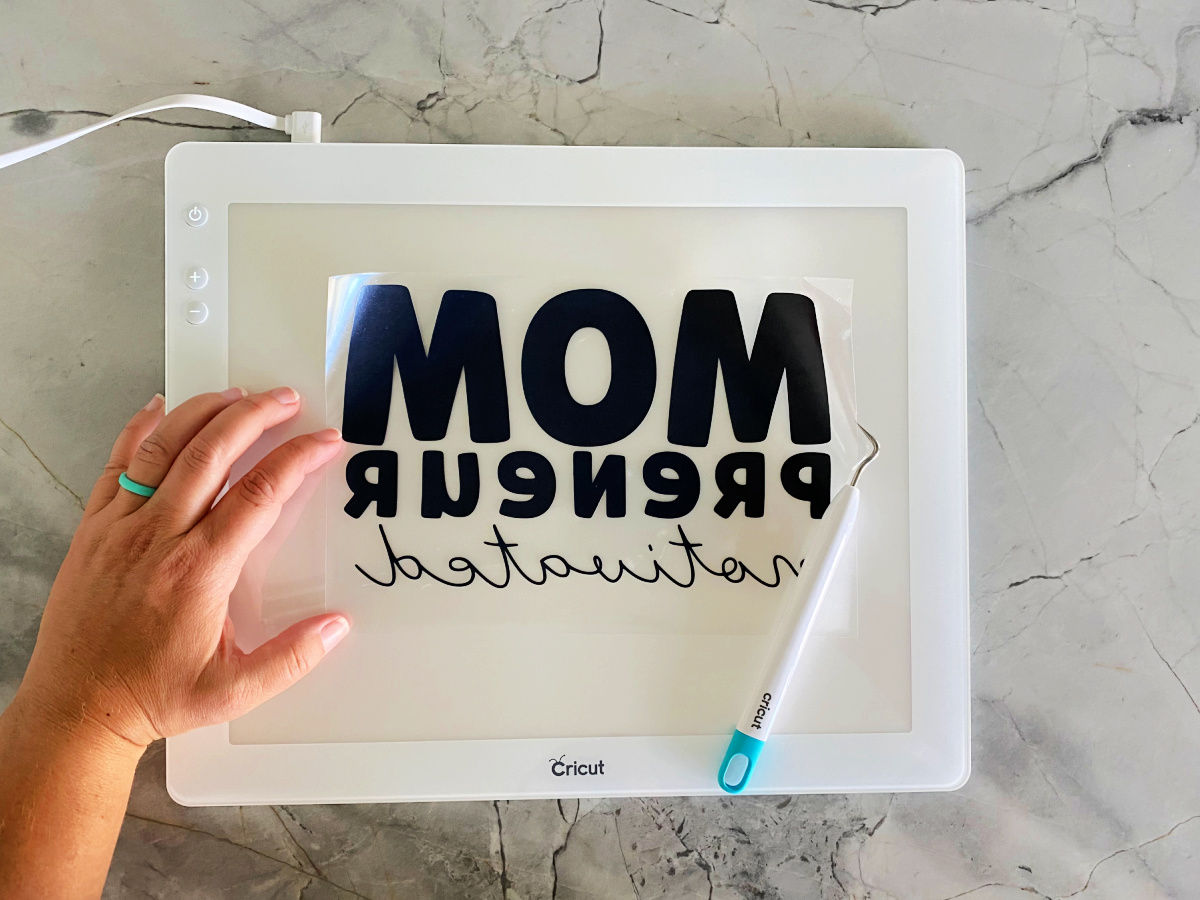
When the cut is complete, weed your image. I like to use the Cricut BrightPad® as it illuminates and makes it easy to find all the areas you need to weed.
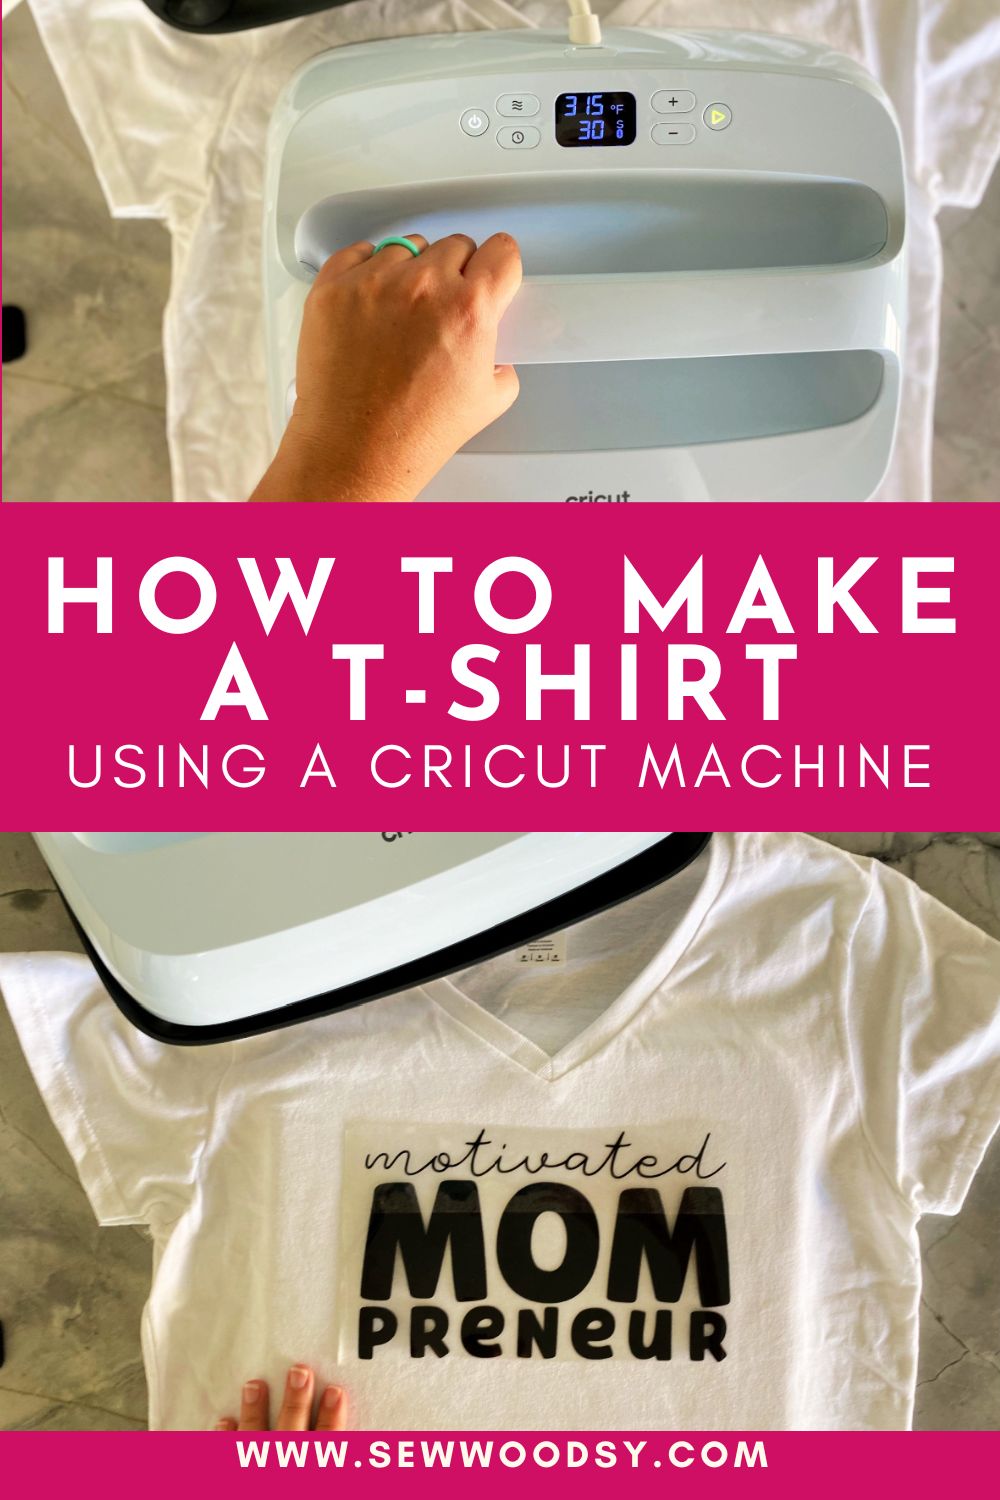
How to Apply Iron On Vinyl with an EasyPress
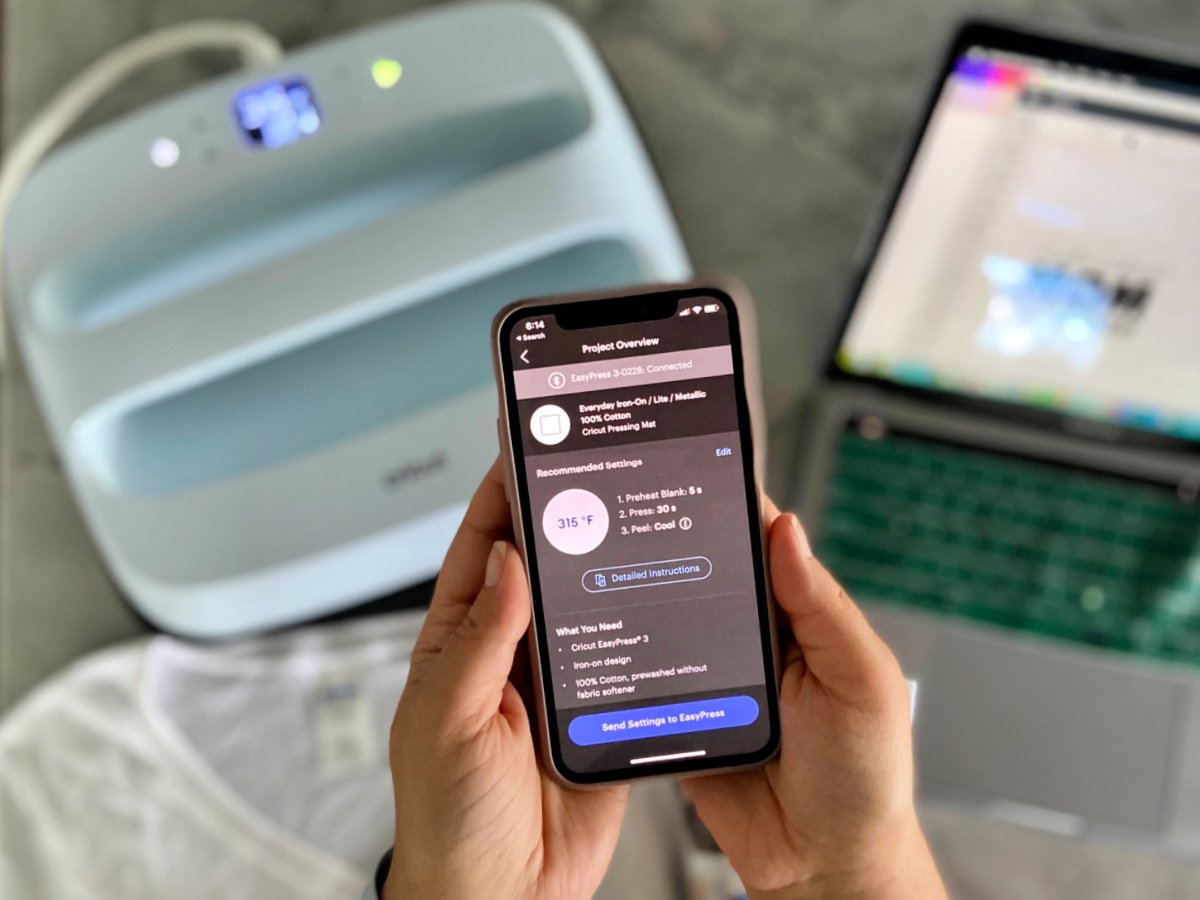
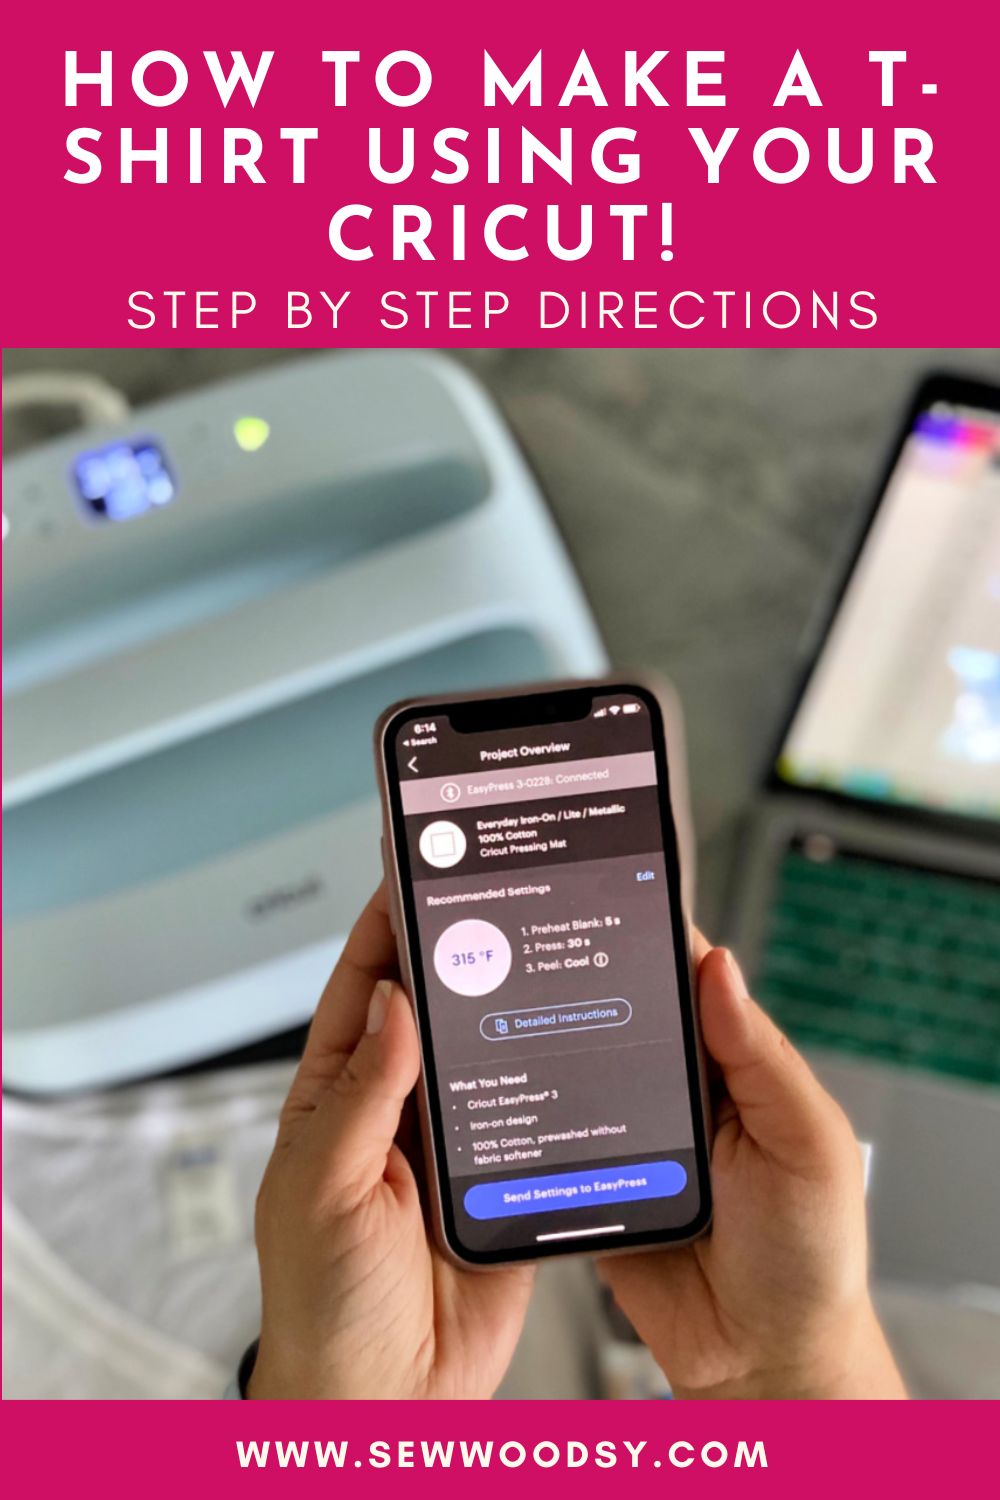
Open the Cricut Heat app for Cricut EasyPress 3 or the Cricut Heat Guide or. If you have a Cricut EasyPress 3 this app will completely walk you through all these steps. It’s pretty amazing!
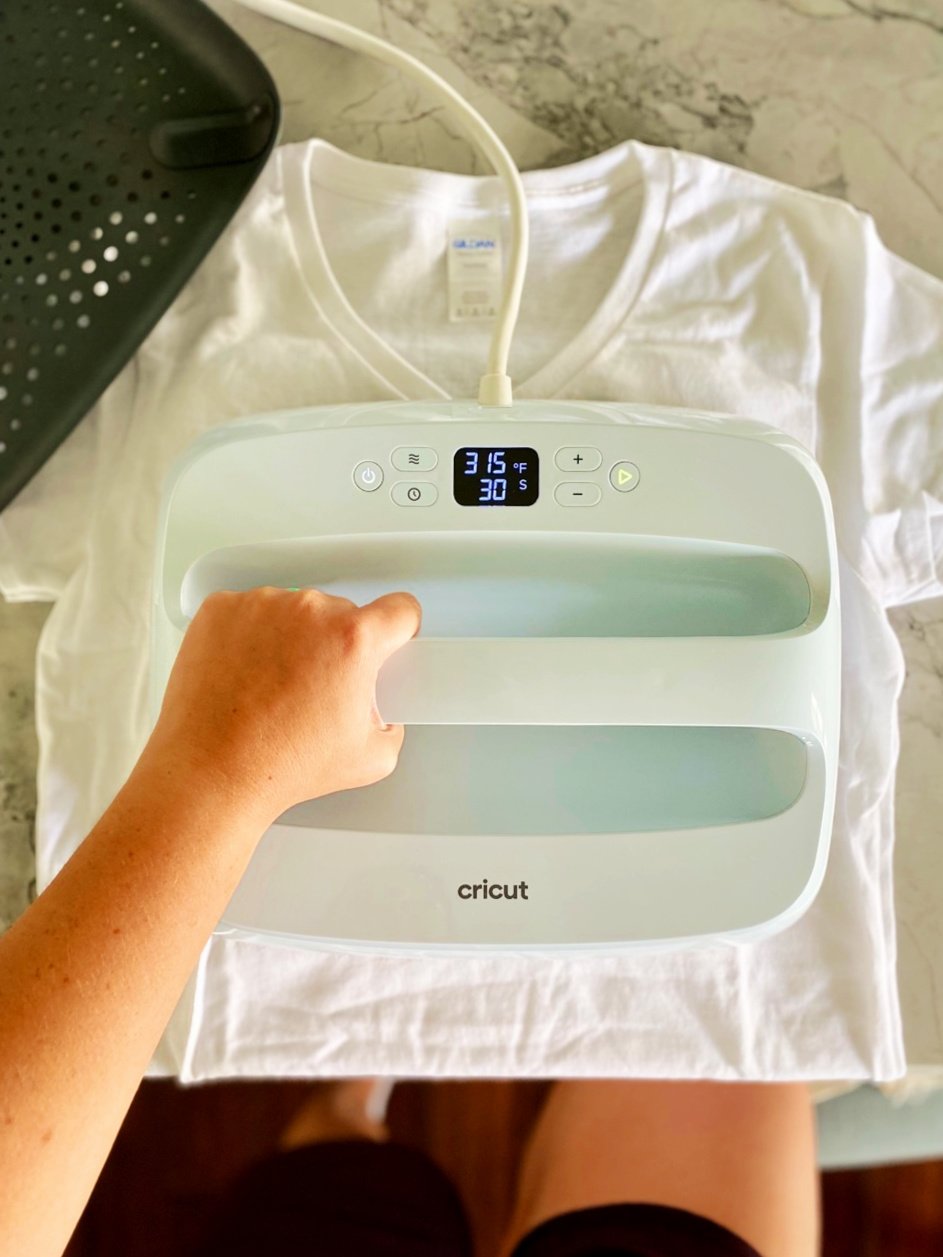
Preheat the EasyPress to 315 degrees Fahrenheit for a 100% cotton shirt (other materials may have a different temperature).
Preheat the shirt for 5 seconds.
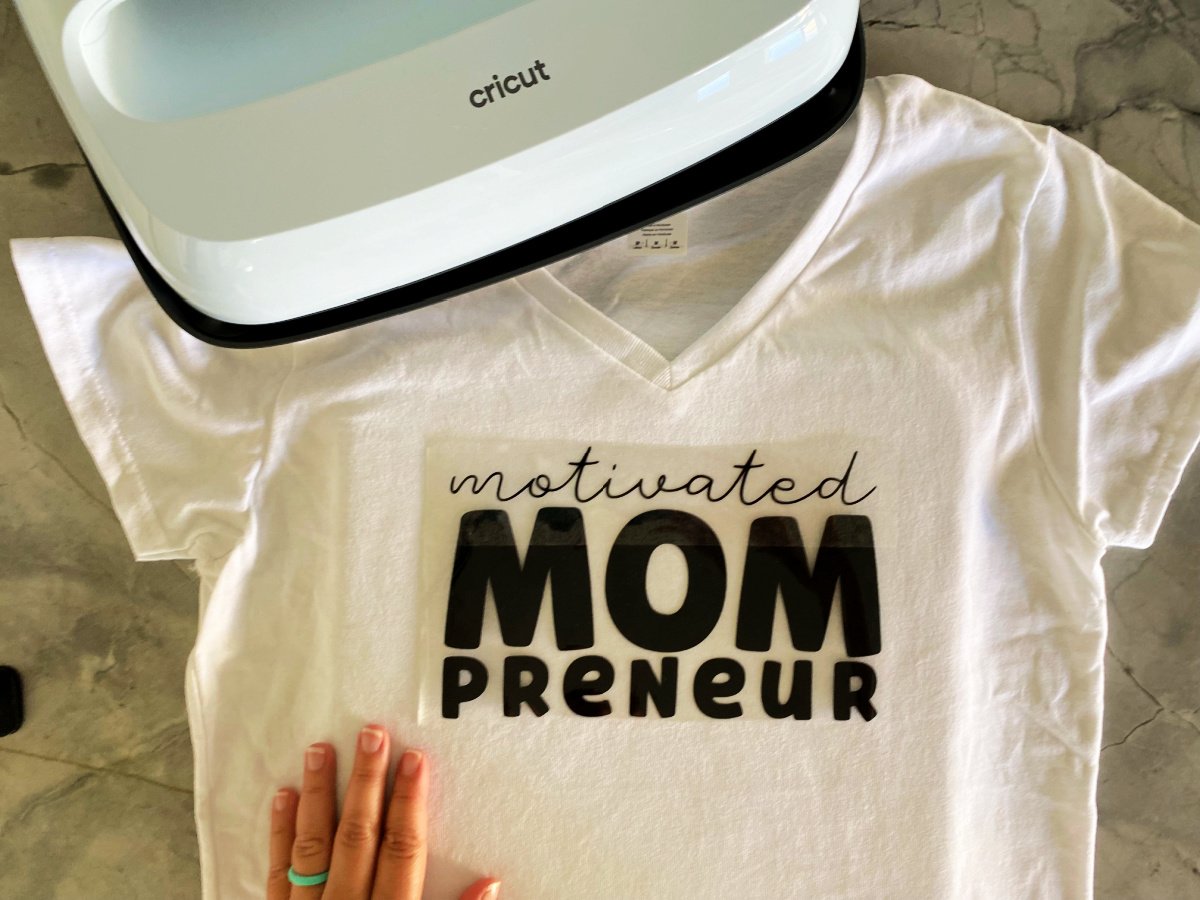
Place the cut design on the shirt with the shiny liner side up (sticky side down).
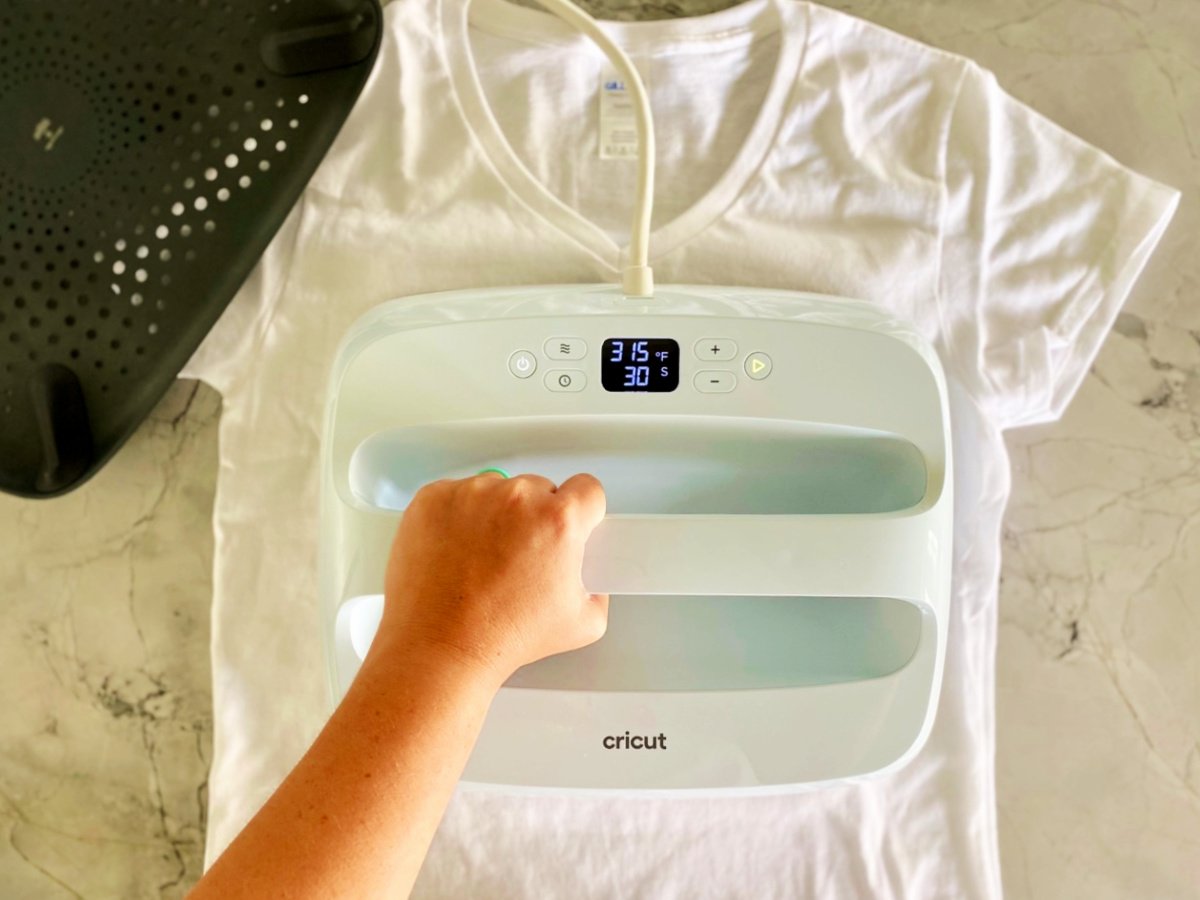
Then place the design on the shirt making sure it looks exactly how you want it to look. Then press for 30 seconds with firm pressure.
Flip the shirt over and apply heat to the back of the design as instructed with the heat guide.
Use a cool peel to remove the liner.
How to Apply Iron On Vinyl with a Household Iron
Preheat the Iron to the Cotton/Linen setting (generally the highest temperature setting). NOTE: Make sure the steam setting is OFF.
Preheat the tshirt for 10-15 seconds running the iron all around the surface where you plan to use the Iron On Vinyl.
Place the weeded image, liner side up, onto the preheated material. Apply medium pressure with the iron for 25-30 seconds. Flip the material over and apply medium pressure with the iron to the back of the material for an additional 25-30 seconds.
Just like with the EasyPress, use a cool peel to remove the liner.
FAQs
Yes, it’s always a good idea to pre-wash the t shirt prior to using Iron On Vinyl. It is also a good idea to not use fabric softener. This will ensure no additional chemicals will be on the shirt that could prohibit strong iron on vinyl adhesion.
You will want a firm, flat surface. I would suggest a countertop that is waist high. I do not recommend using an ironing board as it is flimsy and not a solid hard stable surface.
Yes, you have to mirror the image prior to cutting Iron On Vinyl. If you do not do this your design will appear backward on your base material (this is especially important if your design includes text).
No, you should wait at least 24 hours after the vinyl has been adhered to wash it.
I always try to wash and dry my shirts with the shirt inside-out. This will help protect the Iron On Vinyl.
If areas of Iron-On material lift after washing, you can simply repress it back on per the instructions above. Make sure to always use a thin protective cloth in between the vinyl and iron. This is to ensure the material doesn’t get stuck to your iron or heat press.
A cool peel is where you will want the shirt to cool completely before removing the clear plastic liner. Removing liner while still hot or warm may prevent your iron-on image from properly adhering to your shirt.
Cricut Shirt Ideas
Like I mentioned above. I’ve been making shirts for over a decade. Here are a wide variety of Cricut shirt ideas.
If you make a shirt using your Cricut, I would be honored and love for you to take the time to leave a ⭐️ star rating and comment! I spend hours developing and testing these projects, and always love to hear feedback and user experience!
Don’t forget to FOLLOW ME on Facebook, Pinterest, and Instagram, and subscribe to my email list!
