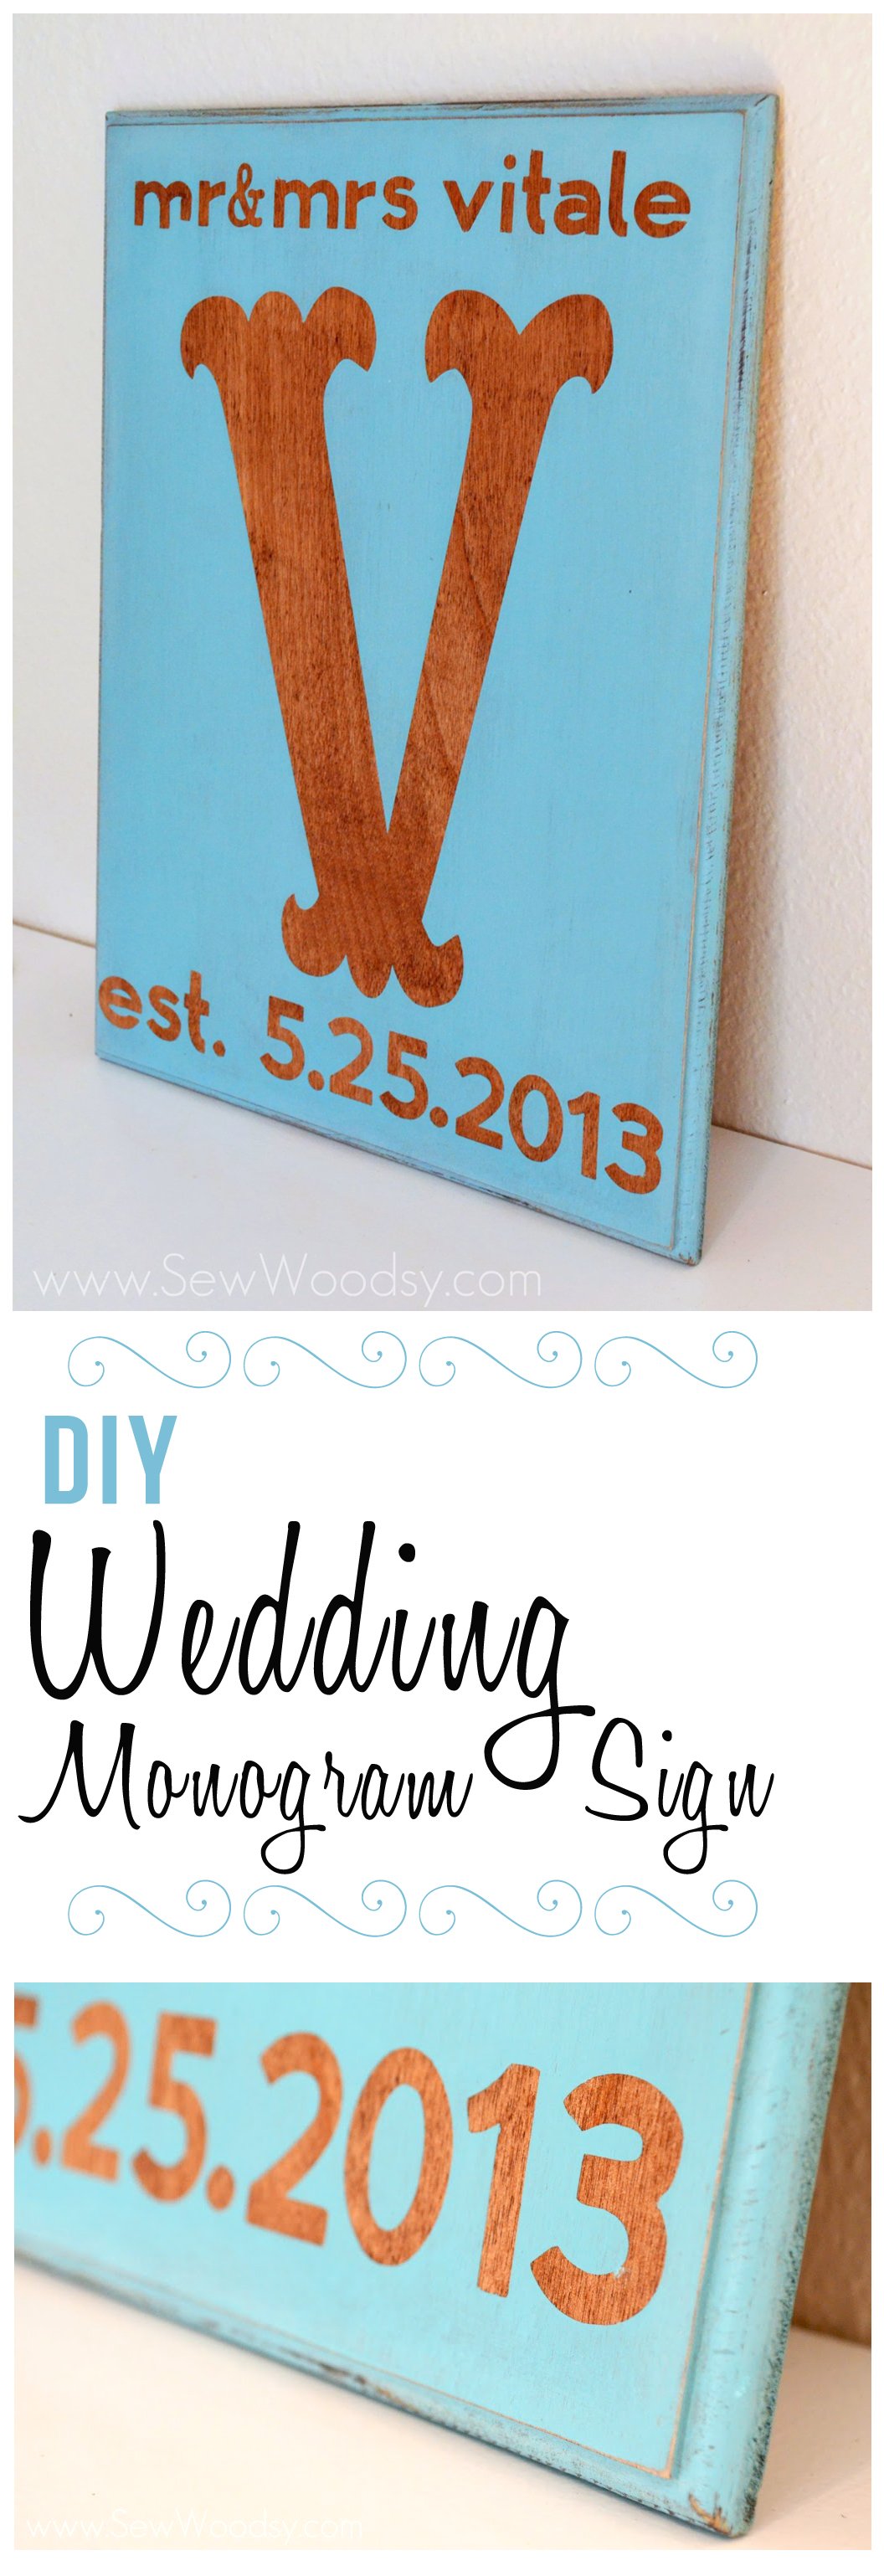
Two month’s ago we attended the wedding of our good friend from high school. The day of his wedding we decided to make them a DIY Wedding Monogram Sign. I know, we are crazy like that. Nothing like last minute. We also happened to film not 1 but 2 videos that morning for our new Auto DIY series. By using all materials we had laying around the house we created this sign for free (minus the hours of time we spent on this). Tons of our favorite products lumped into one project!
Supplies:
- PureBond Hardwood Plywood
- Table Saw
- 3M DIY Safety Equipment: Safety Glasses, Hearing Protection, Respirator, Rubber Gloves
- Router with Ogee Bit and Key Hole Bit
- Triangle Ruler
- Pencil
- Minwax Stain
- Cricut
- Cricut Vinyl
- Transfer Tape
- Annie Sloan Chalk Paint
- Paint Brush
- Sand Paper
First, cut your Purebond Hardwood Plywood to the size you desire.
Next up, using the router and Ogee bit route the edge to give it a more finished look.
Then using a ruler, mark out where the center of the wood is on the back of what will become the sign.

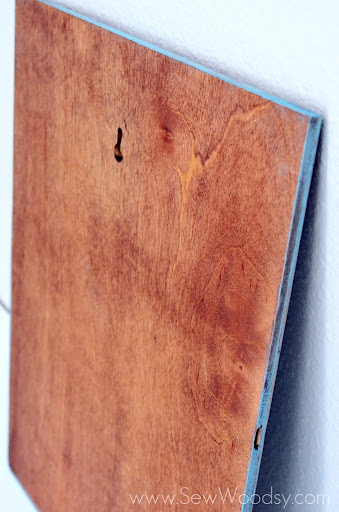
Then carefully cut the keyhole (using the router) in the back of the sign, so the newlyweds can hang the sign if they desire.
Next up, Jon grabbed some gloves and got to staining. The key to making a good sign is to stain both front, sides, and back! Leave nothing unfinished! One quick coat was all we needed for this project!
Before I cut with vinyl I always like to cut out what I want using paper. I cut out everything with paper and placed it on the dried sign.
Then using the vinyl cutting settings, I cut out my vinyl.

And because I wasn’t doing a good job lining up the vinyl, Jon took over.
Once he had everything lined up and placed on the sign, I used the scraper and helped remove the transfer tape.

Last part of the vinyl almost on…
Next up, paint that beautiful wood sign with Annie Sloan Chalk Paint. Paint over the vinyl and all in one even coat. Once the paint dries (about a half hour) remove the vinyl from the sign. If you like the distressed look take a little sand paper to the edges of the sign.

Now place a ribbon around this and tape a card on the back and give it to the new Mr. & Mrs.

Seriously, so impressed with the new keyhole bit! Bumps it up–to the next level! So have you ever made a sign for a friend? If so, we’d love to read about it in the comments below.
Disclaimer: There are affiliate links in this post. That means if you purchase from our link we will make a percentage off your purchase.