I am a fairly “new” owner of a cricut. I’ve had mine for less than a year and have already done so much with it! From cutting paper to vinyl, and now fabric! I’ll walk you through some steps on how to cut fabric with your cricut using an iron-on adhesive.
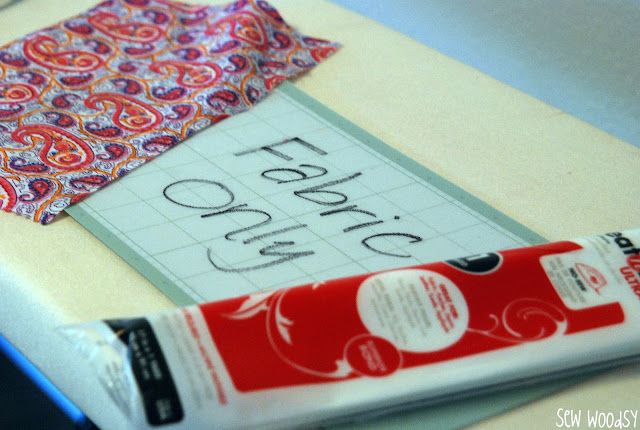
1. First practice on paper to make sure that you achieve the size(s) you want before wasting your iron-on adhesive/fabric. You will also want a brand new or very sharp blade, and a brand new mat. I’ve recently dedicated one of my mat’s and blades to cutting fabric only. That way I don’t have to go out and buy new materials each time. 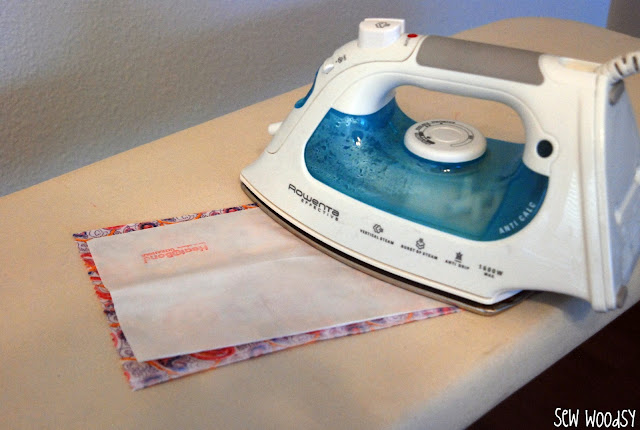
2. Make sure that the chosen fabric to cut is pre-washed and DO NOT use fabric softener. After you have washed your fabric, adhere Heat-n-Bond ultrahold to your fabric. Pre-heat iron to medium heat, NO steam. Cut your fabric and heat-n-bond to fit the size of your cricut mat. Make sure that you give a little extra room on your material to compensate for when you iron on the heat-n-bond. You do not want to get the heat-n-bond on your ironing board! Place adhesive on back of material to be bonded (paper liner should face up). Place and hold iron on the paper liner for 2 seconds. Repeat until entire surface is bonded. Allow to cool. *You can purchase Heat-n-Bond in the fabric store, or they also sell it in the crafting section at Wal*mart (typically 1 yard for $3). Heat-n-Bond comes in a variety of strengths. I prefer the ultrahold since you know you’ll be washing this and will want it to withhold heavy duty usage!
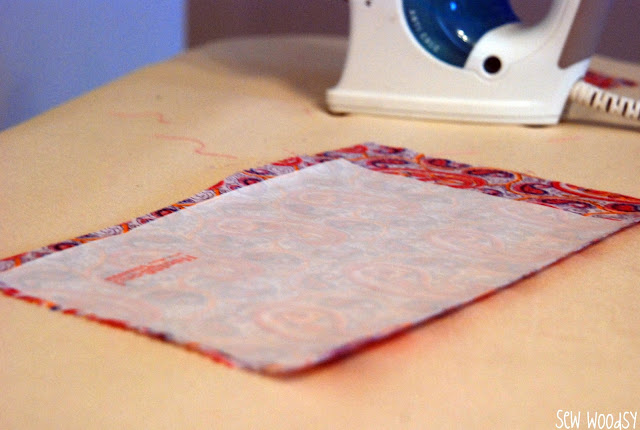
3. Peel the paper backing off the fabric and adhere it to the mat (adhesive side down). If you leave the white liner on the fabric and then adhere it onto your mat it will end up getting messed up when you start cutting (i.e., bunching; not all of the cut will come through). Make sure that the fabric is smooth and is adhered well to the mat.
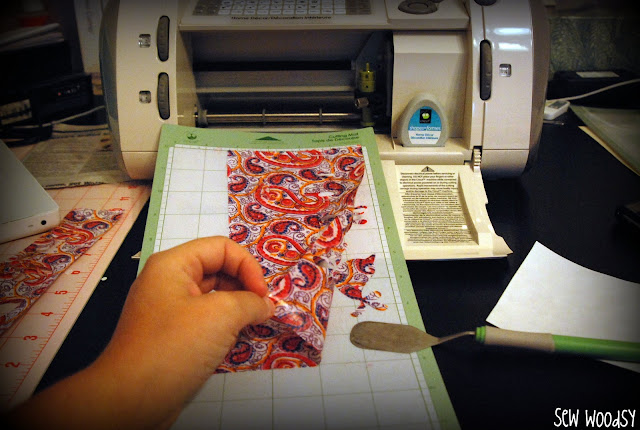
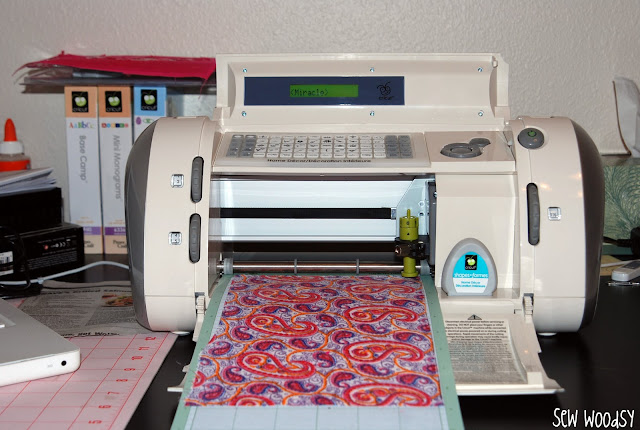
4. Set your cricut blade on 5, the speed on the lowest and the pressure to max. This will ensure that the cricut will not go too fast and pull the fabric off the mat. Load your mat into the cricut and begin to cut. Once your done cutting… carefully remove your heat-n-bond fabric from the mat with a cricut spatula.

5. Place the material, adhesive side down, on top of your project. Press and hold iron for 8 seconds on each section until the entire piece is bonded. *Make sure that you leave the iron in one place for a few seconds to ensure the cut-out hasn’t moved. 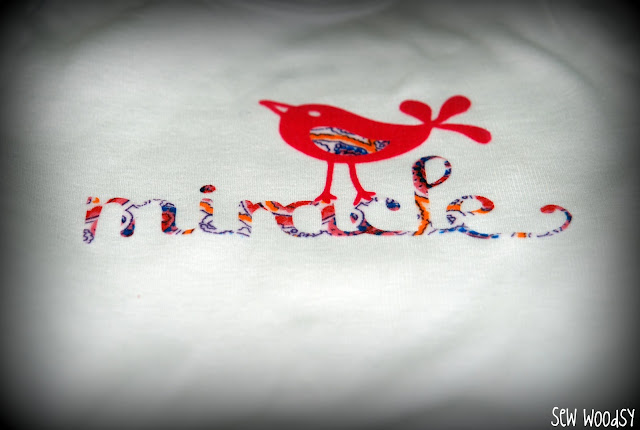
*Make sure to always read the heat-n-bond directions since times may vary depending on what type of fabric is being used. All directions given above are for cotton materials.
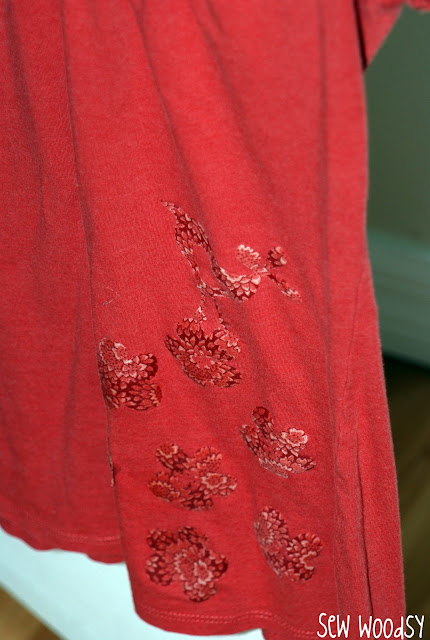
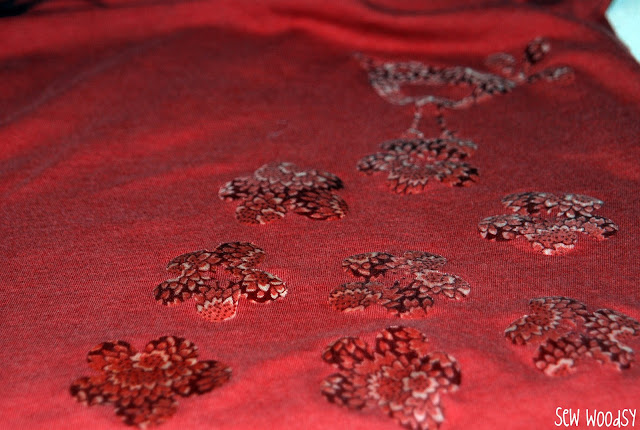
Here is one other example of a t-shirt I transformed by cutting out fabric adhered to heat-n-bond with my cricut, and adding spunk to a shirt that was full of hole’s and in the goodwill pile!
Comments & Reviews
Rafaela says
Hi! Thank you so much for this tutorial! Loved it and definitely inspired.
I wanna know what’s the best kind of fabric to use when making projects like this?! Cotton?
Thank you so much. Love your blog!
Katie says
Hi, yes cotton is the best type of fabric to adhere to the heat-n-bond then cutting on the Cricut.
Megan says
Hello,
I am new to my cricut but I made a design using vinyl as well as fabric to put onto a kids shirt. I used heat and bond as the backing but is there anything you can use to put in the front of the shirt so that the fabric and vinyl stay on? Almost like a clear vinyl that makes it glossy and stay.
Katie says
Hi Megan, I’m not sure what your asking. I use heat n bond to adhere to fabric and place on shirts. However, nothing that I know of to give a glossy look. You might want to look at Cricut Iron-On Vinyl. They offer a variety of colors and some are glossy (just what you seem to be looking for)! Hope that helps.
Janie Stegall says
My very first project, I used heat n bond, that was a HUGE mistake. I left the paper on my heat n bond and it is severely stuck to the mat, any great ideas on how to remove that? THANK YOU.
Katie says
Hi Janie, There are three strengths of mat that Cricut has. You should use a blue mat anytime your dealing with paper. Other than that just scraping it off is the only way to get the paper off. Good luck!
Jillian says
Great tutorial! Just curious is the red bird in the photos cut from fabric as well or is it vinyl? Just wondering if you can combine the two materials. And was it difficult to get the wing to adhere to the rest of the bird? Thank you!
Katie says
Hi Jillian, this is a very very old project. It was 100% fabric with iron-on heat-n-bond. The next Explore can do all this so much easier. Yes you can definitely cut all of it with ease. Back when I made this there was no such thing as iron-on vinyl! You could definitely do a mix if you wanted too. Hope that helps!
Karen Gravatt says
Thank you! I was so happy to find a tutorial on fabric. I have a new explore and so many projects are focussed on paper or vinyl. I think the fabric looks richer on some of the clothing projects. (Plus I’m learning to sew)
Karen
Katie says
Hi Karen. As you can tell this tutorial was made years ago. Same concept just you won’t have to worry about setting the speed, tension, etc. Instead you’ll just select “fabric”. Have fun!
Ally says
Hello,
Do you use the same technique when cutting fabric using a Cricut Explore?
Katie says
Hi Ally, it’s so much easier to cut fabric on the Explore because they have a preset “fabric” button. Yes, you’ll still want to adhere heat and bond to the fabric. I haven’t tried cutting just straight fabric. I would imagine you might be able to do it if you have a brand new mat… but I would be afraid of the fabric fraying. The heat and bond will also help it not to fray! 🙂
Ann Horner says
I’m thinking about getting the explore but have been doing and teaching fabric art for years. If you want to do fabric without heat n bond, I would suggest trying to iron on freezer paper to one side of the fabric. Just an idea.
How long does your blade last doing the heat n bond fabric?
Katie says
Hi Ann, thank you so much for the tip! I’ll be honest I don’t know the life of the blade just cutting heat n bond. I only do sporadic projects with it (nothing too consistent). I will say with doing vinyl, iron on vinyl, and paper projects my blades last a good 6 months (and that’s a lot of cutting).
pat says
Tried pre-bonded iron on fabric. No matter what setting I use, it frayed and pulled. Not a pretty project.
Katie says
Hi Pat–I’m sorry to hear this. Did you try bonding to a different fabric? I never had any issues.
Carol says
Hi, I just got this tutorial on my pinterest mail.
I have had my cricut mini for a year but find it very difficult to find other people in the UK that have one.
I wish that there were classes here, as I have just retired and have the time now!
Love this idea,
Thank you
Katie says
Hi Carol! Glad you found this tutorial. I try to post Cricut tutorials when I see them needed. I would highly recommend to re-invest and get the Explore. You no longer have to “guess” on cutting settings and it cuts perfect every time! Either way hope I can help you!
Julie says
I just ordered the new Cricut Explore, it will be here mid-March. I can’t wait to start making fun things, but I have never owned a Cricut. I suppose I can follow these same steps (minus the depth settings and all that, because the Explore has pre-set settings) to cut fabric with that? I am having a very hard time finding any examples of things made with the Explore, except for the stuff from the convention. I am just very curious. Thank you!
Katie says
Hi Julie! Congrats!!! You are going to love the Explore. I just got mine in last week to start playing around with and you’ll enjoy not having to deal with settings. Yes, you will just set it to fabric. I’ll have some tutorials up in the month of March all based around the Cricut Explore. I also have a post about “Everything You Need to Know About the New Cricut Explore“. You’ll start seeing more tutorials closer to the release of the product!
Deborah says
Do you stitch around your iron-ons? Do they hold up in the wash?
Mrs. Woodsy aka Katie says
I made the red shirt in the post last August and it’s still holding up fine. I just ironed on–no stitching. However, I have done iron-on’s where I also stitched as well! As long as the fabric is adhered on well I think you should be ok for at least a good year or two!
Michele in IL. says
Super cute and fun! Thanks for sharing.
Jenny Elliott says
Do you use a deep cut blade or a reg blade?
Thanks so much
Jenny
Mrs. Woodsy aka Katie says
Jenny I use a regular cutting blade.