• Skip to primary navigation
  • Skip to main content
  • Skip to primary sidebar

Sew Woodsy logo

  • DIY
  • Crafts
  • Cricut
  • Travel
  • About
menu icon
go to homepage
search icon
Homepage link
  • Home
  • Thanksgiving
  • DIY
  • Cricut
  • Travel
  • About Us
    • Email
    • Facebook
    • Instagram
    • Pinterest
    • Twitter
    • YouTube
  • ×

    Sew Woodsy » Cricut

    Published: Aug 14, 2010 · Modified: Jan 29, 2019 by Katie · This post may contain affiliate links.

    Tutorial: Cutting Heat-N-Bond Adhered Fabric with the Cricut

    Sharing is caring!

    45 shares
    • Facebook
    • Twitter

    I am a fairly “new” owner of a cricut. I’ve had mine for less than a year and have already done so much with it! From cutting paper to vinyl, and now fabric! I’ll walk you through some steps on how to cut fabric with your cricut using an iron-on adhesive.

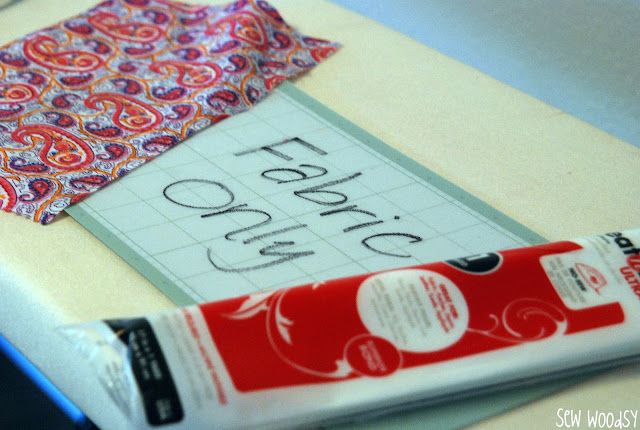
    1. First practice on paper to make sure that you achieve the size(s) you want before wasting your iron-on adhesive/fabric. You will also want a brand new or very sharp blade, and a brand new mat. I’ve recently dedicated one of my mat’s and blades to cutting fabric only. That way I don’t have to go out and buy new materials each time. 

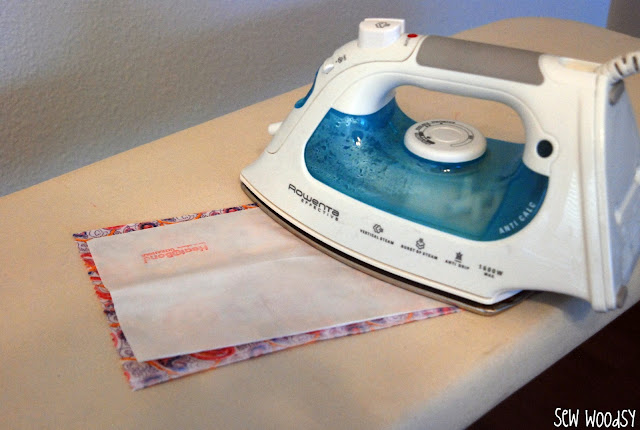
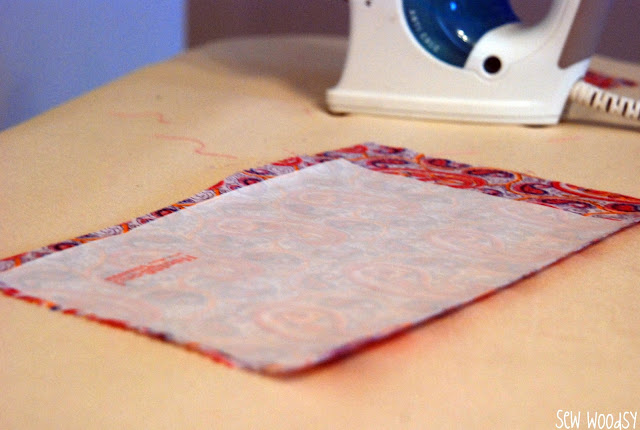
    2. Make sure that the chosen fabric to cut is pre-washed and DO NOT use fabric softener. After you have washed your fabric, adhere Heat-n-Bond ultrahold to your fabric. Pre-heat iron to medium heat, NO steam. Cut your fabric and heat-n-bond to fit the size of your cricut mat. Make sure that you give a little extra room on your material to compensate for when you iron on the heat-n-bond. You do not want to get the heat-n-bond on your ironing board! Place adhesive on back of material to be bonded (paper liner should face up). Place and hold iron on the paper liner for 2 seconds. Repeat until entire surface is bonded. Allow to cool. *You can purchase Heat-n-Bond in the fabric store, or they also sell it in the crafting section at Wal*mart (typically 1 yard for $3). Heat-n-Bond comes in a variety of strengths. I prefer the ultrahold since you know you’ll be washing this and will want it to withhold heavy duty usage!

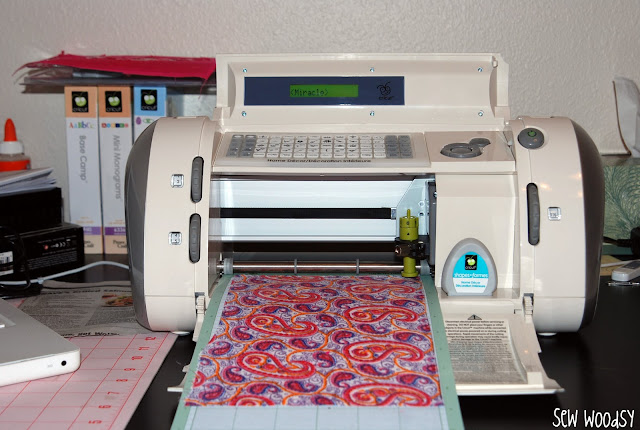
    3. Peel the paper backing off the fabric and adhere it to the mat (adhesive side down). If you leave the white liner on the fabric and then adhere it onto your mat it will end up getting messed up when you start cutting (i.e., bunching; not all of the cut will come through). Make sure that the fabric is smooth and is adhered well to the mat.

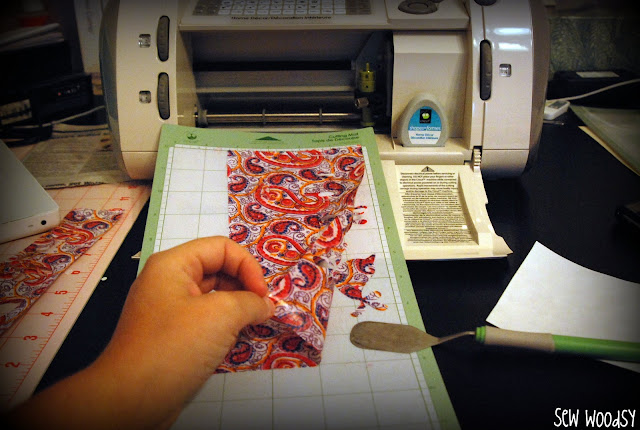
    4. Set your cricut blade on 5, the speed on the lowest and the pressure to max. This will ensure that the cricut will not go too fast and pull the fabric off the mat. Load your mat into the cricut and begin to cut. Once your done cutting… carefully remove your heat-n-bond fabric from the mat with a cricut spatula.

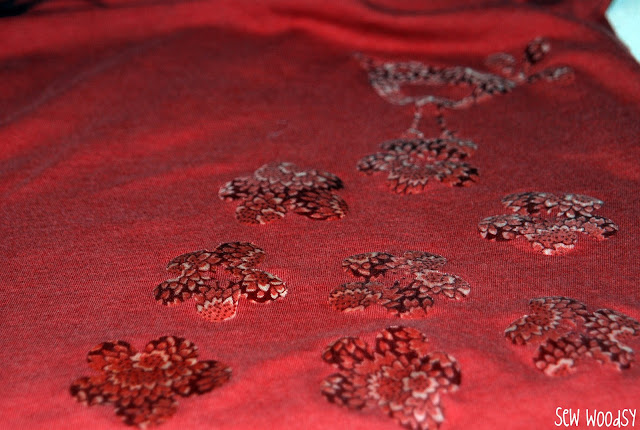
    5. Place the material, adhesive side down, on top of your project. Press and hold iron for 8 seconds on each section until the entire piece is bonded. *Make sure that you leave the iron in one place for a few seconds to ensure the cut-out hasn’t moved. 


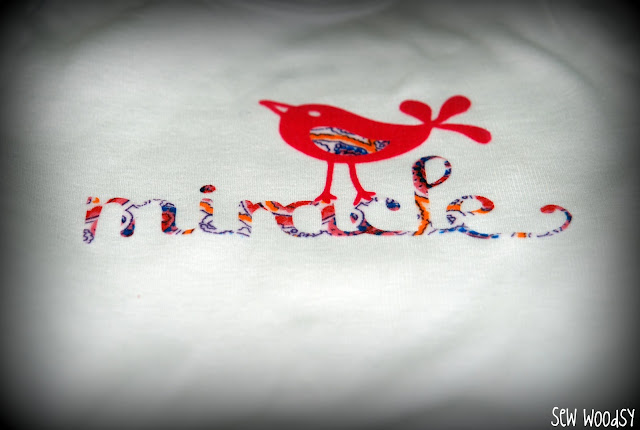
    *Make sure to always read the heat-n-bond directions since times may vary depending on what type of fabric is being used. All directions given above are for cotton materials.

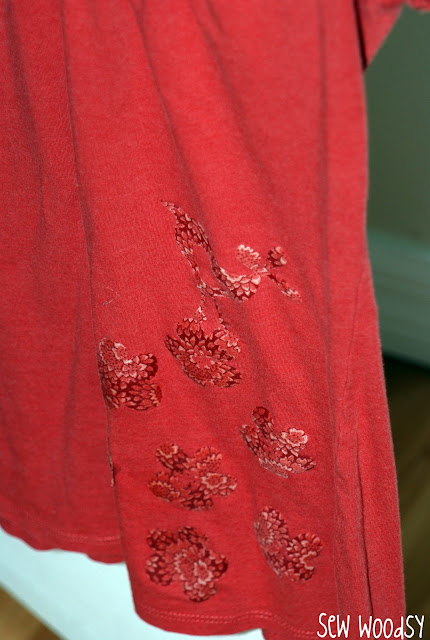
    Here is one other example of a t-shirt I transformed by cutting out fabric adhered to heat-n-bond with my cricut, and adding spunk to a shirt that was full of hole’s and in the goodwill pile!

    Have fun playing with cutting heat-n-bond adhered fabric on the cricut!


    « Welcome!
    Onesie Dress »

    Primary Sidebar

    • Email
    • Facebook
    • Instagram
    • Pinterest
    • Twitter
    • YouTube
    Male and female hugging on each other in the woods.

    Hi, we're Katie & Jon! Welcome to our home away from home!

    Sew Woodsy is a lifestyle blog focusing on crafts, home DIY projects, family, travel and all things life. Get comfy and join us on our adventure!

    More About Us →

    9 different logos from various media outlets where Sew Woodsy has been featured on.

    Easter Projects

    • Kids Easter Basket Ideas
    • 25 Easter Basket Ideas for Toddlers
    • Free Easter Coloring Pages
    • 17 Easter Craft Ideas

    Trending

    • How to Create a Natural Log Pathway + Video
    • Tips & Tricks on Installing Butcher Block Countertops
    • How to Host a Baby Shower at Work
    • How to Use Heat n Bond

    Male and female hugging on each other in the woods.

    Hi, we're Katie & Jon! Welcome to our home away from home!

    Sew Woodsy is a lifestyle blog focusing on crafts, home DIY projects, family, travel and all things life. Get comfy and join us on our adventure!

    More About Us →

    9 different logos from various media outlets where Sew Woodsy has been featured on.

    Easter Projects

    • DIY Follow the Bunny Pillow Cover
    • Bunny Kisses & Easter Wishes Burlap Garden Flag
    • Easter Bunny Family Pillow
    • DIY Easter Bunny Onesie with Name

    Trending

    • How to Create a Natural Log Pathway + Video
    • Tips & Tricks on Installing Butcher Block Countertops
    • How to Host a Baby Shower at Work
    • How to Use Heat n Bond

    Footer

    ↑ back to top

    9 different logos from various media outlets where Sew Woodsy has been featured on.

    About

    • About Us
    • Privacy Policy
    • Accessibility Statement

    Newsletter

    • Sign Up! for emails and updates

    Contact

    • Contact
    • Work with us
    • Advertise

    Copyright © 2010 - 2022 Sew Woodsy