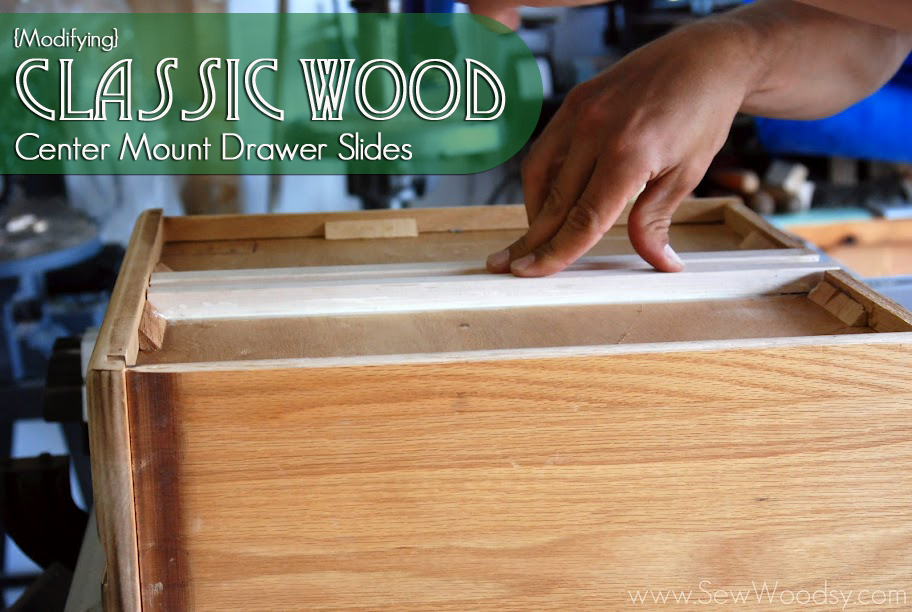
Have you ever bought something and then needed to modify them to even work? That’s what happened to us when we bought Classic Wood Center Mount Drawer Slides for our dressers.

Yesterday, I wrote about How to Make a Zero Clearance Table Saw Guard–the main purpose for Mr. Woodsy making that was because he needed to modify the Classic Wood Center Mount Drawer Slides we ordered from Rockler.
Not only were the drawer slides too long, but they didn’t fit in flush with how the drawers were made. The first thing Mr. W did was measure how long the new wood center mount drawer slides needed to be.

Once you’ve measured the length needed, you’ll want to cut the Classic Wood Center Mount Drawer Slides with a chop saw.
Then, using your Zero Clearance Table Saw Insert begin running the edge of the drawer slide against the saw blade.

This is what we needed to do for our drawers; however, your’s may be totally different. *Make sure you keep your drawer slide flat against the fence while running it through the saw.
Prior to adhering your new drawer slide on the drawer make sure you remove all the old glue.

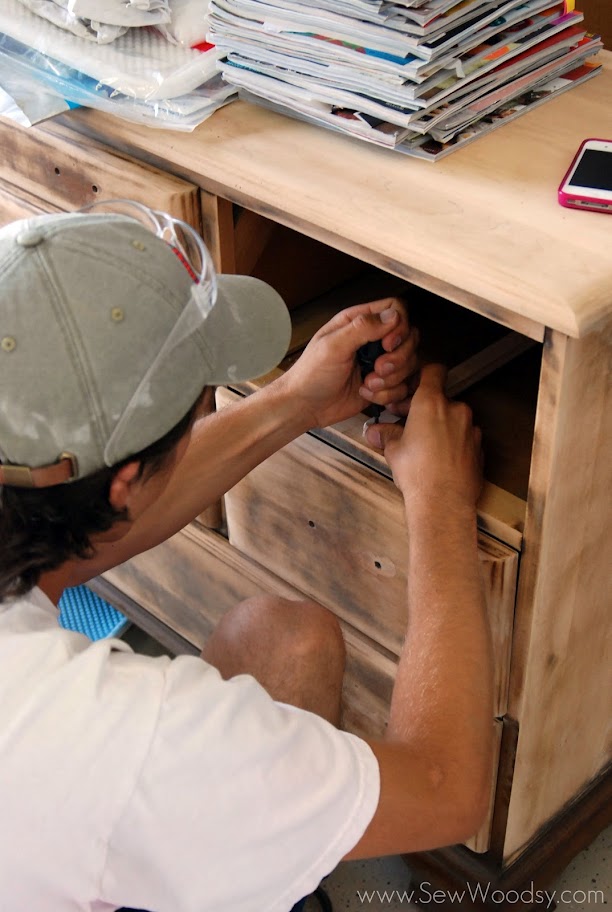
Next, attach the middle center mount that the drawer slide will rest on.
Next, you’ll want to mount the actual center mount on to the drawer. Using wood glue and a silicone brush begin applying a light coat to the dresser.
Then, apply a thin coat to the drawer mount itself.
Carefully, place the drawer mount on top of the glue area on the bottom of the drawer.
Gently push down on the drawer slide.
The drawer slide should now be in place.
Screw the drawer slide into the dresser.
Clean up the glue on each side smoothing out the glue on the edges.
Lastly, place a weight on the drawer and slide and let it dry!
*Remember, every dresser is different and your steps may vary depending on the dresser.
