Do you have a budding artist? If so, I’m here to share with you how to throw your own Art Birthday Party with the help of the Cricut.
Thank you Cricut for sponsoring today’s post. As always, all opinions are my own.
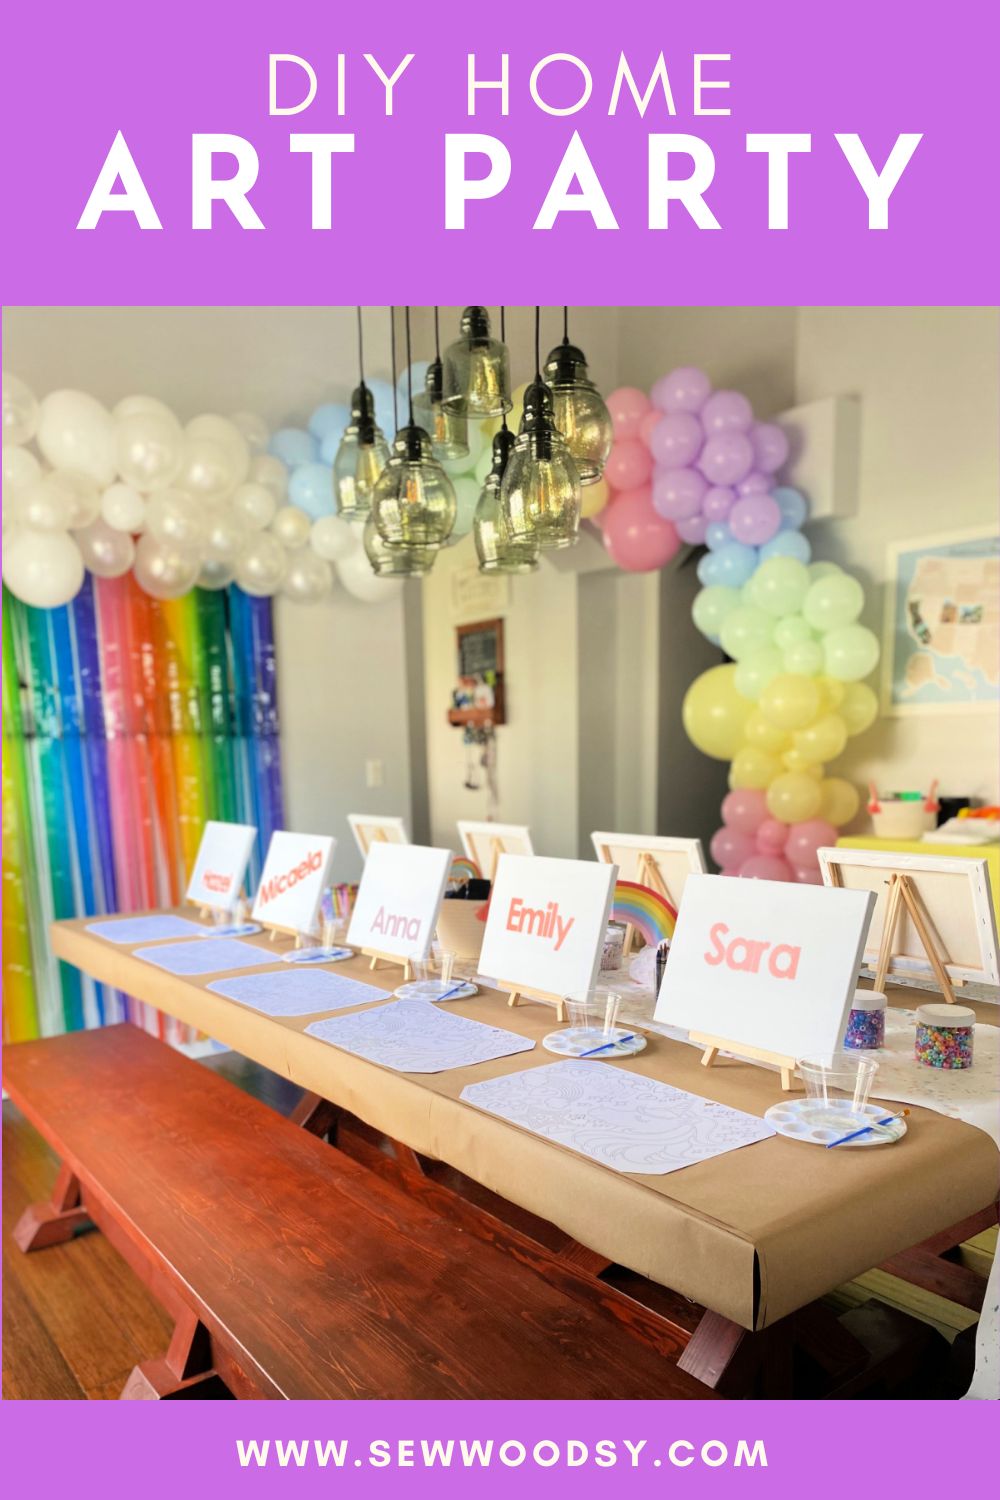
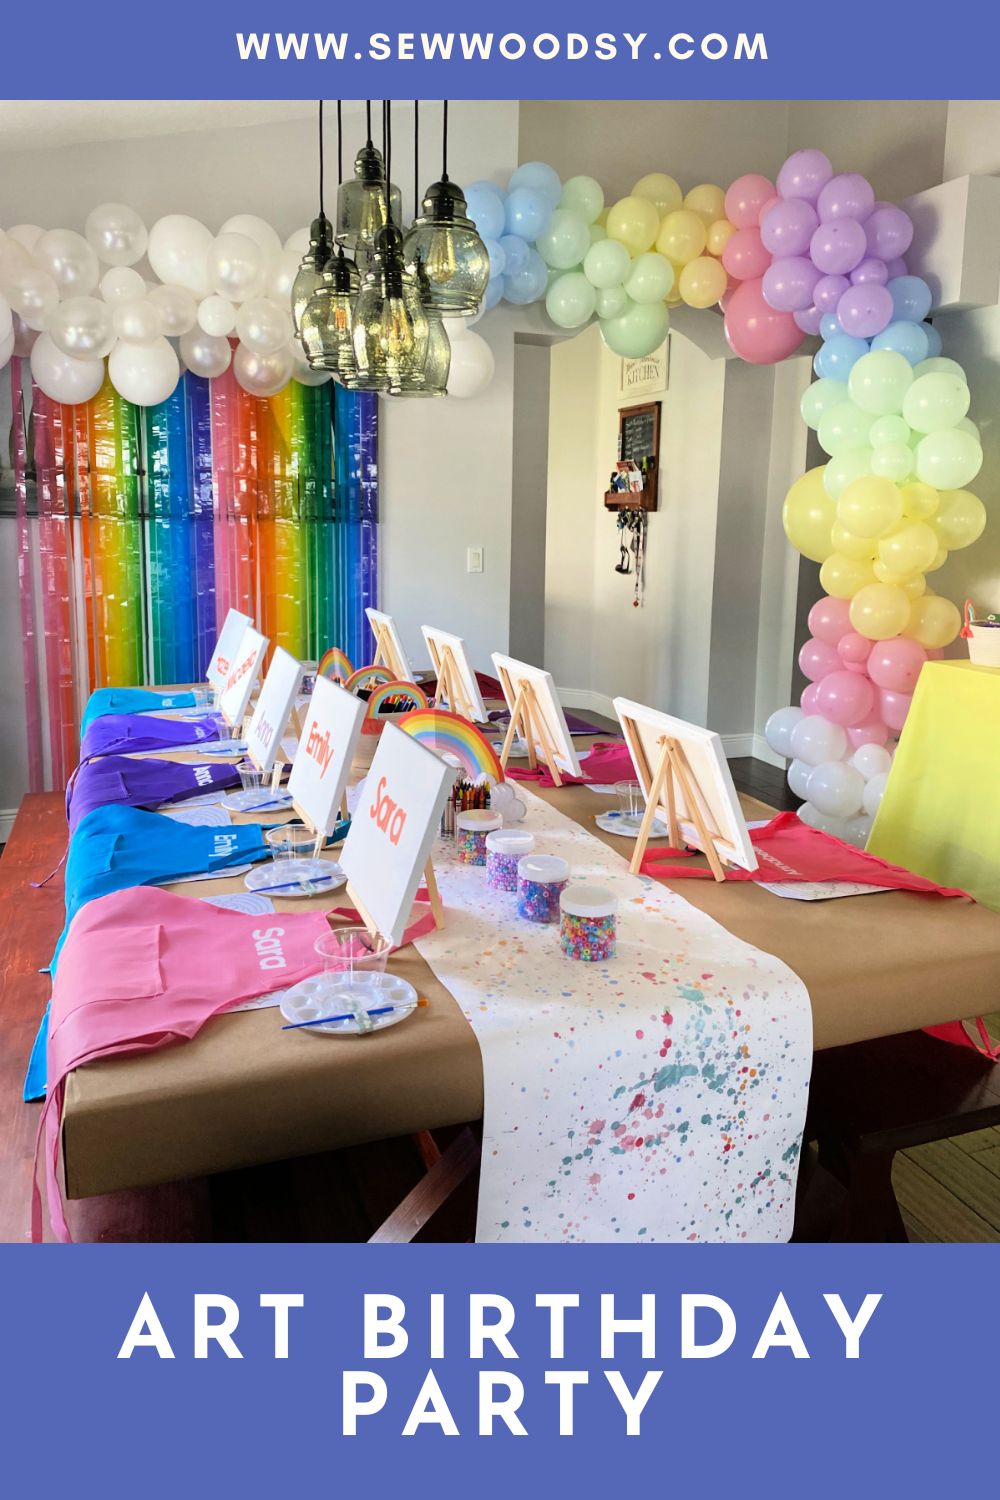
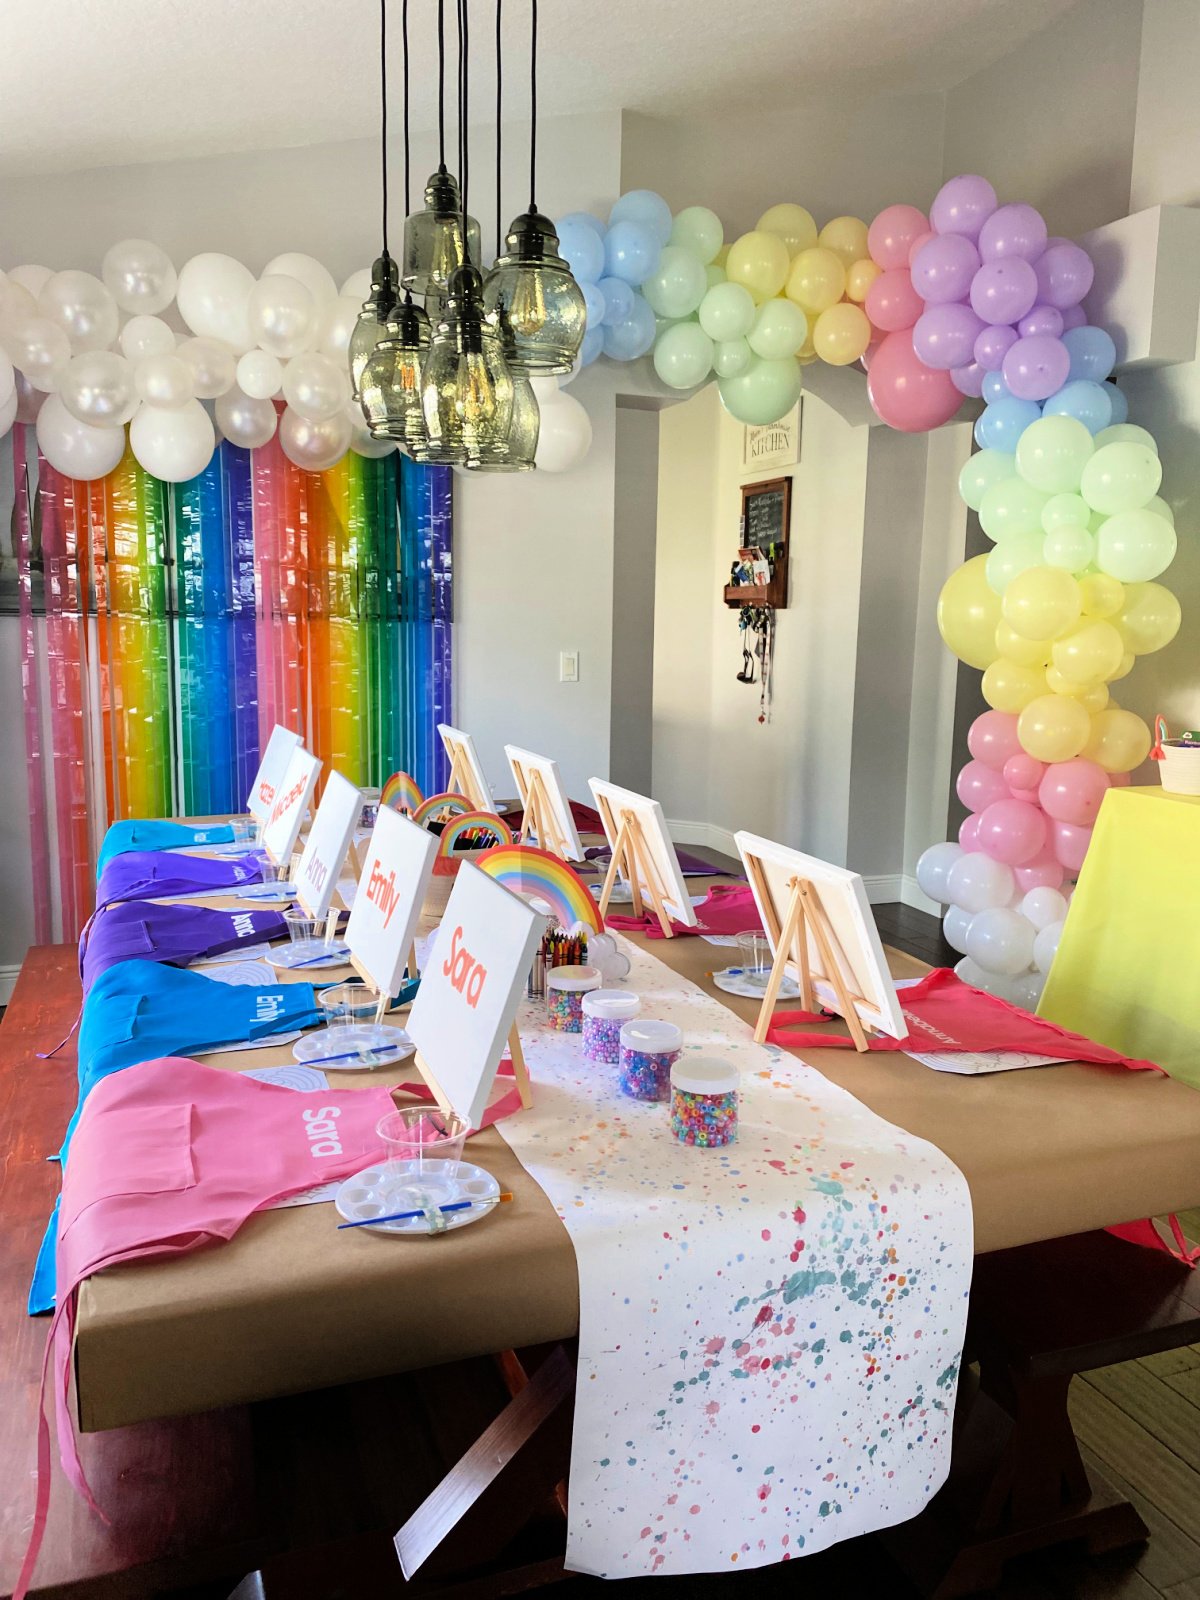
My daughter loves to do art, so when we started talking about party ideas she kept going back to some form of art. After doing my research and looking at a few local options I knew I could throw a bigger, better, more elaborate Art Birthday Party at home.
Unlike her Minnie Mouse Birthday party, and after a little convincing, I was able to get her to pair her guest list down to her closest Kindergarten girlfriends. We kept our guest list to a maximum of 10 girls (which was extremely hard for us to do). On party day we had 8 girls plus my daughter. The smaller size really helped, and I highly suggest having a smaller guest list if you do land on an Art party theme!
Customized Aprons
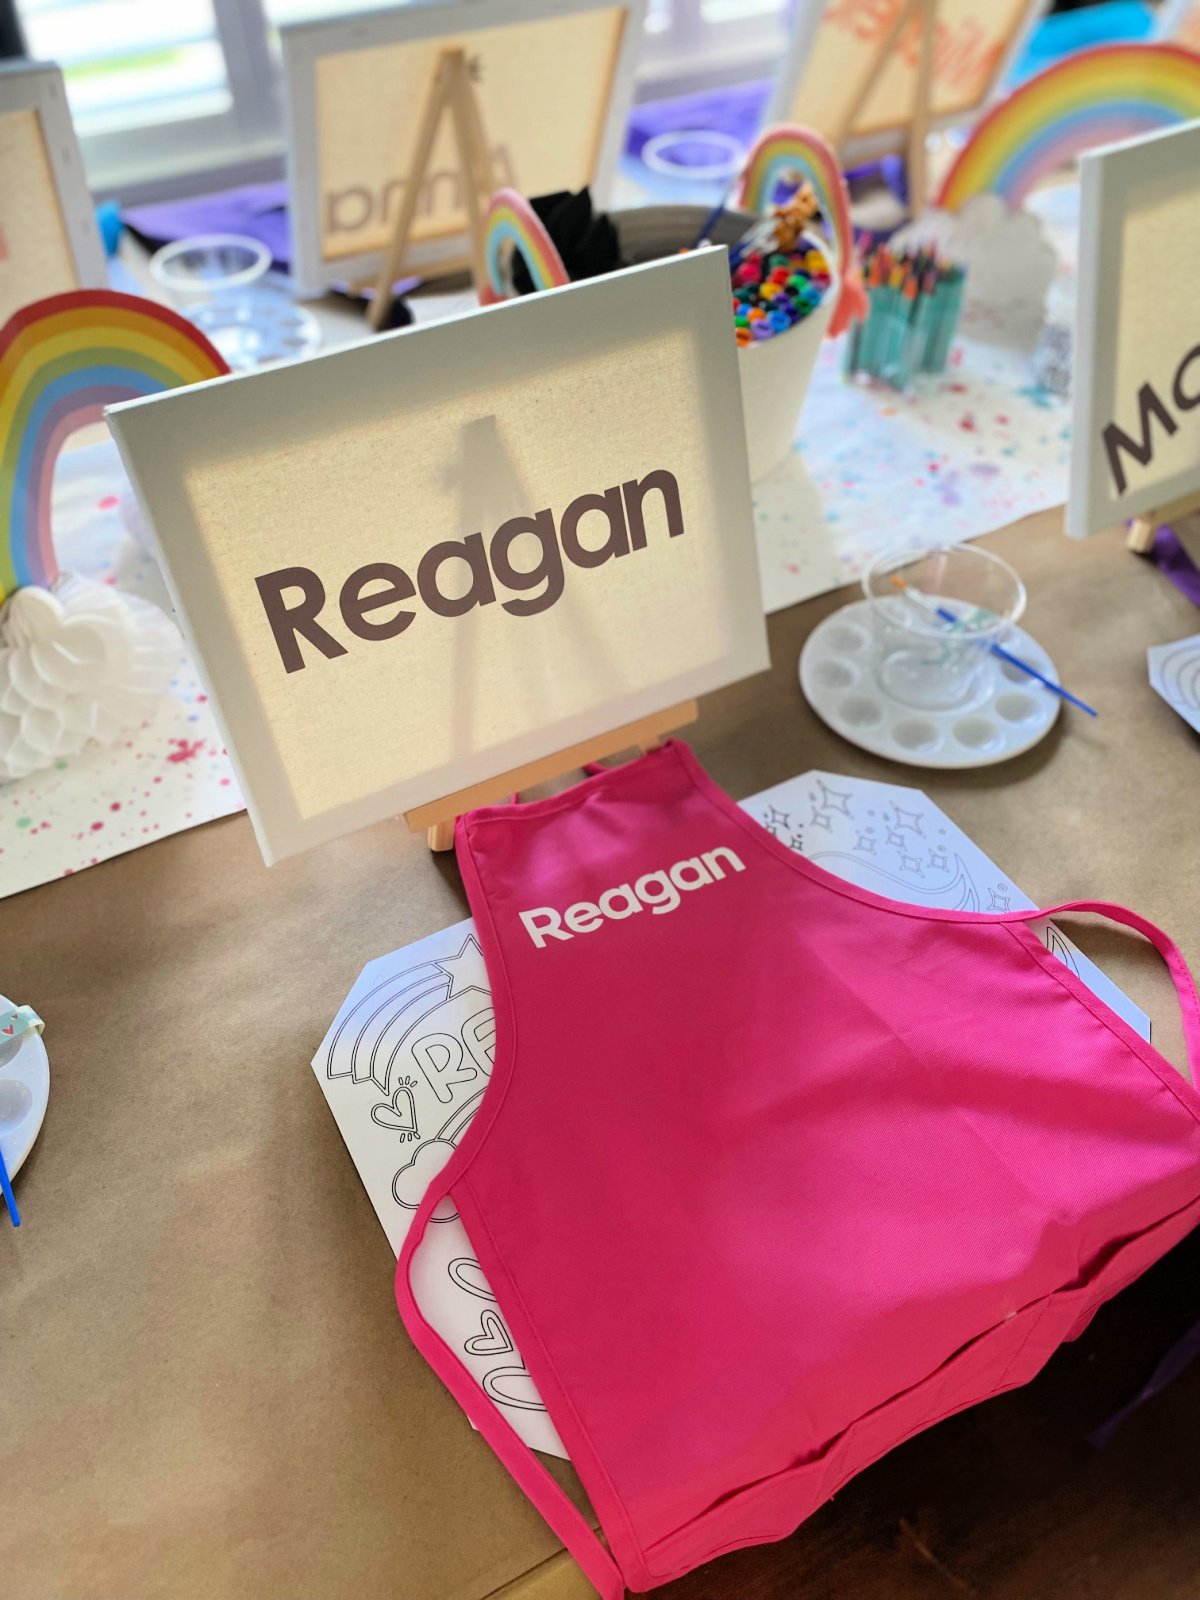
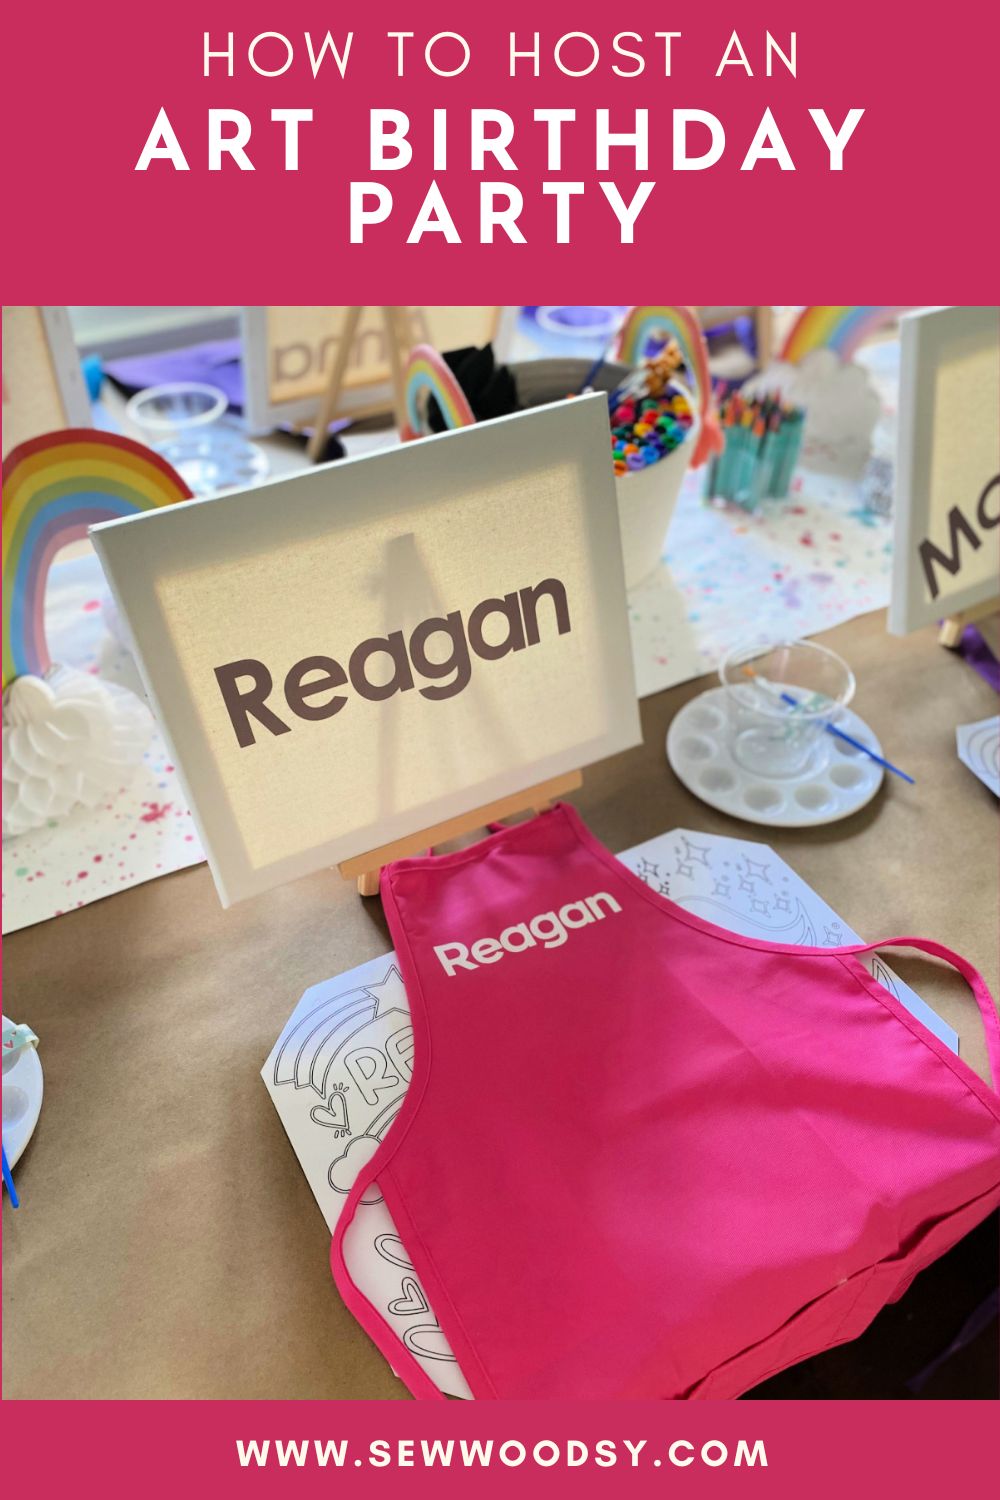
The minute we started planning to have an Art Themed Birthday Party I knew I was going to customize aprons for each girl.
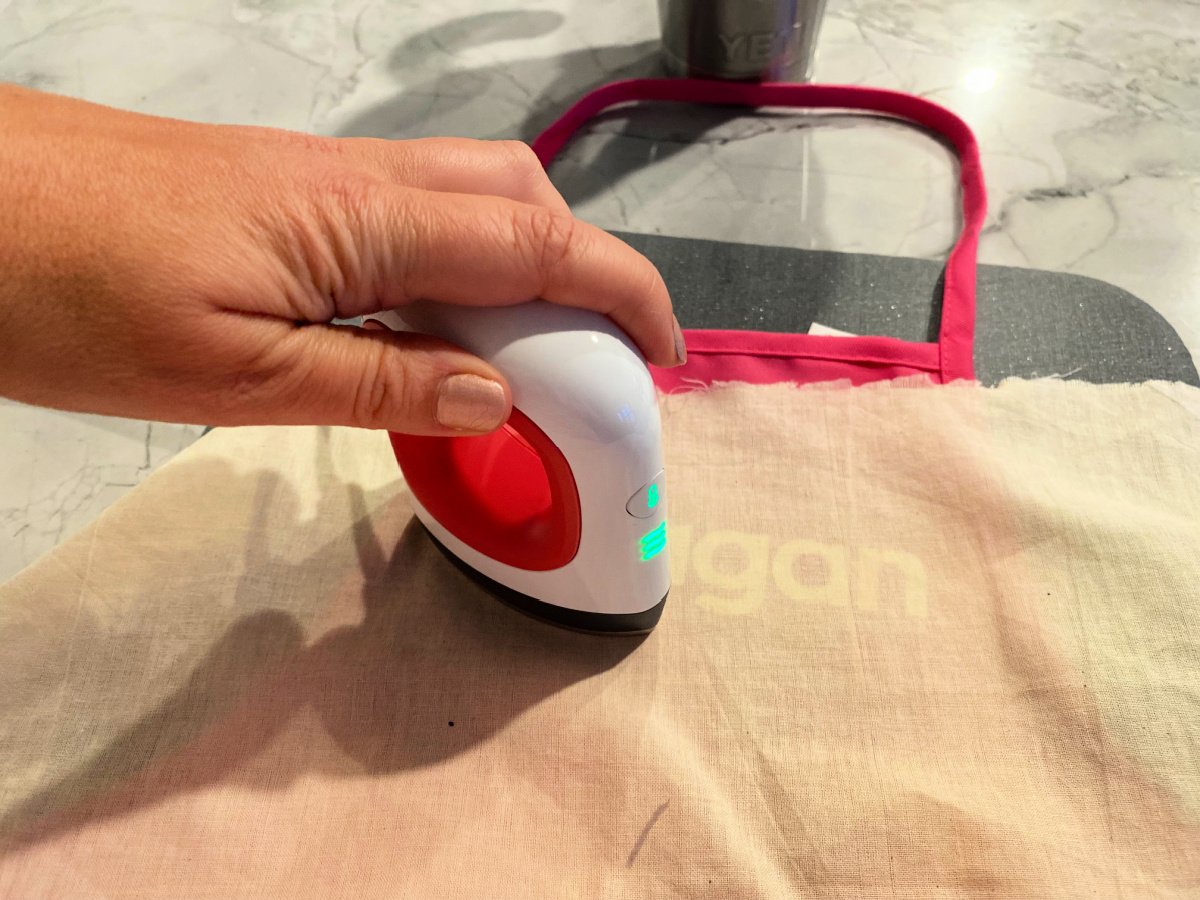
I cut the names out on my Cricut Explore Air 2 in white. I weeded out the negative then pressed on using my EasyPress Mini. I went with the EasyPress Mini because I could see what was going on under the iron. I was afraid that the apron might get burnt. This helped me guide and ensure the aprons stayed in tact.
These were a little more challenging to customize then I had intended. It was a little challenging to get the Iron-On Vinyl to stick. I found that you need to have a cool peel in order for the name to stick.
The aprons acted as a party favor, too!
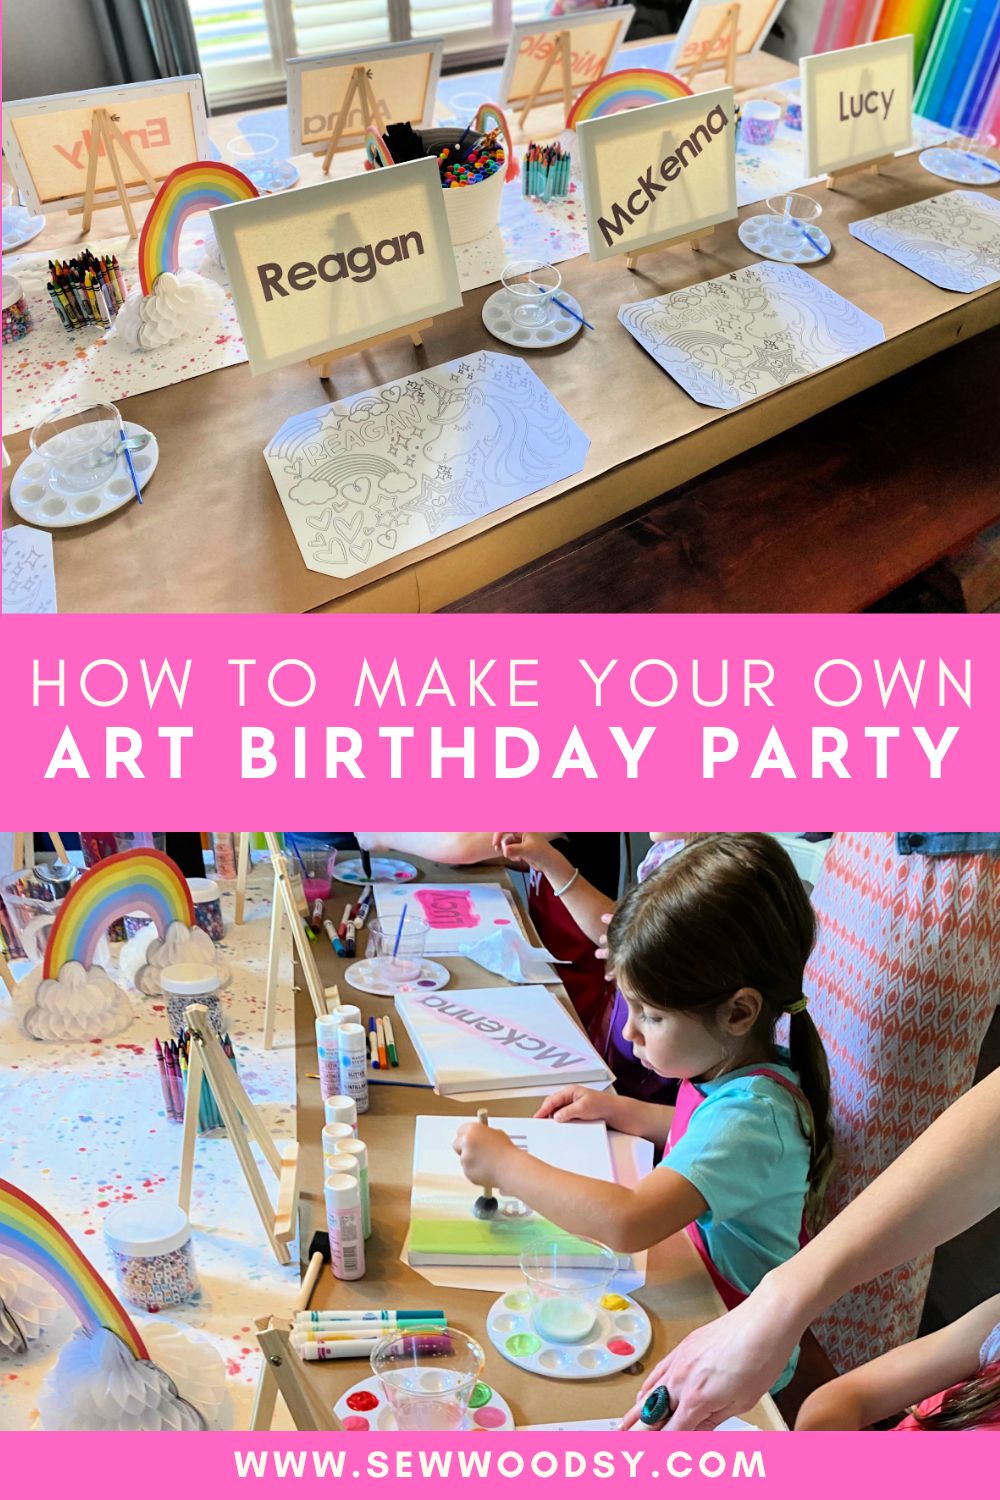
DIY Paper Name Placemats
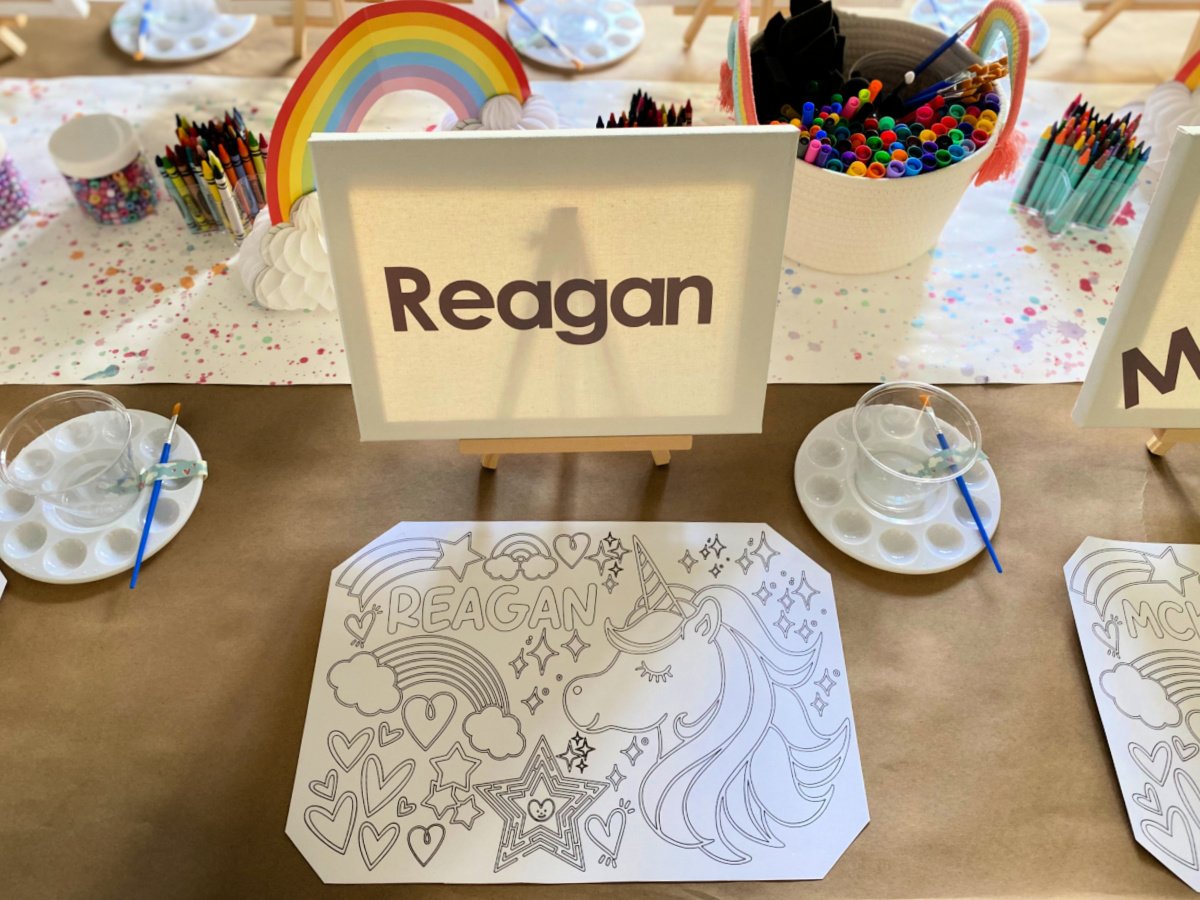
I got the idea to create these DIY Paper Name Placemats from Crayola Experience here in Orlando, Florida. We had my daughters 4th Birthday party there a few years back and they had coloring placemats for all the kids. They had a custom name placemat for the Birthday girl.
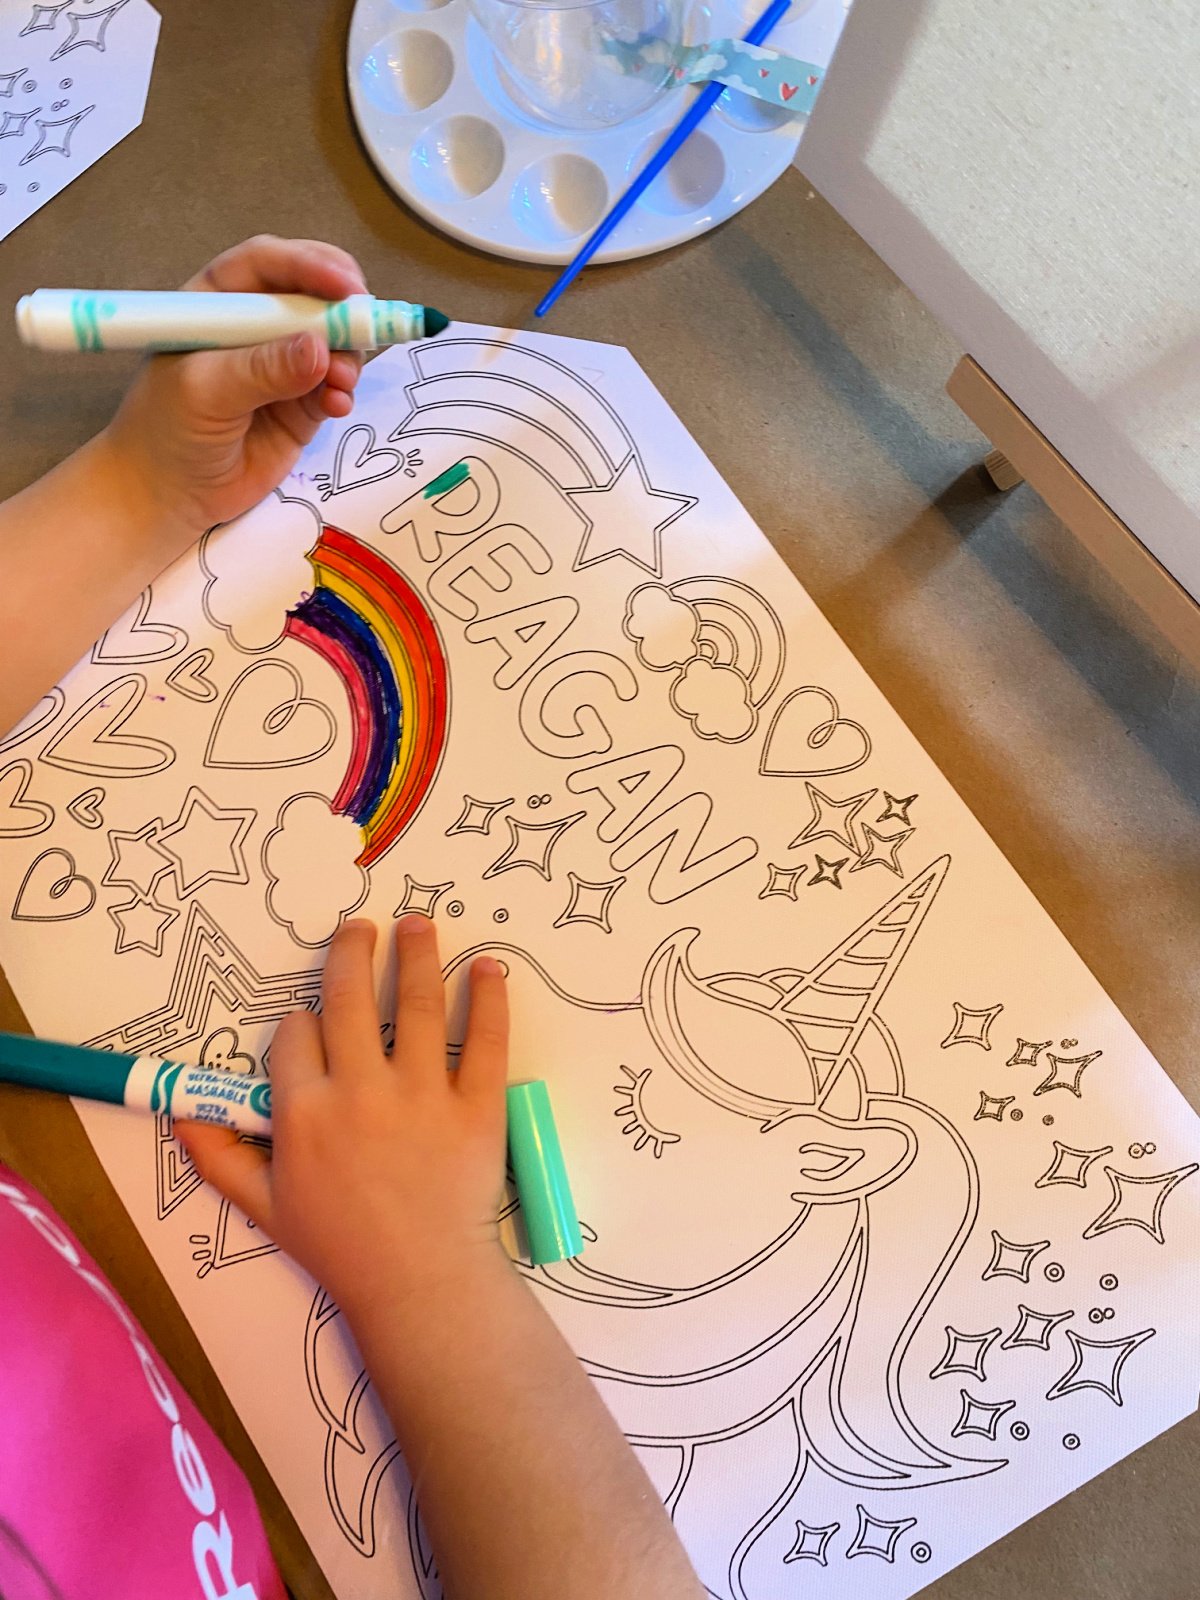
I knew I wanted to recreate something similar for this party. This was the first activity the girls did as they walked in.
First, I took the time to create the design in Cricut Design Space. I worked on this over the course of a week before I finalized the design. Cricut Design Space is a free software that is easy to learn. Like, I tell everyone who is new to using a Cricut–the design process is what takes the longest. The more you use Cricut Design Space the easier it gets over time.
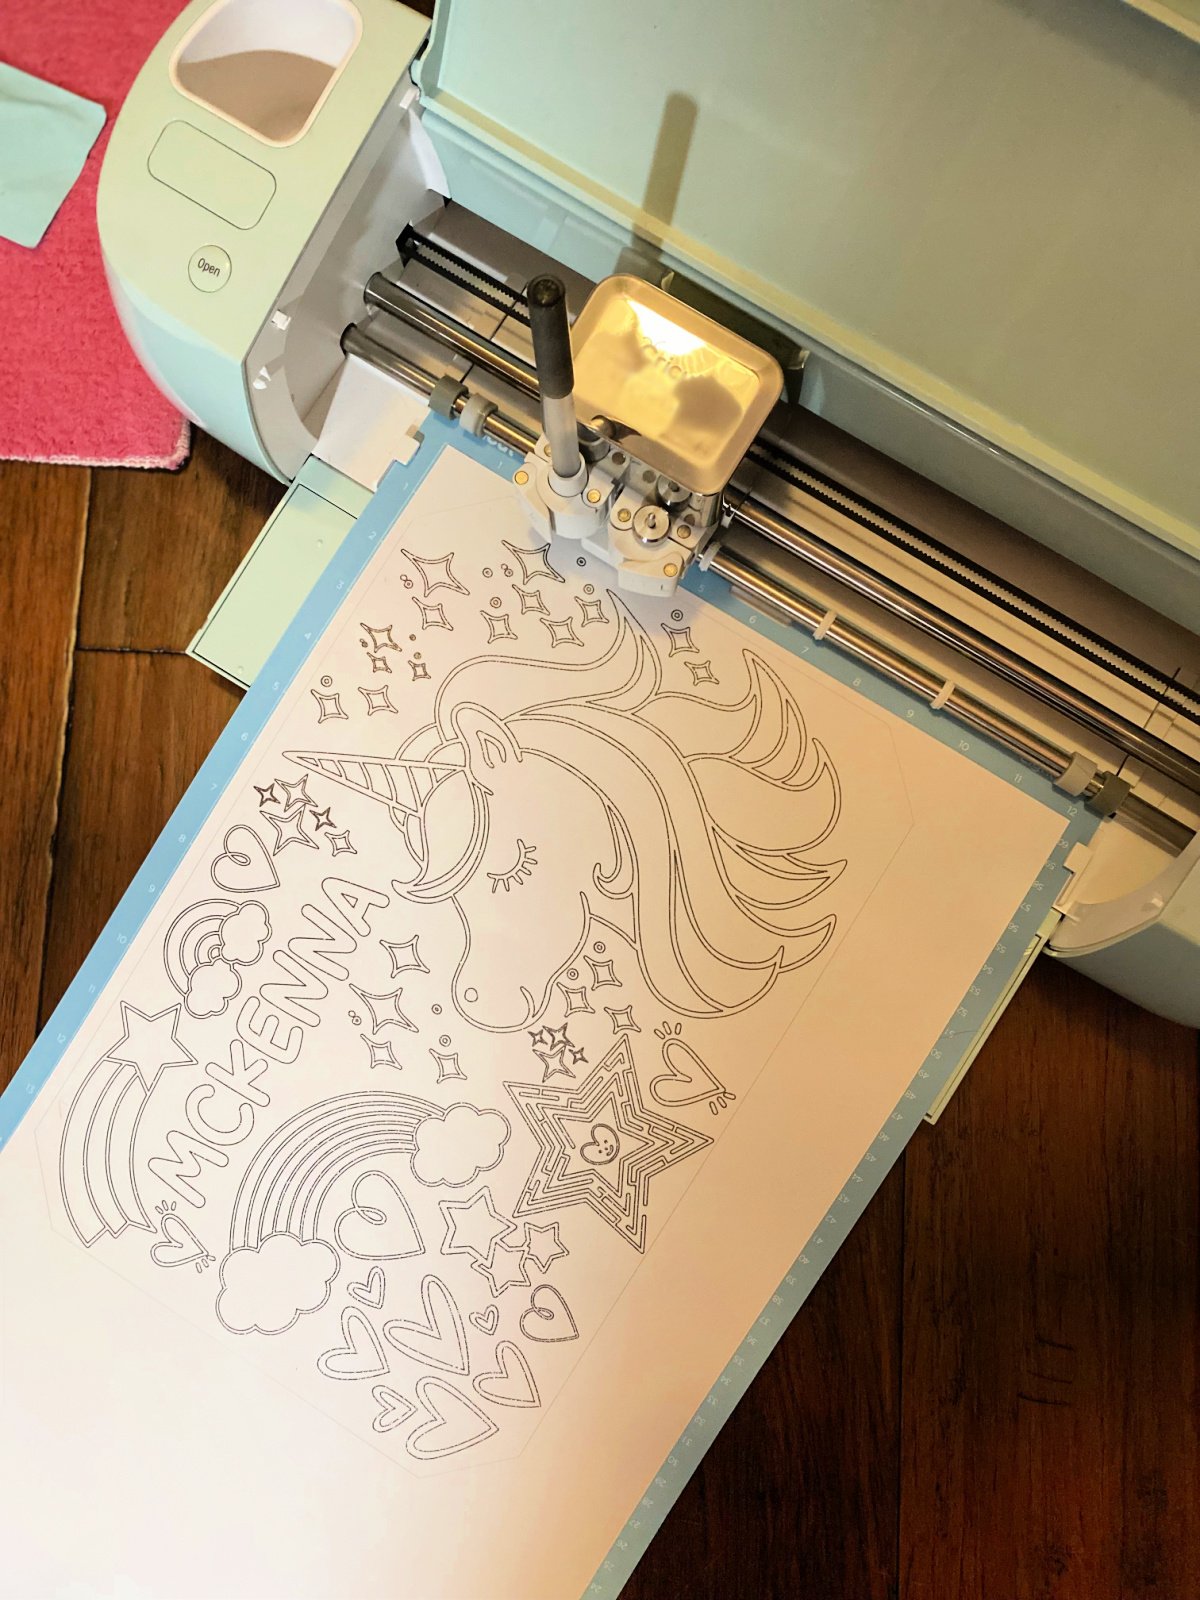
I used my Cricut Explore Air 2, 12×24 paper, and a black glitter gel pen to create these placemats. I let the Cricut draw the design onto the placemat then it cut around the design to make it into a placemat. I used all Cricut materials and they are high-quality and designed to cut perfectly with Cricut machines.
Each mat took roughly 15 minutes to draw out and cut. I was able to create 8 placemats before I ran out of ink (and I used a brand new pen)! So if you are planning to make these make sure you have enough pens in the same color. Thankfully, I had an extra glitter gel pen in my craft stash.
Painting on Canvas
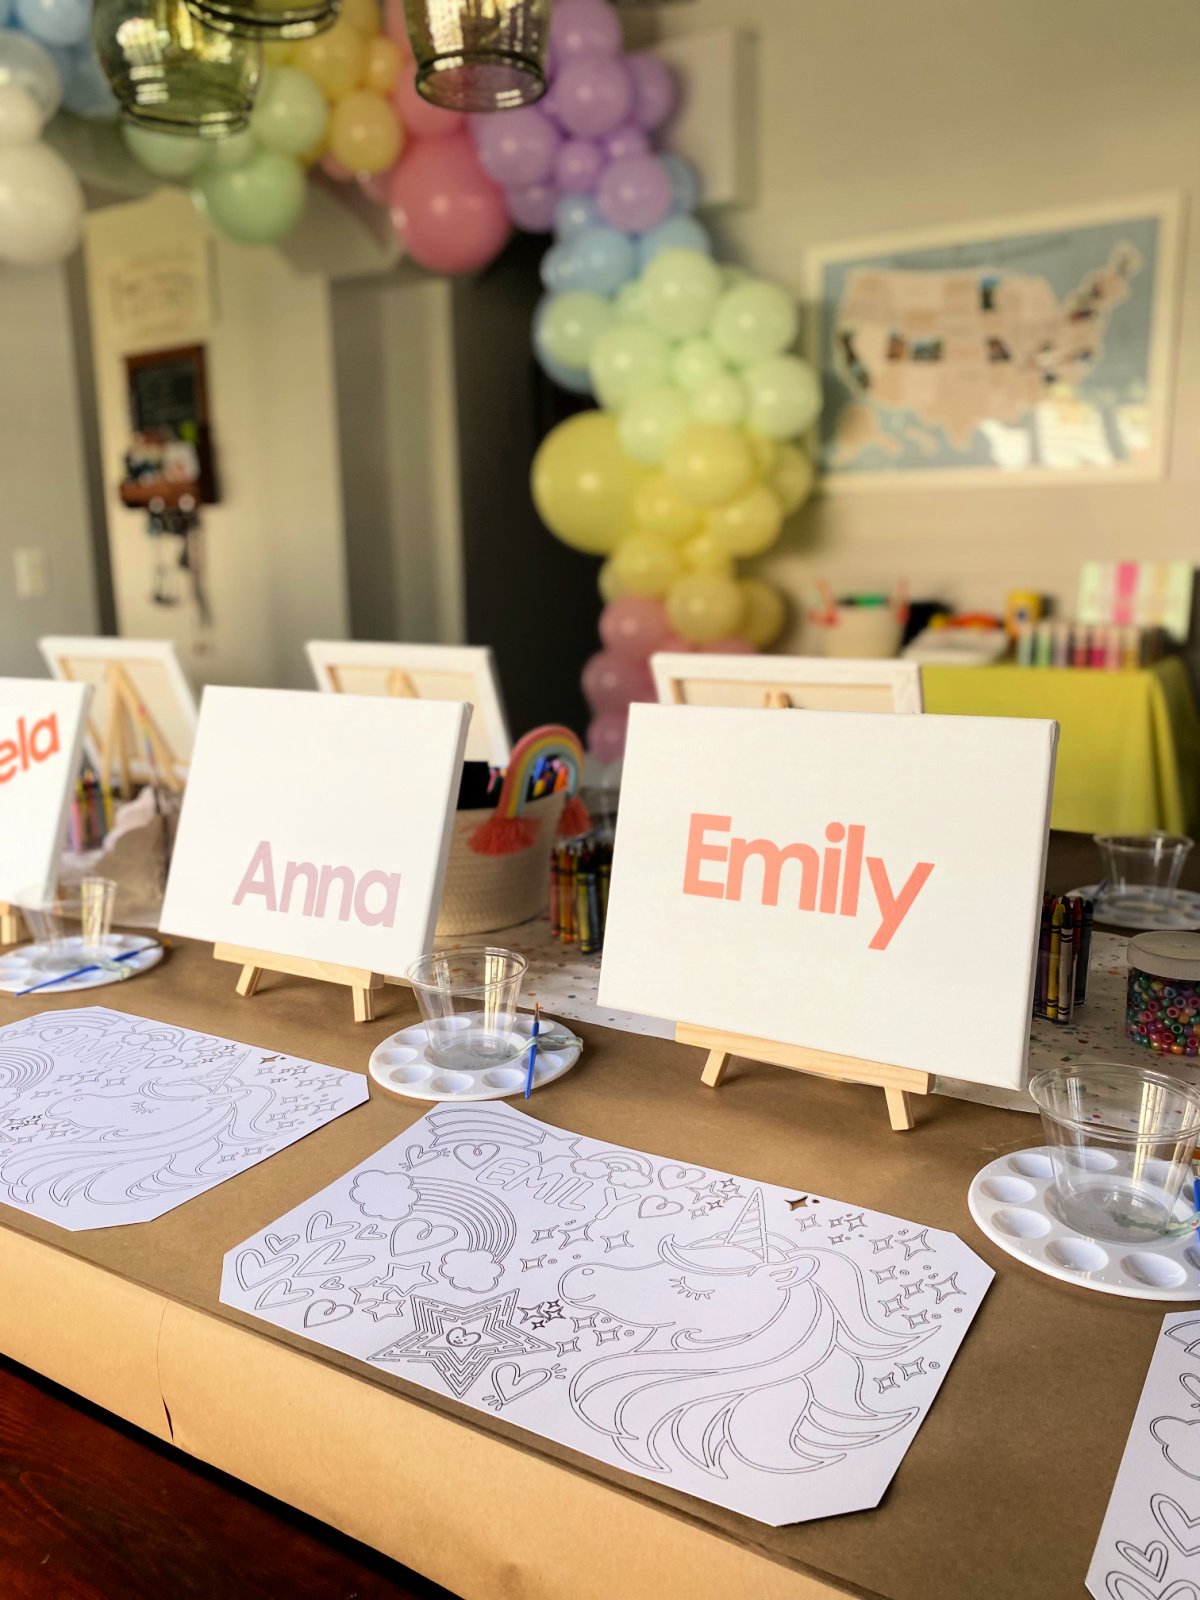
Our second art activity of the party was painting canvases. I wanted to create a project that would hopefully look nice and that the girls would display in their bedrooms.
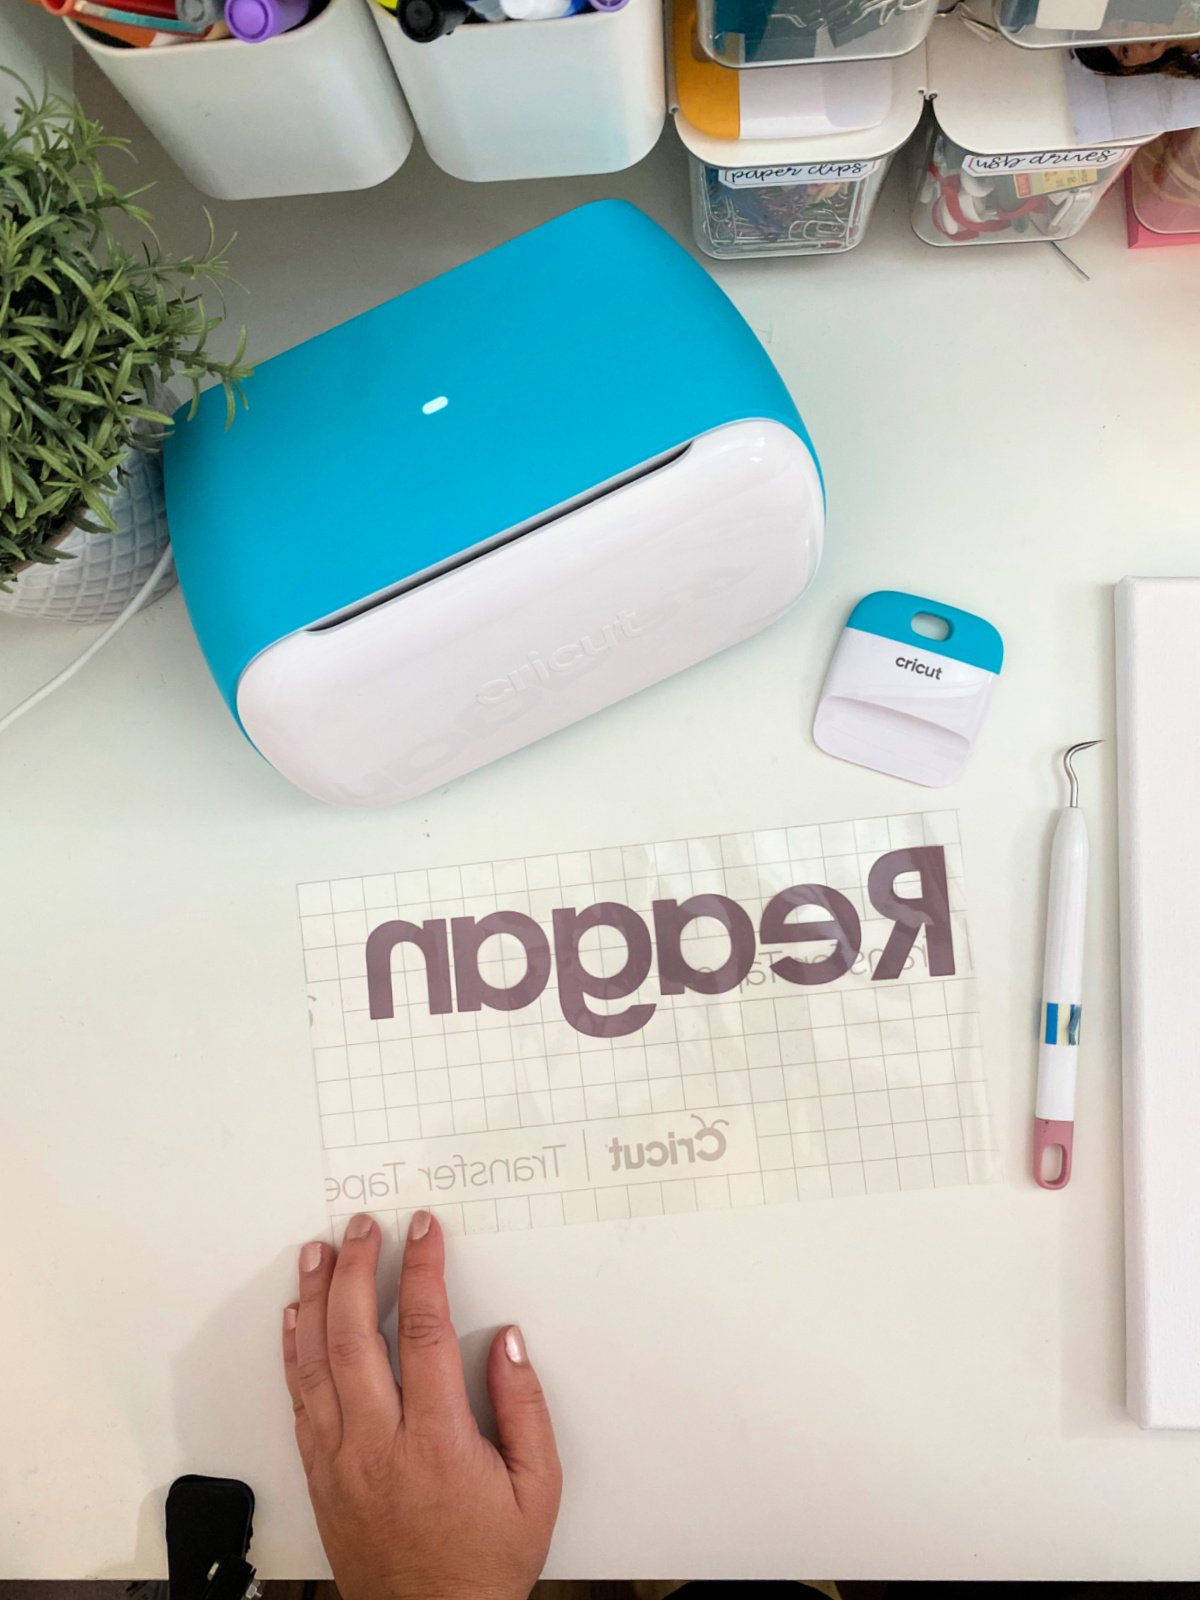
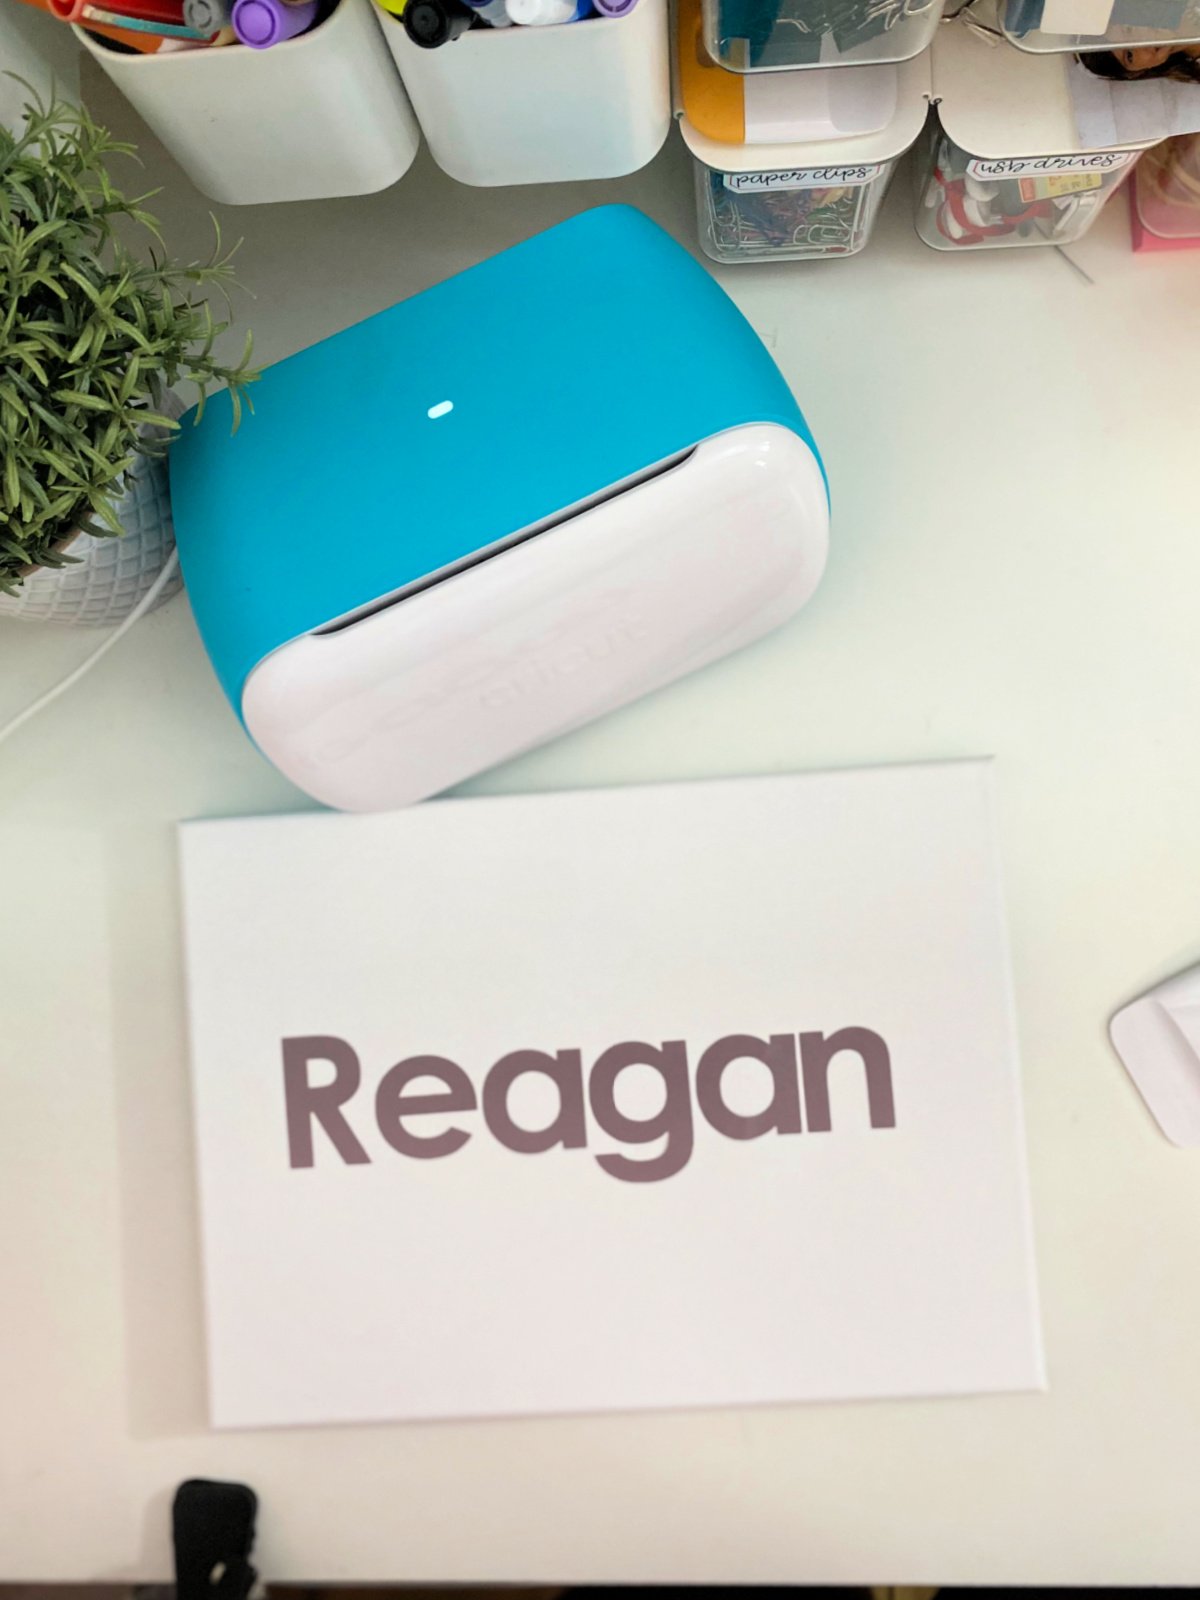
I cut each girls name out on vinyl using my Cricut Joy. Then I adhered them carefully to the canvas. I used removable vinyl so I could easily remove it off the canvas once the girls painted over their names.
The main goal of this project was to paint over their names. Everyone did a great job. Overall, everyone had minimal mess and spills.
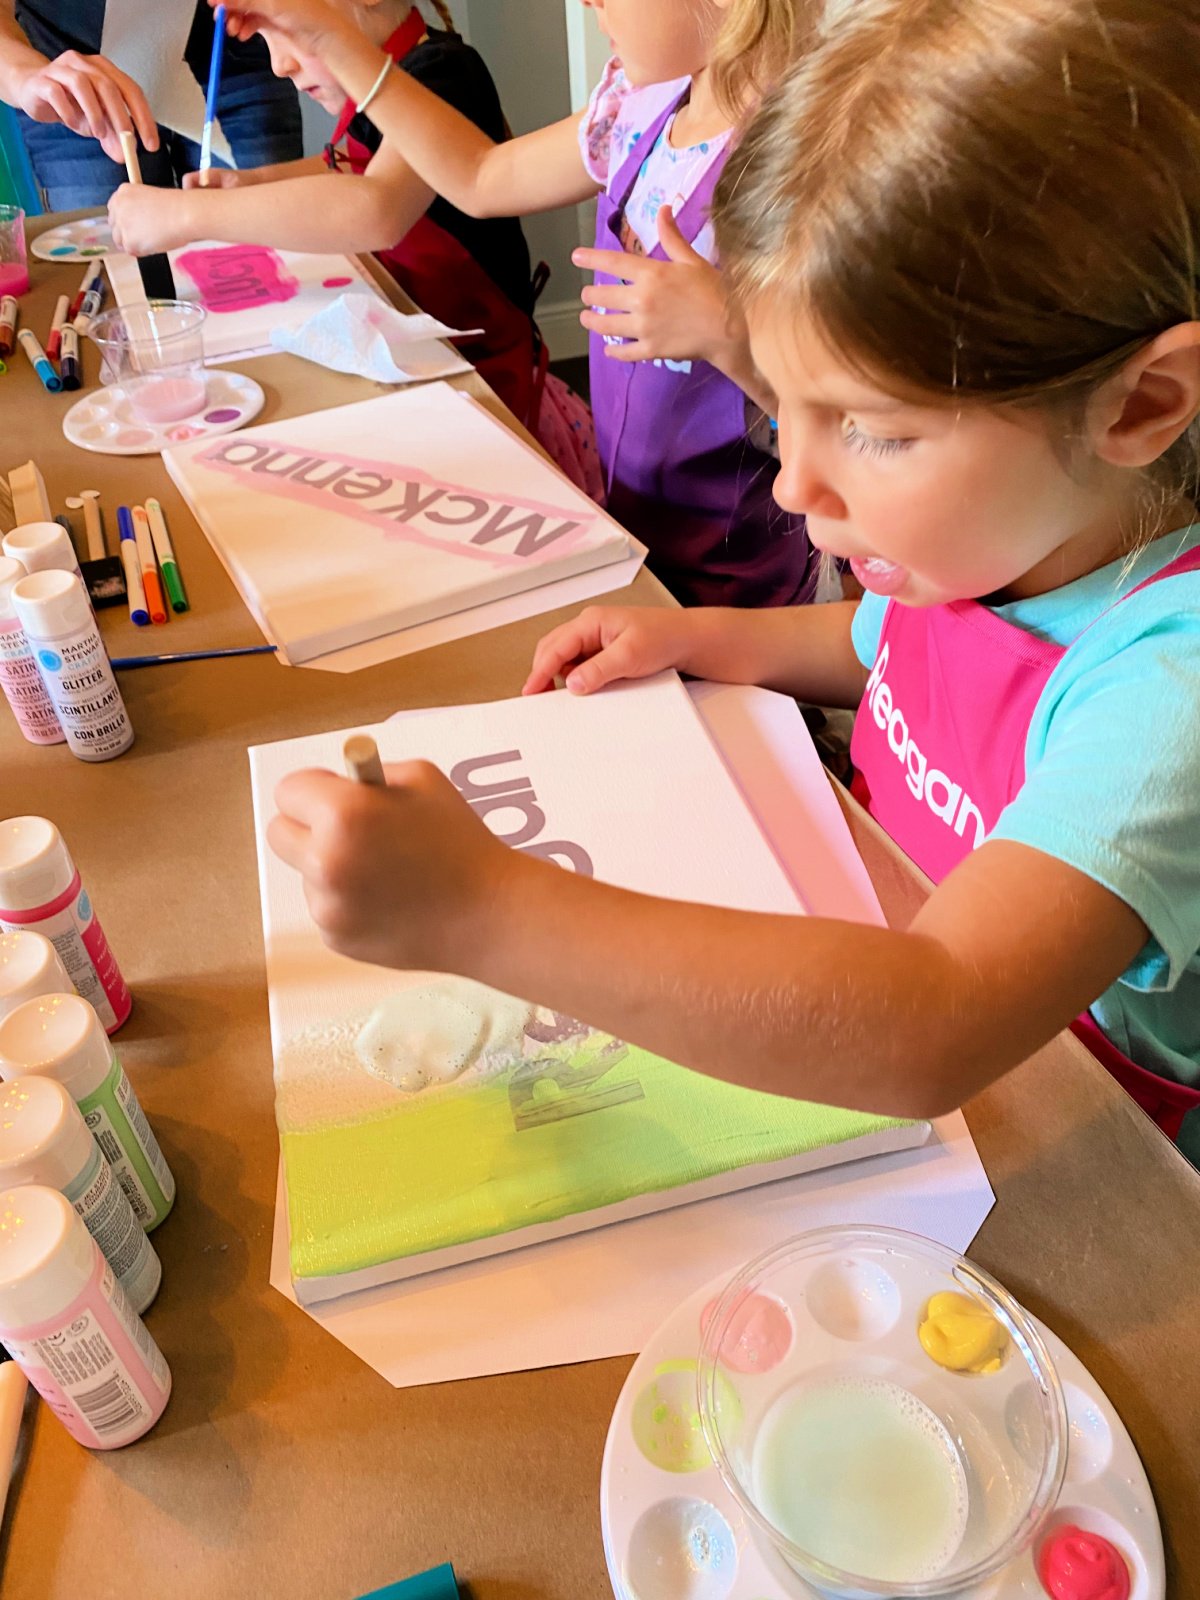
This is a project where all the mom’s had to step in and help. I had a wide variety of acrylic paints on a side table. Each girl had a paint palette, paint brush, and cup for rinse water. As girls were picking out paints I was filling their cups with a little water. A friend let me borrow small wooden easels. These came in handy for displaying and for when the girls wanted to paint the edges.
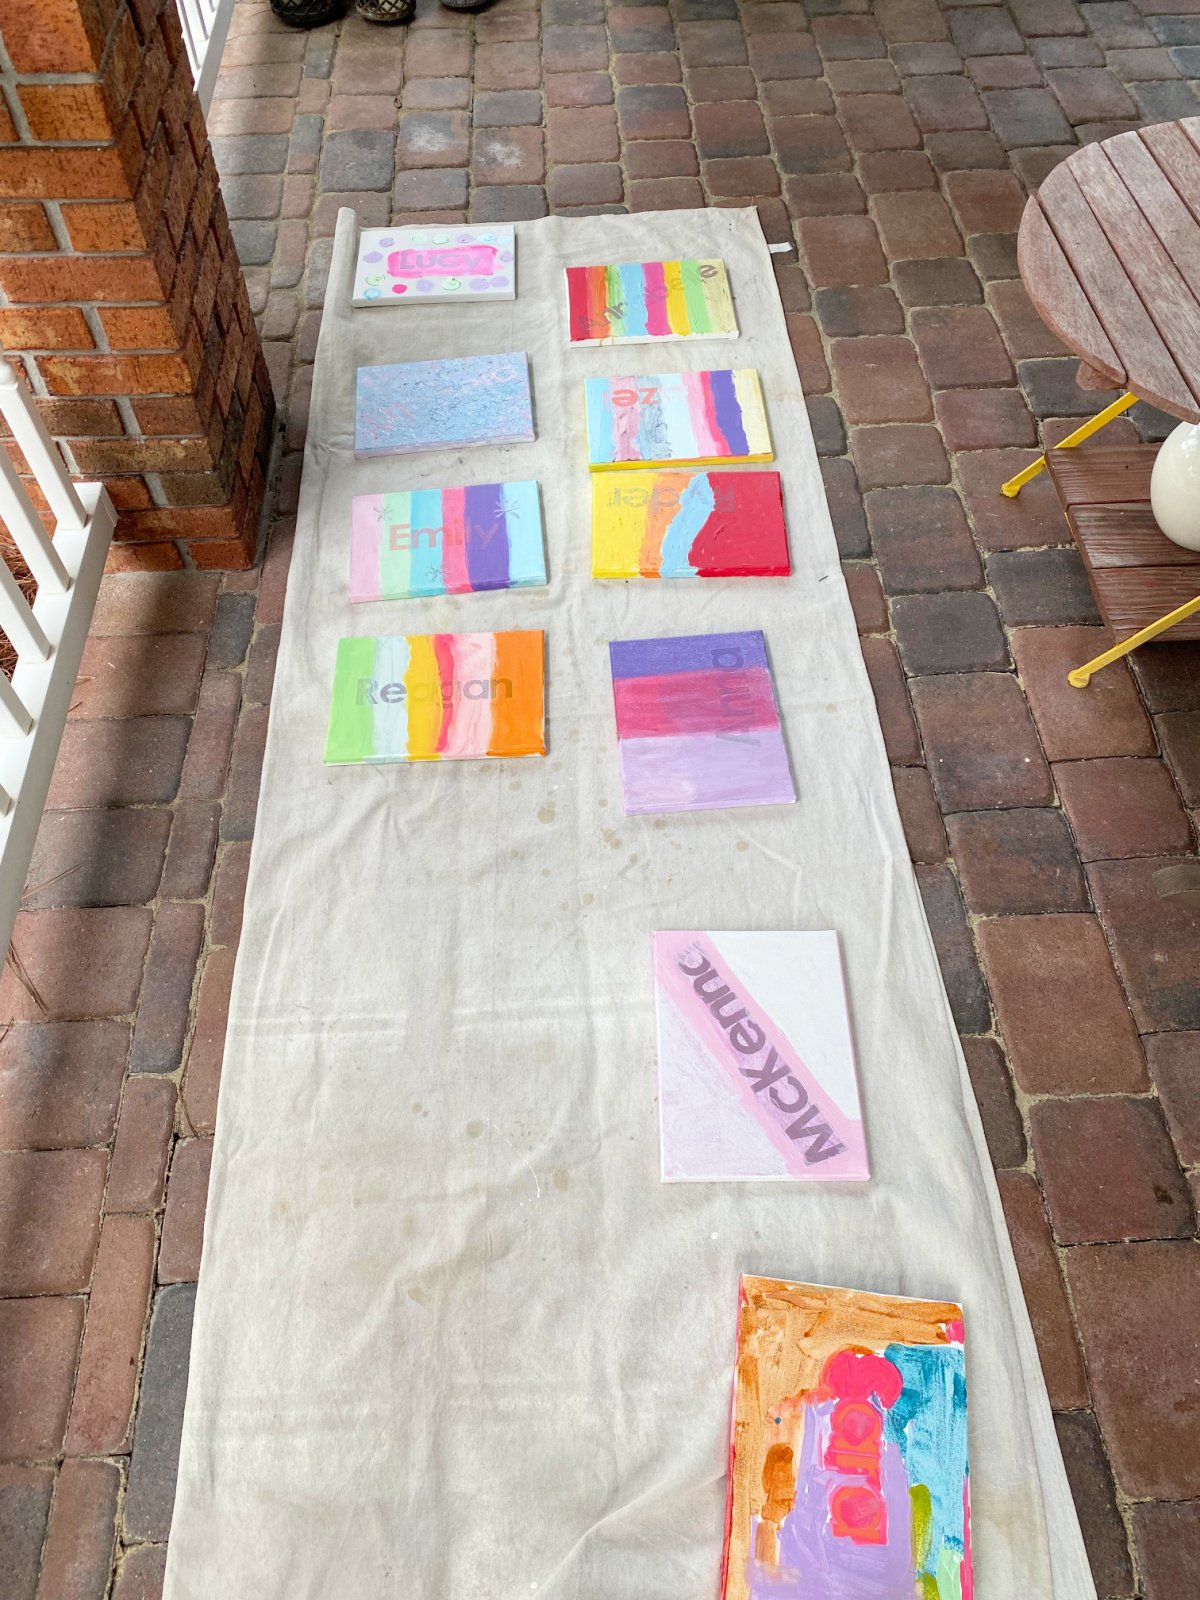
Once the girls were done they placed their paintings on the drop cloth that we put outside.
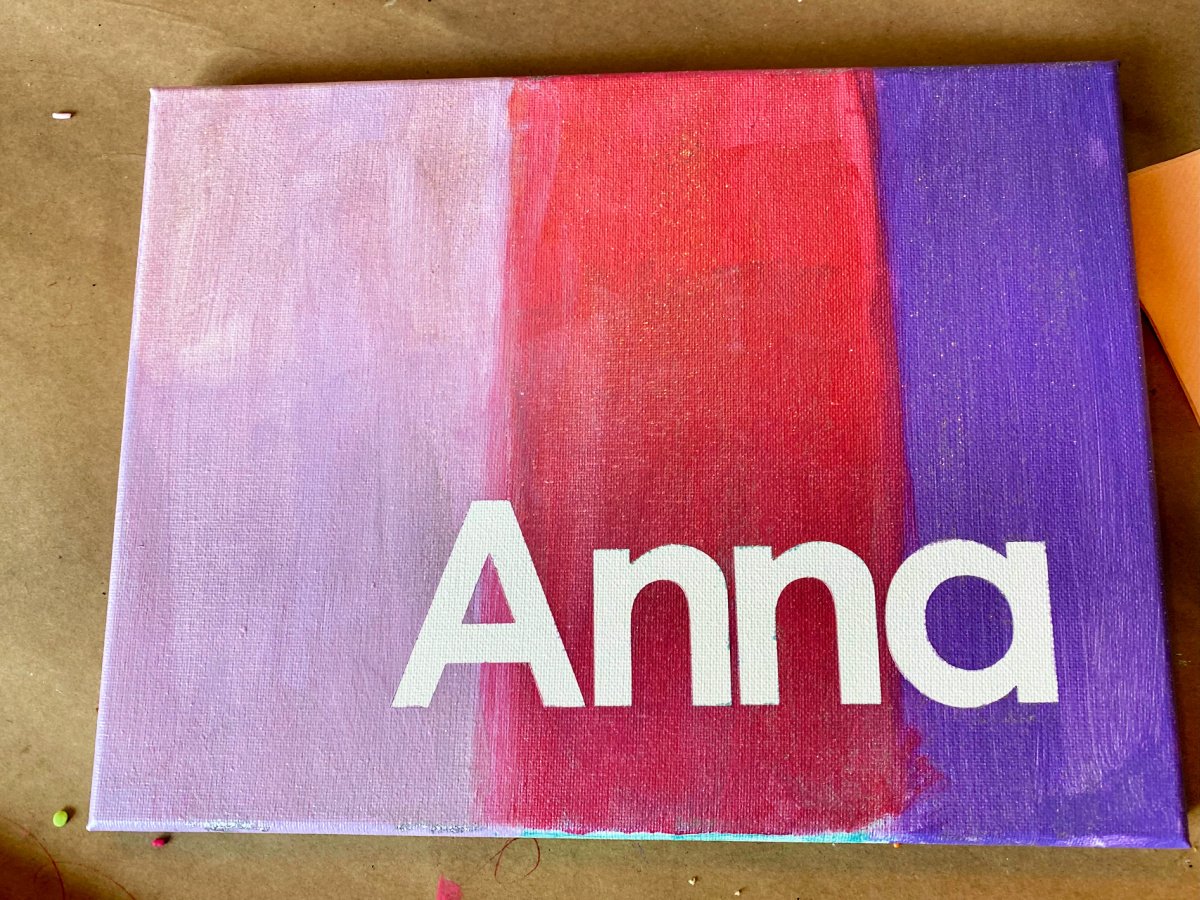
After the painting was dried I took my weeding tool and carefully started to peel the corners off the girls name. The girls loved watching their painting transform before them.
Tips for a Home Paint Party
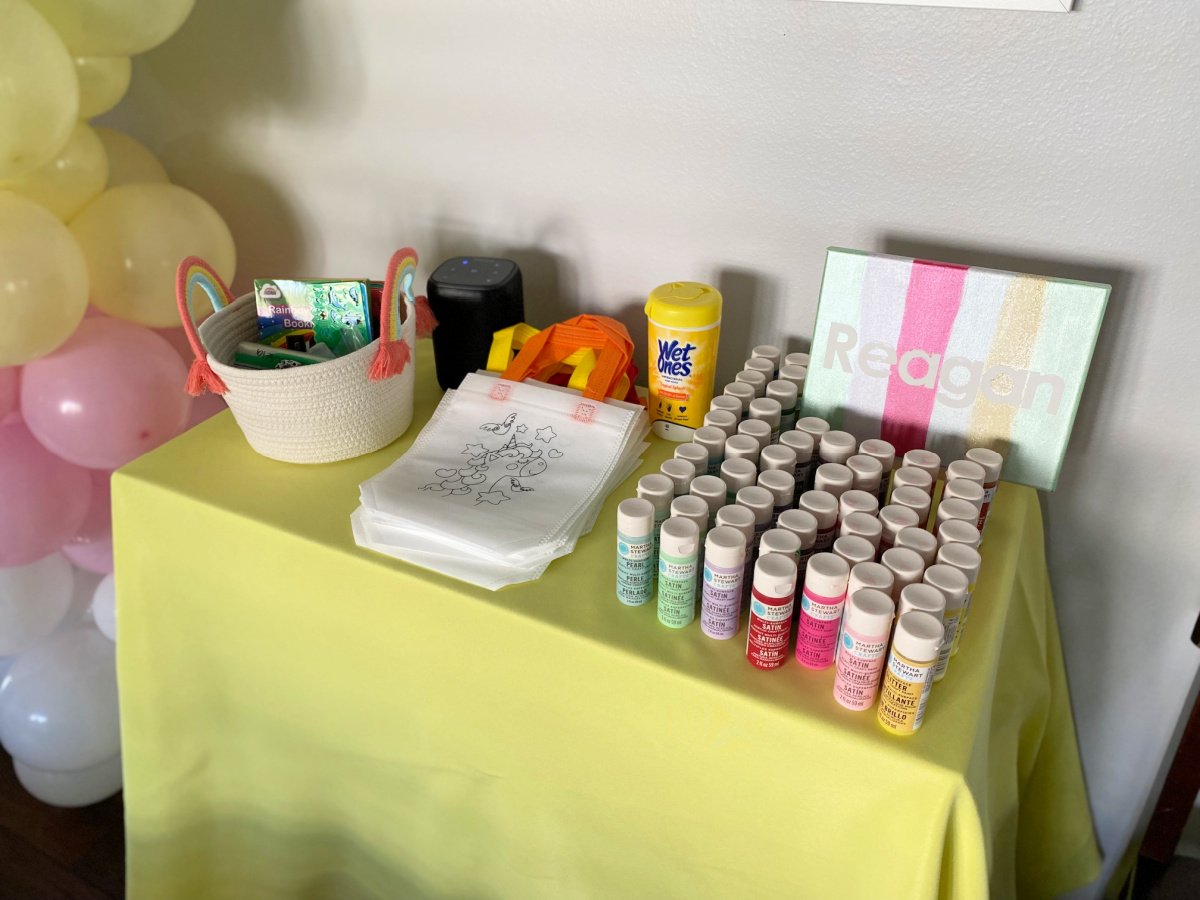
Here are a few of the tips I have for hosting your own at home paint party.
- Wrap your Table – We wrapped our table a few times with brown paper to protect it from the paint.
- Rinse Cups – Have multiple clear disposable cups ready for paint brush rinses. If you are using acrylic the water gets dirty fast. We were constantly running to the kitchen to dump rinse cups and refill with fresh water.
- Paint Brushes – Make sure you have a wide variety of sizes. I had a thin paint brush for each girl. Last minute, I grabbed some larger sponge brushes and I’m glad I did.
- Paint Palette – I ordered a stack of paint palette’s from Amazon.
- Paper Towels – I quickly realized I needed a roll of paper towels close by.
- Hand Wipes – I had a container of hand wipes for kiddos that needed hands or arms wiped quickly.
- Trash Bag – We had a few spills of rinse water on our table. We sopped up the spill with paper towels and then needed a trash bag. We also need a trash bag for the sealed bottles of paint that we had to open.
- Paint – We used acrylic paint for our canvases.
- Drop Cloth – We placed a drop cloth outside our home where we moved the canvases to dry.
How to Make Beaded Bracelets
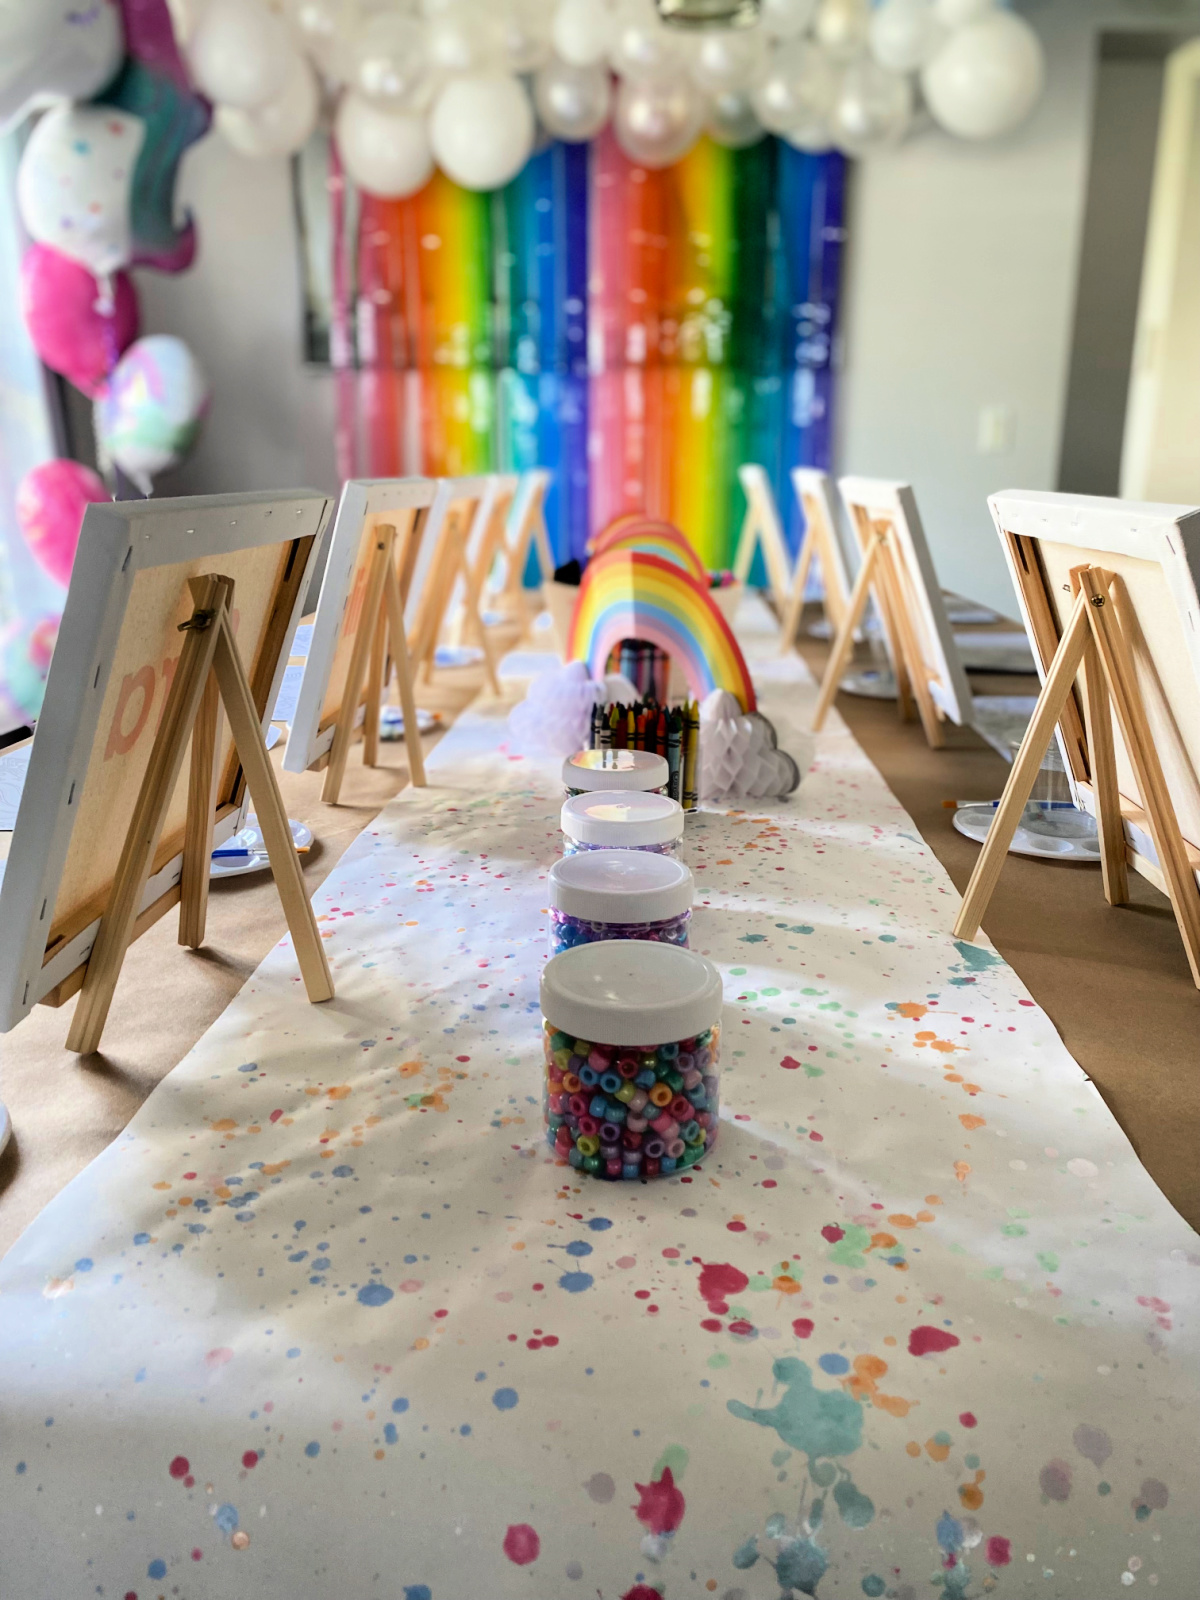
After we ate lunch we worked on scratch mark bookmarks, coloring our goody bags, and making beaded bracelets and necklaces. I made sure to have a wide variety of color coordinated beads as well as colored letters and black and white beaded letters.
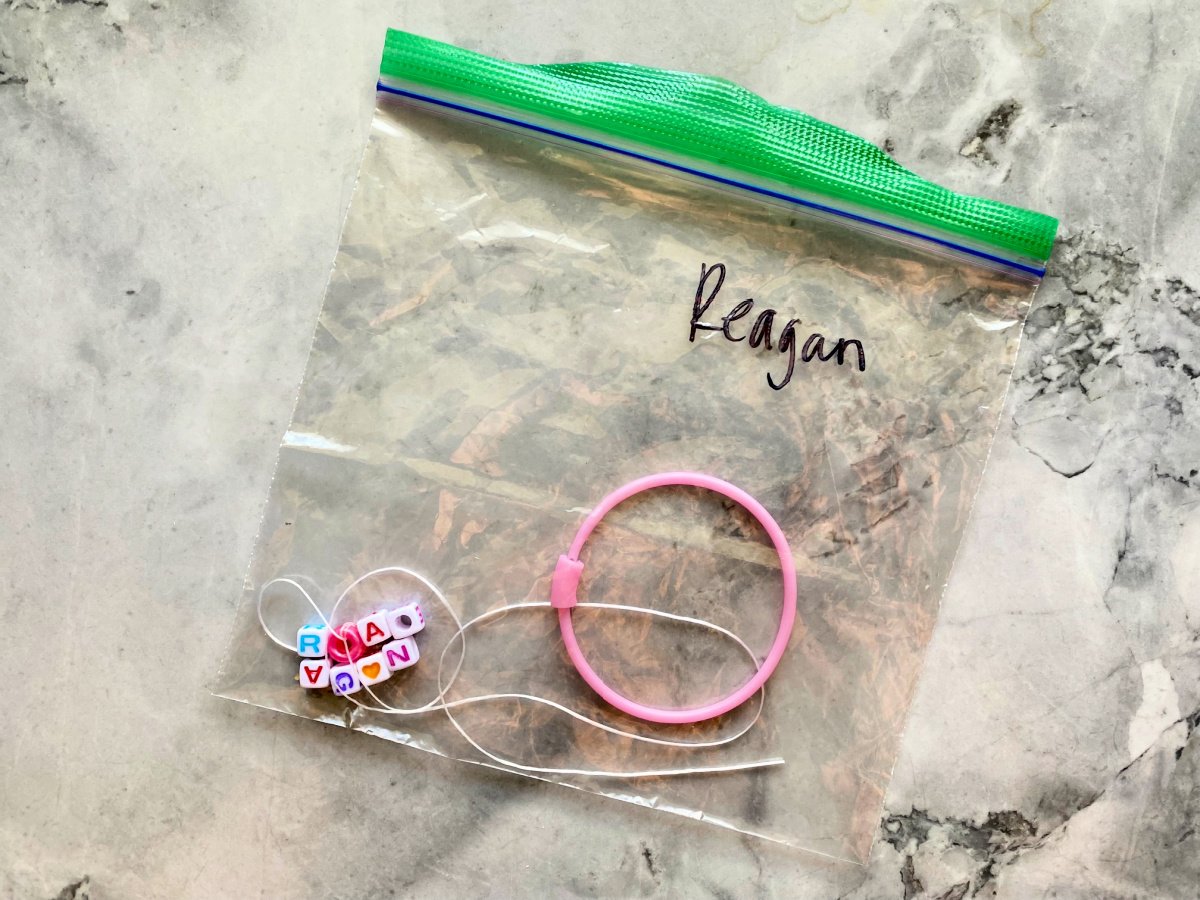
I prepared ahead of time by having my daughter find each of her friends names with the colored letter beads. I found these plastic bracelets at Michael’s Craft Store. I placed both in a ziplock baggie.
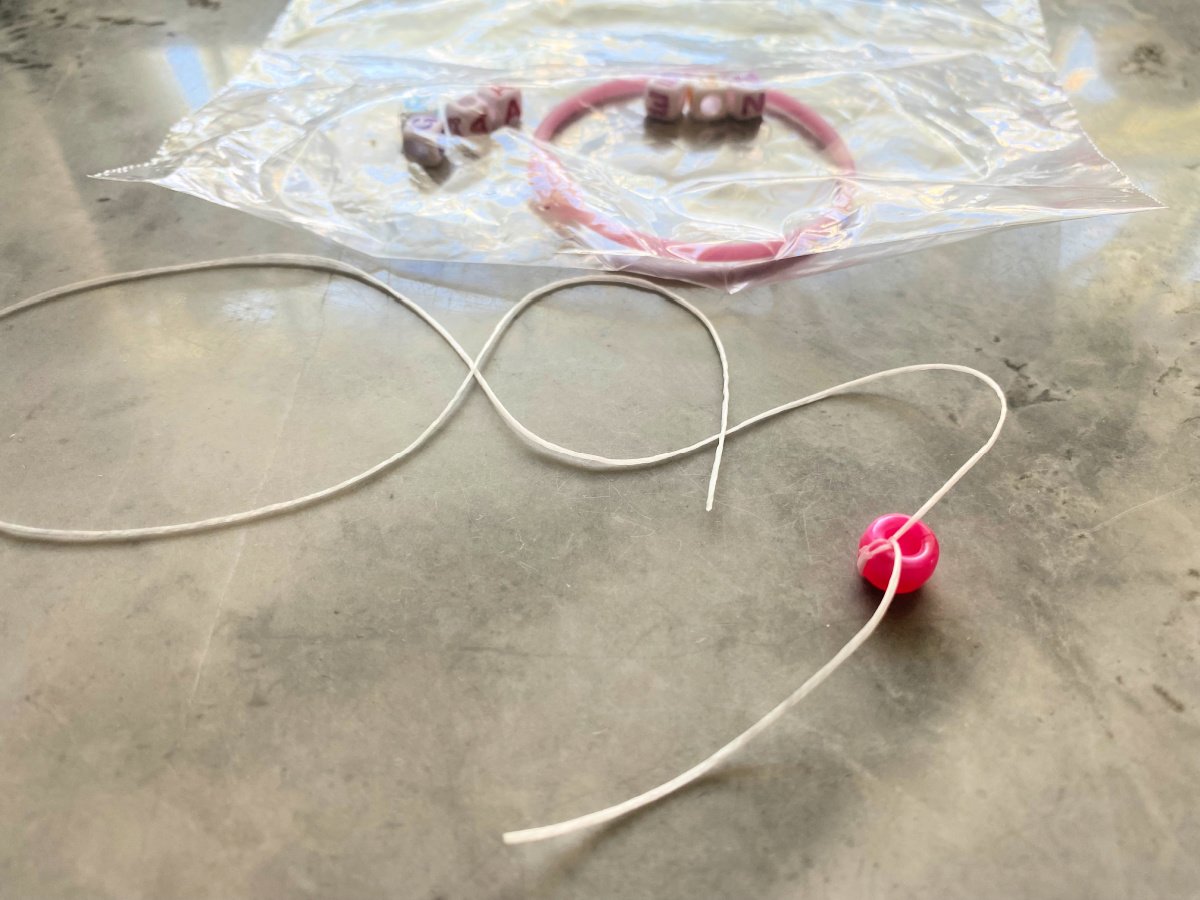
I also measured out and tied on a bead to the end of elastic cord so that the girls could begin to make their own necklaces. Preparing ahead of time was key. Since we did this activity toward the end some girls were not as interested and the mom’s ended up making them!
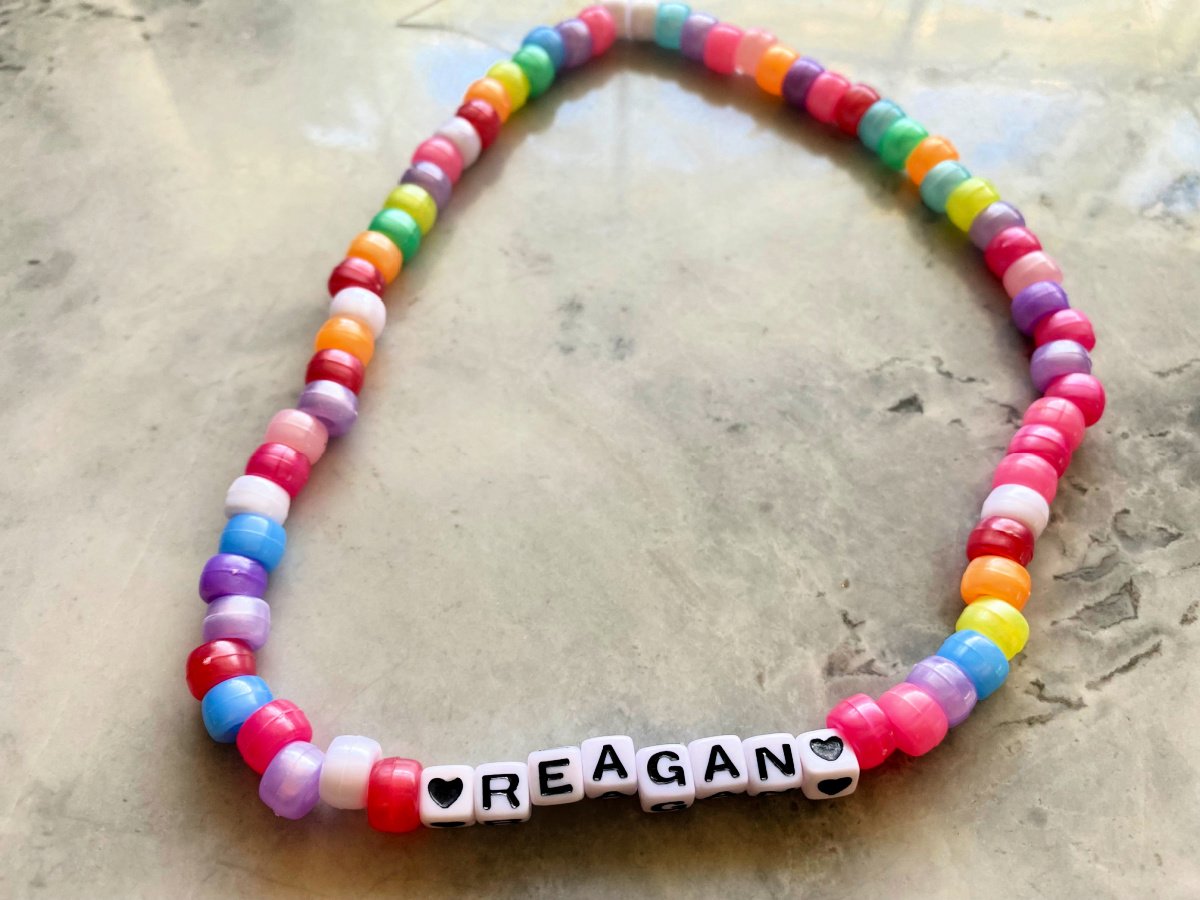
PRO TIP – If you use the stretchy corded string you will want to tie 4-6 double knots and loop it around the bead a few times.
Art Party Food
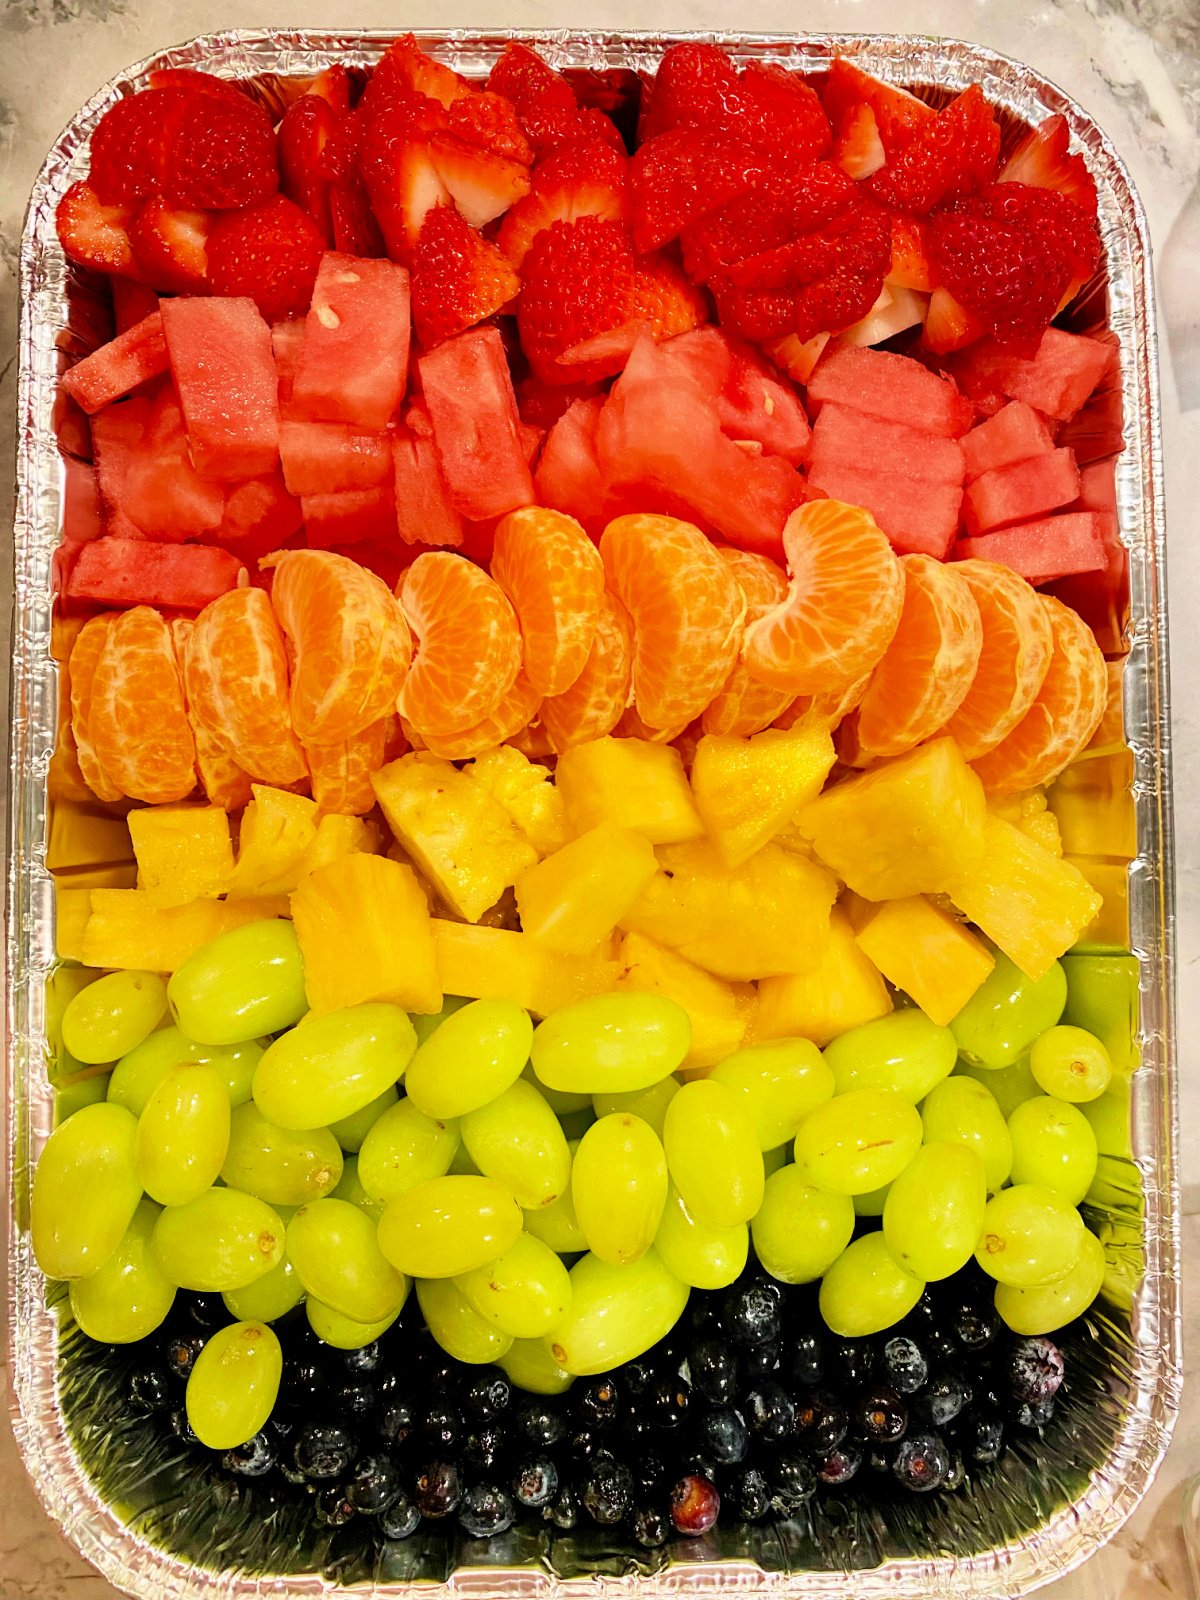
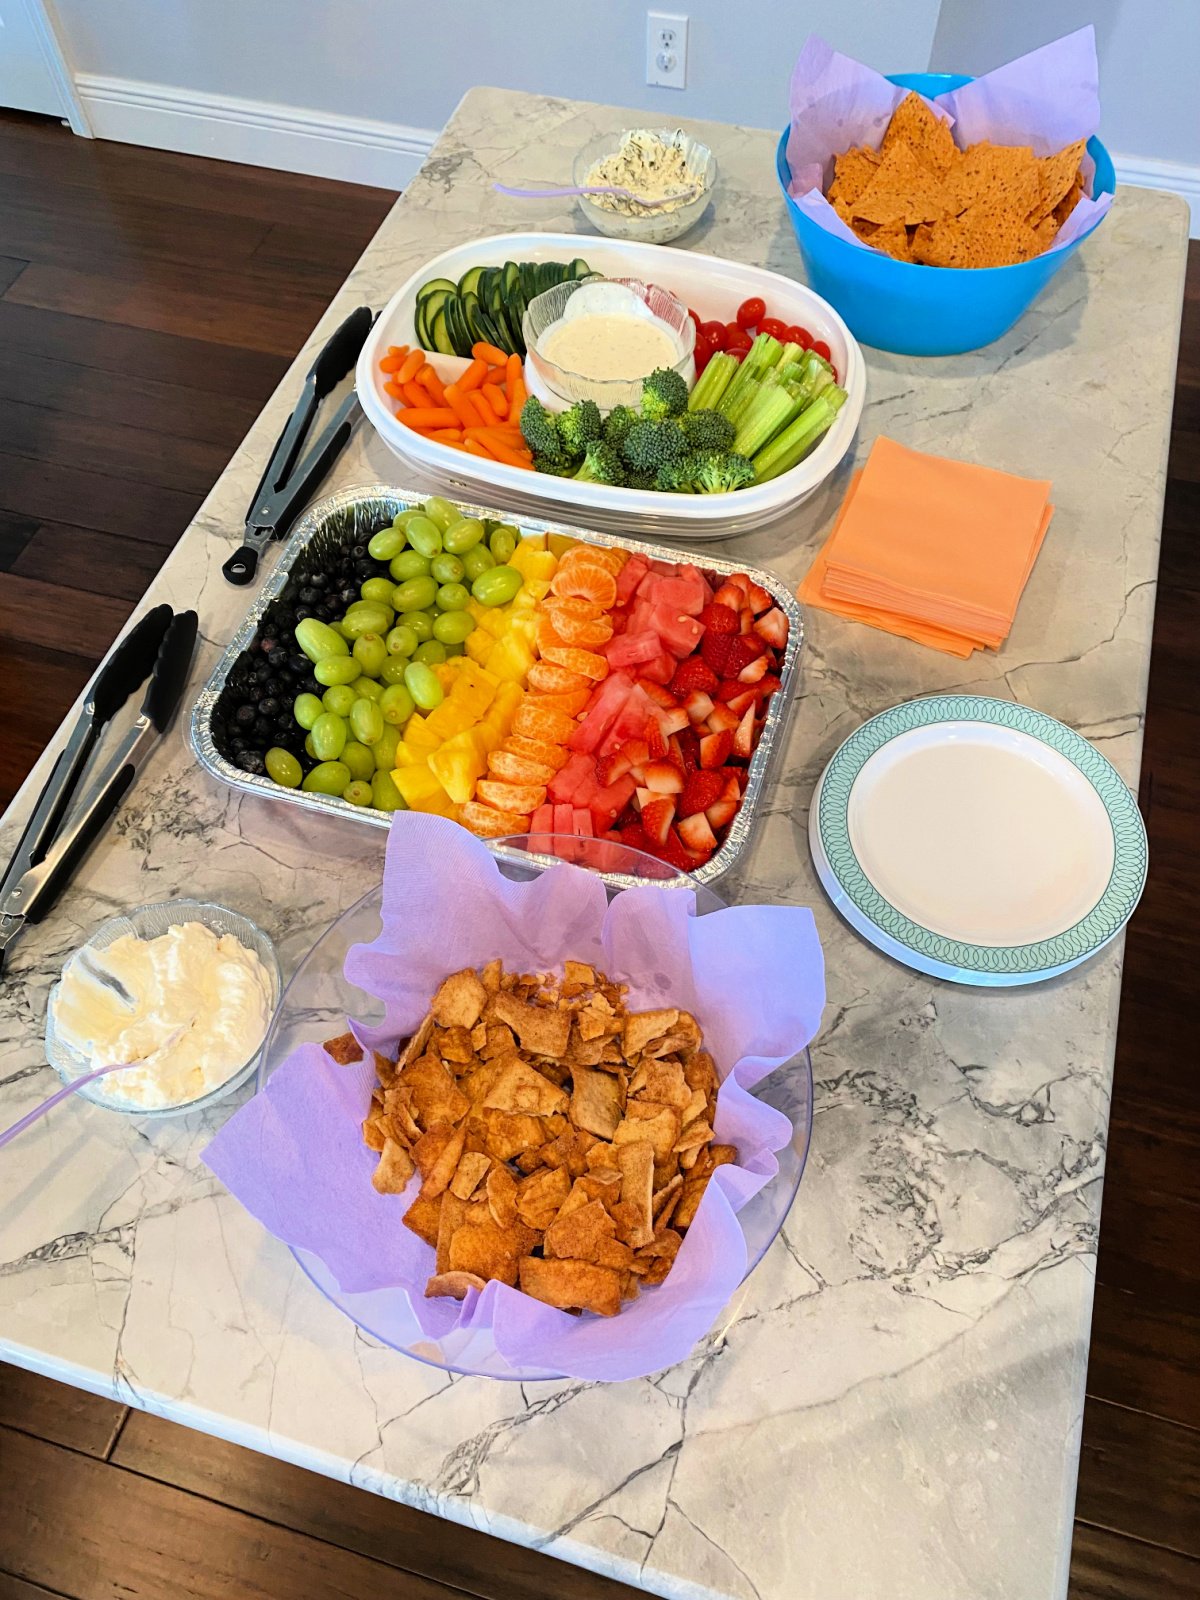
I didn’t go crazy with the food for our Art Party. My daughter requested a vegetable tray with ranch dip and fruit tray. I did my best to make a rainbow fruit tray. Everyone was impressed with the rainbow fruit tray. I made a fruit dip and served cinnamon pita chips alongside it. Next to the vegetable tray I had some chia seed tortilla chips with spinach dip. As much as I wanted to do the cute colored coordinated food (like Rice Krispy treats dipped in colored white chocolate to look like paint brushes).
I knew I wanted to spend the bulk of my time on the actual decor and projects. This was enough food to feed about 20. We also had a large salad and ordered 6 pizza which we ended up having 2 whole pizzas left over! We definitely over estimated the amount of pizza.
Paint Party Cupcakes
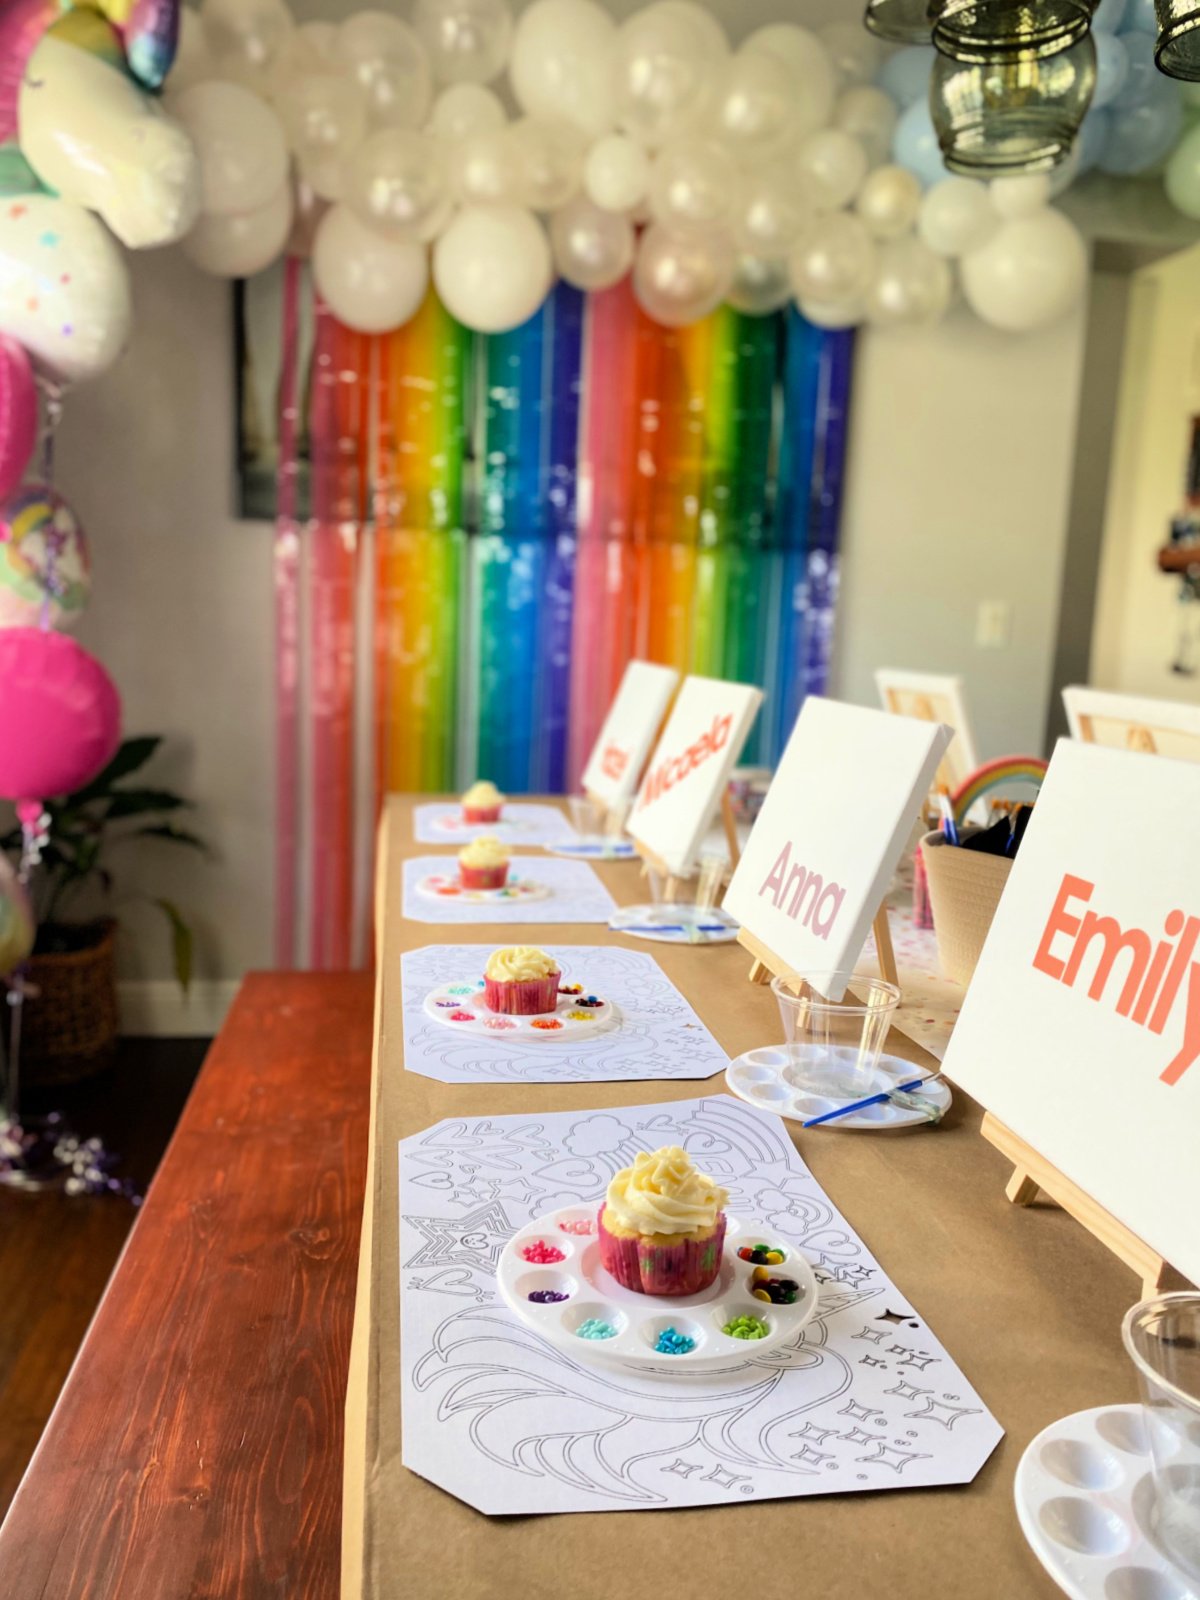
As much as I wanted a really cool cake for my daughters Art Themed Party I knew it wasn’t realistic. I loved the idea of having a vanilla cupcake with vanilla frosting and a paint palette full of different colored sprinkles. What little girl doesn’t dream about decorating their own cupcake?
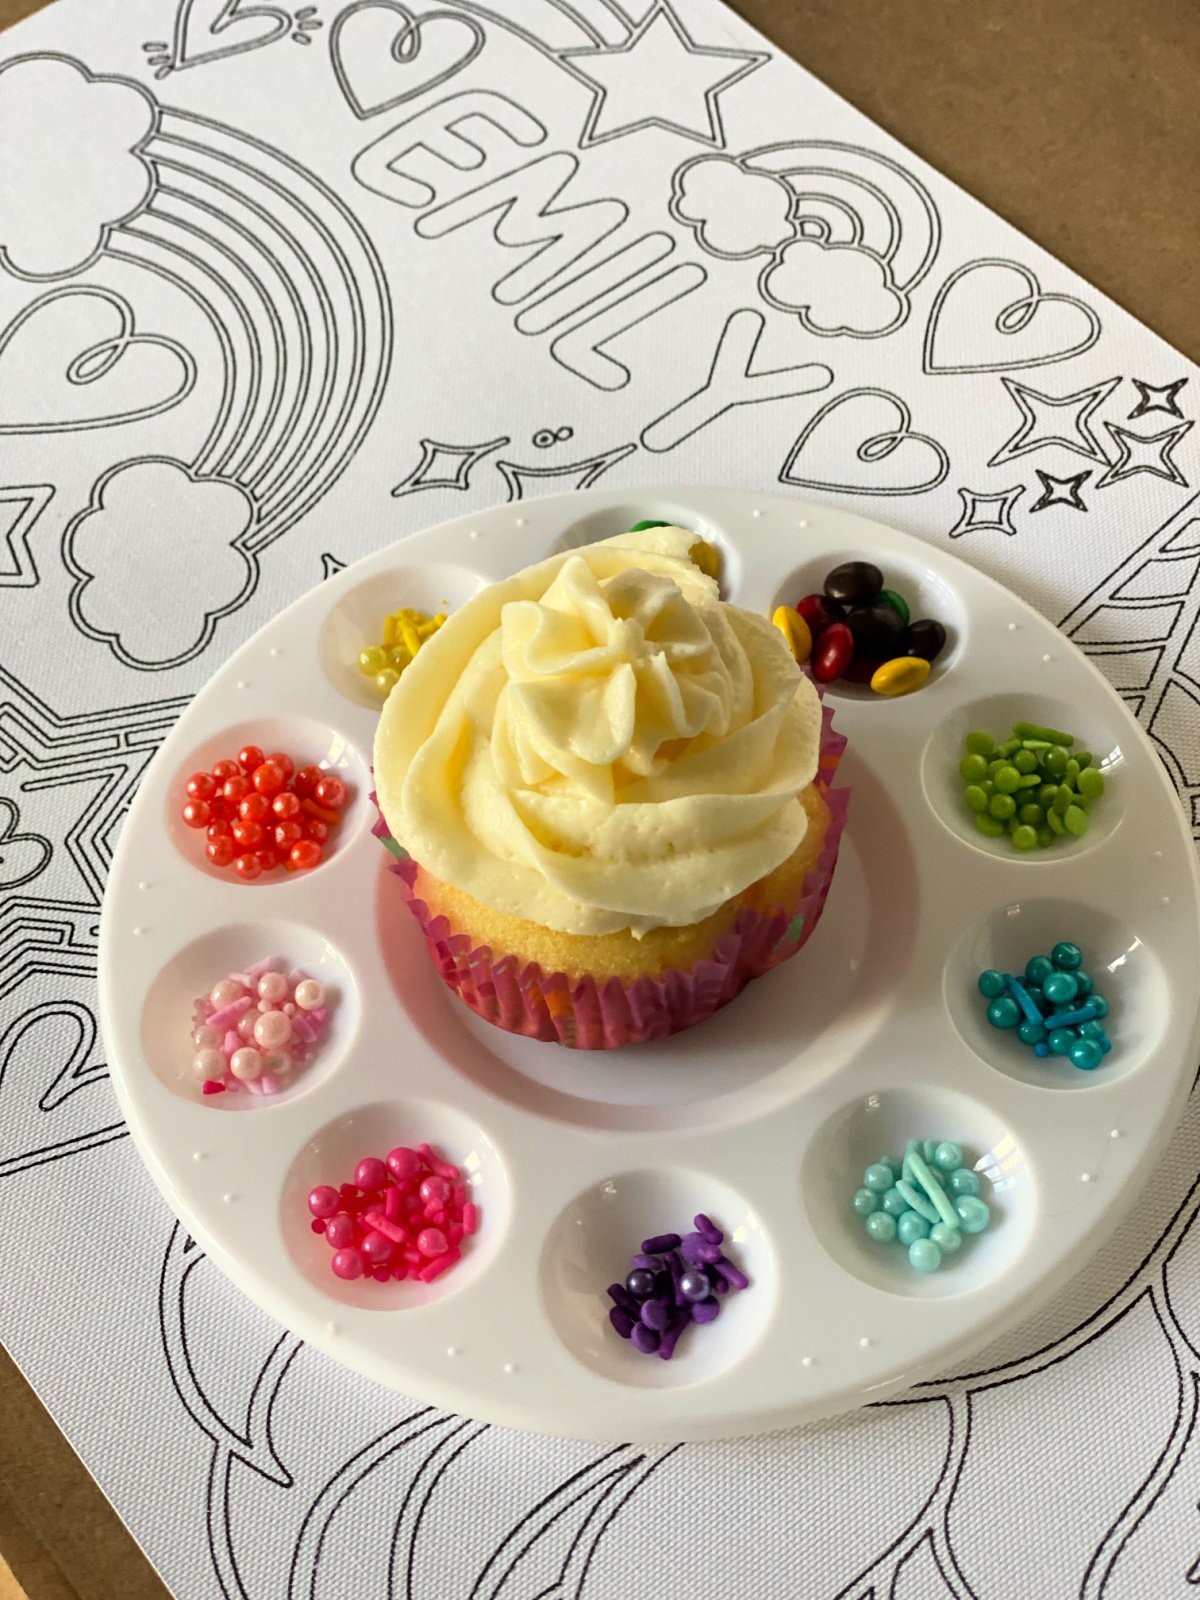
I used some of the plastic paint palette’s I bought from Amazon (I think I got close to 50 of them for only a few dollars) and filled each one with a teaspoon of sprinkles. I had them resting on baking trays before the party so when it was cake time we could easily hand them out!
If you are looking to throw an Art Party I hope that some of my ideas can give you inspiration for you to create your very own Art Birthday Party. Using a Cricut machine is not complicated at all as you can see.
If you throw your own Art Party, I would be honored and love for you to take the time to leave a star rating and comment! I spend hours developing and testing these projects, and always love to hear feedback and user experience!
Don’t forget to FOLLOW ME on Facebook, Pinterest, and Instagram, and subscribe to my email list!
