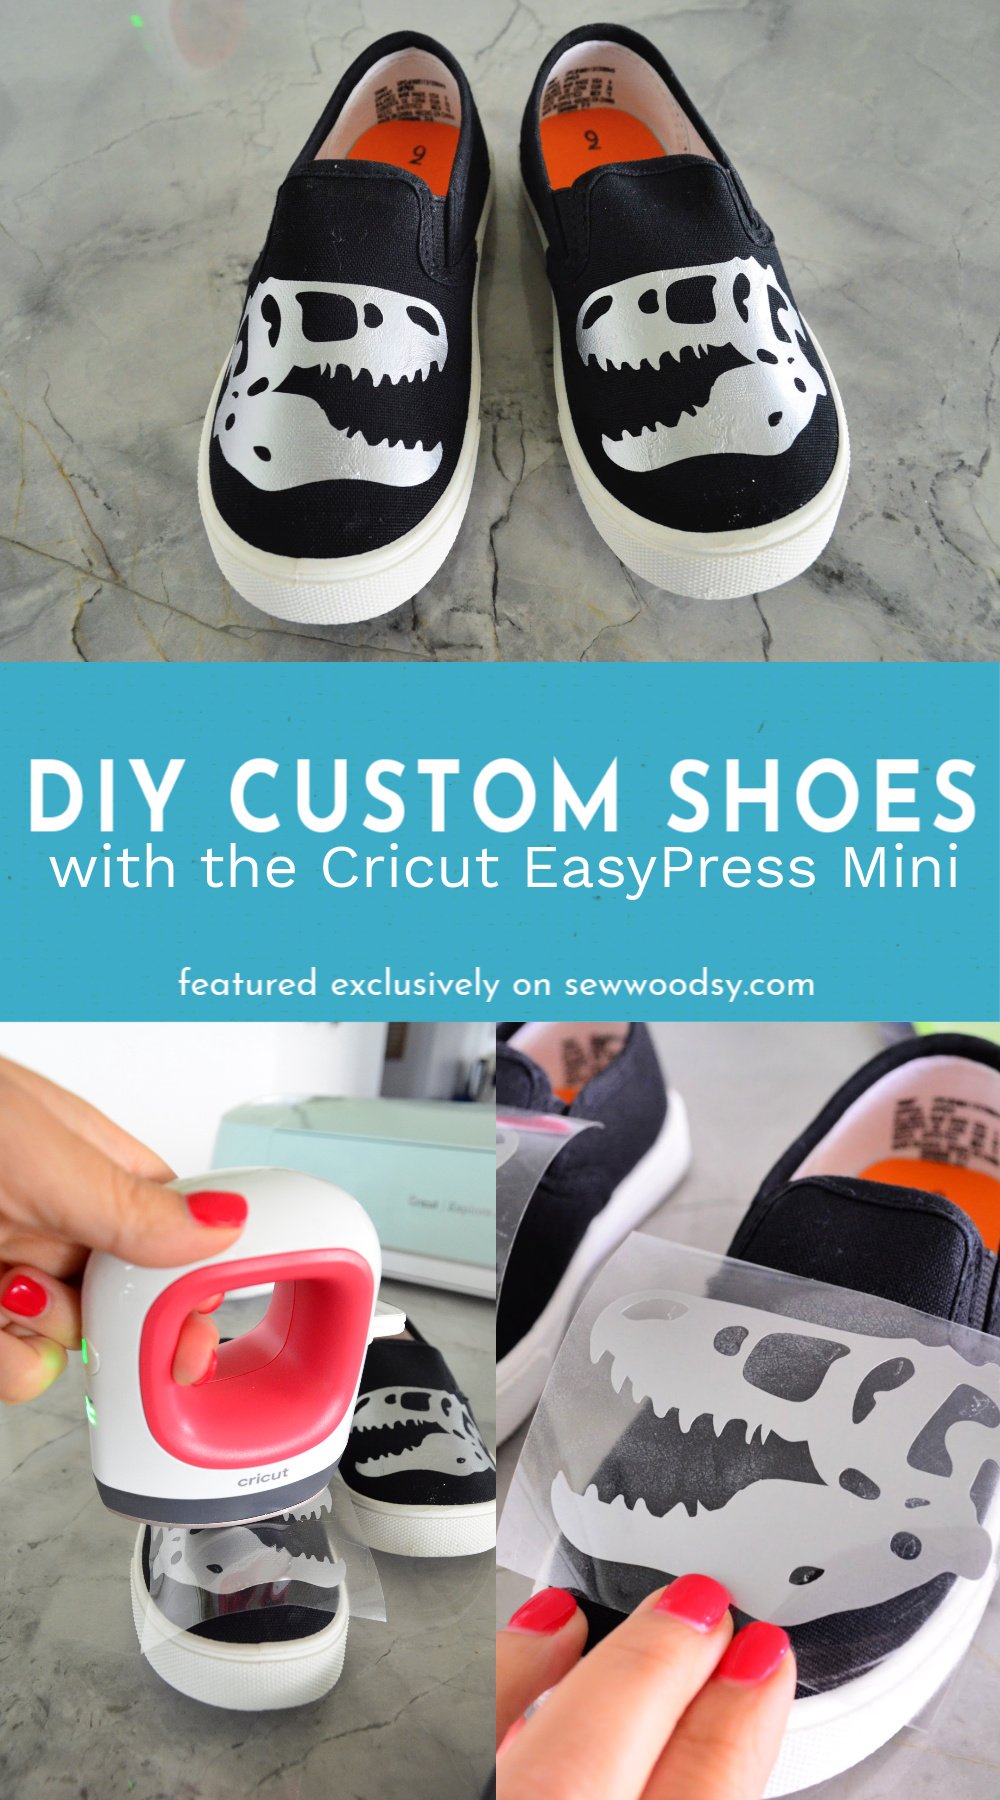
Learn to make DIY Custom Shoes with the Cricut EasyPress Mini. With a few materialism you can transform plain canvas shoes into something unique!
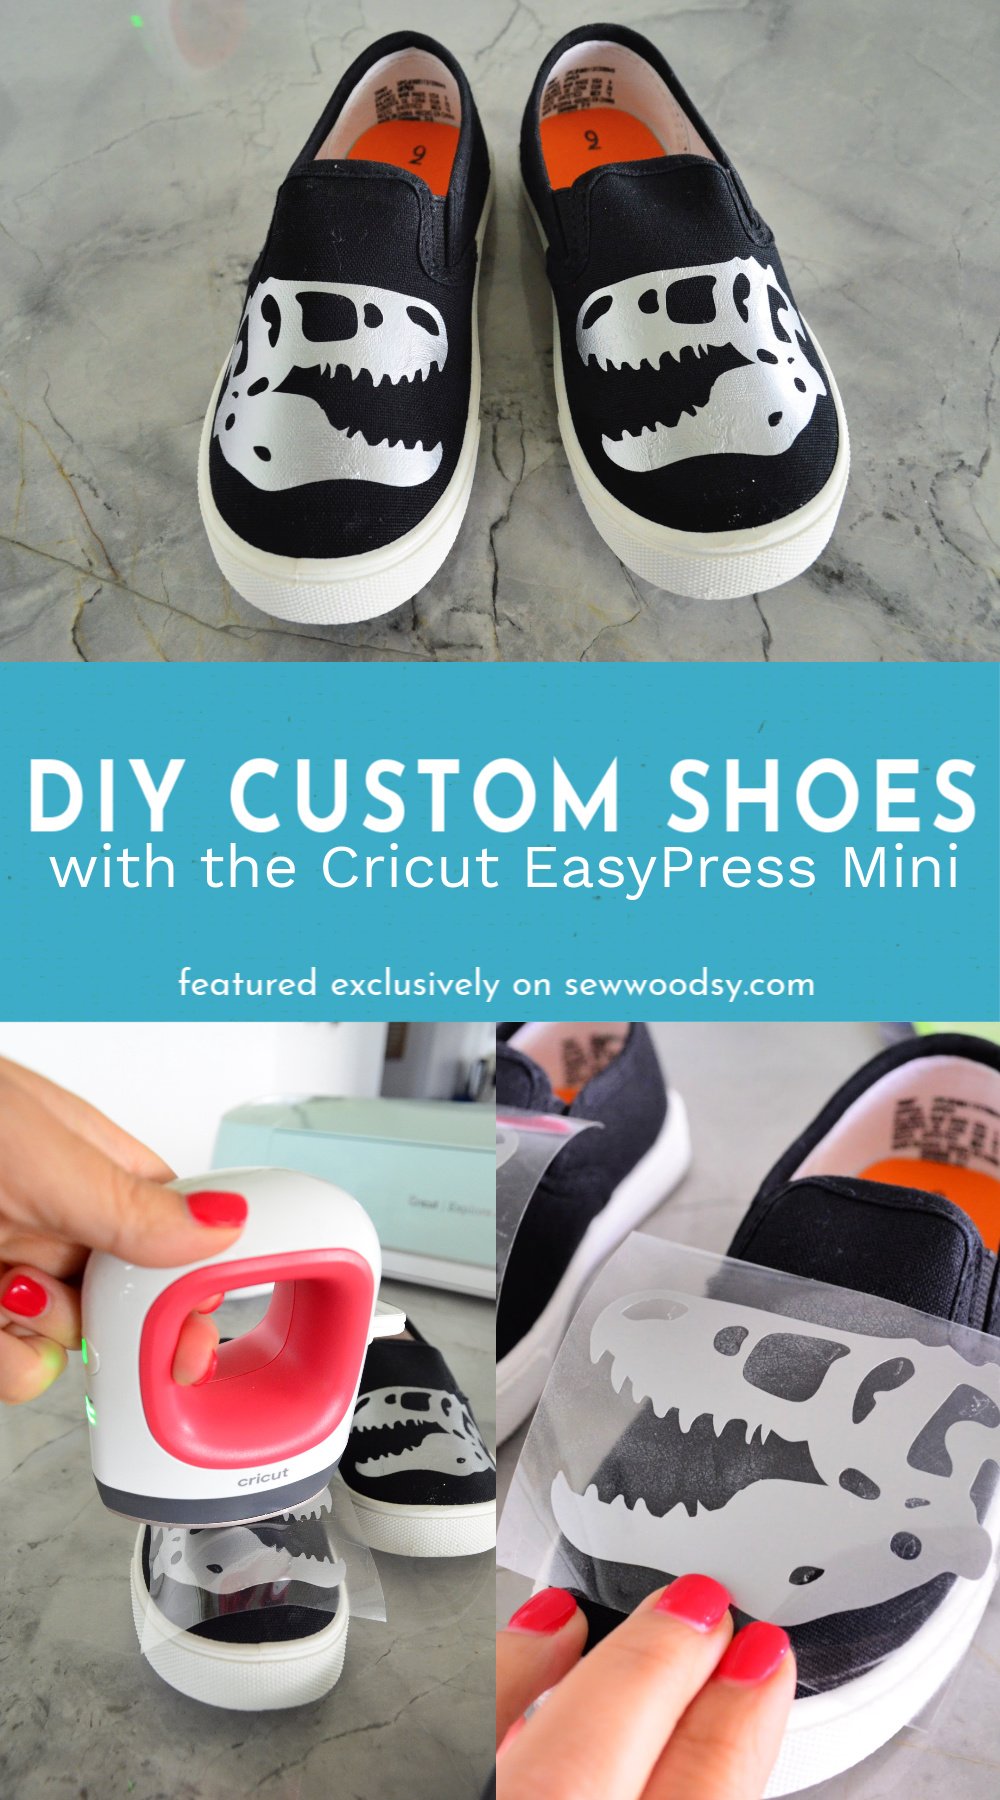
Last year, I shared how to use the new Cricut EasyPress Mini! Like most things in life… I hesitated to open the box for almost a month. Yes, even the craftiest people get intimidated. I finally opened it up and then I quickly became obsessed! I created 2 pairs of custom shoes in a 30 minute time span! Today, I’m excited to share with you how to make DIY custom shoes with the Cricut EasyPress Mini.
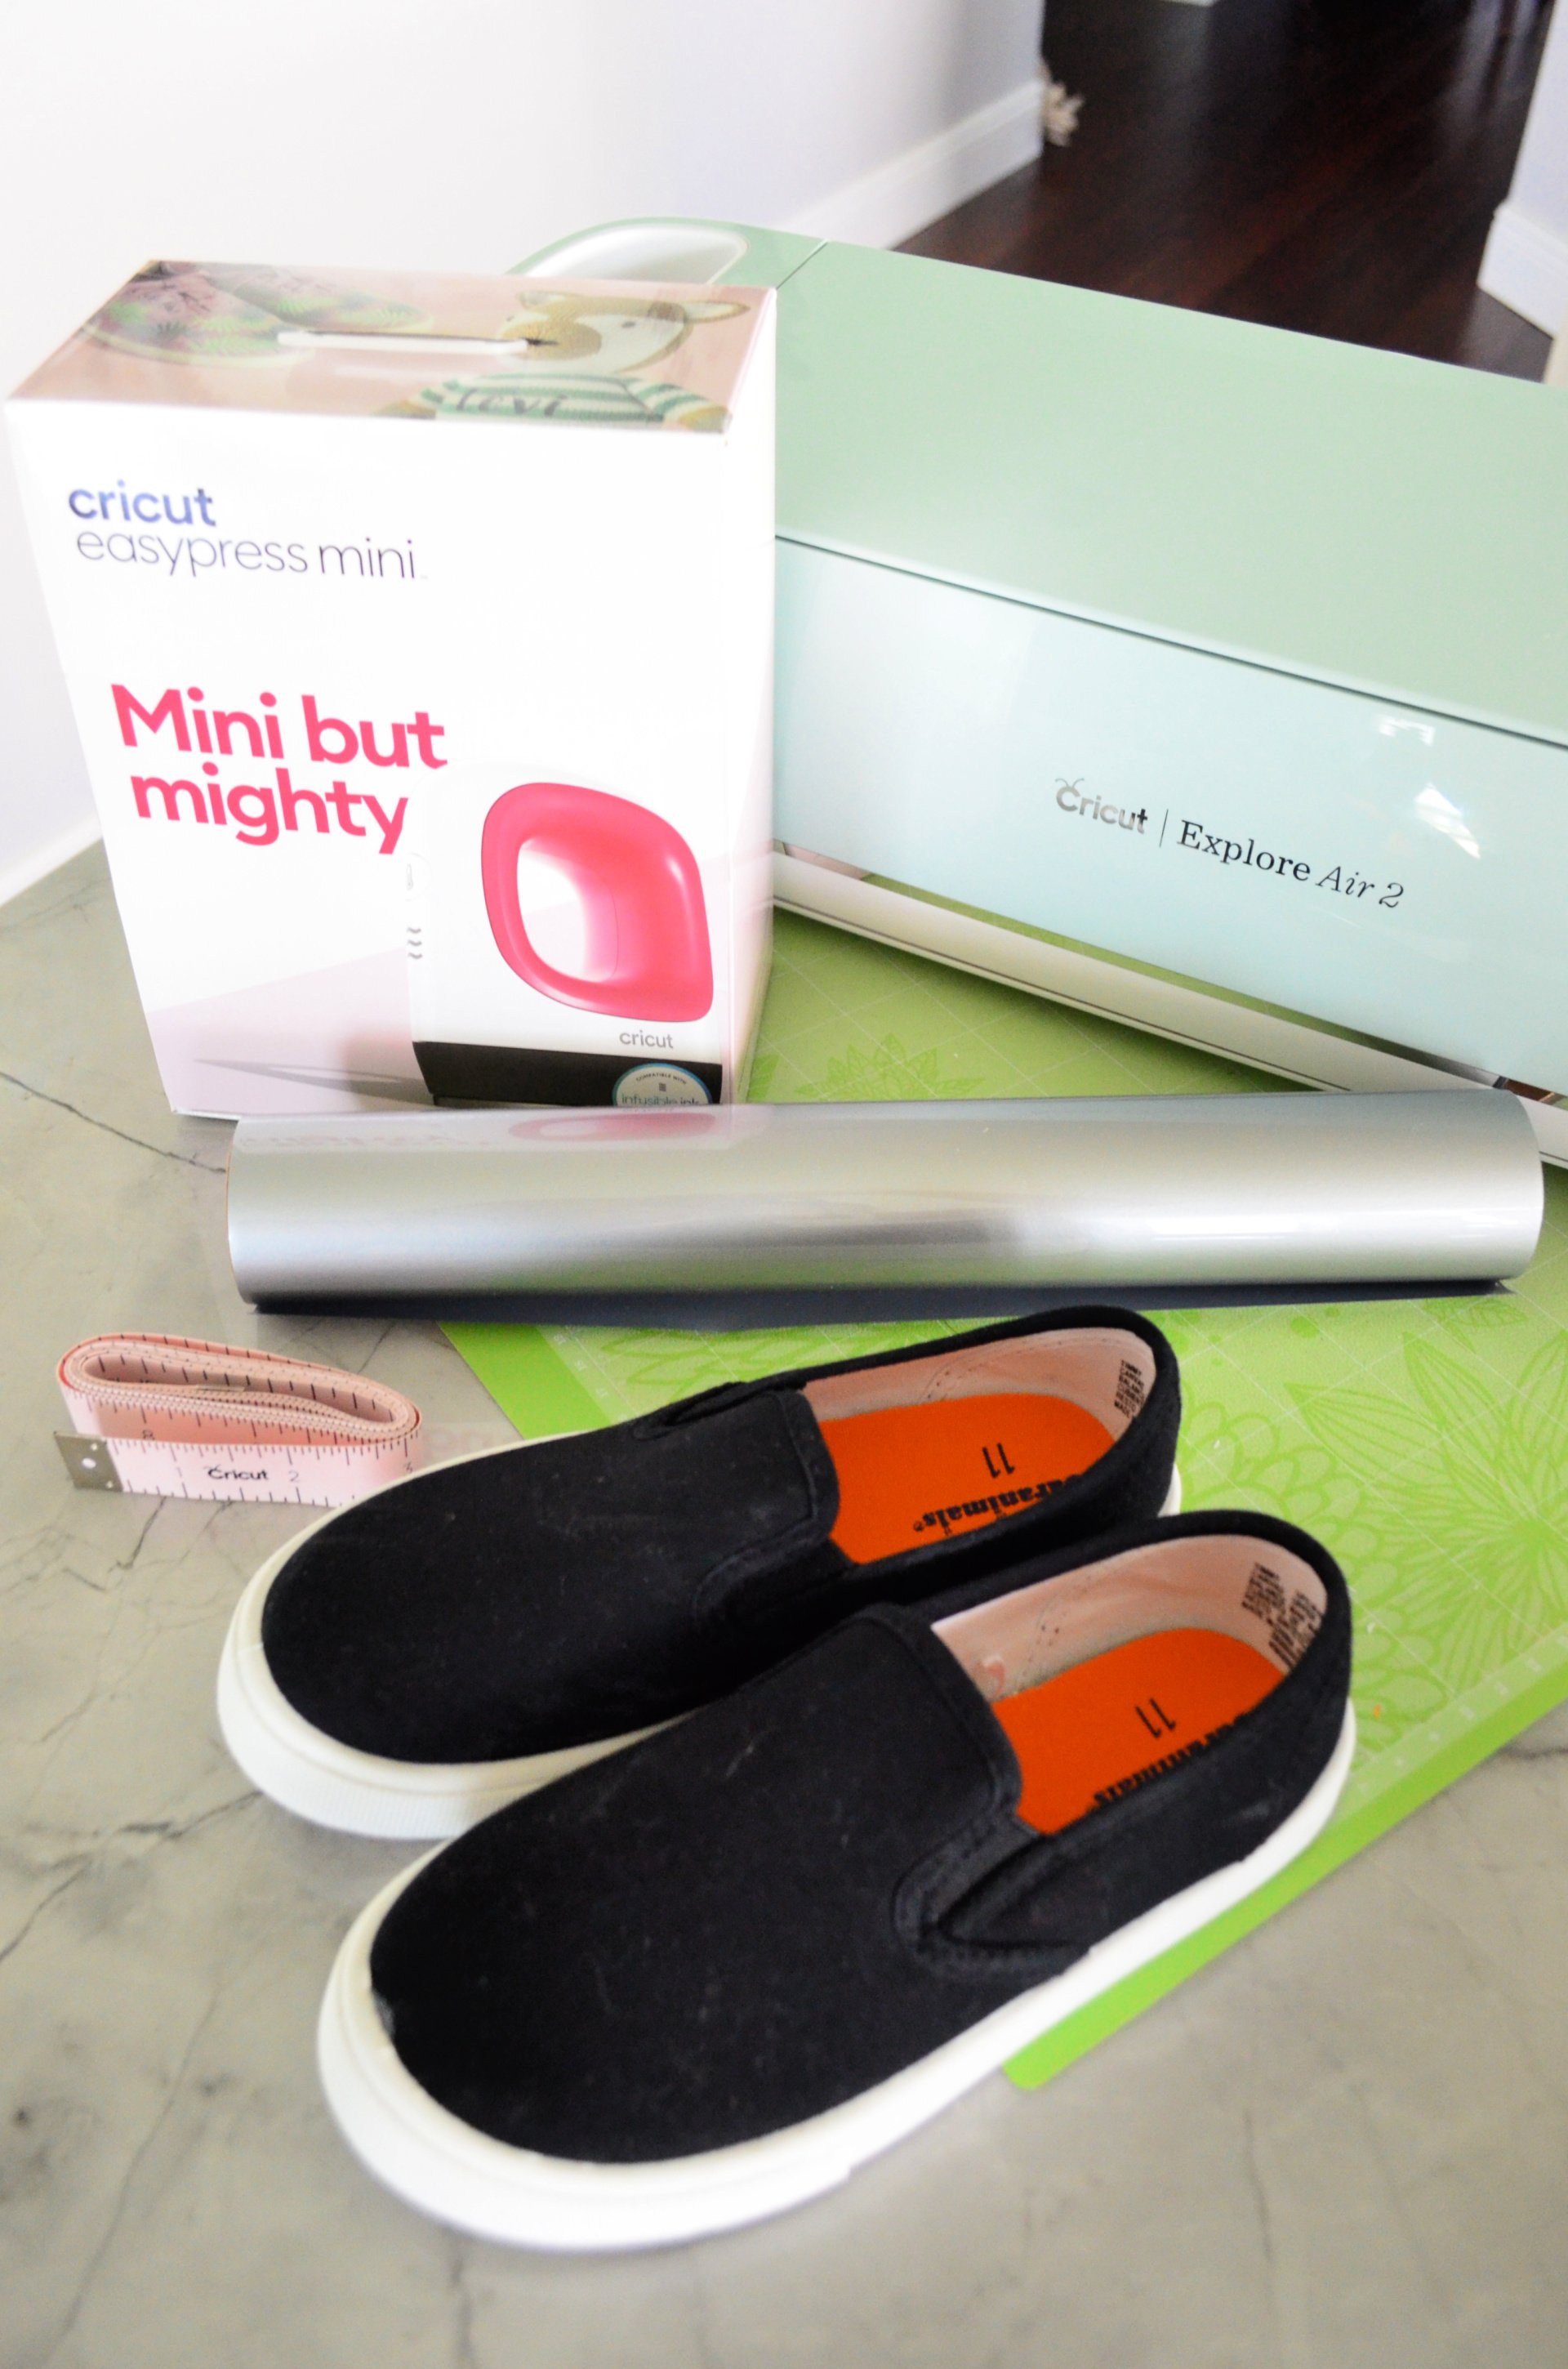
Supplies for making custom shoes
Here is a list of supplies you will need for making DIY Iron-On Vinyl shoes.
- Cricut Explore Air 2
- Dinosaur Canvas Shoes Cut File
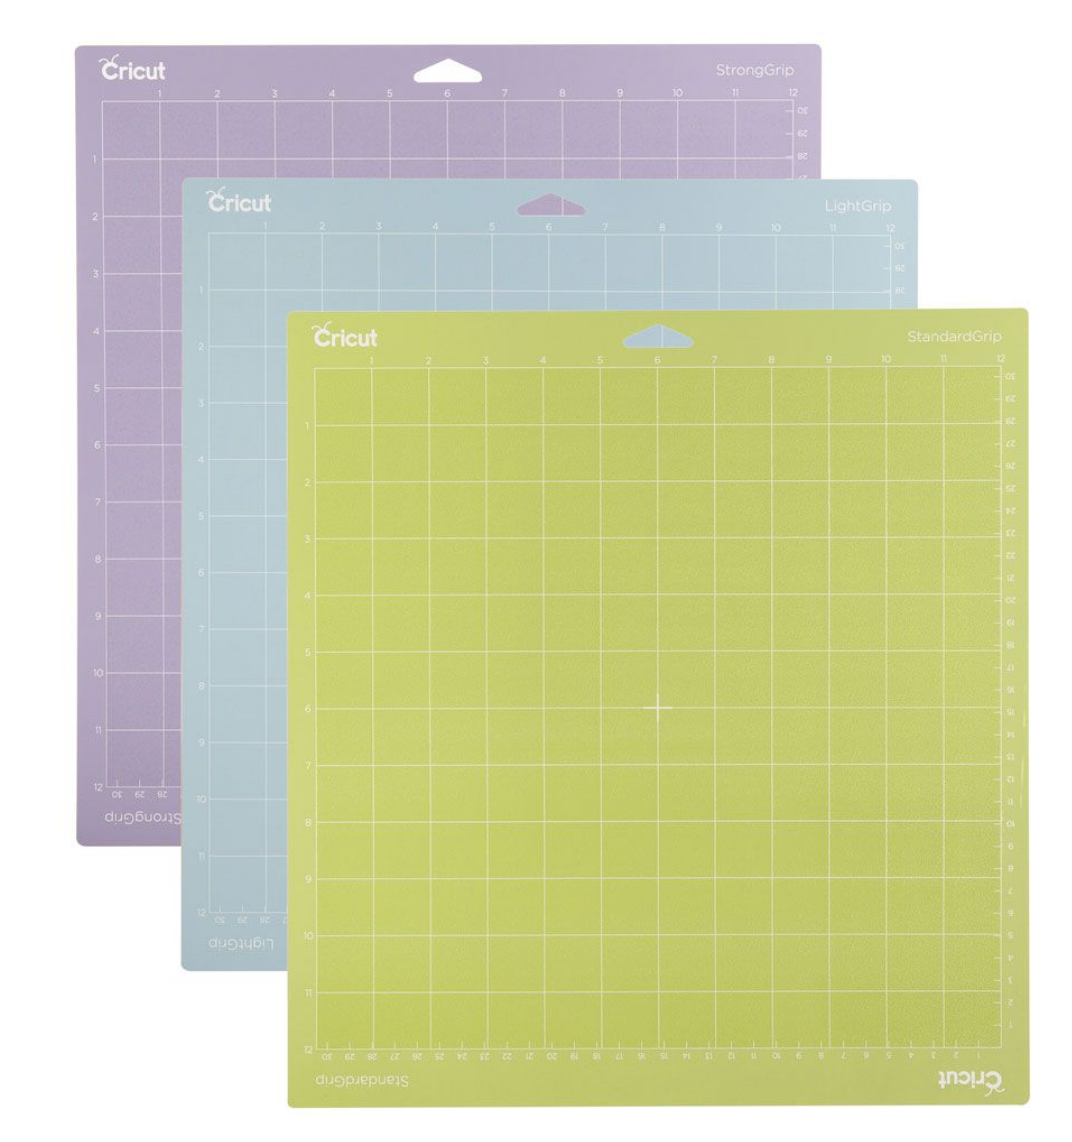
- Cricut Mat
- Iron-On Vinyl
- Cricut Tools
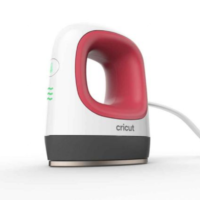
- Cricut EasyPress Mini
- Canvas Shoes (I found mine at Walmart)
- Socks *for stuffing inside the shoes
- Lint Roller
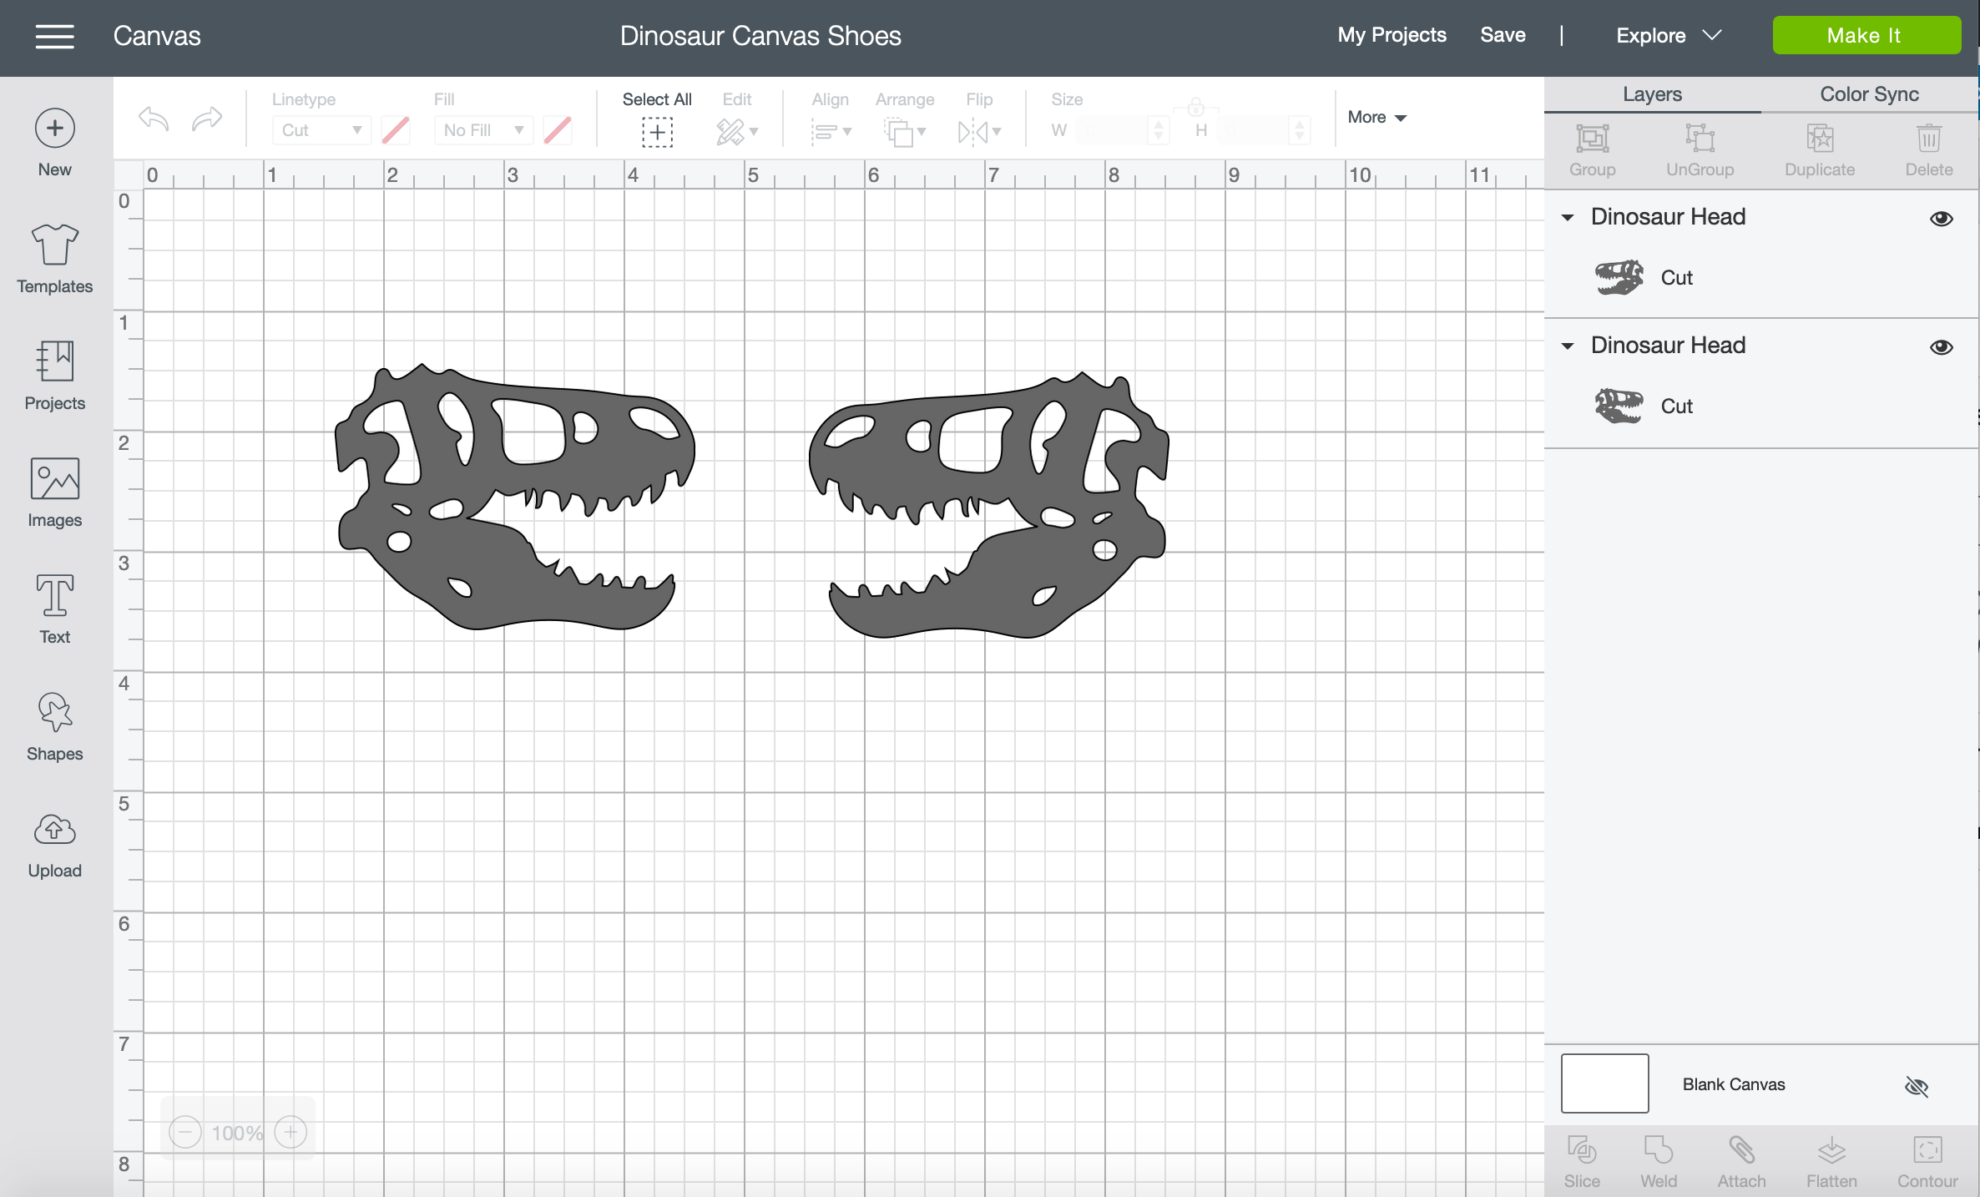
First, you want to pull up your design in Cricut Design Space.
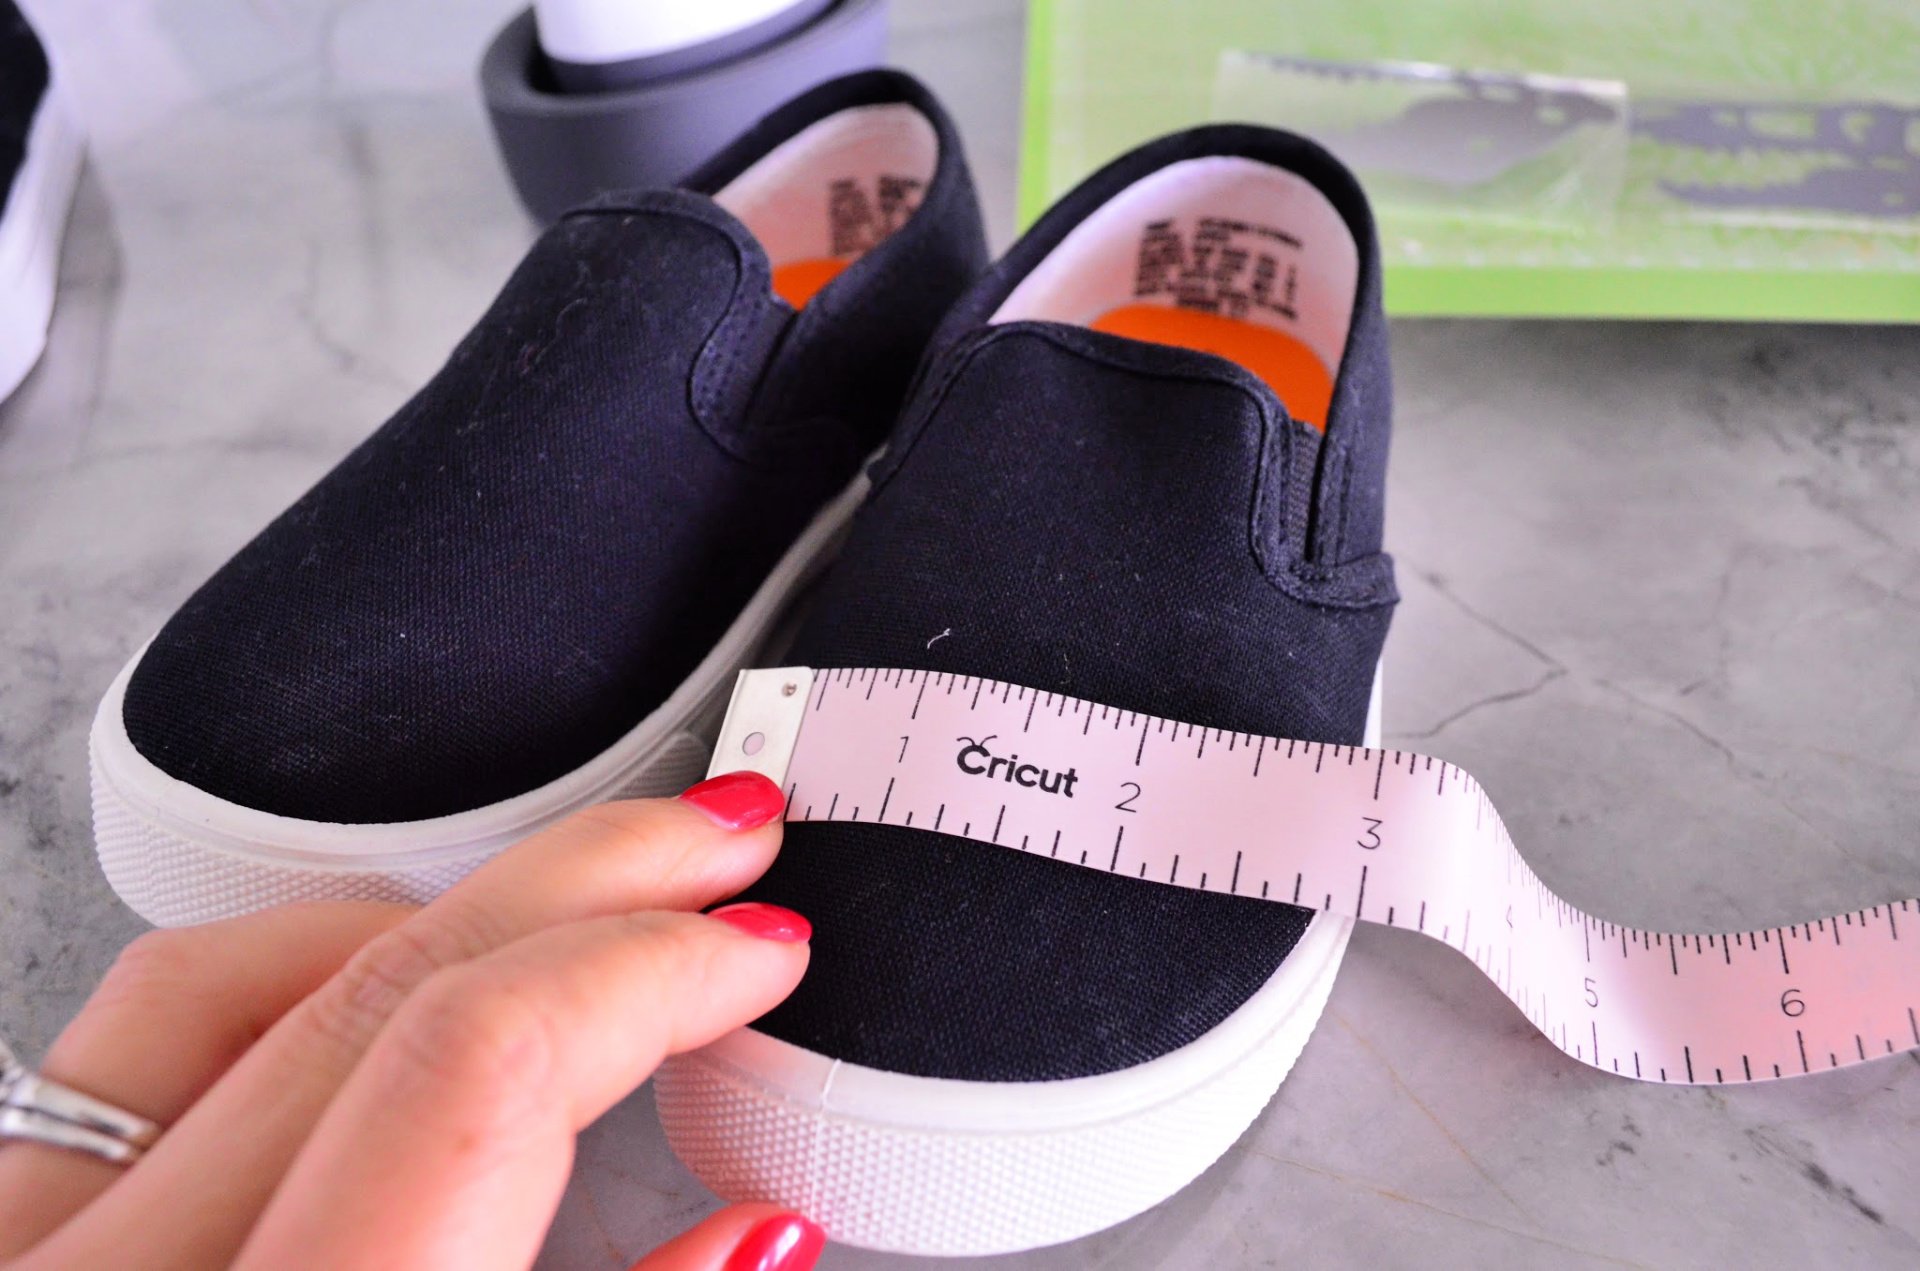
Then, measure your shoes so you know the size to make your design.
How to Cut Iron-On Vinyl
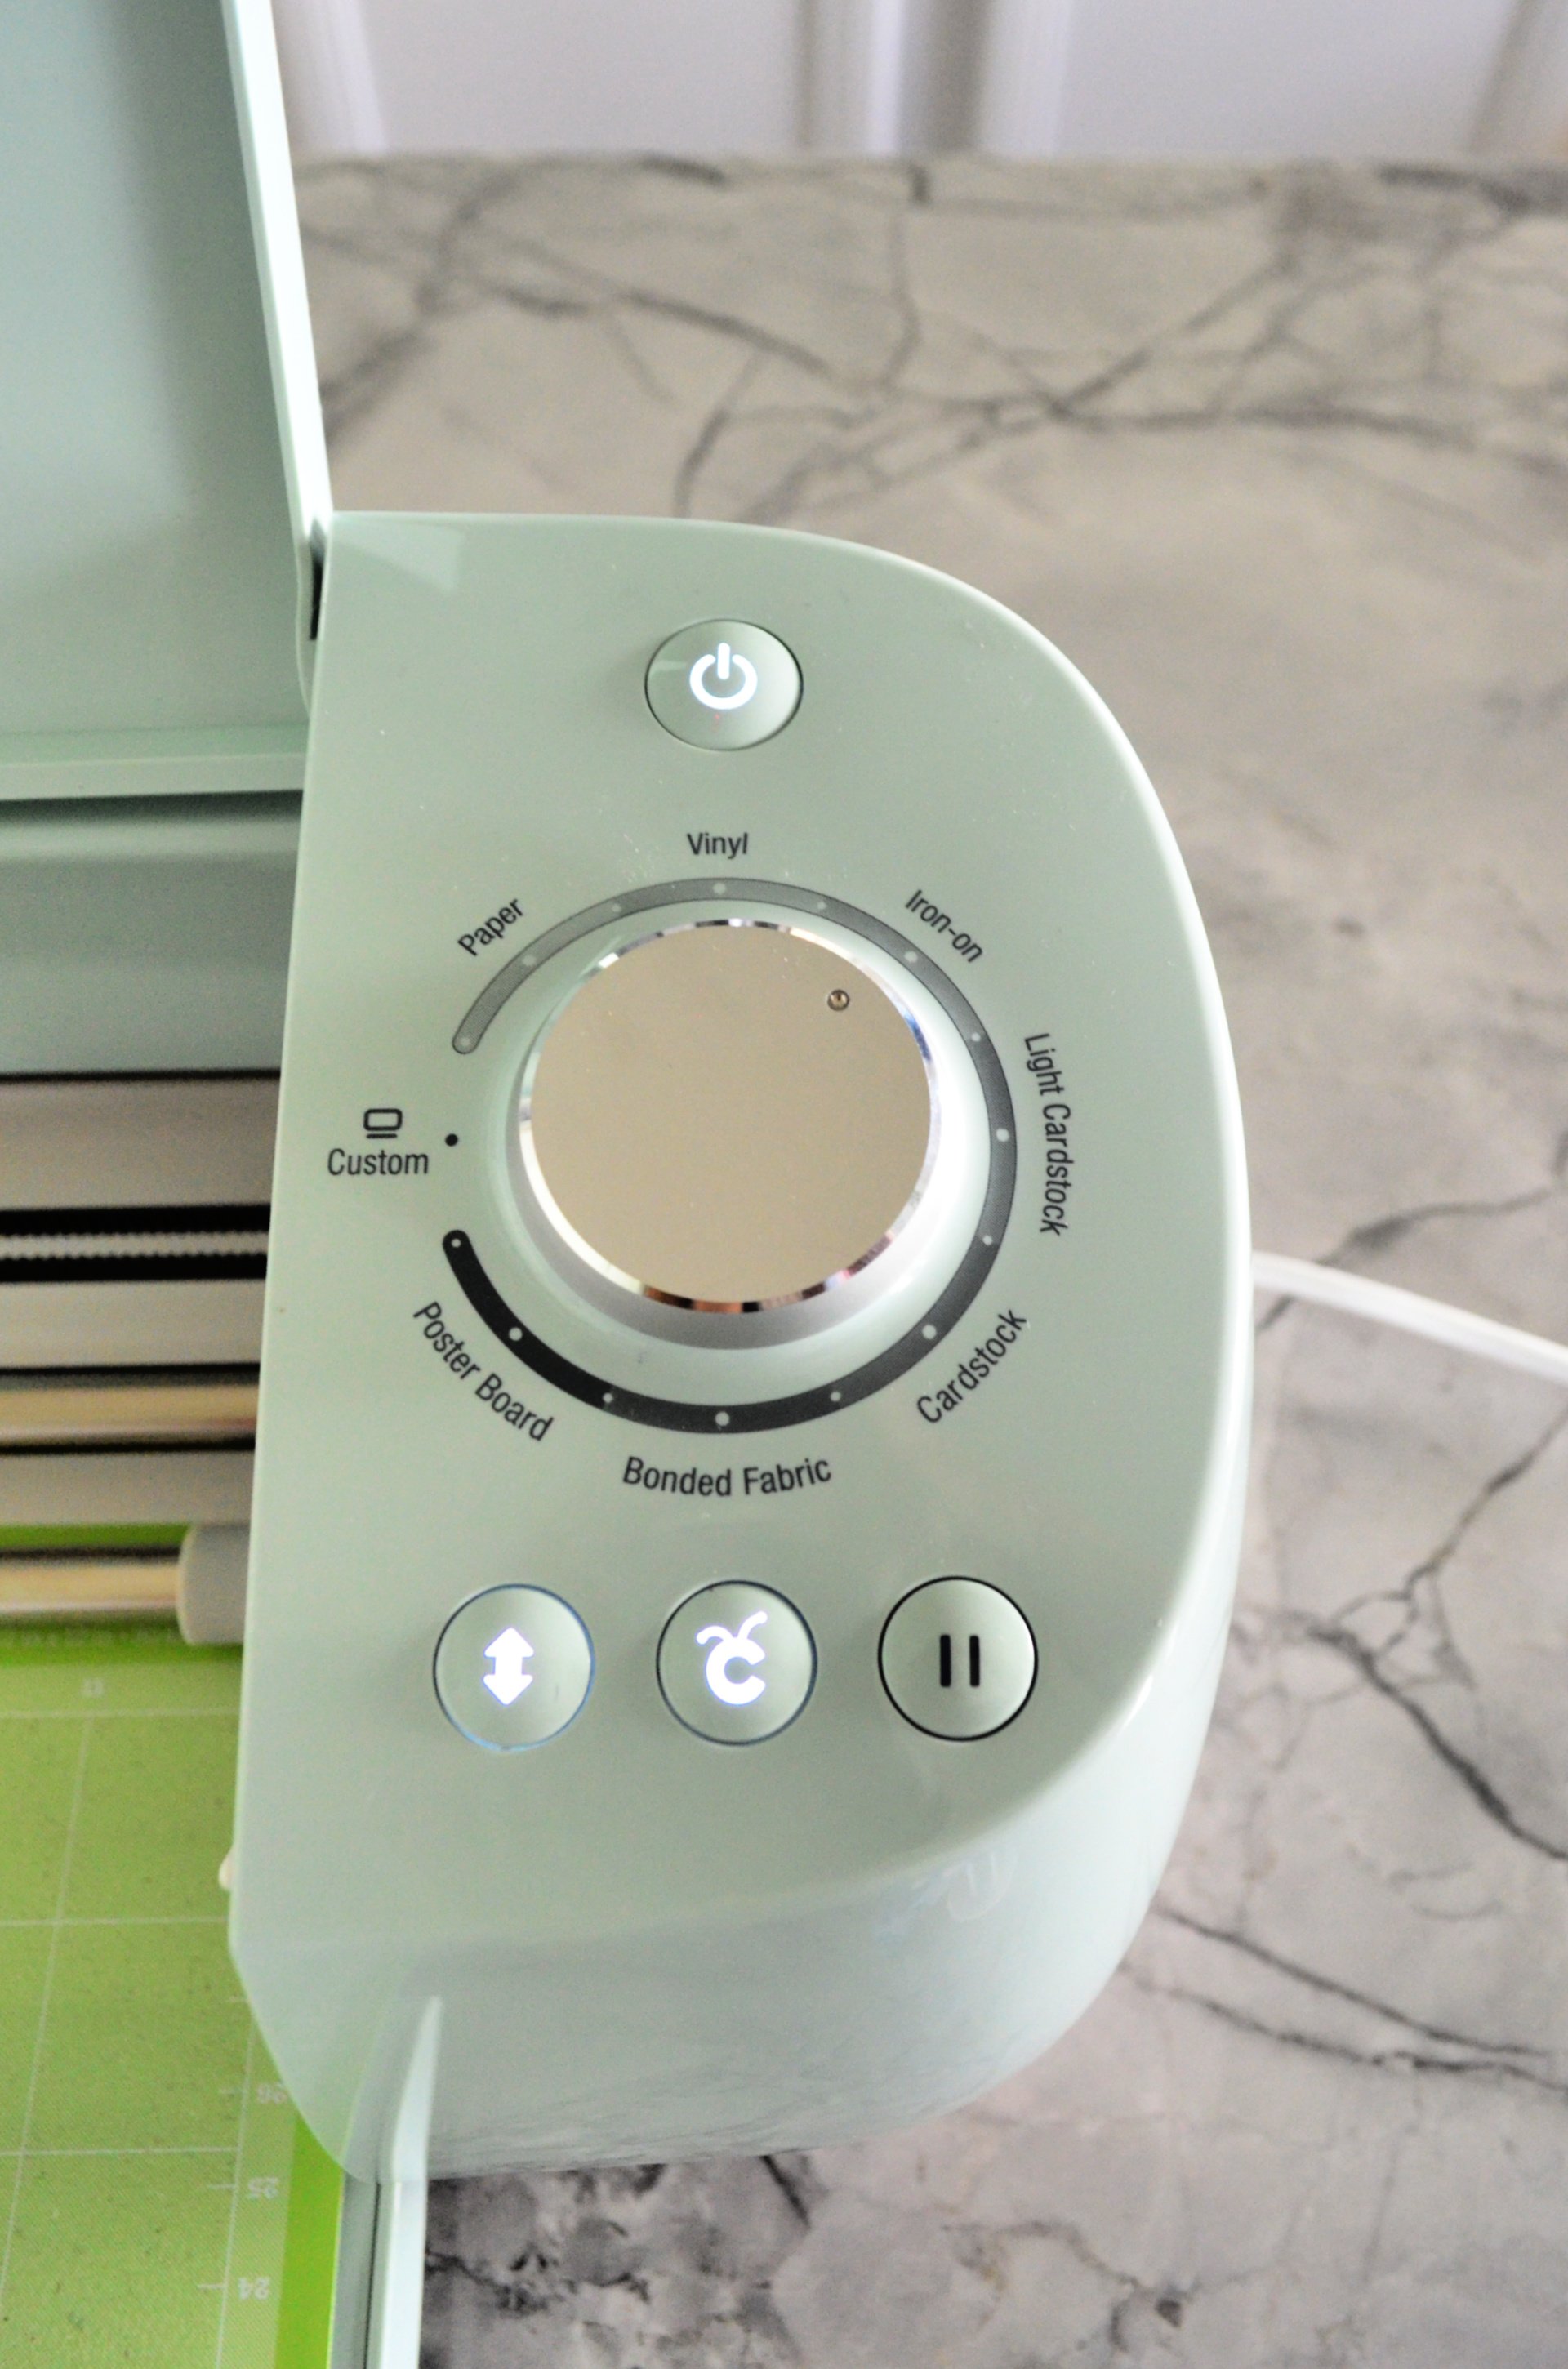
Before you cut, make sure the Smart Dial is set to “Iron-On”. Always make sure you select “mirror image” when cutting Iron-On Vinyl.
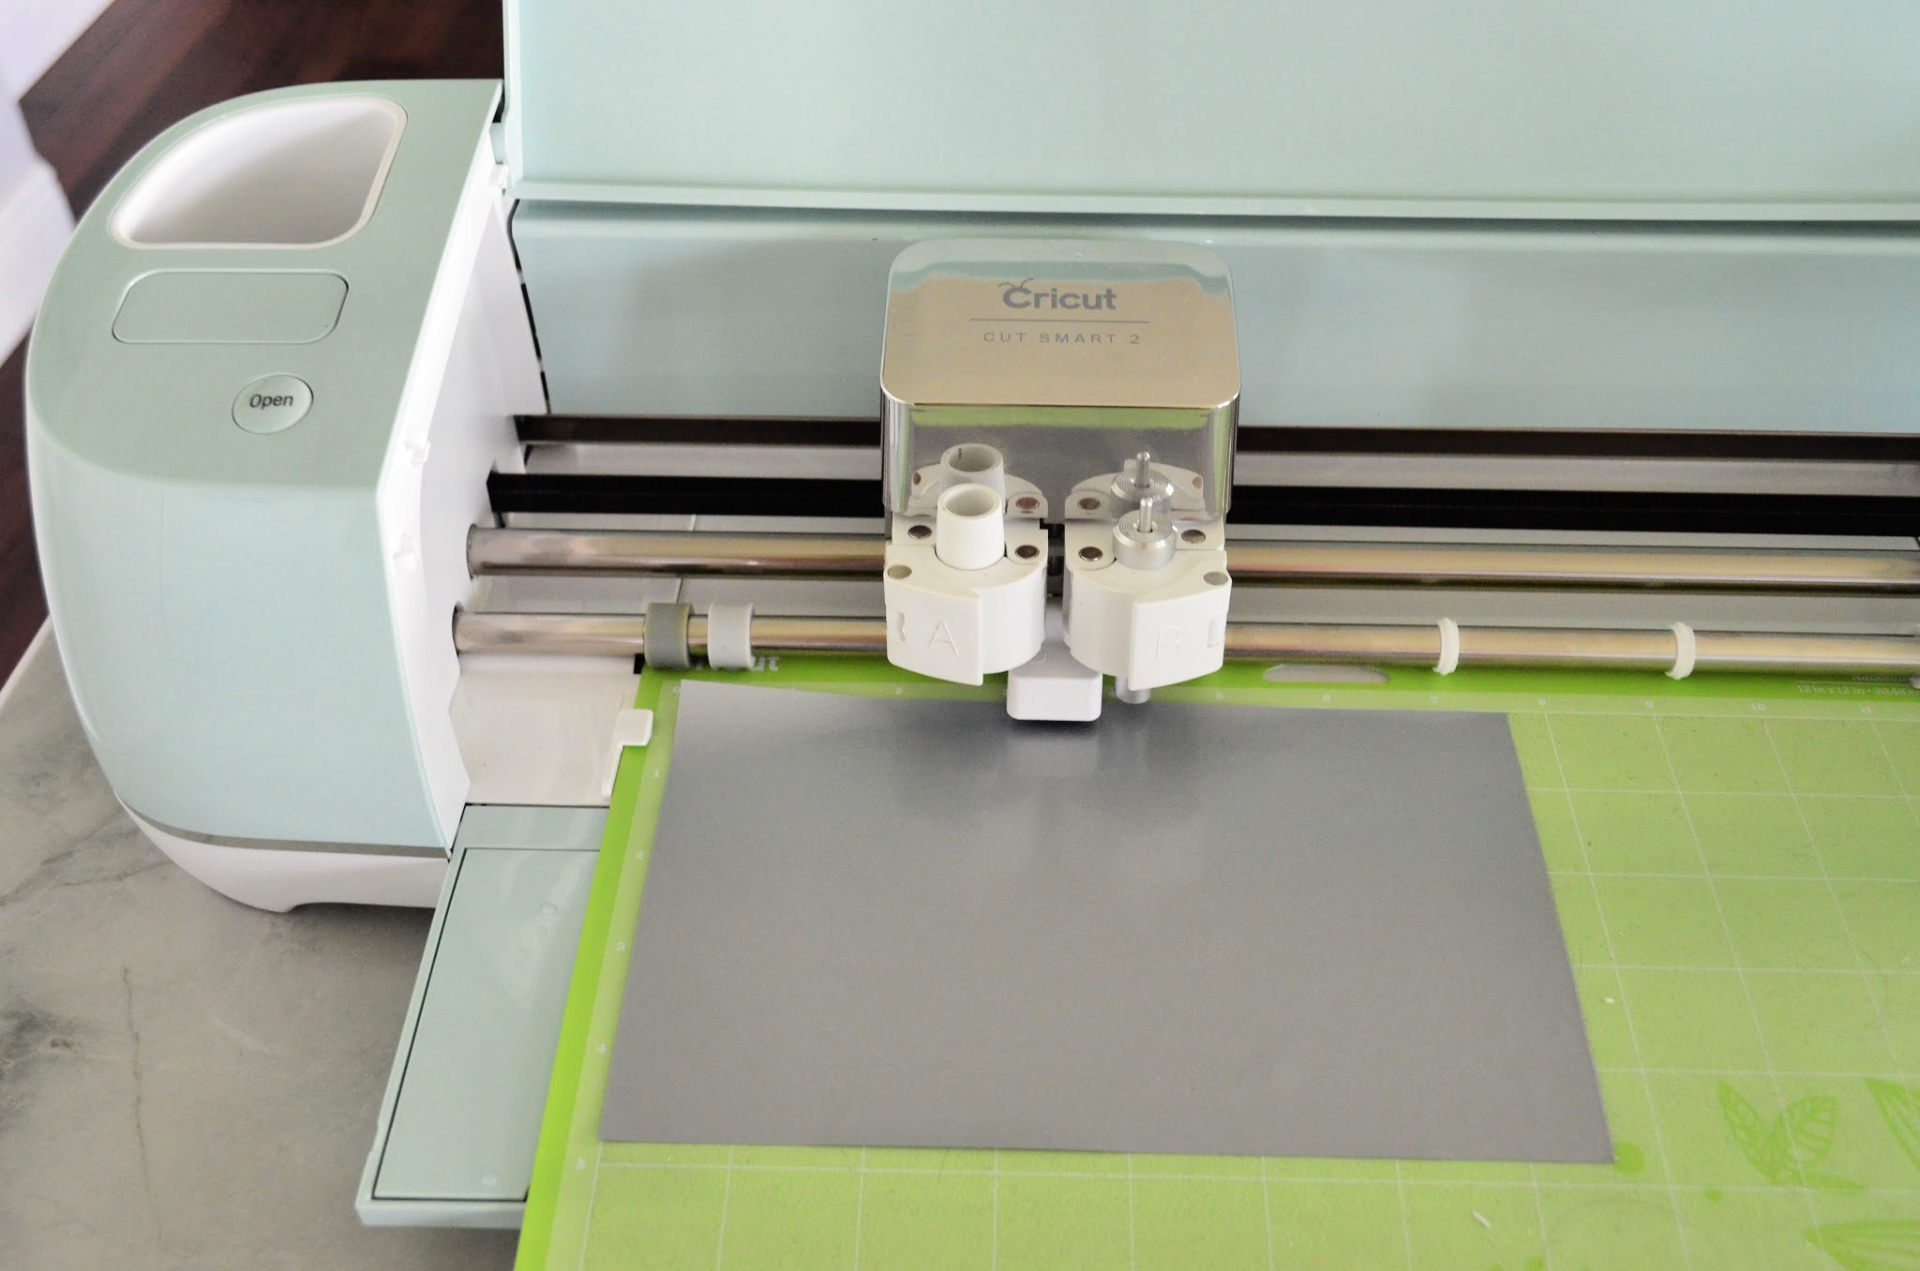
Set the design to cut “Iron-On Vinyl”.
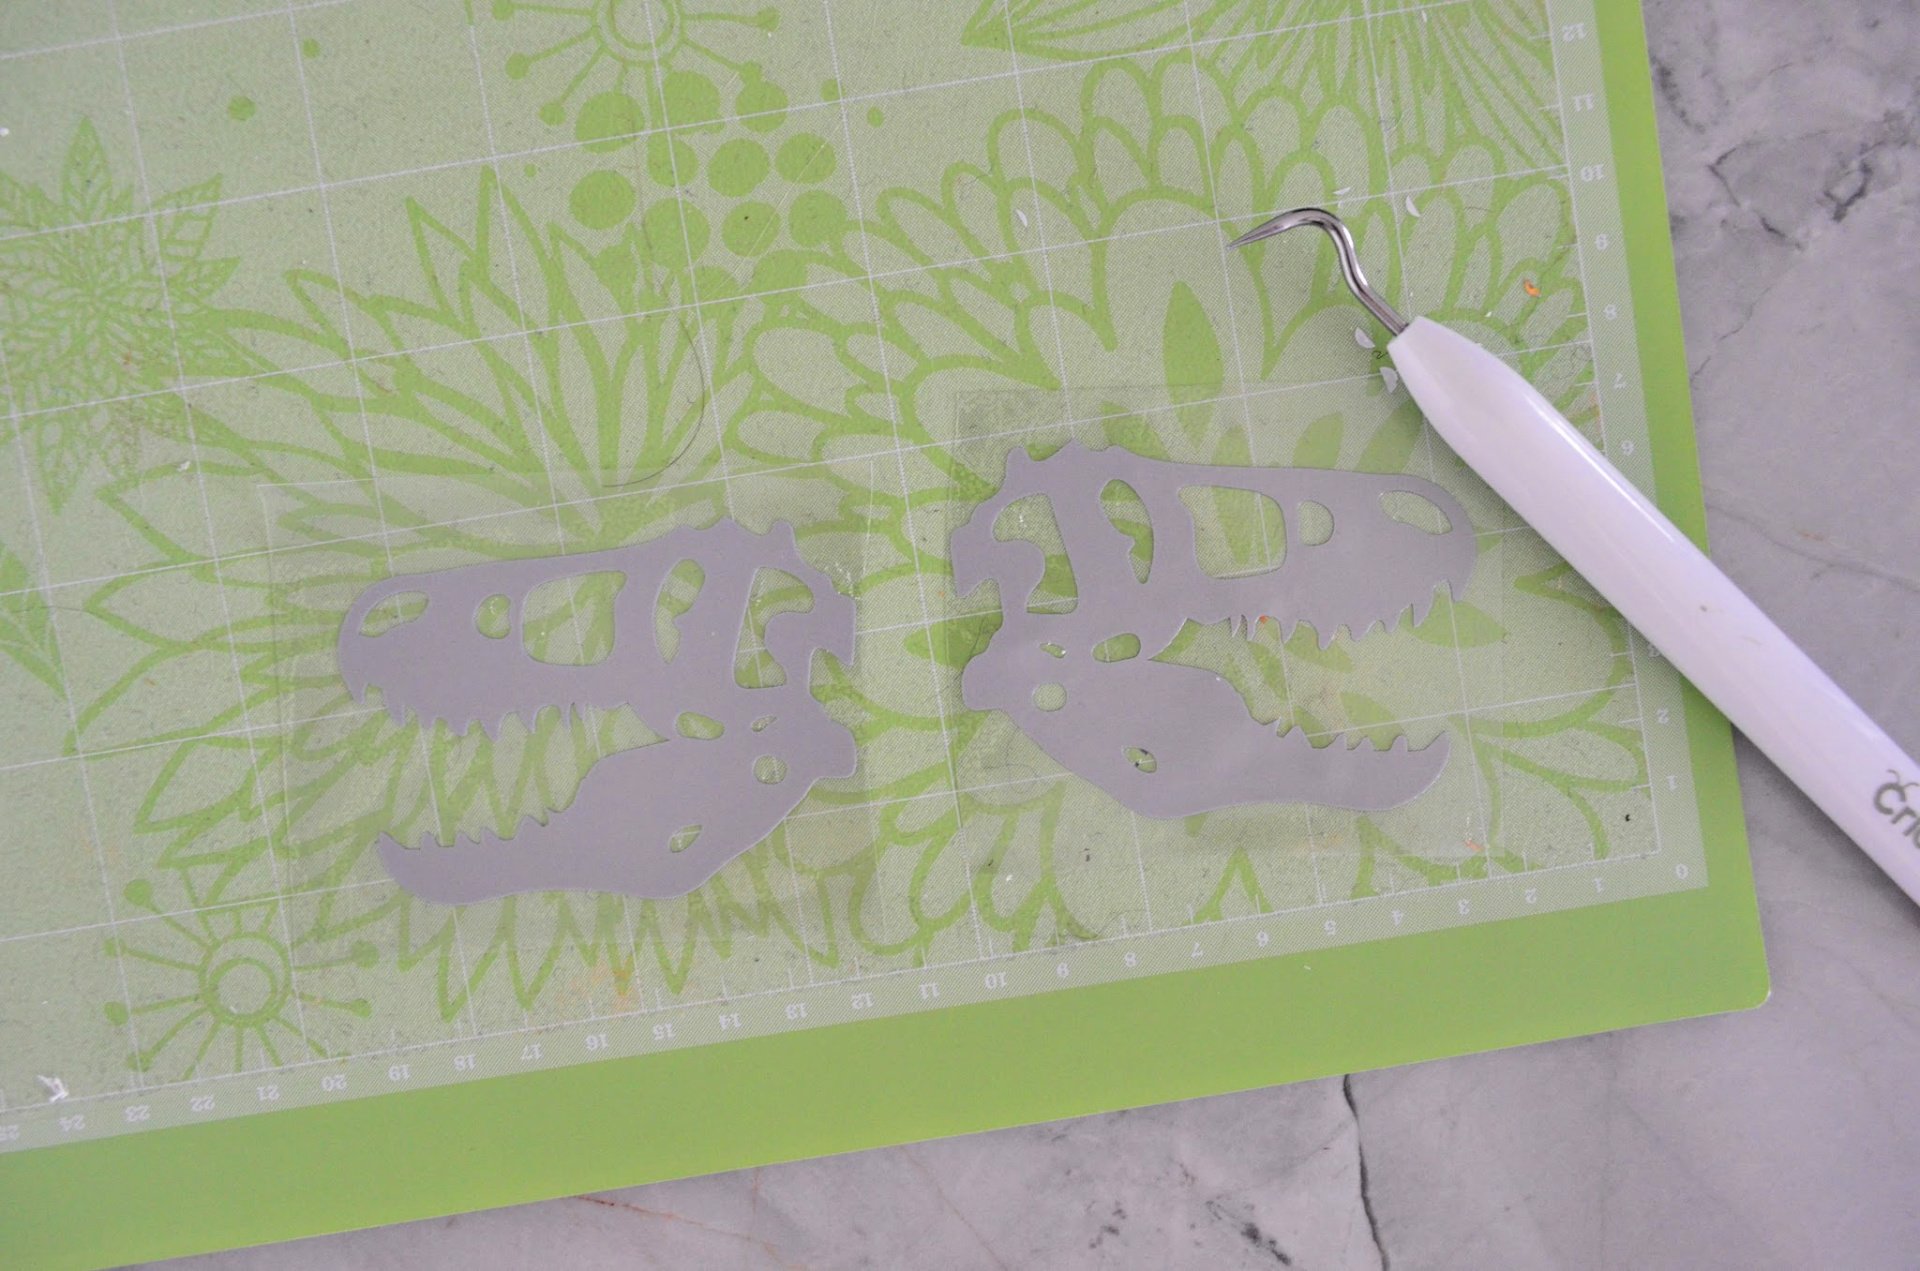
Weed the negative from the design.
How do you Iron-On vinyl onto canvas shoes?
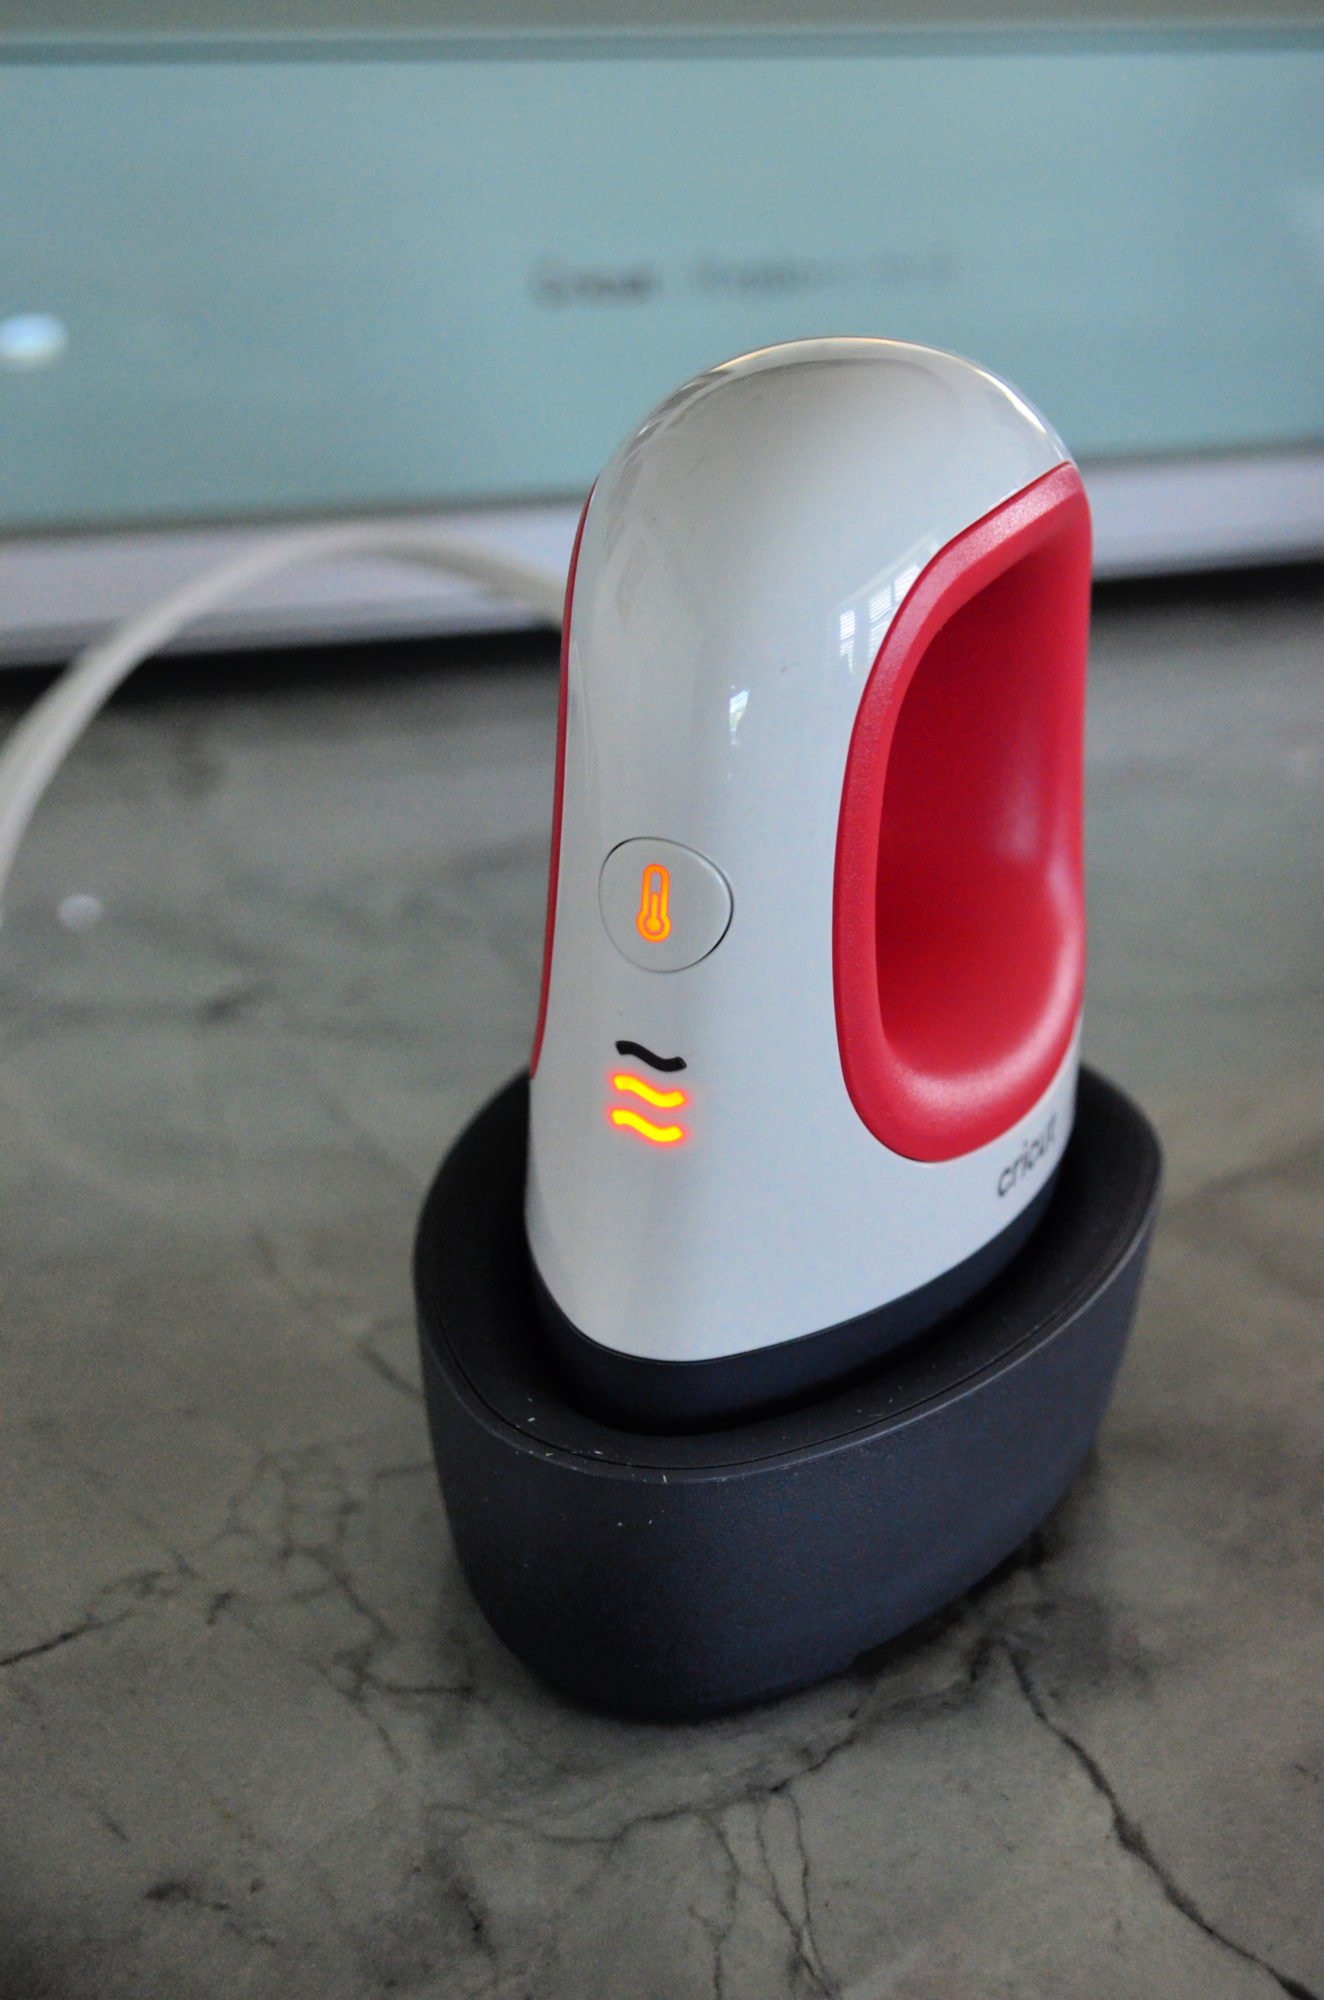
First, You’ll want to set your EasyPress Mini to medium heat. Hit the temperature button to change from low, medium, or high. For this project I needed the EasyPress Mini set to “medium”. The color displays orange while heating up then changes to green when it’s ready to be used. ((See below for what temperature settings you need to use projects.))
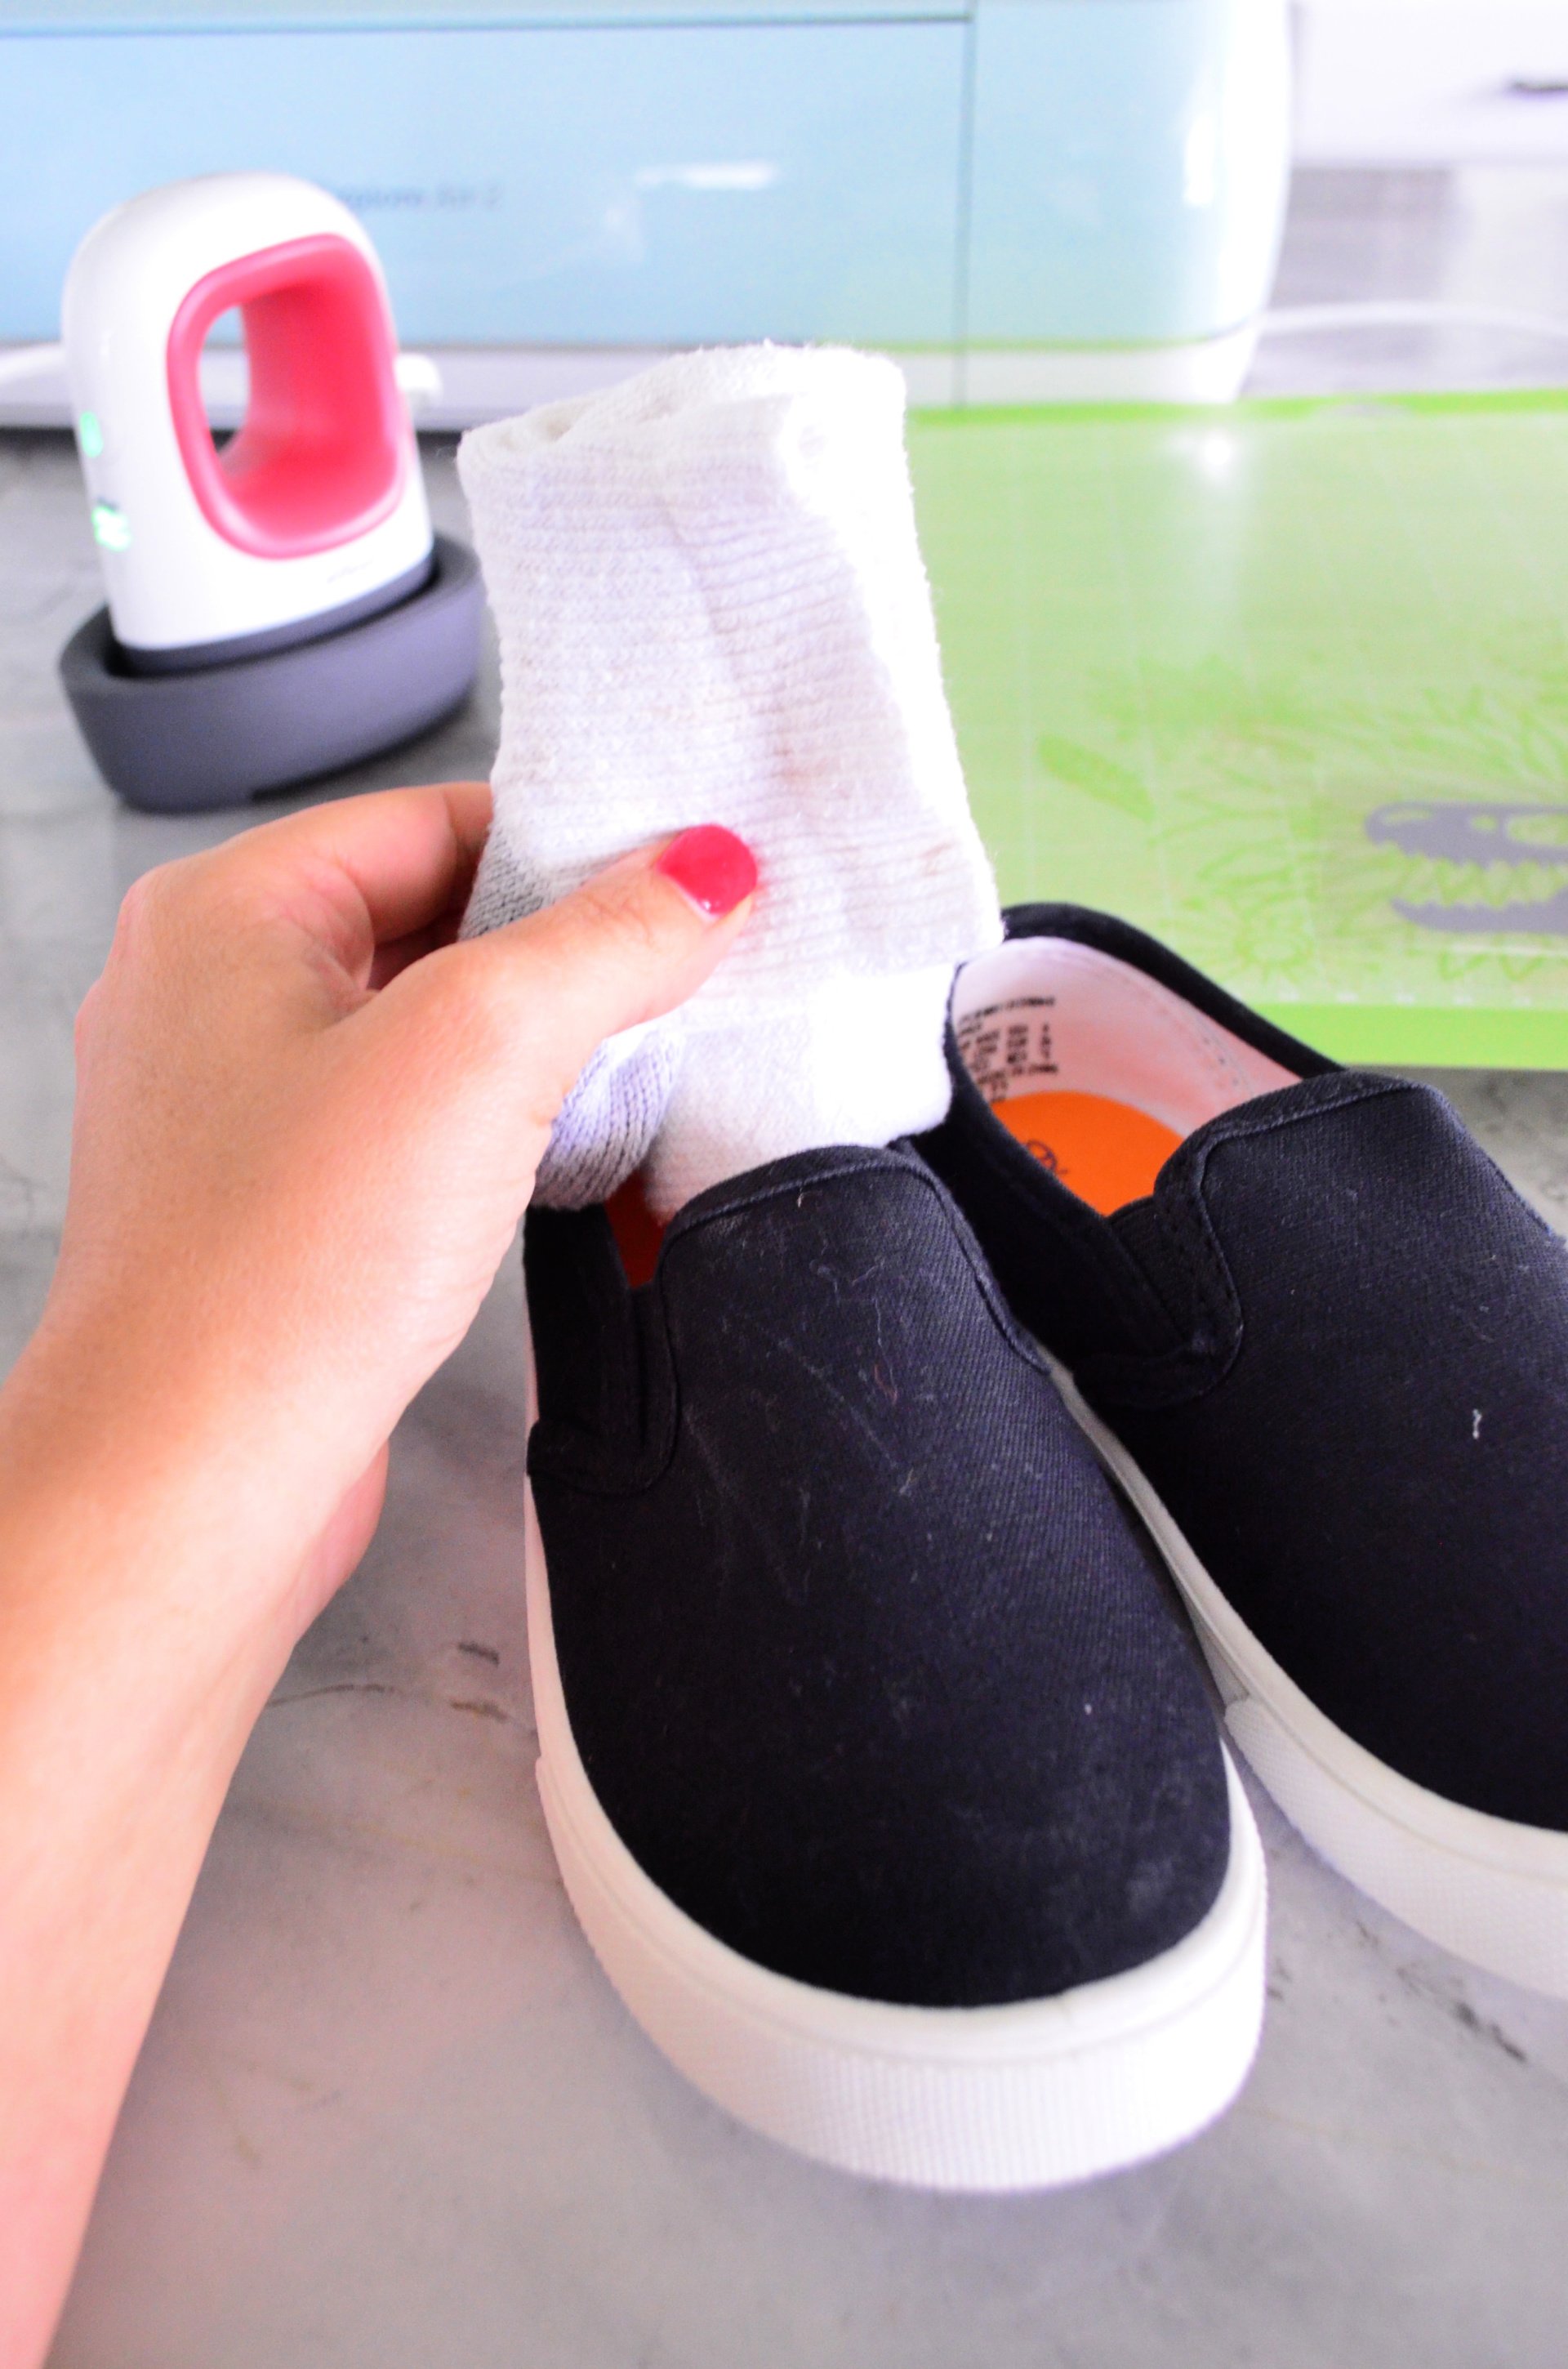
While the EasyPress Mini heats up. I stuff a sock into the inside of the canvas sneaker.
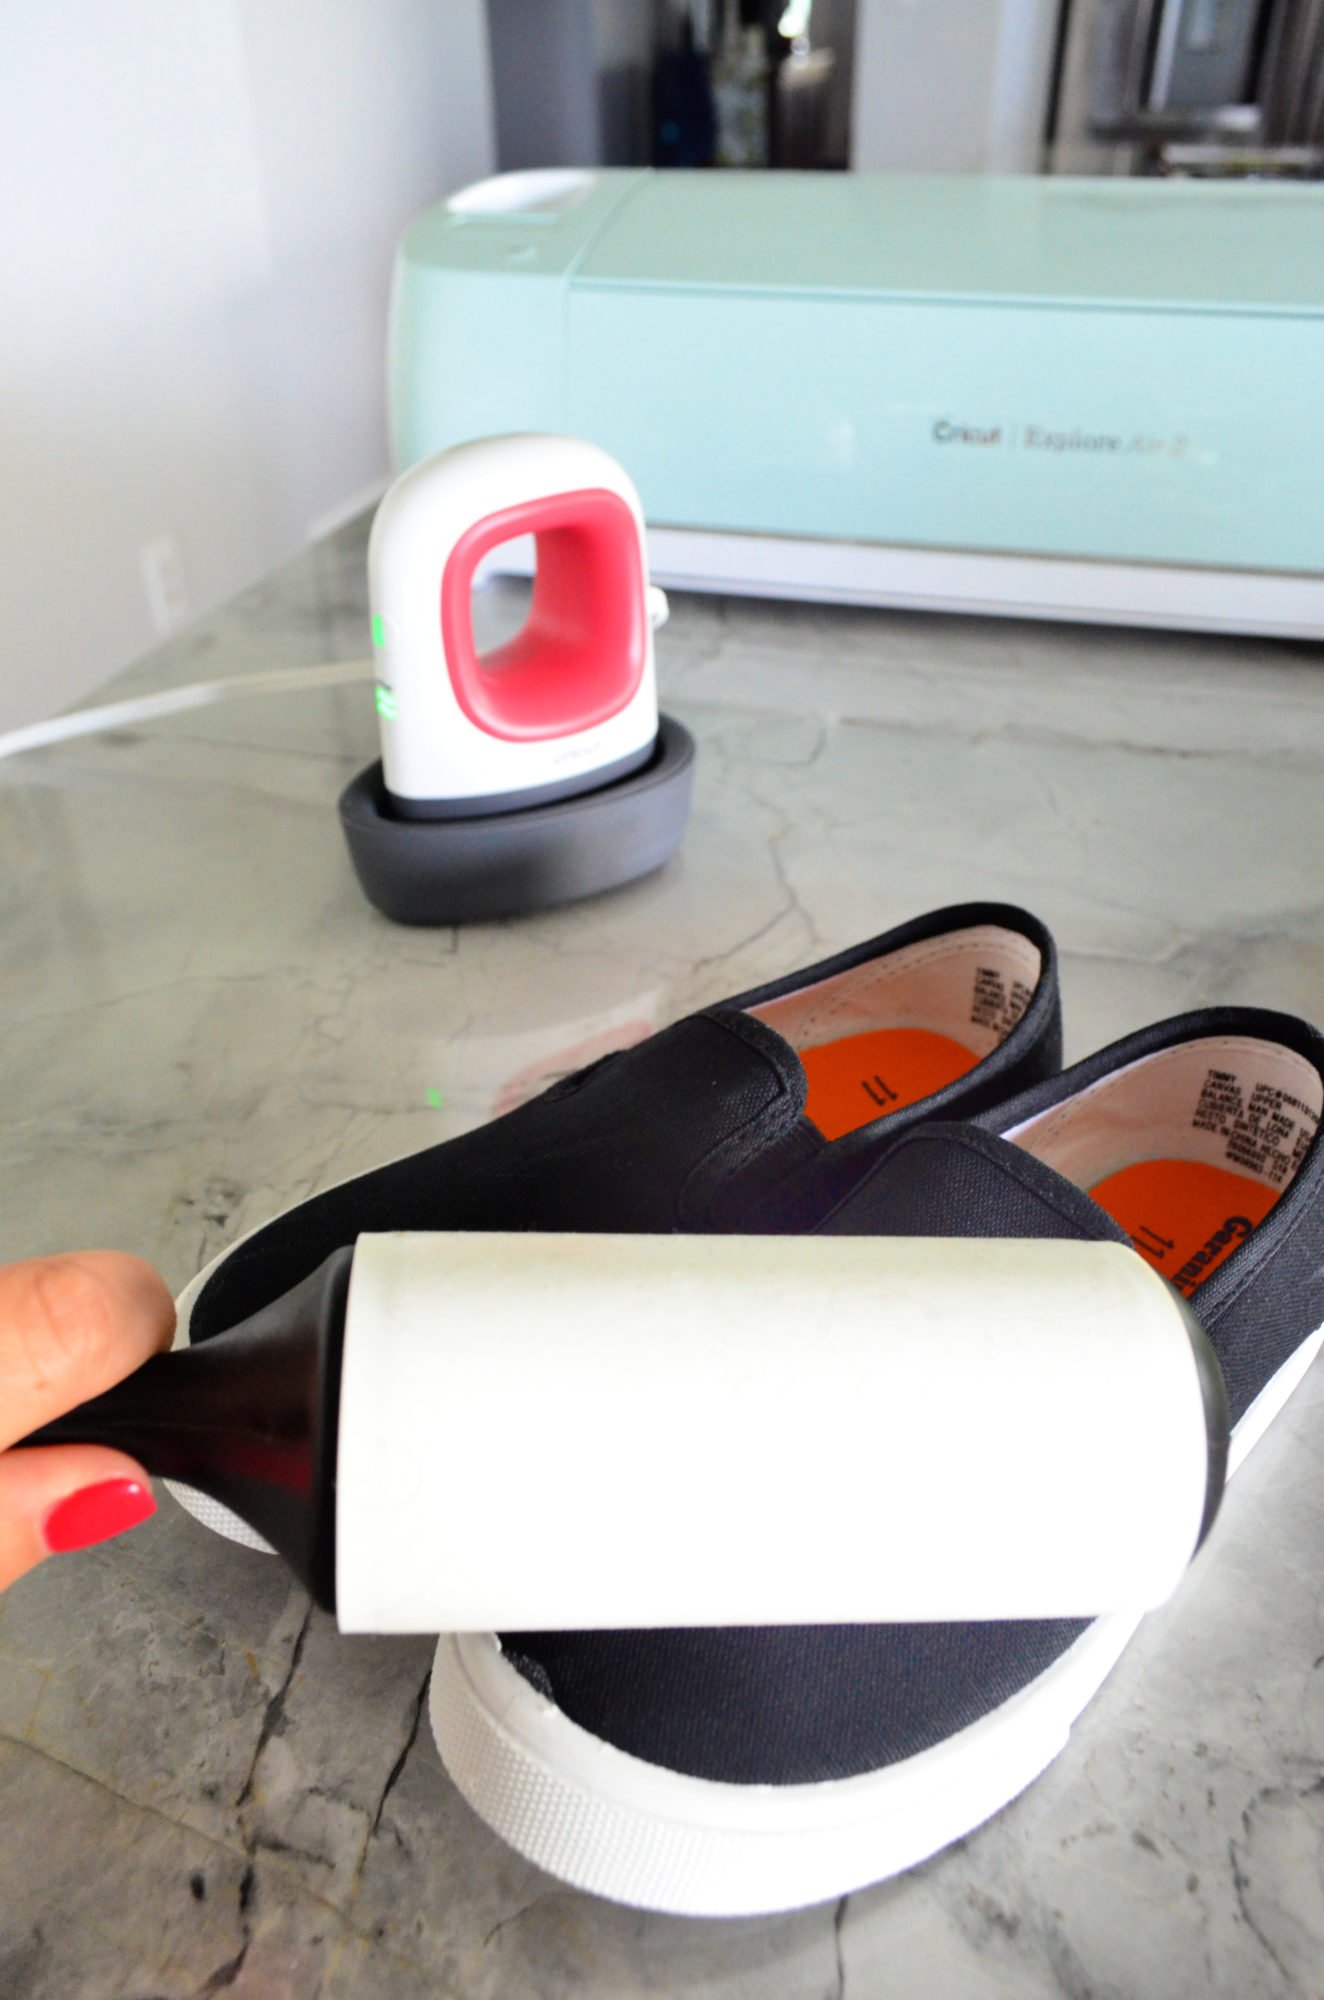
Then, I use a lint roller to remove all the lint. This will help ensure that I have a smooth surface with no fibers visible underneath my design.
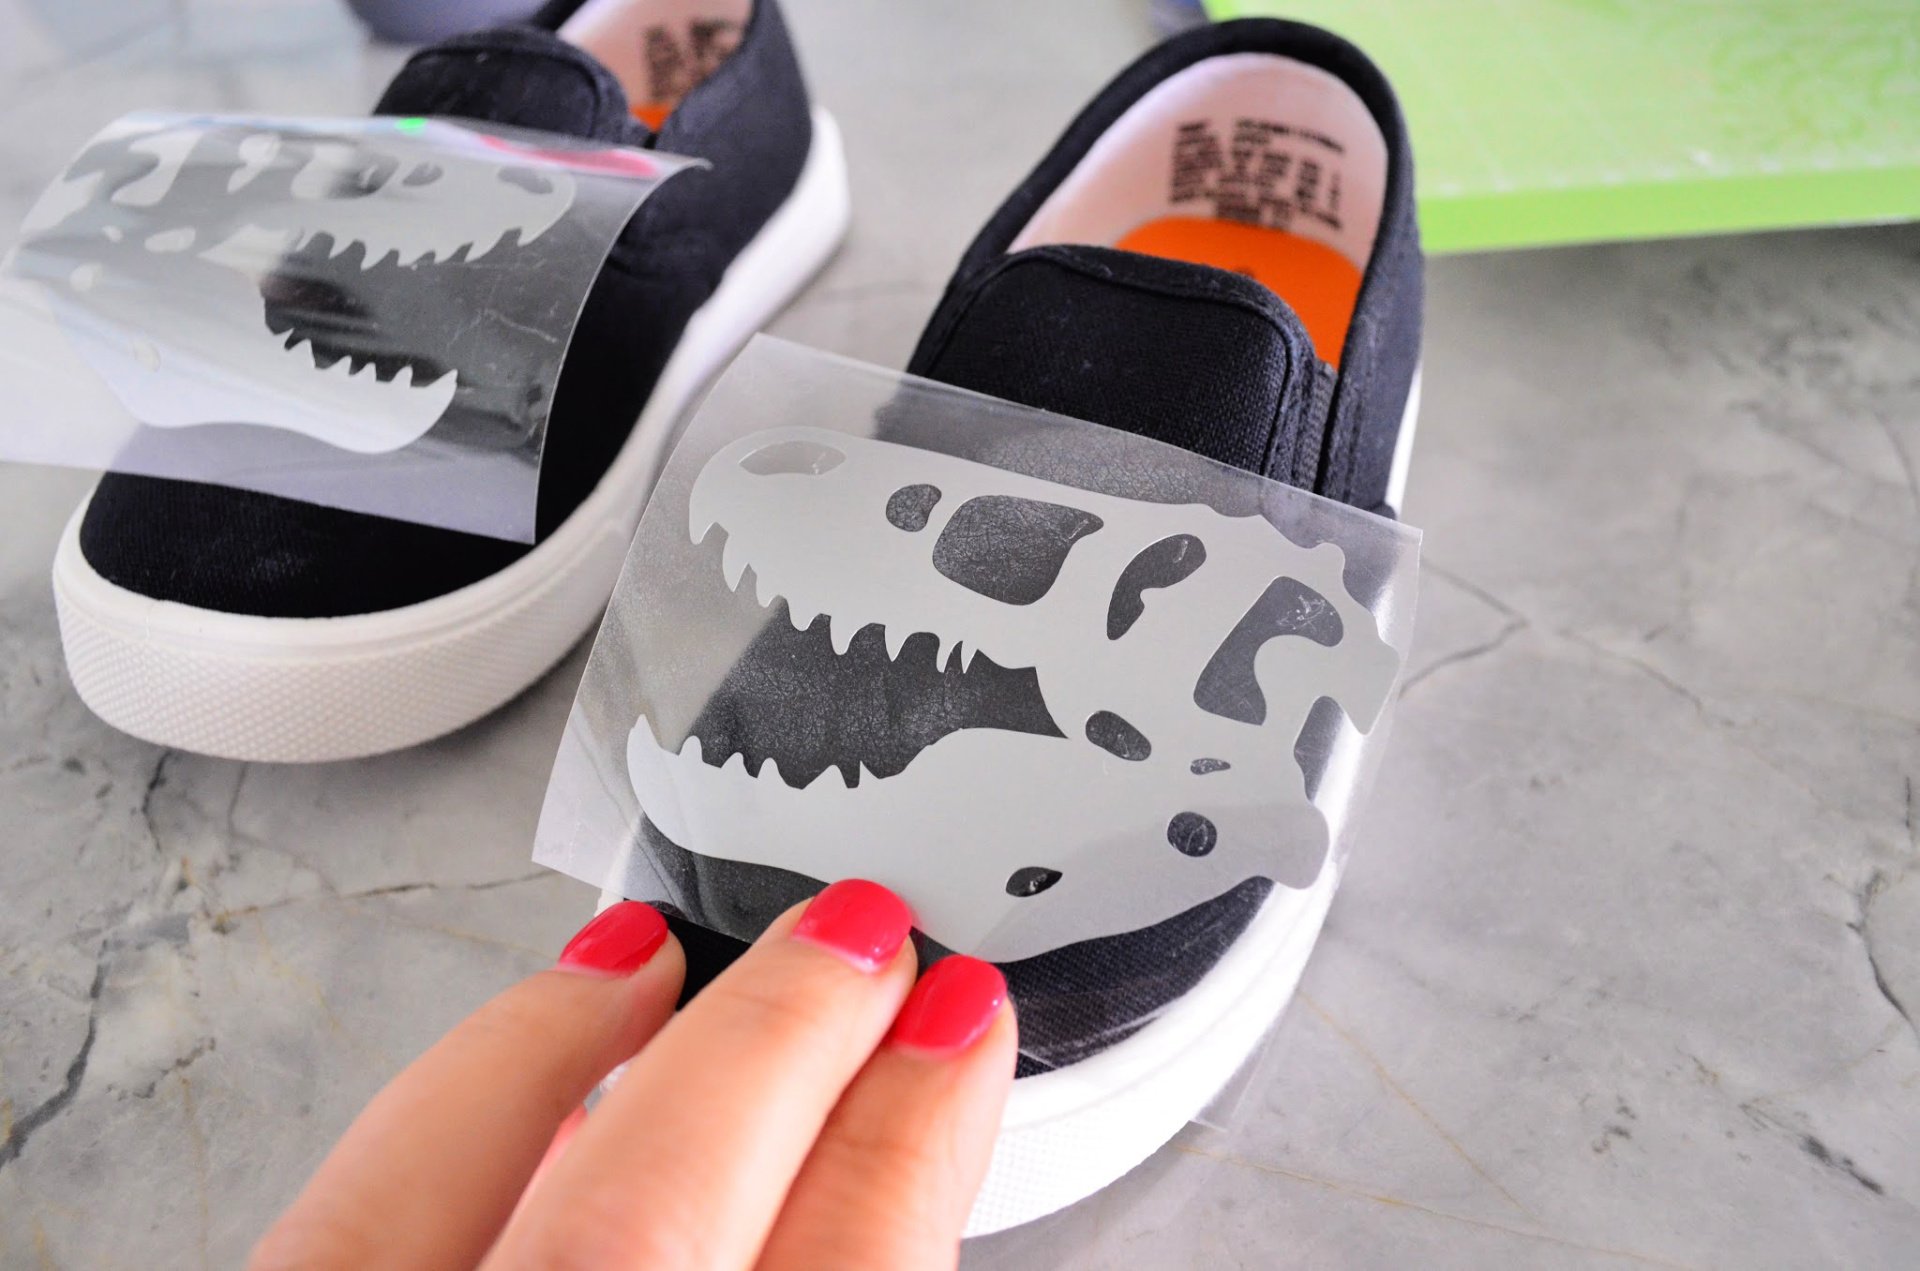
Next, it’s time to Iron-on your design. I always like to place the design on the shoes first to get a good feel for exactly how it will look. Also to align the design before it is permanently set.
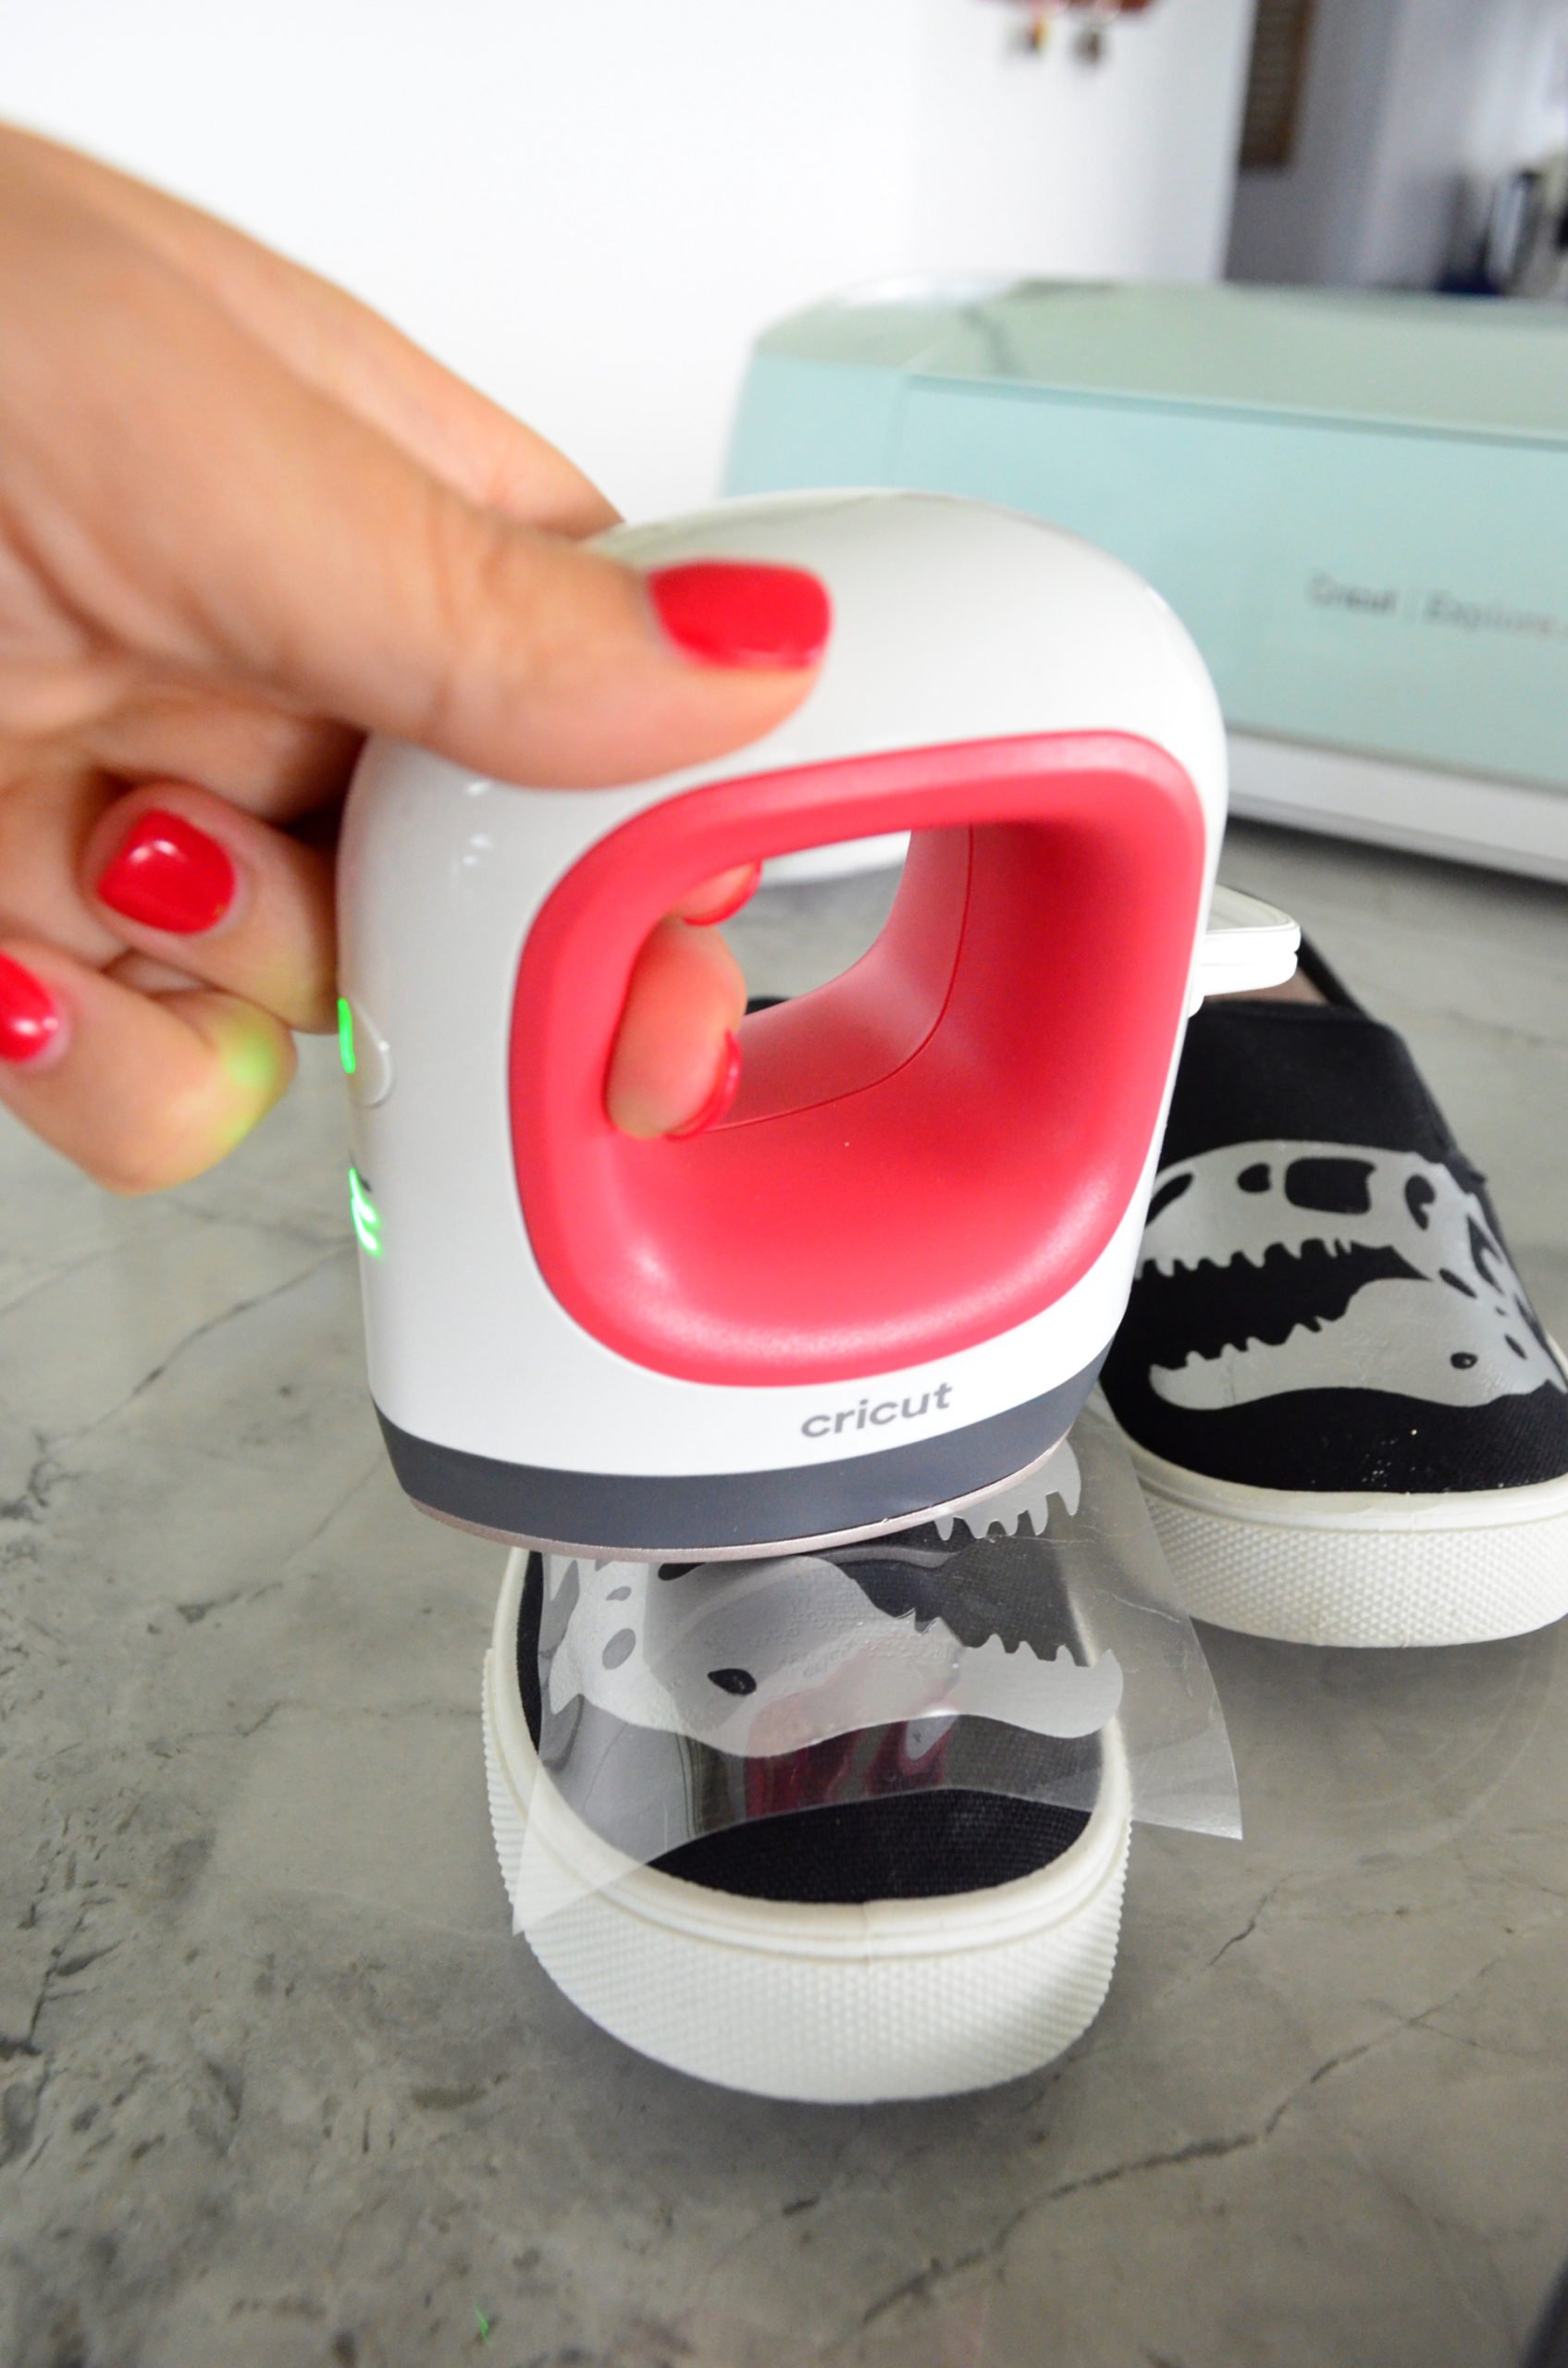
Next, place the EasyPress Mini directly onto the transfer tape. I was shocked by how quickly the Iron-On vinyl adheres to the canvas. It will adhere almost instantly. You need to work fast and be extremely careful.
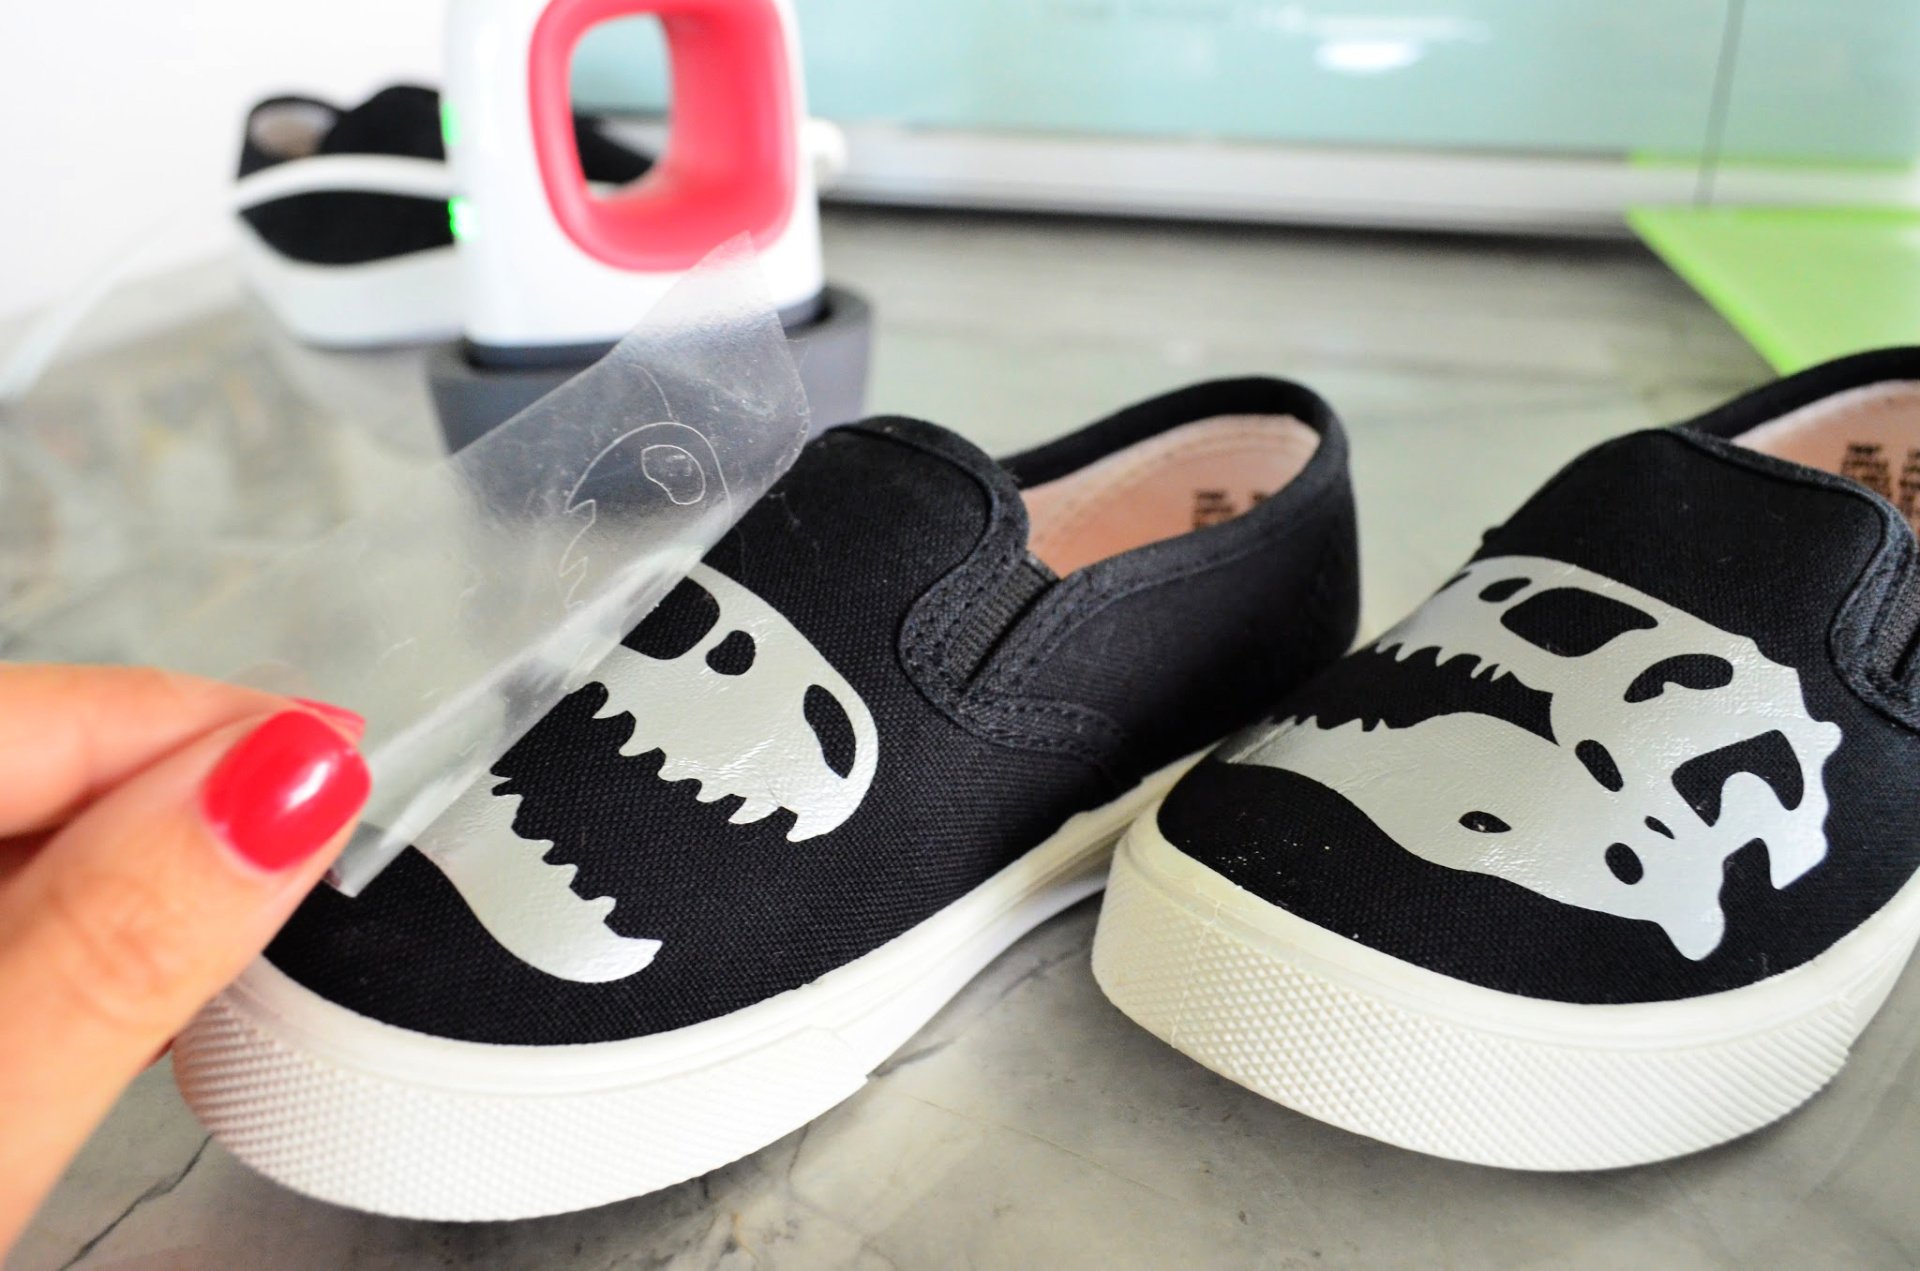
Once the Iron-On vinyl is on the shoe the transfer tape will almost instantly pop off. Making it extremely easy to peel off.
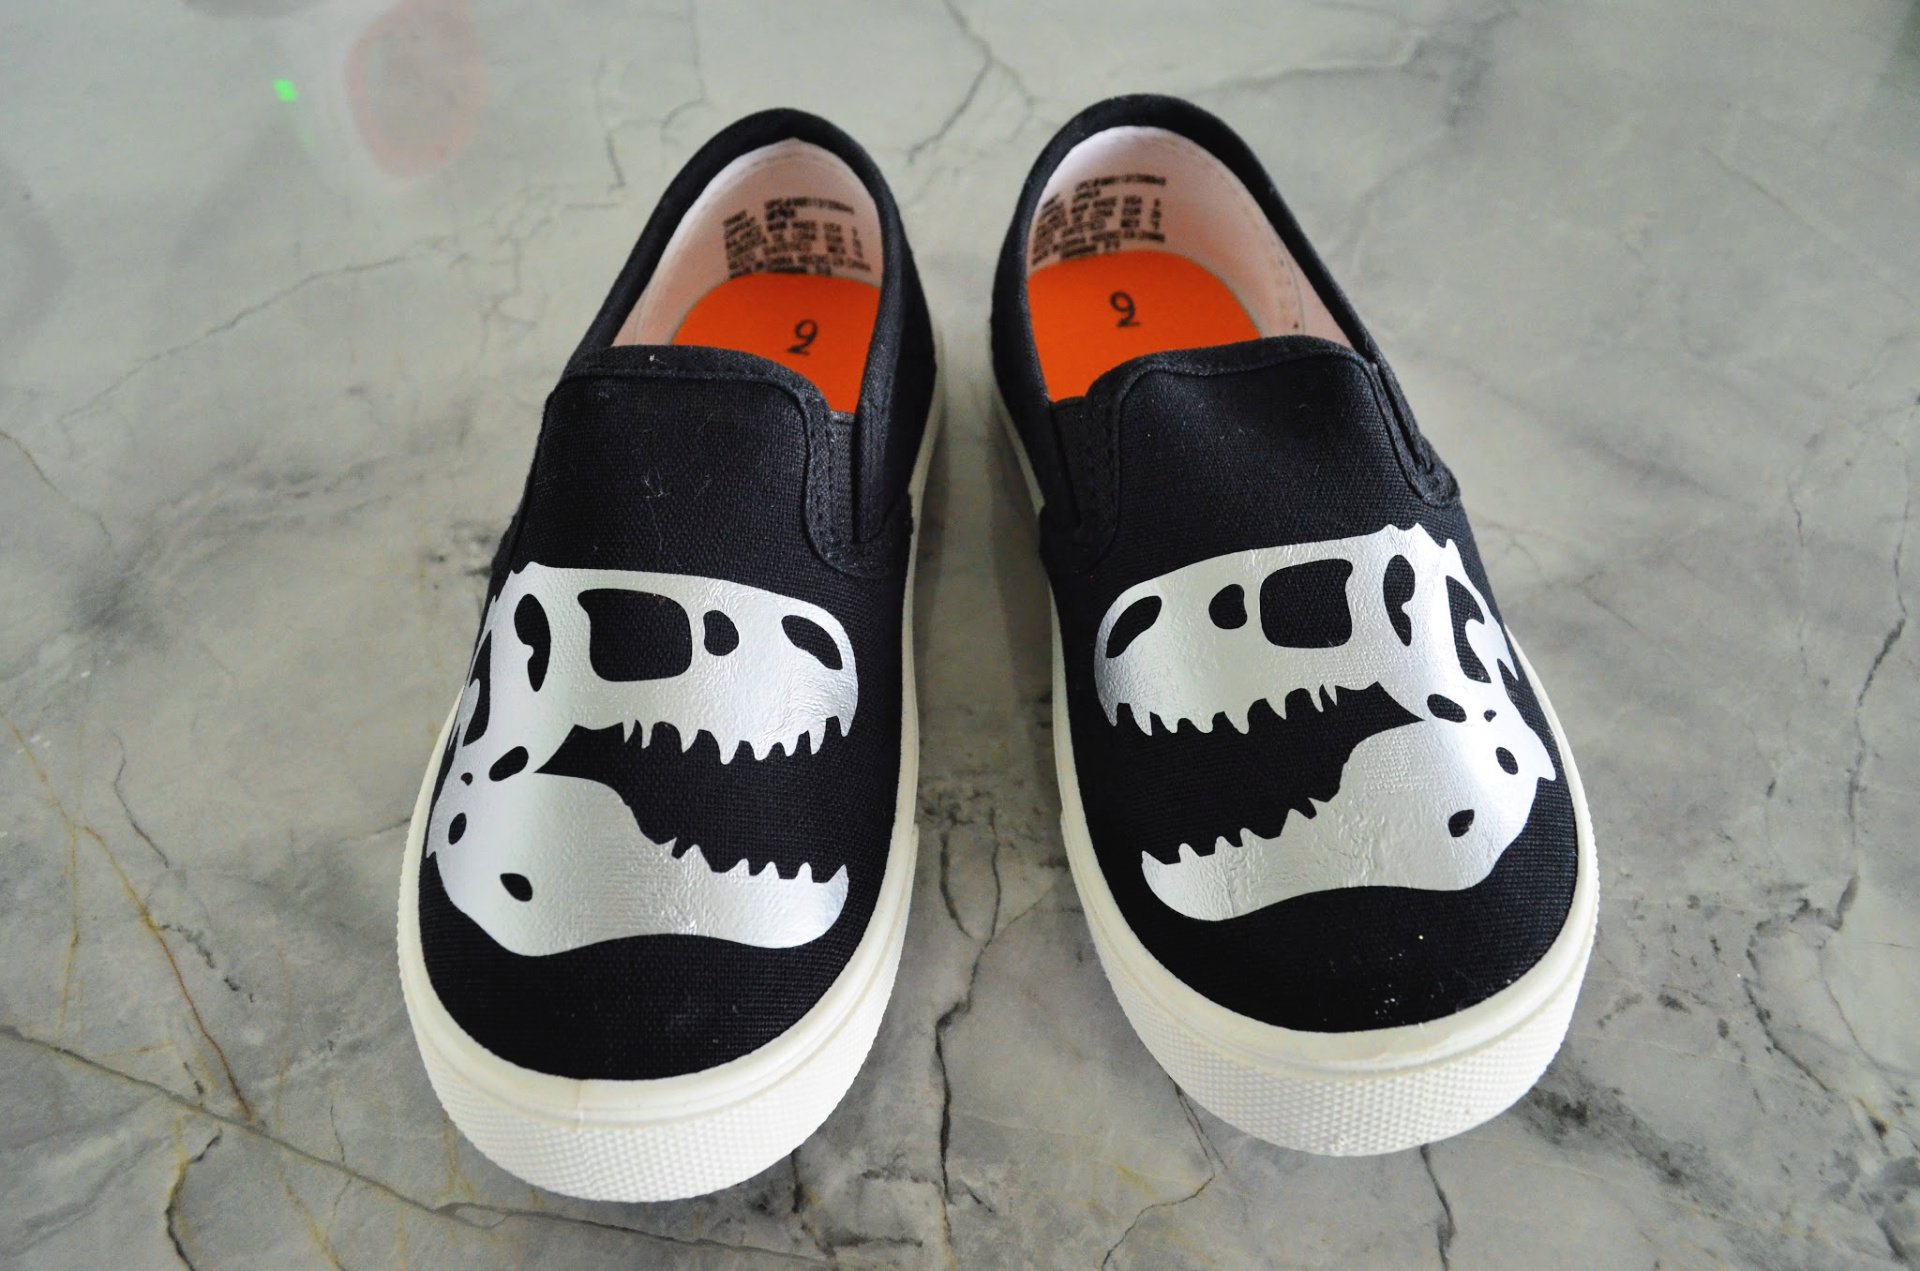
I absolutely love how these turned out and my dinosaur loving 5 year old loves them too!
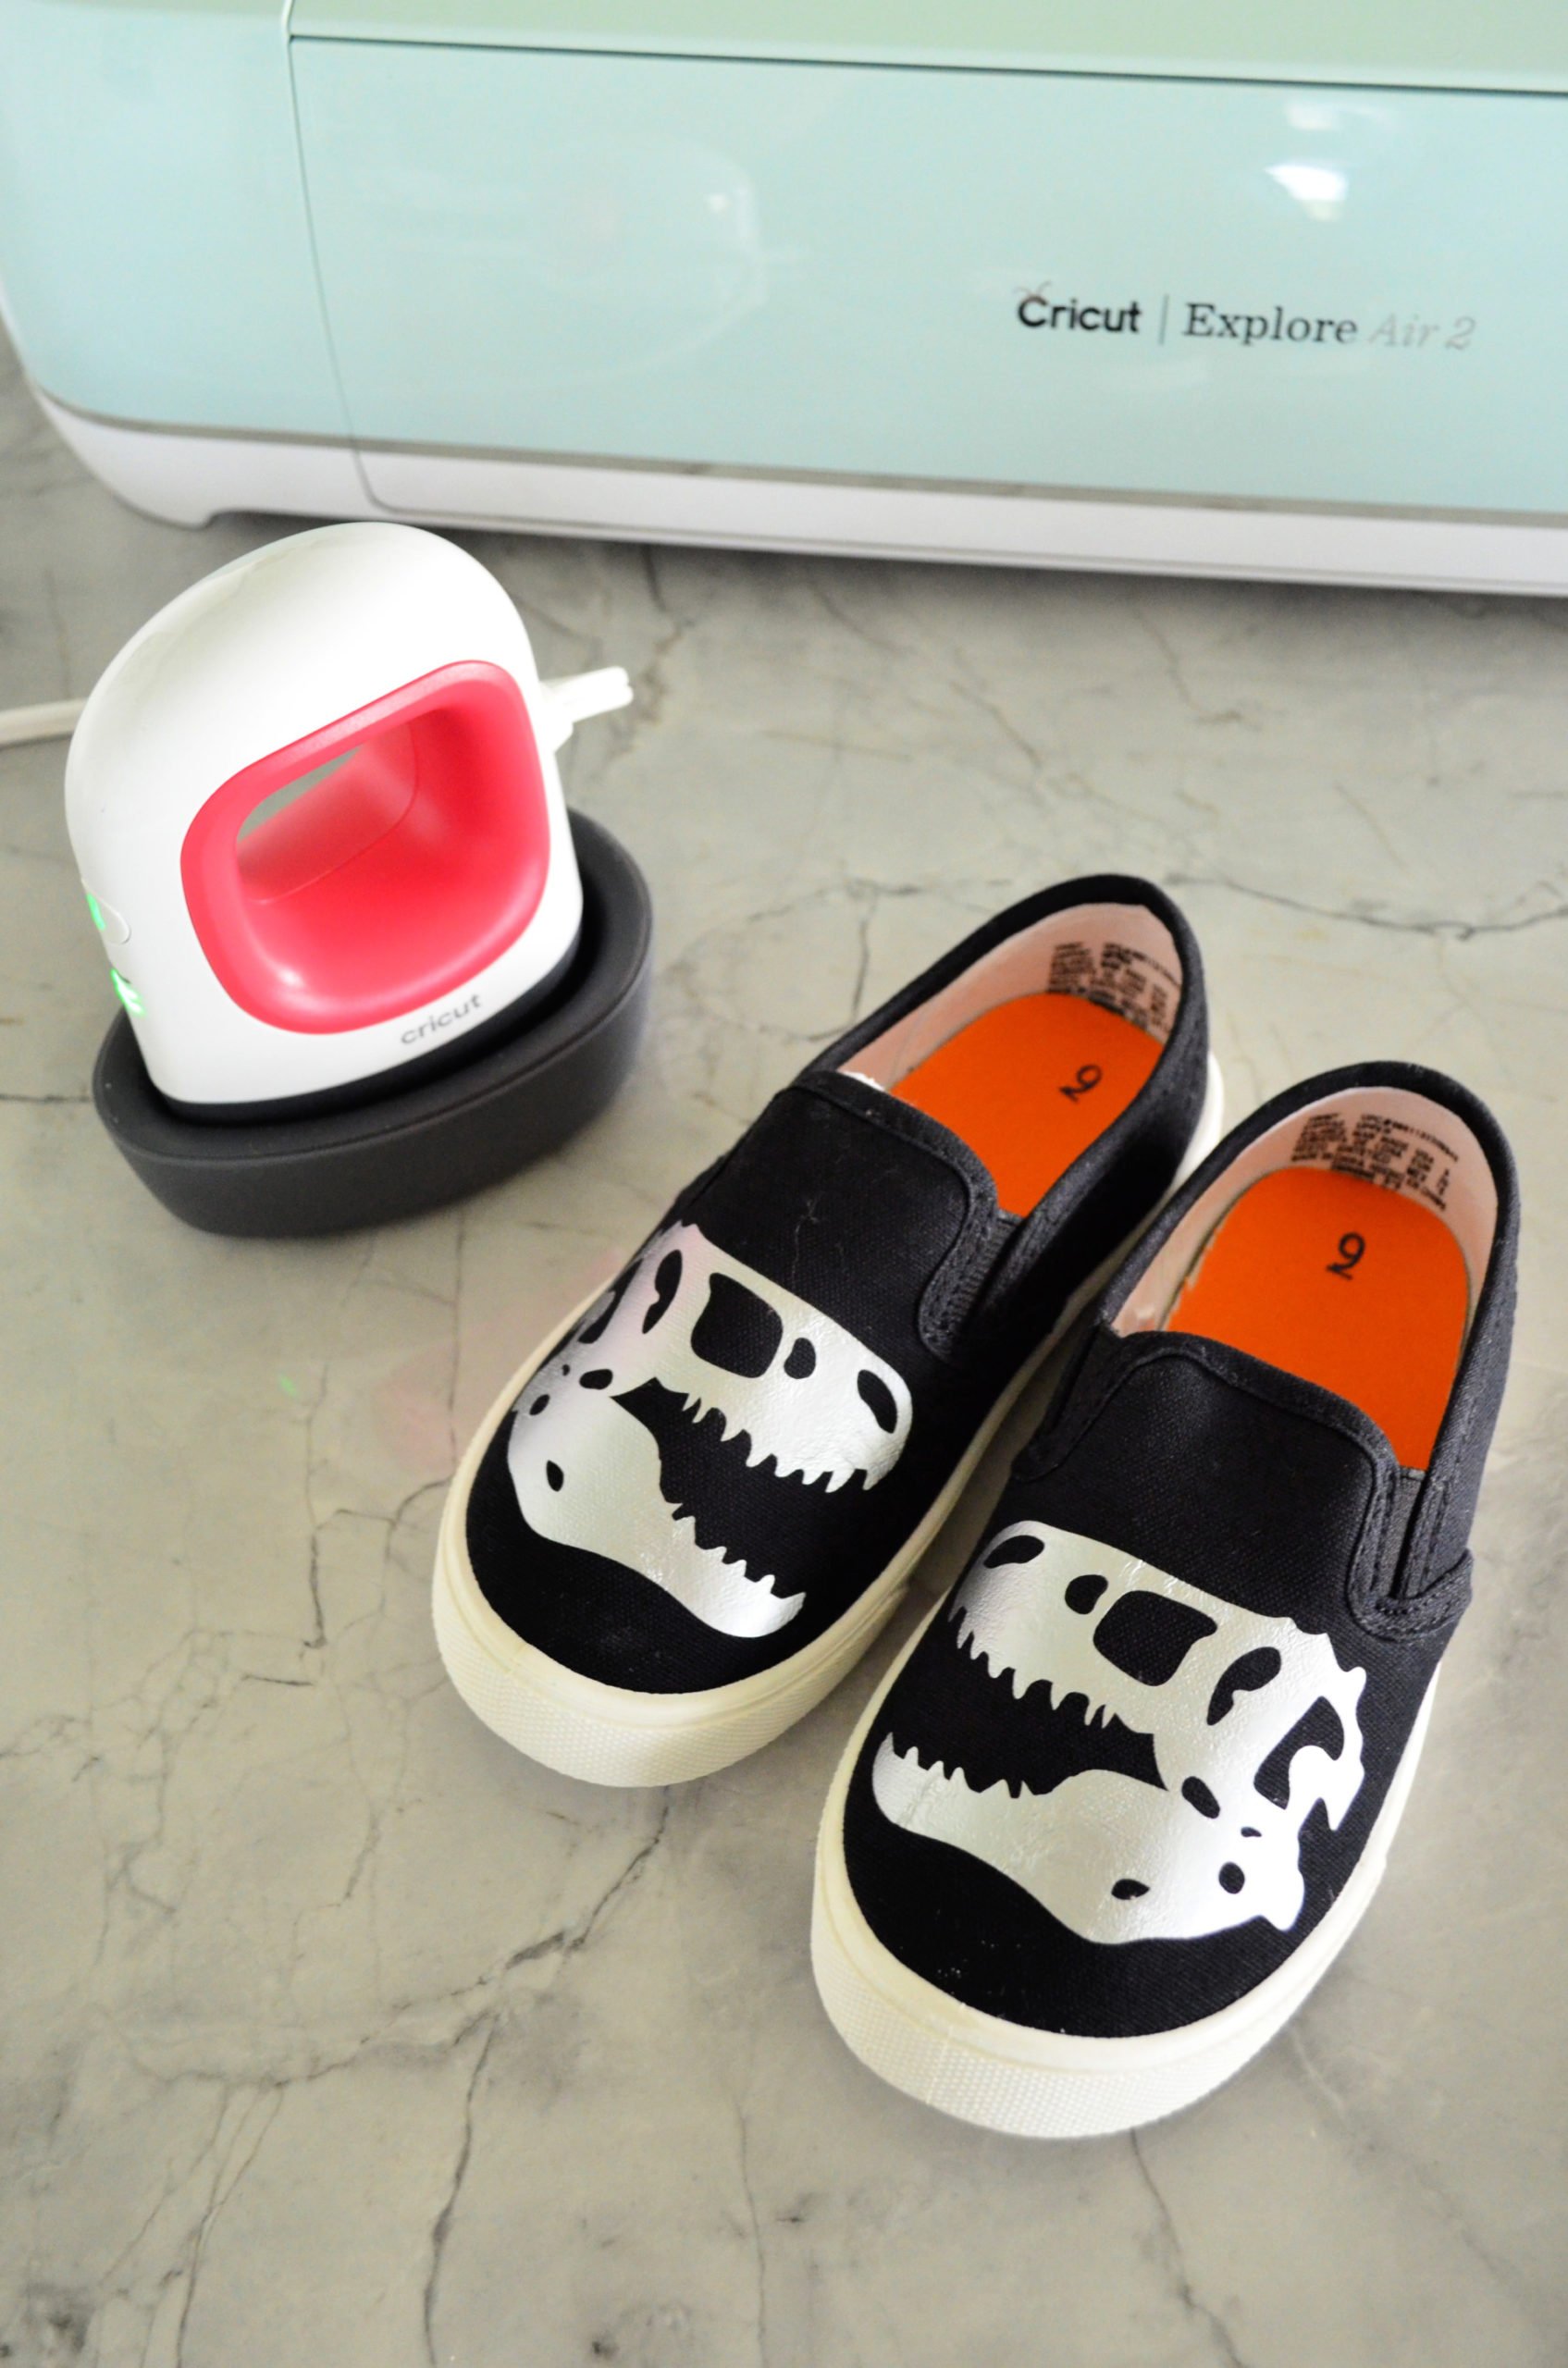
What heat settings should I use for my projects with the Cricut EasyPress Mini?
This was the first thing I was interested in knowing. What heat settings should I use for my projects with the Cricut EasyPress Mini ? Unlike the EasyPress the Mini does not have a traditional temperature control or timer.
According to the Cricut EasyPress Mini FAQ page I found the following information helpful.
- Low — for lightweight, delicate, synthetic, or heat-sensitive fabrics; also great for more delicate heat-transfer vinyl, such as Foil Iron-On.
- Medium — for most fabrics and heat-transfer vinyl
- High — for Infusible Ink projects and blanks
Make sure you always leave the EasyPress Mini in the base when you turn it on to heat. It is small and heats up very fast! The base was made for it to rest while not in use!
If you are looking for a small Cricut heat press I think you’ll love the new Cricut EasyPress Mini.
DIY Custom Shoes with the Cricut EasyPress Mini
Learn to make DIY Custom Shoes with the Cricut EasyPress Mini. With a few materialism you can transform plain canvas shoes into something unique!
Materials
- Cricut Explore Air 2
- Cricut Mat
- Cricut Tools
- Iron-On Vinyl
- Cricut EasyPress Mini
- Canvas Shoes (I found mine at Walmart)
- Dinosaur Canvas Shoes Cut File
- Socks *for stuffing inside the shoes
- Lint Roller
Tools
- Cricut Explore Air 2
- Cricut EasyPress Mini
Instructions
- First, you want to pull up the Dinosaur Canvas Shoes Cut File design in Cricut Design Space.
 Once your design is up you need to measure the surface of the shoe where you plan to press the design. Size the design according to the shoe surface.
- Before you cut, make sure the Smart Dial is set to "Iron-On". Always make sure you select "mirror image" when cutting Iron-On Vinyl.
- Set the design to cut “Iron-On Vinyl”.
- Then, weed out the negative from the design.
- First, You’ll want to set your EasyPress Mini to medium heat. Hit the temperature button to change from low, medium, or high. For this project I needed the EasyPress Mini set to “medium”. The color displays orange while heating up then changes to green when it’s ready to be used. ((See below for what temperature settings you need to use projects.))
- While the EasyPress Mini heats up. I stuff a sock into the inside of the canvas sneaker.
- Then, I use a lint roller to remove all the lint. This will help ensure that I have a smooth surface with no fibers visible underneath my design.
- Next, it’s time to Iron-on your design. I always like to place the design on the shoes first to get a good feel for exactly how it will look. Also to align the design before it is permanently set.
- Place the EasyPress Mini directly onto the transfer tape. I was shocked by how quickly the Iron-On vinyl adheres to the canvas. It will adhere almost instantly.
You need to work fast and be extremely careful. - Once the Iron-On vinyl is on the shoe the transfer tape will almost instantly pop off. Making it extremely easy to peel off.
Recommended Products
As an Amazon Associate and member of other affiliate programs, I earn from qualifying purchases.
Cricut Discounts & Sales
If you are in the market to buy a new Cricut or supplies here are a few deals I have exclusively for Sew Woodsy readers!
- Save $30 on a Maker Machine! Valid through 1/21/20
- Cricut Access Exclusive: Save 30% off Machine Totes! Valid through 1/21/20
- Cricut Access Exclusive: Save 20% off Bulk Supplies! Valid through 1/21/20
- Cricut Access Exclusive: Save 40% off all Accessories! Valid through 1/21/20
- Cricut Access Exclusive: Save 40% off all Materials! Valid through 1/21/20
- Sign up for Cricut Access™ Premium and get 50% off digital orders on Cricut.com and in Cricut Design Space™
Disclosure: There are affiliate links in this post. That means if you click on the links and buy something we will receive a small percentage of the sale at no additional cost to you.
Comments & Reviews
Alisa says
How well did these hold up? Did the vinyl peel off at all? I have a very active 2 year old who I’ve been considering customizing some shoes for, but my husband is worried it’ll come off quickly
Katie says
Hi Alisa, I didn’t have any issues for the few months my son used them. I will say like any iron-on vinyl project if it does start to come up then you can simply press the vinyl back on to the shoe!