Celebrate St. Patrick’s Day by making yourself a shirt to share how lucky you are to be a mama!
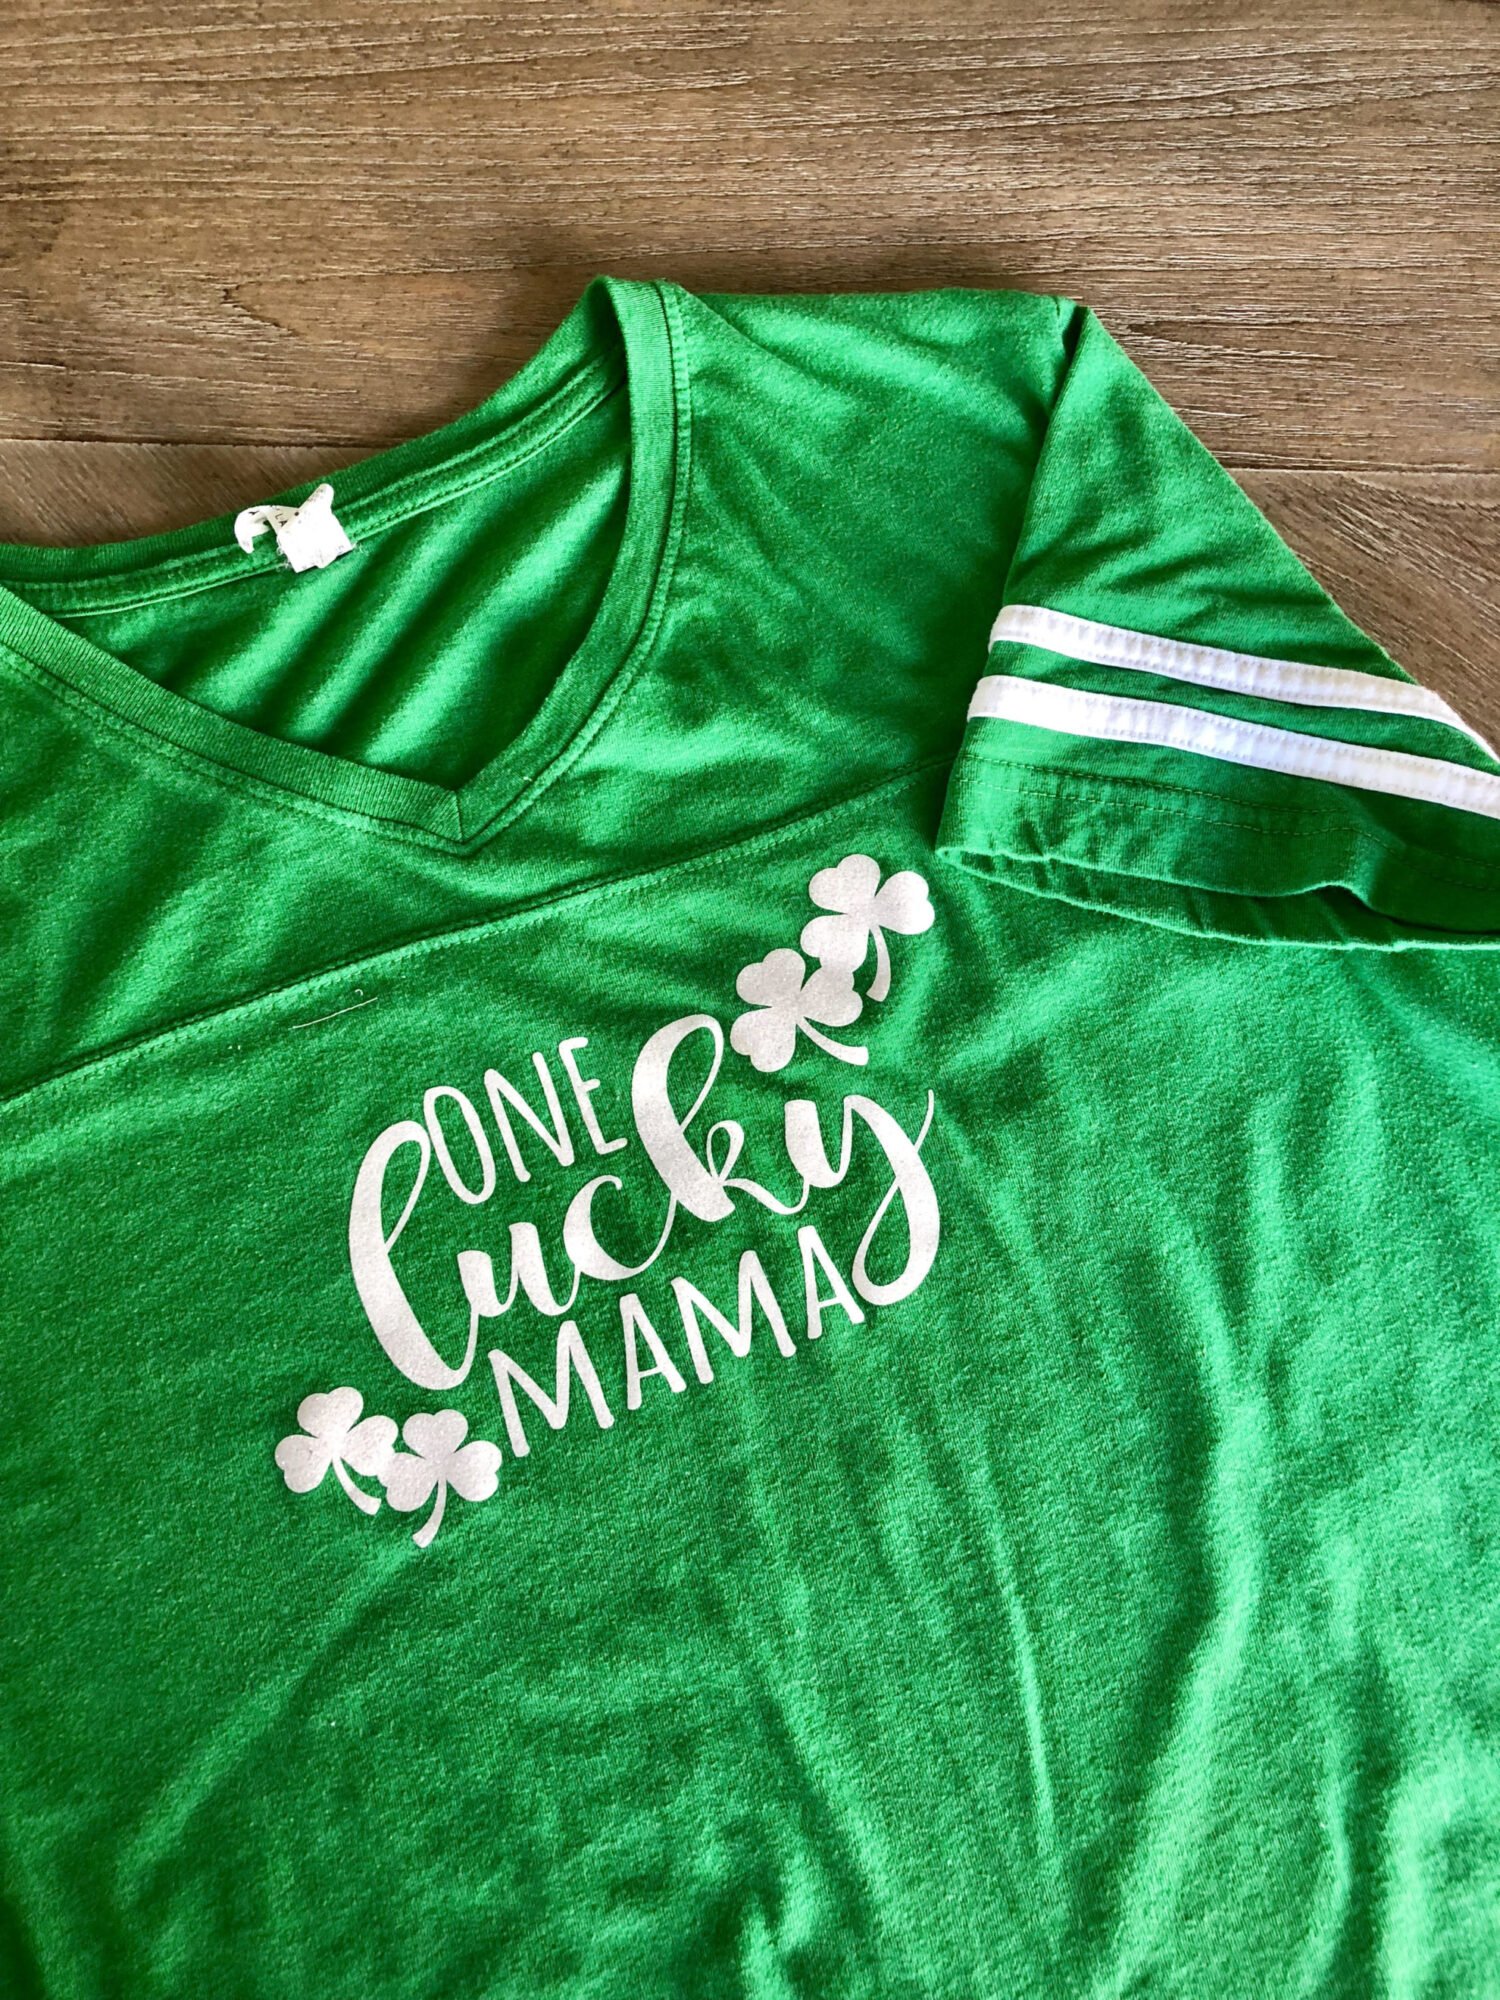
The other week I whipped up a shirt for myself and for the kids for our local St. Patrick’s Day parade. My husband always thinks I’m crazy, but I love making special custom shirts and even better we get compliments! I’m going to embrace being able to make the kids shirts until they won’t let me any more. Today, I’m sharing how I made this super simple DIY “One Lucky Mama” Iron-On Shirt in minutes using my Cricut Maker!
Table of contents
Supplies
- Cricut Maker
- “One Lucky Mama” file found on Cricut Design Space™
- Cricut Mat
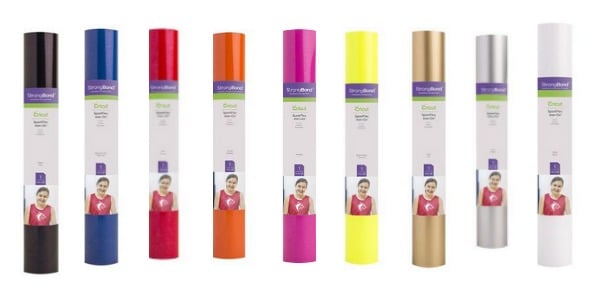
- Cricut Glitter Iron-On Vinyl; white
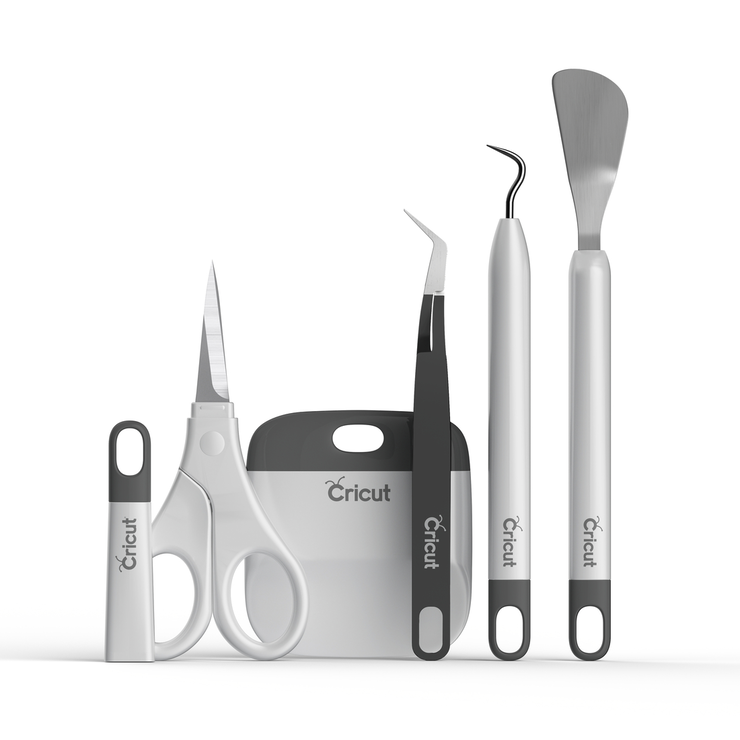
- Cricut Tools
- Cricut BrightPad
- T-shirt
- Cricut EasyPress
- Linen Cloth
St Patricks Day T Shirts
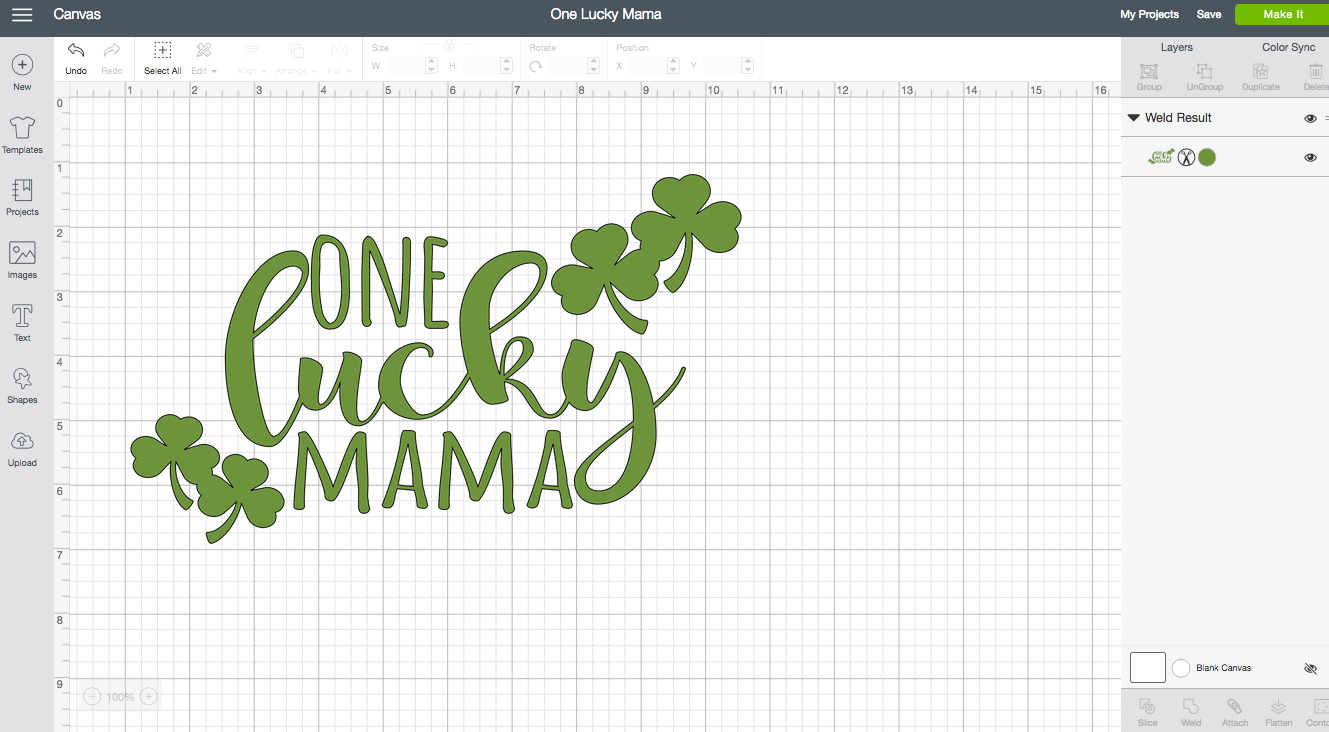
First, open up the “One Lucky Mama” file found on Cricut Design Space™. Size the file to the size you need for your shirt.
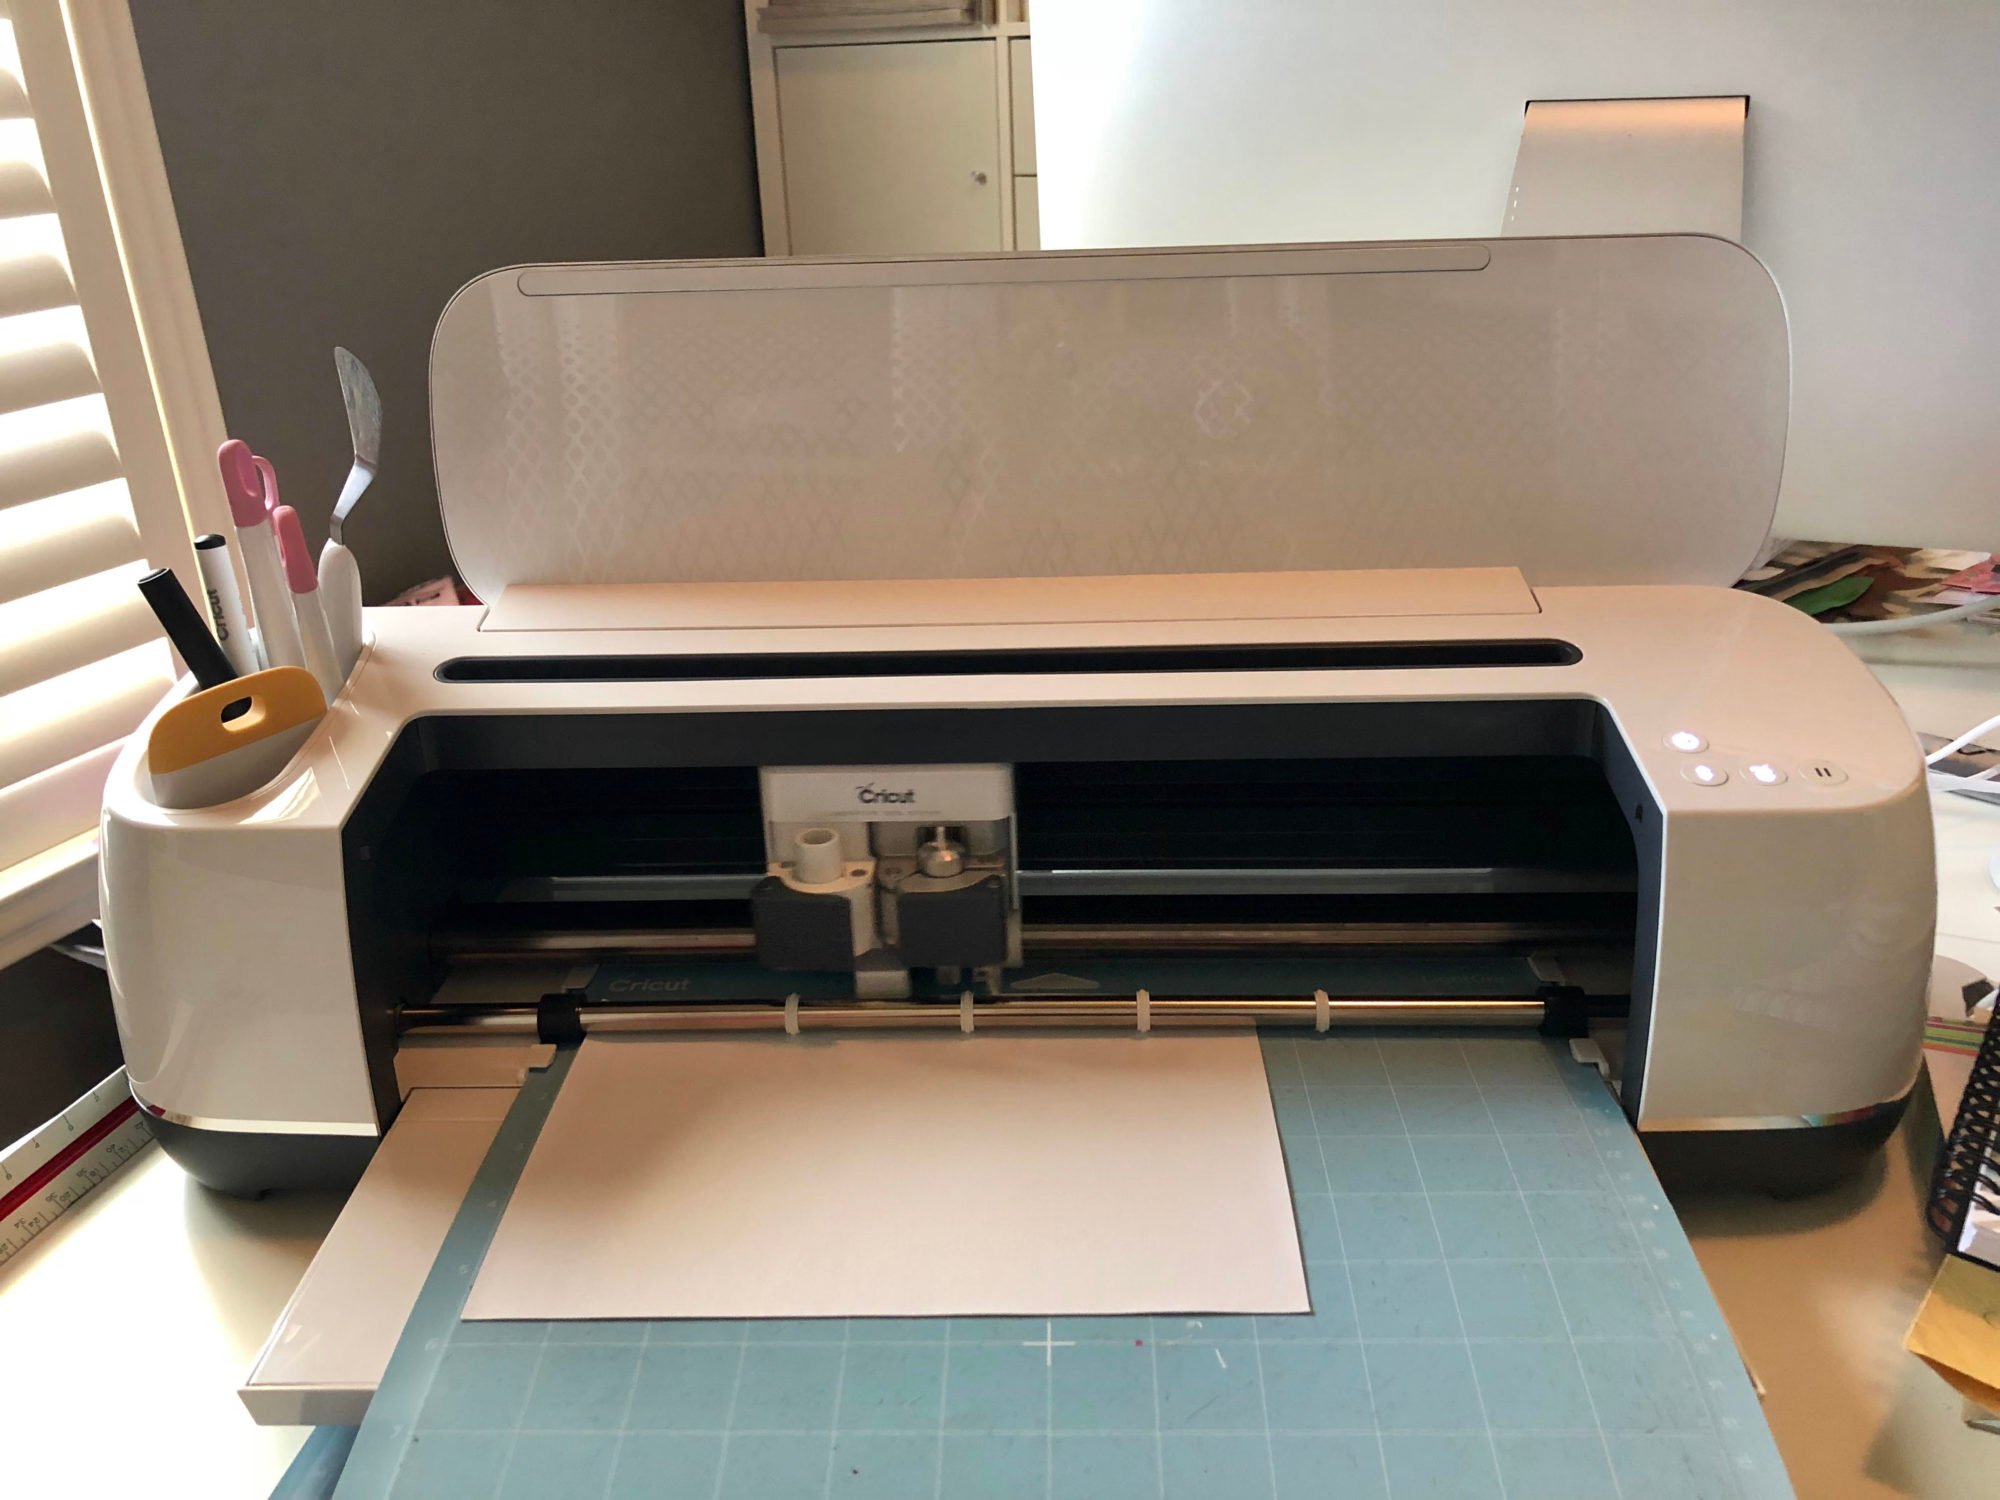
Remember to MIRROR your image! Select “Iron-On Glitter Vinyl” and begin to cut.
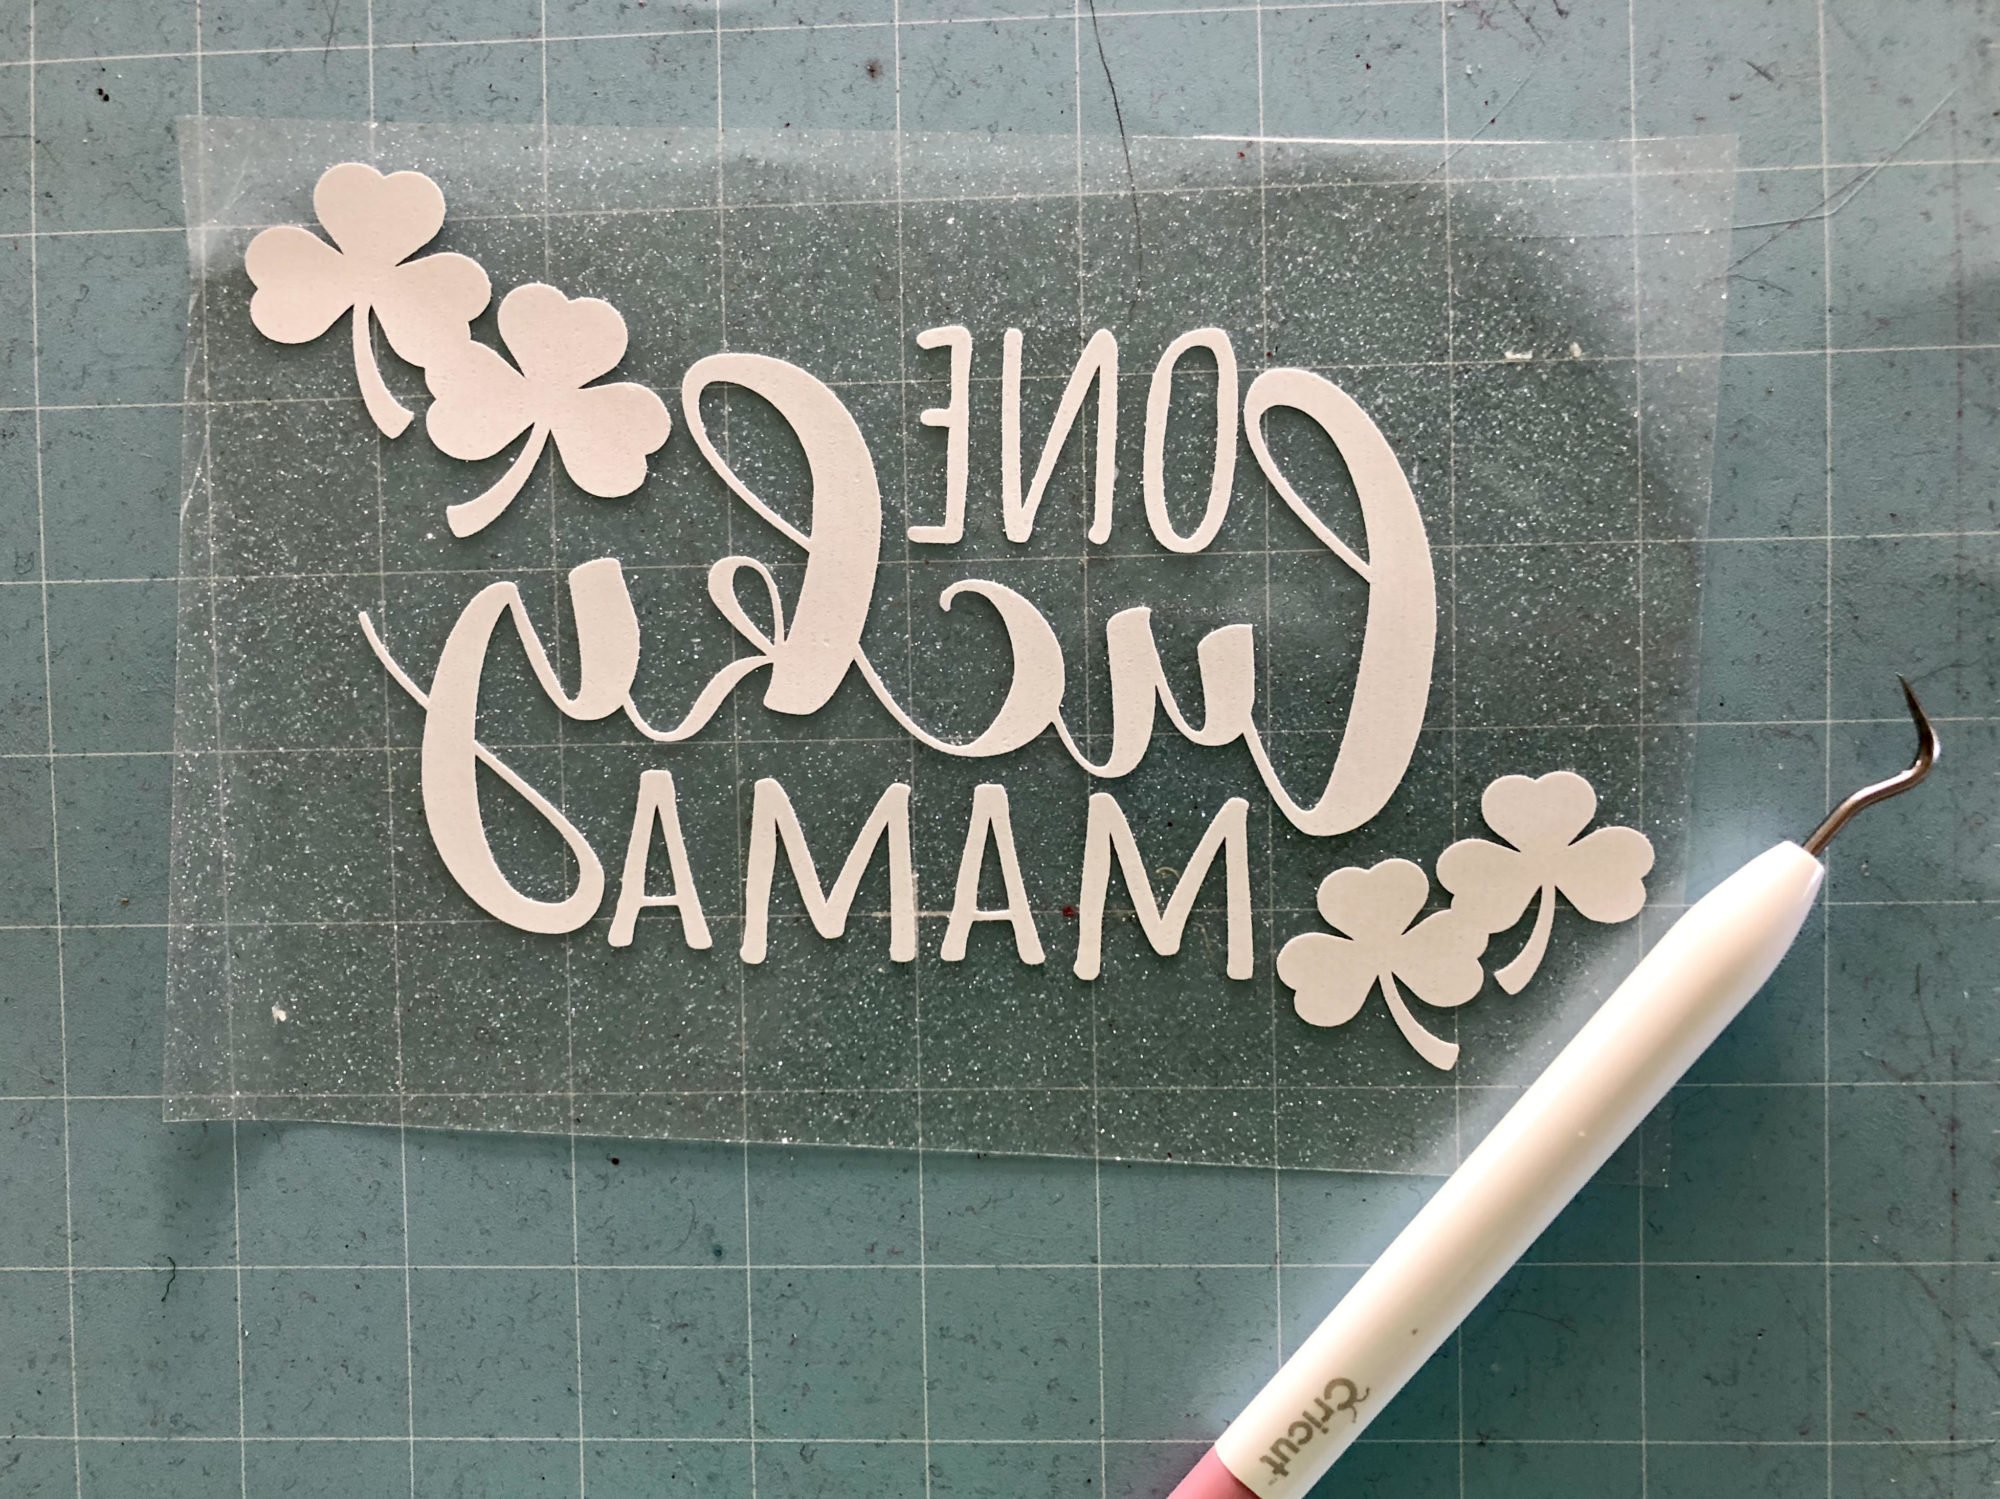
Weed out the negative Iron-On vinyl using Cricut BrightPad and Cricut Tools for weeding. Then apply the Iron-On vinyl to your shirt using your Cricut EasyPress or iron or heat press! Whatever you have on hand.
Just follow the directions via the Iron-On vinyl packaging and what heat source your planning to use. For the EasyPress it’s about 30 seconds. With the heat press it’s about 10-15 seconds and an iron will take at least a minute if not longer. I always use a thin muslin fabric to when I’m adhering the Iron-On Vinyl to the shirt!
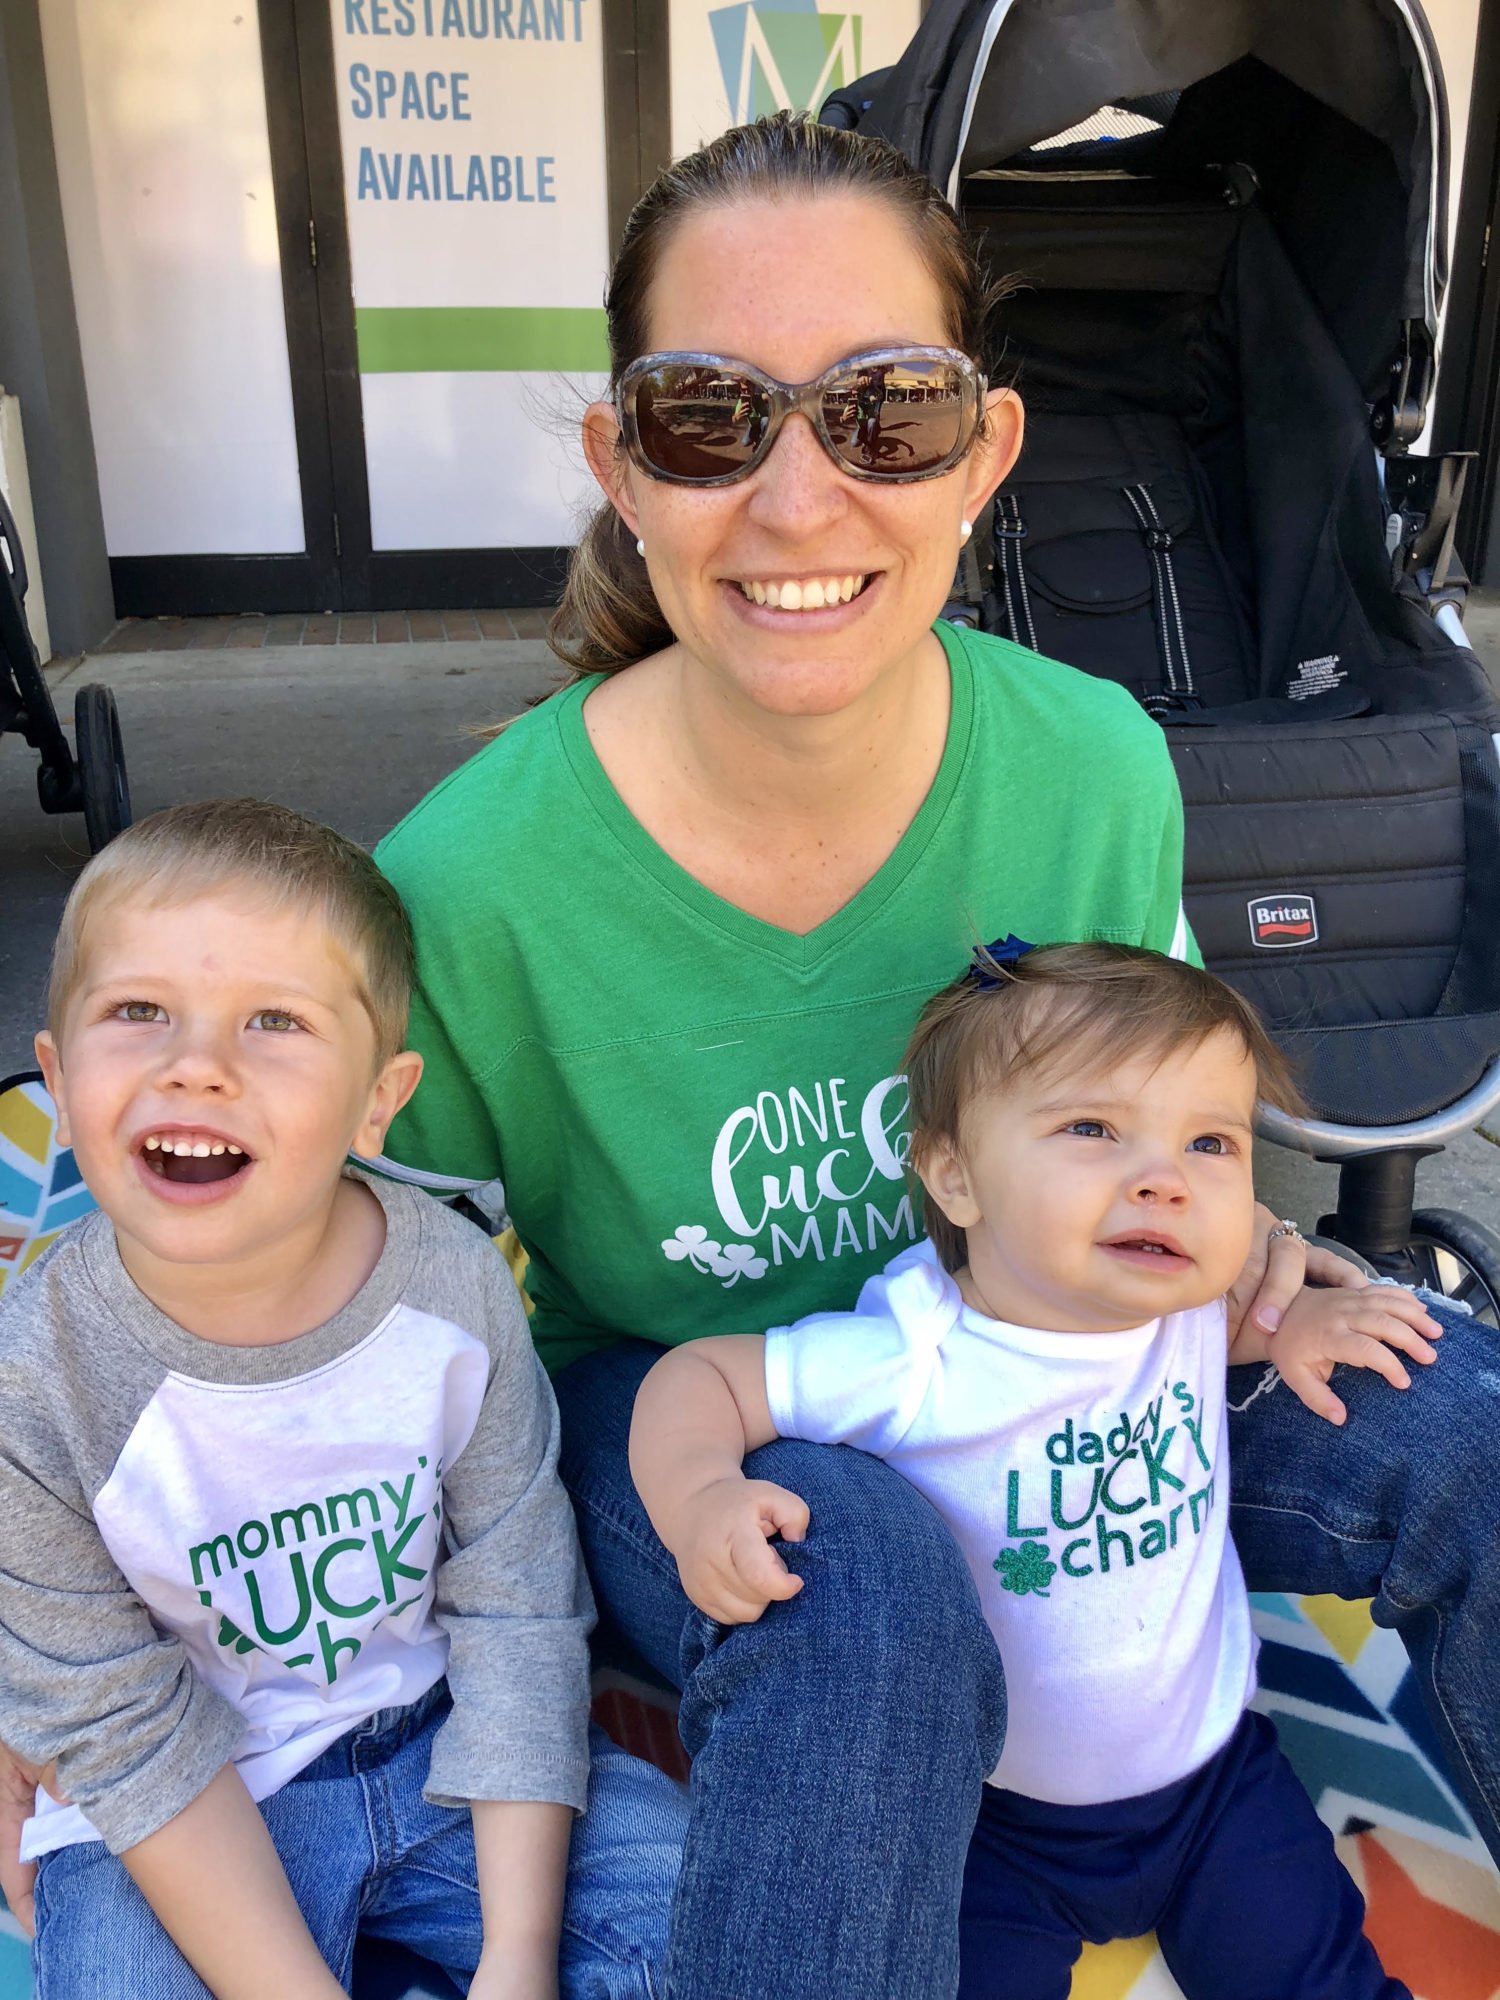
The only semi-clear photo of myself and the kids with my shirt on! LOVE this shirt and plan to wear it year round.
FAQs
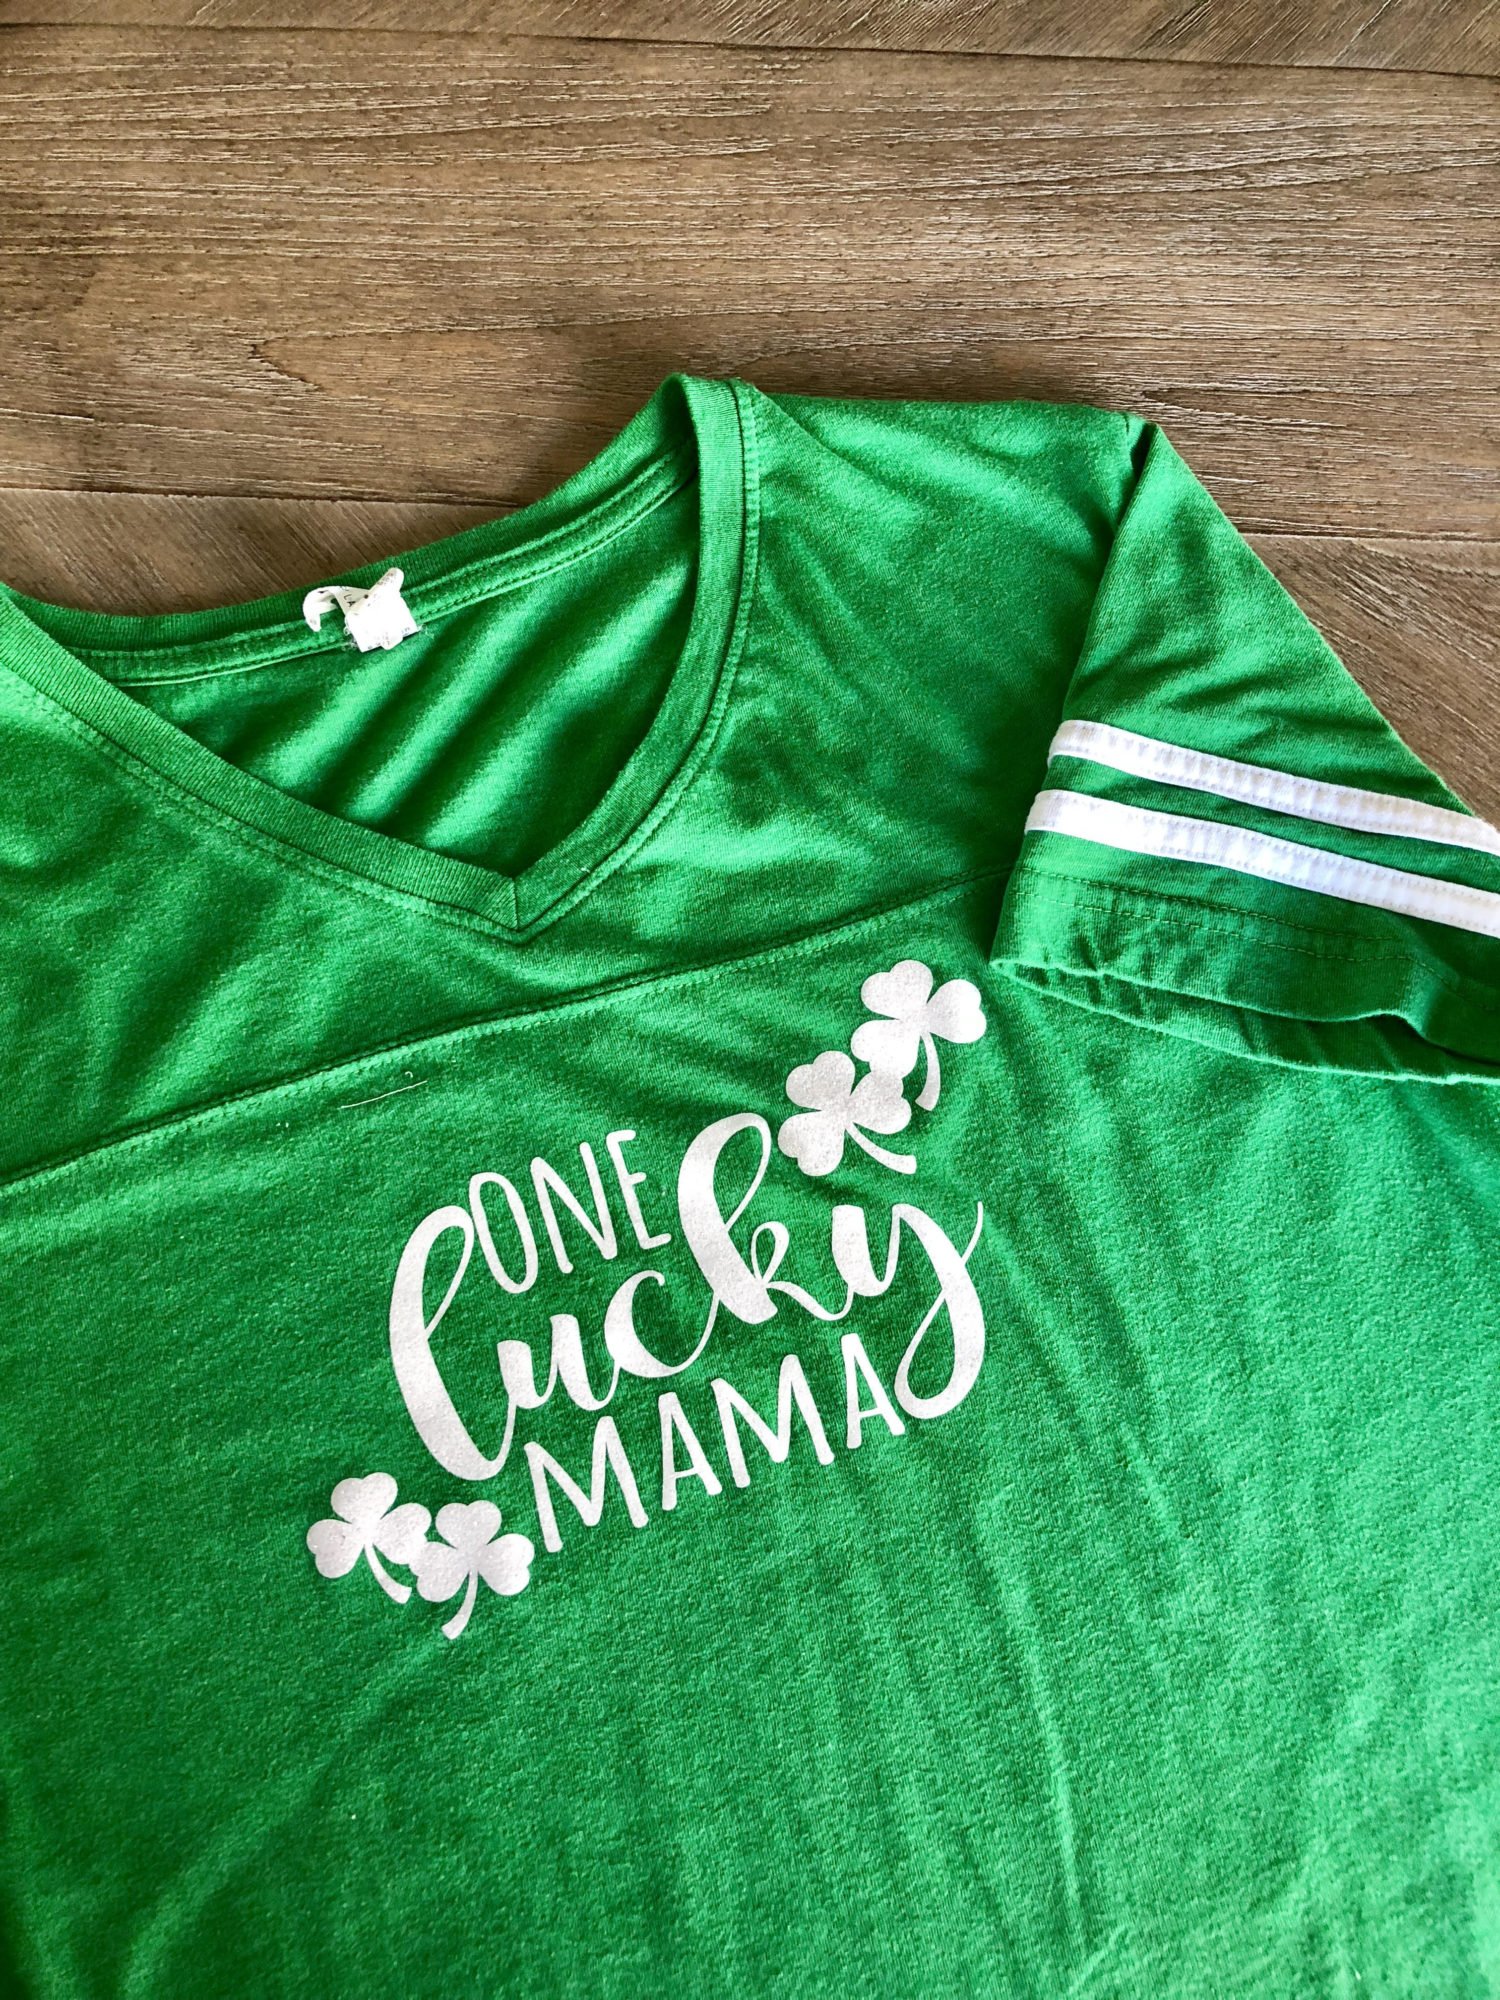
I love to purchase shirts from Walmart as I find they have great quality shirts for an affordable price I have also found blank shirts at Michael’s Craft Store, JoAnn Fabric, Hobby Lobby, Target and Amazon. I’m unsure where this shirt was purchased as I had a friend who gave this to me.
When you are going to cut the design out you will want the shiny side to be placed on the mat face down so the dull side is visible to the eye. Remember to mirror the image before cutting. If you do not, they will appear in reverse when transferred onto your fabric and you won’t be able to read the writing.
Make sure you preheat all fabric prior to pressing for best results. You want to press the iron-on glitter onto the garmet at 320°F/160°C with a firm pressure. Press for 10-15 seconds then once it’s adhered you can peel the clear plastic off while it’s hot.
If the glitter iron-on is not sticking it might be because you aren’t pressing long enough and/or not giving enough pressure.
St. Patricks Day Crafts
If you are looking for some more St. Patrick’s Day crafts to do here are a few more of my favorites.
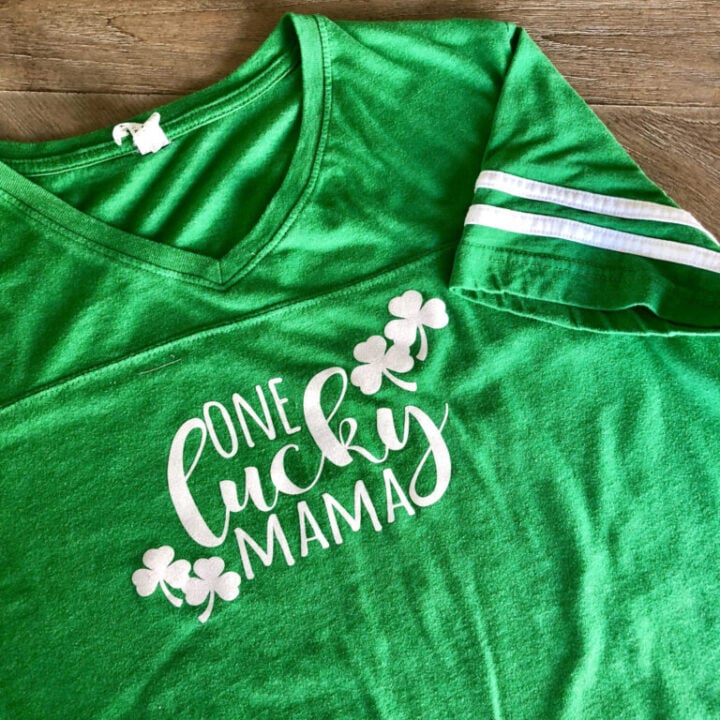
DIY “One Lucky Mama” Iron-on Shirt
Celebrate St. Patrick’s Day by making yourself a shirt to share how lucky you are to be a mama!
Materials
- Cricut Mat
- Cricut Glitter Iron-On Vinyl; white
- T-shirt
- Linen Cloth
Tools
- Cricut Maker
- “One Lucky Mama” file found on Cricut Design Space™
- Cricut Tools
- Cricut BrightPad
- Cricut EasyPress
Instructions
- First, open up the “One Lucky Mama” file found on Cricut Design Space™.
- Size the file to the size you need for your shirt.
- Remember to MIRROR your image! Select “Iron-On Glitter Vinyl” and begin to cut.
- Weed out the negative Iron-On vinyl using Cricut BrightPad and Cricut Tools for weeding.
- Then apply the Iron-On vinyl to your shirt using your Cricut EasyPress or iron or heat press.
- Your shirt is complete.
Notes
Ironing Material - When deciding what material to apply the Iron-On vinyl with, follow the directions via the Iron-On vinyl packaging and what heat source you plan to use. For the EasyPress it’s about 30 seconds. With the heat press, it’s about 10-15 seconds and an iron will take at least a minute if not longer.
Material - I always use a thin muslin fabric when I’m adhering the Iron-On Vinyl to the shirt.
Recommended Products
As an Amazon Associate and member of other affiliate programs, I earn from qualifying purchases.
Leave A Reply!