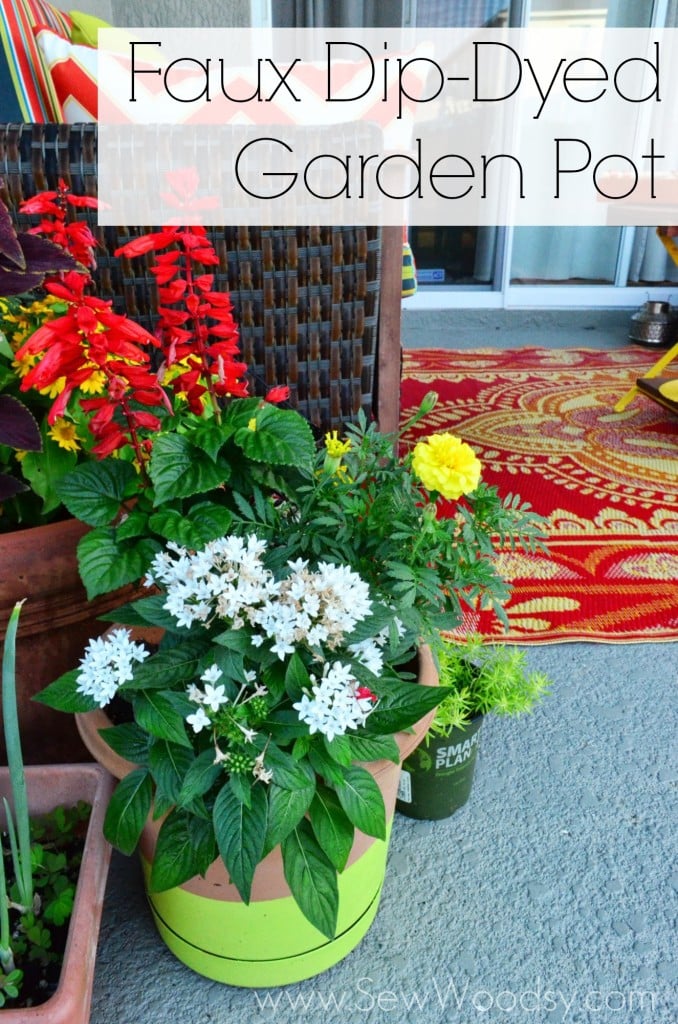
Last week, we revealed our summer patio refresh. We honestly can’t stop looking at our patio and of course now we are more eager than ever to entertain. While we worked on refreshing our patio we also did a few minor DIY projects. One of the projects I’ve been wanting to do for a while was to do a faux dip-dyed garden pot. This project did not cost us anything. With just a few supplies that we had laying around our home I was able to achieve the faux dip-dyed look that I wanted!
Supplies:
- Garden Pot
- Drop Cloth
- ScotchBlue Painters Tape
- Rust-Oleum Spray Paint
- Flowers to Plant in Pot

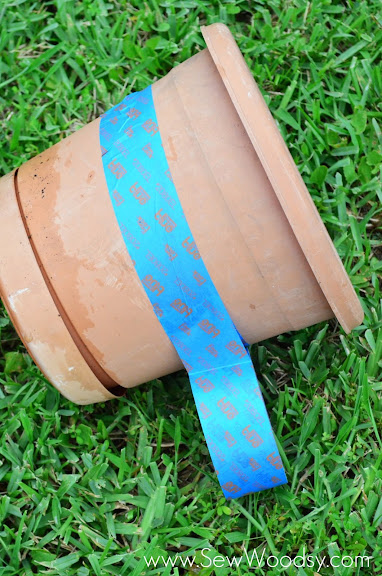
First, clean the exterior of the pot. Then place a line of ScotchBlue Painters Tape around the pot. I wasn’t too concerned about the line being straight since I was going for a “dip-dyed” look!

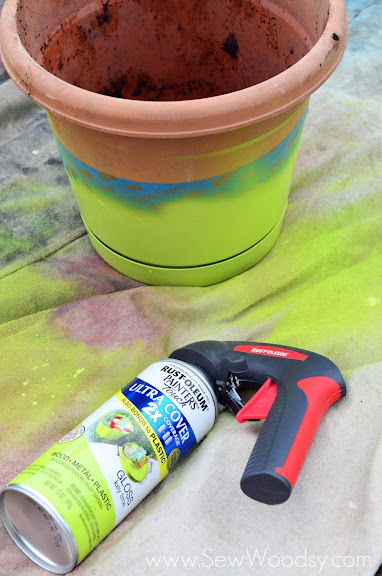
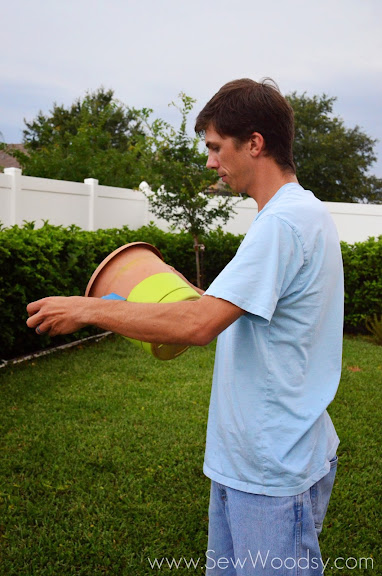
Next, break out the spray paint and lightly give the pot a few colors. In hind sight, looking back I would probably tape another line of tape to protect the pot some more… oh well. A lesson learned!

Let the garden pot dry for 15-20 minutes in between coats of paint.

Once your happy with the look of the pot, carefully peel the painters tape off the pot!

Plant some flowers in your pot and admire it!
I’d love to hear in the comments below if you’ve ever done a dip-dyed project. If not, what would you faux dip-dye with this technique?