• Skip to primary navigation
  • Skip to main content
  • Skip to primary sidebar

Sew Woodsy logo

  • DIY
  • Crafts
  • Cricut
  • Travel
  • About
menu icon
go to homepage
search icon
Homepage link
  • Home
  • Thanksgiving
  • DIY
  • Cricut
  • Travel
  • About Us
    • Email
    • Facebook
    • Instagram
    • Pinterest
    • Twitter
    • YouTube
  • ×

    Sew Woodsy » Sewing

    Published: Aug 14, 2012 by Katie · This post may contain affiliate links.

    Sunburst Pillow

    Sharing is caring!

    16 shares
    • Facebook15
    • Twitter

    Sunburst Pillow

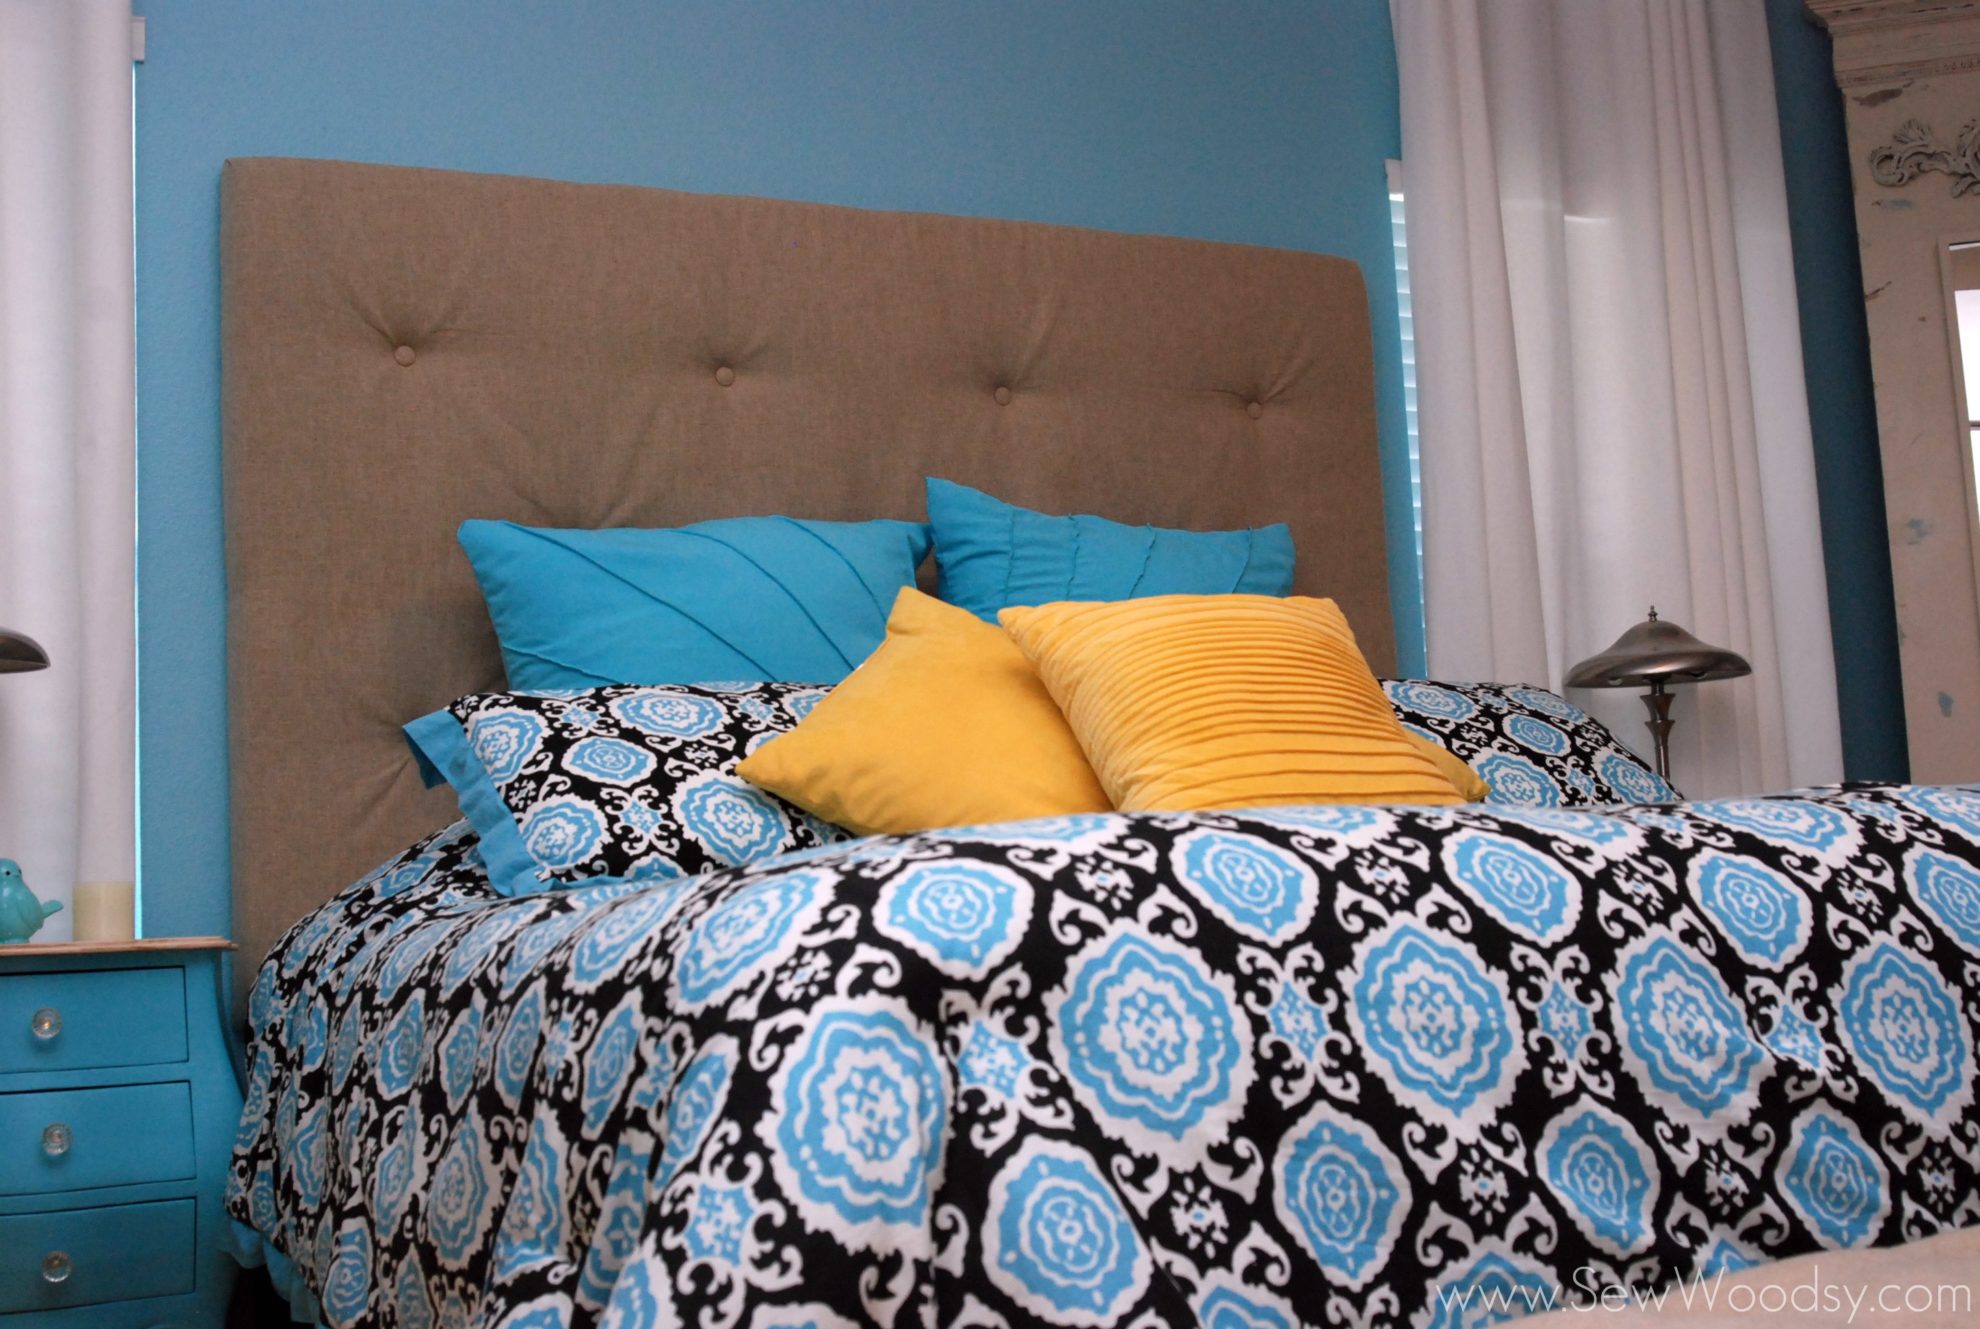
    Over a year ago, right when Pinterest first started, I found this Sunburst Pillow, and was inspired to make my own… one day! Back before Pinterest I would create a new blog post and save the link in the blog post. I know… that’s a bit crazy, so you can only imagine how many “draft” blog post I have sitting waiting for me to one day create the item! It’s my goal… one day they will all be completed!

    Earlier this year (like New Years day early) when we were smack dab in the middle of planning out our Master Bedroom Revamp project I bought 180+ yards of fabric… aqua linen fabric that matched our comforter perfectly! The gorgeous and expensive fabric (although I will preface I had a gift card and a 50% off fabric coupon) sat for 6 months. I bought the fabric with the intentions of making curtains. Back in April/May I went to lay out the fabric and that’s when I realized I did not have enough fabric. We had bought every last yard of the fabric and at this point it was way too late to purchase any more fabric. I had a few options… Make it work by adding a strip of coordinating fabric to make the curtains long enough OR scrap making curtains all together. After a long and hard decision I decided to go with white Ikea grommet curtains, and I vowed I would make pillows out of the linen fabric *and maybe a dress if I ever get the courage to sew from a pattern!

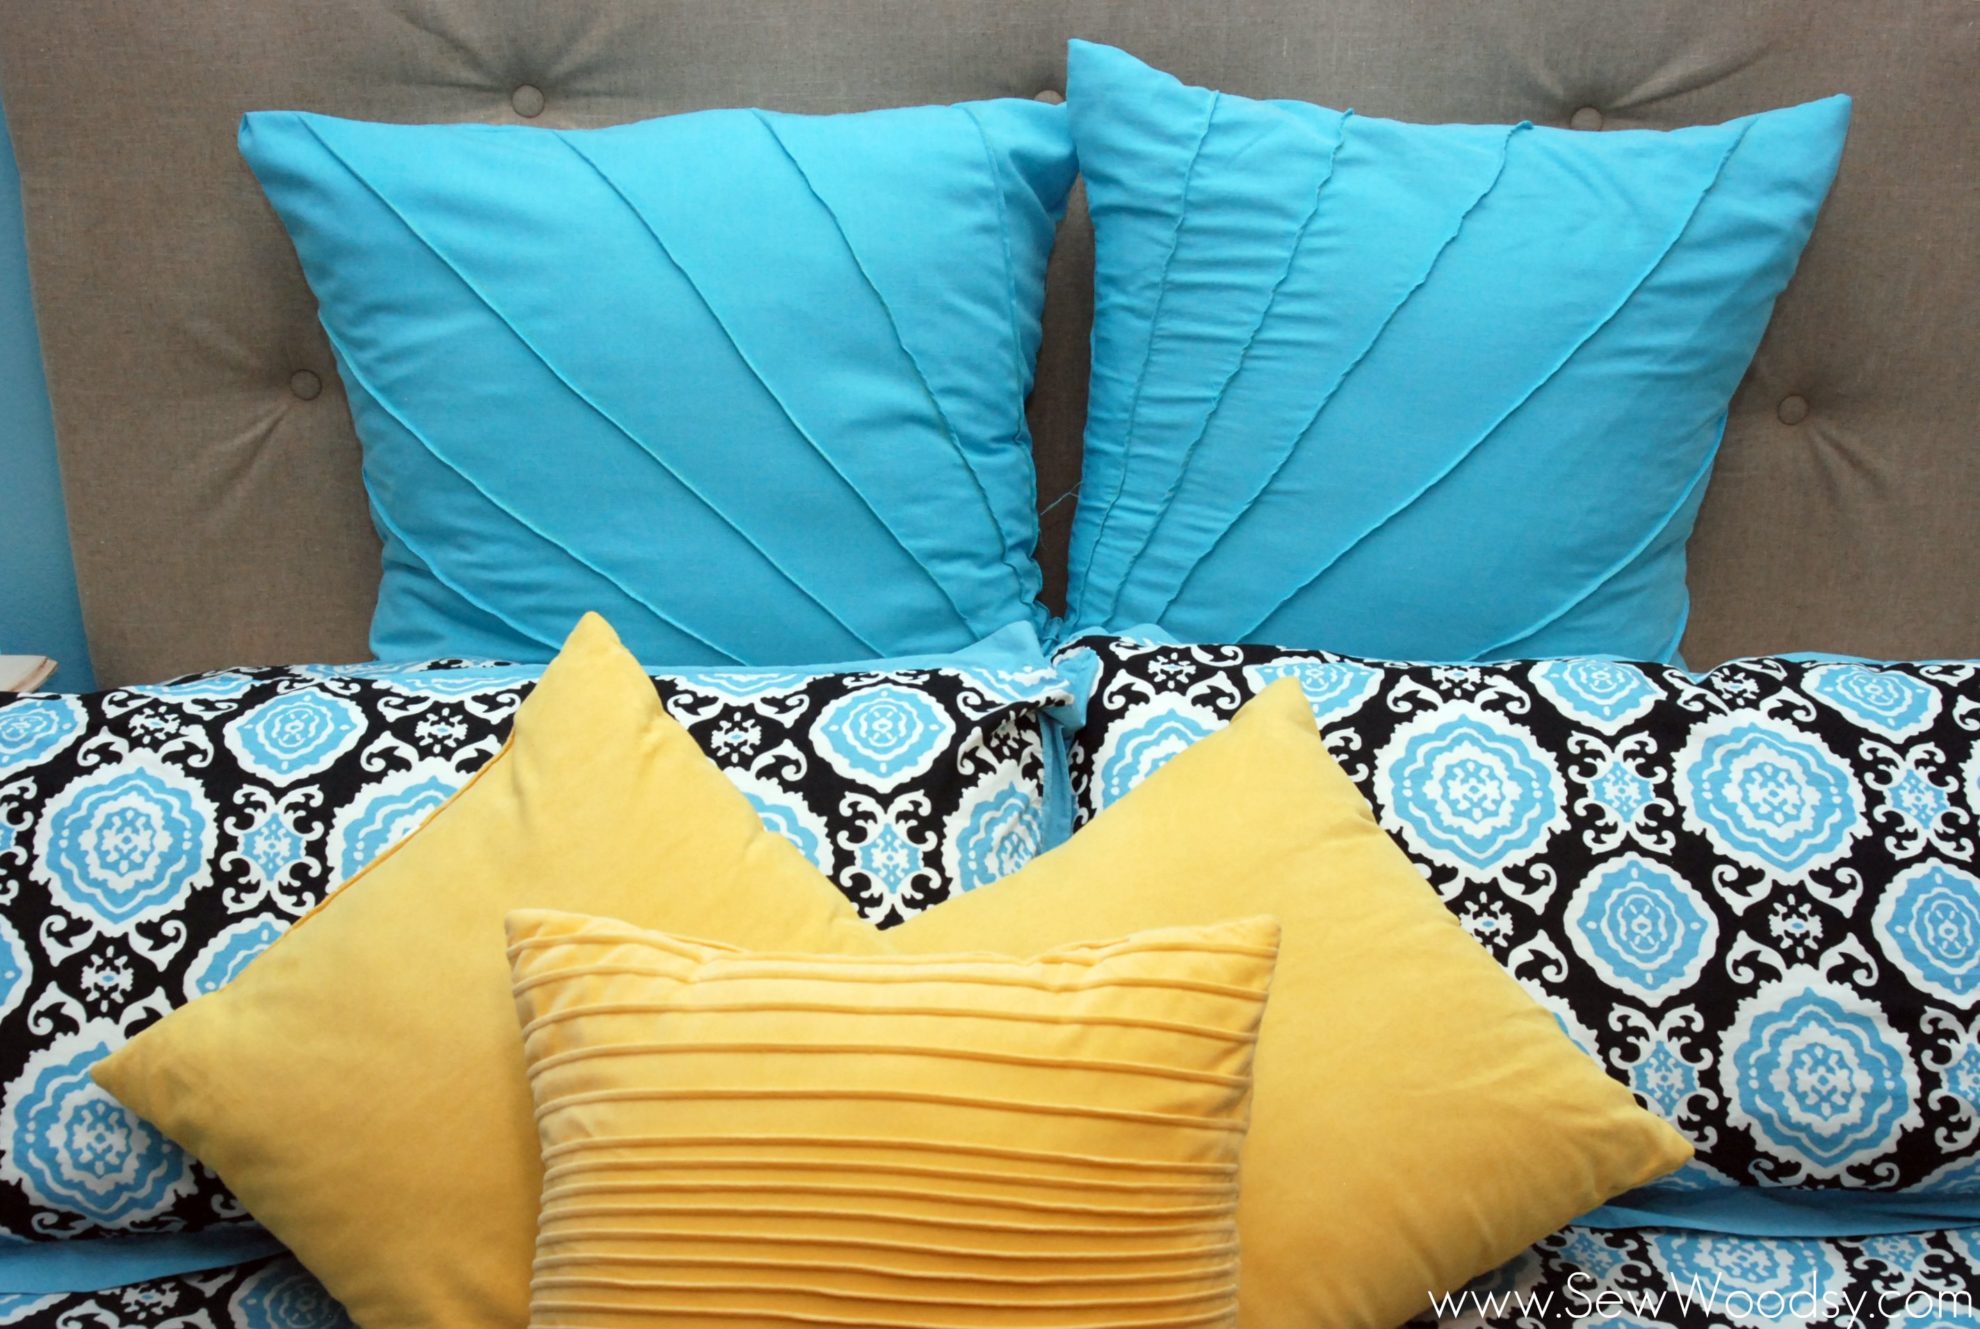
    I started and finished the pillows last month. After much debate I decided to go with an envelope fold pillow. Mr. Woodsy was against this (and partly sad that he even knows what an envelope style pillow is). He said it was my easy way out. I opted with this choice after attempting to sew a zipper in over a year and sewed all the pieces together. An hour and a half later of seam ripping and I had enough. I wanted these pillows complete. My Sunburst Pillow starts in one corner and moves out unlike my inspiration piece from Noodlehead on Versus. I have a very light tutorial compared to what Noodlehead provided. Feel free to read both and make a version of your own.

    Supplies:

    • Linen Fabric
    • Scissors
    • Yard Stick
    • Chalk Pen
    • Iron
    • Ironing Board
    • Sewing Machin
    • Thread
    • Thread Ripper
    • Pillow Form

    Sunburst Pillow

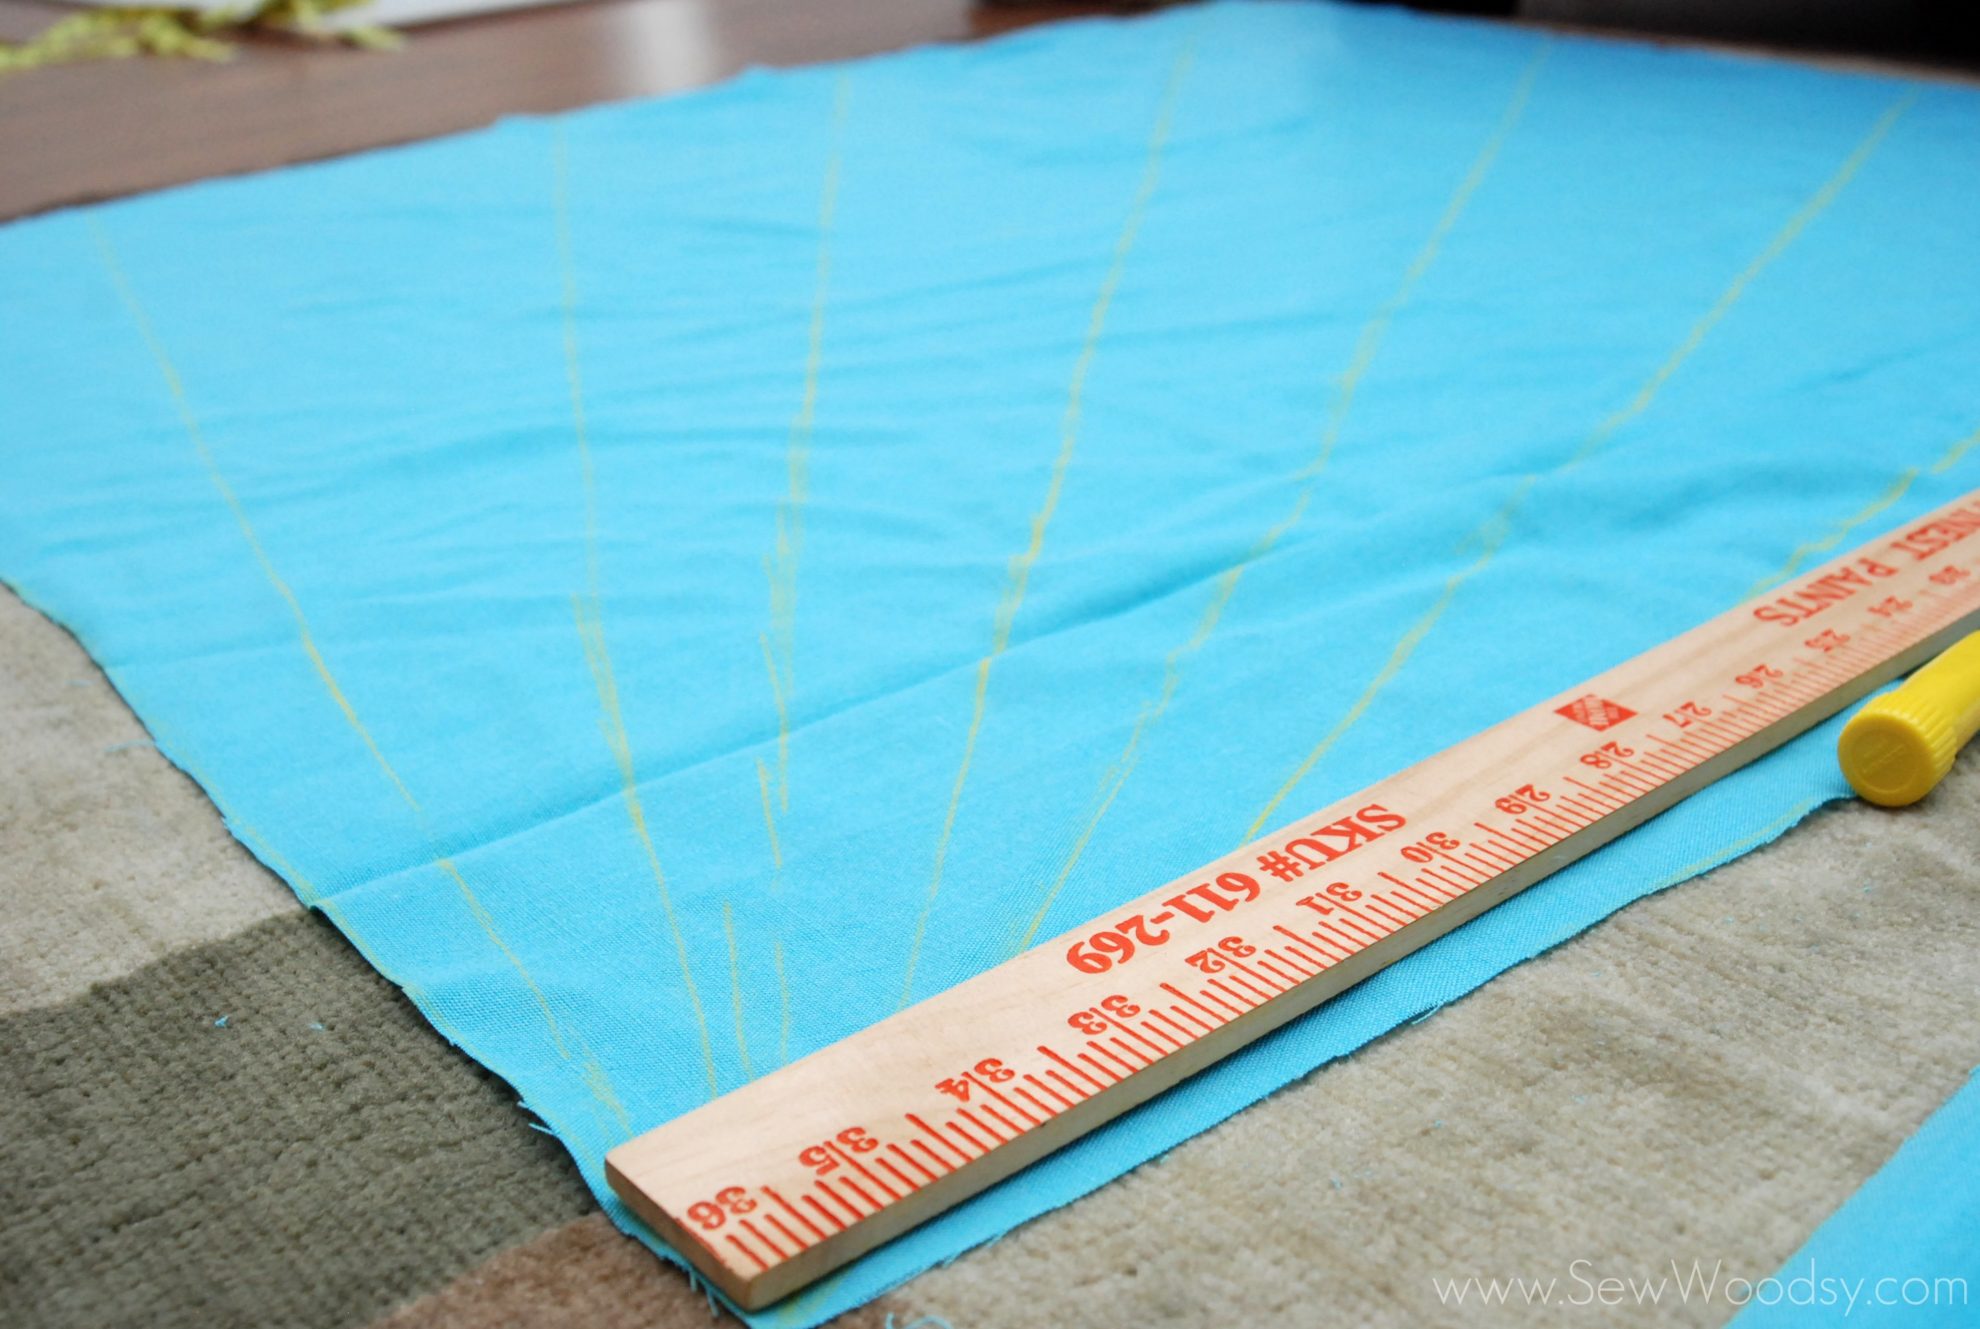
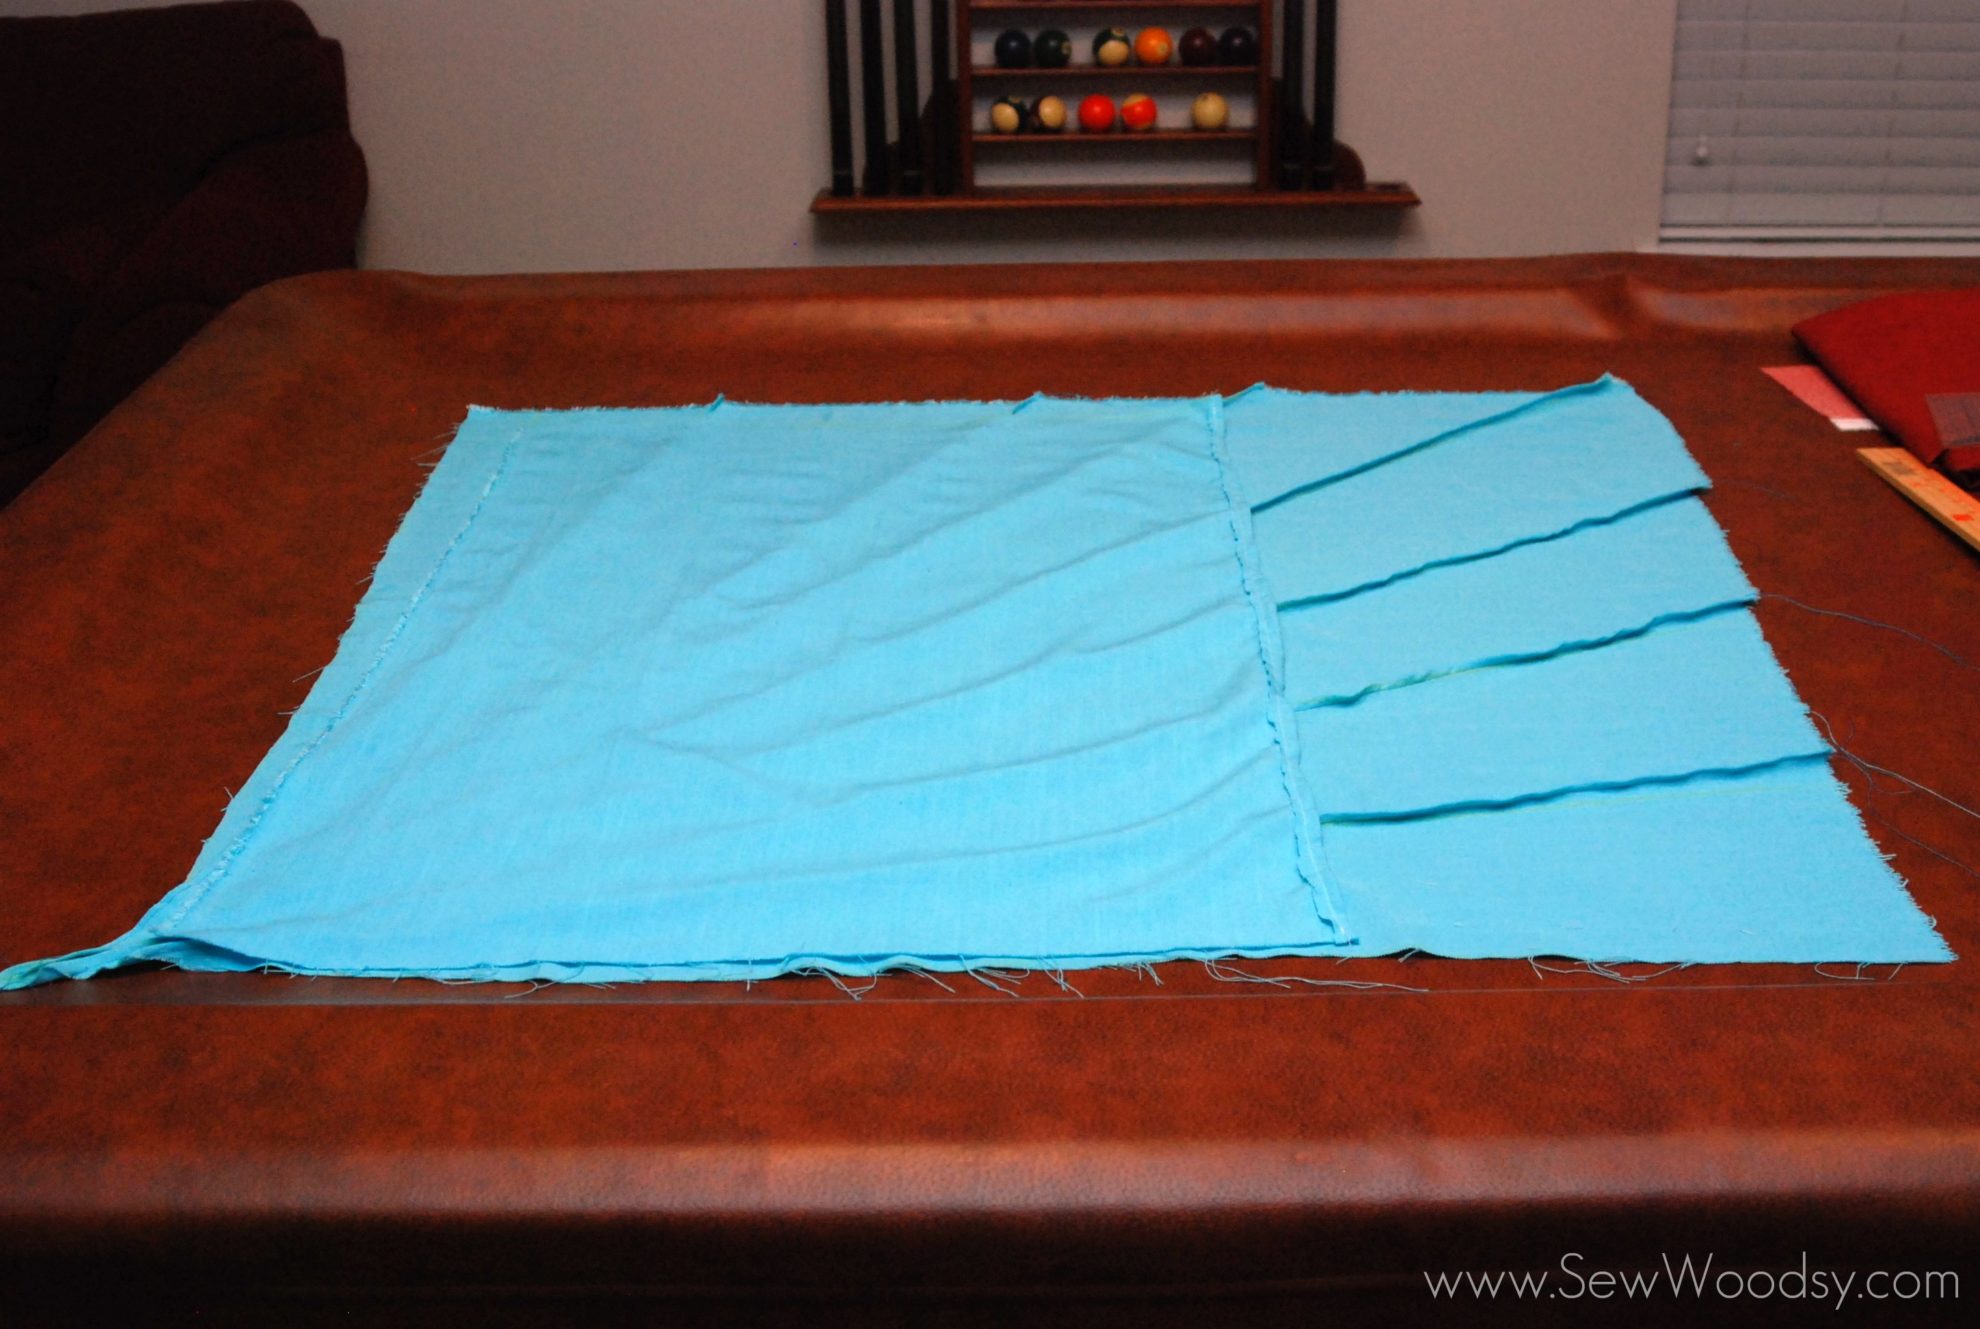
    It all starts with cutting out the fabric and making your “sunburst” lines. I used 30 x 30 form pillows so I cut my fabric to be 36 by 36 to start with. Then I drew 7 lines using my chalk stick so I knew where I would want to stitch. Their was no method to my madness. I just drew lines. I know that each pillow is not perfectly spaced and matchy matchy… I’m ok with that.
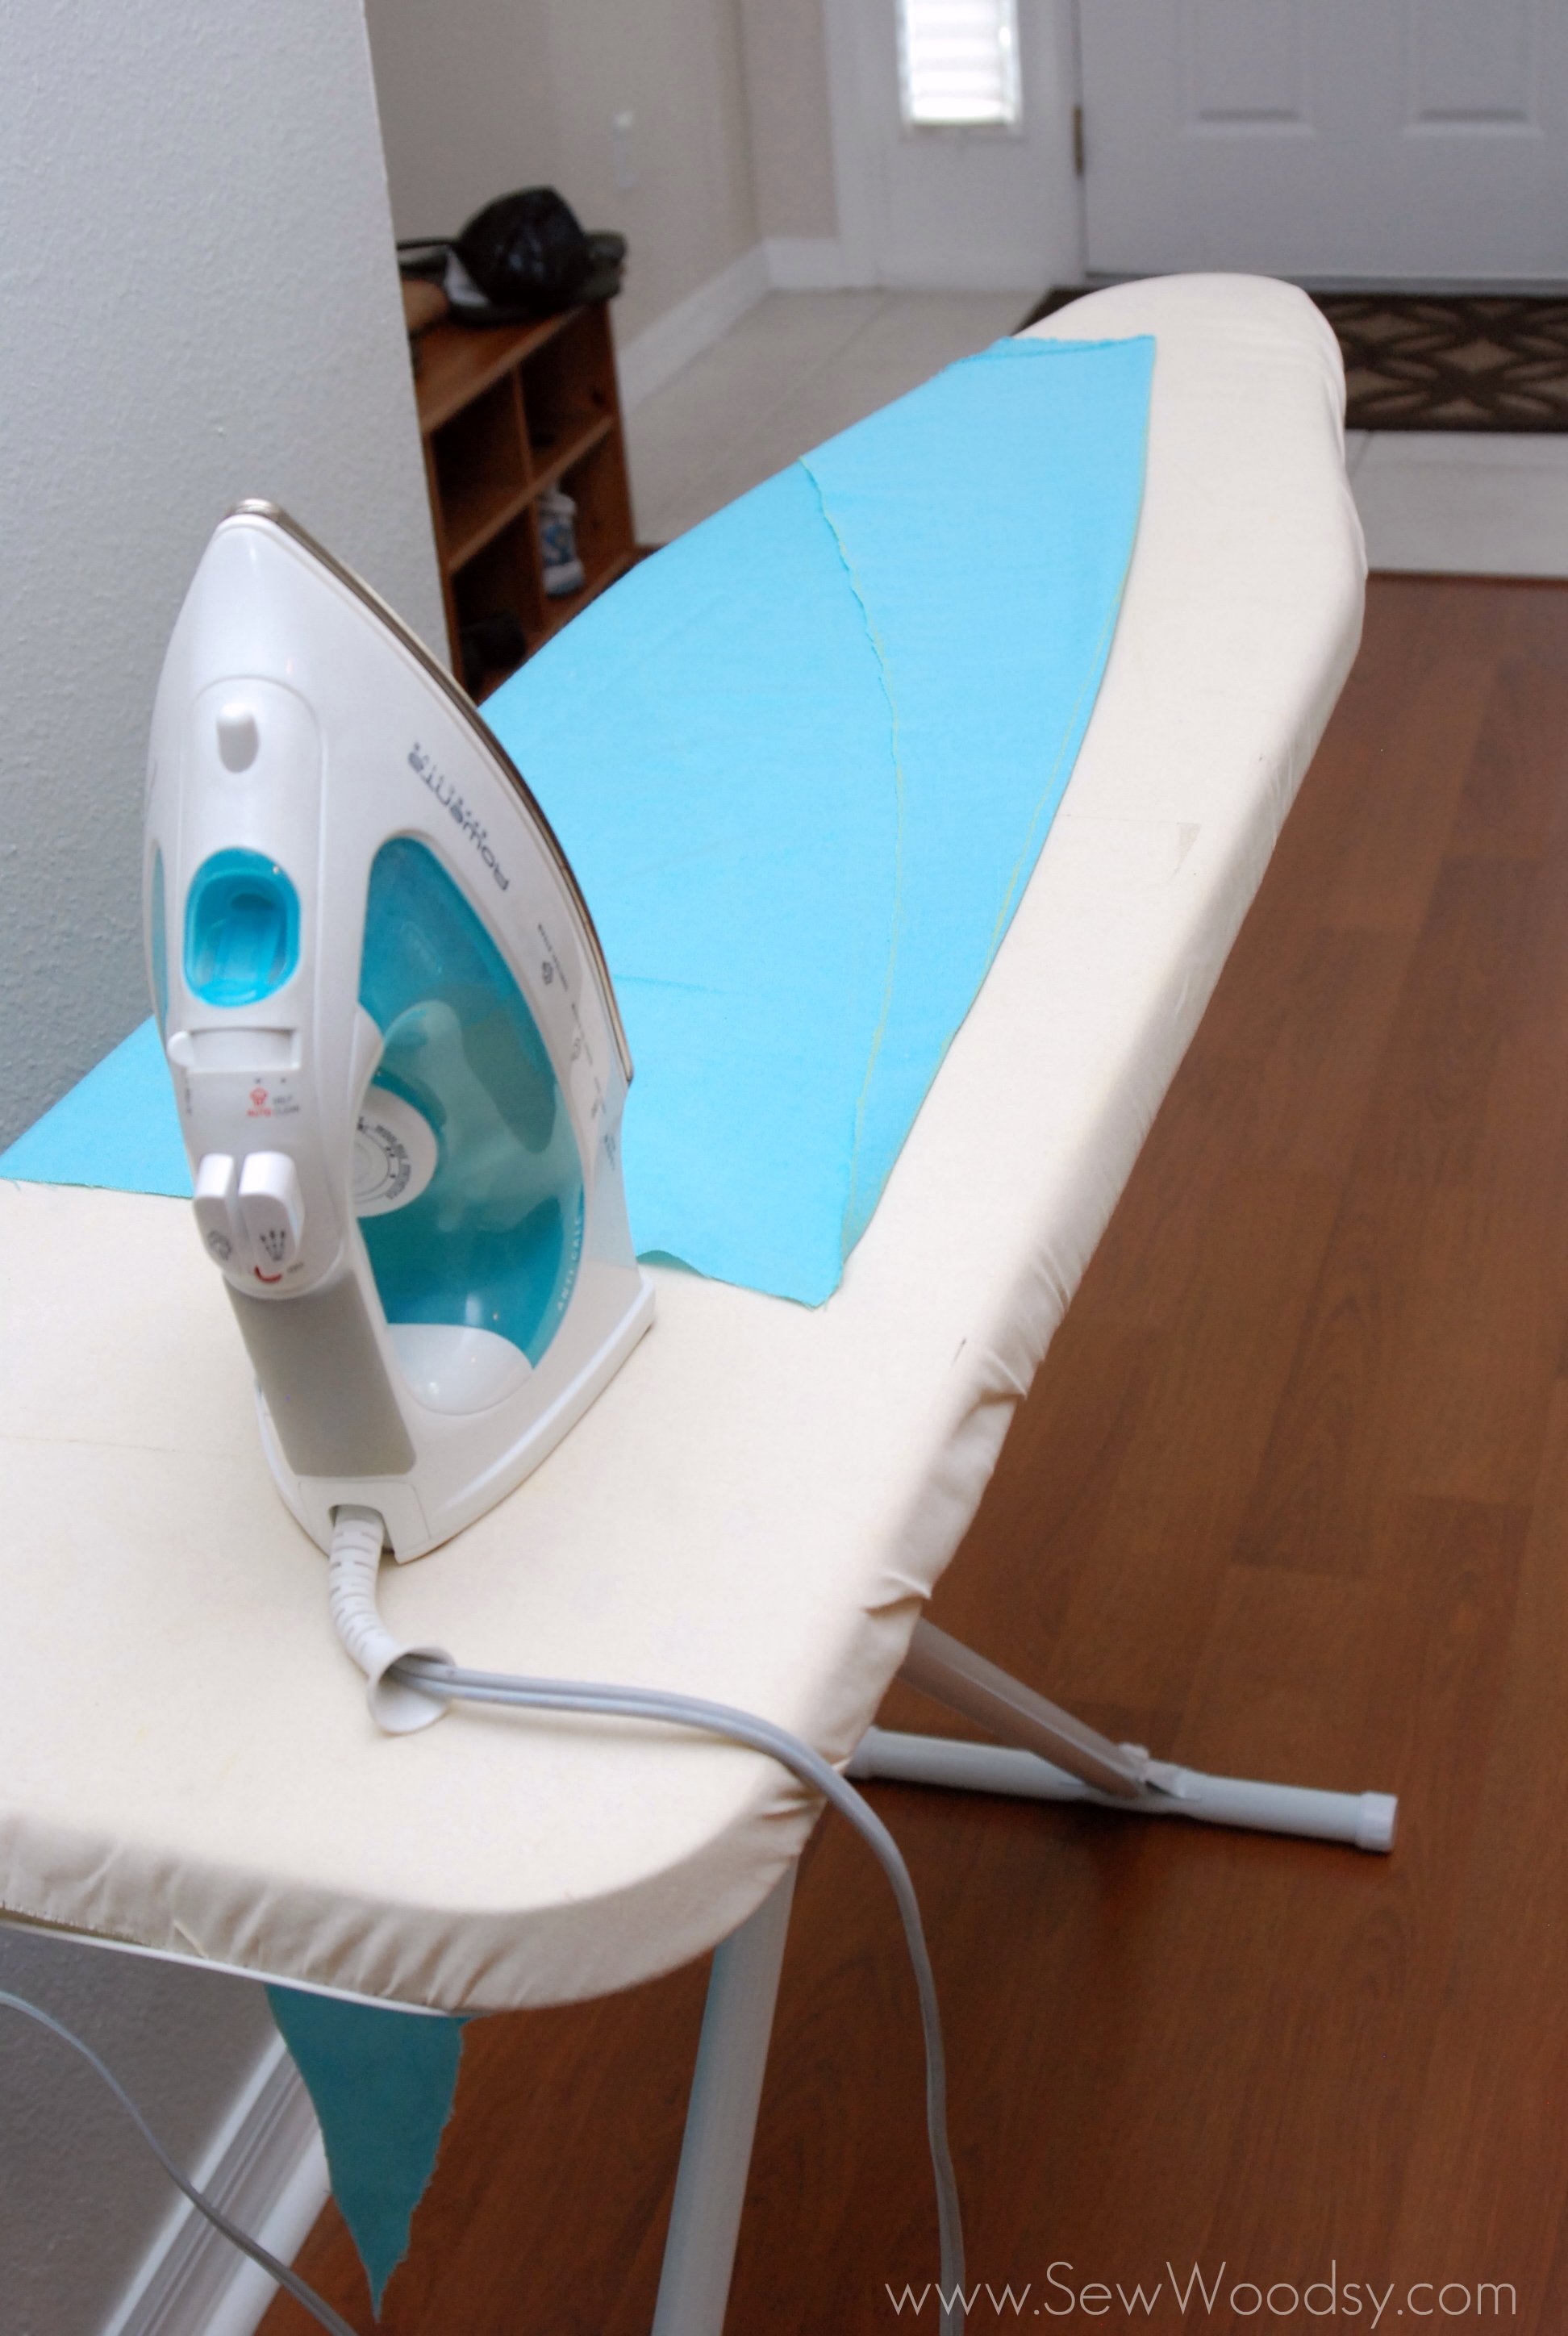
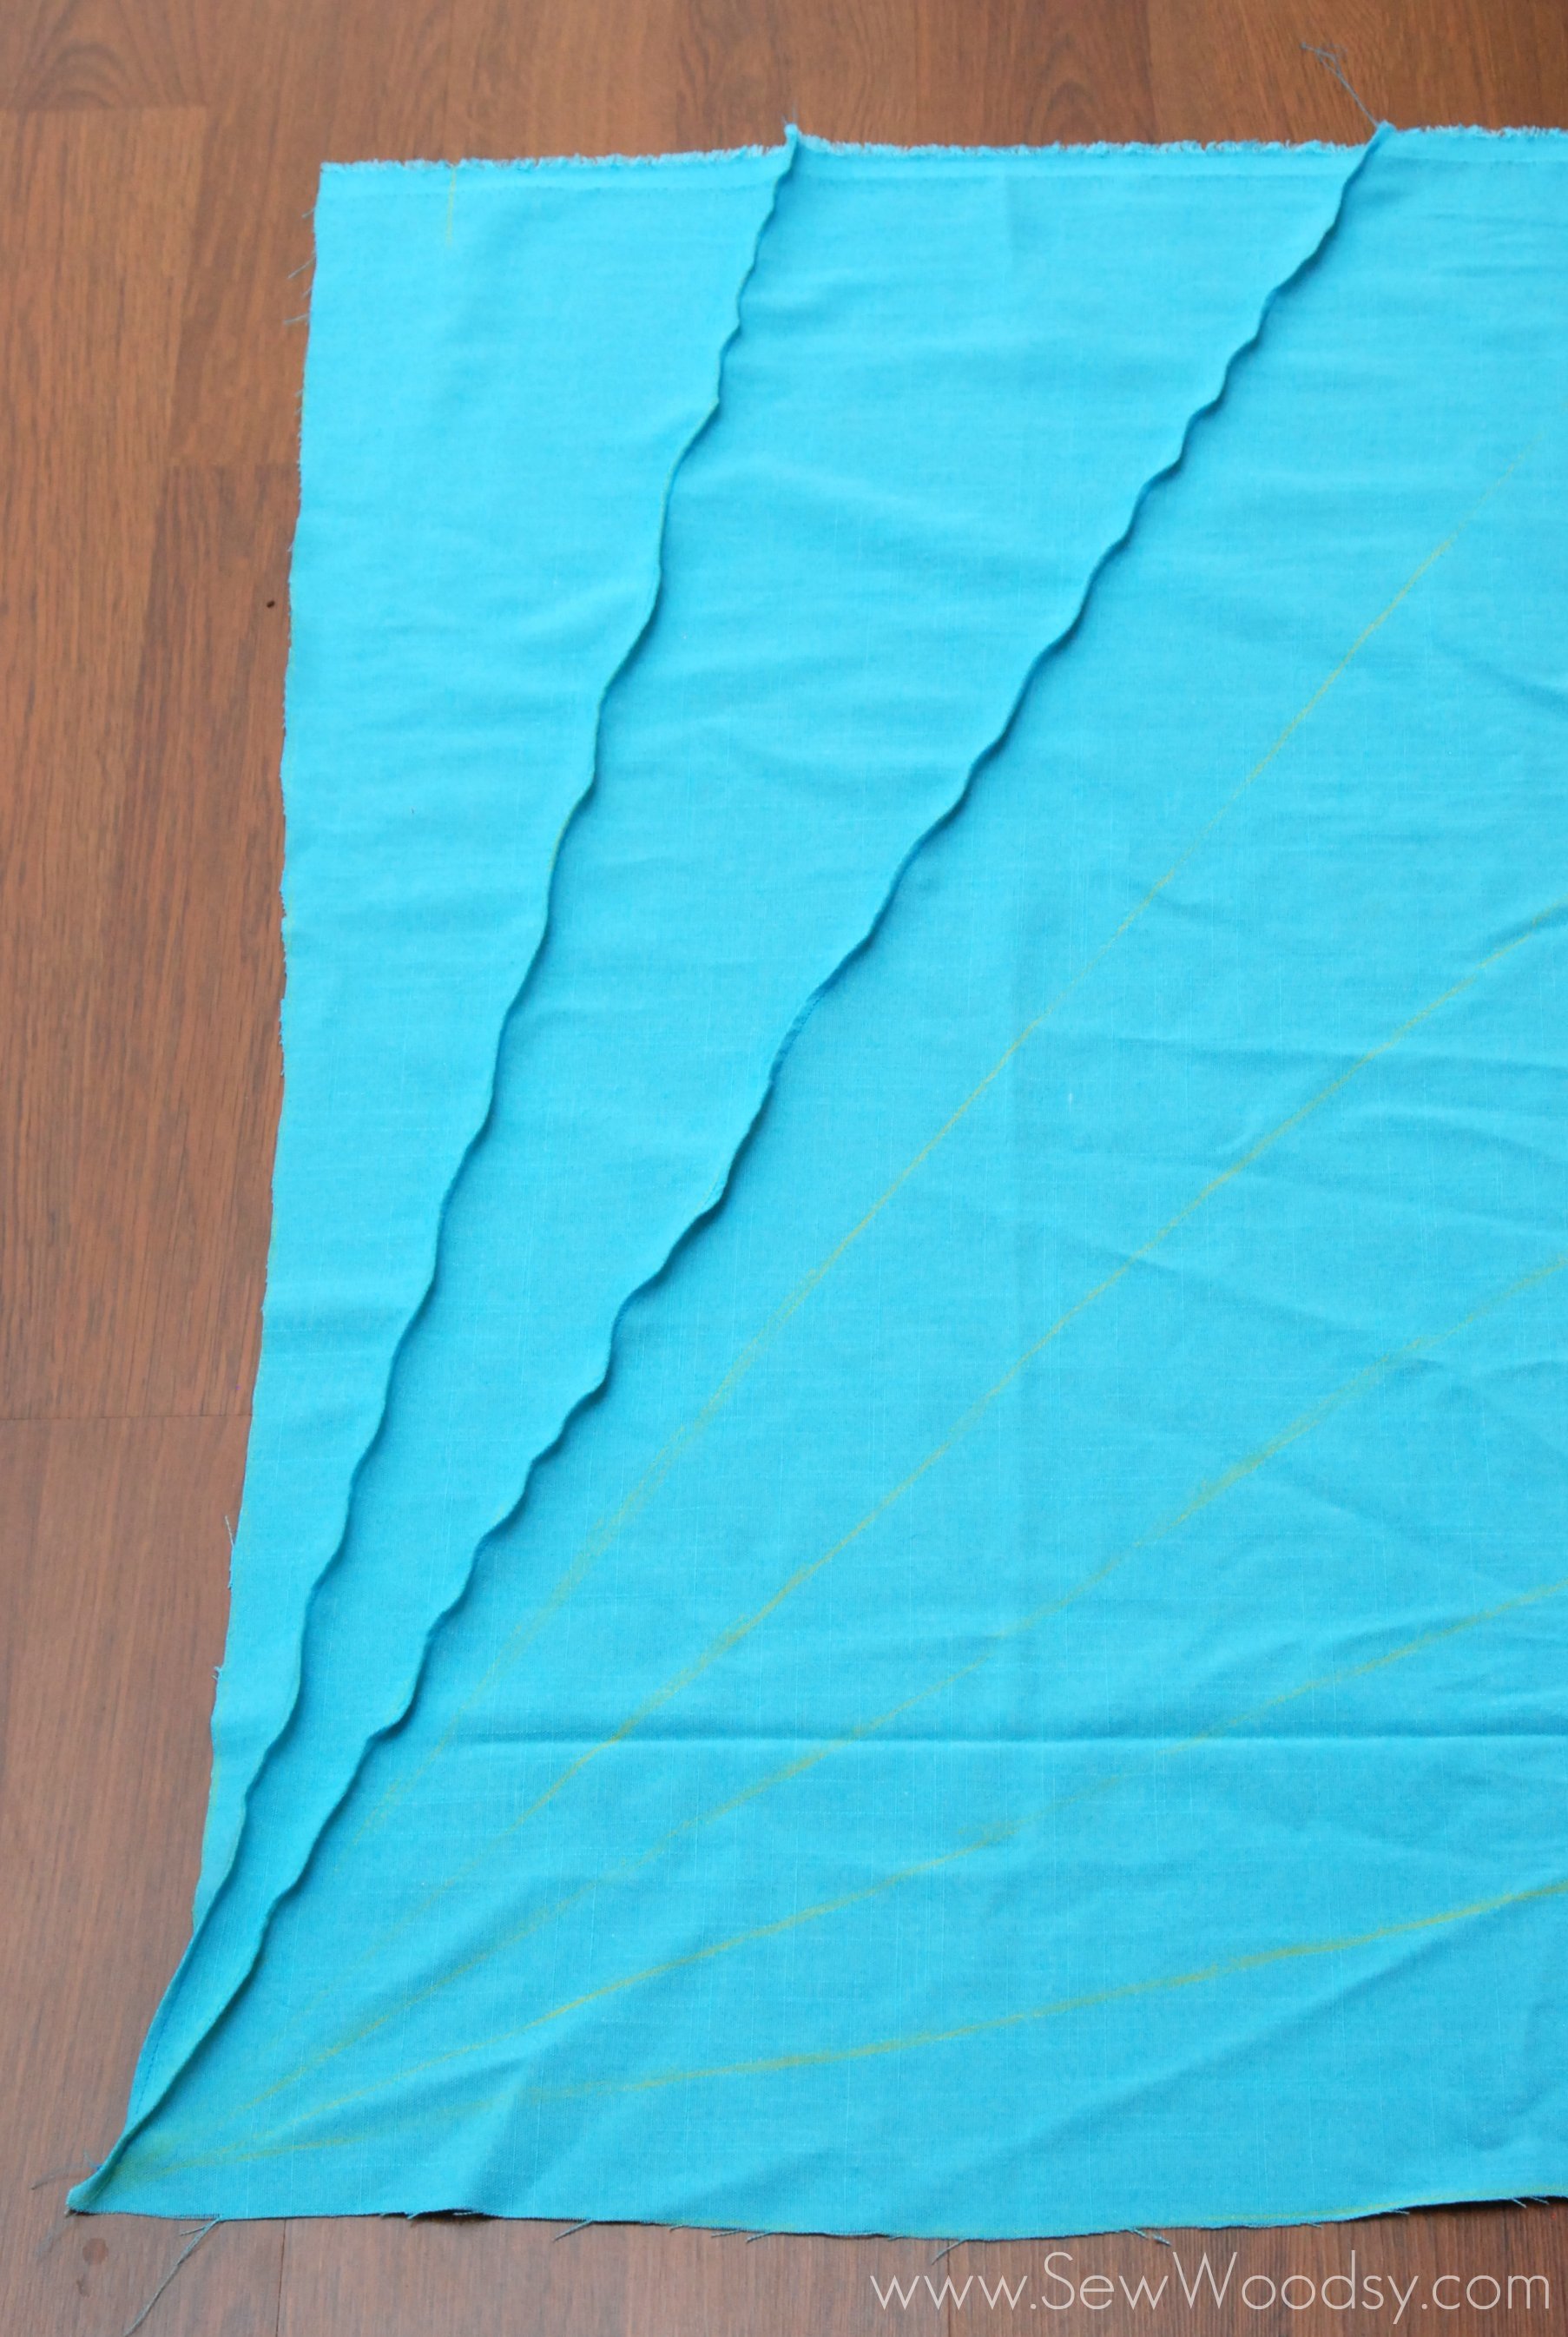
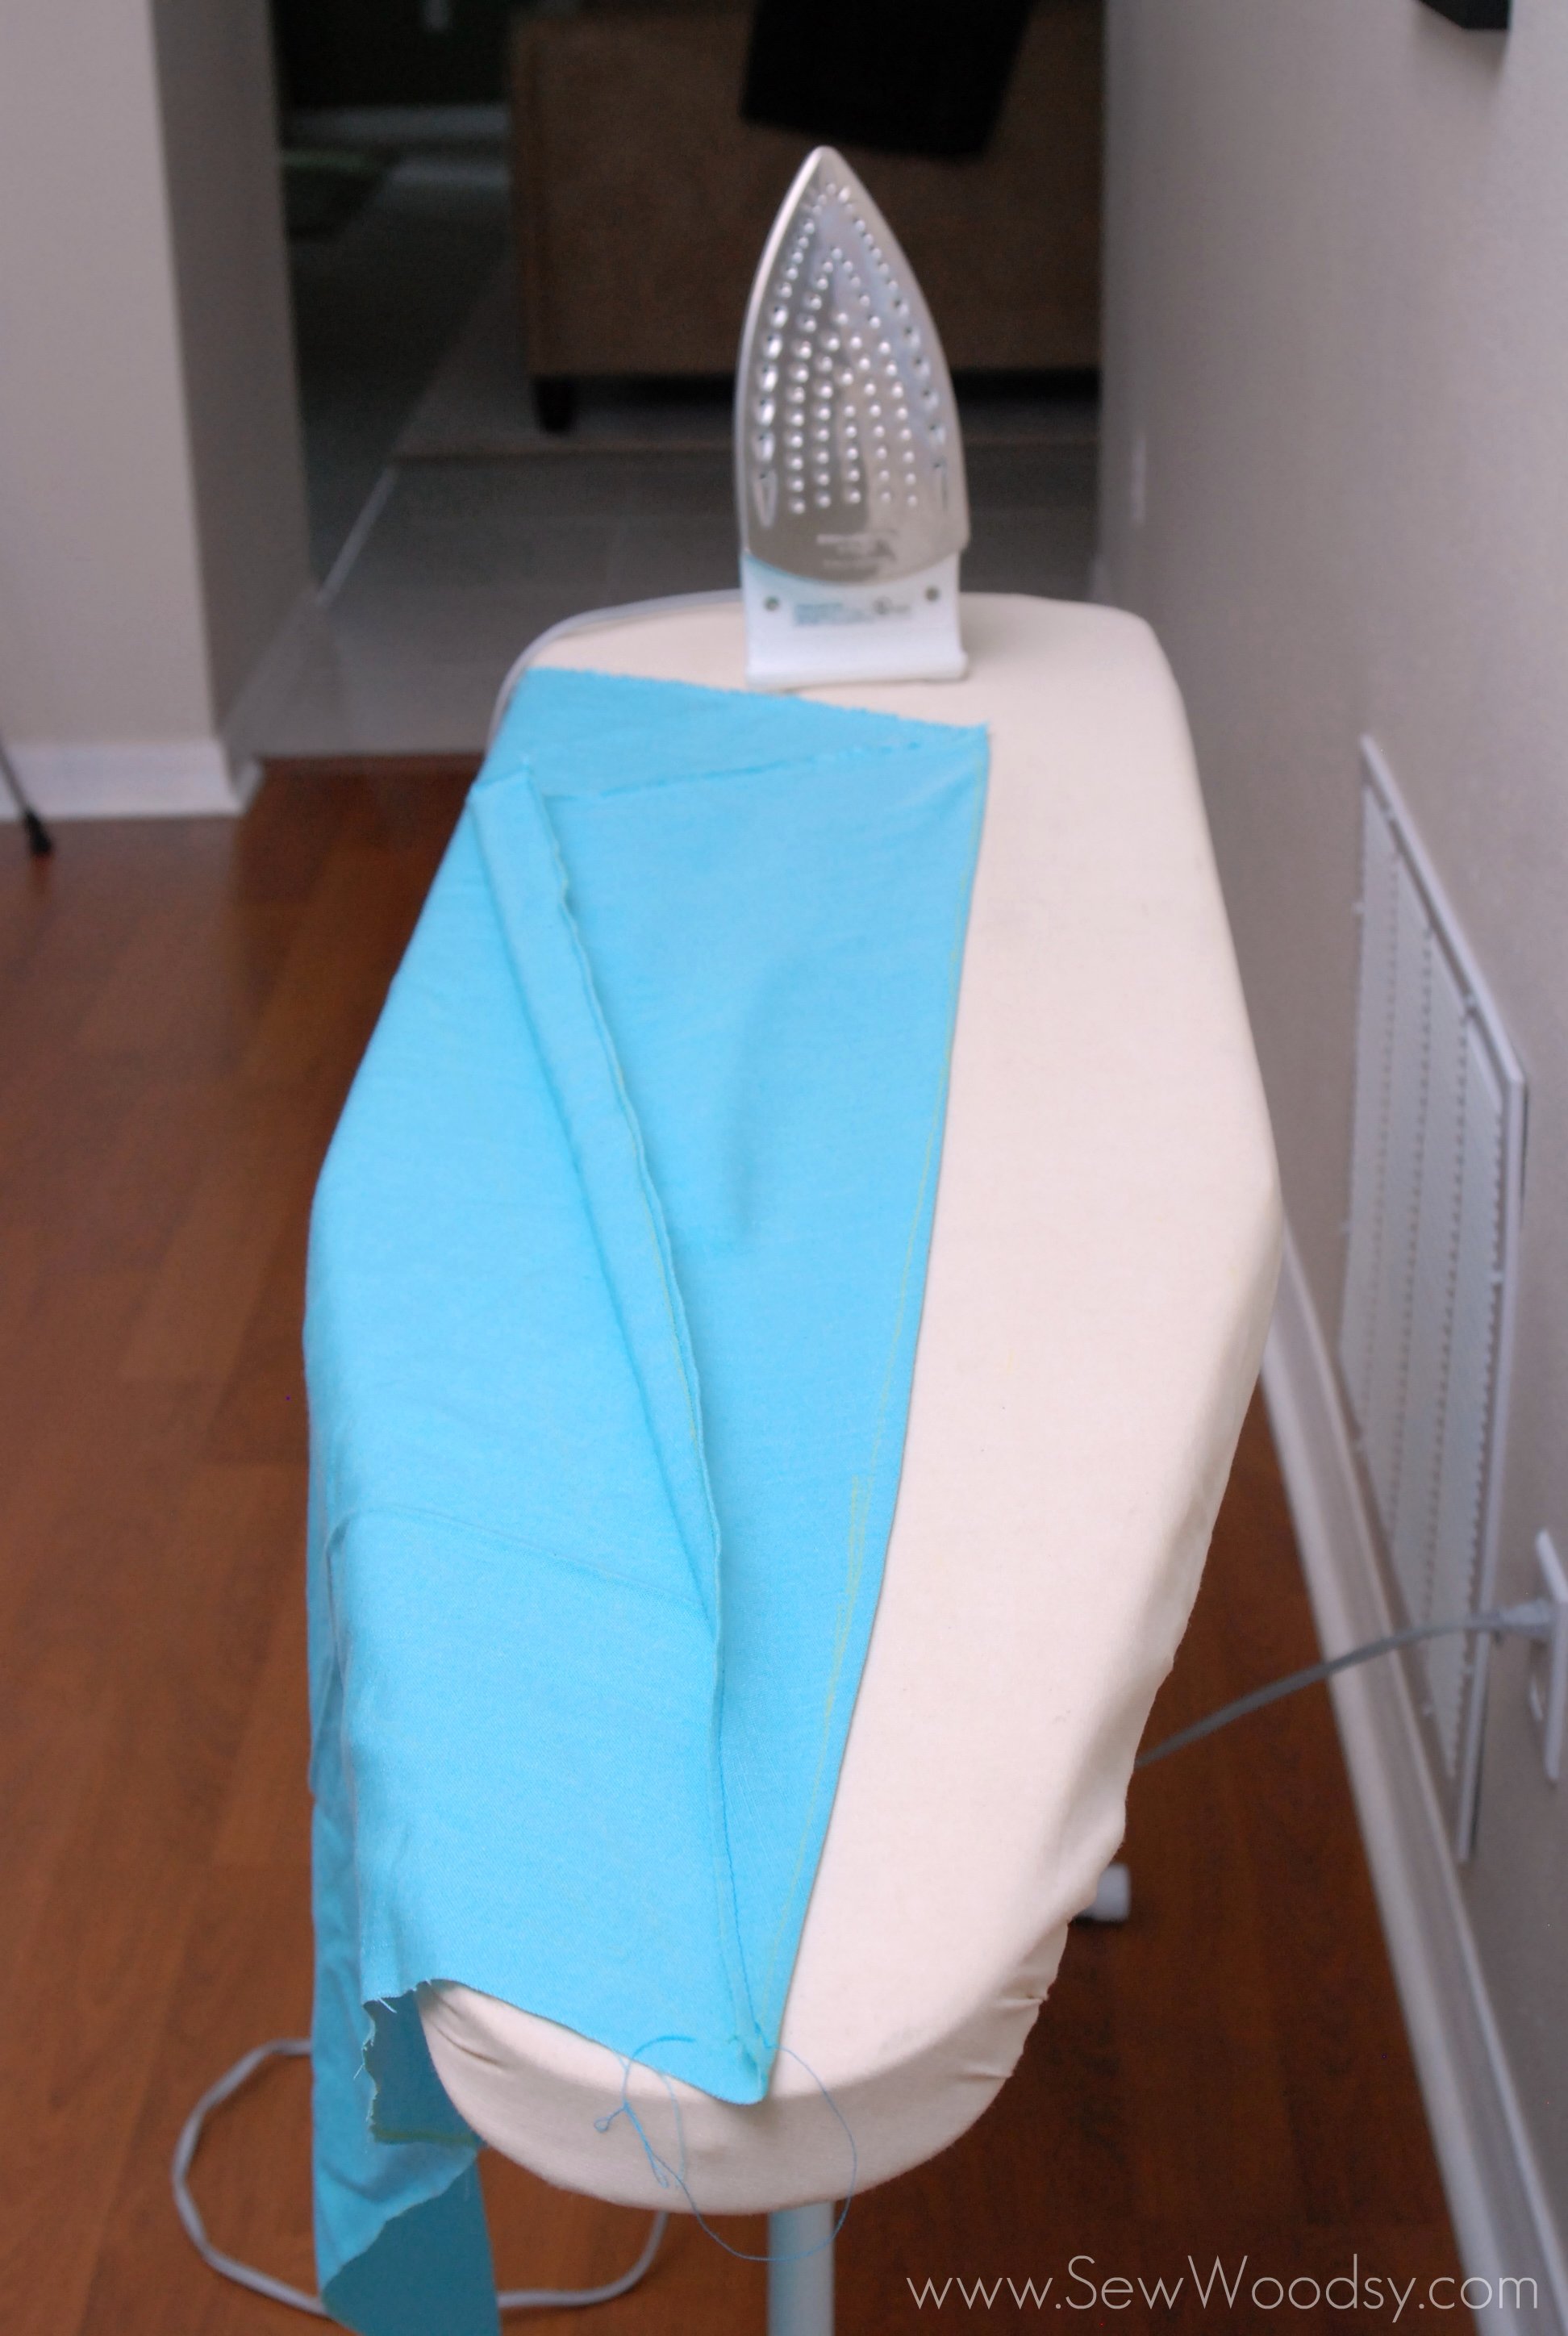
    Sunburst PillowNext up, grab that iron and make it work for you. I folded over the fabric to where one of the lines was, ironed it, and then sewed it.

    Sunburst Pillow

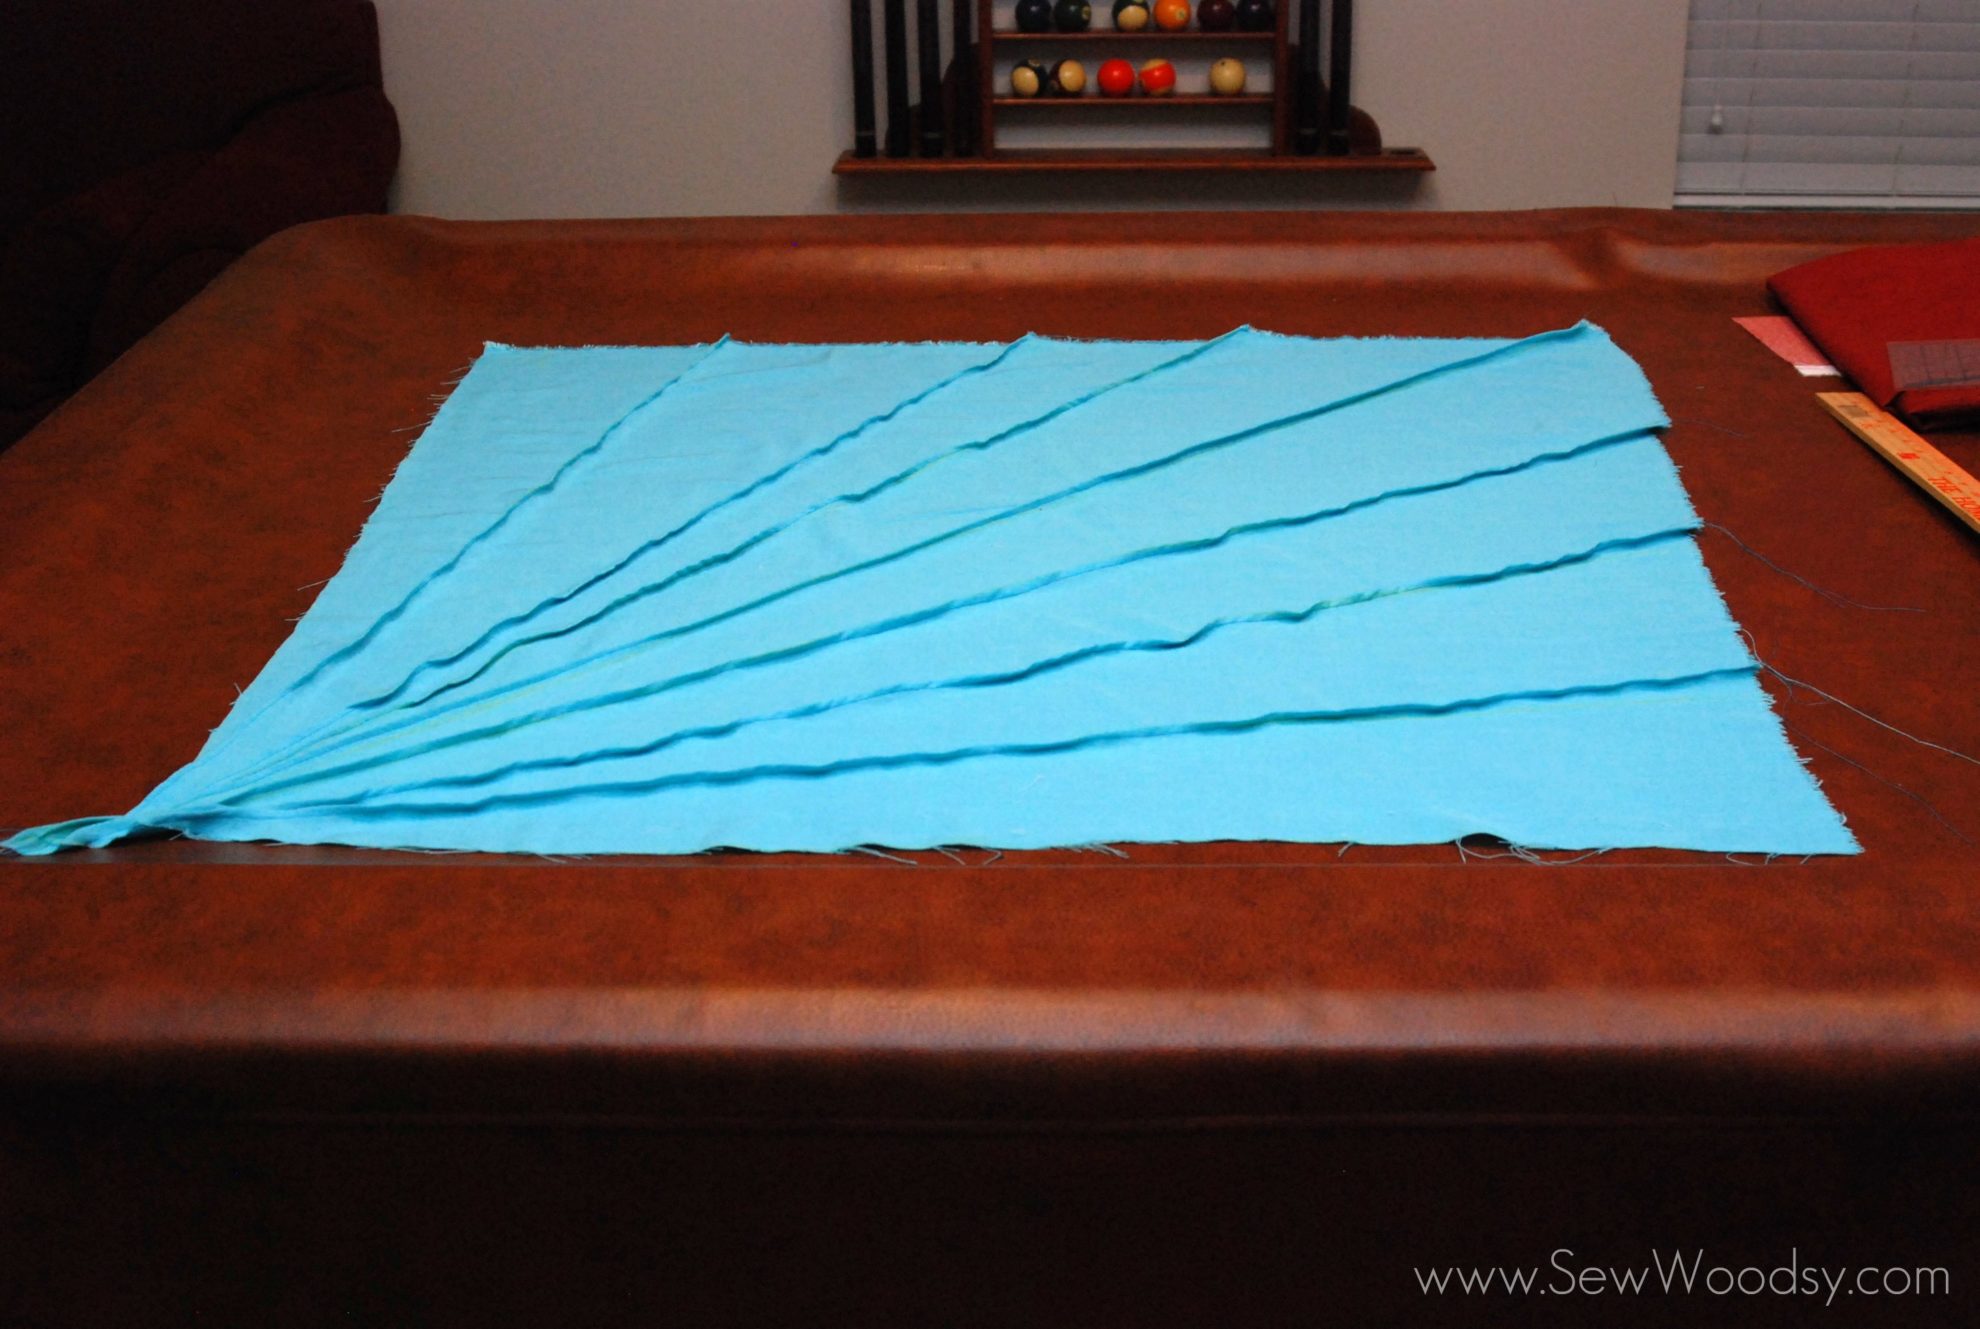
    I repeated this along the way until I had perfect lines on one side and the “hem” like lines on the other side.

    Sunburst Pillow

    And repeat… you’ll be tired of ironing by pillow number 2 or at least I was.

    sunburst pillow

    My sunburst pillow fronts sat for a few weeks until I had enough time and energy to devote to them. The night I decided to finish these pillows once and for all Mr. Woodsy decided to go “take a nap” at 7:45 at night. I decided that I was just gonna let the poor man sleep. He was exhausted. He woke up at 11:00 and found me finishing up my pillows.

    sunburst pillow

    Like I stated above, I decided to make an envelope style pillow for this set of the pillows. I cut out two 20″ pieces in which I hemmed one end. I put the hemmed side facing in and made sure the nasty raw edges were facing me. Remember, once you sew the pillow you will turn the pillow right side out.

    sunburst pillow

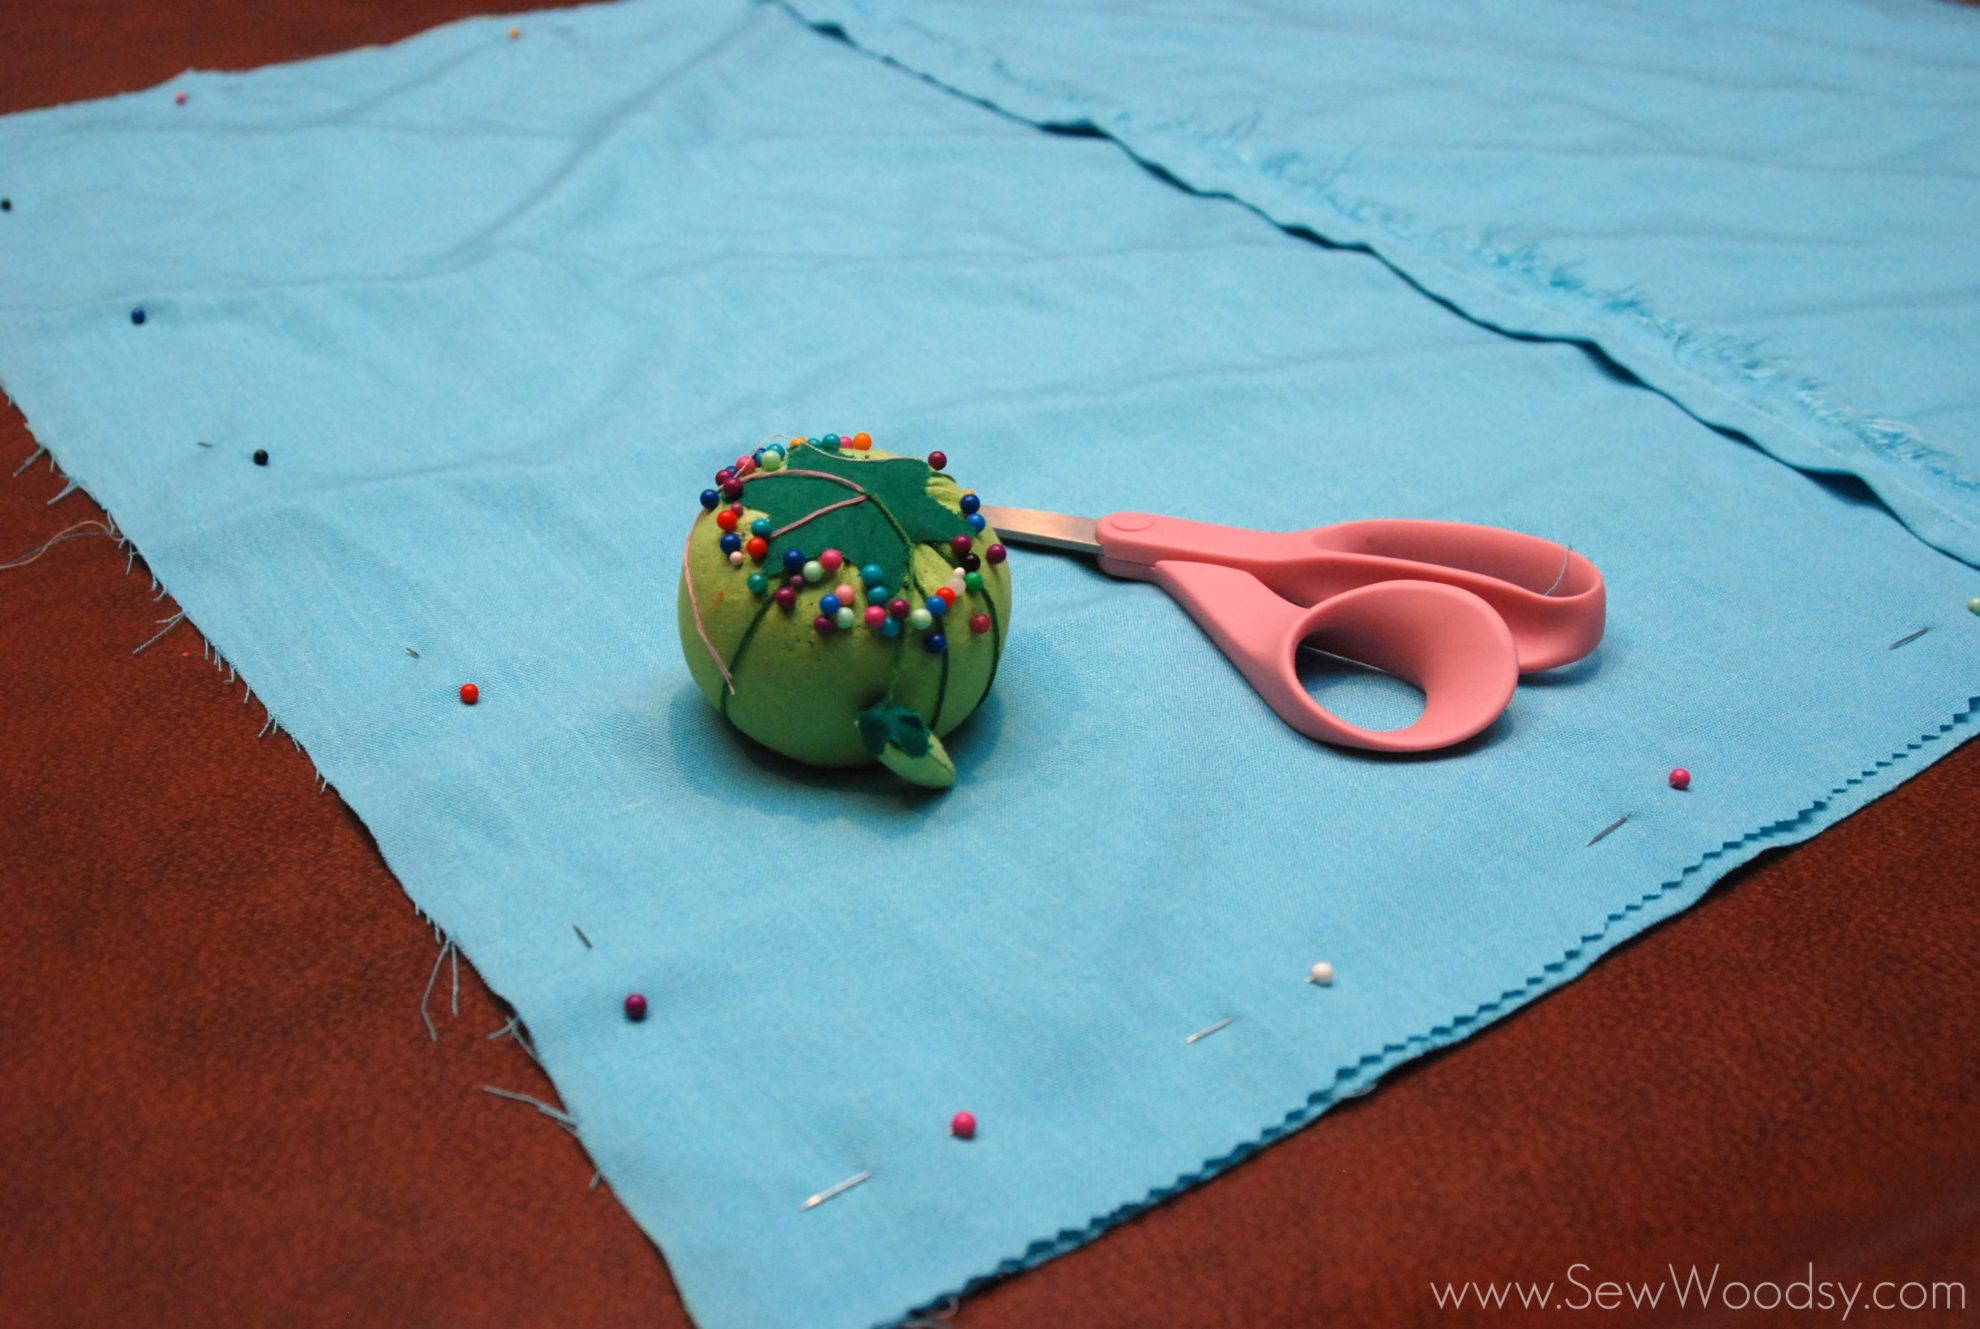
    I then pinned my three pieces together. I also like to pin the center area where the two pieces of fabric overlap.
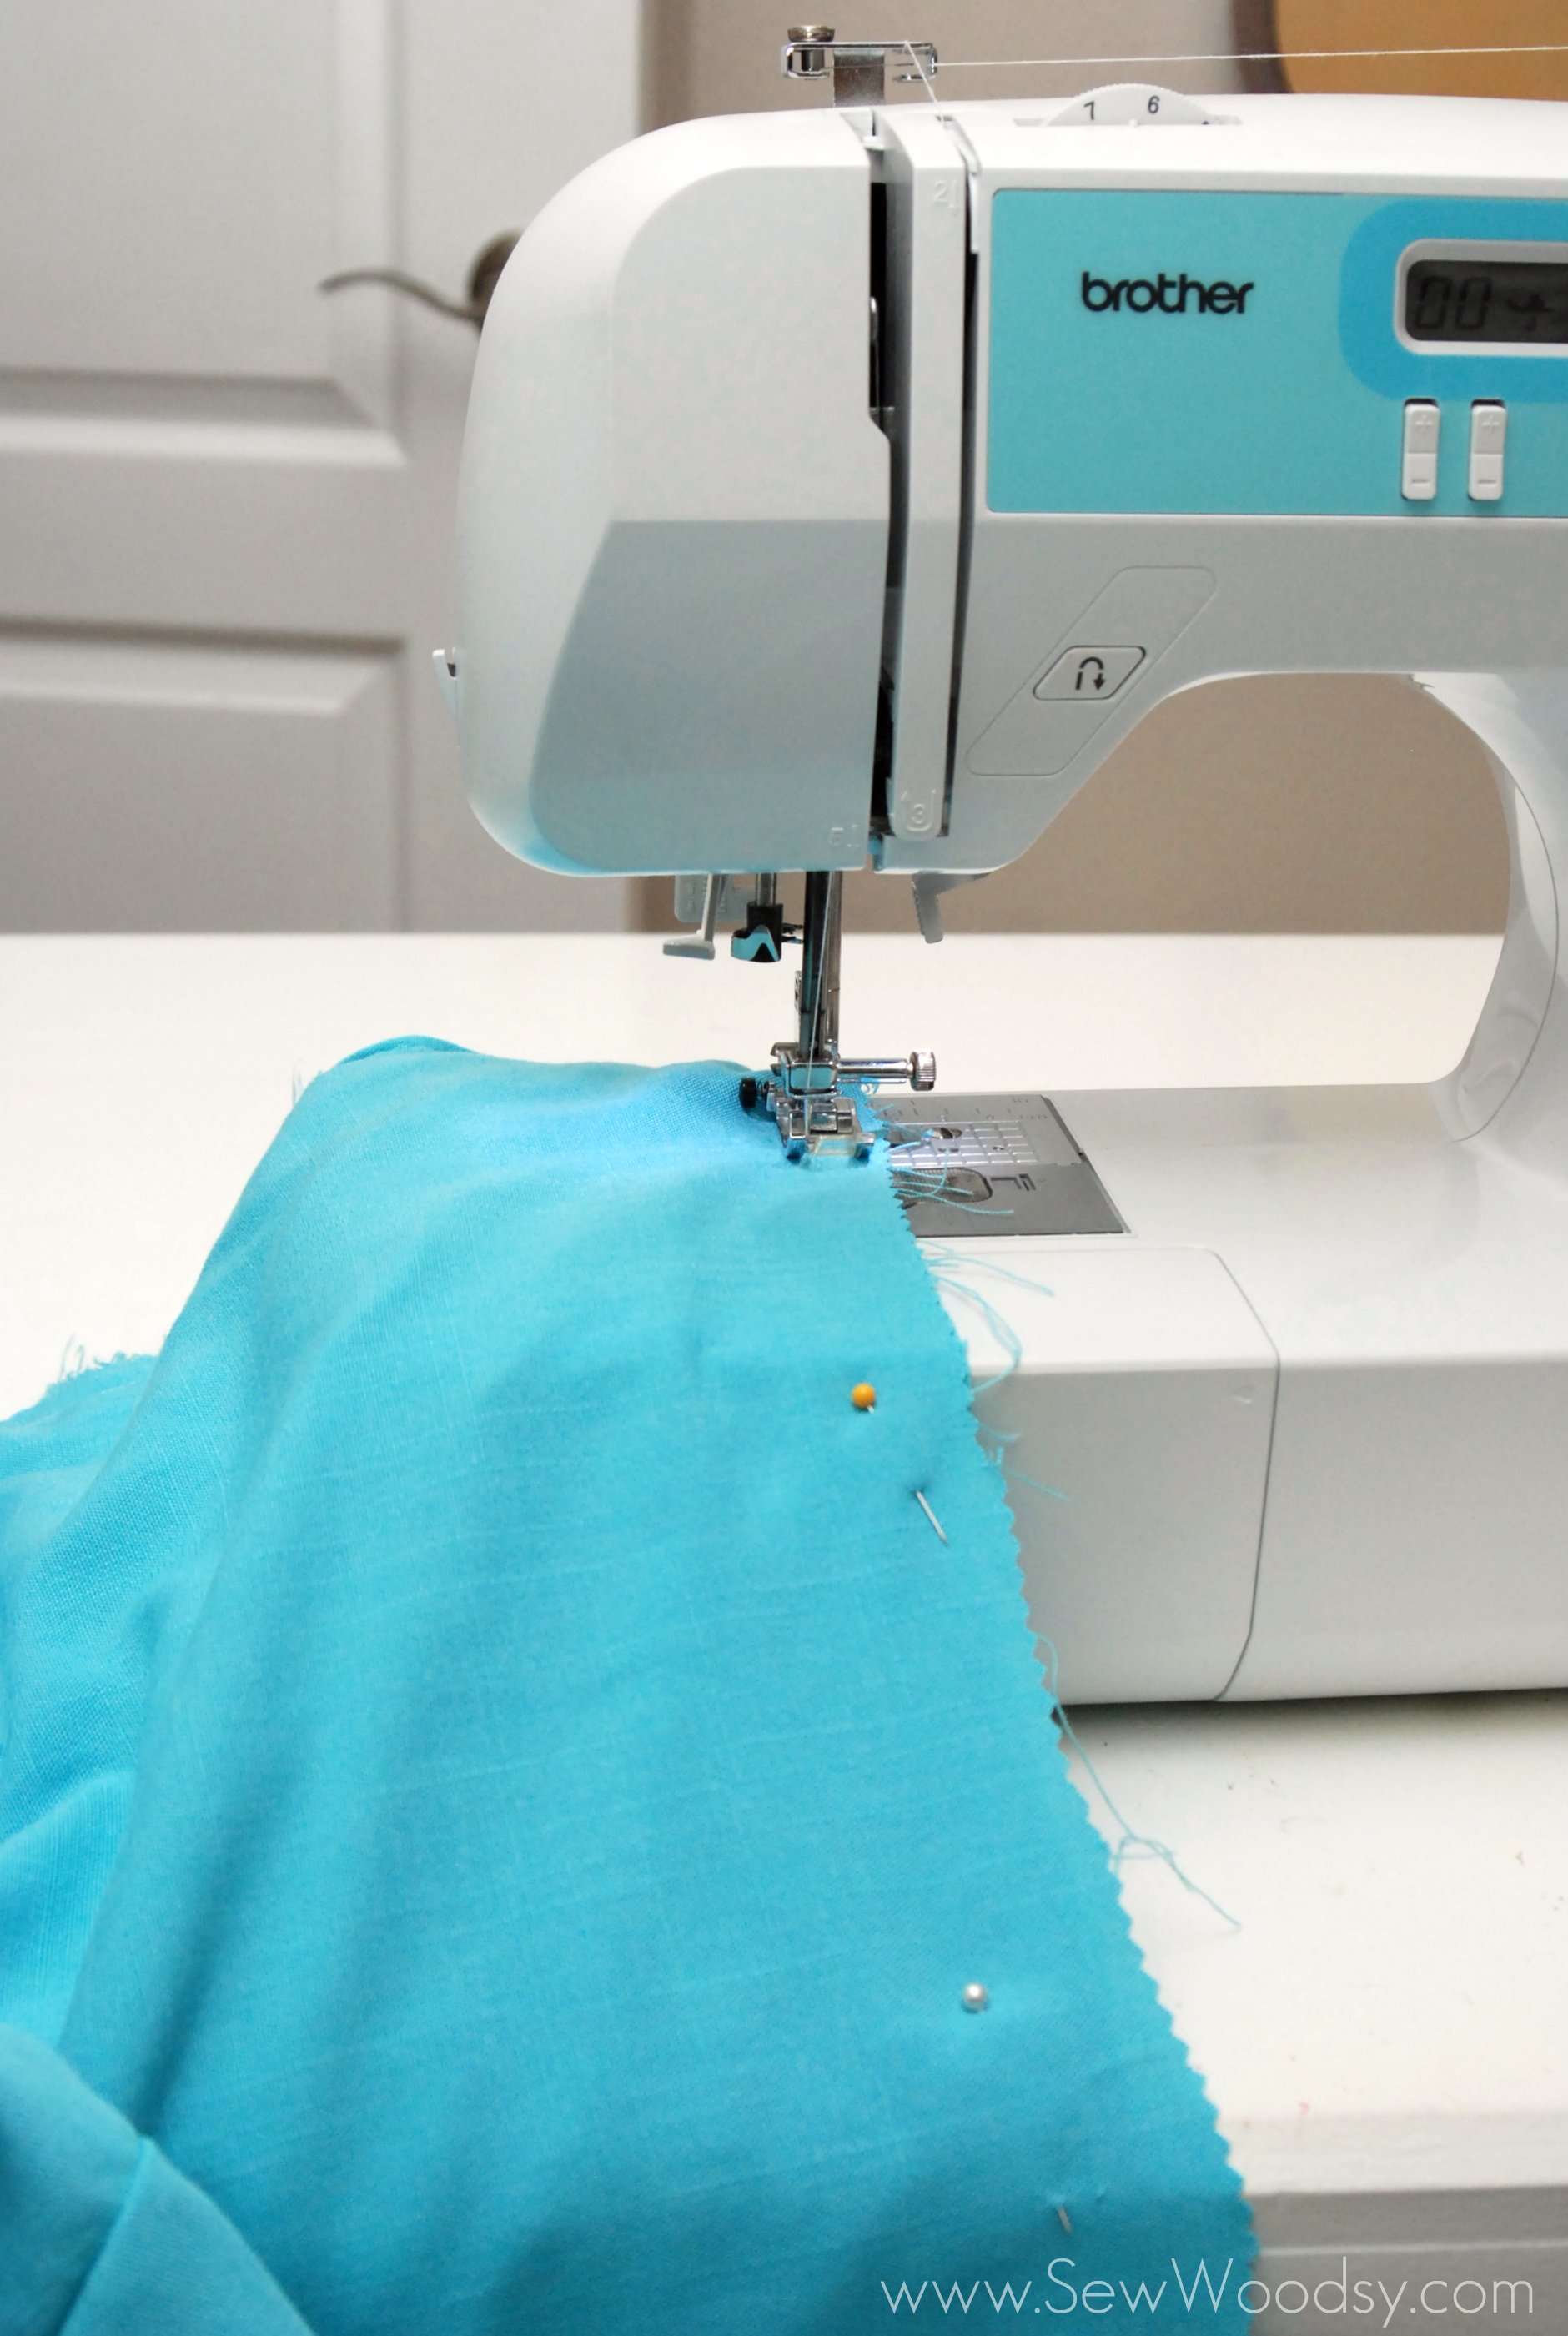
    Sunburst Pillow

    Once everything is pinned it is time to sew around the perimeter of the pillow cover.
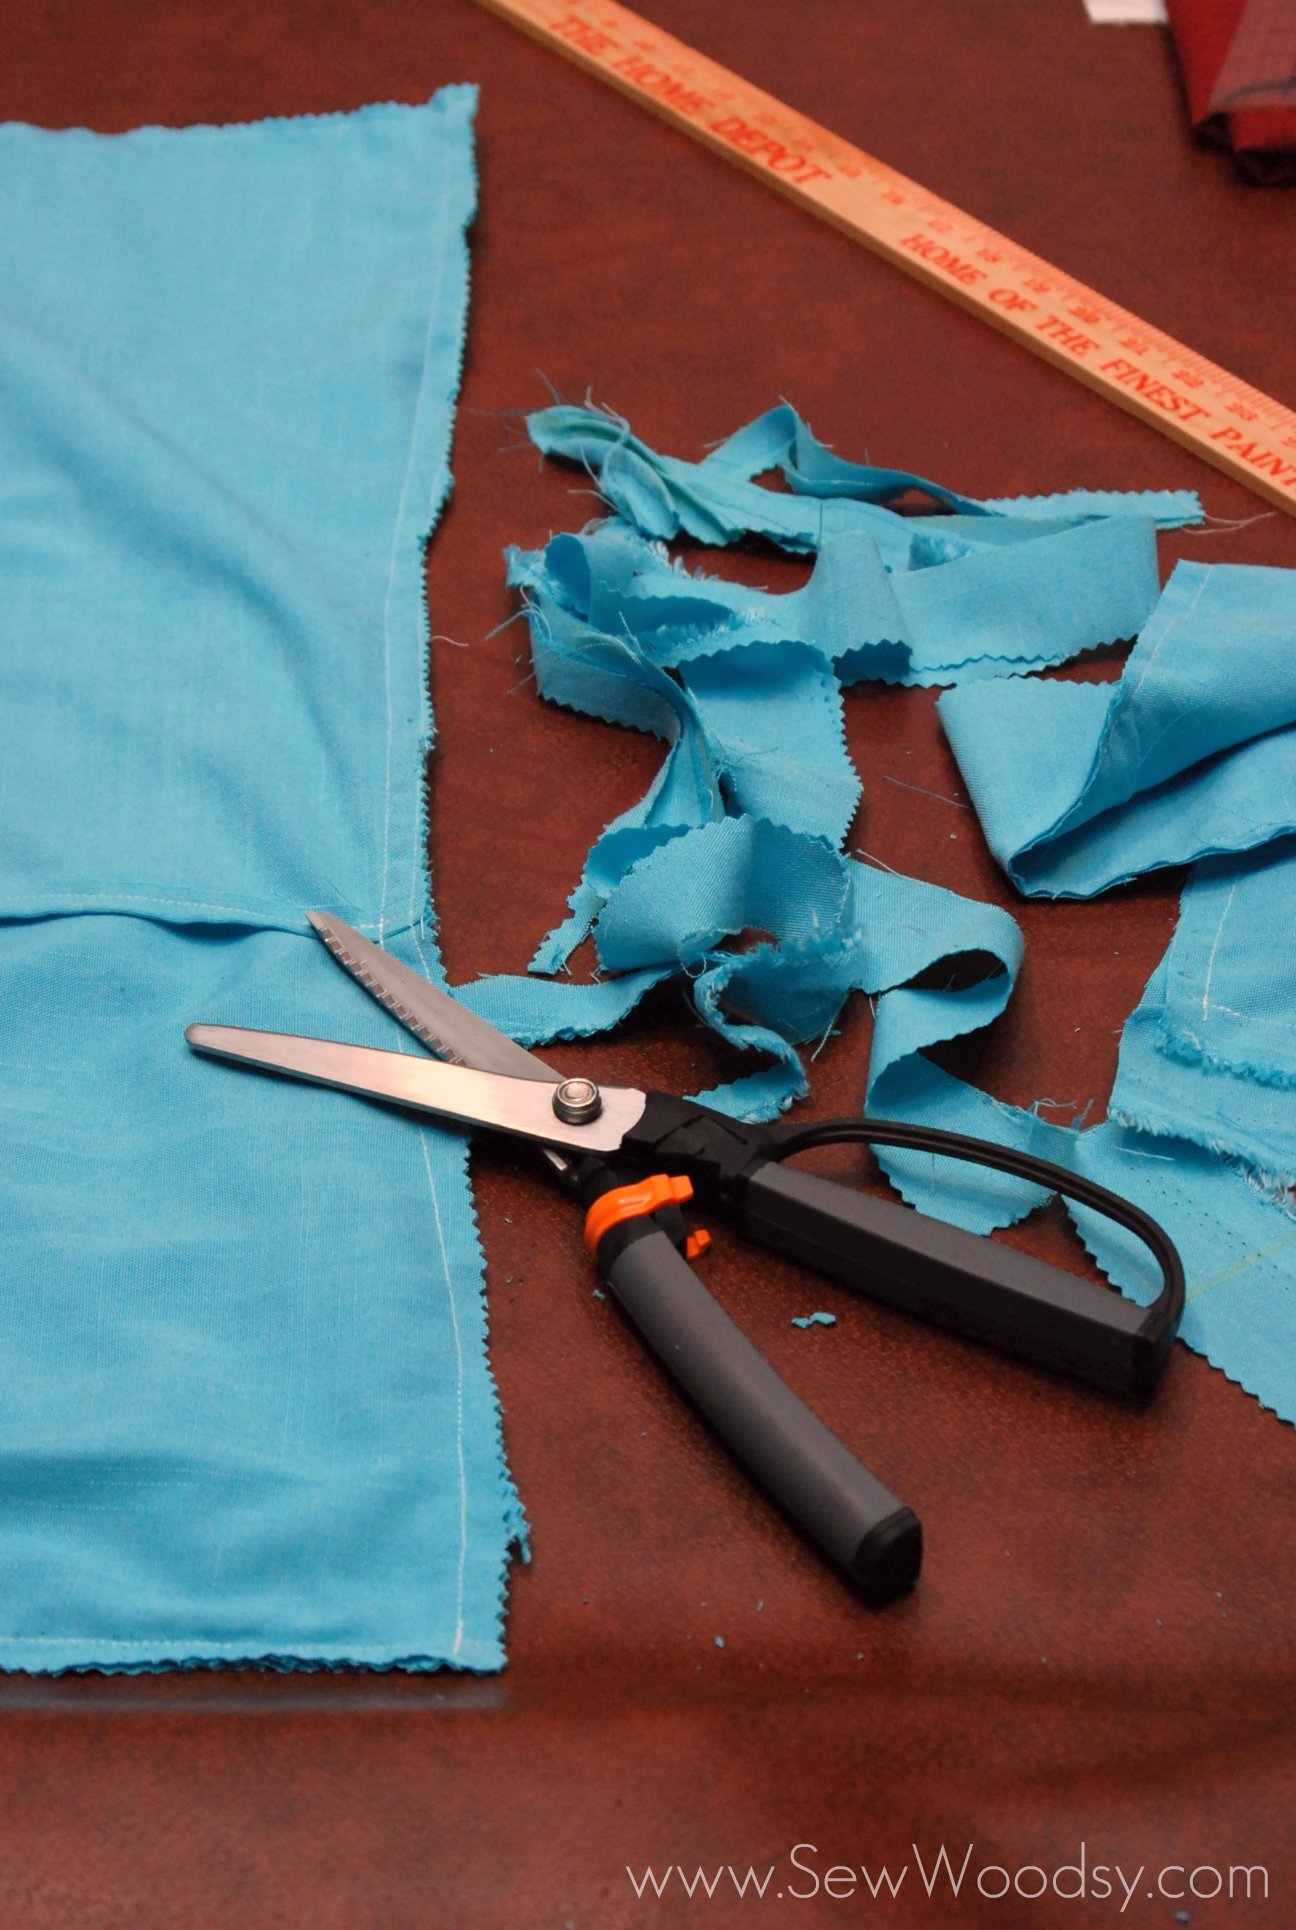
    sunburst pillowOnce I finished sewing I decided to trim up the edges to make the inside raw material a bit nicer than what it was prior to the sewing. Place the pillow covers over pillow forms and your pillows are done. Altogether I think this took me about 5 hours. But I also move at a snails pace and that’s with the  added 1 hour of seam ripping out a zipper!

    Sunburst Pillow

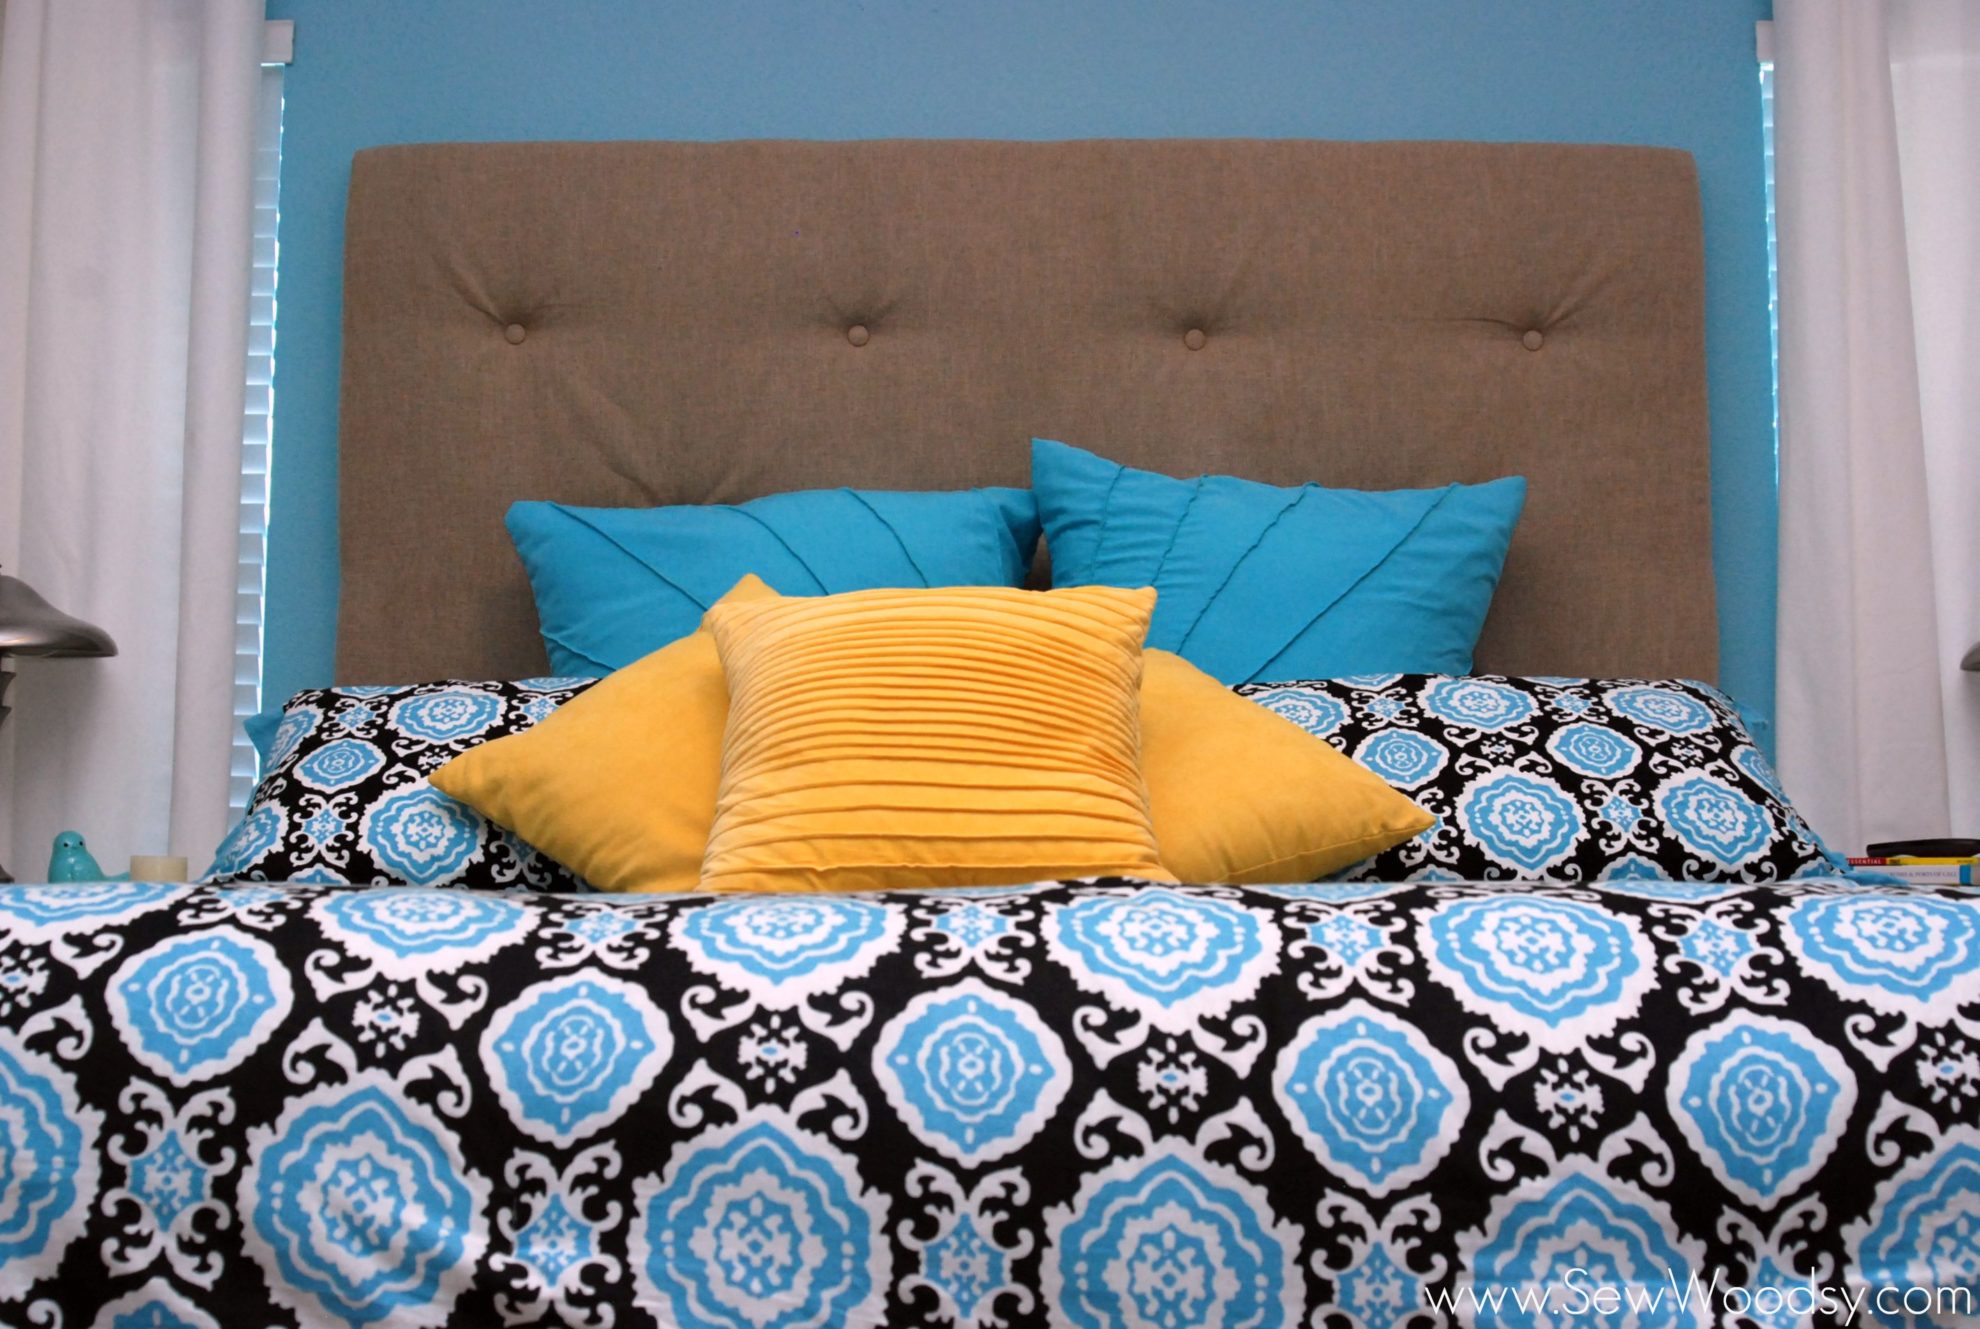
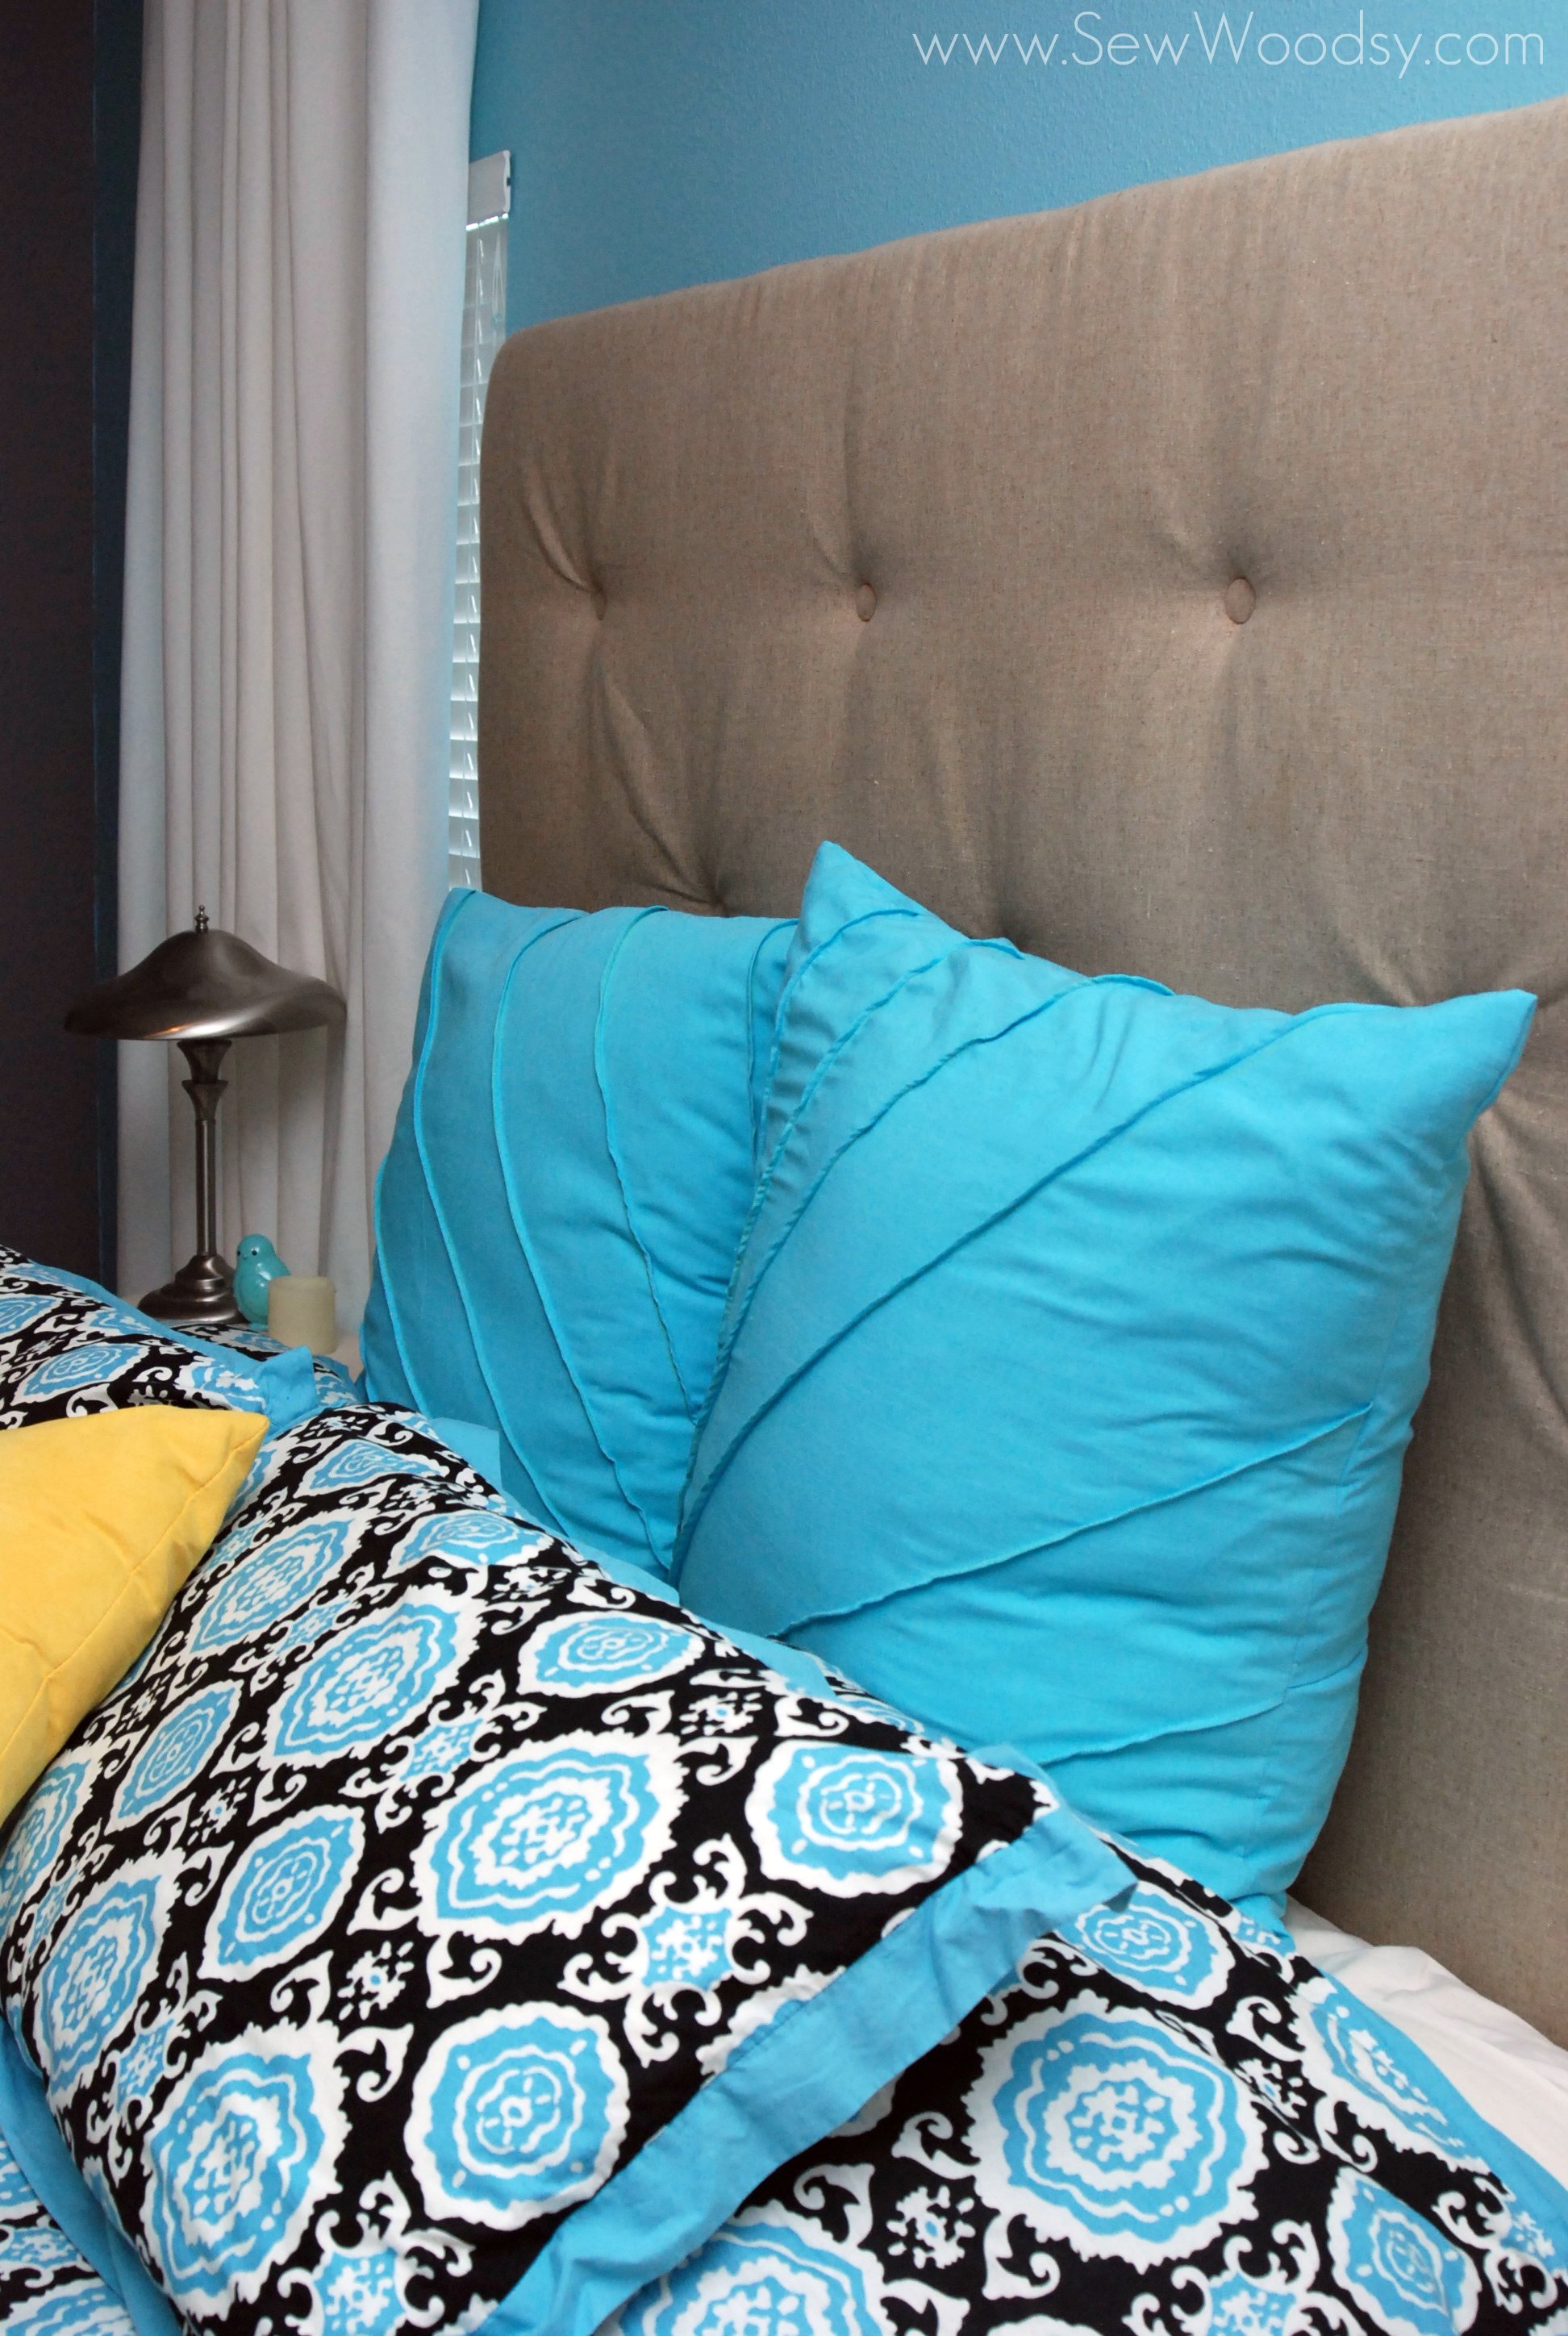
    I’m very happy with how the pillows came out; although I must admit. I thought those humungo pillow 30 x 30 pillow forms would fill up the entire bed. I was shocked when I saw how “small” they looked on our bed.

    Sunburst Pillow

    Sunburst Pillow

    Sunburst Pillow

    What do you think of the pillows?

    Sharing with Creative Kristi
    « DIY Trumeau Floor Mirror made from PureBond® Hardwood Plywood
    Wood Vinyl Sign »

    Reader Interactions

    Comments

    1. Kelly says

      August 14, 2012 at 5:59 am

      Love the pillows Katie! The color is stunning.

      Reply
      • Mrs. Woodsy aka Katie says

        August 14, 2012 at 11:42 am

        Thanks Kelly! That is the main color in our room, and thankfully I was able to find the exact matching color in a light linen fabric!

        Reply
    2. Johnnie says

      August 14, 2012 at 7:10 am

      Awww! It is super cute, Katie! Great job. I am stealing this.

      xoxo

      Reply
      • Mrs. Woodsy aka Katie says

        August 14, 2012 at 11:41 am

        Thanks Johnnie, I’m glad you love them!

        Reply
    3. Ashley at The Feisty Redhead says

      August 14, 2012 at 5:32 pm

      I’d like to apply this technique to a top or dress and see what happens! Love the color of your pillow. Thanks for sharing!

      Reply
      • Mrs. Woodsy aka Katie says

        August 15, 2012 at 1:46 pm

        OHhh on a dress would be fab. Thanks for stopping by!

        Reply
    4. Mary Beth|Cupcakes and Crinoline says

      August 16, 2012 at 4:24 pm

      I really love these pillows ~ so chic and the color is awesome!

      Reply
      • Mrs. Woodsy aka Katie says

        August 16, 2012 at 4:56 pm

        Thanks Mary Beth!

        Reply
    5. Paula says

      August 16, 2012 at 5:54 pm

      These look great on your bed and they go perfectly with your bedding.

      Reply
      • Mrs. Woodsy aka Katie says

        August 17, 2012 at 7:44 am

        Thanks Paula! It took me forever to find the matching color!

        Reply
    6. Taryn @ Design, Dining + Diapers says

      August 17, 2012 at 1:19 am

      So cute! Love it.

      Reply
    7. Tina says

      January 14, 2013 at 12:49 pm

      thanks for sharing your idea, loved it so much made some for my sofa!

      Reply
      • Mrs. Woodsy aka Katie says

        January 14, 2013 at 3:08 pm

        Tina that is awesome! If you have pictures I would love to share with our readers. If you would like me to share them please send photos and any other information you want me to include to sewwoodsy@Gmail.com

        Reply
    8. Megan says

      January 08, 2014 at 2:54 pm

      Could your please give a little more detail of how you sew the tucks. Is it down the whole length if the tuck on the right side of the fabric, the underside of the fabric or just at the edge?

      Reply
      • Katie says

        January 10, 2014 at 6:47 pm

        Hi Megan–I’ll try my best. Yes, you sew on the right side of the fabric and the entire length down. Try it on a scrap piece first… you’ll see.

        Reply

    Leave a Reply Cancel reply

    Your email address will not be published. Required fields are marked *

    Primary Sidebar

    • Email
    • Facebook
    • Instagram
    • Pinterest
    • Twitter
    • YouTube
    Male and female hugging on each other in the woods.

    Hi, we're Katie & Jon! Welcome to our home away from home!

    Sew Woodsy is a lifestyle blog focusing on crafts, home DIY projects, family, travel and all things life. Get comfy and join us on our adventure!

    More About Us →

    9 different logos from various media outlets where Sew Woodsy has been featured on.

    Easter Projects

    • Kids Easter Basket Ideas
    • 25 Easter Basket Ideas for Toddlers
    • Free Easter Coloring Pages
    • 17 Easter Craft Ideas

    Trending

    • How to Create a Natural Log Pathway + Video
    • Tips & Tricks on Installing Butcher Block Countertops
    • How to Host a Baby Shower at Work
    • How to Use Heat n Bond

    Male and female hugging on each other in the woods.

    Hi, we're Katie & Jon! Welcome to our home away from home!

    Sew Woodsy is a lifestyle blog focusing on crafts, home DIY projects, family, travel and all things life. Get comfy and join us on our adventure!

    More About Us →

    9 different logos from various media outlets where Sew Woodsy has been featured on.

    Easter Projects

    • DIY Follow the Bunny Pillow Cover
    • Bunny Kisses & Easter Wishes Burlap Garden Flag
    • Easter Bunny Family Pillow
    • DIY Easter Bunny Onesie with Name

    Trending

    • How to Create a Natural Log Pathway + Video
    • Tips & Tricks on Installing Butcher Block Countertops
    • How to Host a Baby Shower at Work
    • How to Use Heat n Bond

    Footer

    ↑ back to top

    9 different logos from various media outlets where Sew Woodsy has been featured on.

    About

    • About Us
    • Privacy Policy
    • Accessibility Statement

    Newsletter

    • Sign Up! for emails and updates

    Contact

    • Contact
    • Work with us
    • Advertise

    Copyright © 2010 - 2022 Sew Woodsy