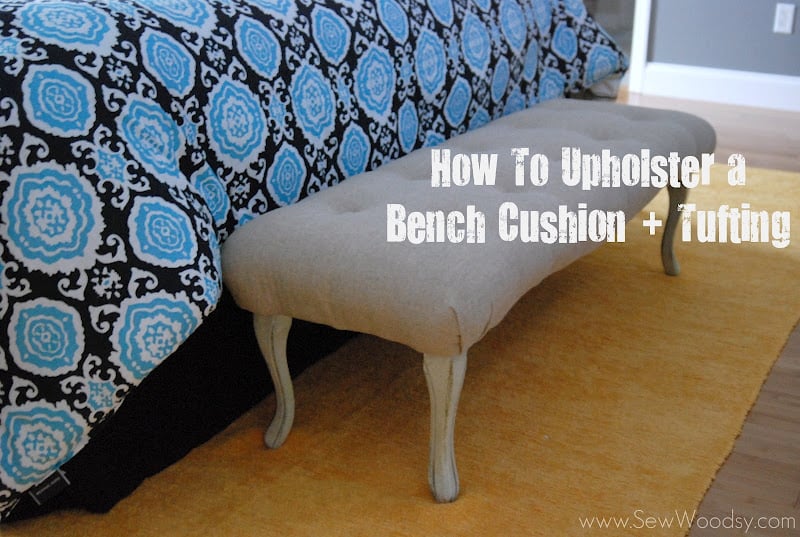
Last week I shared the first of the two part series on How To Upholster a Bench Cushion + Tufting the first of many post to come on our Master Bedroom Revamp Project. Today, I’m going to share how we got to the finished product.
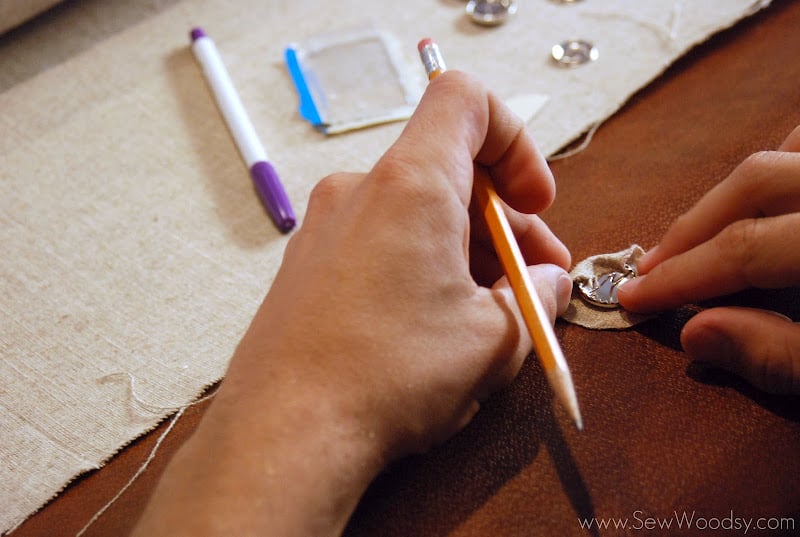
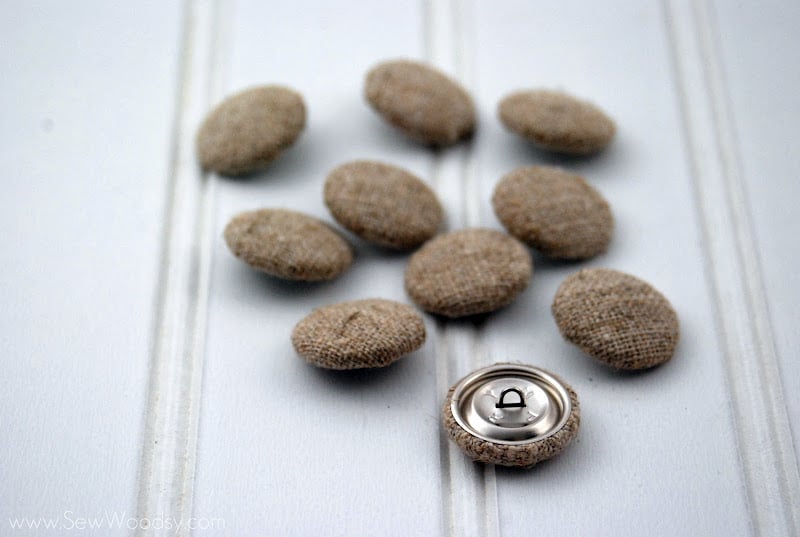
At the end of last week’s post I mentioned that we decided to tuft the bench. That meant a trip to the store to purchase 7/8 inch 2 Half Ball Cover Buttons. These are metal buttons that you can cover. We took a small strip of our fabric for the bench and began tracing around the circle template provided. I’ll be sharing a video later this week on how to easily create fabric cover buttons.
Once our buttons were covered we were ready to get on to the bulk of the bench project.
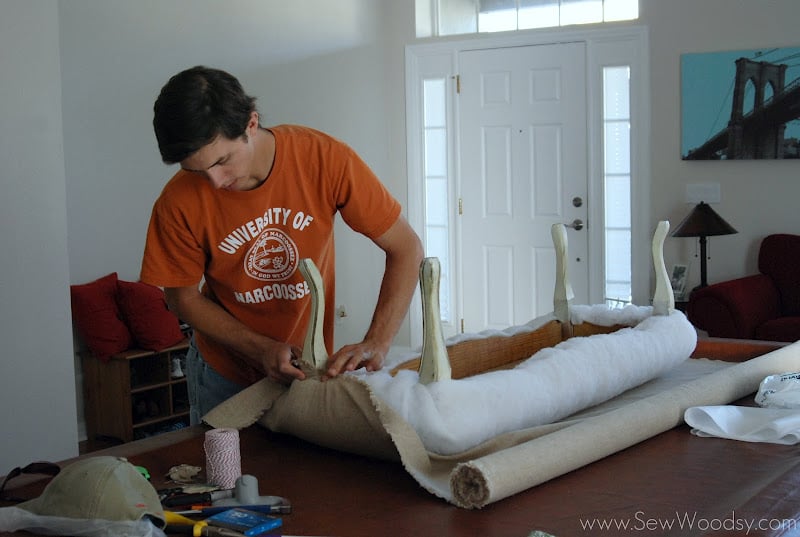
Mr. Woodsy took out the roll of fabric and began measuring around the sides to see how much we would need. Then he boldly cut the fabric.
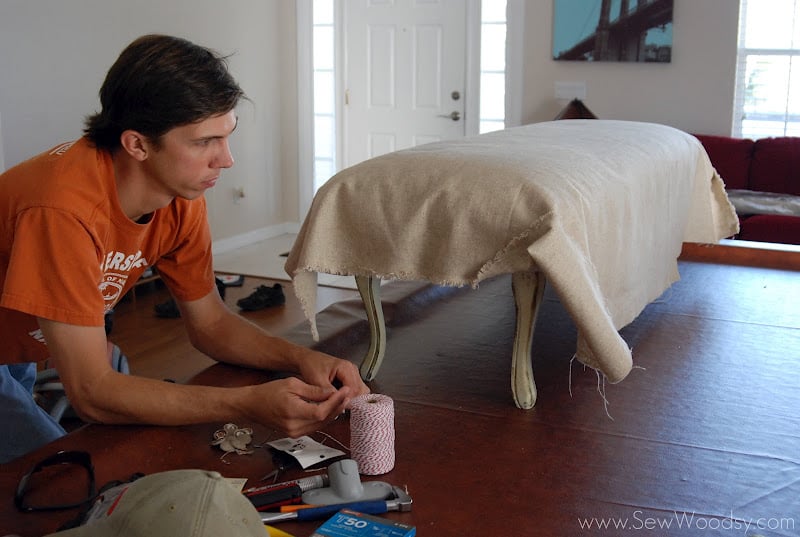
Then brainstormed on how to thread the buttons through the bench!
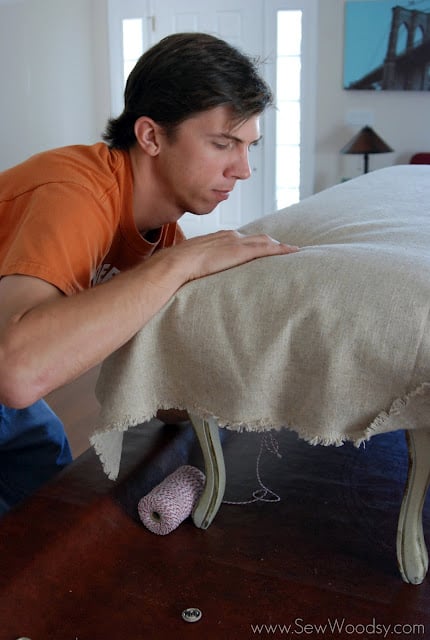
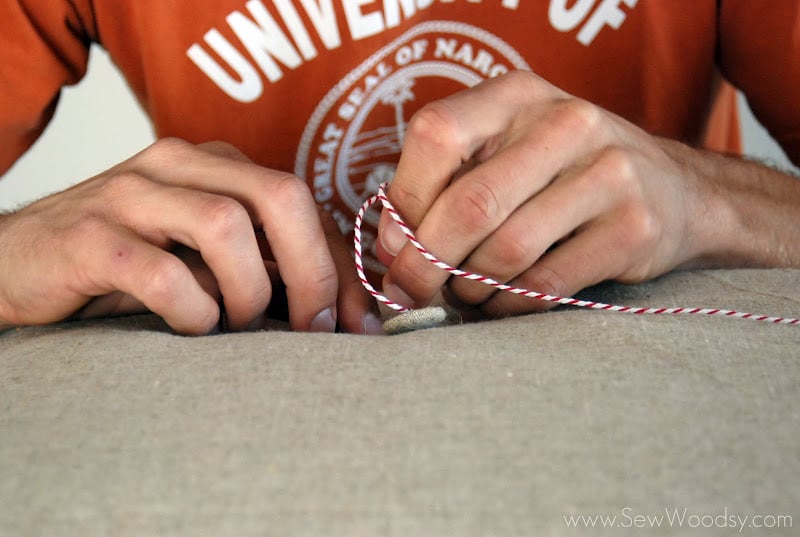
Thats when he tackled it head on! Use the hole already formed at the bottom and bring the upholstery needle through the top. Hold on to the fabric because at this point you don’t want your fabric to move.
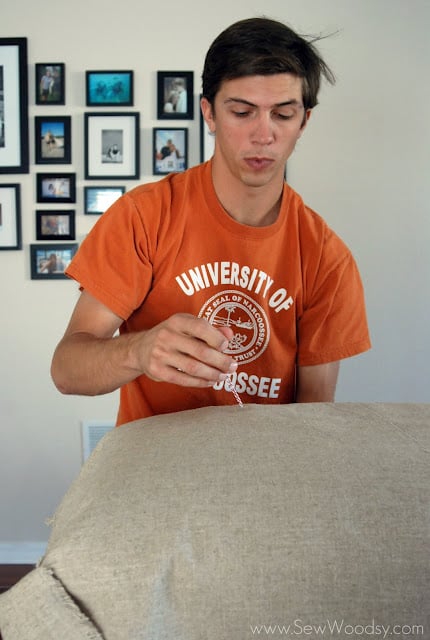
Carefully bring the upholstery needle and twine through the fabric.
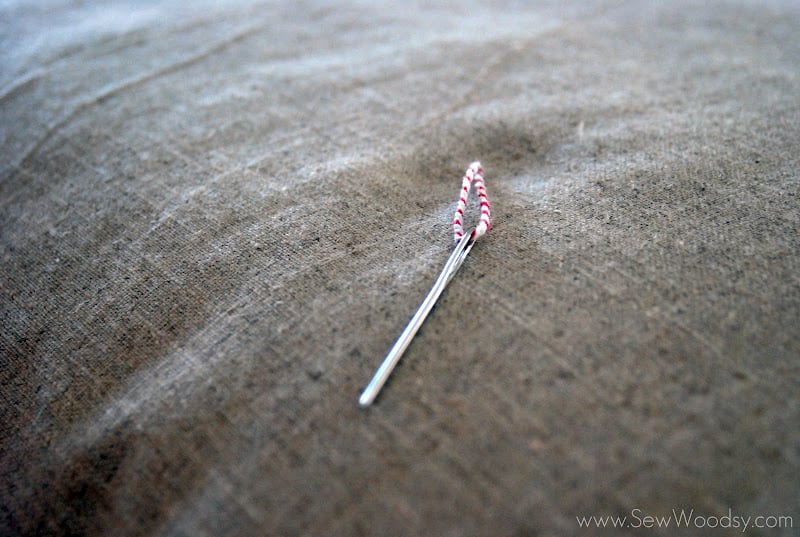
This is what the twine & upholstery needle will look like through the fabric.
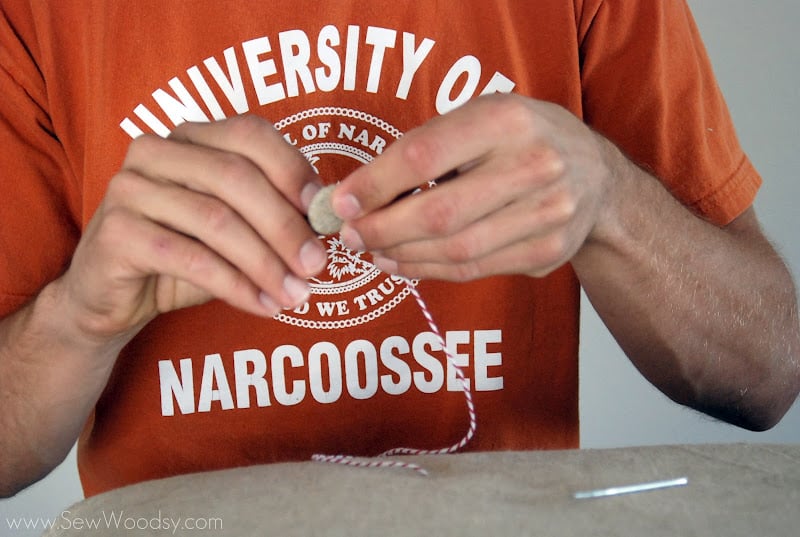
Once the twine is through the fabric; remove the upholstery needle and thread the button.
Then place the upholstery needle back on to the twine so you can bring the twine back through the fabric.
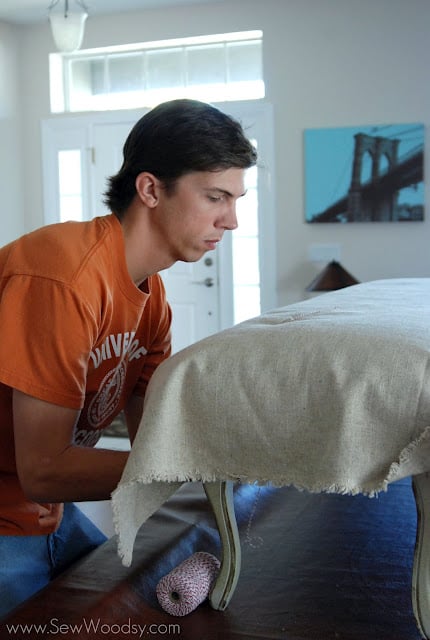
Carefully, bring the twine and upholstery needle back through the bottom of the bench.
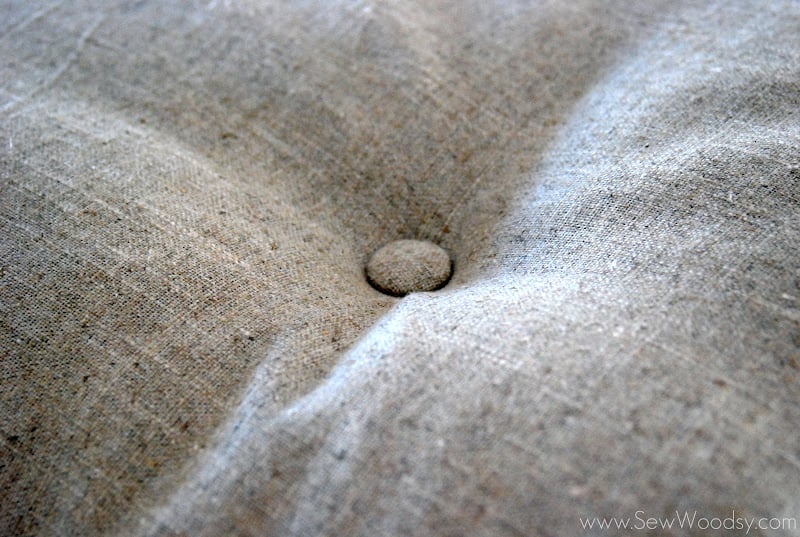
Your first button is complete! Now, repeat however many times you need to in order to complete your bench.
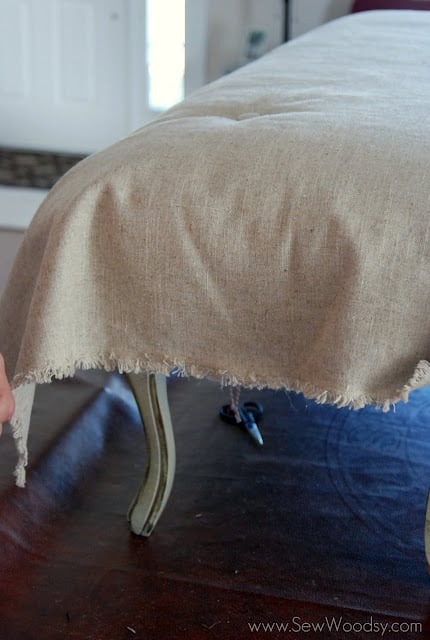
This is what your bench should look like. We did not fasten the button at this point nor did we attach the fabric to the bench. The first goal was to get all the buttons through the fabric.
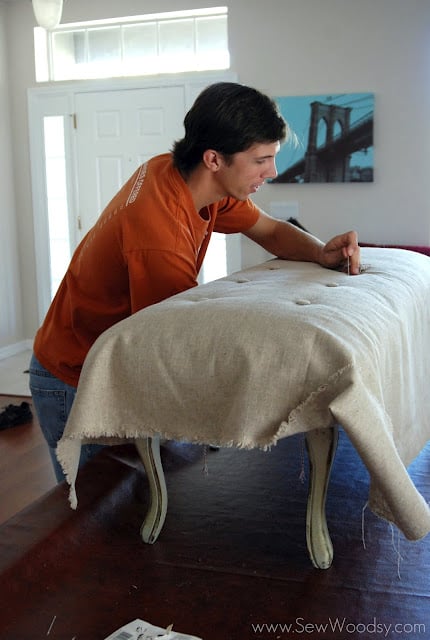
He then repeated the step multiple times.
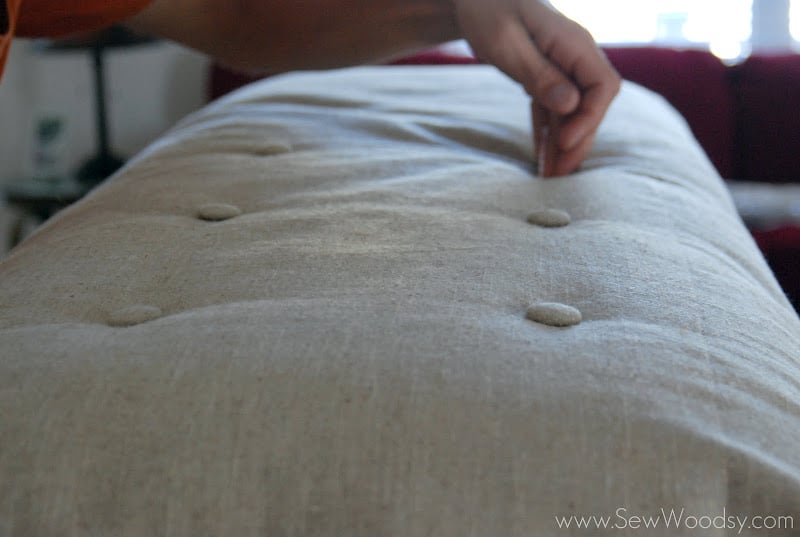
Feeding the twine and upholstery needle through the thick foam and fabric.
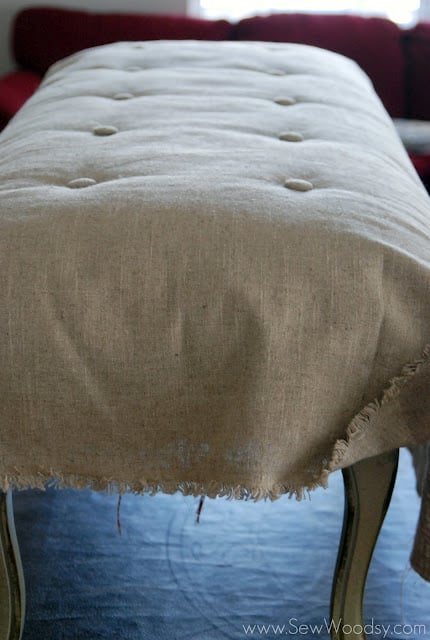
This is what it looked like before the buttons were pulled and secured. You can see a little bit of the twine peaking underneath the beige fabric.
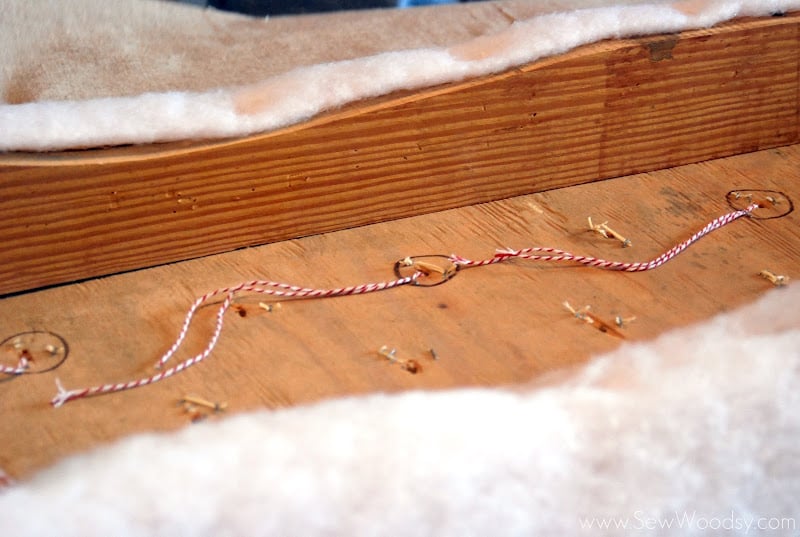
This is what it looked like once the buttons/twine were pulled through.
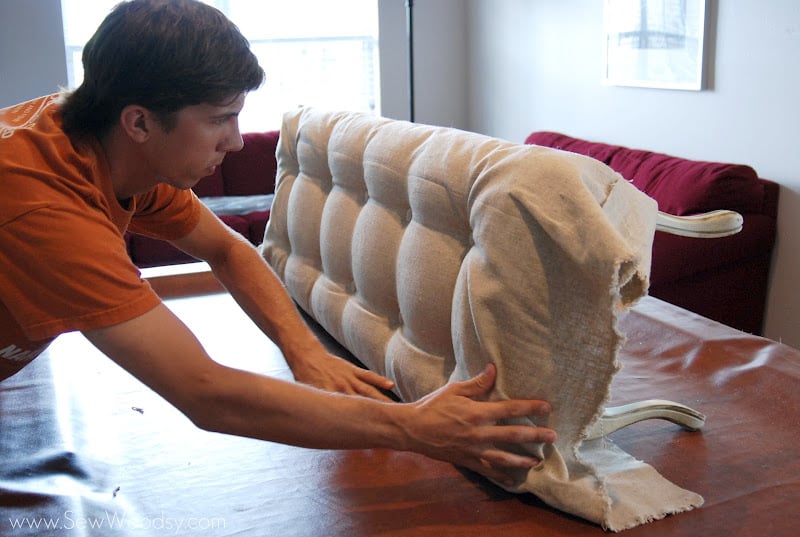
Carefully roll the bench over.
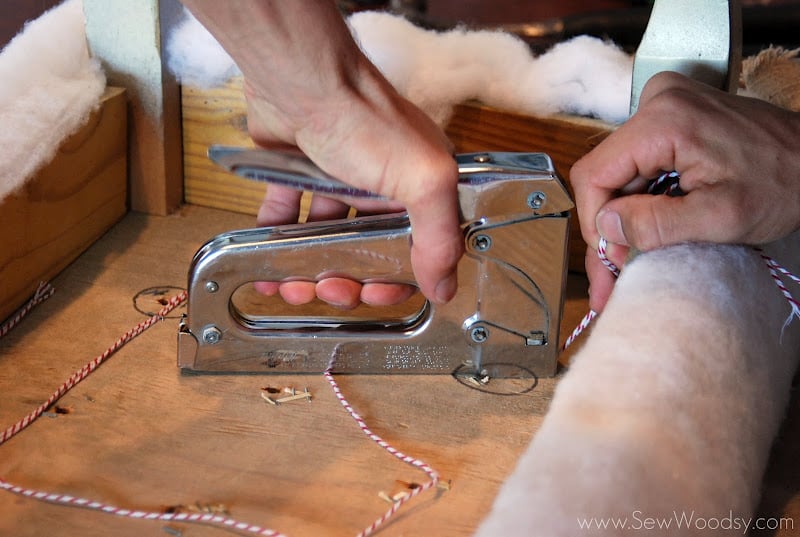
Begin stapling each set of twined buttons.
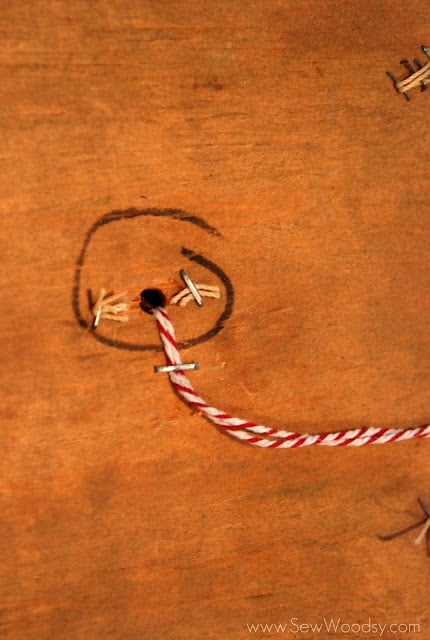
1 staple worked just fine for each of our tufted buttons.
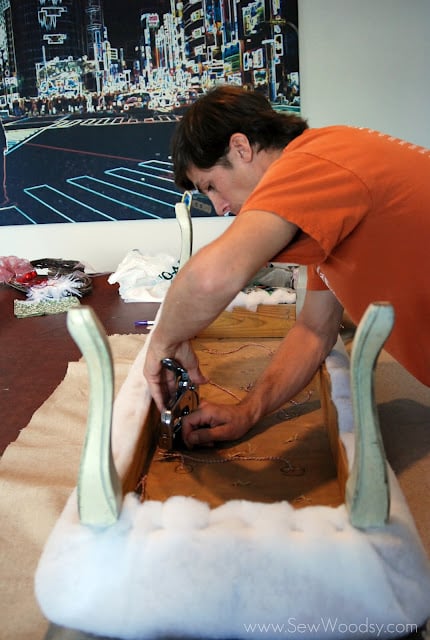
*Make sure that you pull your buttons evenly or else some of your buttons will be shallow and others will be deep into the cushion.
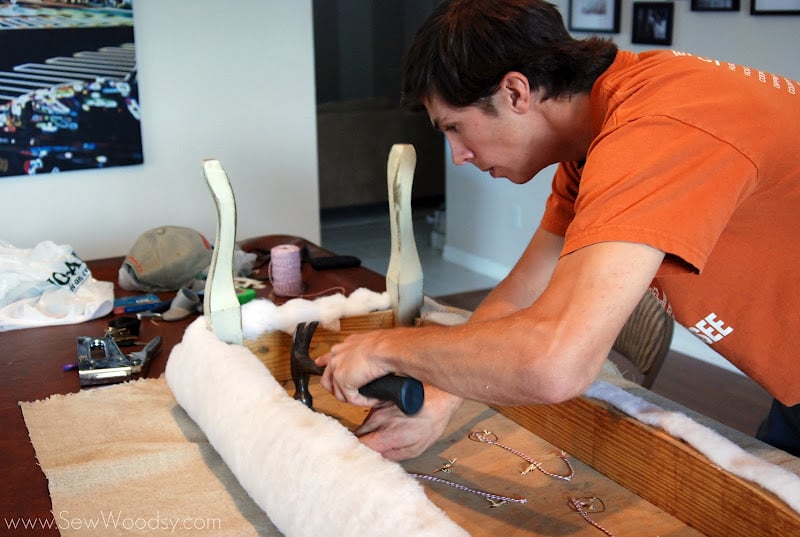
Next, hammer the staples down making sure that they are securing the twine as best as possible.
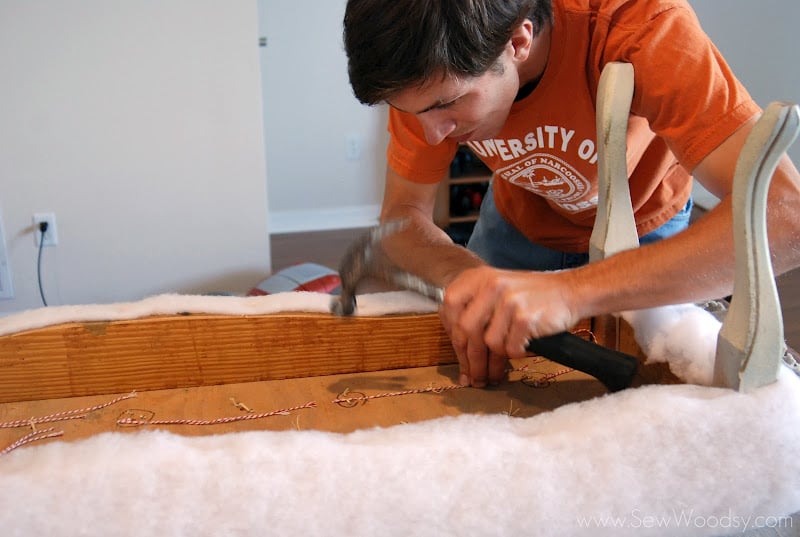
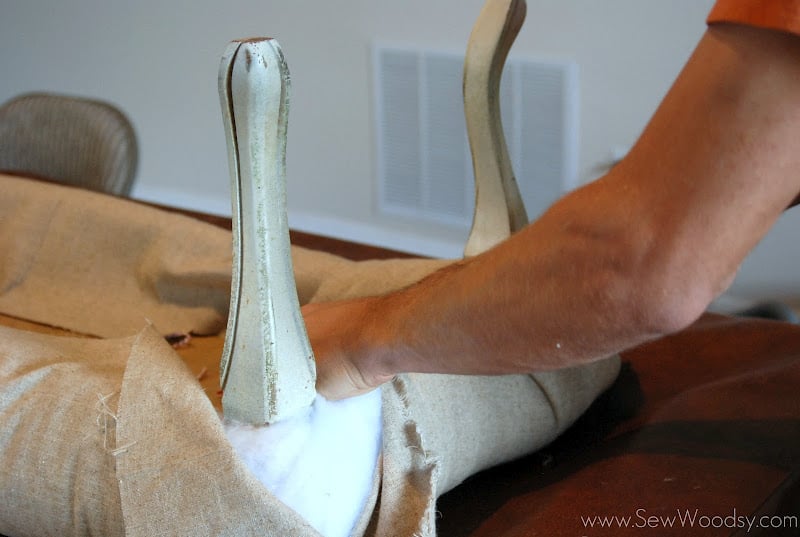
Now, we can begin wrapping the fabric around the bench!
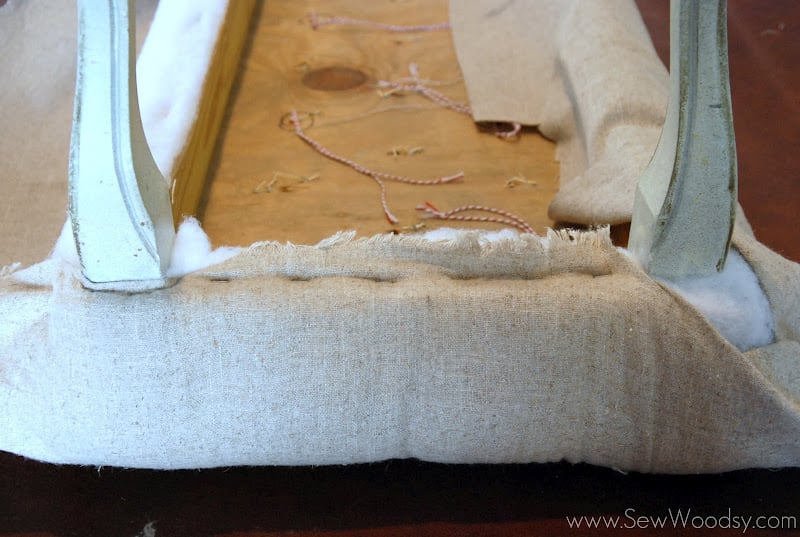
Which ever way you decide to wrap the corners make sure you keep it consistent on all four corners!
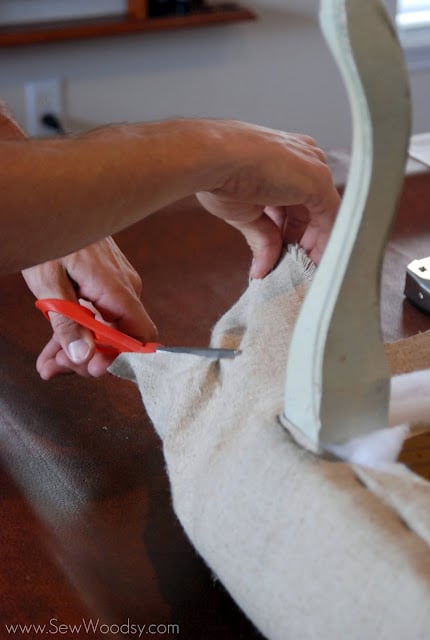
Once the end fabric was stapled in place it was time to cut the excess fabric from the corner and pull the corner piece of fabric in place.
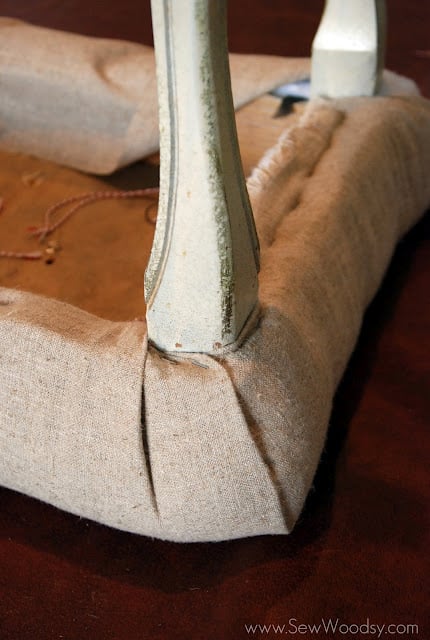
This is what our finished corners looked like. Each one looked exactly the same.
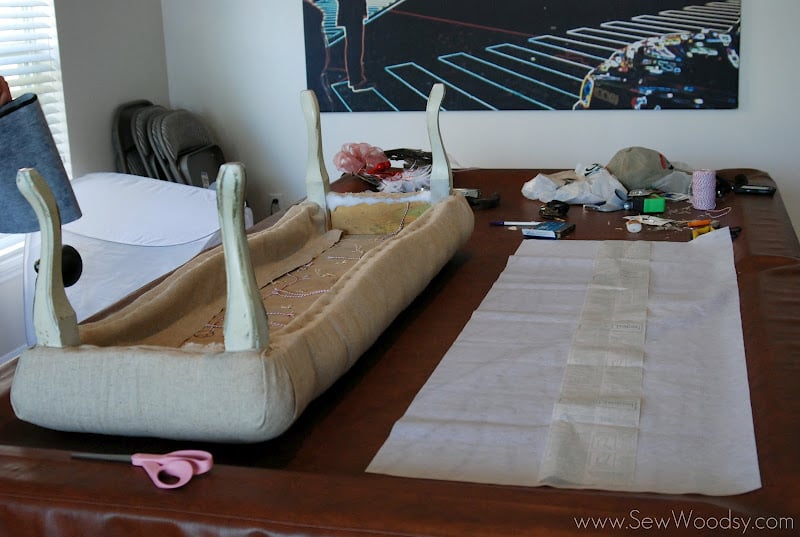
Once the fabric was finished being secured its time to take the interfacing and make a bottom to your bench so you can’t see the 5 million and 1 staples!
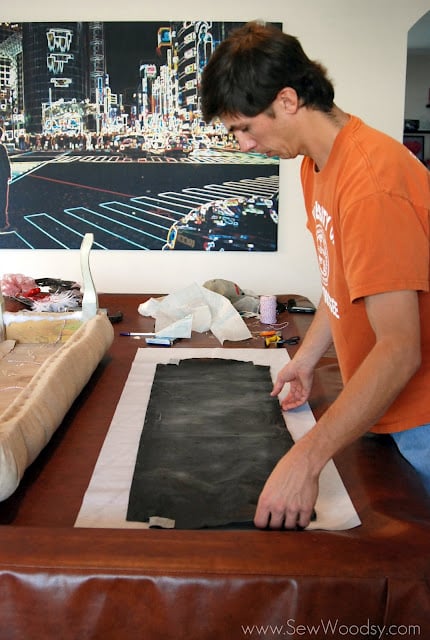
We kept the old bottom so Mr. W just traced the new piece of interfacing.
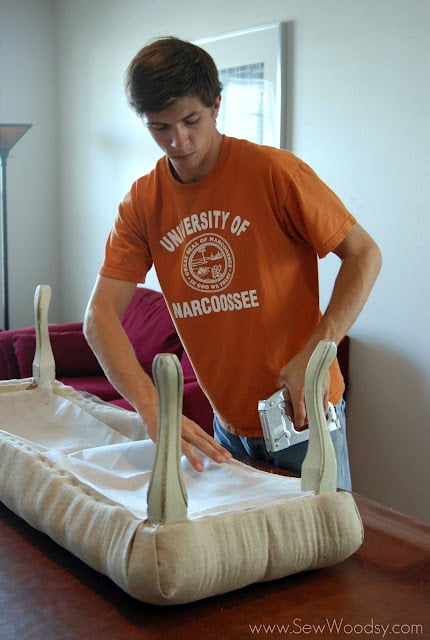
Then, once again, began shooting staples into the interfacing/bench. Pulling tightly as he worked his way around the bench.
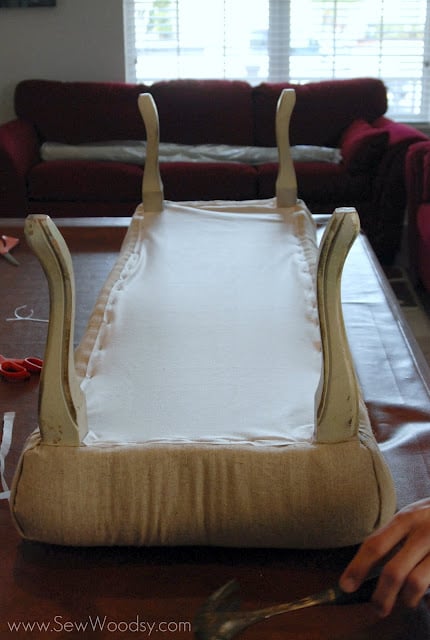
This is how the bottom of the bench looked.
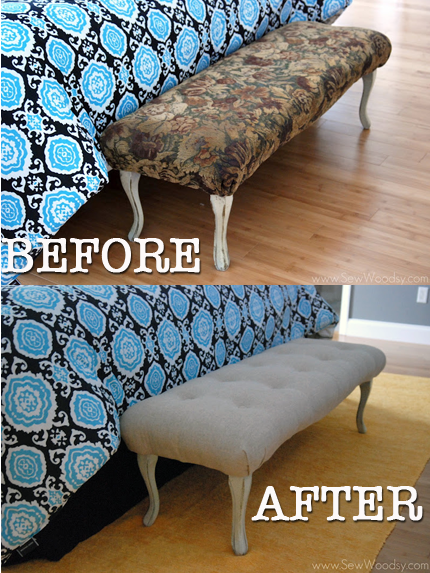
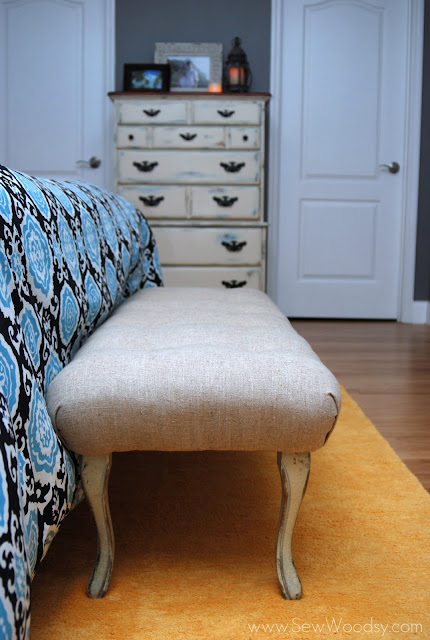
And here is what our “brand new” bench looks like now!

A world of a difference from the old bench. I’m still debating about rubbing a little blue on to the legs!


I’m so thankful that we can keep this bench in the family! I’m sure this won’t be the benchs’ last time it will be recovered!

