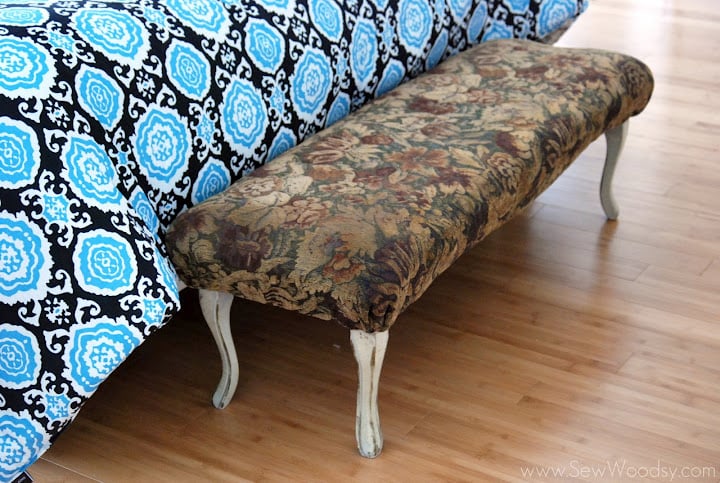
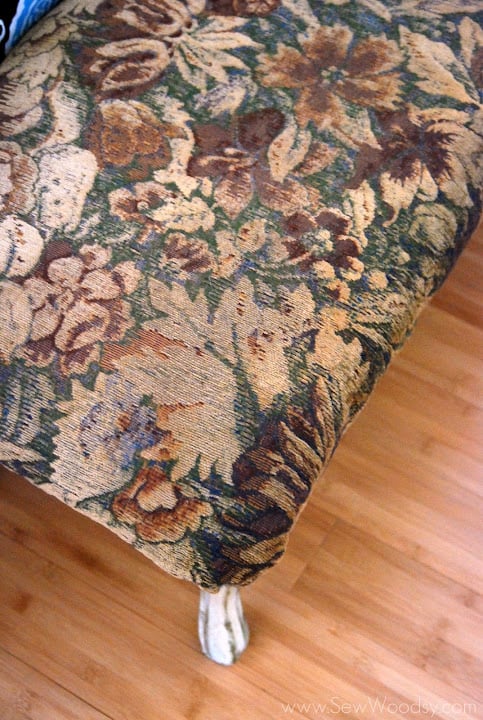
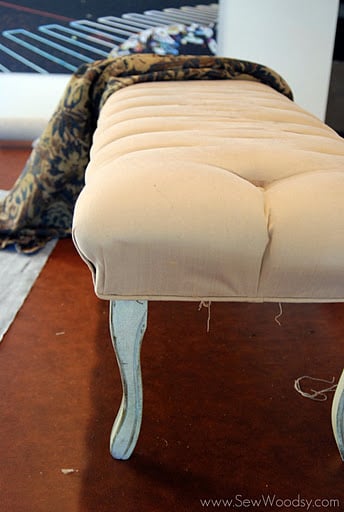
Mr. Woodsy & I inherited this bench a year and half ago when we helped my great Aunt Millie move from her home into a retirement community. She wasn’t taking much with her and insisted we take anything we wanted (within reason–like we were not permitted to take her beloved grandfather clock). The first thing that came to mind was the bench that sat at her bay window in her living room. I had wanted a bench for the foot of our bed since I can remember. Although the fabric choice was clearly not our style I knew we could make it into something amazing.
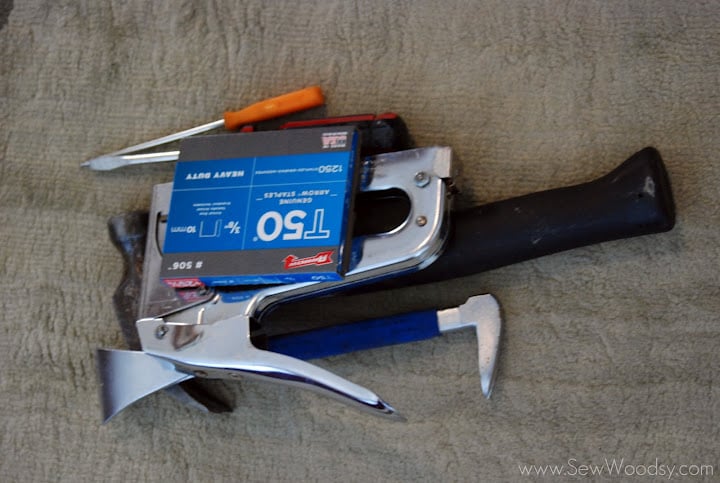
Supplies:
Old Bench
Plyers/Screw Drivers
Staple Gun & Staples
Batting/Fabric/Thin Interfacing
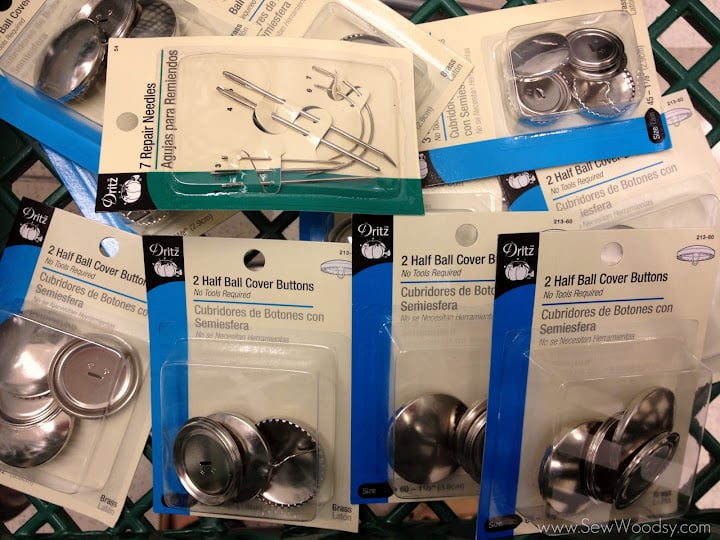
7/8 inch 2 Half Ball Cover Buttons
Twine/Upholstery Needle
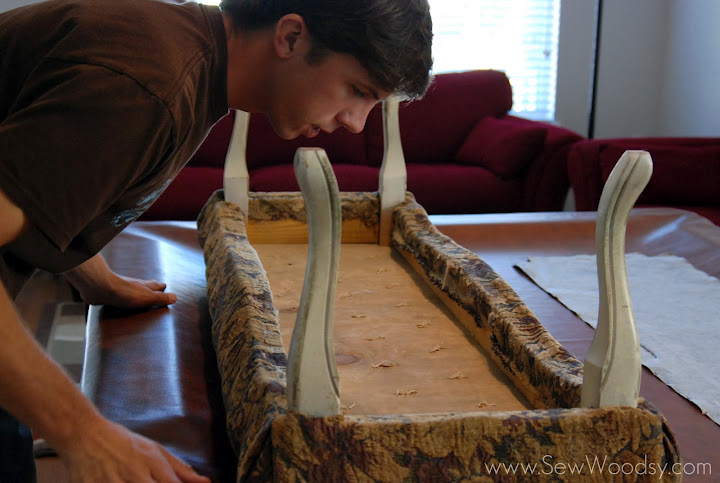
The first step was to take the bottom cover off the bench. Mr. Woodsy carefully removed this because for some hair-ball reason he thought we would repurpose it. After he saw how nasty it was underneath he decided we would splurge on the $3 of interfacing we used to recover it!
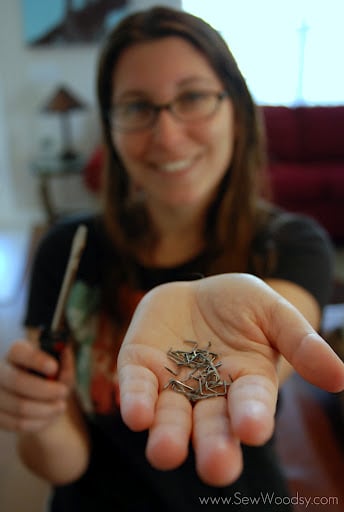
This was just all the staples we removed from the underneath covering of the bench.
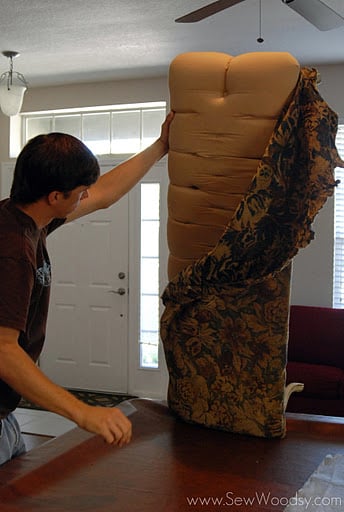
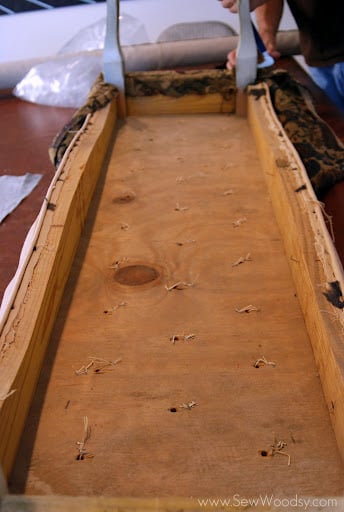
Once we removed the covering we discovered that this bench has been previously tufted! So emotions and thoughts were swirling in both of our heads. To tuft or not to tuft… that is the question! Remember that post back in January–yes I realize I’m way behind on posting! Well when we discovered the bench had been tufted 28 times we started thinking about what we wanted to do… 28 buttons to tuft or maybe just a few? What size?
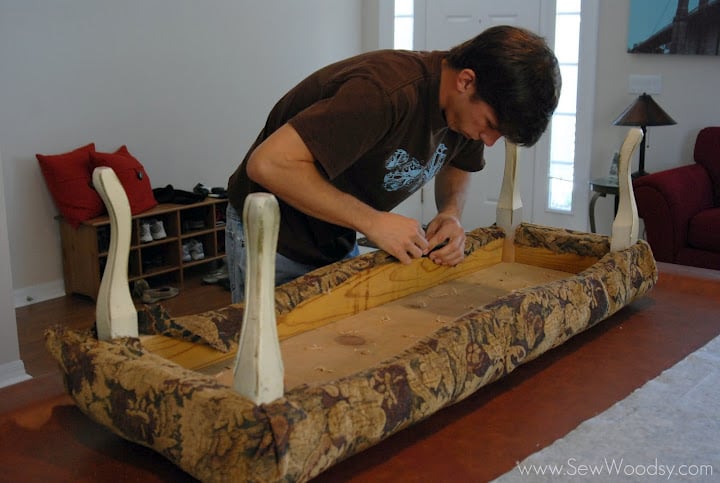
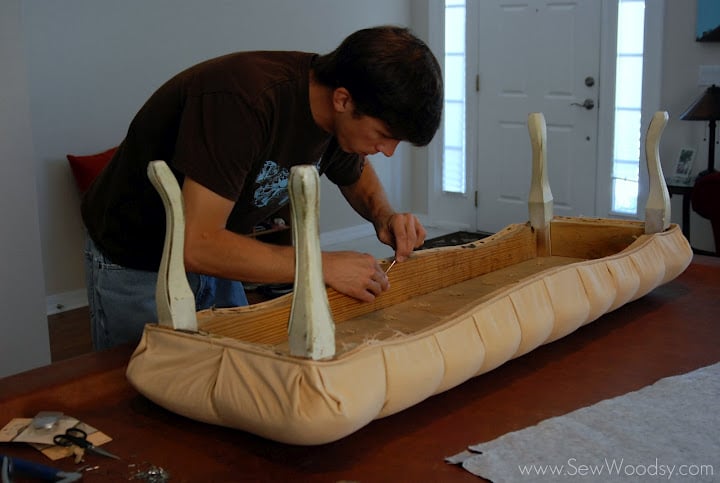
So we began removing all of the staples to the first layer of fabric.
That’s when we discovered this beautiful fabric underneath.
Yet, another layer of fabric. Best of all we think their was another layer underneath this layer!
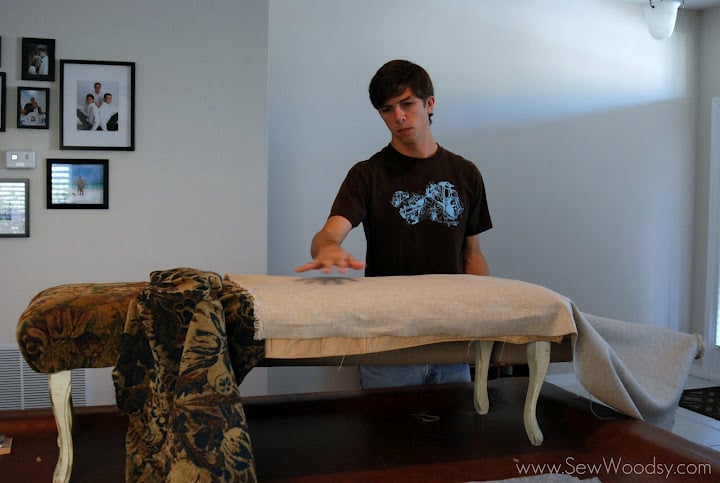
Mr. Woodsy rolled out our fabric to take a look at how the fabric would look on the bench.
Then it was back to prying out the rest of the staples from the top layer of fabric.
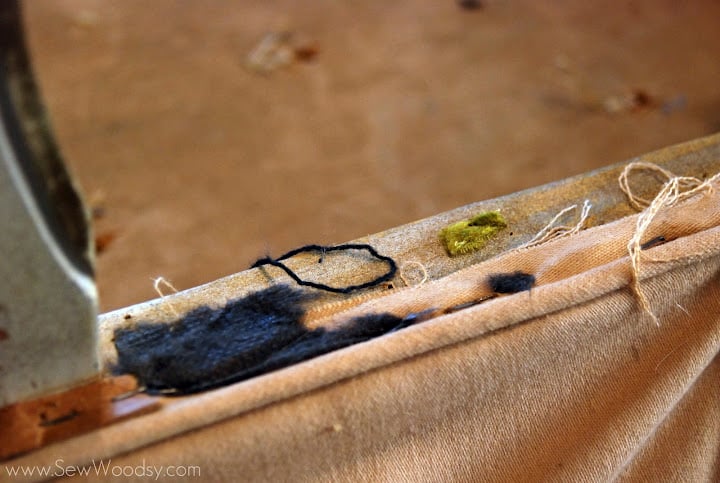
That green speck of fabric… proof that this bench has probably been recovered before this peachy fabric.
Removing any additional staples that might get in the way is key!
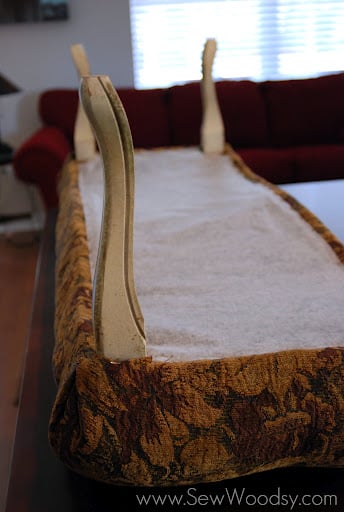
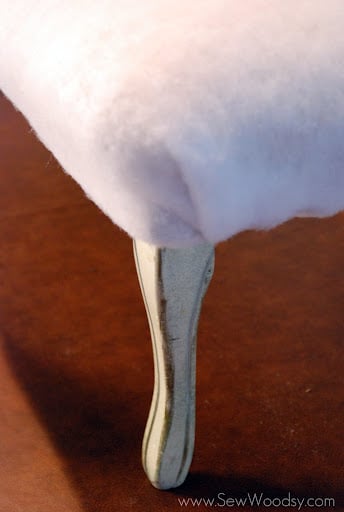
We decided to not take the peachy colored fabric off the bench. We felt it would be better if we kept it on as a guide and cushion and just add a few layers of batting on top.
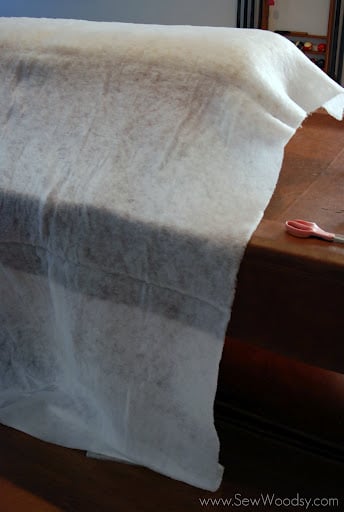
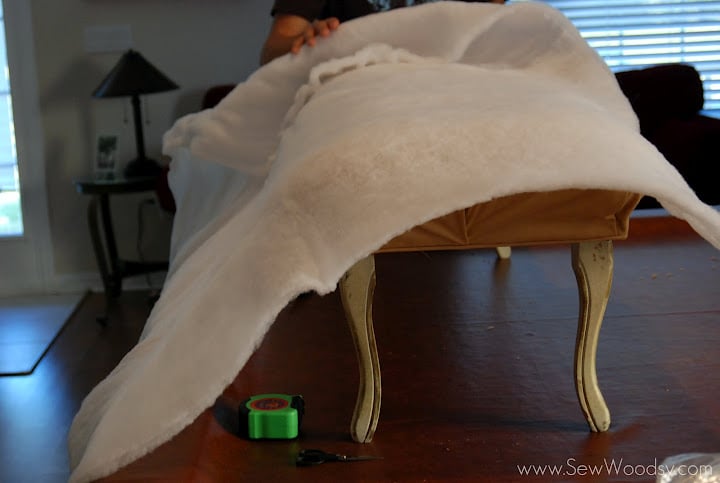
Obviously, the batting was too long so we place a single layer on the bench and then folded it over.
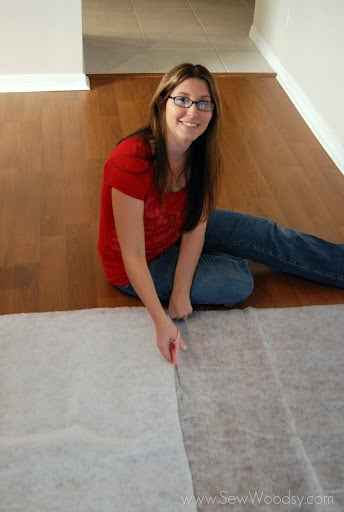
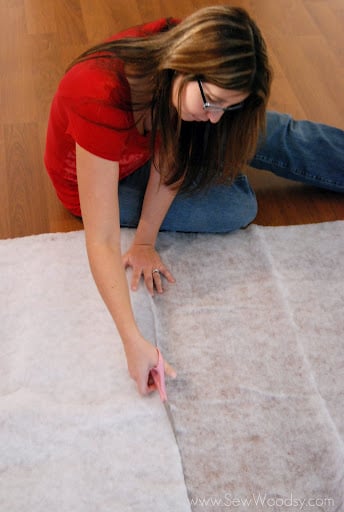
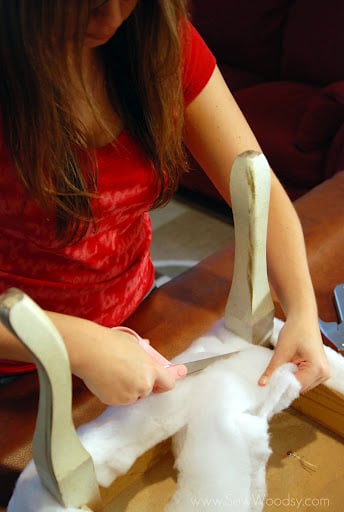
Then it was time for me to cut!
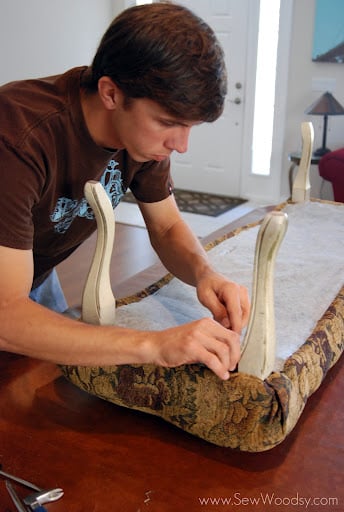
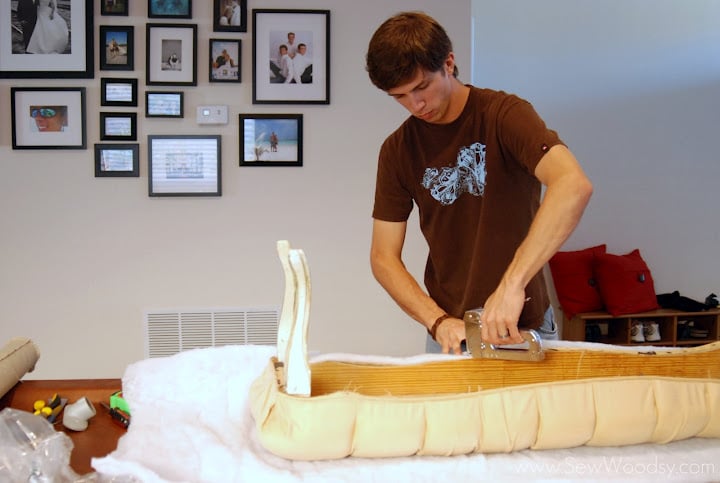
After the batting was cut Mr. Woodsy began tightly wrapping and stapling the batting to the bench.
I would go around and cut any excess batting off the bench.
The corners were wrapped tightly in the same manner that the fabric would be wrapped.
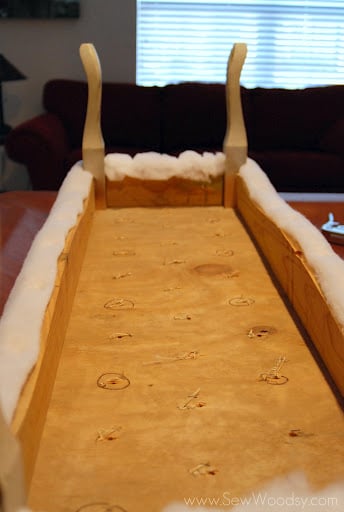
Next, we decided how many tufted buttons we wanted to have. We knew we didn’t want to drill any new holes in so we had to play with the pattern that was given to us.
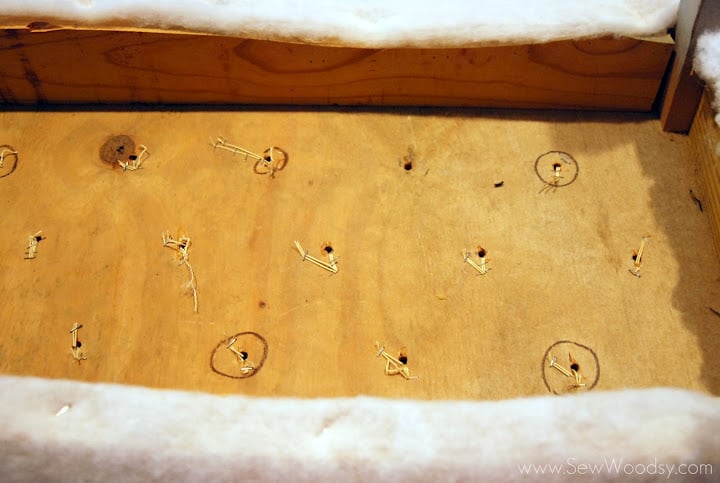 That’s when we decided to draw a circle around the holes we knew we wanted to use for our tufting. We choose to do 10 tufted buttons.
We then put our project ton hold and went to JoAnn Fabrics where we purchased our 2 Half Ball Cover Buttons for our bench and our headboard along with the interfacing for underneath the bench, more batting and foam for our headboard!
Tomorrow I’ll show you how we recovered and tufted our bench!
We were featured on:
