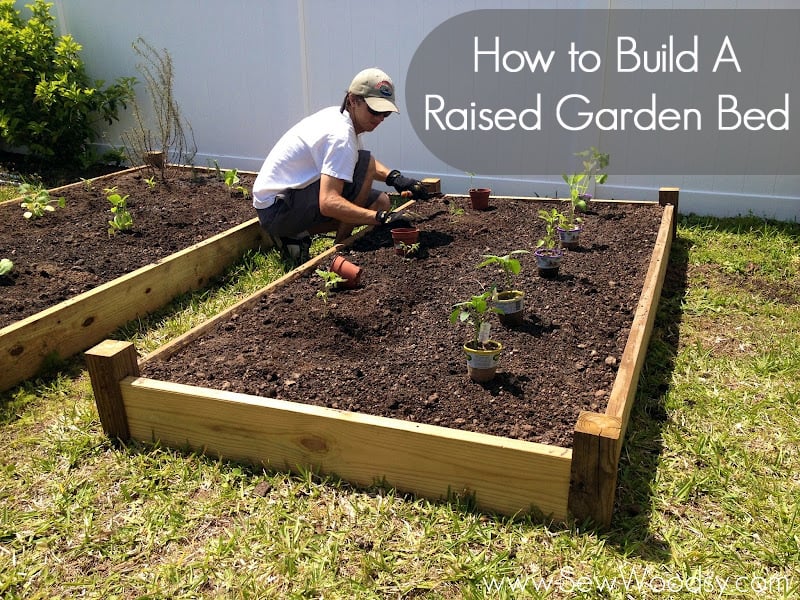
Two weeks ago we started the first of our 2 part series on How To Build A Raised Garden Bed. Today we are going to show you how Mr. Woodsy constructed the garden bed and a few of the veggies we planted! This was a fairly easy project (although time consuming with the little details), and best of all it was light on our budget.
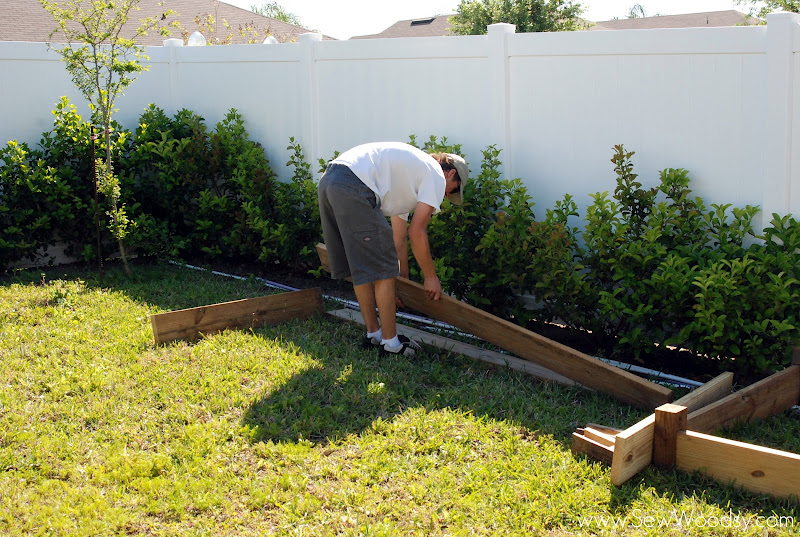
Mr. Woodsy arranged the garden beds how he wanted them in the yard.
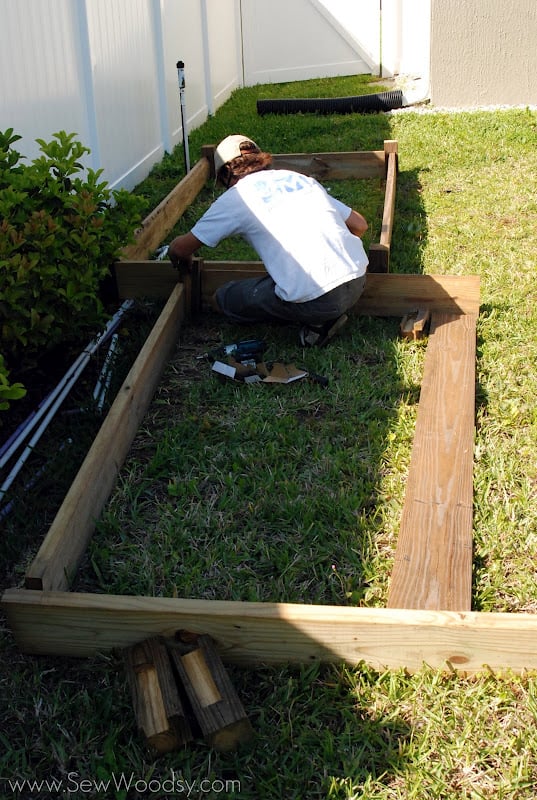
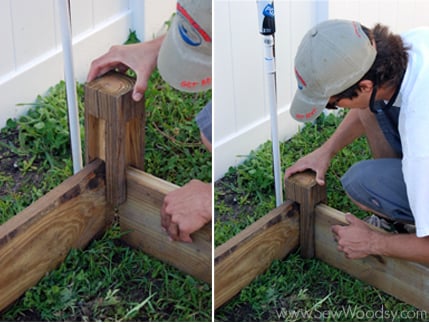
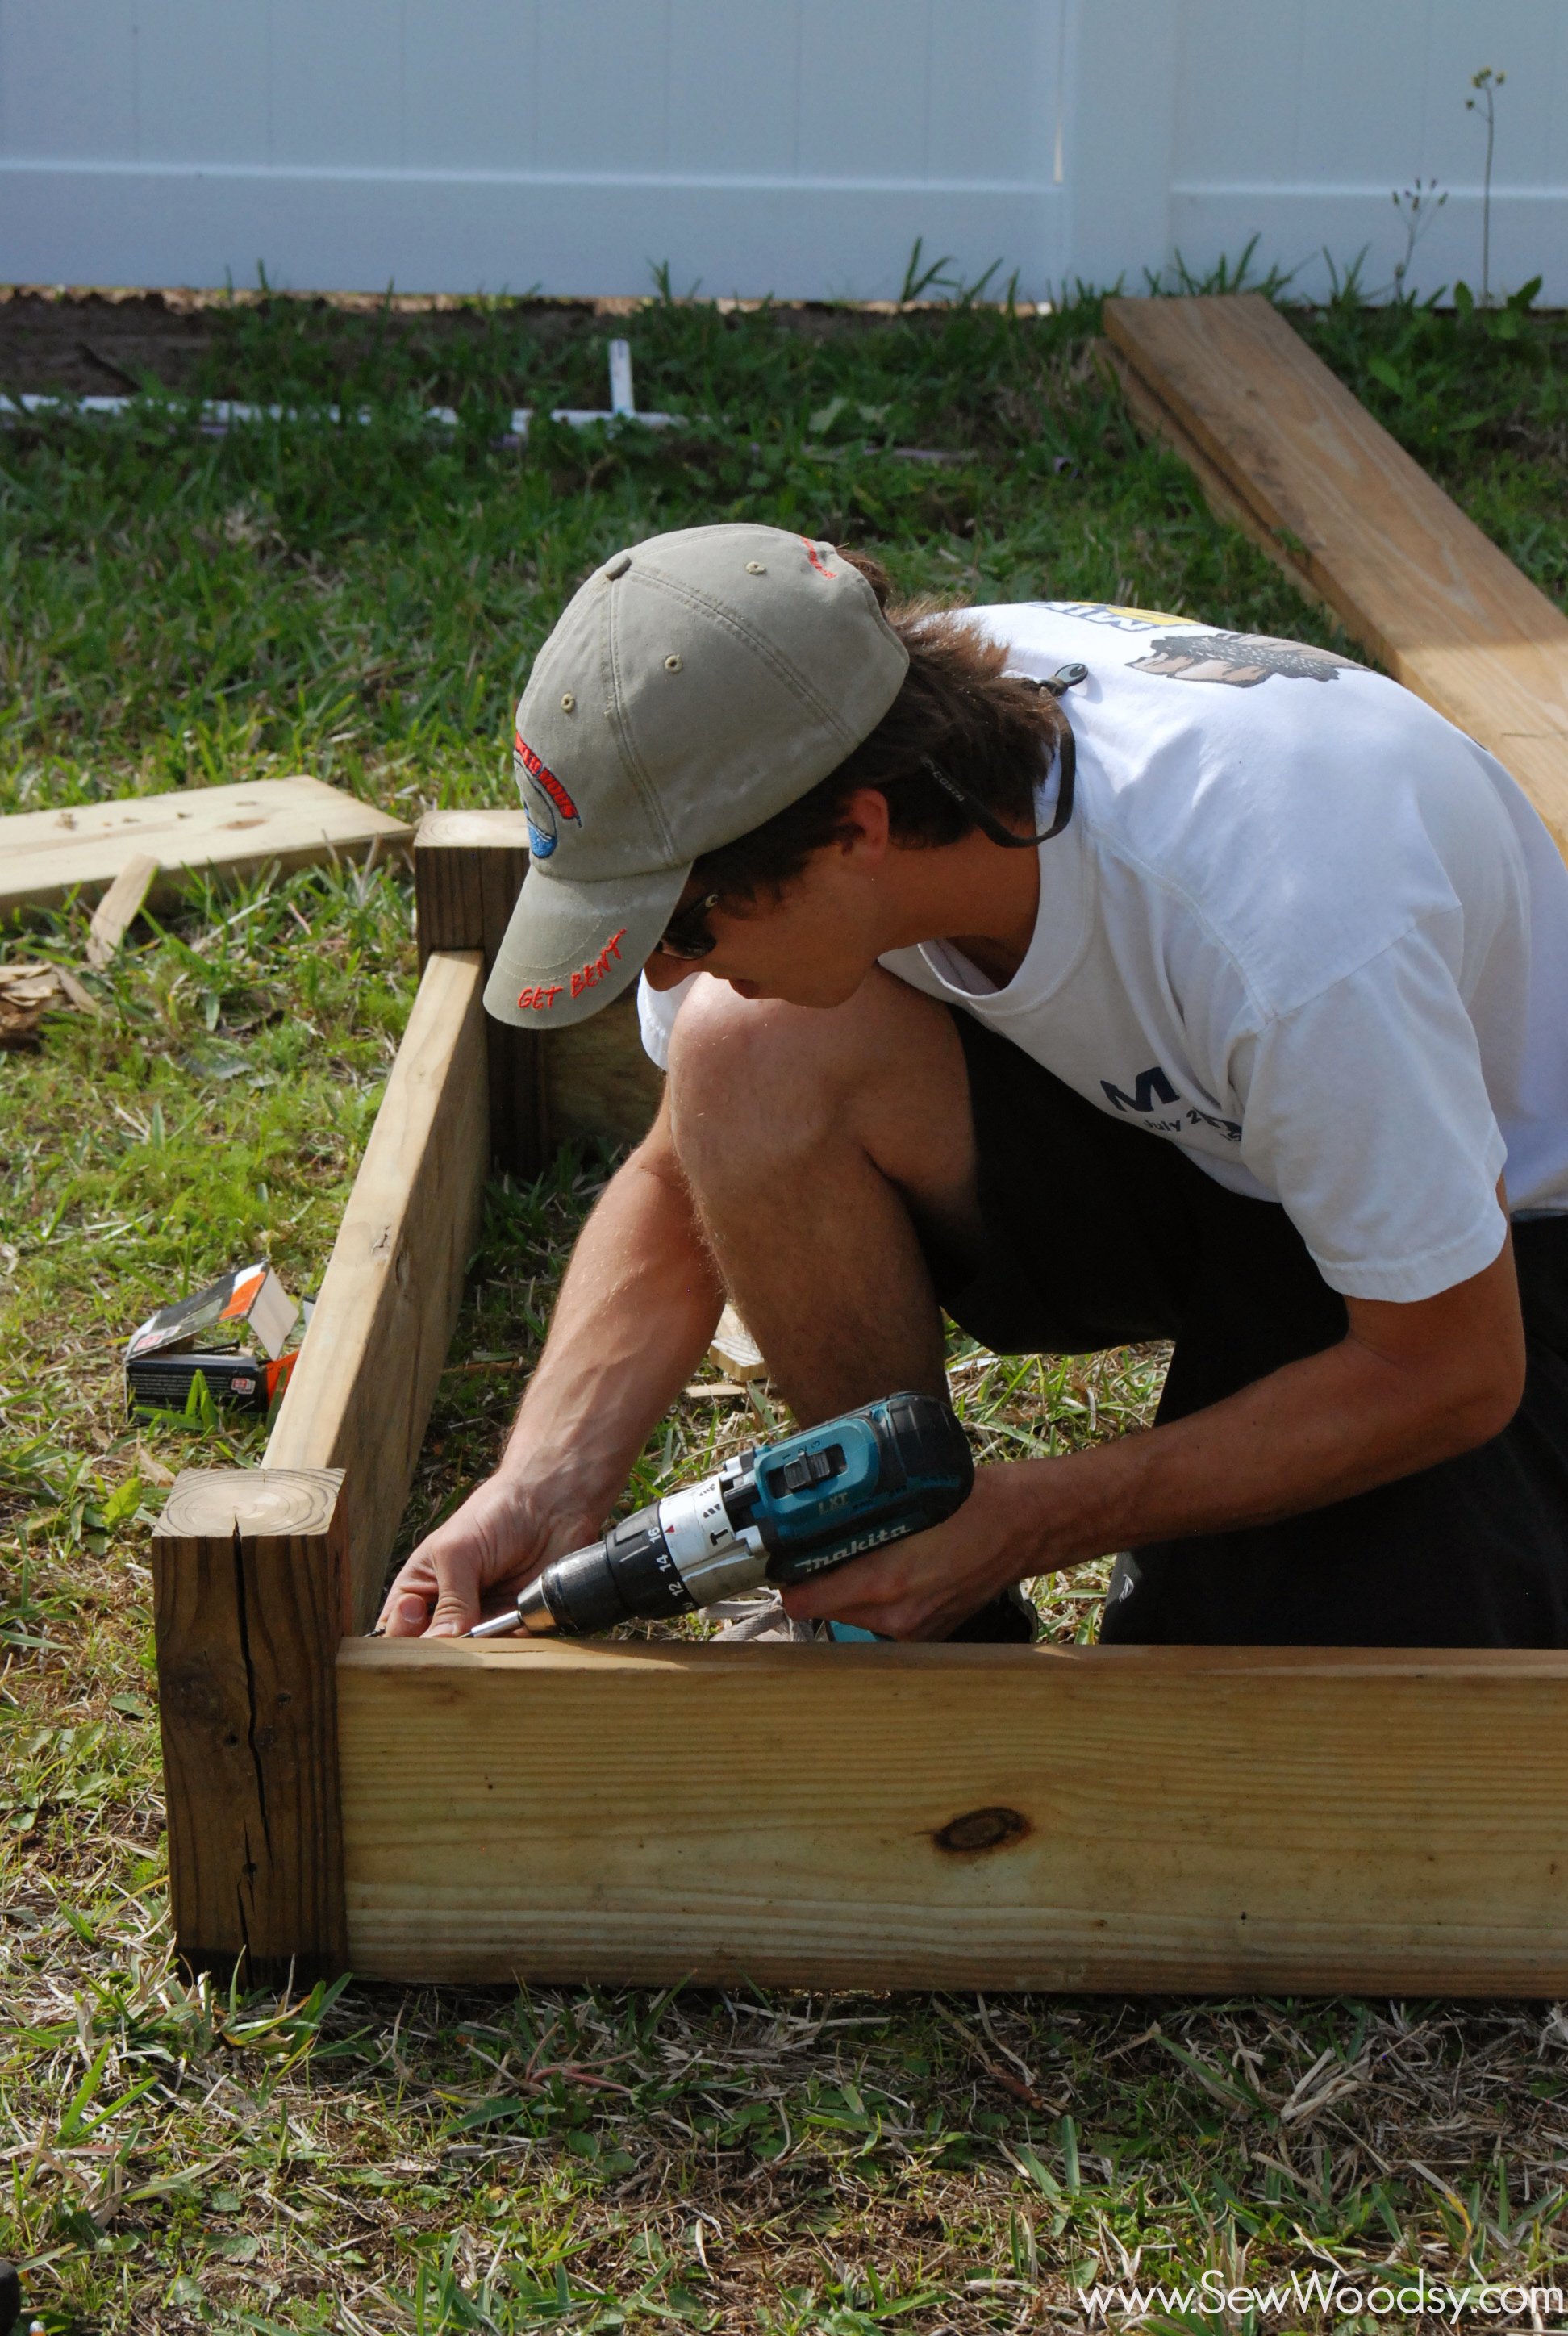
Last post Mr. Woodsy showed us how he carved out the grooves to make the joints for the raised garden beds. He literally slid it down the corners of each of the 2×8.
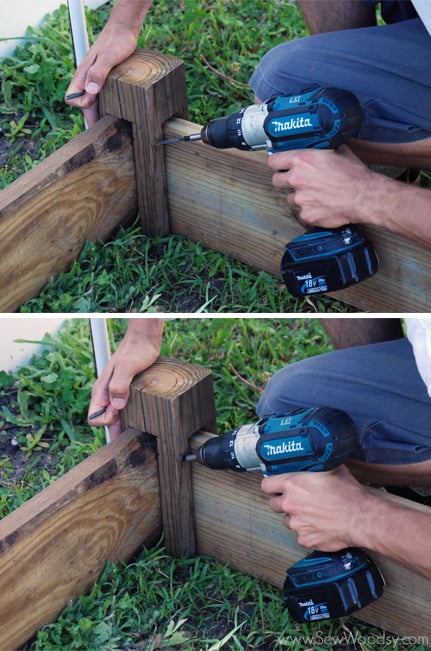
Then, Mr. Woodsy drilled into each of the corners to secure the post.
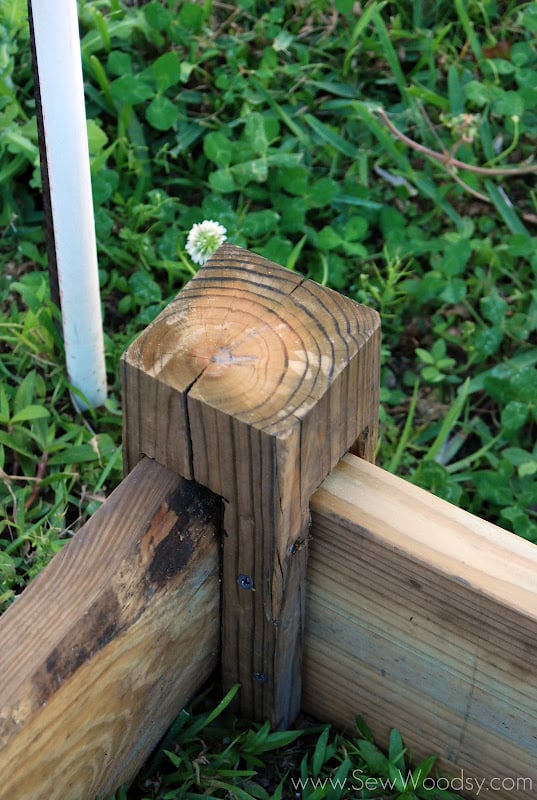
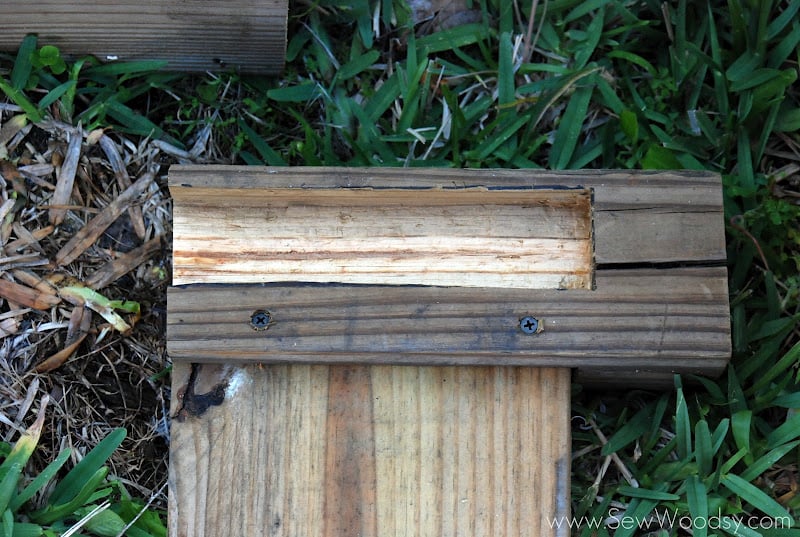 This is what the post looked like after one side was drilled.
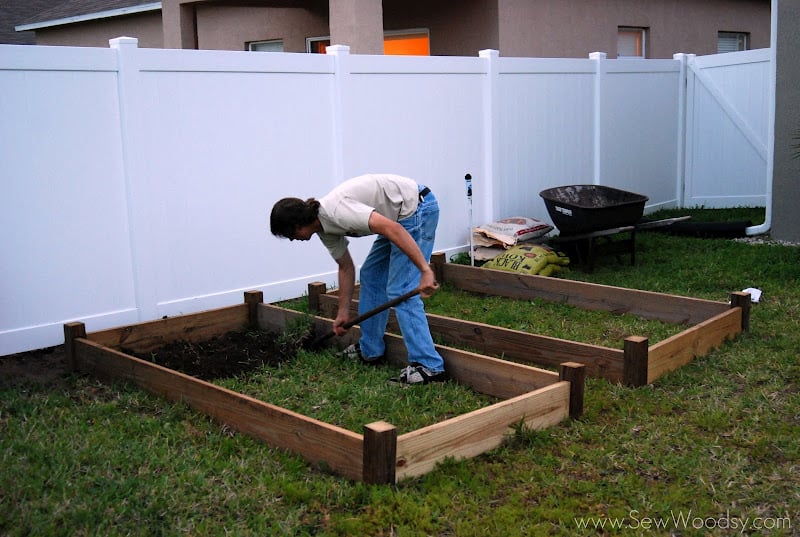
Once the wood boxes were built we moved them to how we wanted them positioned and then Mr. Woodsy began digging out our grass.
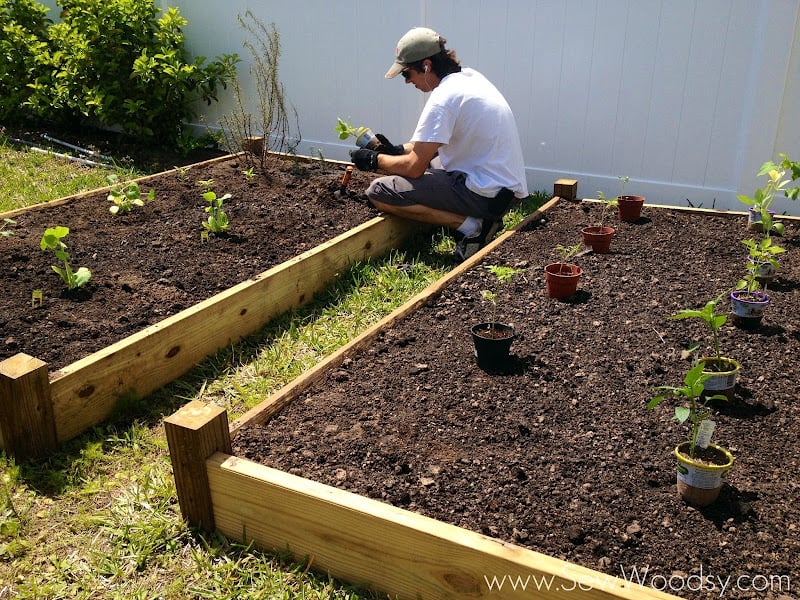
Mr. Woodsy filled the garden beds with dirt, placed the plants where he wanted them to be planted, and then began planting each individual plant.
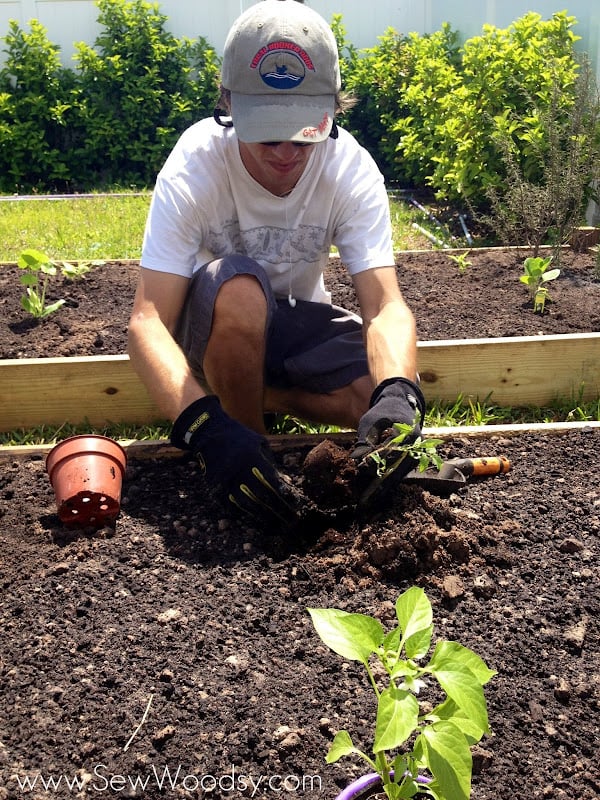
Breaking apart the compacted dirt/roots and planting it in the planter bed.


We planted 16 vegetable plants in all. Some were grown from seed provided by Mr. Woodsy’s parents and the others were store bought.
3 Tomato plants
7 pepper varieties
2 Yellow Squash
2 Zucchini
2 cucumber
1 Eggplant
Here’s to hoping that our vegetable garden thrives!
Comments & Reviews
Eric Szvoboda says
Wow these look great! What kind of wood did you use?
Mrs. Woodsy aka Katie says
Thank you for the kind compliments. We used scrap wood we had on hand to keep cost down.
Alison says
This is an incredible tutorial!! I need to build myself a garden! Thanks for sharing at oopsey daisy!
Mrs. Woodsy aka Katie says
Thanks Alison. It’s something we have both wanted to build forever now!
Hannah says
Very nice raised beds! My post for this week is : http://likemamalikedaughter.blogspot.com/2012/04/how-to-tuesday-bunnys-birthday-dress.html
Lauryn says
wow this is way awesome. i would LOVE for you to link this post or any other posts you want to my weekend link party http://lovenotesbylauryn.blogspot.com/2012/04/spread-love-link-party-6.html it opens at midnight tonight, hope to see you there!
{love} lauryn @ lovenotesbylauryn.blogspot.com
Mrs. Woodsy aka Katie says
Thanks for inviting me. I’ll go check it out!
Eva Scott says
Thanks for these tutorials. I’m hanging on to them for next year when my little people are a bit bigger and I can devote time to growing tomatoes and cucumbers. 🙂
Shiloh says
These look fantastic! Definitely something we’ve considered, but just never gotten to. GOod luck with your plants now.:)
Beth says
Great tutorial. I’ve been wanting to this for years but I think this might actually be the year. I’m clicking over to part one now.
Mrs. Woodsy aka Katie says
Beth–hope this is the year!!
Sarah Avila says
Thanks for sharing this. We are building a new house and I’ve always wanted to have a garden. I’m going save t his for later, when the house is finished!!
Mrs. Woodsy aka Katie says
Their are easier ways to make these–we just went with a little bit more intricate design! Good luck!
Pam @ diy Design Fanatic says
Very nice Katie! My husband built me 4 more 8 x 10 x 16″ raised beds this year. Hope to post about them in a few days. I love gardening and getting fresh veggies out of the garden. Stopping by from Tip Me Tuesday.
Mrs. Woodsy aka Katie says
That’s awesome! Can’t wait to see how yours turn out!
Rachael says
It looks great. I love how he made the grooves for the corners. However, I will warn you that 2 zucchini plants may be too many
😉 Enjoy!
Mrs. Woodsy aka Katie says
Thanks–I’d rather have more than enough than none at all–bring on the zucchini!!! 🙂
Tonia @The Gunny Sack says
I love it! My mom has always wanted a raised garden bed!
Mrs. Woodsy aka Katie says
Me too and now I have one!
Julie @ follow your heart woodworking says
Cool corner posts! Best of luck with your vegetables.
Mrs. Woodsy aka Katie says
Thanks–he loves carving out wood like that–it’s time consuming but looks beautiful in the end!
Amber Mae says
Wow. These look great! We just took some old logs, set them next to each other and filled them with soil. It works, but it’s not nearly as pretty as this 🙂
Mrs. Woodsy aka Katie says
I’m sure if Mr. Woodsy would have had his way he would have went your route! Thanks for the kind compliments!