• Skip to primary navigation
  • Skip to main content
  • Skip to primary sidebar

Sew Woodsy logo

  • DIY
  • Crafts
  • Cricut
  • Travel
  • About
menu icon
go to homepage
search icon
Homepage link
  • Home
  • Thanksgiving
  • DIY
  • Cricut
  • Travel
  • About Us
    • Email
    • Facebook
    • Instagram
    • Pinterest
    • Twitter
    • YouTube
  • ×

    Sew Woodsy » DIY » Gardening

    Published: Mar 27, 2012 · Modified: May 20, 2022 by Katie · This post may contain affiliate links.

    {Part 1} How To Build A Raised Garden Bed

    Sharing is caring!

    1 shares
    • Facebook
    • Twitter

    Ever since we got our fence for Christmas I’ve been wanting to build raised garden beds for gardening. Ever since we moved in together we’ve maintained a container garden that consisted of fresh herbs, tomatoes, bell peppers, and jalapenos. We’ve done remarkably well with maintaining those, and with that being said I felt it was time we graduate to a true garden with a wide variety of plants. I started brainstorm with Mr. Woodsy (and bugging him day after day) until he finally cracked and rounded up some wood we had laying around.

    Supplies:

    (8) 2 x 8 (8-ft long, each)Pressure Treated Lumber

    (8) 4×4 (6-inches long, each)Pressure Treated Lumber

    Tools: Hammer, Chisel, Circular Saw, Miter Saw, Drill, & Screws
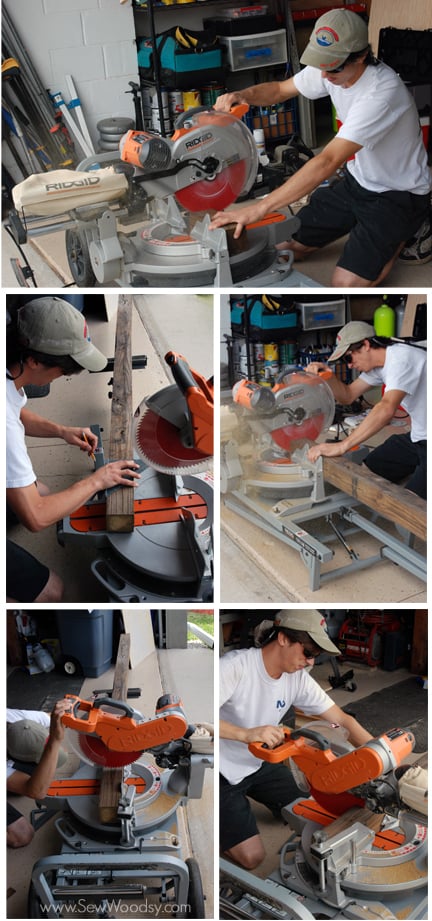
    Mr. Woodsy made the first few cuts using the miter saw for the 4×4 post. These will act as the corner post and secure the long 2×8 slats of wood together. We made each corner post 6 inches long.
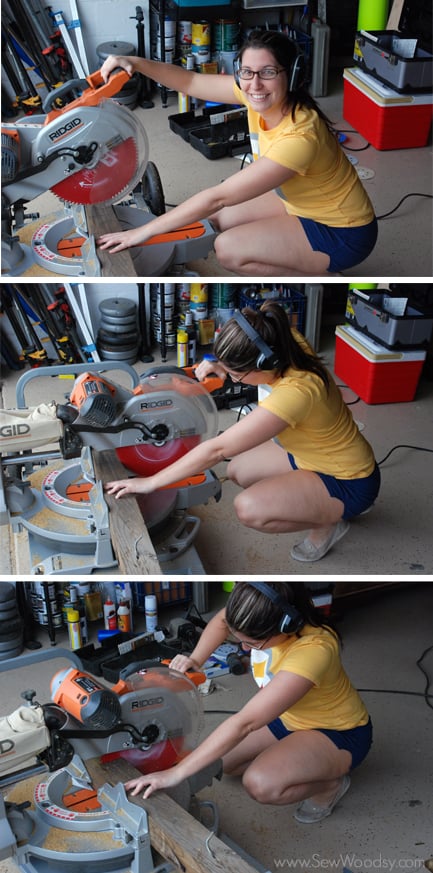
    Yes, that’s right… that’s little ‘ol me working the miter saw. Mr. Woodsy showed me how to use it and I loved every bit of it. However, I realize that kneeling and using a saw is not proper and I do not advise anyone to do that. Mr. Woodsy was just a tad bit on the lazy side and didn’t feel like raising the saw up. I also know that I should be wearing pants when dealing with the saw, and not shorts. Technically, I know I should have warn safety glasses over my glasses, but I didn’t. With all the wrongs I made a right and that was learning how to use the saw. In the end I believe I cut half of the 4×4’s needed! I was so excited to learn and help!
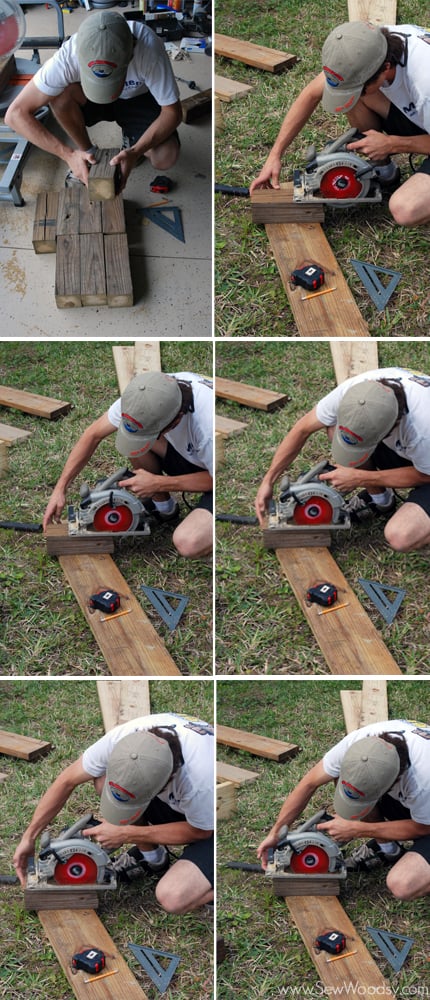
    Next, Mr. Woodsy measured out the 4×4’s and began cutting small slits on 2 of the 4 sides. He used the circular saw; however, he could have easily used the miter saw if he had brought it to the backyard.
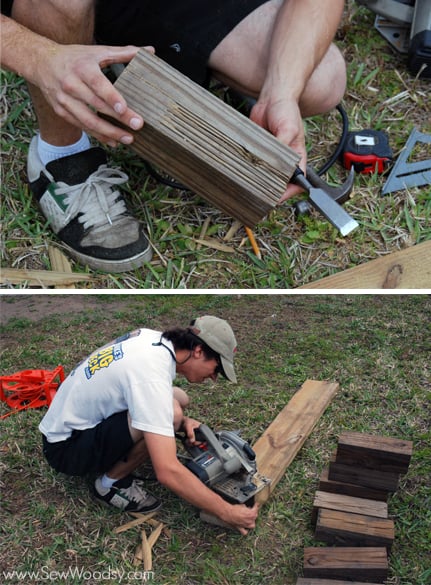
    Once the small slits were cut then he began using his chisel and breaking the wood out. If we owned one of those awesome multi-purpose tools we most likely could have used that instead, but we don’t, so this process was done manually using a chisel and a hammer.
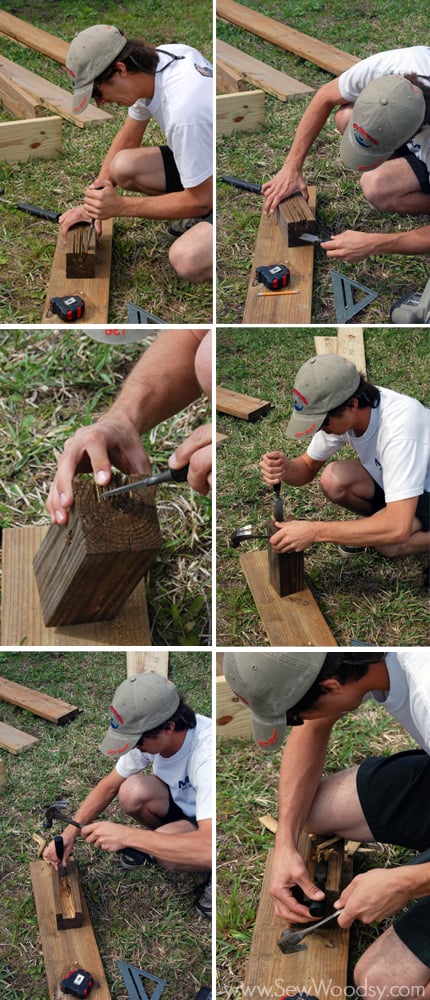
    As you can tell this takes a while…

    I did attempt to chisel out one of the corner pieces; however, I think I only broke off 2 or 3 pieces of wood during the time Mr. Woodsy cut a few of the blocks.
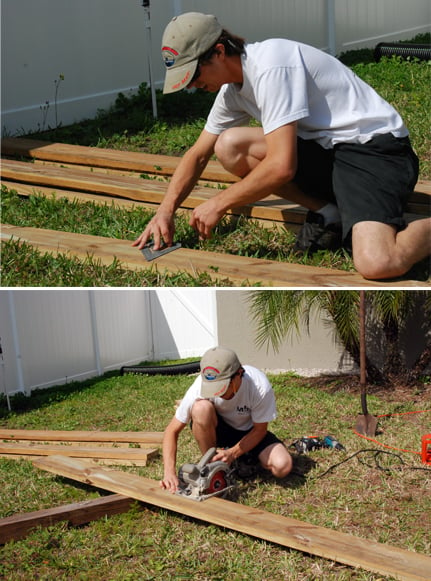
    After all of your corner supports are ready you can begin to measure the 2×8 boards that will act as the sides of the   raised garden box. Mr. Woodsy chose to use a circular saw in the backyard instead of bringing the miter saw out. Whatever works for you and makes you feel most comfortable is what we suggest you using.
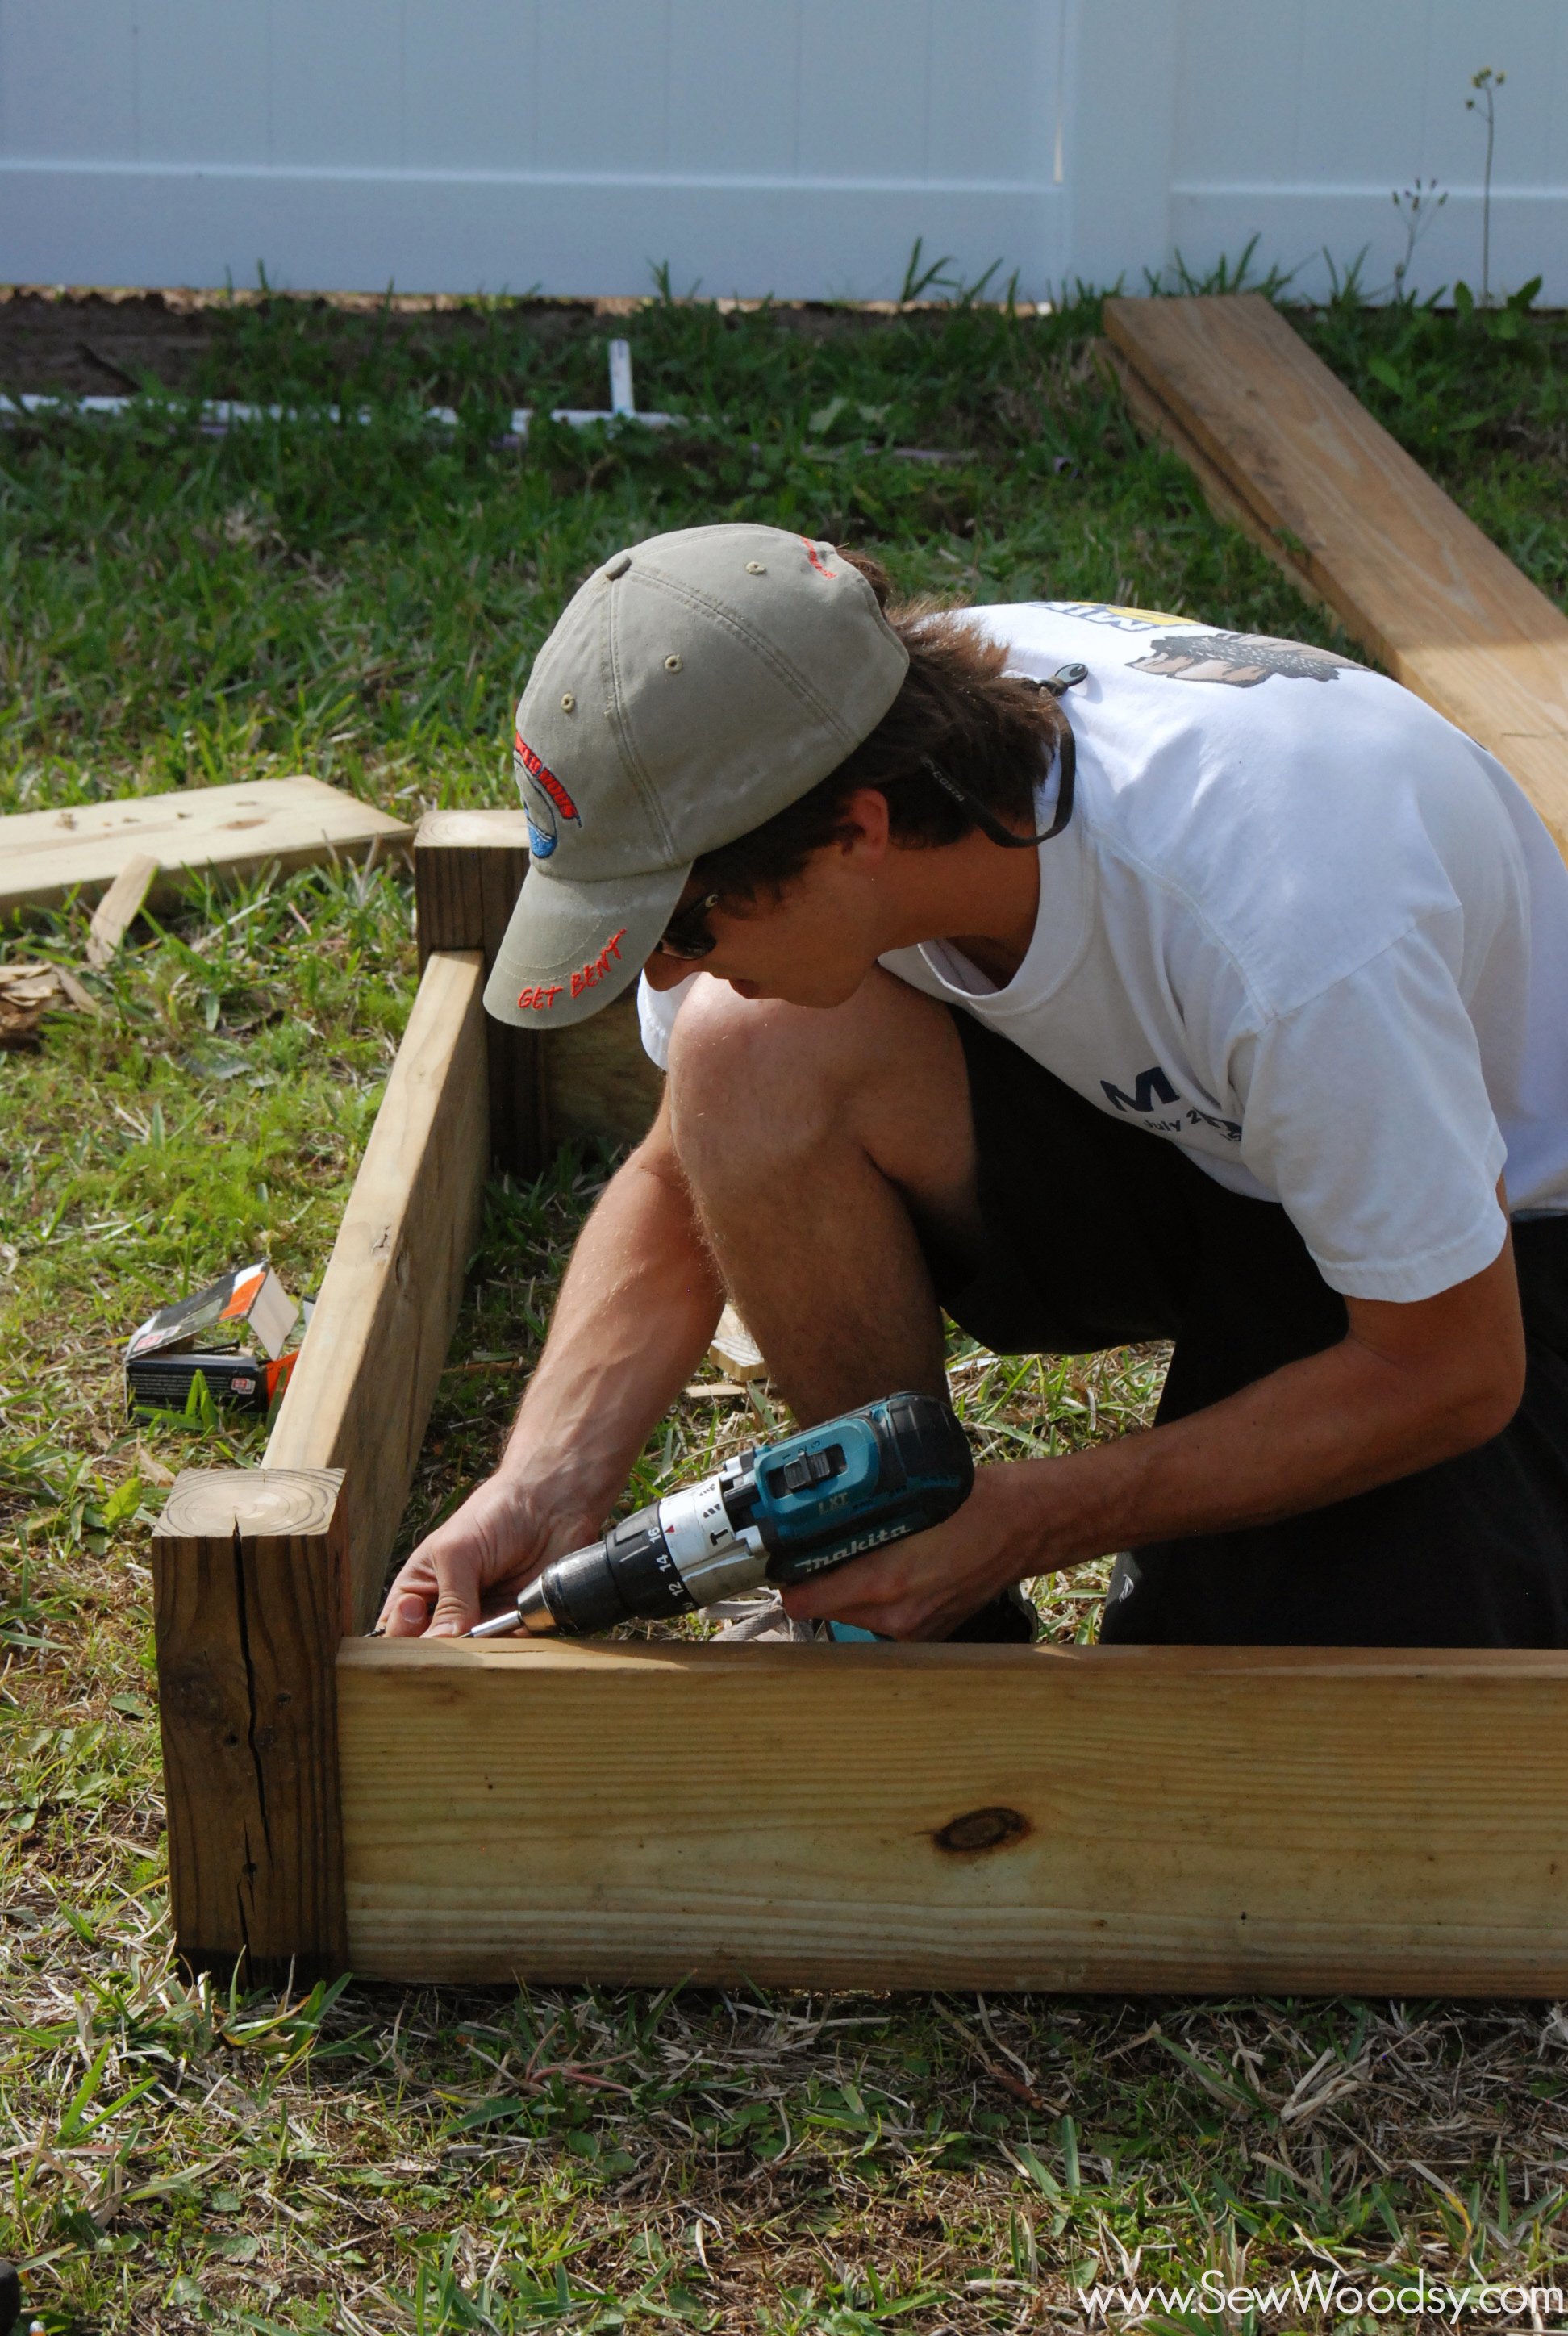
    That’s all for today… next, you will learn how Mr. Woodsy assembled the raised planter beds and what we planted!

    « Leprechaun Coloring Pages
    {Part 2} How to Build A Raised Garden Bed »

    Primary Sidebar

    • Email
    • Facebook
    • Instagram
    • Pinterest
    • Twitter
    • YouTube
    Male and female hugging on each other in the woods.

    Hi, we're Katie & Jon! Welcome to our home away from home!

    Sew Woodsy is a lifestyle blog focusing on crafts, home DIY projects, family, travel and all things life. Get comfy and join us on our adventure!

    More About Us →

    9 different logos from various media outlets where Sew Woodsy has been featured on.

    Easter Projects

    • Kids Easter Basket Ideas
    • 25 Easter Basket Ideas for Toddlers
    • Free Easter Coloring Pages
    • 17 Easter Craft Ideas

    Trending

    • How to Create a Natural Log Pathway + Video
    • Tips & Tricks on Installing Butcher Block Countertops
    • How to Host a Baby Shower at Work
    • How to Use Heat n Bond

    Male and female hugging on each other in the woods.

    Hi, we're Katie & Jon! Welcome to our home away from home!

    Sew Woodsy is a lifestyle blog focusing on crafts, home DIY projects, family, travel and all things life. Get comfy and join us on our adventure!

    More About Us →

    9 different logos from various media outlets where Sew Woodsy has been featured on.

    Easter Projects

    • DIY Follow the Bunny Pillow Cover
    • Bunny Kisses & Easter Wishes Burlap Garden Flag
    • Easter Bunny Family Pillow
    • DIY Easter Bunny Onesie with Name

    Trending

    • How to Create a Natural Log Pathway + Video
    • Tips & Tricks on Installing Butcher Block Countertops
    • How to Host a Baby Shower at Work
    • How to Use Heat n Bond

    Footer

    ↑ back to top

    9 different logos from various media outlets where Sew Woodsy has been featured on.

    About

    • About Us
    • Privacy Policy
    • Accessibility Statement

    Newsletter

    • Sign Up! for emails and updates

    Contact

    • Contact
    • Work with us
    • Advertise

    Copyright © 2010 - 2022 Sew Woodsy