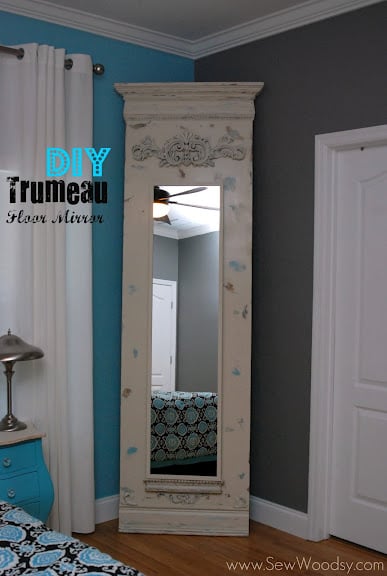
Ever since we talked about revamping our master bedroom I dreamed of adding a floor-to-ceiling mirror in our room. I quickly woke up when I saw how expensive they were. In fact–all mirrors are simply expensive (in my opinion). Last spring, I found a tutorial from Blue Roof Cabin on making a trumeau mirror. I instantly fell in love and knew that I wanted a version of my own in my bedroom! I pinned the photo for a rainy day (yes, that’s when Pinterest just started). Fast forward over a year later and that mirror was still on my mind. I showed Mr. Woodsy countless examples of what I wanted. However, I had no idea that these were called trumeau mirrors nor did I even know what that meant. It turns out that the french hang mirrors in between two windows… and that is where the word trumeau came from.
After almost a year of searching of searching for an inexpensive yet long mirror I got the ball moving earlier this year when I picked up a longer than normal mirror from Ikea (STAVE Mirror) .
Thanks to Haven, we met the amazing folks at PureBond® Hardwood Plywood. They told us all about PureBond and how its an all-wood plywood. It is also made right here in North America! This plywood is eco friendly, formaldehyde free, and can be found at most Home Depot stores. Mr. Woodsy loved the fact that their all-wood plywood comes in multiple wood species like birch and red oak among others. And if Home Depot doesn’t have the specie of wood in stock you can special order as little as one sheet (think walnut, cherry, and exotic woods)! We have now taken the PureBond pledge and pledge to only build with formaldehyde free wood! Will you take the PureBond challenge with us?
Supplies:
- Ikea STAVE Mirror (15-3/4 x 63″)
- (1) 3/4″ sheet of PureBond® Hardwood Plywood in birch
- Saw horses
- Variety of moulding
- Titebond Wood Glue
- Silicone Brush
- Nail Gun
- Air Compressor
- BEHR 520-E Velvet Mourning, eggshell
- BEHR Volcanic Island (Brown), flat
- BEHR Antique White, flat
- Plaster of Paris
- Water
- Frog Tape
- Measuring Tape
- Pencil
- clamps
- Hand Saw
- Miter Saw
- Circular Saw
- Chalk Line
- Orbital Sander
- Shop Vac
- Minwax® Paste Finishing Wax
- Command™ Clear Medium Hook

For a good 5 months… this is what our mirror looked like. Plain old Ikea STAVE mirror waiting to be jazzed up.
It all started with one sheet, 3/4 inch thick of PureBond® Hardwood Plywood in birch.
Next up, Mr. Woodsy set up the saw horses.
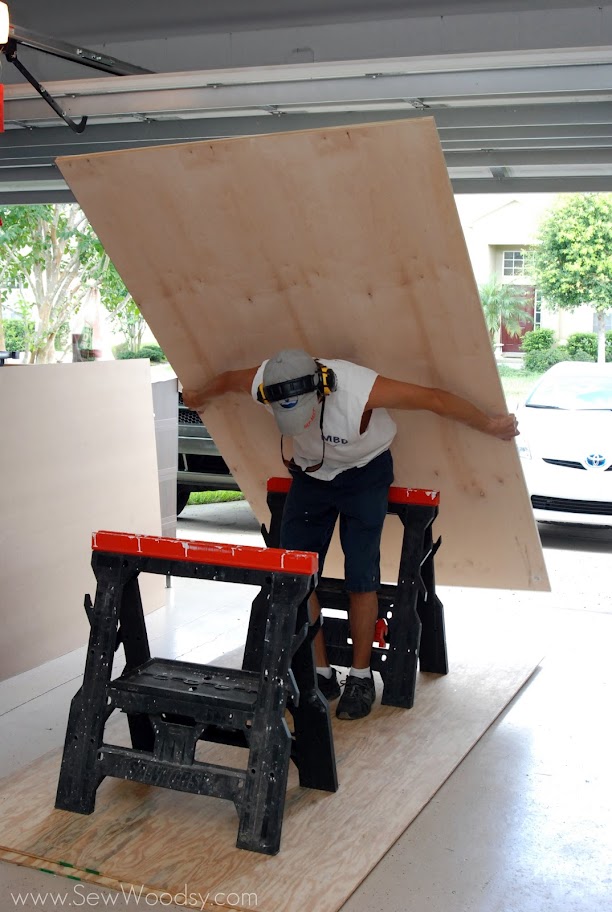
And then he lifted the wood onto the saw horses…. This is how he lifts heavy wood when no one is around. Don’t worry. I had him pose like this and then I put the camera down and helped him place the wood on the saw horses!
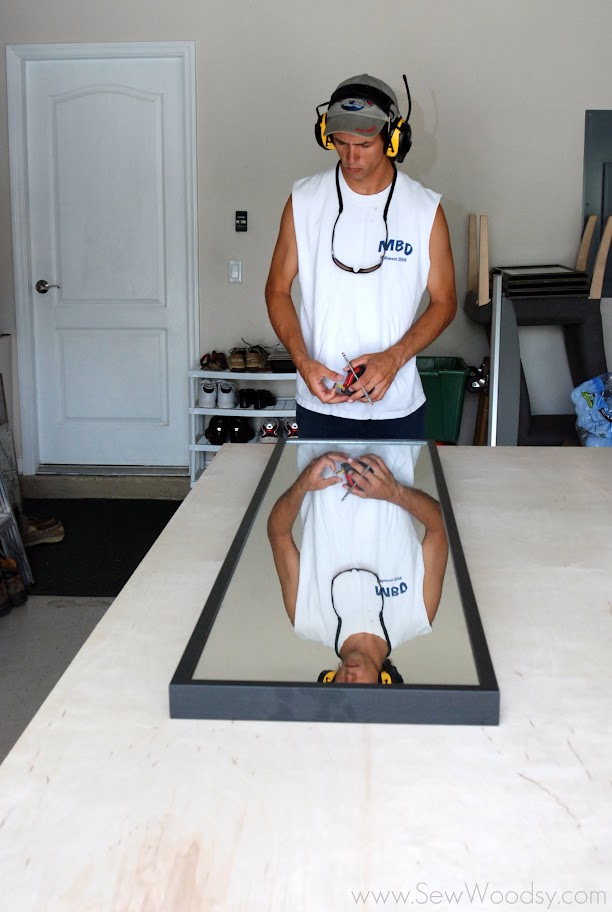
Next up, Mr. Woodsy placed the STAVE mirror on the plywood and began measuring it out.

Next up, he did calculations to make sure that the mirror was placed evenly on the plywood.
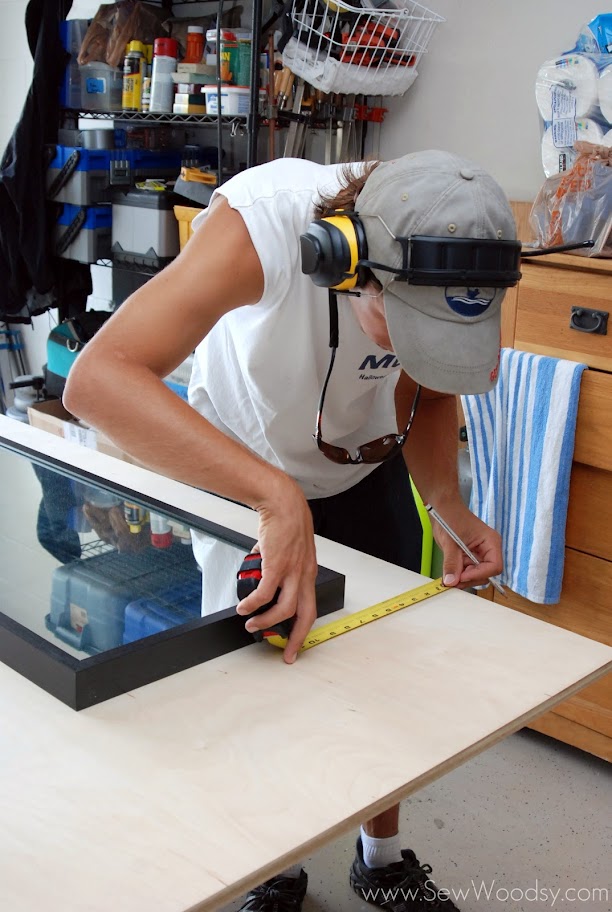
After you measure you can snap a chalk line where you are going to cut your plywood.
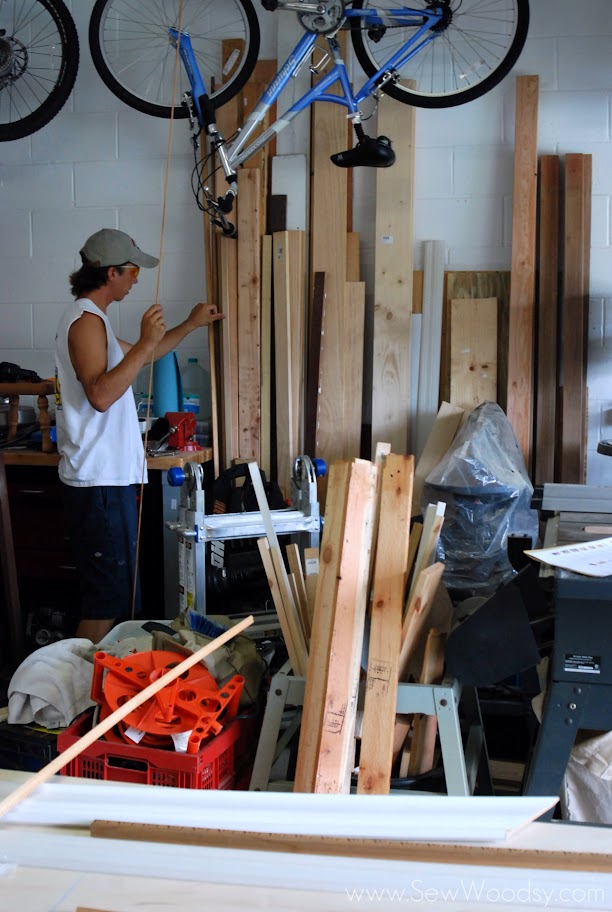
Next, pick out some moulding and wood. Luckily, we have a wide variety of wood and mouldings to choose from in our gargae.
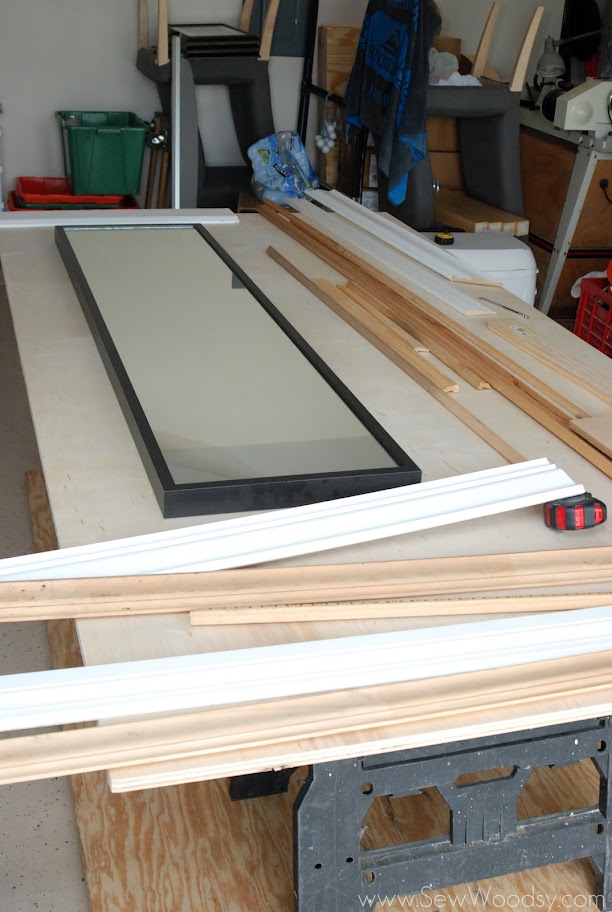
Then, place out the wood and moulding to see how you would like it. We did 4 different varieties and chose from our favorite design. The sky is the limit.
It turned out that the ornate plaster of paris wall hanging was too long for the length we planned on making our mirror frame. We had two options… don’t use the wall hanging or cut part of it off….
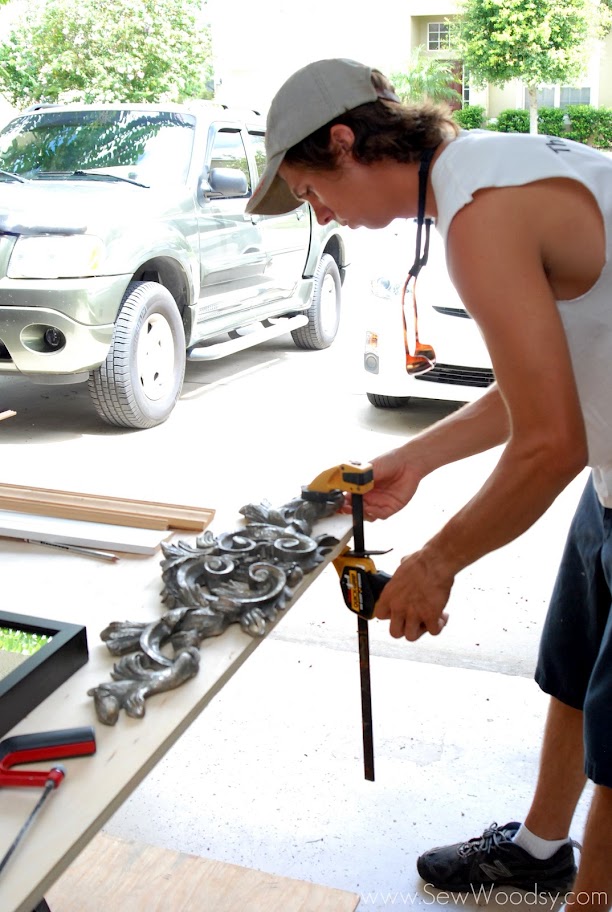
We figured we would risk it and attempt to cut part of it off! Mr. Woodsy clamped on the ornate plaster of Paris wall hanging before he started to saw.

Using a handsaw Mr. Woodsy began to carefully saw through the plaster of paris.
After he cut the ornate decorative piece he then began cutting pieces of moulding on the miter saw.
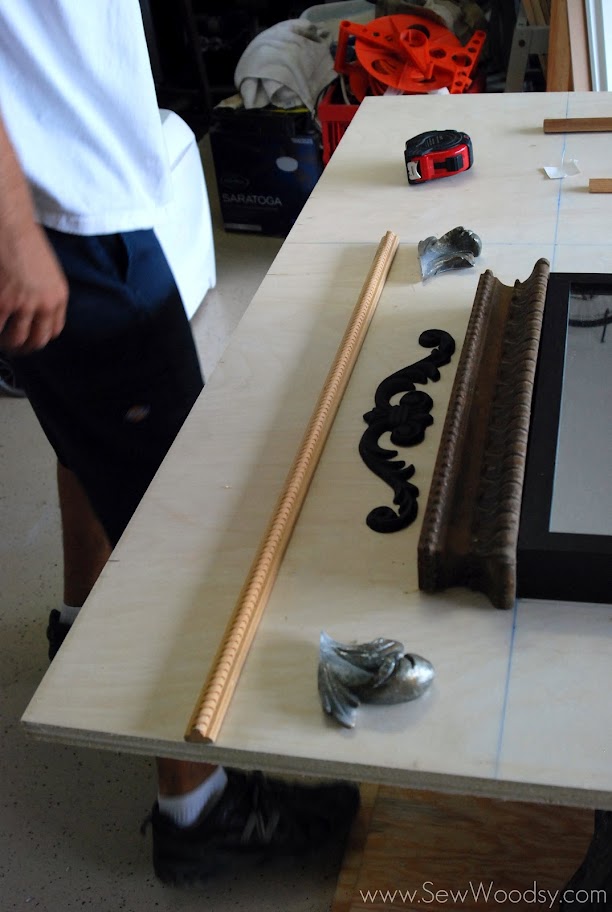
He then brought the piece of moulding back to the plywood to ensure it will fit properly.
Next up, it’s time to cut the plywood.
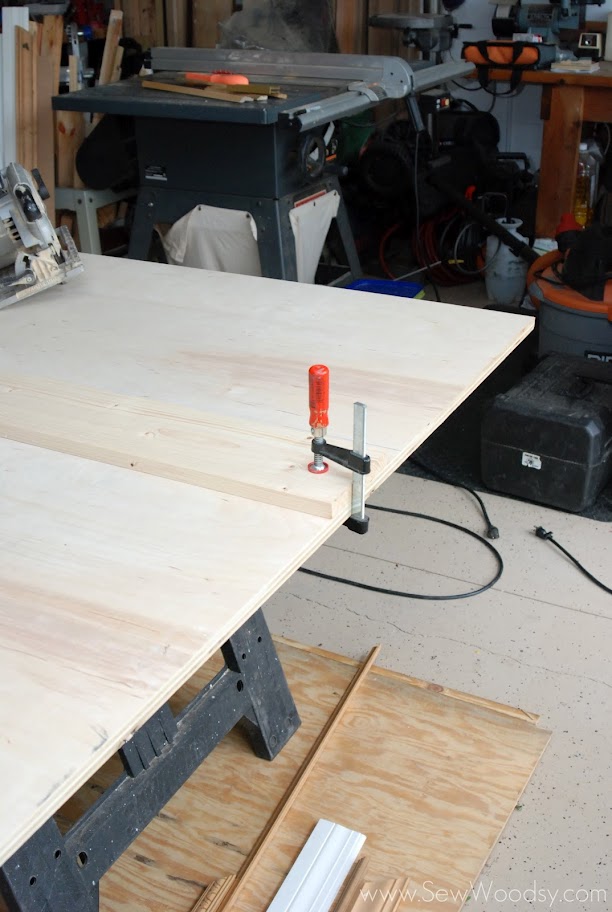 Here is an easy way to cut a straight line down a long sheet of plywood using a circular saw. You’ll want a piece of straight wood that is at least the length of the plywood.

Clamp it in place according to your saws offsets. Most saws will give you what the measurement is from the blade (both ways). Ou saw has an inch and half offset, so Mr. Woodsy clamped the piece of wood an inch and a half from the chalk line.
 Mr. Woodsy then double checked by putting the circular saw next to the clamped piece of wood.
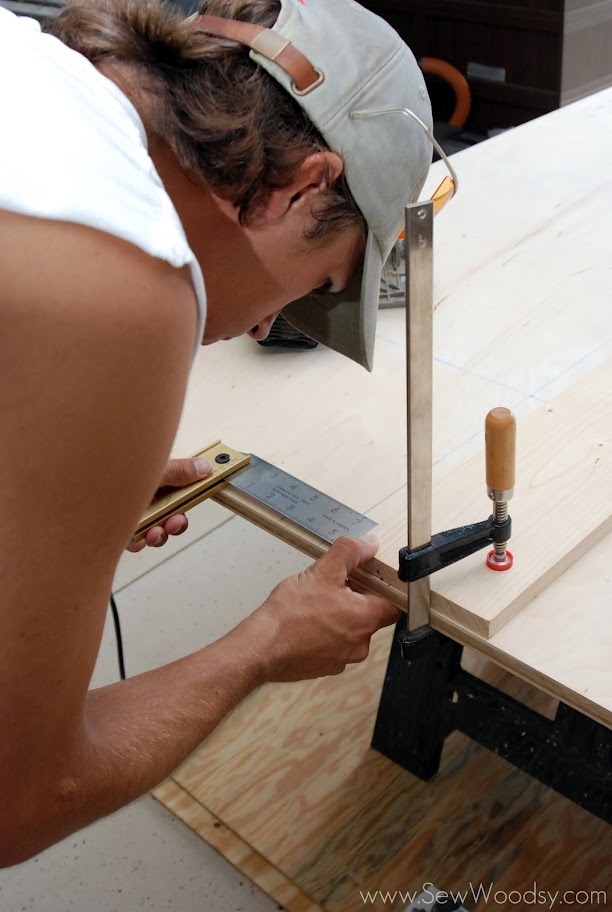
Check three times. Cut once!

Keep your saw flush against the fence you created with the spare piece of wood, and begin cutting.
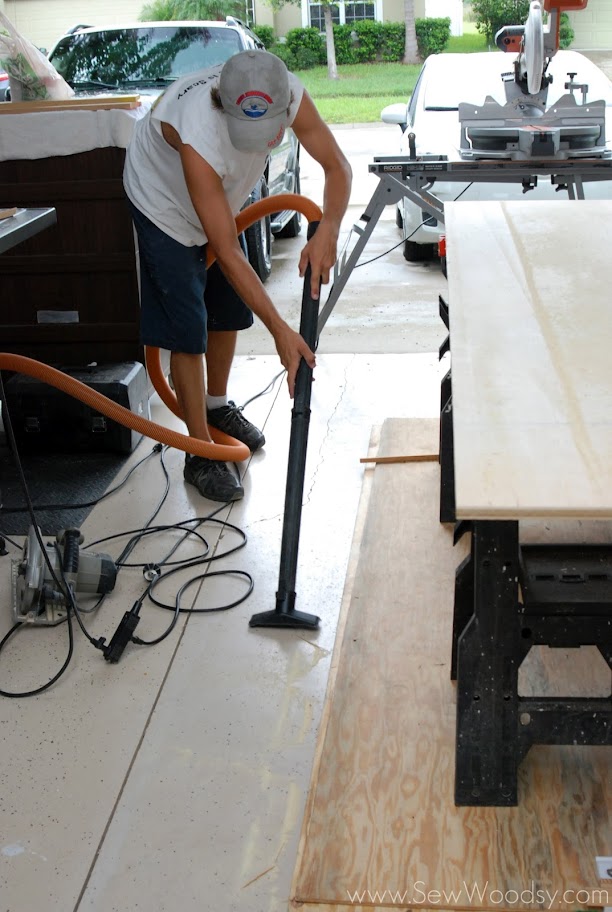
Because Mr. Woodsy likes to clean while he works he then used the shop vac to clean up all the saw dust.
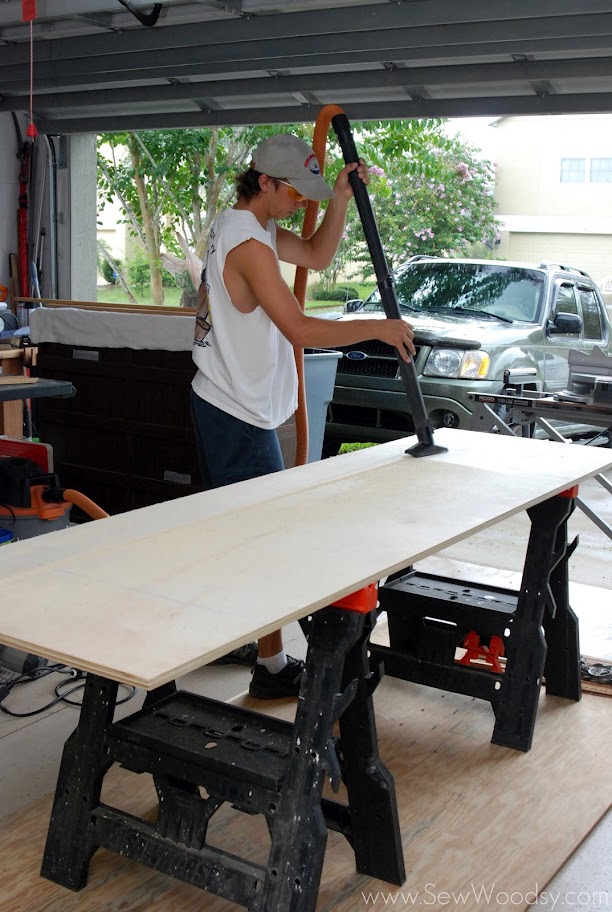
You’ll also want to clean off your piece of plywood.

Once your plywood is cut you can begin to glue down your mouldings. Mr. Woodsy loves using a silicone brush and Titebond wood glue.

Once the glue is on the back of the moulding begin securing it to the plywood.
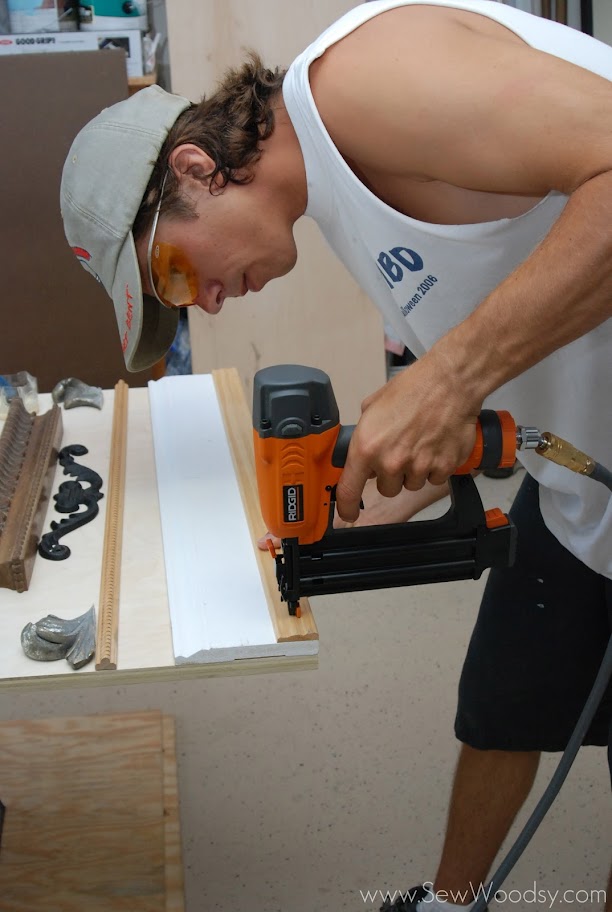
For extra support (and instead of clamping the moulding) he used the nail gun to secure the pieces of moulding to the plywood.

On the top of the plywood he decided to wrap the moulding around the edges creating a more finished look.
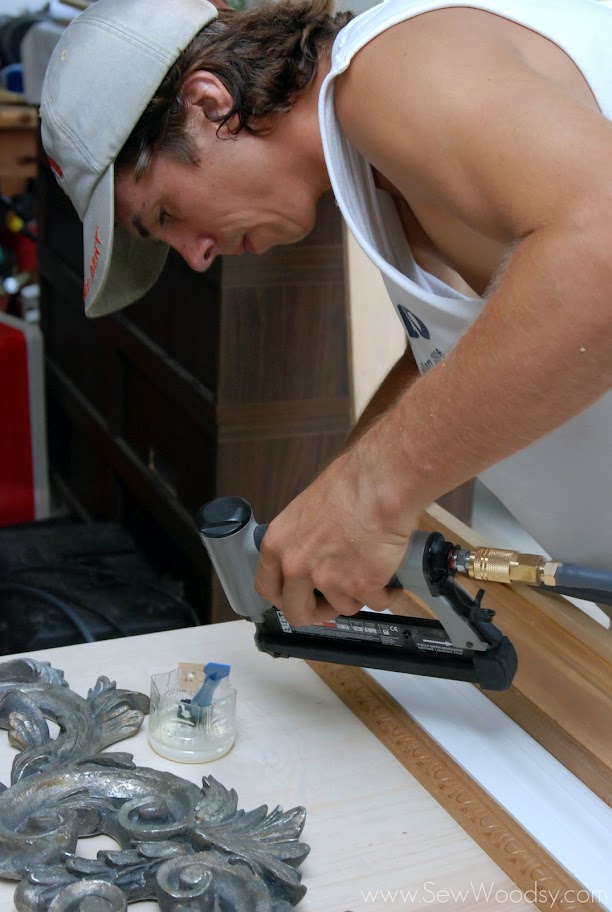
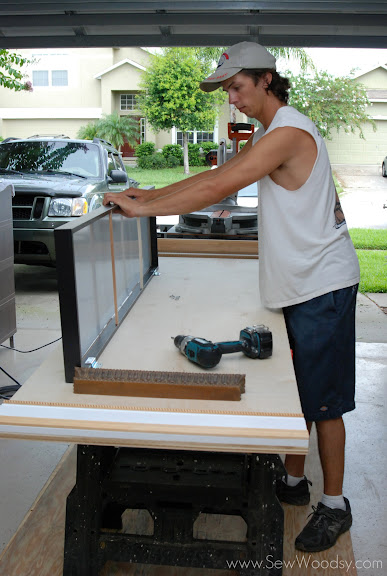
Once the moulding was secured it was time to drill the mirror to the plywood. Once the holes were drilled he removed the mirror off the plywood so he could prep the mirror to be painted.

Next up, lightly sand around the mirror frame. The STAVE mirror happens to have a laminate style finish. We were hoping that sanding would help the paint stick better; however, after painting we realized the mirror would require multiple coats of paint.

Mr. Woodsy then placed a layer of Frog Tape around the edge of the mirror to protect it from paint. Once your mirror is prepped you can begin to paint the frame. Like I stated above, you’ll need multiple coats of paint. Even after multiple coats the mirror was still not perfectly smooth, but it did match our antique/rustic feel!
Next up, gather your painting supplies to start painting the plywood.
I applied a thin coat of brown paint sporadically around the plywood. In hind sight I should have painted the entire sheet of plywood brown.
Once I was done with the brown then I moved to the blue.
After the paint was dried I applied vaseline in areas where I felt I may want to sand down to expose the color. I had read on multiple blogs to apply a thin coat of vaseline or wax to the desired areas where you’d like to distress. So on this project, I decided I would try out the vaseline method.
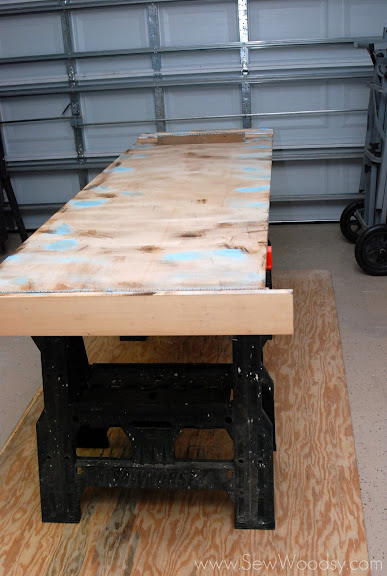
This is what the plywood looked like before the antique white paint was applied.
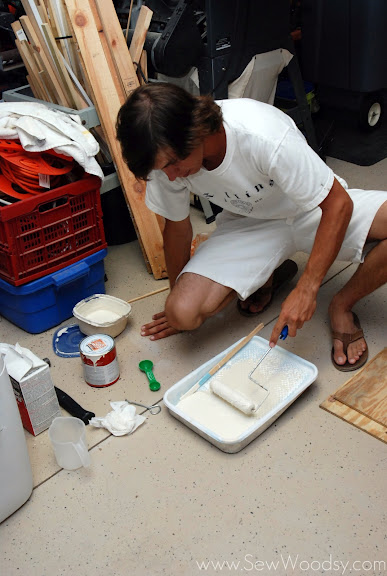
Next up, Mr. Woodsy made chalk paint and began rolling the paint on.


After rolling on paint Mr. Woodsy then switched to a Purdy paint brush and began painting on the antique white in areas that were not easily accessible via a paint roller.
I tried explaining to Mr. Woodsy that it was normal for some of the paint to not cover over spots where vaseline was applied on heavy. It was killing him not to repaint over the “missed” spots.
After the plywood dried for a day, I then began to hand sand; however, I shortly found that it was still taking quite a bit of elbow grease to distress. So I decided to whip out the orbital sander and do a very quick distressing job.
Once I was done sanding, Mr. Woodsy applied glue to the back of the plaster of paris decorative piece and adhered it to the plywood.
To hold it in place, he lightly clamped the decorative piece to the hardwood and let it dry over night.
Next up, time to wax this baby. We love using Minwax® Paste Finishing Wax. You will want to use a cotton cloth, rub on the paste finishing wax. After you are done applying the paste wax, let it dry 15 minutes then hand buff off with a new clean cotton cloth. Lastly, attach the mirror back on to the plywood, and add Command™ Clear Medium Hooks behind the mirror so you can hang necklaces.

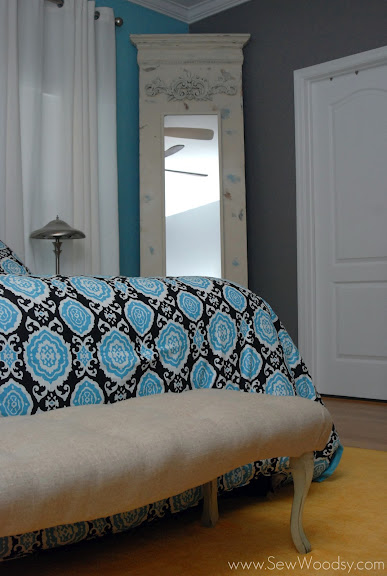
Here is the finished product… a stunning and very tall truemeau floor mirror.
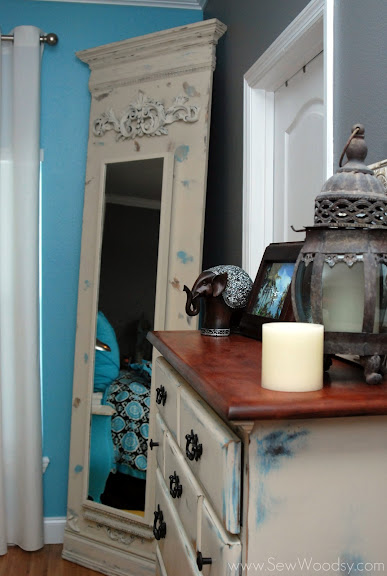
It fits in with our bedroom design so extremely well.

This is what it looks like when you have the mirror open… beautiful necklace storage!

The best part about using Command Hooks is that you can easily remove them and they will not damage your painted floor mirror.
I’m so glad I thought to look for decorative pieces to add on to the mirror.
All of the accents just give this mirror even more character.

Total cost:
STAVE mirror: $39
PureBond Plywood: $47 (that’s the retail price in Florida; however, we received the piece of wood for free)
Moulding/Tools/Paint, etc…: Free
Time: Priceless
Grand total: $86
I hope you enjoyed our tutorial and that we inspire you to make your very own trumeau floor mirror.
I’m sharing here: My Repurposed Life, Home Stories A to Z, Uncommon Designs

