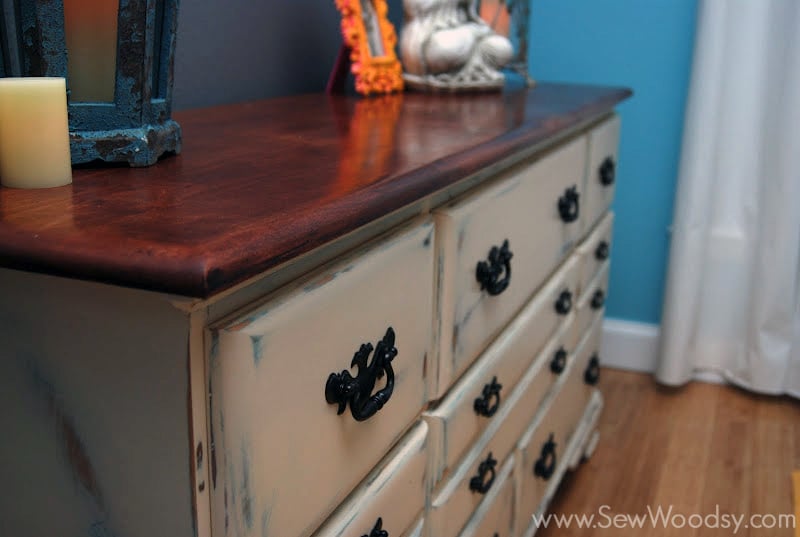
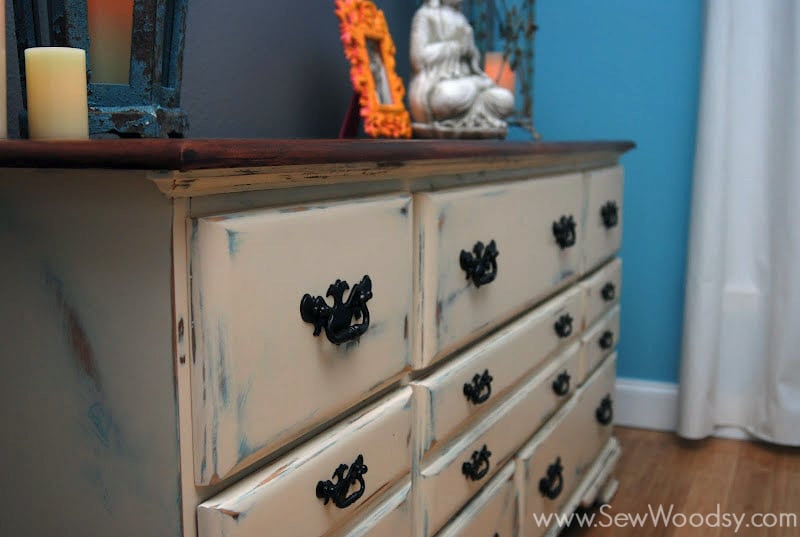
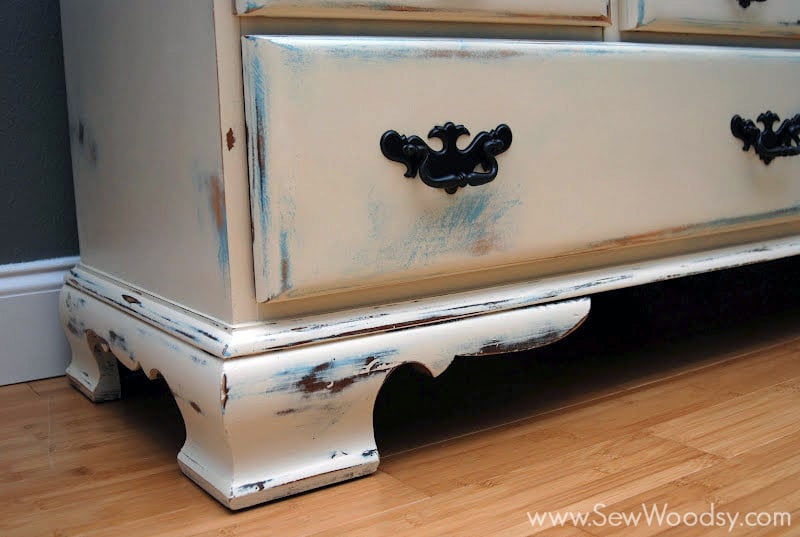
The day has finally arrived. Not only are our dressers finished and moved into our room, but we can show our readers the finished product! I feel like this dresser painting project has taken forever. I think it partly took forever becuase we just didn’t know what direction we wanted to go with it. A lot of blood, sweat, and tears have went into these two dressers. Well, maybe not the blood part, but tons of sweat (in our hot Florida non-airconditioned garage) and maybe a few tears of frustration from me!
If this is your first time reading about our dressers make sure you read the following posts to get caught up to speed:
{Part 1} Sanding & Prepping the Dressers
{Modifying} Classic Wood Center Mount Drawer Slides
Gather all of your supplies for painting the dresser(s):
- 1 Quart: BEHR Premium Plus Ultra, Flat Enamel, Antique White (1823)
- DAP Plaster of Paris
- Water
- Paint Tray/ Sponge Roller/Brush
- Plastic Measuring Cup & Measuring Spoon
- Disposable sealed container/Painting Stick/Painters Key
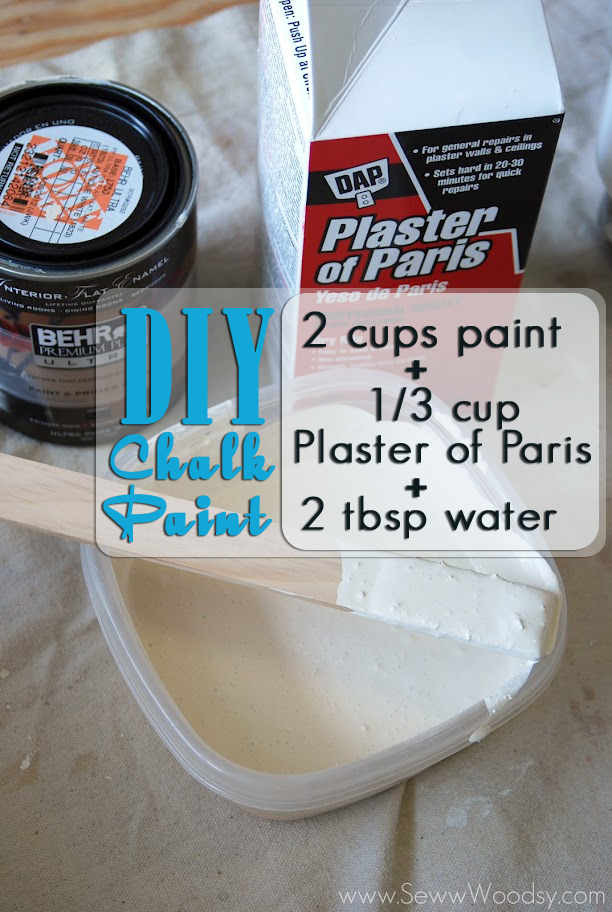
First thing you’ll want to do is make your chalk paint. After doing tons of research online I came up with the perfect chalk paint formula.
2 cups BEHR Flat Enamel paint
1/3 cup Plaster of Paris
2 tbsp Water
Begin to carefully roll on the chalk paint. Be sure that you don’t cake your paint on too thick. You can always go back and reapply a second or even third coat! The more coats you paint the more you are going to have to sand. At this point I decided to not do the vaseline and/or waxing method where you apply vaseline or wax on to the areas you would like to sand and distress the furniture. Unfortunately, I think it was a big mistake on my behalf… you’ll see later down in the post why.

and then… you paint some more.

After I had my first coat of paint on the dressers it was time to let it dry and for a much needed and deserved lunch break!
Because I mixed my chalk paint in a sealed container I just sealed the container shut. I took old newspaper bags and covered the brushes with them. This is the best way for your brush not to harden in between coats! You can even freeze your brush like this!

At this point as I walked away seeing all the dresser drawers lined up I thought to myself that I may just be a little crazy for doing this project; however, then I realized that its normal for a DIYer to have 14 dresser drawers stacked in a row in their garage.

After lunch it was back to painting the second coat of chalk paint.

On a separate occasion, Mr. Woodsy aso spray painted the hardware since it was going to cost $200+ to change all the hardware out to the crystal knobs and pulls I wanted. So we opted for a $5 can of Rust-Oleum to do the job! He used plyers to hold the hardware so he could get all around each piece. Make sure you clean off the hardware with a damp rag and wear gloves while spraying paint. After I took the photo I made Mr. Woodsy put on a pair of gloves… if not he would have had a metallic black hand!
Later that week, we got our sanding on–as in distressing and antiquing the dressers.
We used 150 grit sand paper. I wrapped one of the sand paper pads (used for the orbital sander) around a sand paper block to make it easier for me to grip and sand.
What this picture fails at showing you is how much “chalk” was kicked up while sanding the dressers. It got so bad that the entire closed garage was white… that’s when we realized not only should the garage be open but we both should be wearing respirators. At that point the camera battery died…
The week before Haven, I whipped out the orbital sander and got to work.
The dressers then sat for another 2 weeks. Haven lit the fire underneath us… it gave us more knowledge and confidence to finish the dressers!

Mr. Woodsy learned in his advanced painting and staining session he attended to always use Minwax® Pre-Stain Wood Conditioner. He has stained furniture before but never knew about the pre-stain, so he was so excited to learn about it. Basically, this is your insurance policy when you are going to stain something.
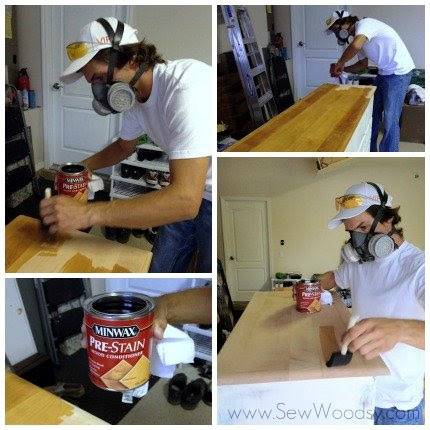
The Pre-Stain Wood Conditioner will prevent your actual stain from streaking! He used a foam brush to apply the pre-stain and had a respirator on since its very strong in smell.
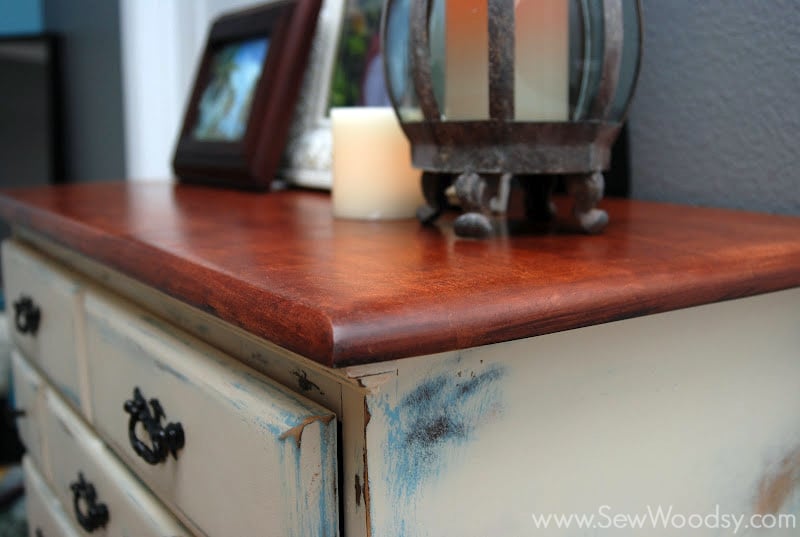
 Once the wood conditioner is applied you have 2 hours to apply your gel stain. So make sure you leave enough time for your self. Mr. Woodsy has only ever used Minwax® Gel Stain on wood projects. Use a cloth and rub the stain into the wood. Then, once all of the stain is on the dresser you’ll want to begin evening out the stain and making one sweeping even motion down the piece of furniture removing all excess stain.
Once the tops are stained you can begin waxing your furniture. Before you can being waxing your furniture you must wipe it down with a damp rag really well.
Time to apply the Minwax® Paste Finishing Wax.

The wax will protect your furnitures surface, and add a luster to it. Making the furniture its self super smooth. Use a dry cloth that you don’t mind ruining to apply the wax on–apply in a circular motion.

After the wax was applied Mr. Woodsy applied Slip-It Sliding Compound. I had convinced Mr. Woodsy to purchase the Rockler Silicone Glue Brush and the compound when I ordered our Classic Mount Centered Wood Drawer Slides.
Slip-It reduces friction on moving wood parts. Use this specially formulated, silicone-free lubricant for wooden windows, doors, drawers and any other wood-on-wood application. Slip-It won’t gum up or cause pieces to jam, and won’t harm finished wood surfaces or skin. Applies easily with a paintbrush.
This was exactly what we needed even though I didn’t really know if we would need it I figured it wouldn’t hurt since we were already paying for shipping! So glad we bought it because it makes a huge difference at the ease of opening and closing wood on wood drawers! And he also loves his silicone glue brush.
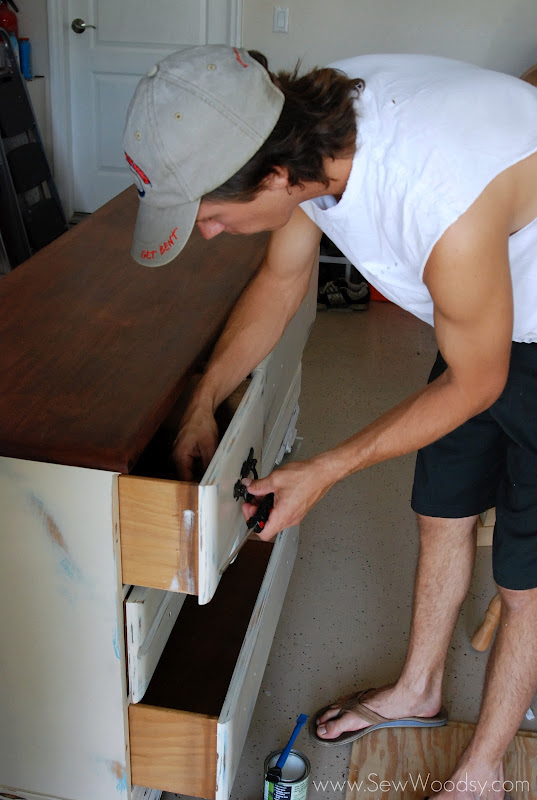
Last step, before you can move your dressers inside to the room… attach the hardware to the dresser.
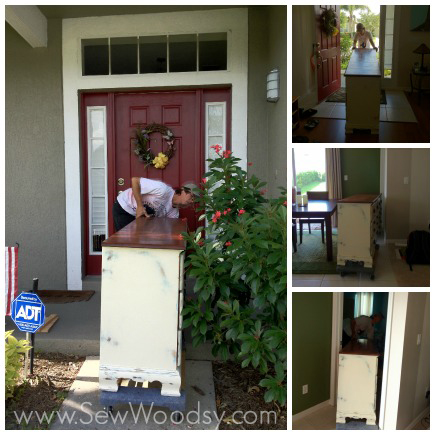
Then came the most challenging part of all… moving these beastly dressers from the garage to inside the house. Thankfully we have a furniture dollie, but even with that it’s still a challenge. We had to move our dining room table, remove rugs, etc…
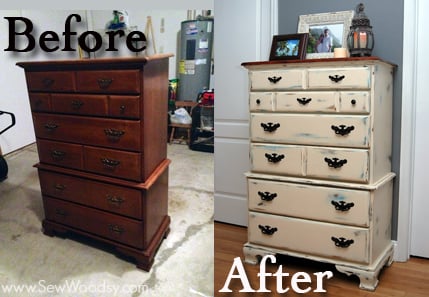
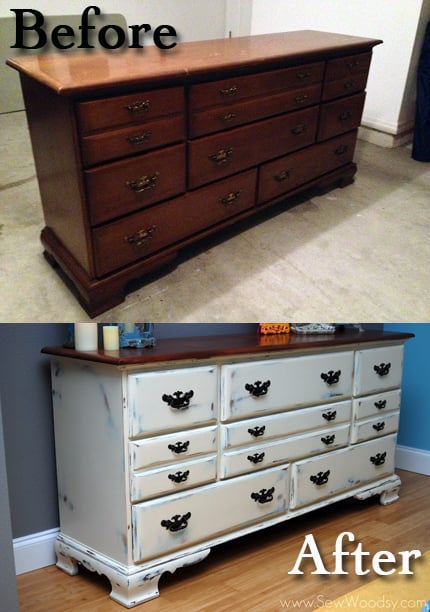
I’m so excited to finally get to reveal the before and after!
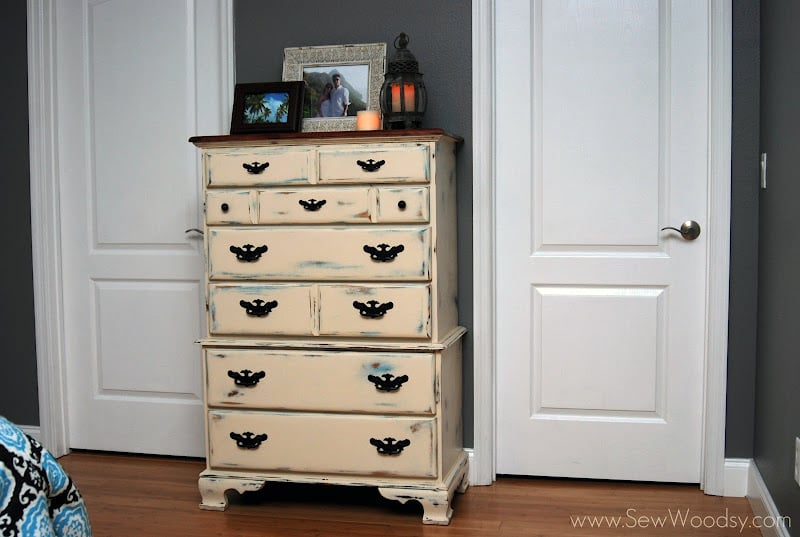
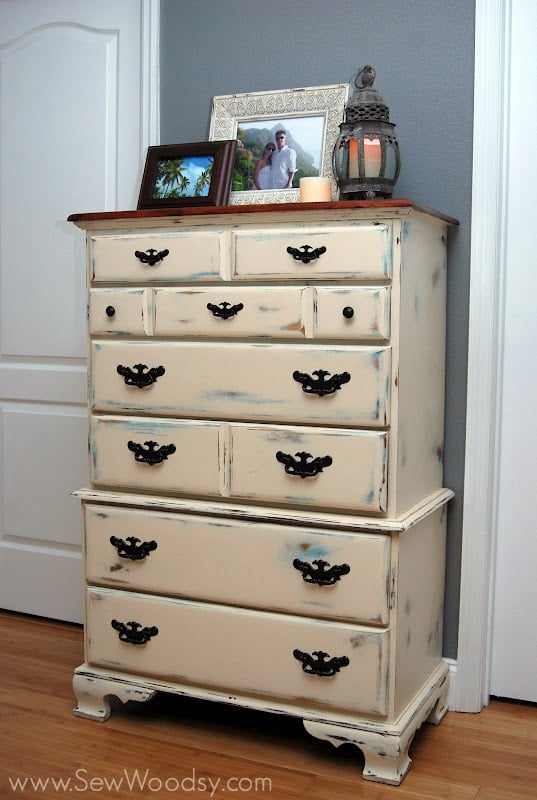
Here is what our tall dresser look like from start to finish.
Here is our before and after on our long dresser!
The tall dresser fits perfect in between our bathroom and closet doors. It was meant to be!
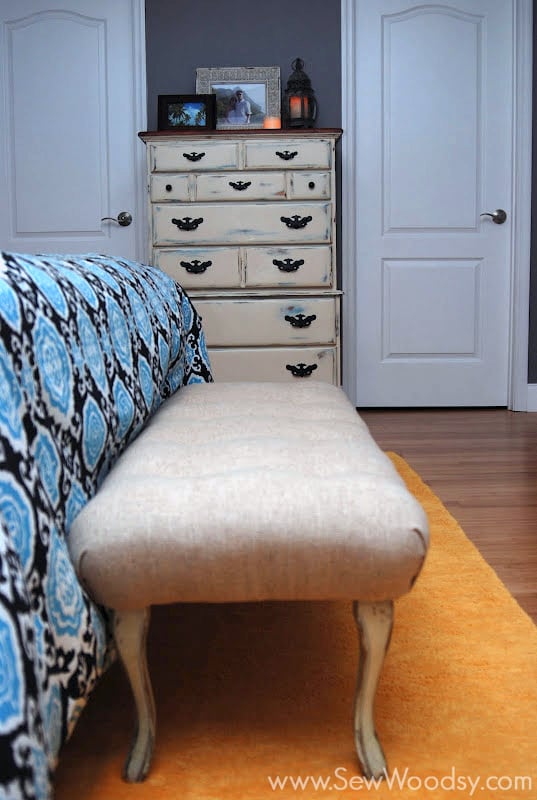
Love how our antique tufted bench matches with our dressers.
I’ll post later this week about our accessories we bought for our bedroom. One was semi-DIY… can you guess which one?
So… what do you think?
I know we learned a lot from our first furniture paint project. We learned that we will never sand furniture again unless needed. We will definitely be making our own DIY chalk paint for future projects. Super simple and a time saver! We also learned that we need to put wax or vaseline over the areas we want to distress–it will make it a whole heck of a lot easier to sand next time.
Of course, this project has got us itching for more painted furniture projects! We have a dresser in our garage that we picked up on the curb last year that we plan to refinish and most likely sell (don’t worry we will blog about it). We also want to repaint the media stand we picked up last week during our amazing curbside finds.
Disclaimer: We did not receive any of the products written about in the post for free. We simply love the products and want to tell our readers exactly what we used for each step.
