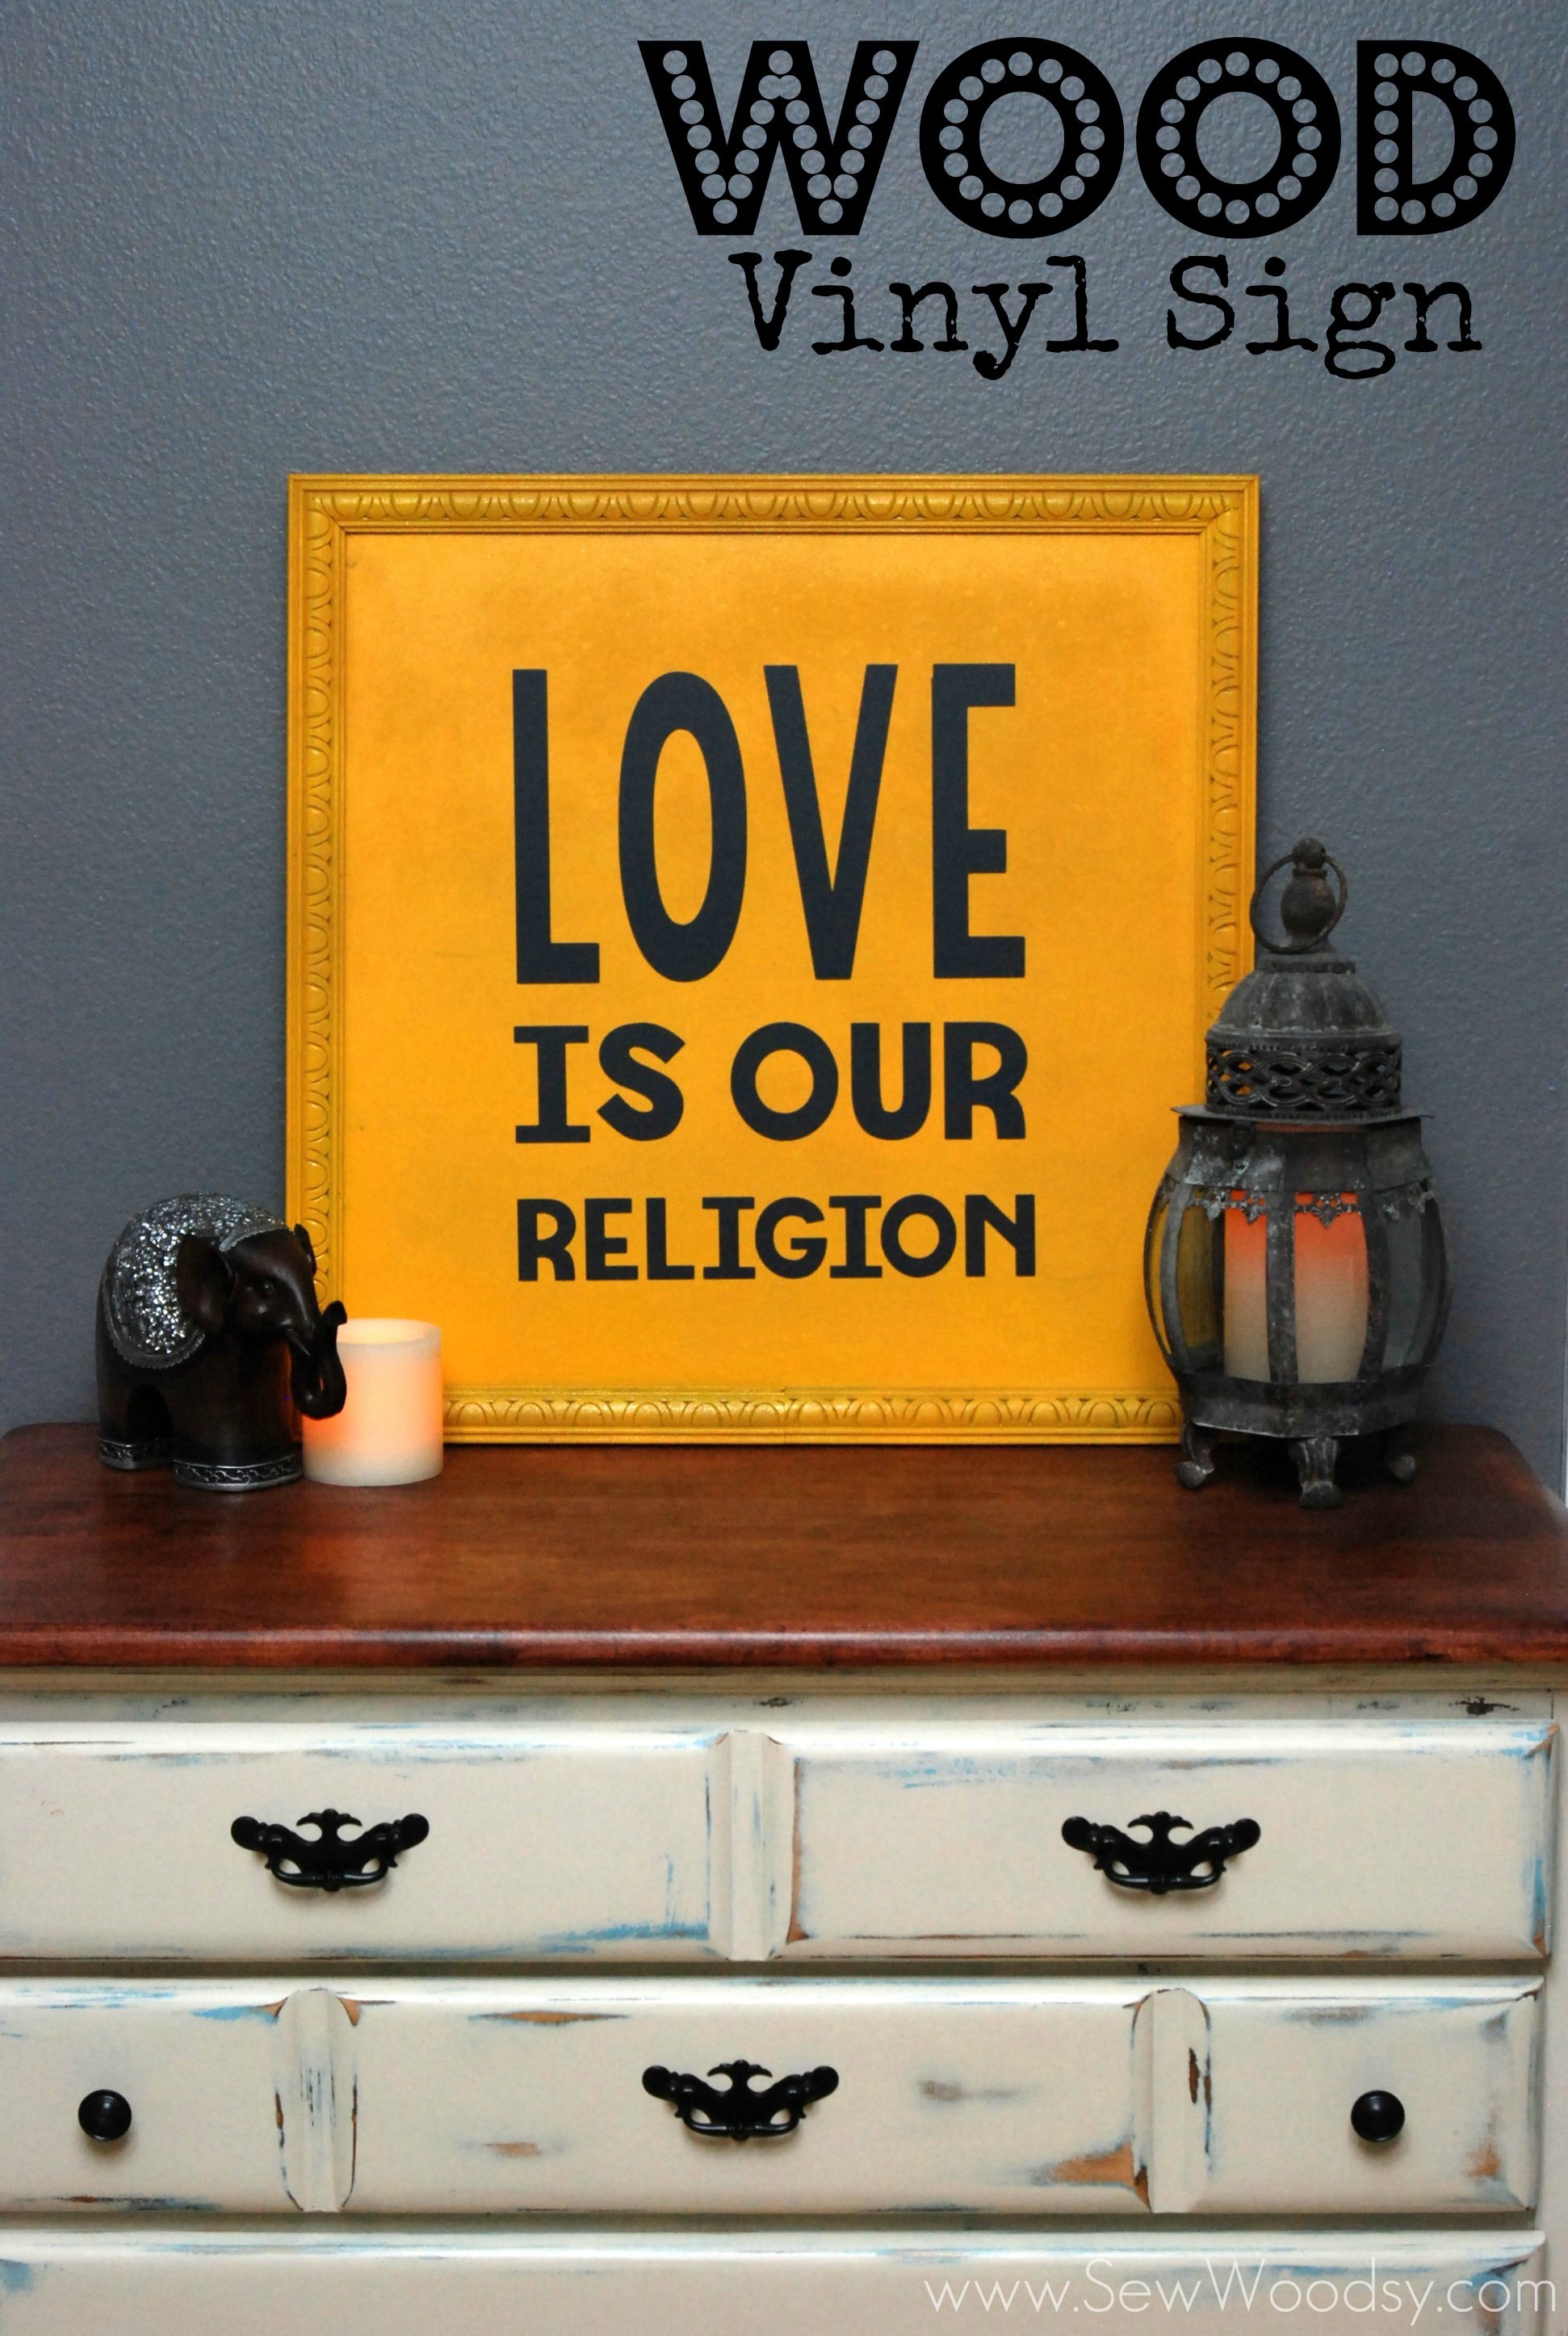
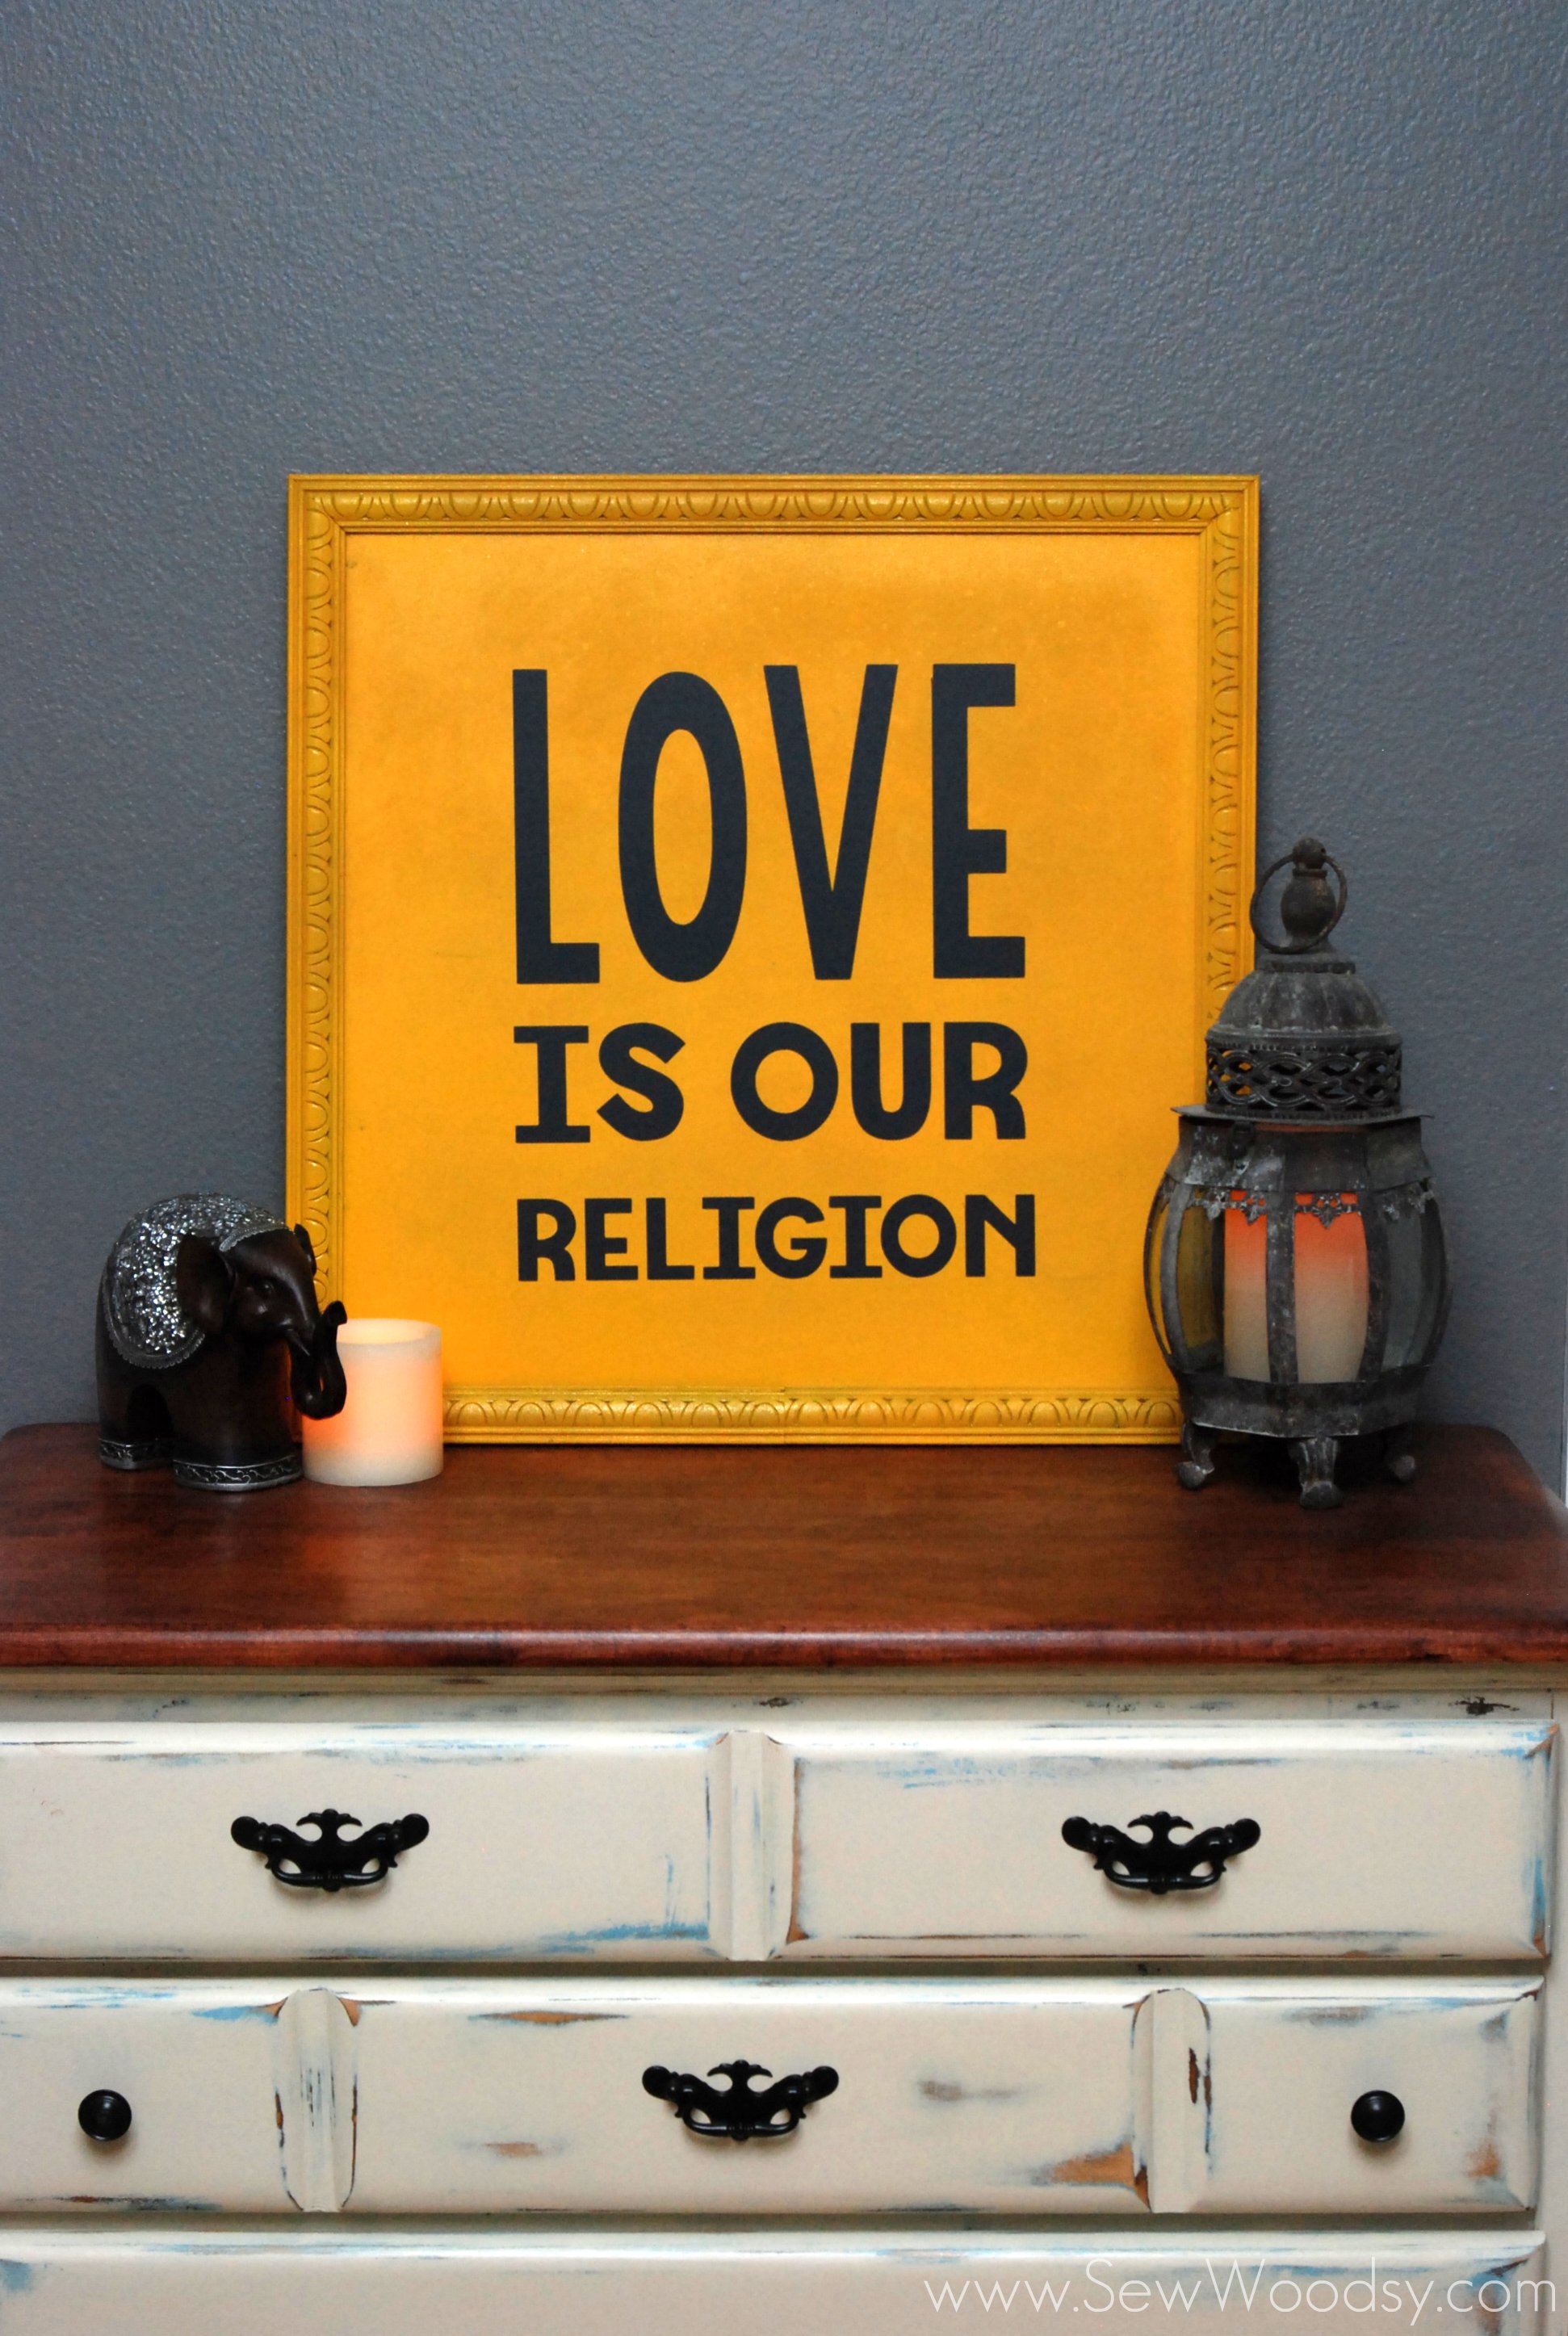
I’m so excited to finally reveal the sign I’ve been working on for our master bedroom. I’ve had this “phrase” in my head for a long time and I knew eventually I would make it into a sign. It is even more appropriate since this sign is for our bedroom. Mr. Woodsy and I walked into our wedding reception to Ziggy Marley’s “Love is my Religion”. We love the song and we love reggae music in general. So the phrase “Love is our Religion” is very appropriate for us! I’ve recently partnered up with My Vinyl Direct, and I am excited to show case there wonderful product! They sell affordable vinyl by the sheet as well as wholesale vinyl for Cricut Cutter. Much more affordable options than what you would find at the “big box” craft stores.
Supplies
- (1) 3/4″ sheet of PureBond® Hardwood Plywood in birch
- Measuring Tape
- Pencil
- Miter Saw
- Table Saw
- Moulding for frame
- Titebond Wood Glue
- Silicone Brush
- Nail Gun
- Air Compressor
- Clamps
- Orbital Sander
- Shop Vac
- Valspar Yellow Spray Paint
- Cricut Mini
- Cricut Craft Room
- Scrap Paper
- Matte Dark Grey Vinyl from My Vinyl Direct
- Transfer Tape
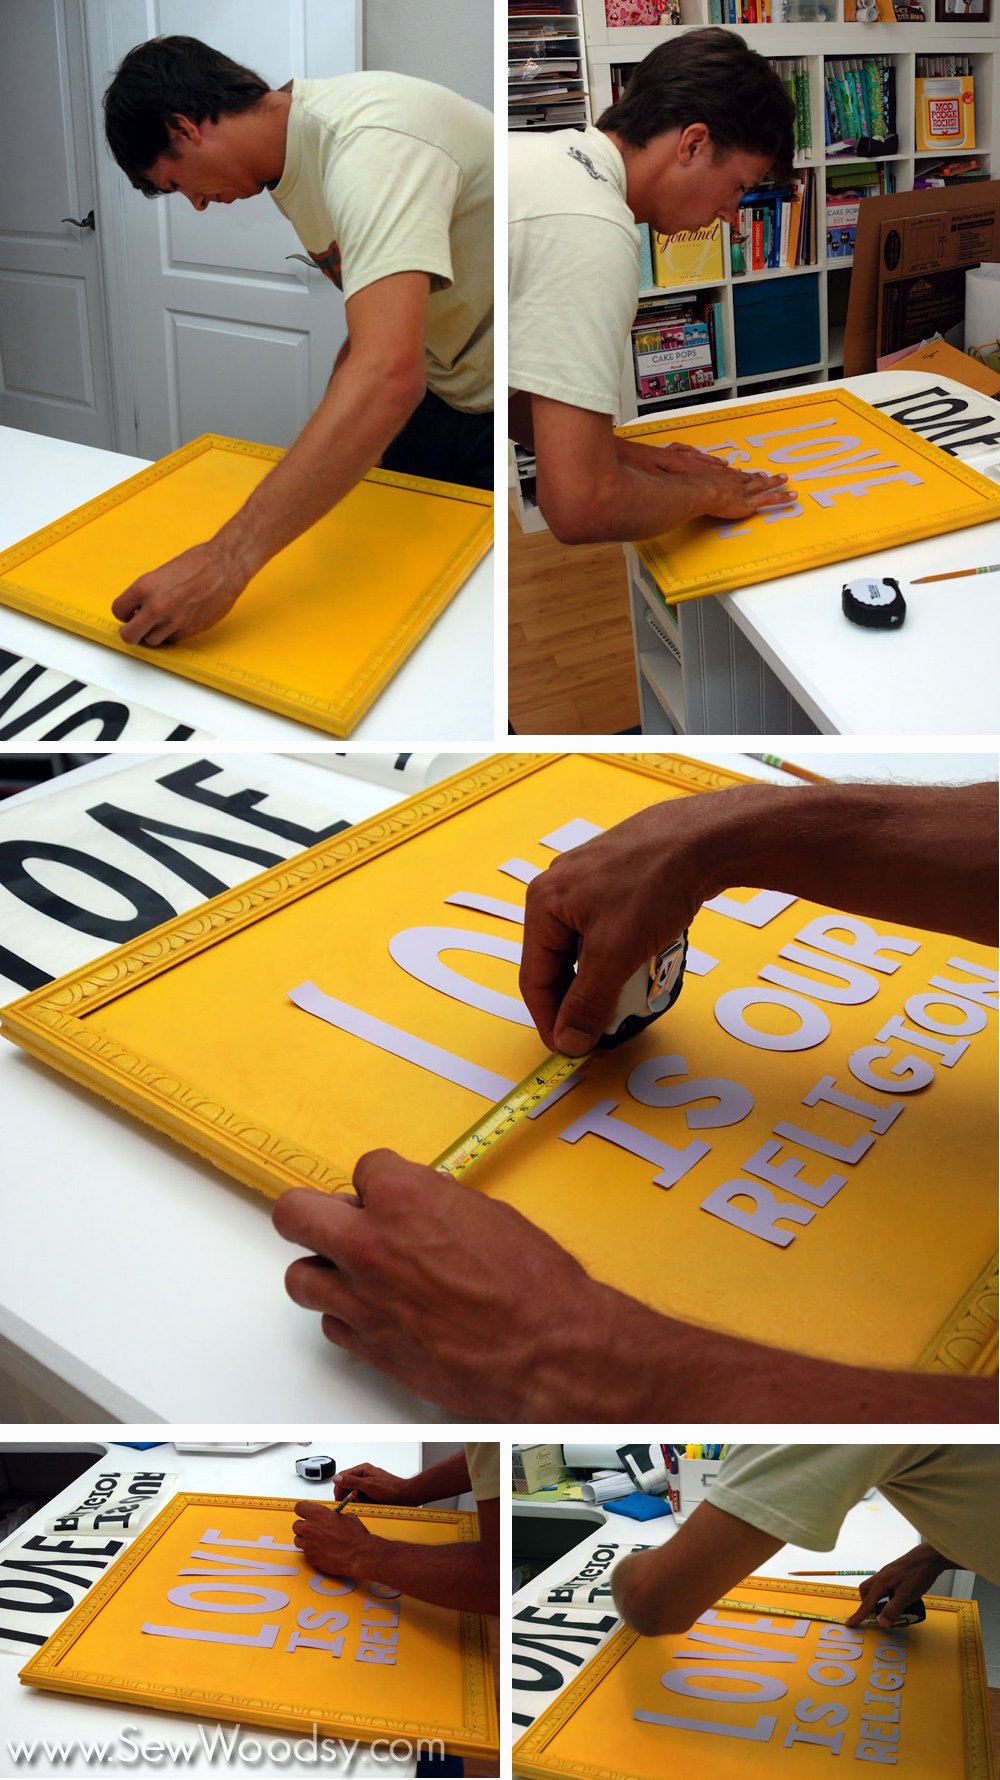
Next up, once I have my phrase cut out in paper I laid the words on my 20 x 20 piece of 3/4″ thick piece of PureBond® Hardwood Plywood. *While I was designing the phrase I had Mr. Woodsy cut the piece of plywood for me. I had all intentions of doing it myself; however, it was too long (and heavy) for me to manage it by myself.
Once I decided that the cutout was perfect I was ready to start painting the plywood. However, Mr. Woodsy refused to have a plain plywood sign, so he started measuring out to make a frame using some existing moulding we had on hand. He measured, cut, glued, clamped, nailed, and painted all while I was off doing something else (and didn’t take any photos of all those tasks completed–tisk tisk).
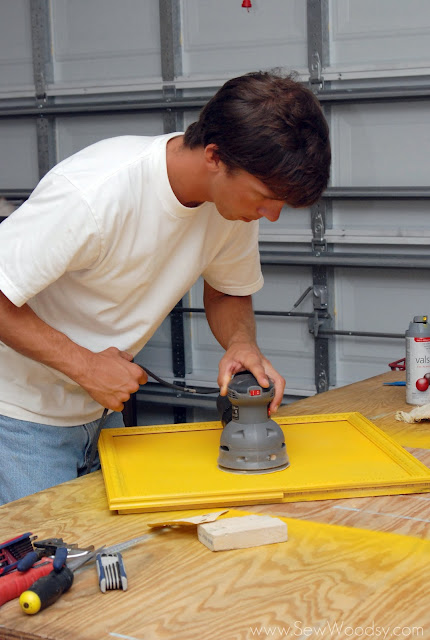
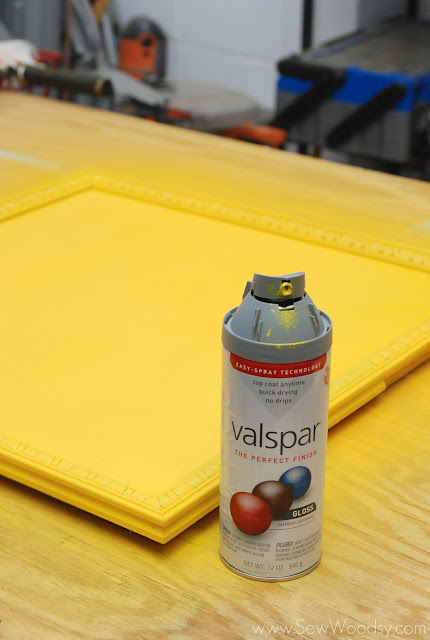
Once he had a layer of paint on the frame he began sanding. I went with the Valspar spray paint soley for the color. Never using the product I had no idea that the spray paint wouldn’t come out evenly, splatter, and drip. Our frame looked like a hot mess. Mr. Woodsy repeated this process of spray painting, letting it dry, and sanding a few times until he was somewhat ok with its appearance. I was also scolded and told to never buy that brand of spray paint again. psst… RustOleum, if you are reading please make a new color for us… sunny yellow!
The offender… that made this project take way longer than needed!
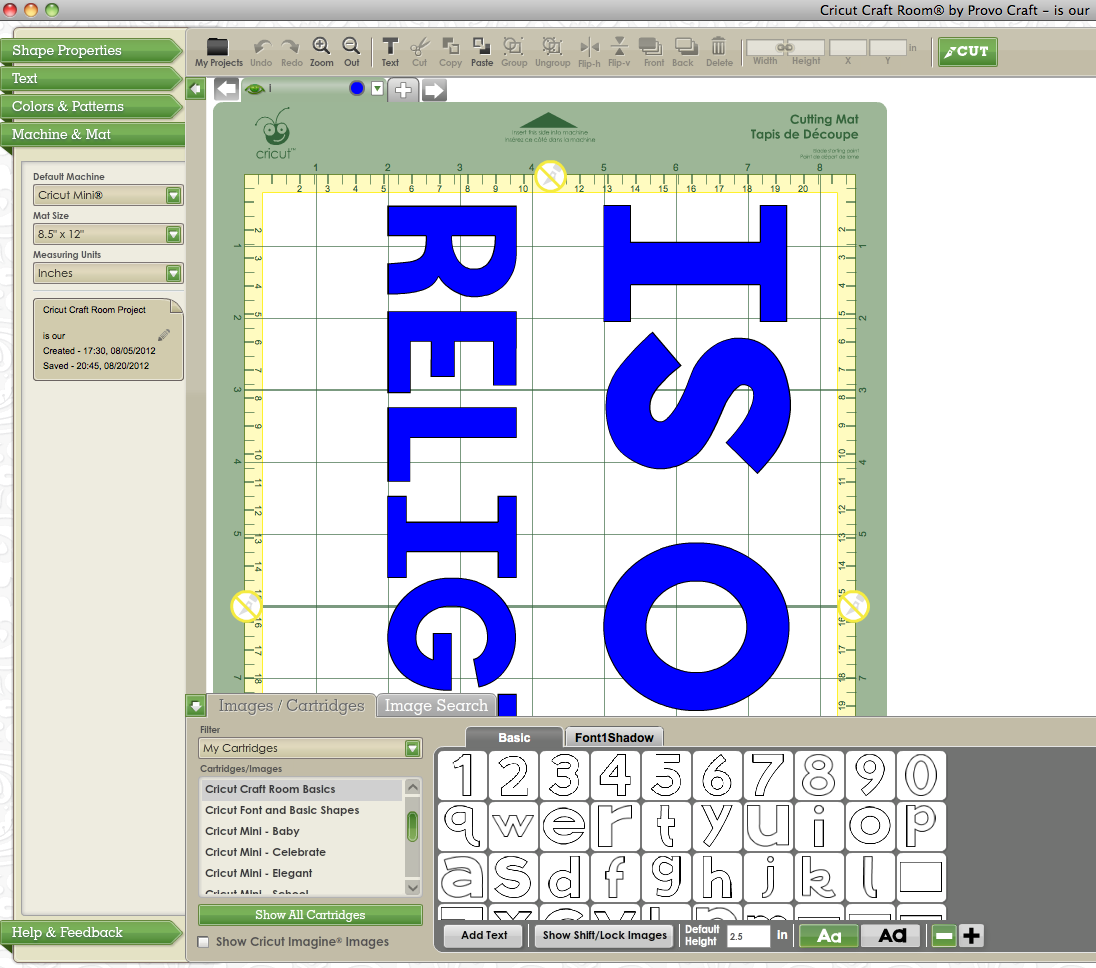
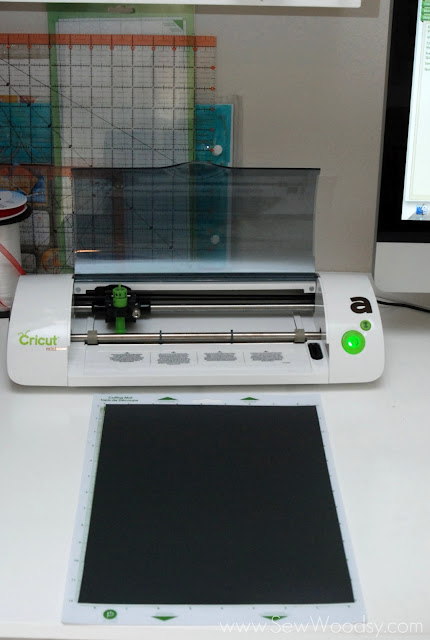
During one of the many times Mr. Woodsy was sanding and painting I started working on cutting out the vinyl. Like I mentioned above, I used the (Matte) Dark Grey Vinyl from My Vinyl Direct. I cut my piece of vinyl to size, referenced a tutorial I created last summer on how to cut vinyl using your Cricut, and began cutting!
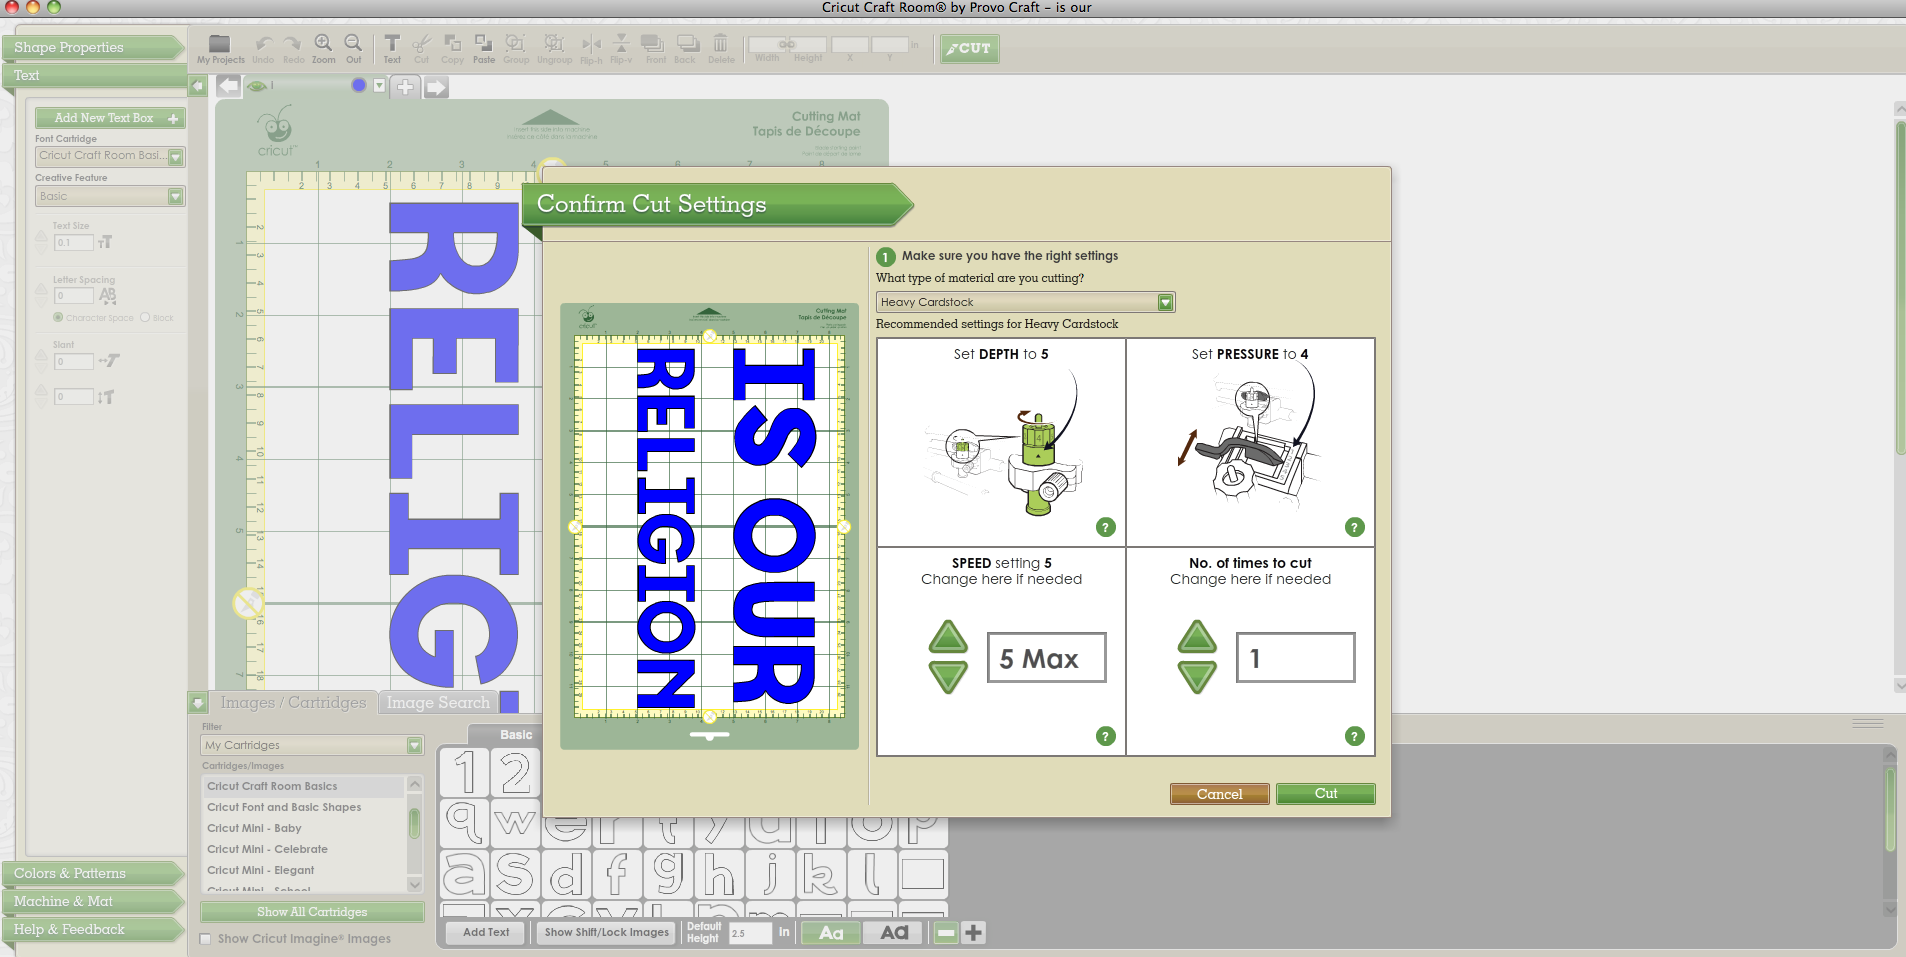
Take note that every Cricut machine will act differently when cutting vinyl. The tutorial I wrote last year was for my Cricut personal. Now I have a mini. Before I got started I cut a small piece of vinyl to practice on so I could get a perfect kiss cut (which means it cuts through the vinyl but not all the way through to the paper). On my mini I found the following vinyl settings worked best for my machine: Depth 1, Pressure 1, Speed 3.
This is what my first word looked like cut-out.
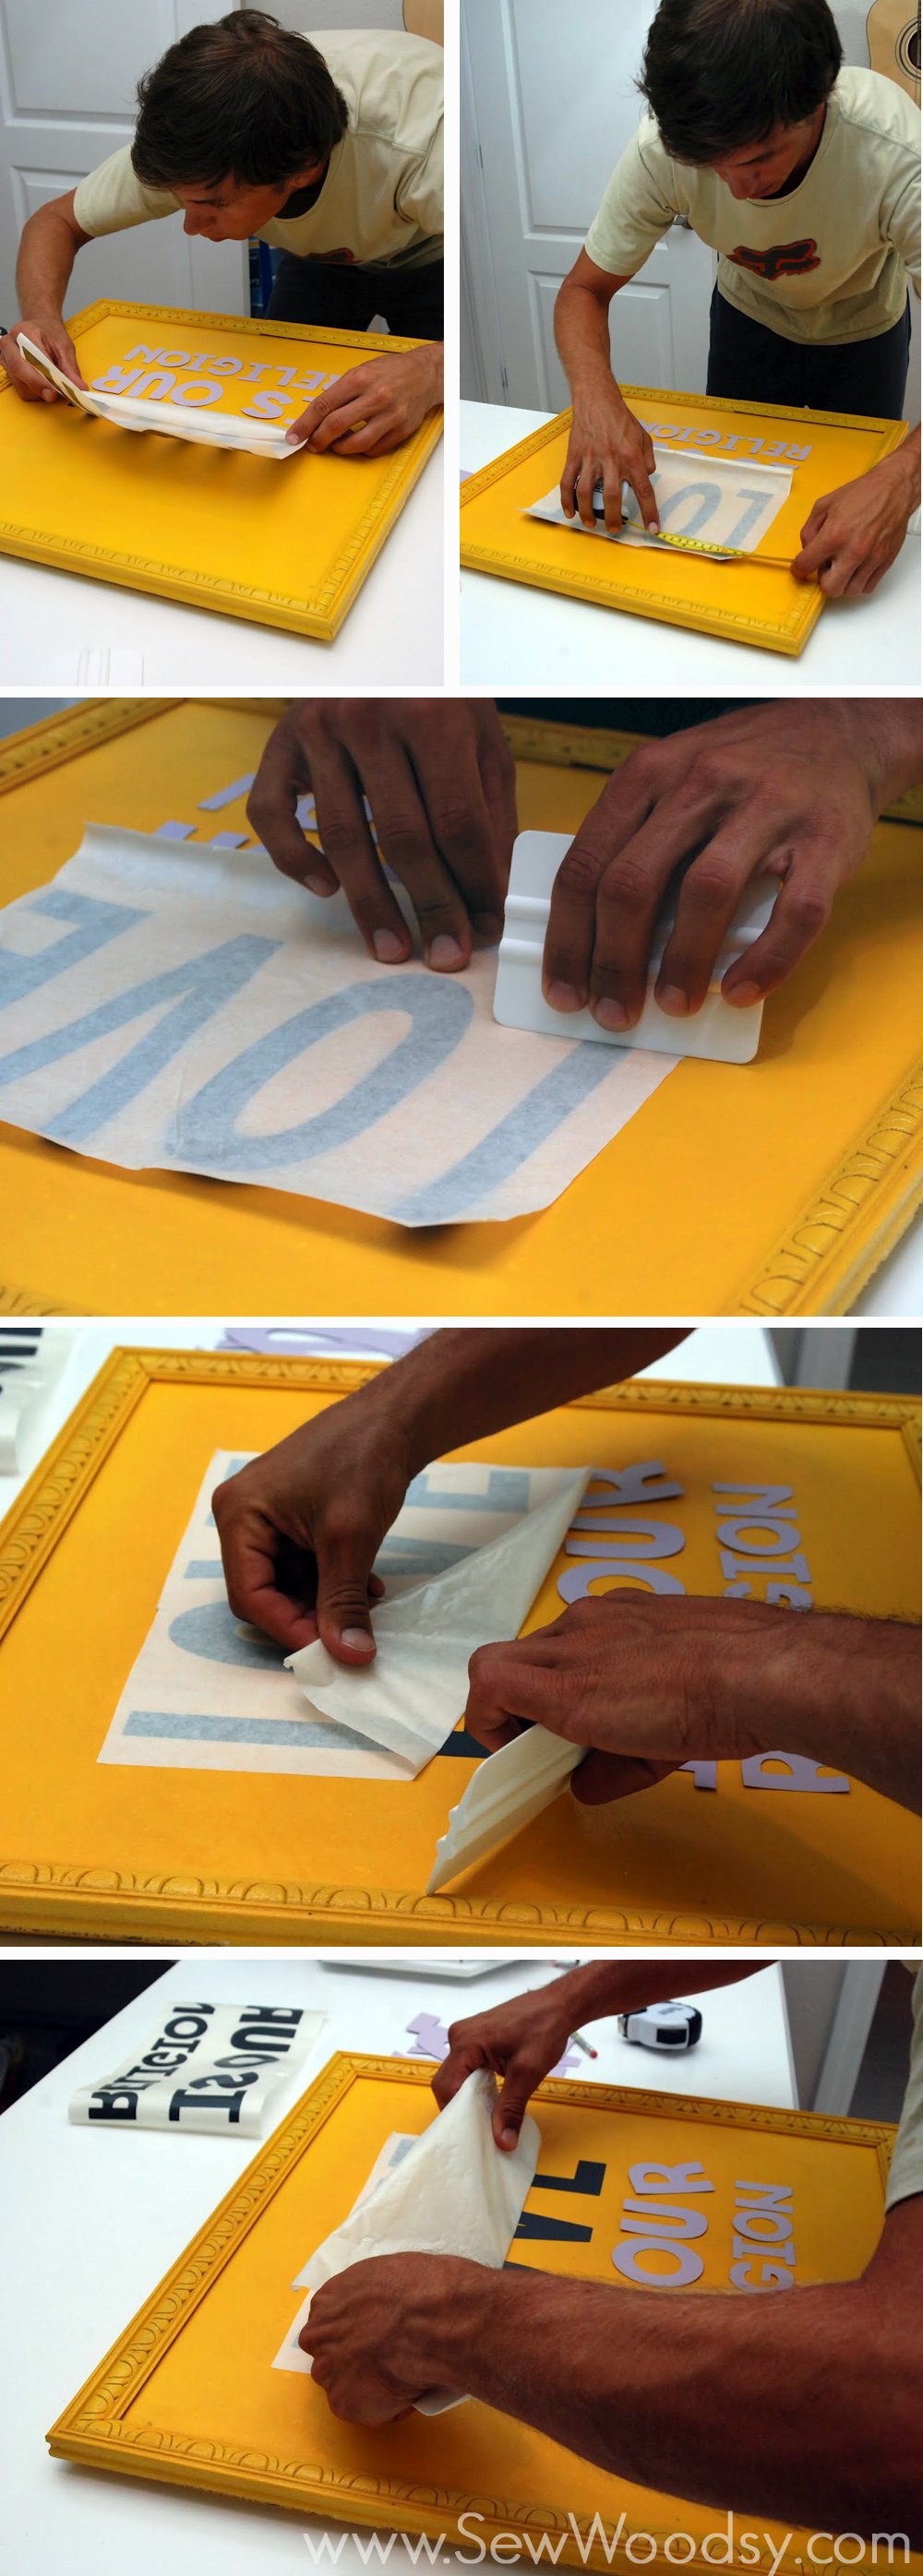
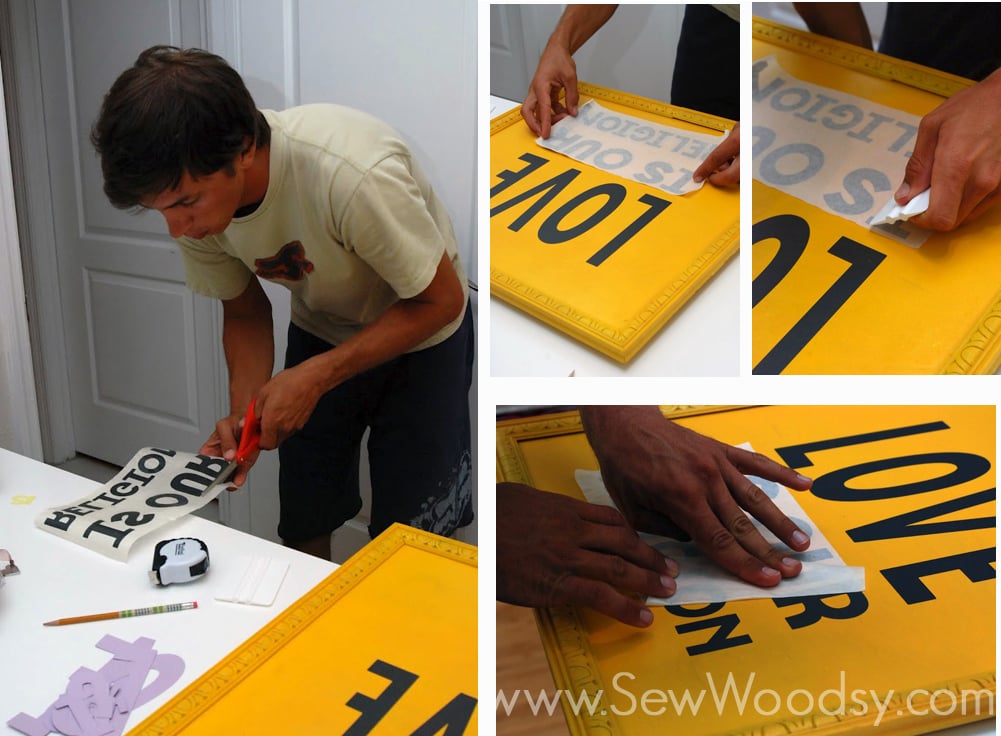
Next up, peal away all the excess vinyl so that your word is just exposed. Then peal away the top layer of the transfer tape and apply it on to the top of the letters.
Smooth out the transfer tape and peal off the entire paper/vinyl cut out. Set aside.
Repeat, cutting out the rest of the phrase.
This is what the “is our religion” looked like after being cut.
Peal away all the excess vinyl.
Make sure you remove the inner vinyl pieces in letters like “o,r,a, etc…”
Place transfer tape on top of the vinyl. And remove from Cricut mat.
OK, when it came time for the placing the vinyl on the plywood I was at a loss. I never can line anything up straight. So why would I attempt now. Thankfully, I called out to Mr. Woodsy (I was in the craft room he was laying on the couch) and asked him to come help me. OK, maybe I begged him to come help me. He is perfect at completing tedious tasks. He measured, measured, and measured again.
Then it was time to apply the vinyl. I tried explaining how it needed to be done. Once he stuck the vinyl on the wood he measured again and I informed him that if it isn’t straight now… it won’t be coming off. Luckily–all was good!
He finished up with applying the second set of vinyl, and the sign was finally complete!
Keep in touch with My Vinyl Direct on Facebook and Pinterest. Visit the My Vinyl Direct Blog for fun tutorials, and fun news. And you can also sign up for the My Vinyl Directnewsletter (left sidebar) This is the best way to hear about fun contests, discount codes, and more! Plus we will be giving away a silhouette cameo soon!!! Oh and right now until 8/26/12 you can get 10% off your order with the coupon code: BACK2SCHOOL
Disclaimer: I received the product for free; however, I was not compensated to write this post. There are also affiliate links in this post.
