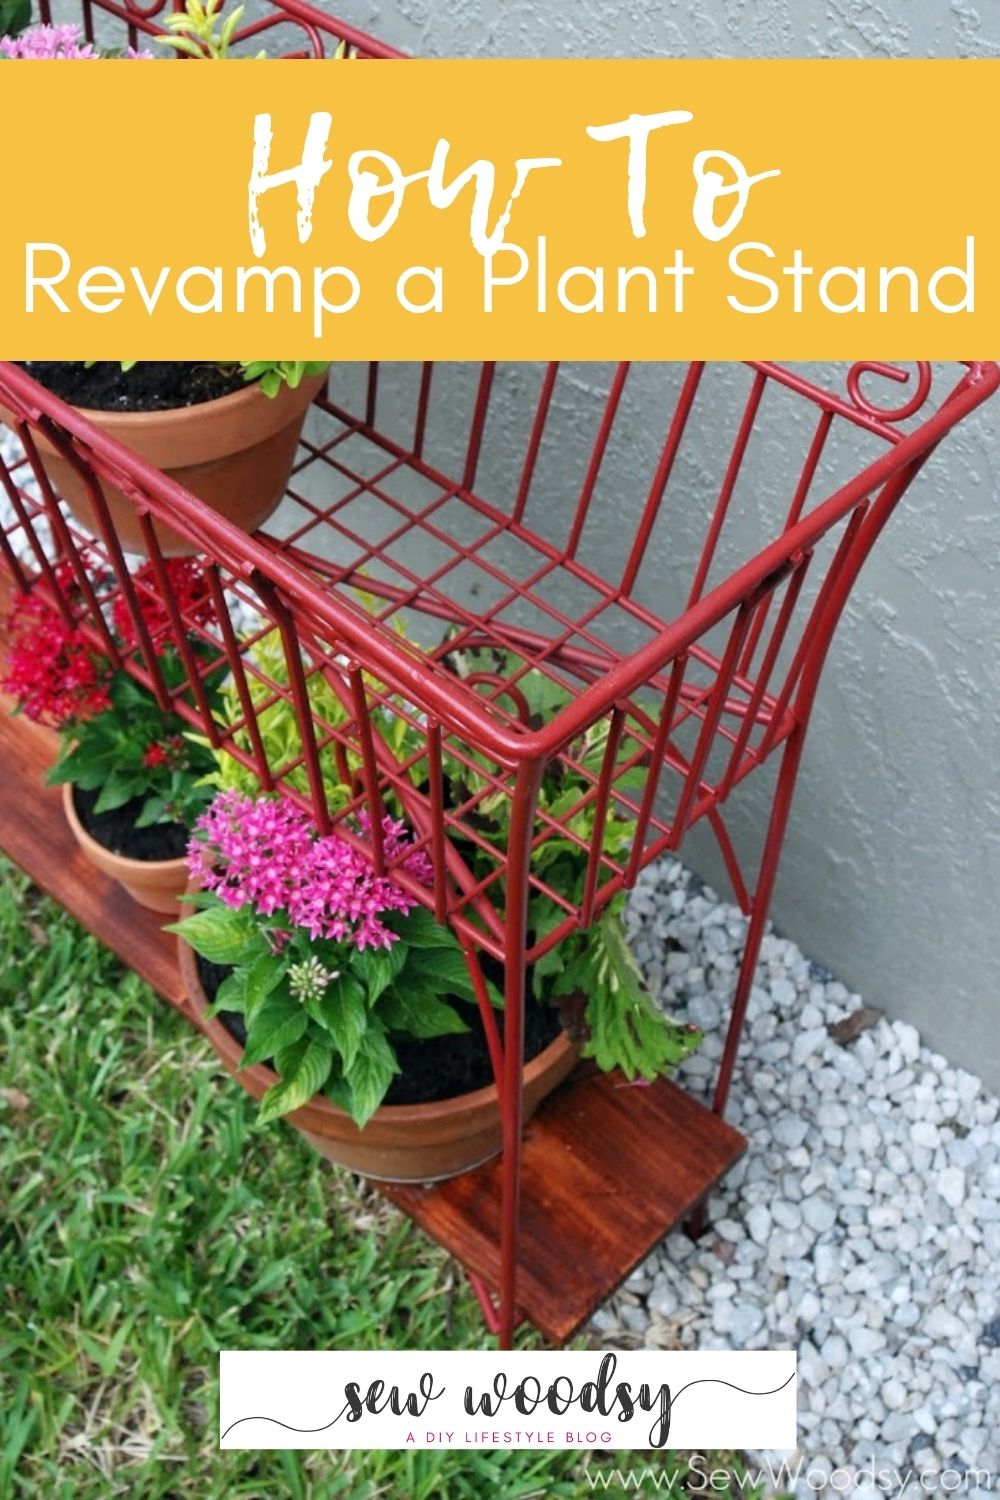
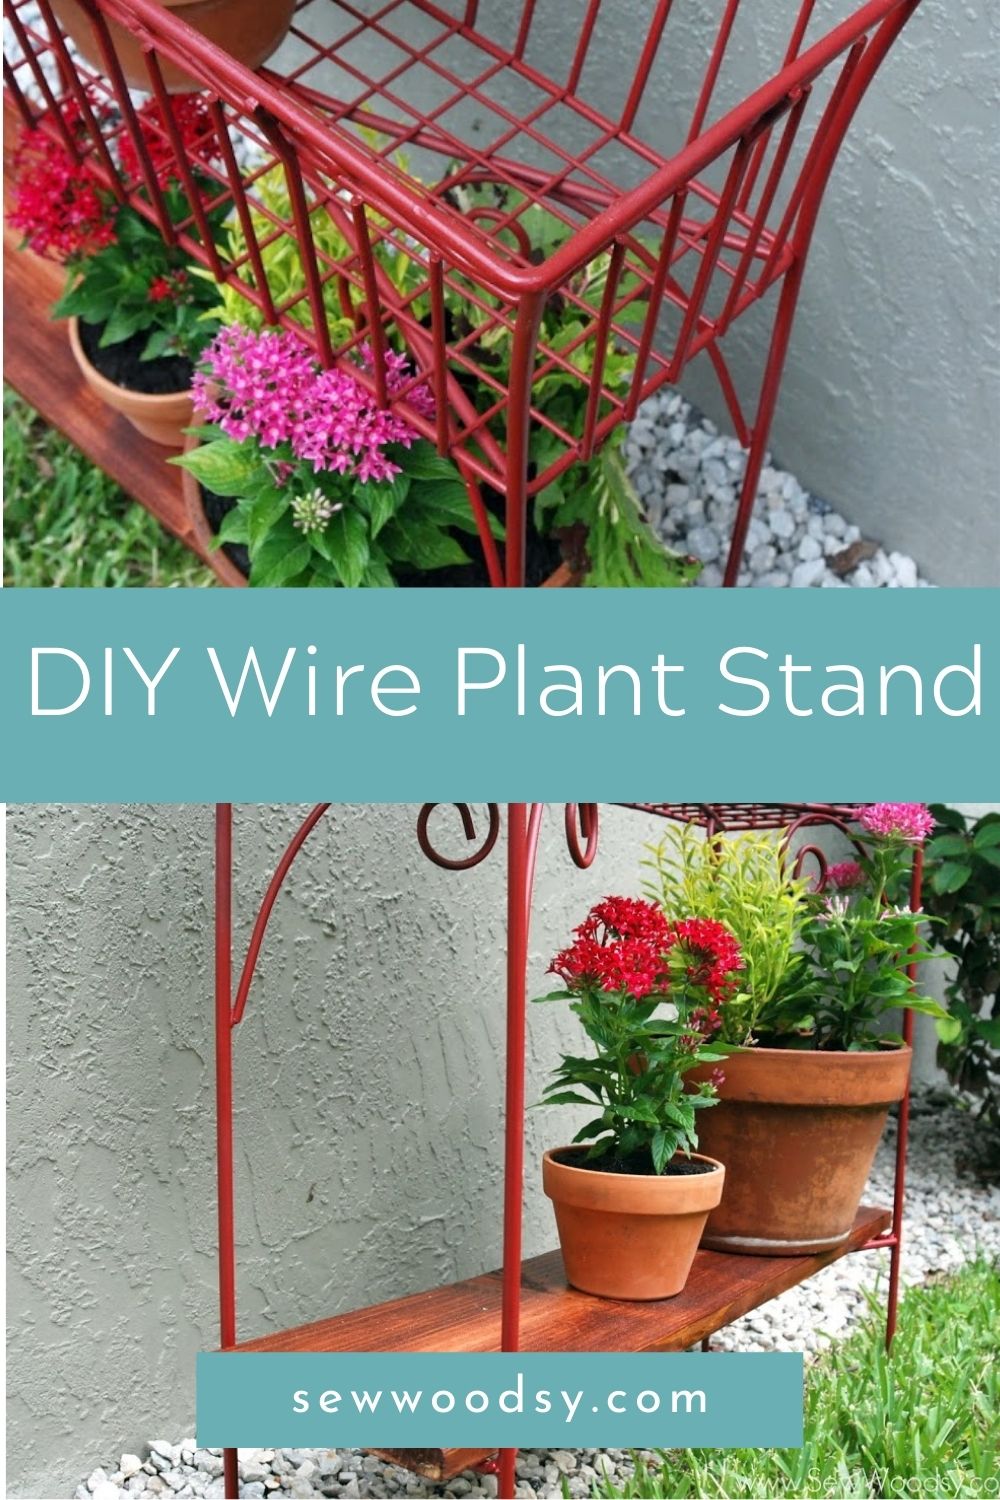

If you have an old wire plant stand you’ll love learning how we revamped and repainted a Wire Basket Plant Stand for our home for only a few dollars.

5+ years ago when Mr. Woodsy and I first moved in to our first place we had very little decor. Needless to say nothing on our porch! One day, he came home from work with two beat up wire basket plant stands. I had expressed the interest in wanting a container garden and he felt these stands would be a great place to store the variety of pots we were starting to collect on our patio. It was a small narrow patio and with all the pots on the patio it gave us very little room to walk around.
At the time they were green and starting to chip and rust. I asked him if we could paint them… I’ll preface this was before we were big into DIY. A few days later we decided to paint them black, and then placed all of our plants on the two stands. Fast forward 5 years later the black is extremely faded, chipping, and well we just weren’t using the stands any more. Mr. Woodsy was threatening to put them on the curb. I refused for that to happen. I at least wanted to clean them up to either give to a friend or re-sell on Craigslist!
A few Saturdays ago Mr. Woodsy went on an all day fishing trip with his brother. I was left at home to work on projects–I decided to tackle revamping these wire basket plant stands. I knew they needed a fresh coat of paint and I had always wanted a shelf on the bottom. You see, we use to balance the pots on the bottom row of the stand, and on occasion would find a casualty–knocked over on its side.

Supplies
- Old Wire Basket Plant Stands
- Spray Paint Primer
- Rust-Oleum Spray Paint, Colonial Red
- Rust-Oleum Comfort Grip
- Scrap Wood
- Tape Measure
- Pencil
- Miter Saw
- Orbital Sander
- Hearing Protection/Eye Protection/Respirator
- Minwax® Pre-Stain Wood Conditioner
- Minwax® Gel Stain, Mahogany
How to Paint a Wire Plant Stand

Clean off wire baskets with a damp cloth then spray an even coat of primer on to the baskets.

Once the primer has dried (about 15-20 minutes) begin applying a light coat of the Colonial Red spray paint.

psst… I’m in love with the Rust-Oleum Comfort Grip! We got them at Haven and I haven’t stopped using it since. I always wanted one of these but my frugal self would never buy one. WHY!?!??! I’ve been missing out on a pain-free pointer finger! Seriously, y’all–run to your local Home Depot and go buy your self one–especially if you spray paint a lot!

Let the stand dry and apply another coat of spray paint!
How to Cut a Wide Board with a Miter Saw

Next up, it’s time to measure and mark off your scrap wood. This wood is going to rest below the main wire basket.

Time to put the big girl pants on… I pulled out the miter saw all by myself, attempted to raise it and failed. So I decided to leave it on the ground. Plus, this was the way I learned how to cut on it. I stared at the saw for a few minutes trying to figure out how to release the blade and make it swivel… I finally broke down and gave Mr. Woodsy a call. Thankfully, he answered, but I’ll admit he was a bit concerned to hear that I was about to use the miter saw! He walked me through how to unlock a few of the latches. He also told me to be careful and don’t cut off any of my fingers. What a loving husband.

With my hearing protection, respirator, and safety glasses on I was ready to make 2 cuts–all on my own!

I even used the “safety stick” (I’m sure there is a proper term for it but I don’t know what it is) when I chopped off the tiny piece on the end.

How to Stain Wood
Next up, it was time to do a little sanding. Now, just in this past year I’ve become a pro at sanding! This was an easy task for me. What wasn’t easy was clearing the space on the work bench to rest the piece of wood on!

Next up, my first time staining! I remember from past projects that Mr. Woodsy would apply the pre-stain!

So after reading the directions on the can, I proceeded to apply my pre-stain.

Gel stain gets messy… I applied the gel stain *for the first time by myself. You’ll notice one is a little lighter than the other. I applied the same amount on both although the board on the right was done after the board on the left, so I think I learned from my mistakes on the first board. Yes, there is a faint pattern on the left board–I’d like to proclaim that it was a “craft fail”.

I placed each of the boards on the bottoms of the wire plant stand, placed a few plants on them and voila… brand new revamped wire basket plant stand for the cost of spray paint since that is all I didn’t have on hand! Mr. Woodsy came home that afternoon beyond impressed that I cut, sanded, and stained wood all on my own.

If you are looking to learn How to Create Outdoor Potted Floral Arrangements I have a tutorial for you, too!

Project Tips
Here are a few of my tips for this wire planter project.
- Colors – You can use any color you want for this project.
- Stain – You do not have to use gel stain for this project. You can use traditional stain if that is what you have on hand.
- Seal Wood – If you want to weather proof the wood you can seal it with a waterproof wood sealer.

If only I would have thought about adding a scrap piece of wood to the bottom of the plant stand 5+ years ago. It would have made “balancing” those plants a whole heck of a lot easier!

So, what do you think? Are you proud of me? Because I’m darn proud of myself!
Gardening Projects

Looking for more gardening projects? Here are a few more of our favorite projects.
Disclaimer: There are affiliate links in this post. That means if you purchase from a link I make a small percentage at no additional cost to you. Thank you for supporting Sew Woodsy!
