This is a sponsored post on behalf of Homes.com.
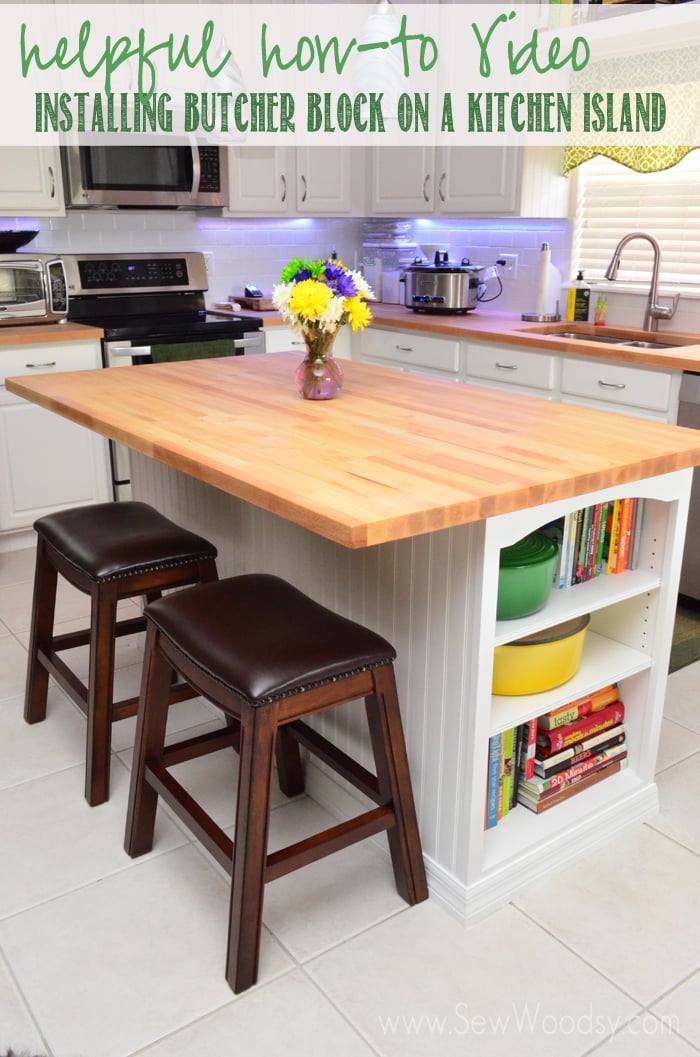
Today, I’m switching it up and sharing a kitchen renovation project! I know… I meant to post this weeks ago when I posted about the kitchen island custom bookcase, but then when I went to add pictures into the post I somehow could not find them. Like non-existant. So I either 1. Never took them (which I don’t doubt) or 2. my camera ate them (highly unlikely).
So that’s why it took me a little longer than usual to get this post up. After the baby shower our home sat in party dis-array until just a few days ago. And that’s when I finally got around to taking the pretty after pictures. This also means that you are now getting a glimpse of our entire kitchen (which was not in my plans), but oh-well. One thing I’m learning is that I can not plan everything so I have to let it roll off my shoulders and just go with the flow. That’s one thing this soon-to-be-mom thing has taught me. I also don’t have any during photos for this project (because remember, our camera ate them… that’s what I’m going with). I also will tell you that when we installed the Butcher Block on the island I was at the height of my all-day sickness. So I very well could have not taken any photos.
Either way, I’m excited to share with you our video for Homes.com on how to install butcher block on a kitchen island! It was actually the easiest part of our entire counter installation. This was a half day project for us (not counting sealing the butcher block).
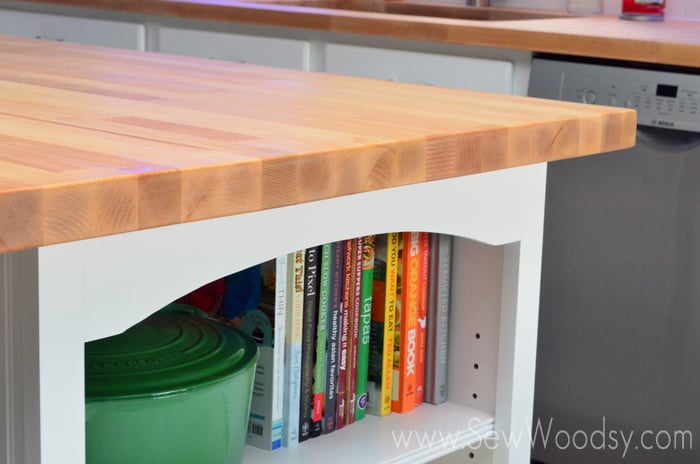
The butcher block countertop ads so much characteristic to the island the kitchen! Everyone at the baby shower was oooing and aweing over them (just as they did with all the cute baby clothes)! 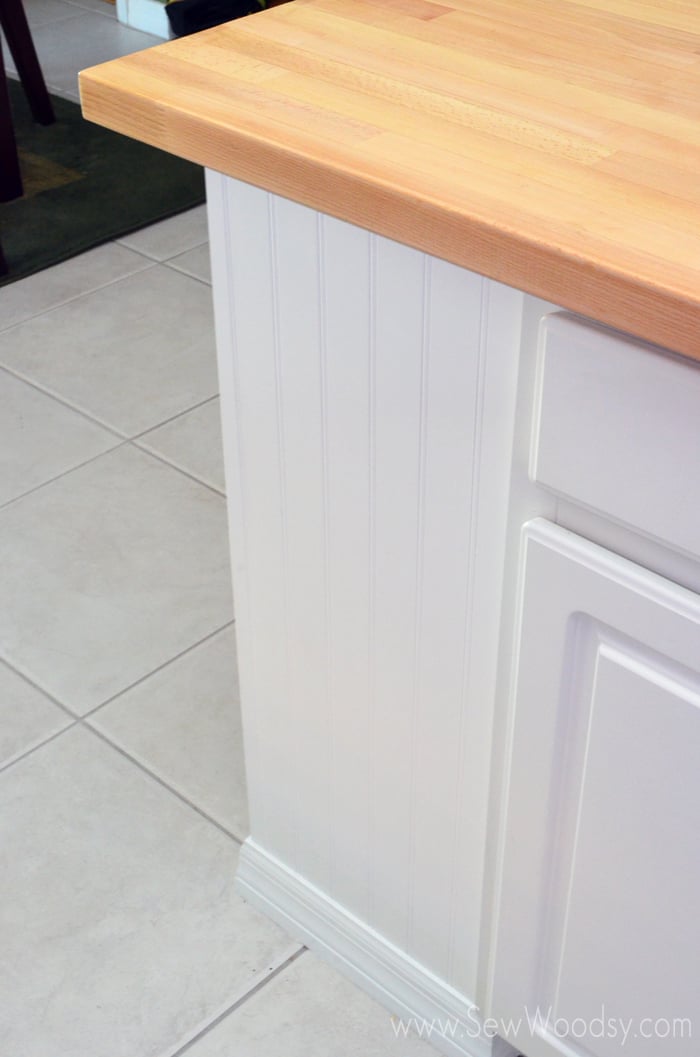
And here is how much space I gained when we extended our kitchen island out! You might remember from our last video/kitchen update we shared that we added bead board to the sides of the bookcase to give more detail.
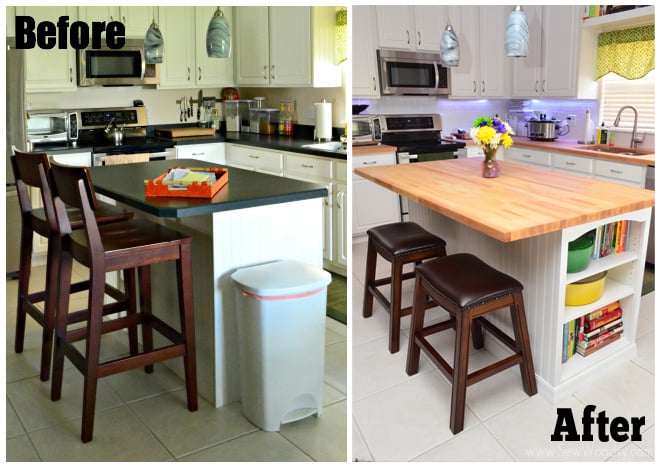
Can you believe the transformation from what it use to look like to now. I am in love with how fresh and bright it is. Having lighter countertops definitely makes a difference!
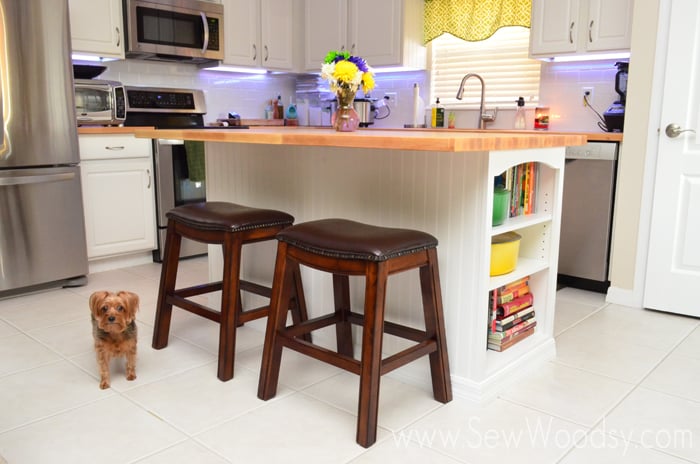
Last beauty shot of the updated island with a cute pup to model it… oh and those bar stools… we got them at Costco on a whim the other week when we were there to pick up a rotisserie chicken (we also bought a new couch on that same trip, too)! I promise I won’t wait almost a month to share the next part to our kitchen revamp!
Disclosure: We have a working relationship with Homes.com and are video brand ambassadors for 2013 (thus we are compensated). As always all opinions are our own.