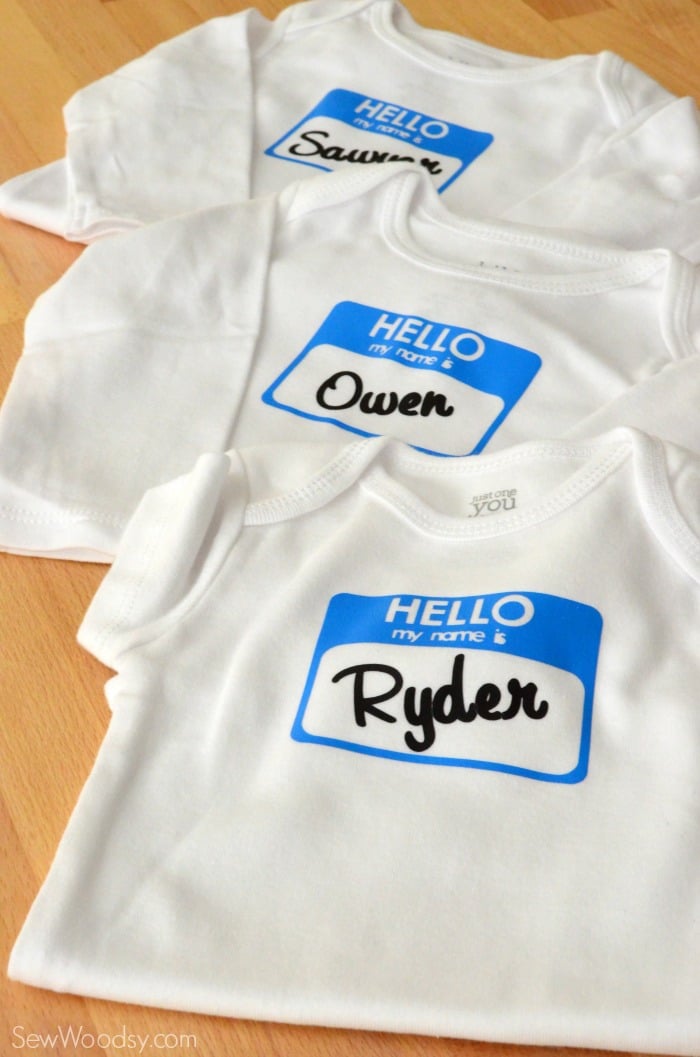
I made this “Hello my name is” shirt almost a year ago. Hard to believe. Since then, I’ve been making them as a gifts and I’ve made a few larger sizes for my son since I love the shirt so so much. Everyone was predicting I was going to have a big baby. Little did they know or I know that I actually had a very small baby (6lbs 9oz). I only packed 2 items that were newborn size the rest were size 1-3 months. The “hello my name is” shirt happened to be a size 1-3 months. I was determined for it to be his outfit that he went home in (and well I also did not have any other newborn clothes in my posession). He was swimming in it, and had I planned for having such a small baby I would have had a more appropriate outfit for him to go home in. Instead my poor son looked like a mini gangster at 4 days old! This shirt is so easy to make–whether your keeping it for your own child or giving it as a gift. It’s always a hit! 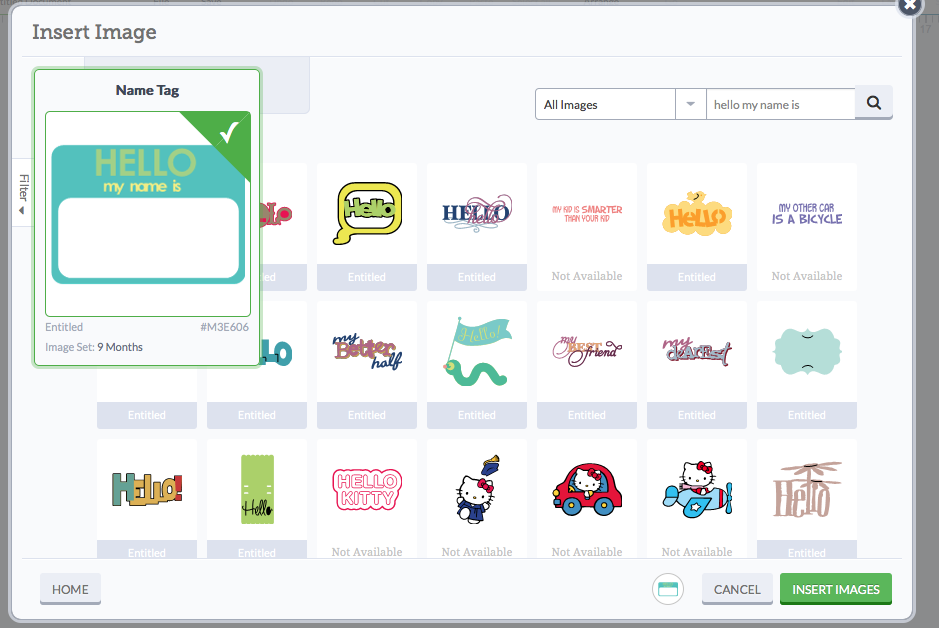 First, I went into Cricut Design Space to see if they had any “Hello my name is” graphic name tags. The first thing that popped up was the name tag I was looking for.
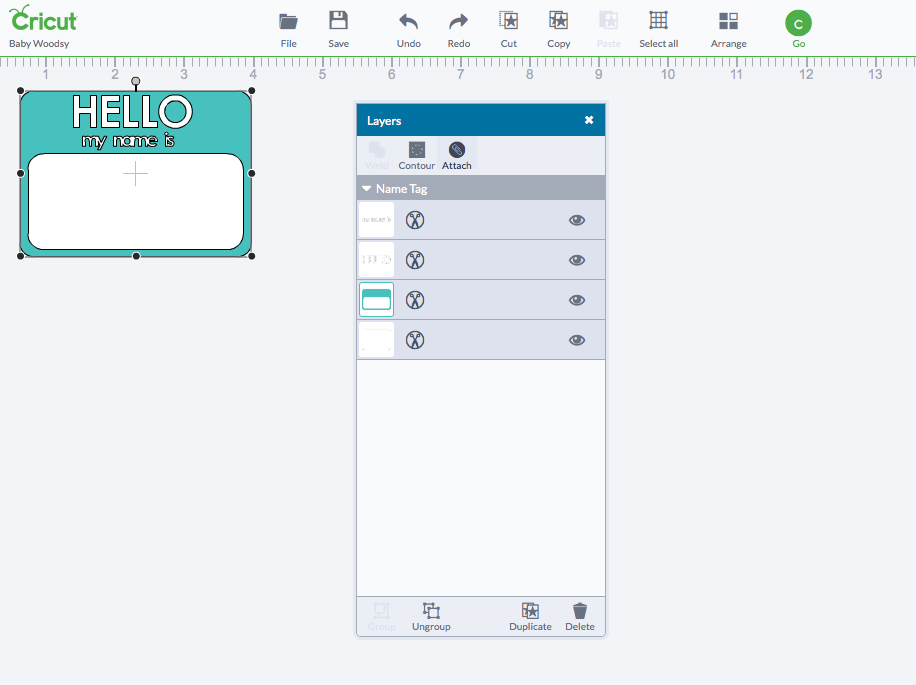
I removed the color from the Hello and My Name Is. If not they would have cut on 3 separate sheets of Iron-On Vinyl. I made them all White. Now I only had two colors I was working with. Then I highlighted all the layers and clicked on the “attach” button in the layers bar. This makes it cut all one image. The white is recognized as the negative space that needs to be cut out. 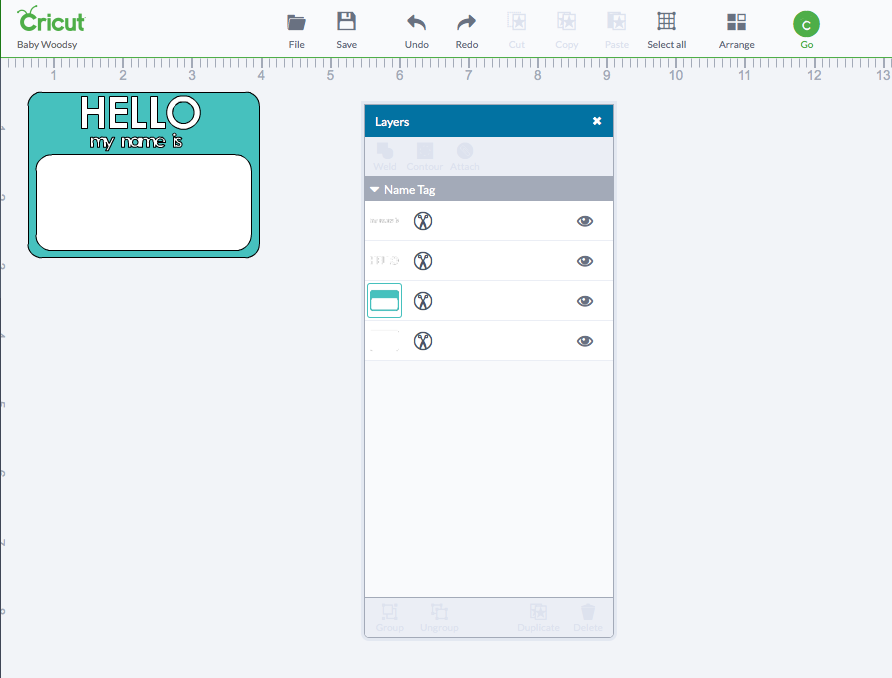
This is how it should look–the contour and attach buttons are greyed out. You can always go up to the top and click on go to make sure you did it right. You should only see one piece of Iron-On Vinyl pop up.
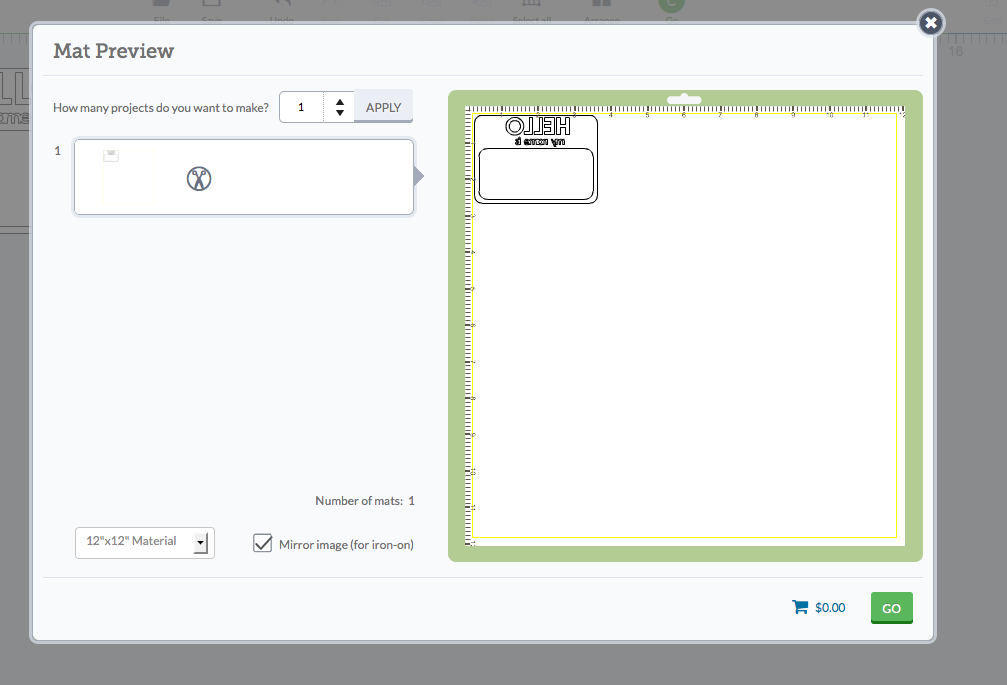 Lastly, before you go to cut MAKE SURE you click on the “mirror image” option at the bottom since this image consist of words.
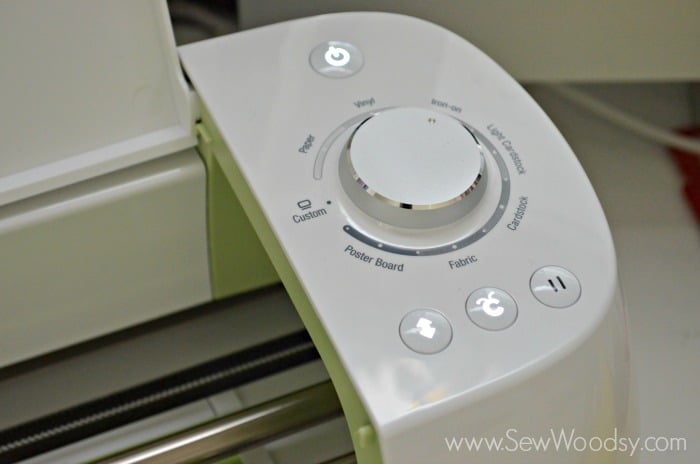
Set your Cricut Explore to the “Iron-On” setting, and begin cutting! 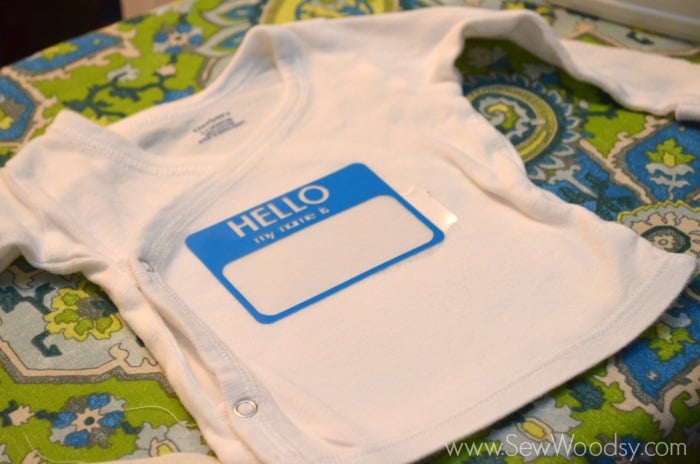
First, you’ll want to apply the “hello my name is” badge on the shirt.
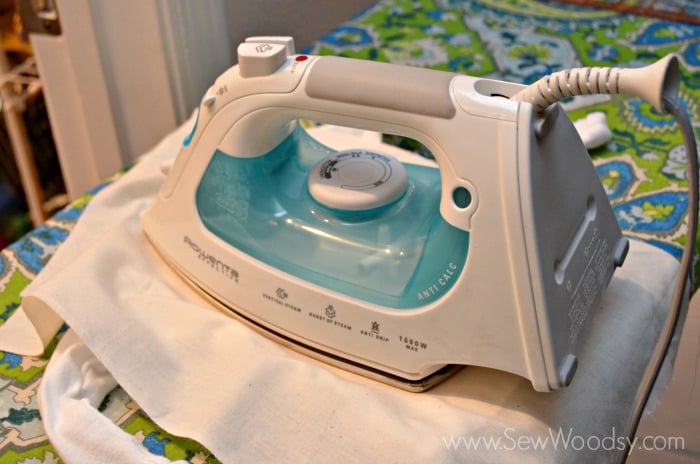
Using a thin piece of cloth iron-on the vinyl. *Follow the packaging instructions. I use a cotton setting with no steam and typically I slowly move it around the Iron-On vinyl for a good 15-20 seconds. 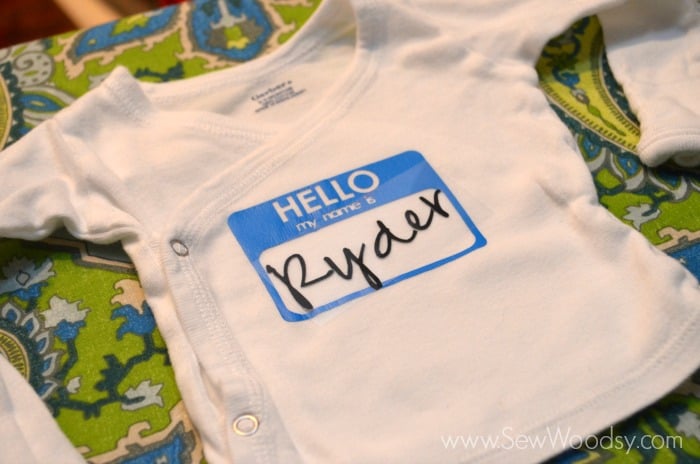
Next up, add the name. I used a font that I owned; pea jenny script. I liked how it looked. Gave a cursivy type of handwritten look.
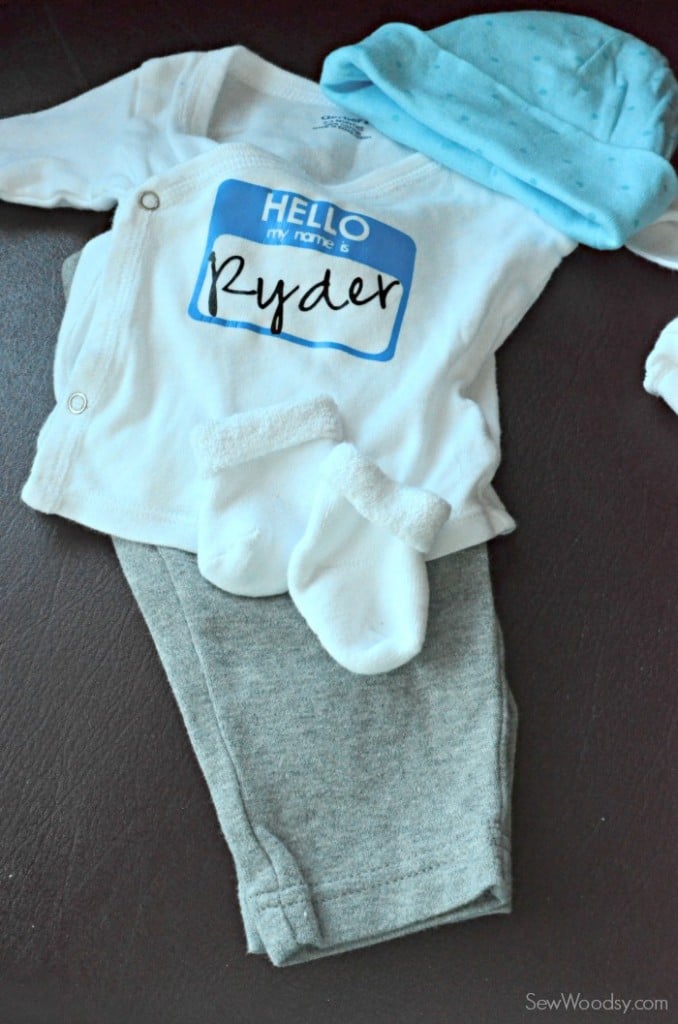
After I ironed it on, I packed it in my hospital bag and then I patiently waited for baby to arrive. This was his “go home” outfit I had planned for him to wear home.
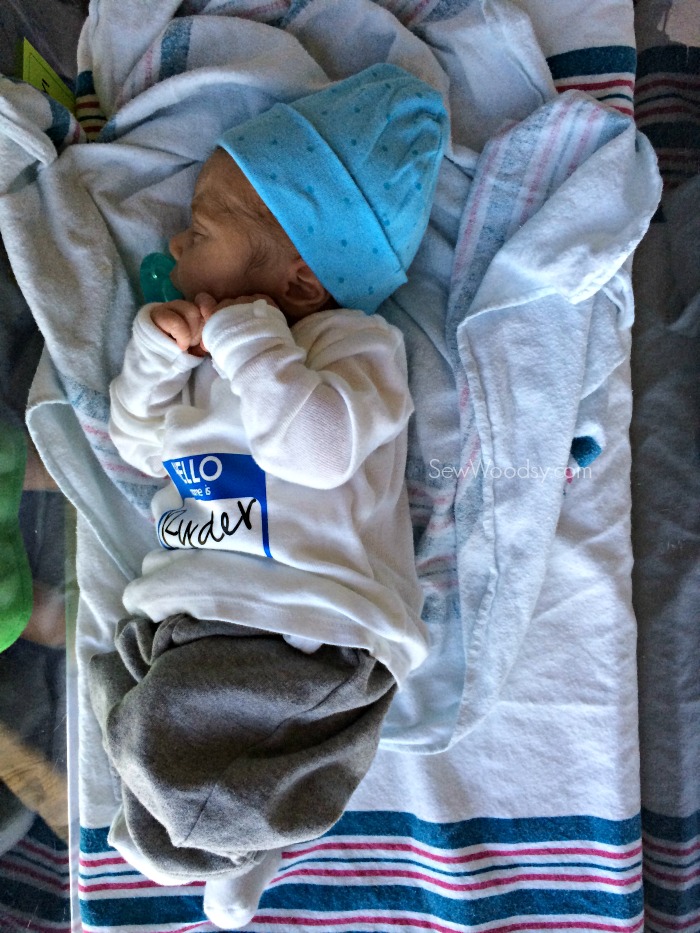
And then once he arrived he swam in it. Everyone kept telling me I was going to have a big baby, so I didn’t waste time or money making or buying a lot of newborn clothing. I owned zero newborn pants and only a handful of snap tees.
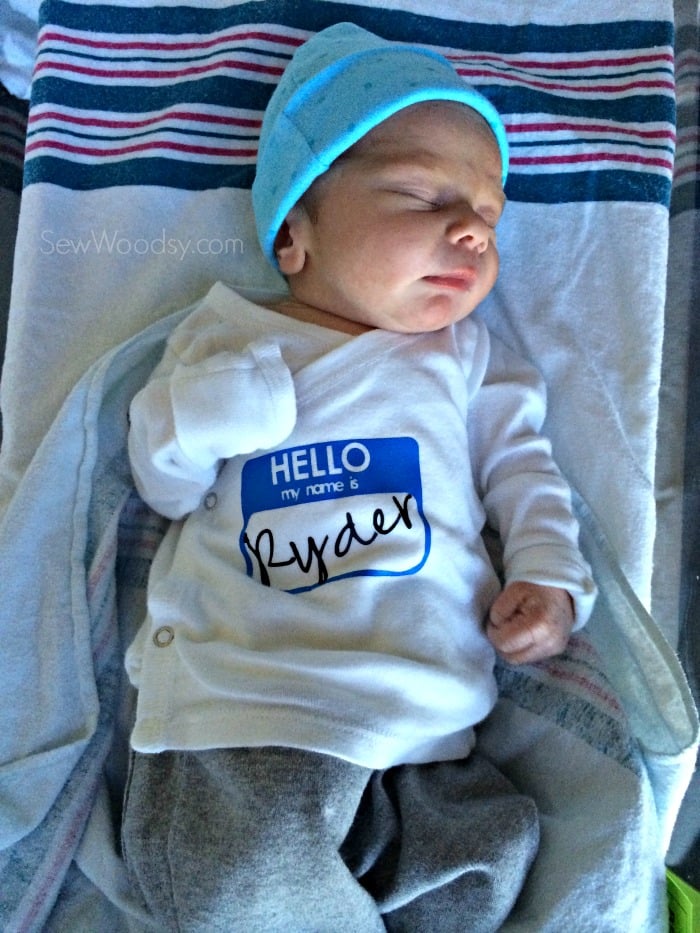
This was the only outfit I had for him to go in and I figured it was better than putting him in the car naked and only in a diaper!
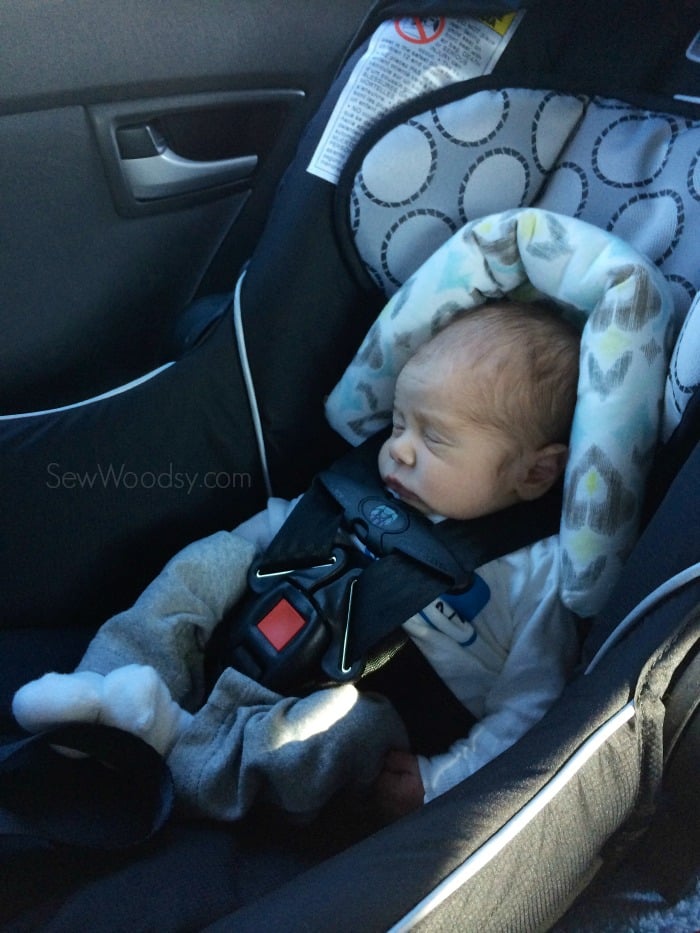
At least once he was in the car seat he didn’t look as “gangster” in his outfit that was 2-sizes too big for him!
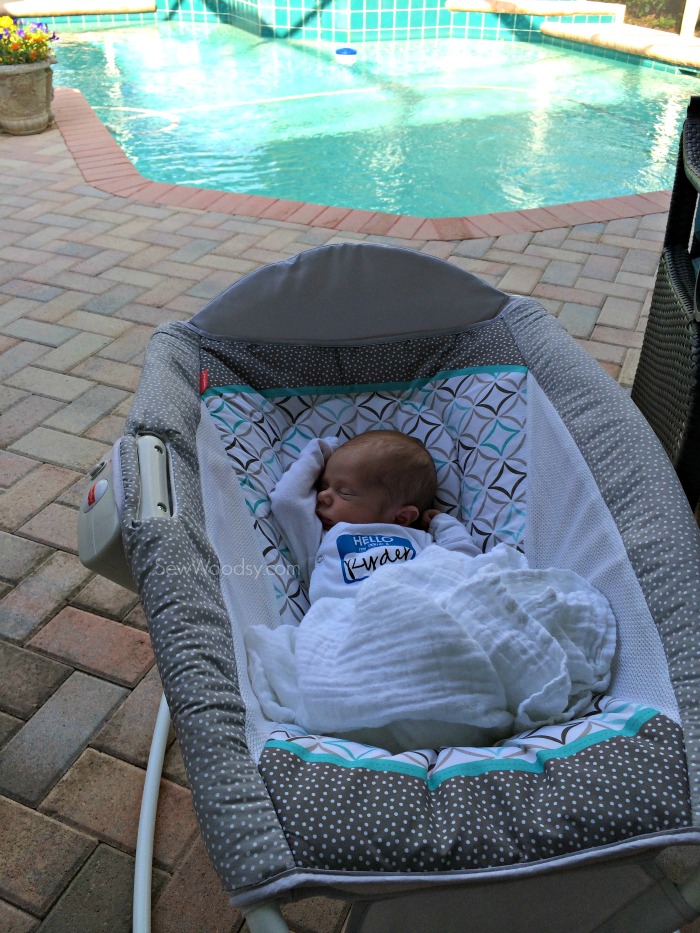
He finally really fit in to the shirt 2 months after he was born. Here he is in all his 2-month glory lounging by the pool! What a life!
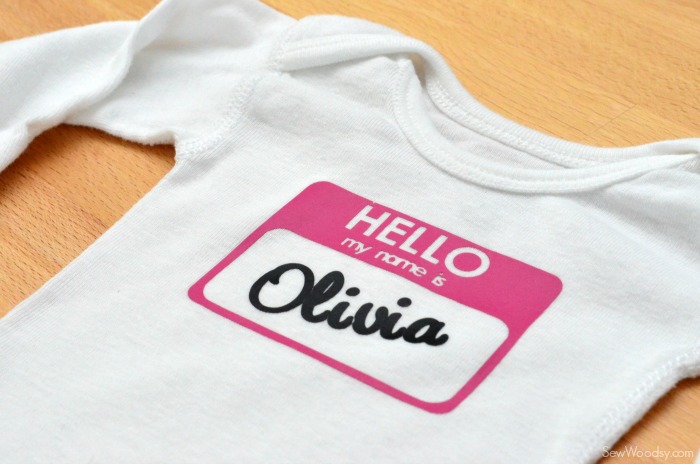
I’ve made these as baby shower gifts too! I love using the pink iron-on vinyl for the girl shirts!

And the blue for the boys!
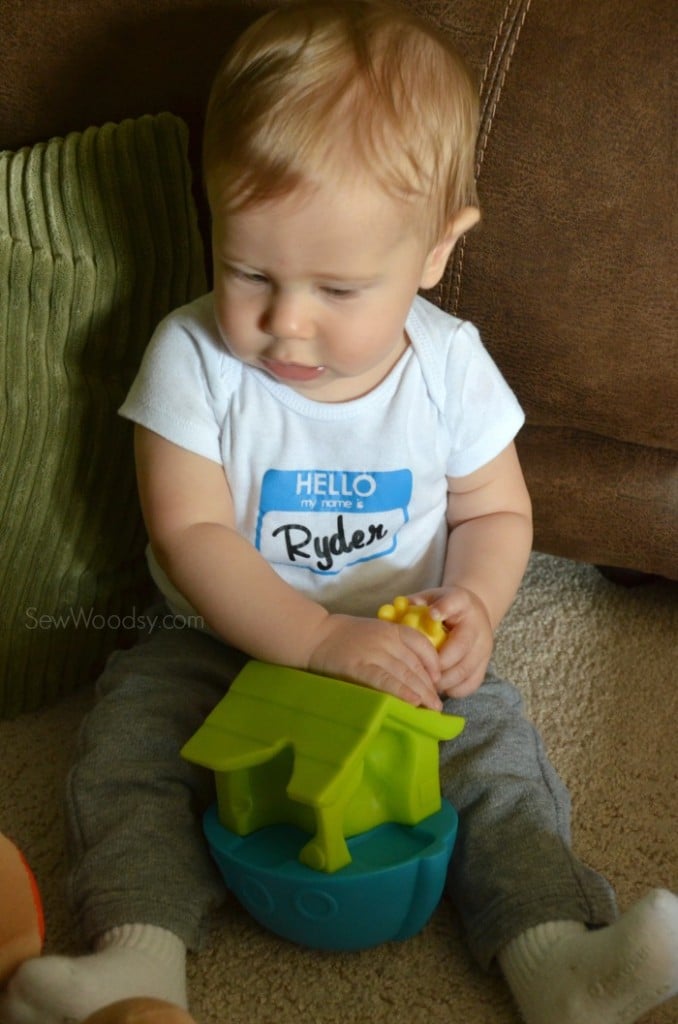
I’ve made this shirt now 2 other times for Ryder and this is what he currently looks like with it on… he’s 10 months now. How the heck is that possible?
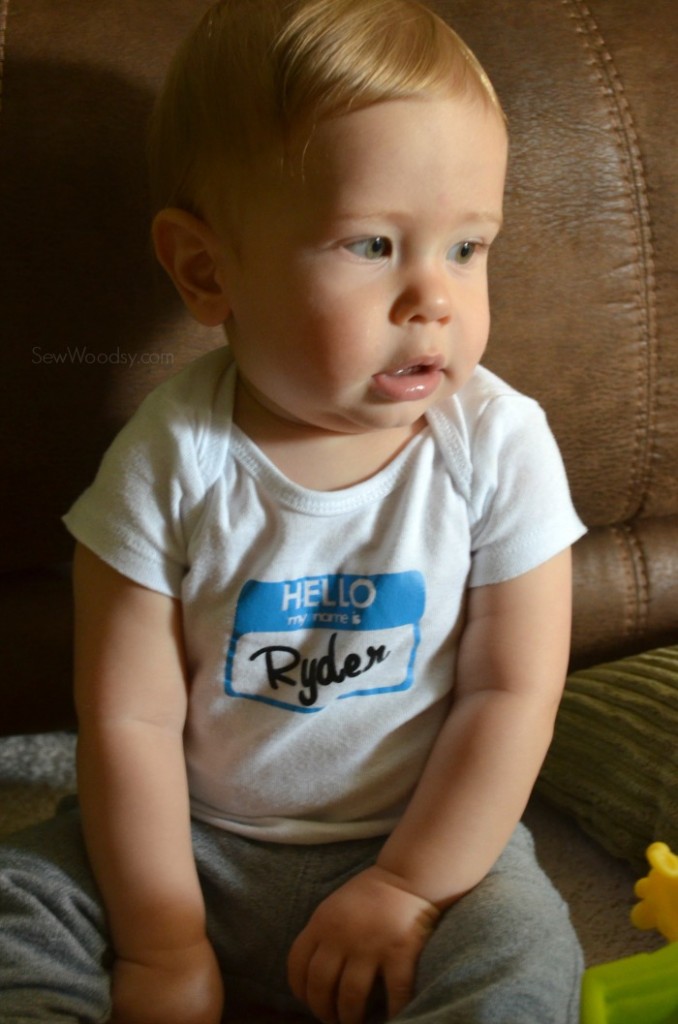
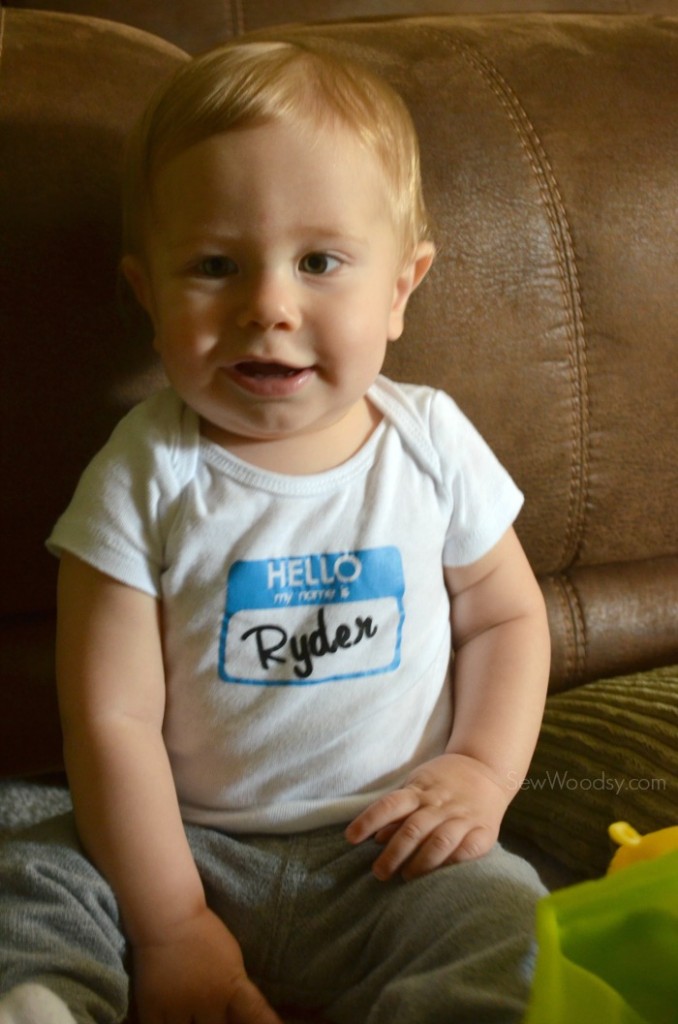
Almost impossible to photograph him without it being blurry. I love this photo though. It shows his personality!
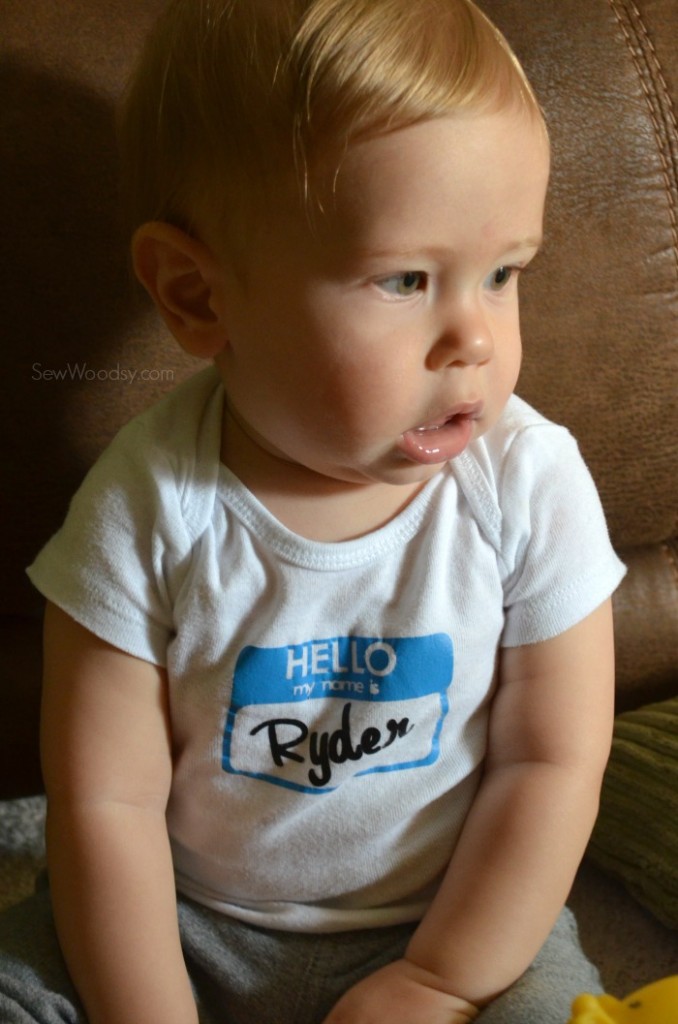
I love dressing him in the shirt when we go to a new playgroup. That way his name is right in front for the instructor to read!
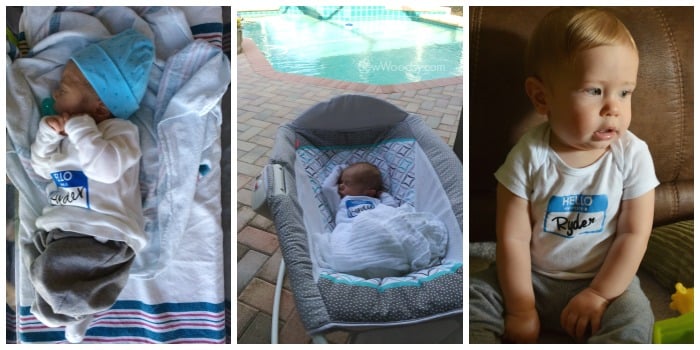
There is my little boy from newborn to now budding 10 month old! Time is flying way too fast!
Disclaimer: There are affiliate links in this post. As always all opinions are my own.