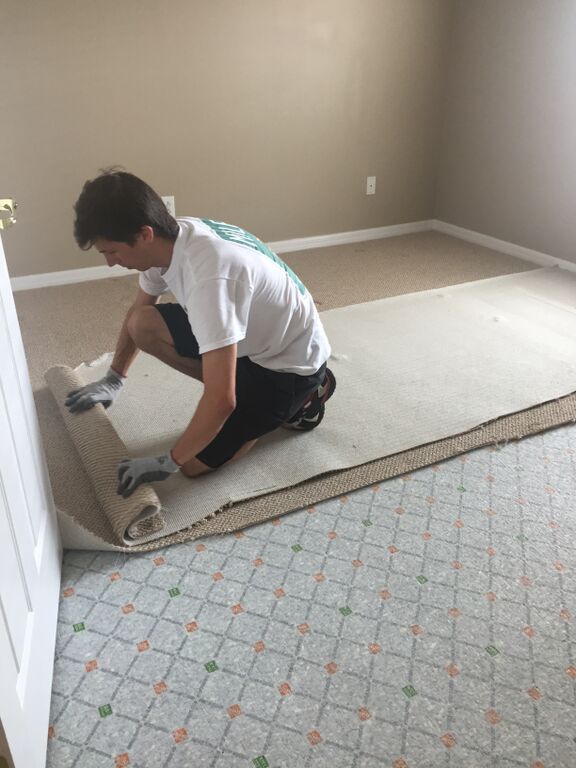
Hi guys, thanks for baring with us. We have been chin-deep in renovations. If you follow on Instagram I’ve been sharing a bunch, but in case you don’t follow me on Instagram I figured I would share a few photos of what we’ve been up too. Today was suppose to be moving day, but we’ve decided to finish up on a few more things around the house before we move in. So hopefully if all goes well we will be moving in by mid-week.
We started by removing all the carpet from the bedrooms. After Jon started removing it he started making me feel guilty telling me that this was high quality carpet and practically brand new. Made me feel really bad and guilty for ripping up all the carpet. But at the end of the day I’m happy and blessed that we could afford to do new floors throughout our house.
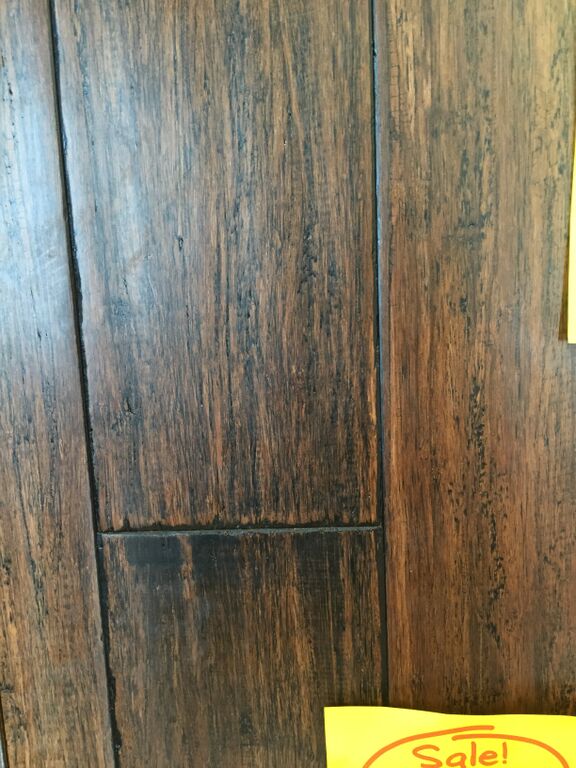
After a month of deliberating we went with a very rustic dark brow Handscraped Honey Strand Bamboo flooring from Lumber Liquidators. The website makes it look much lighter and I was told by the sales associate that it use to be very light and now it’s on the darker side. Why that happened? Who knows… It was on sale for $2.99 a square foot and we had a 10% off coupon that made the floors $1.61 a square foot! Even better. We went with a click and lock flooring because it installs quicker. We’ve done glue before and it takes FOREVER. And forever is not in our timeframe for renovating.
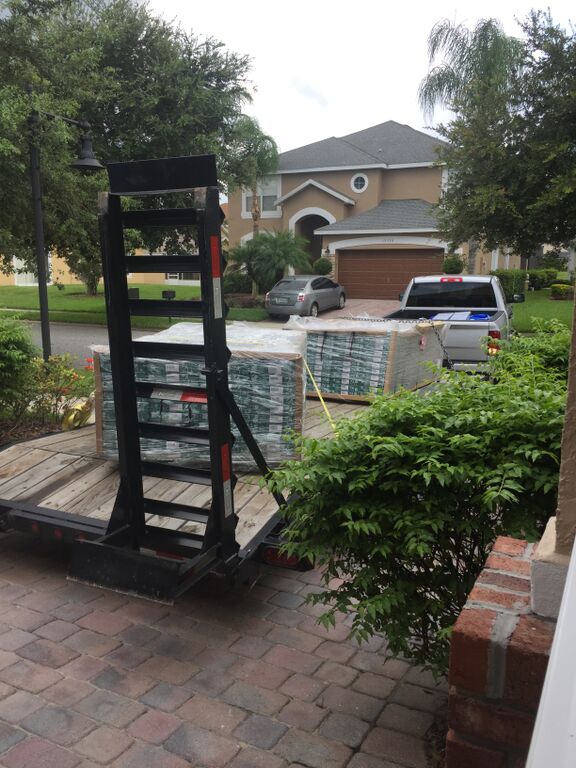
The next day we went to pick up the floors. Jon, myself, and one of his workers unloaded 5,300 pounds of hardwood floors. Yes… you read that correctly. It took us less than an hour to unload. Ryder played in his pack and play while we busted our butt. The one downside to bamboo flooring is that you need to let it acclimate for 2 weeks. So while the floor rested we worked on the rest of the house prepping it for floors.
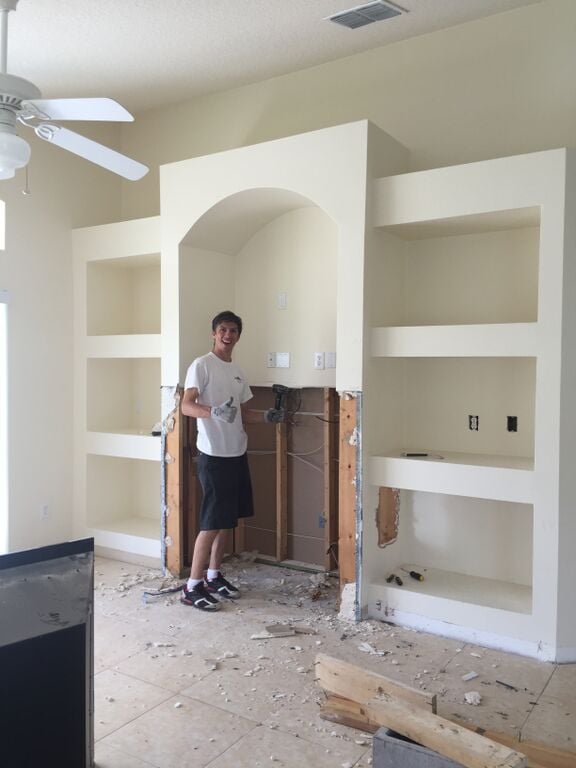
First up, demoing the drywall entertainment center. Ryder went to his grandparents for 2 days while Jon and I got to work.
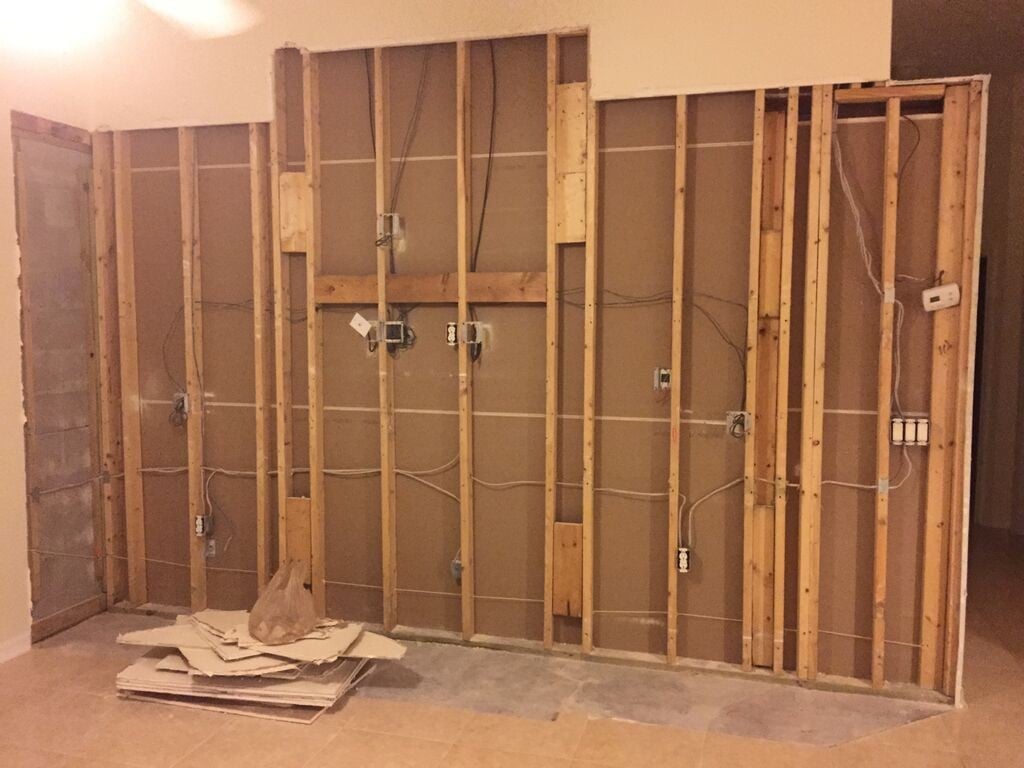
Jon finished on that Tuesday night and the dry wall guys came in later that week. He even re-wired so that everything is “cleaner” and he added in a tv support bracket for his future massive flat screen tv. The upside of ripping the wall out and down to it’s studs.
I posted this video on Instagram back in the beginning of August. Shows the steps/process. This thing was built to with stain the strongest hurricane around. I tried take a sledge hammer to the dry wall and it practically bounced off. How they make it look so easy on DIY show’s is beyond me.
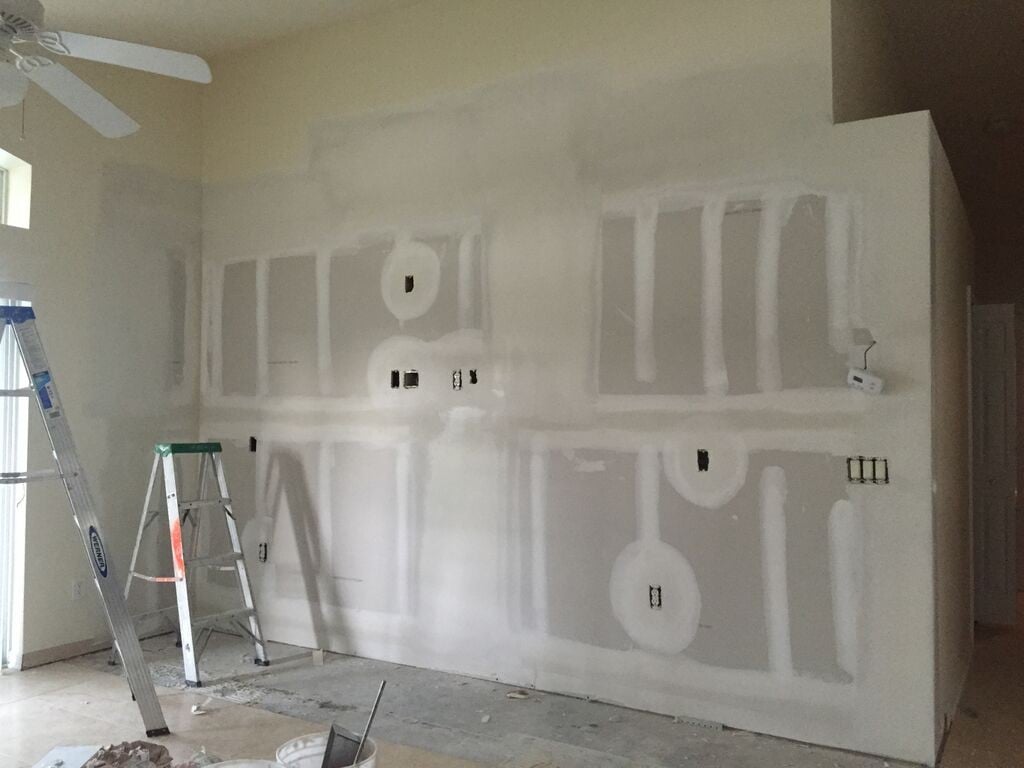
This is what it looked like before they did the texture on the walls. Seriously this transformed the room so much!
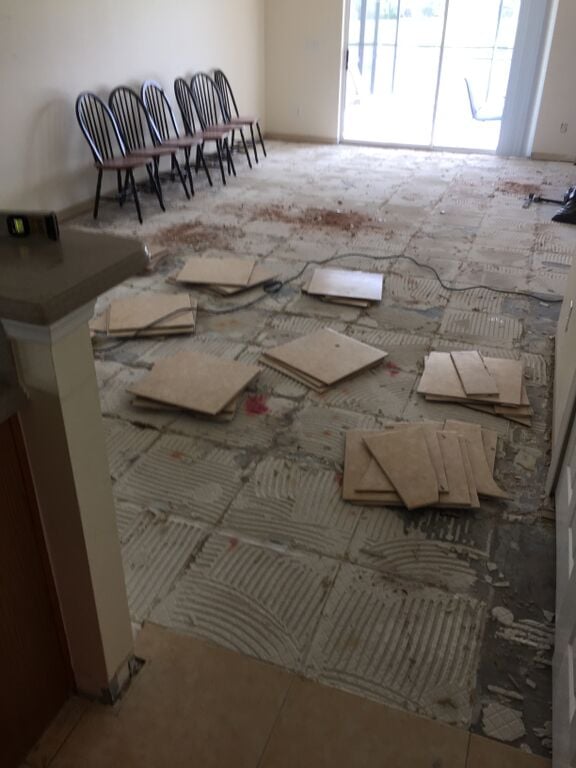
While I was on my Stonyfield Organics trip, Jon ripped out all the tile and the hardwood in the front room. The drywall company we hired to do the drywall work quoted us and said they would rip out tile and they backed out. Not sure if I’ll recommend them to anyone–don’t blow us off. Just tell us you don’t want to do the work.
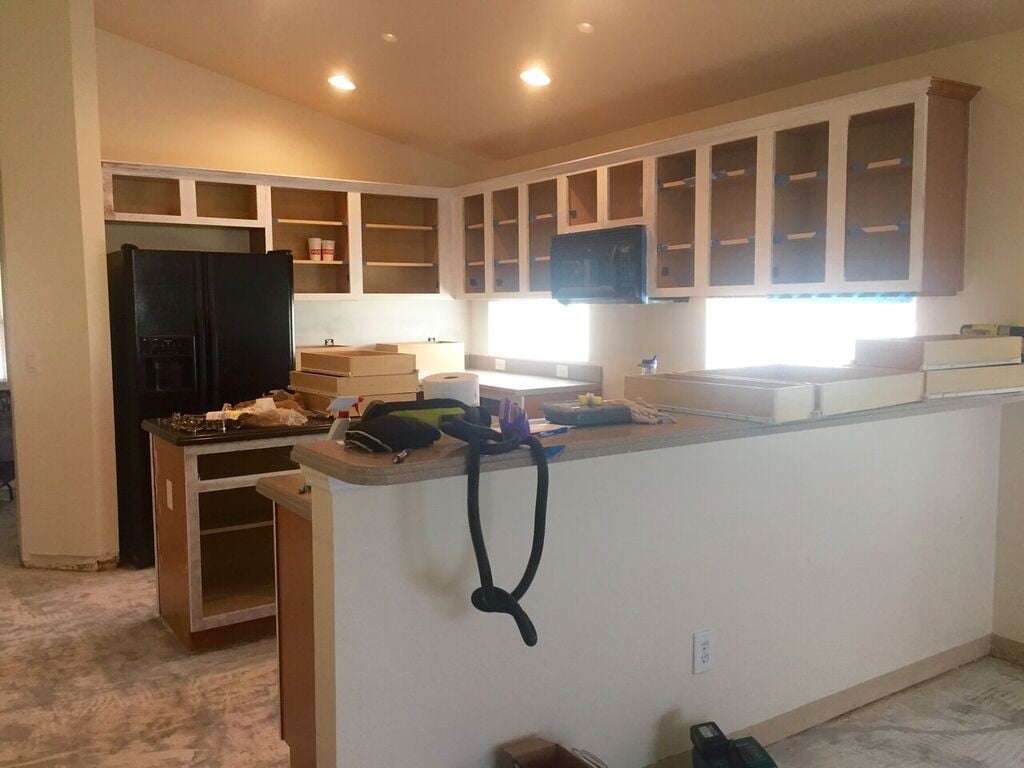
Once all the tile was ripped out and the dust finally settled it was time to start working on the kitchen cabinets and the floors. This is what the kitchen looked like after the first coat of paint. Eventually the breakfast bar will be knocked down to a counter-height breakfast bar.
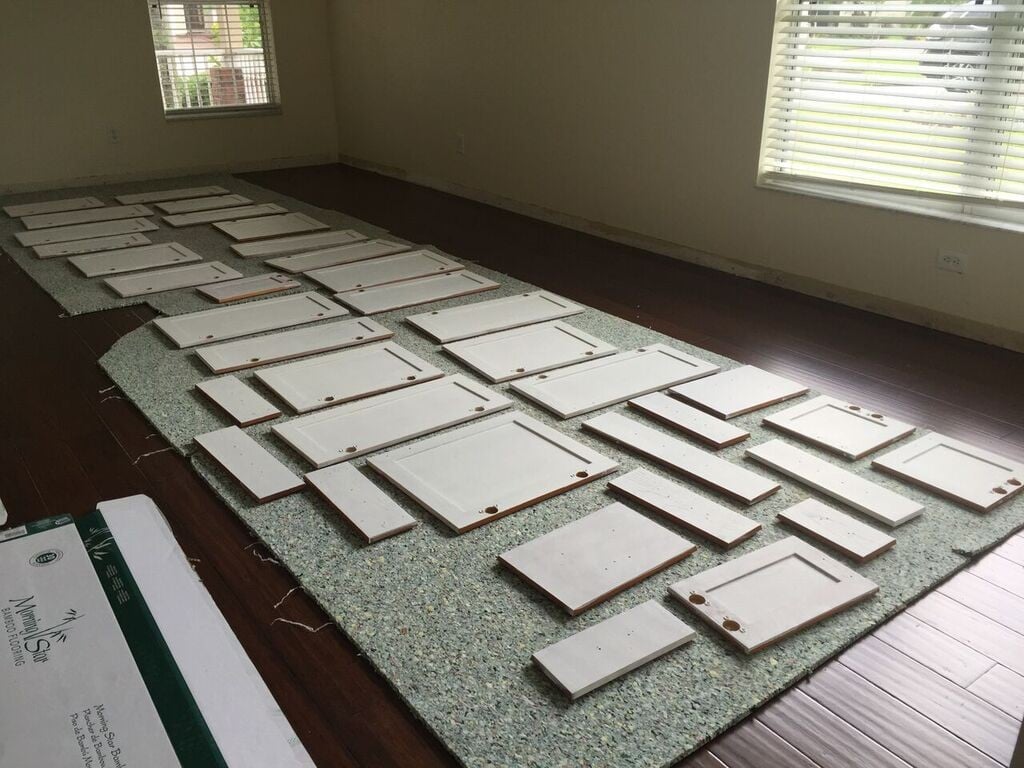
All of my doors drying after their first/second coats of paint.
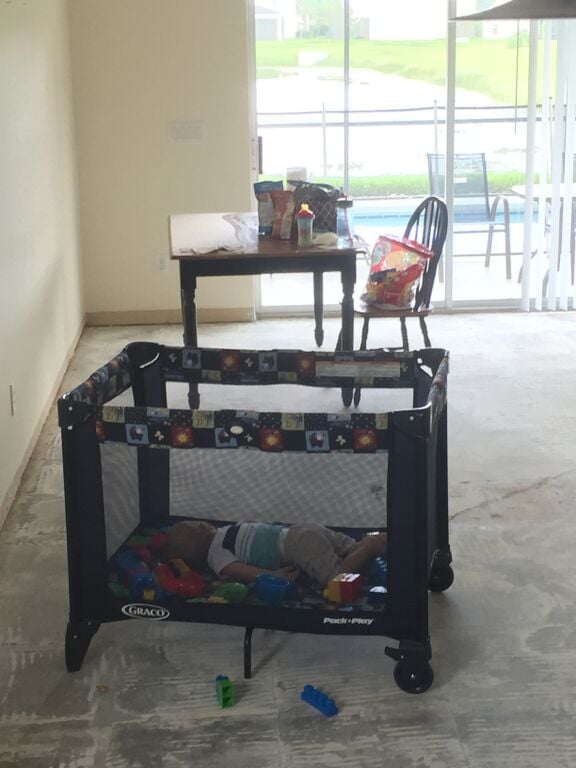
Ryder has spent a lot of time in his pack and play. Bless this little boy. He’s also taken a few naps in the pack and play while I painted cabinets!
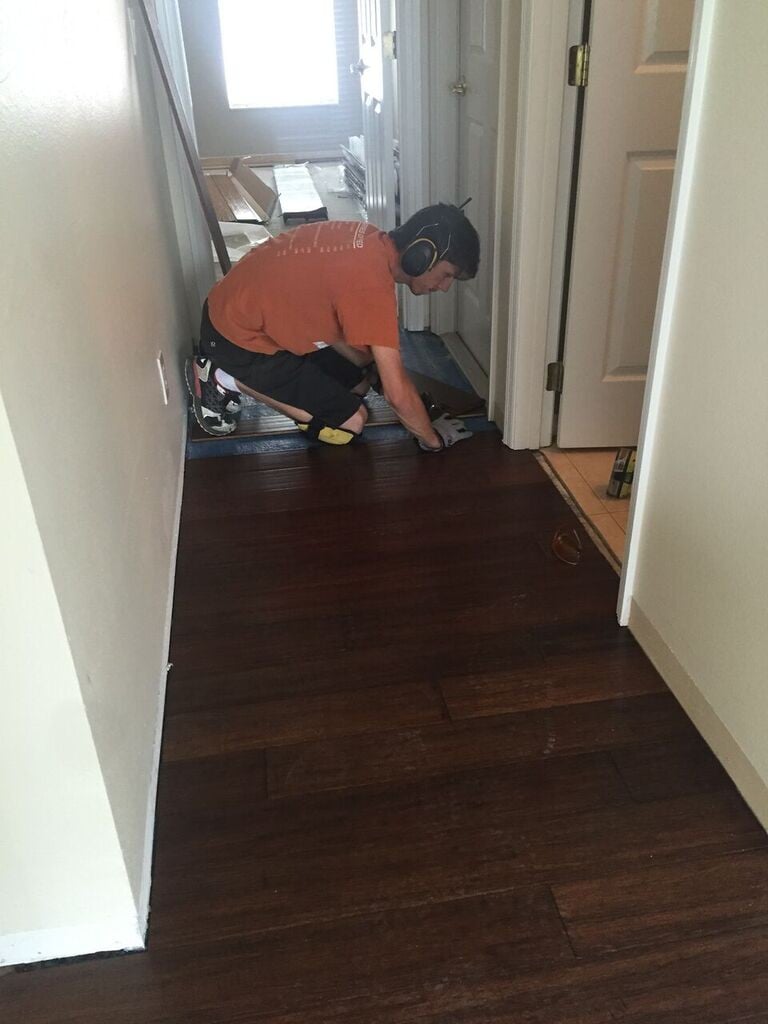
Ryder went to my inlays last weekend and we worked on the house. I helped Jon with the hall (lots of little cuts), the family room and dining room as well as the playroom and master bedroom.
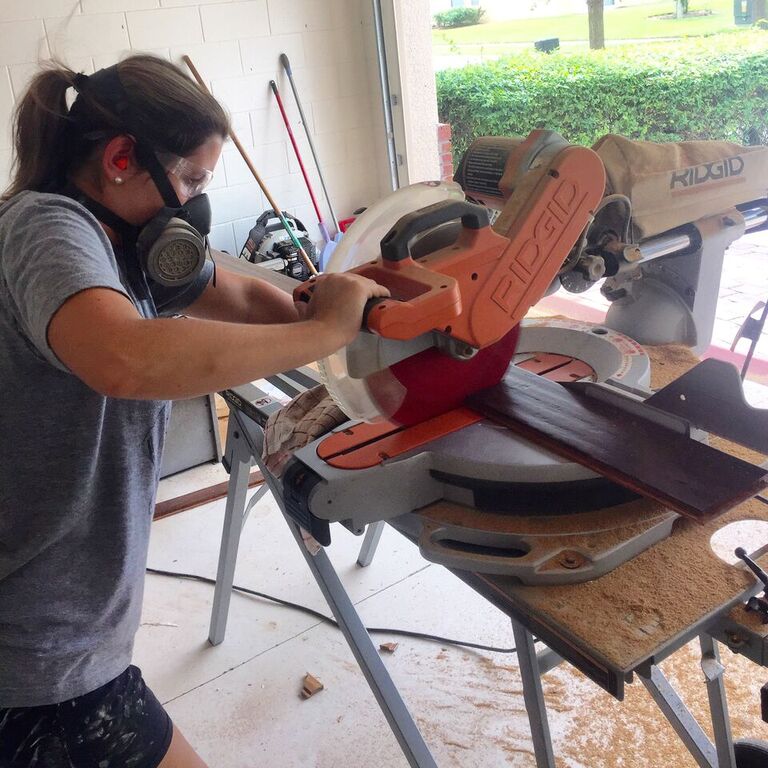
I was the main cutter until it got to the crazy cuts and then Jon took back over.
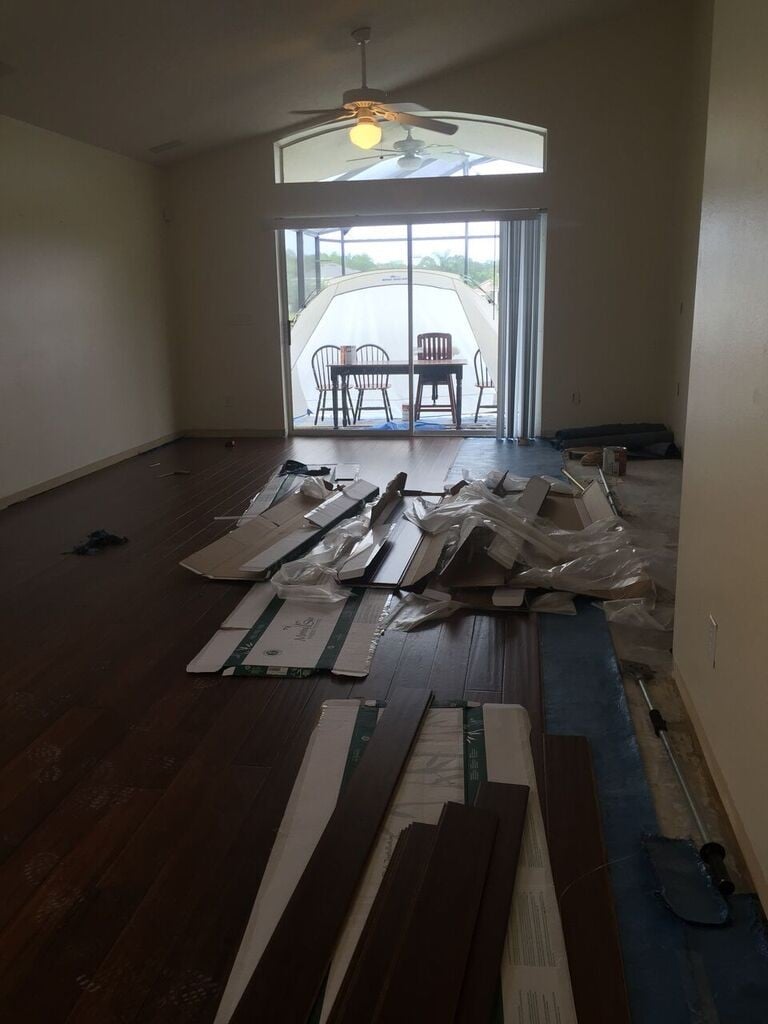
Almost done with our family room…
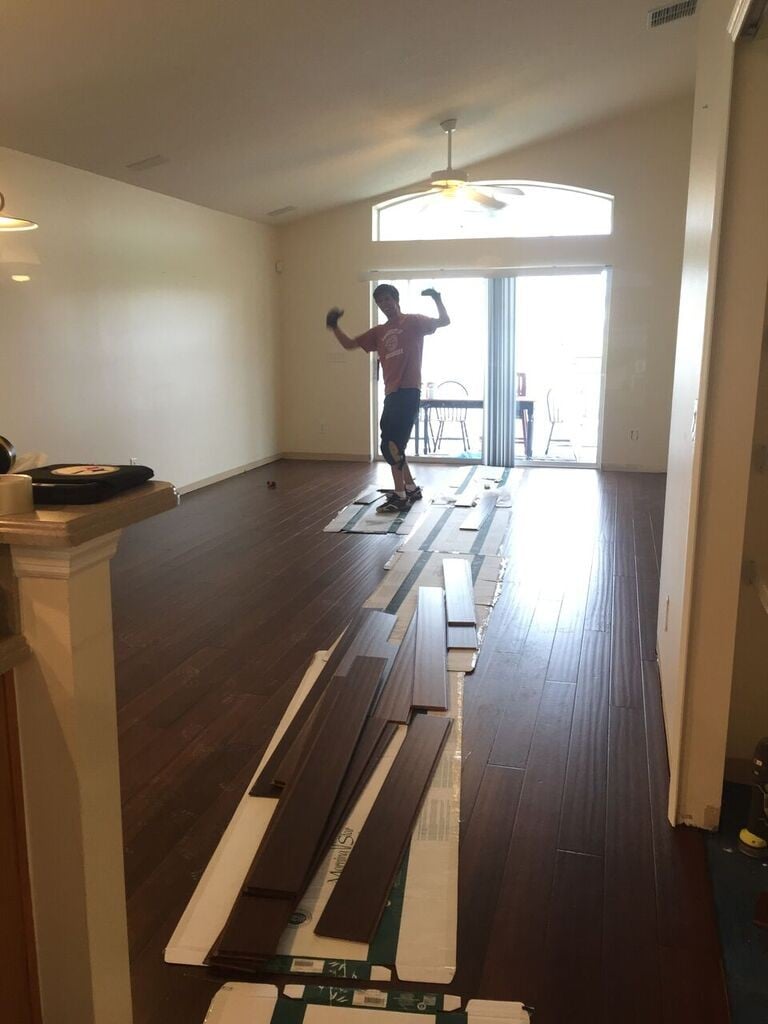
We finished up just before we had to leave to pick up Ryder from my inlaws house.
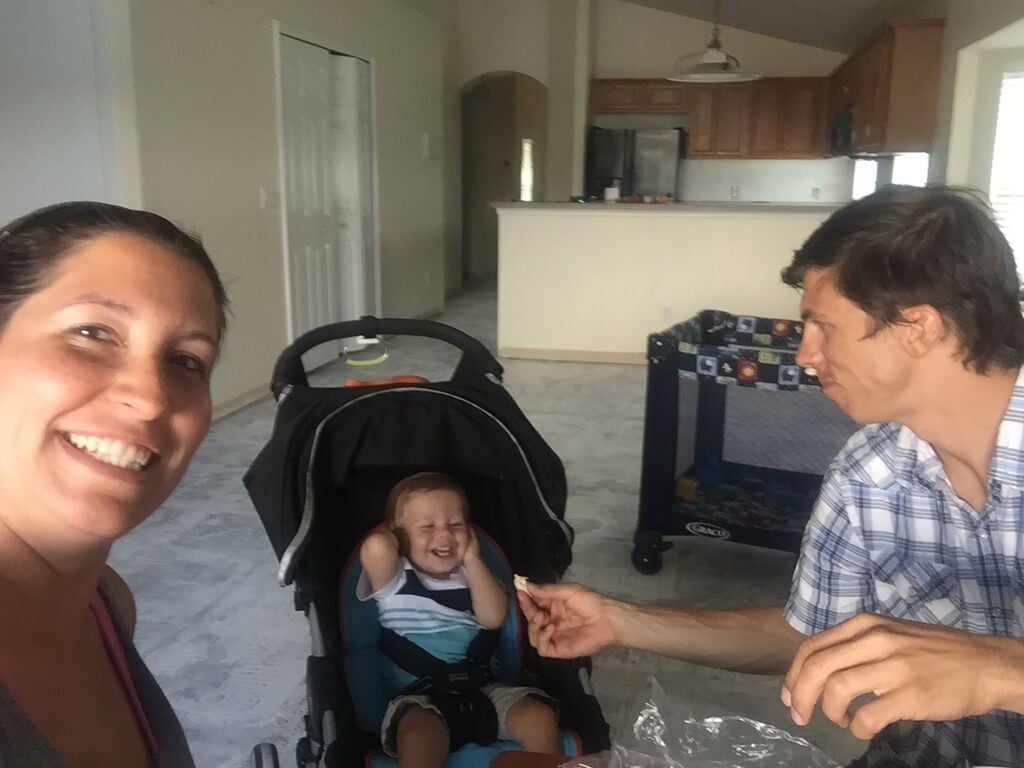
We also had our first (of now many) family dinners in the house!
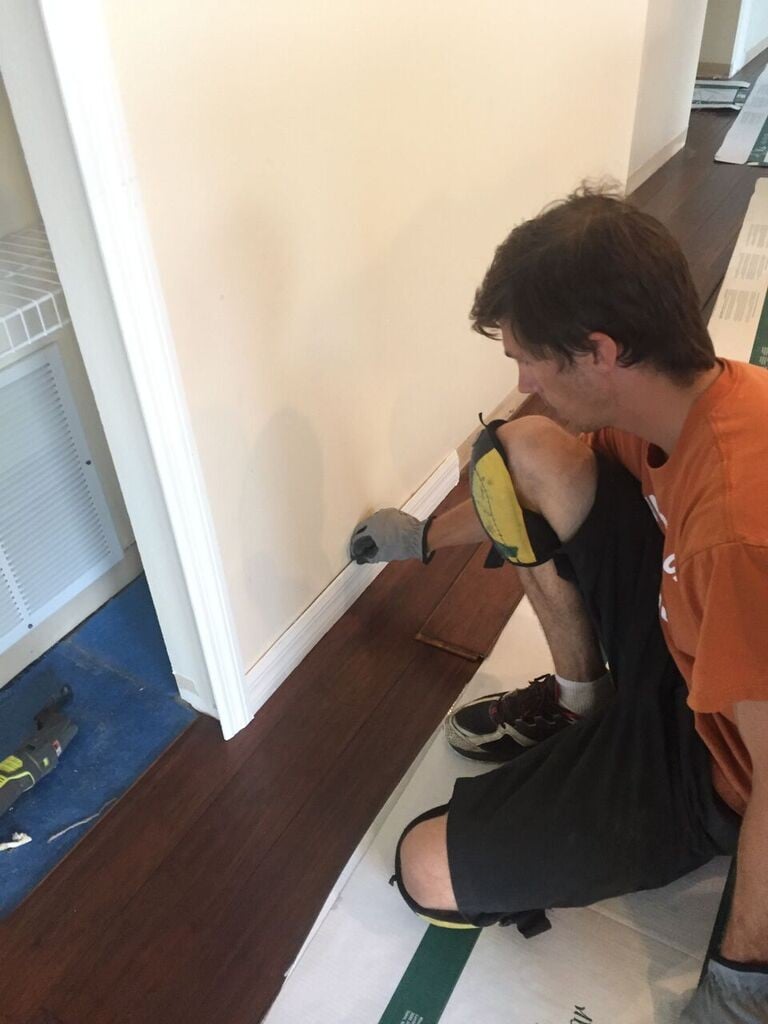
Jon would tell me to keep the flooring 1/4″ from the wall. He kept yelling at me that I was leaving too much or too little of a space. So he showed me his moulding trick. He took a scrap piece of moulding up to the wall and then if the flooring didn’t show then we were good!
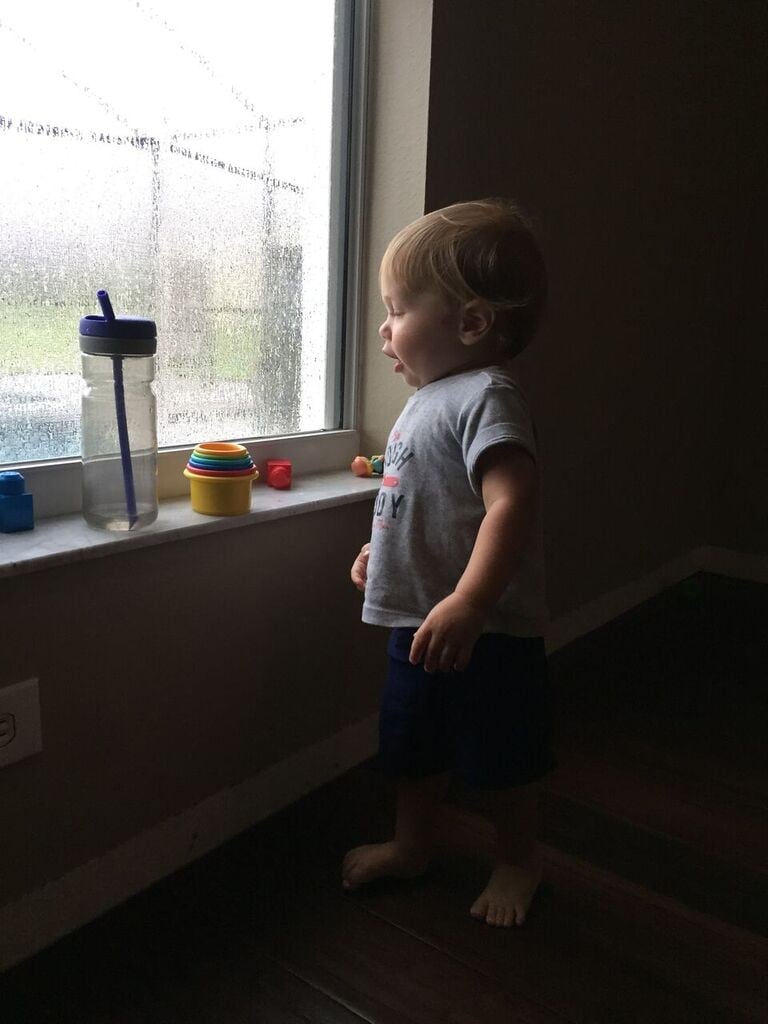
Once the first bedrooms floors were done we brought over a carpet and a few pillows and toys and turned it into our “make shift” playroom. We even had our sitter come over a few afternoons so that Ryder could play in the room with her while we worked.
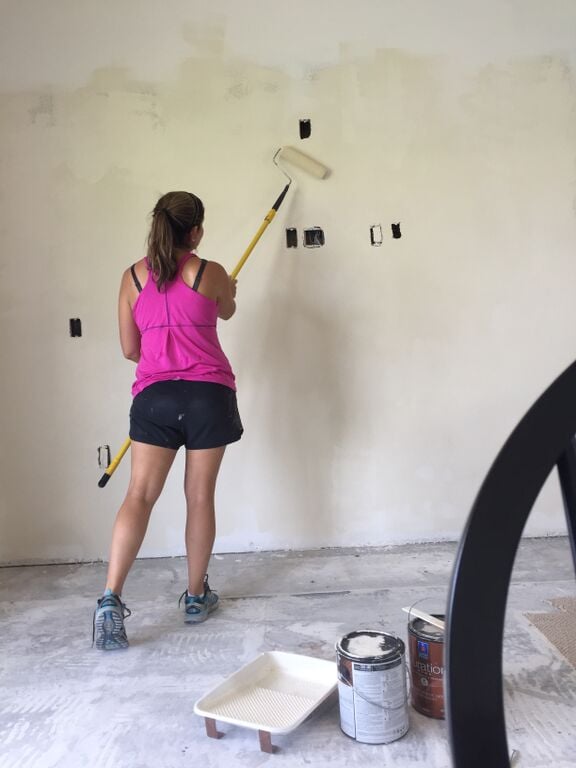
I also started painting our new drywall. Tip: Always prime drywall because if not you’ll be doing multiple coats.
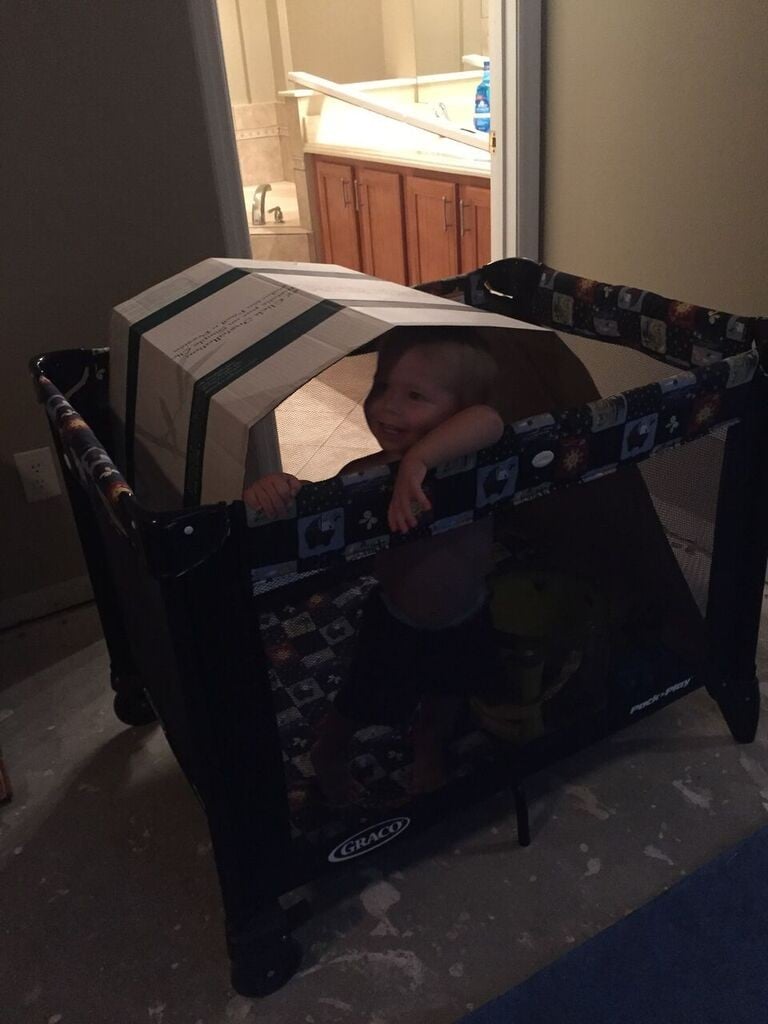
Ryder was over being in the pack and play the other night, so Jon made him a box fort that kept him occupied for about a half hour.
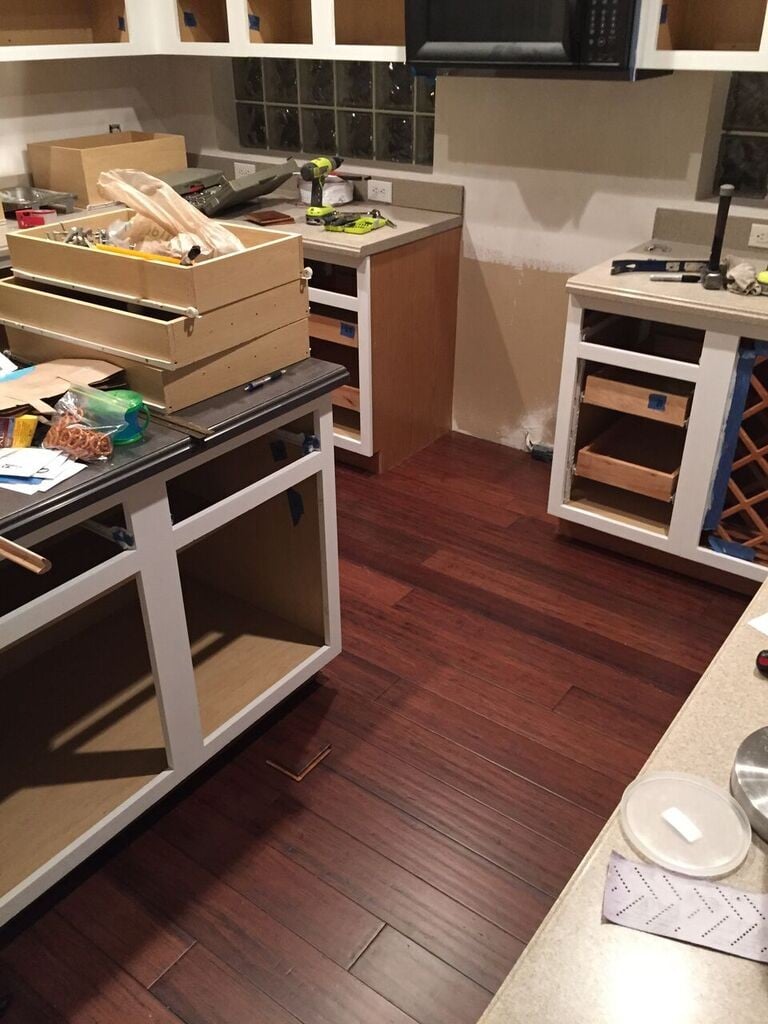
Jon just finished the wood floors in the kitchen last night. I love them and am so happy how they turned out. We still have a lot to get accomplished this coming weekend before we move in on Tuesday!
Just to recap this is what we’ve done so far:
- Removed all the carpet and tile
- Removed all baseboards
- Removed the dry-wall entertainment center
- Installed hardwood bamboo floors
- Painted the kitchen cabinets white
This is what we still need to do:
- Paint baseboards
- Patch a small hole in the wall near the baseboards that the sellers had broke
- Install baseboards
- Re-set closet doors in bedrooms
- Re-set the kitchen pantry shelves
- Add in the transition pieces
- Finish painting kitchen cabinet doors
- Polyurethane coat on the actual kitchen cabinets plus doors
- Clean (thankfully we’ve hired a cleaning company to do that)
I’ll share next week a glimpse of what the house looks like with the furniture in it!