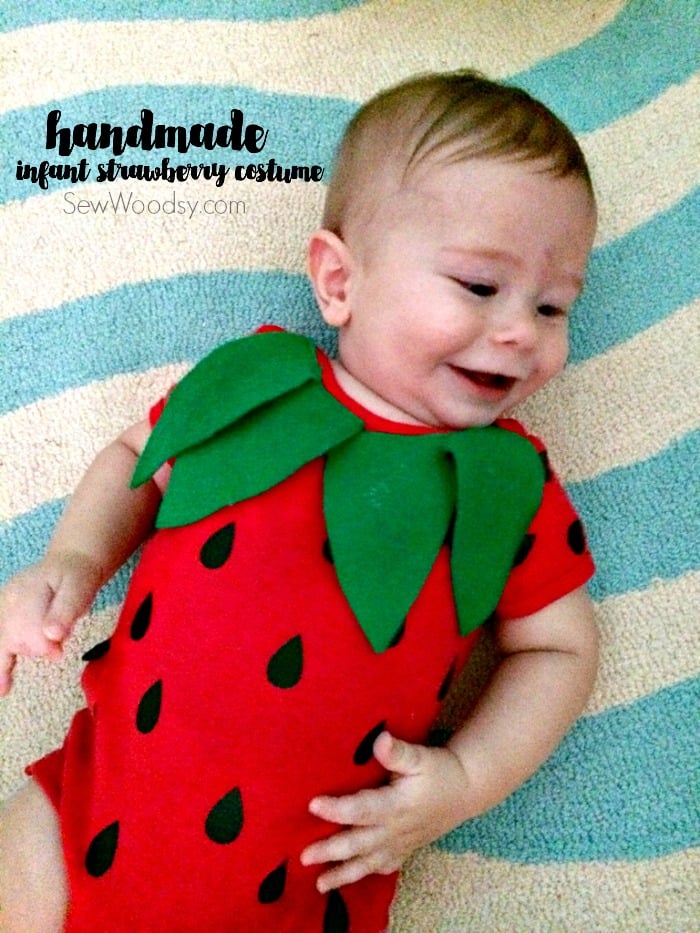
I can’t believe it’s October already. I’ve been meaning to share this adorable and easy-to-make DIY Infant Strawberry Costume for the past month. I whipped this up last year for Ryder just a few days before Halloween. As you are aware of by now, we love Halloween at my house. He had THREE costumes last year. Yes, three. We had one costume that was handed down to us. And then one that we bought, and then I felt some mom-guilt and felt the need to make him a costume.
I’m going to admit, I learned a great lesson. The handmade costume was my favorite, and after last year’s 3 costume switch out. I’ve officially vowed to only make his costume from here on out or at least until he demands a crazy store-bought costume. I whipped up this strawberry costume in about 30 minutes–ok probably an hour after all the stopping in between. If you own a Cricut this is super easy and very minimal sewing–if you can’t sew. No biggie, I’ll share a great alternative to sewing. And if you don’t own a Cricut you can cut the seeds out of felt and sew or glue them on. Also, these aren’t the best photos. I apologize now, and am sad I didn’t whip out my good camera to take final photos–everything was done on my iPhone. I was a sleep deprived new-mom at the time. Also, looking at these photos makes me sad that he’s so grown up already. Ok, rant over–let’s get on to the project.
Supplies for Infant Strawberry Costume:
- Cricut Explore
- Cricut Design Space
- Black Iron-On Vinyl
- Cricut Tools
- Iron & Ironing board
- Red Onesie
- Green Felt
- Scissors, Pen, Paper
- Sewing Machine
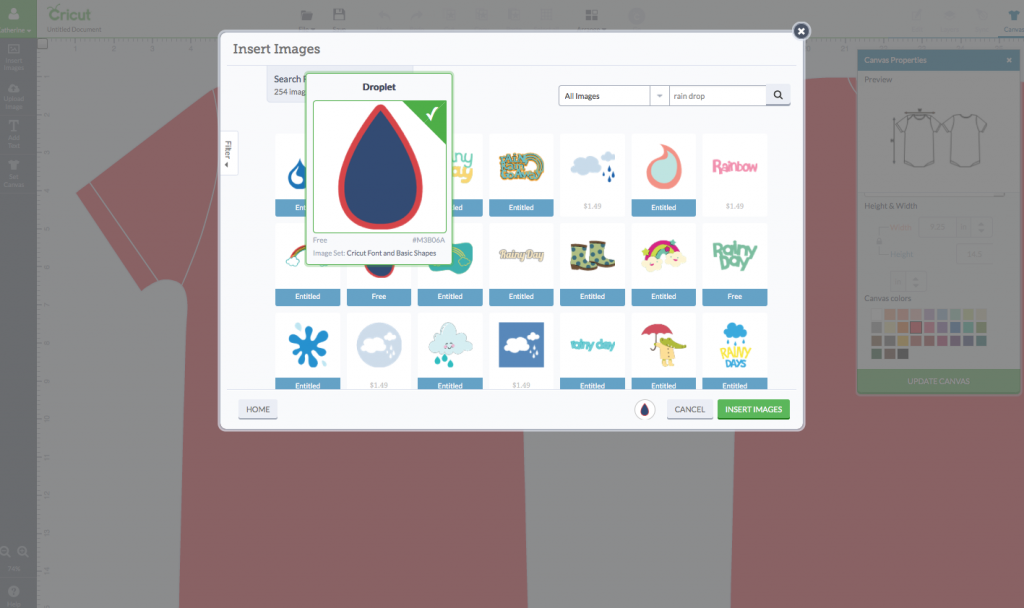
First up, I found this droplet image on Cricut Design Space. This was the closest thing I found that looked like a seed. 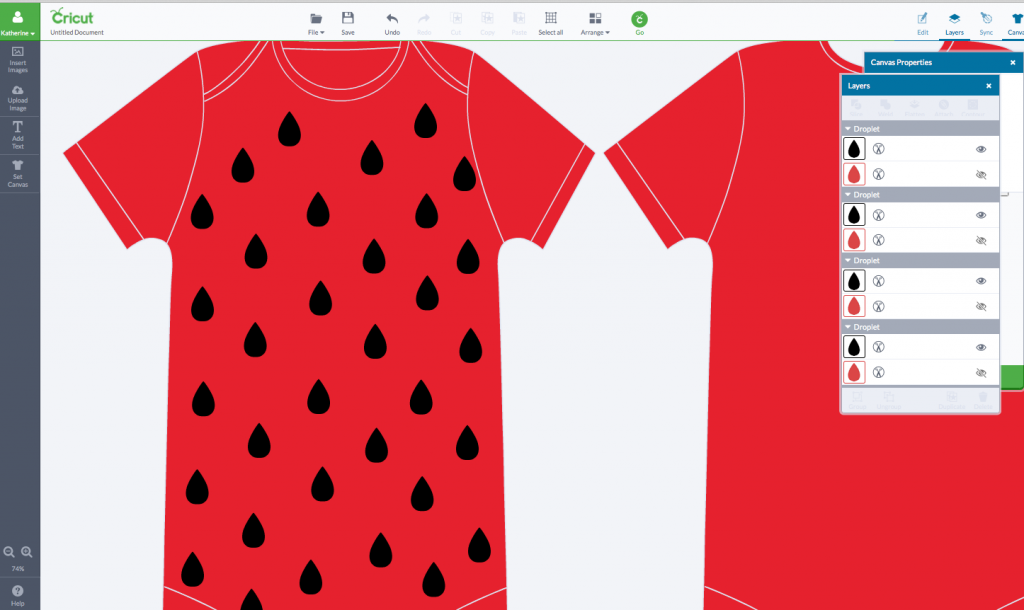
Once I found the image then I started duplicating and placing the “seeds” on the red onesie canvas. *I also removed the outer layer of the droplet since I didn’t need that.
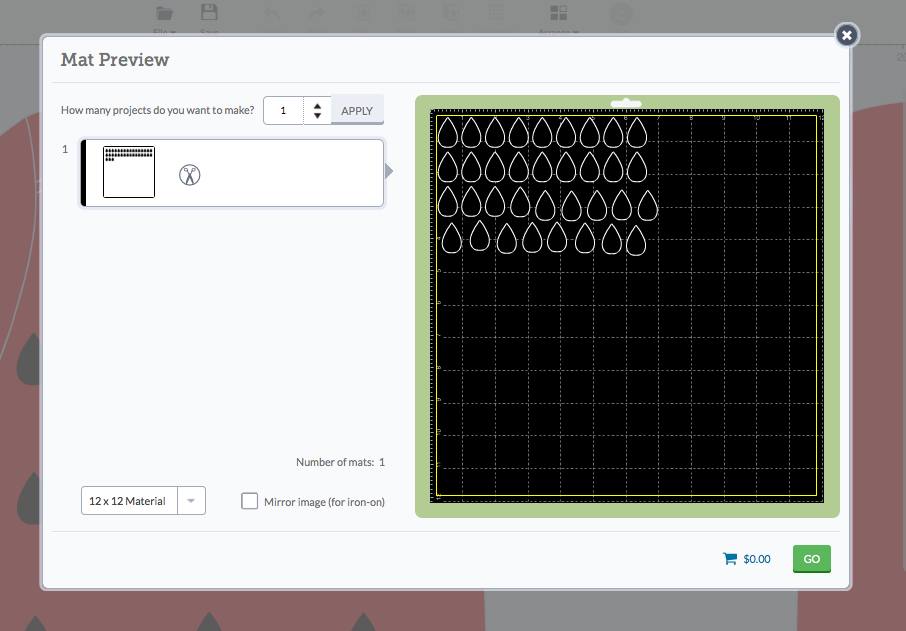
Next it was time to print. I had a very small piece of black Iron-On vinyl available to use, so I arrange the droplets so it would fit on my piece of vinyl.
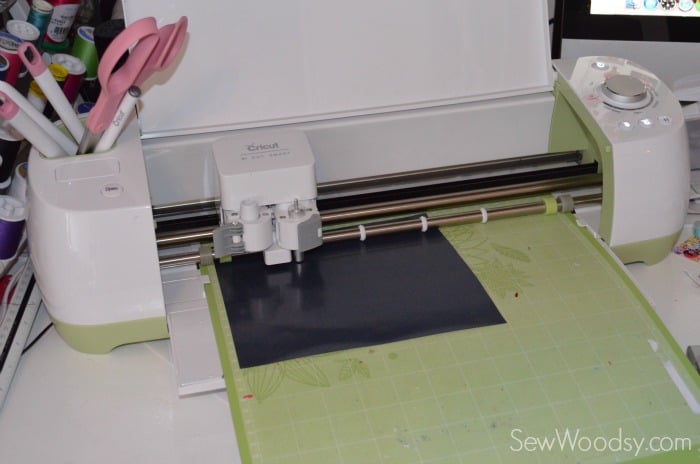
I choose the Iron-On vinyl setting and let the Cricut Explore do its job.
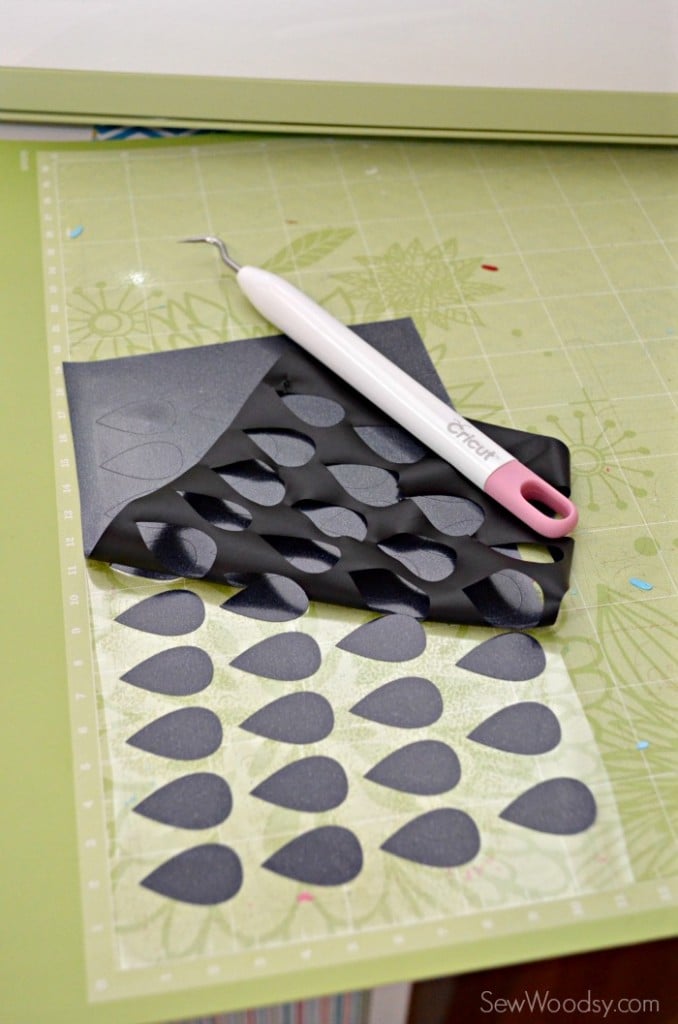
Next up, I remove the negative parts of the Iron-On Vinyl from the mat.
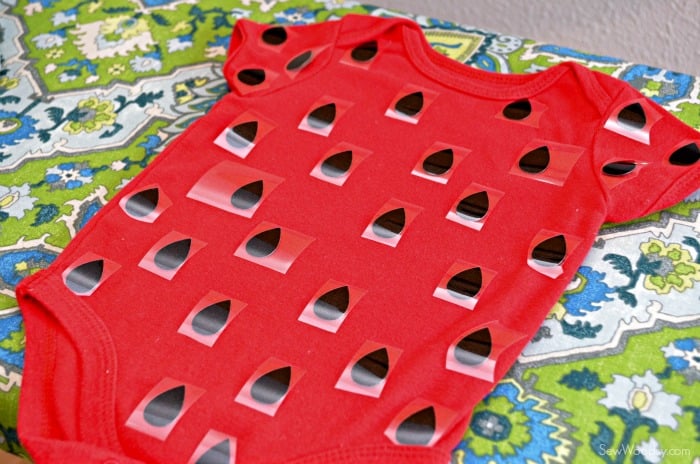
And then I cut out each seed individually so that the sticky side was available to be placed on the onesie. I placed the seeds sporadically on the onesie–no exact method here.
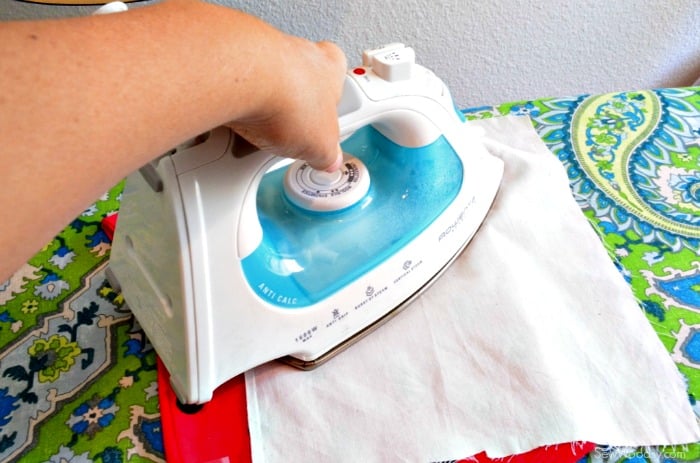
Next, iron on the vinyl. I always like to use a thin piece of muslin cloth to protect my iron. Press the iron directly on the iron-on vinyl for 20-30 seconds.
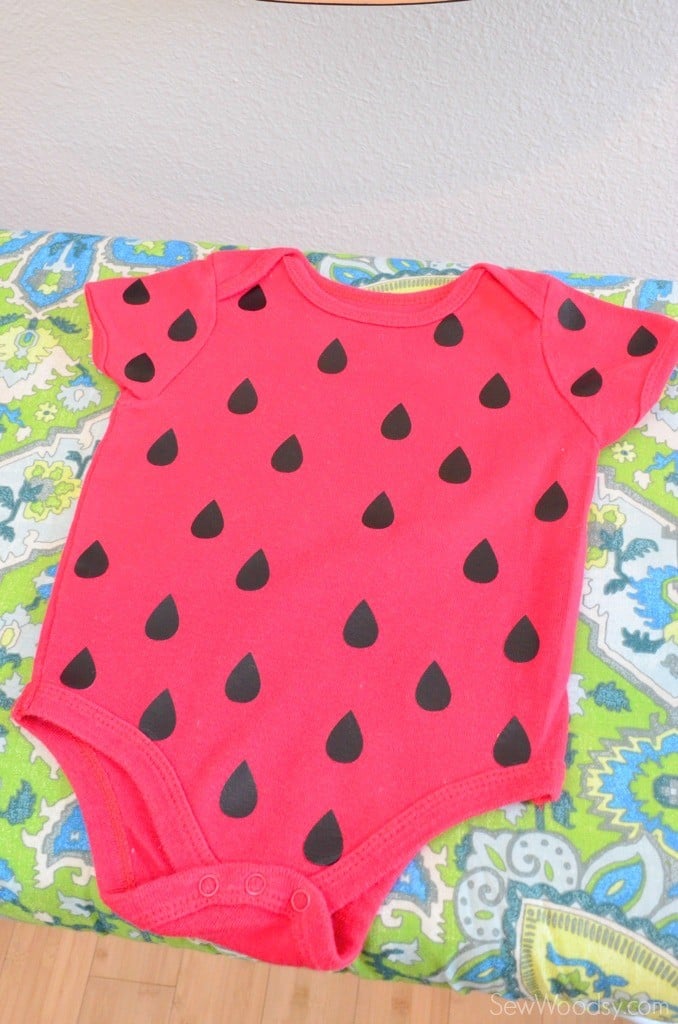
This is what it looked like once the seeds were in place.
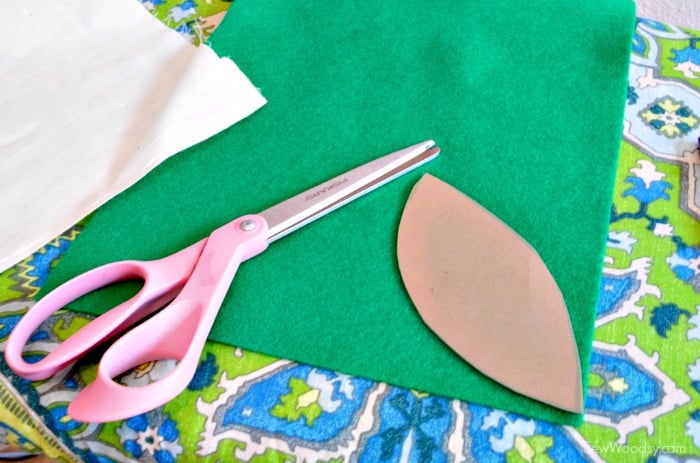
Next up, I cut a pointed leaf like shape out of card-stock. Then I traced it on green felt, and cut it out.
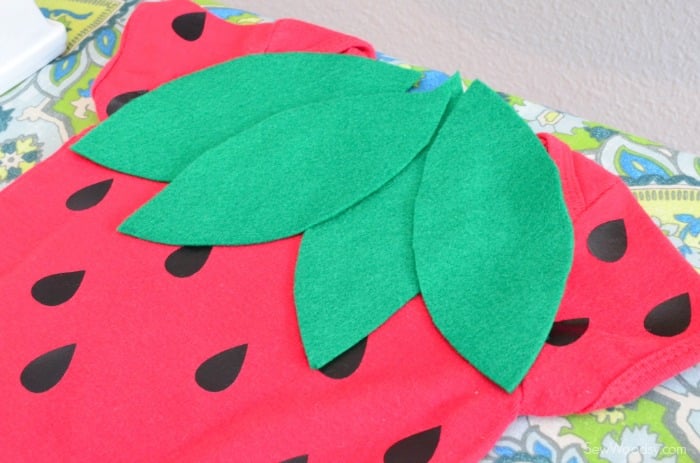
I placed the 4 leafs on the top of the onesie neck.
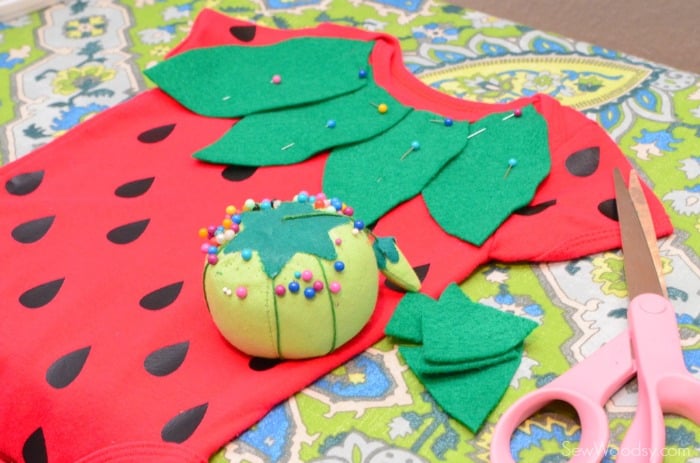
I pinned it in place then cut the leaves to match the neck opening.
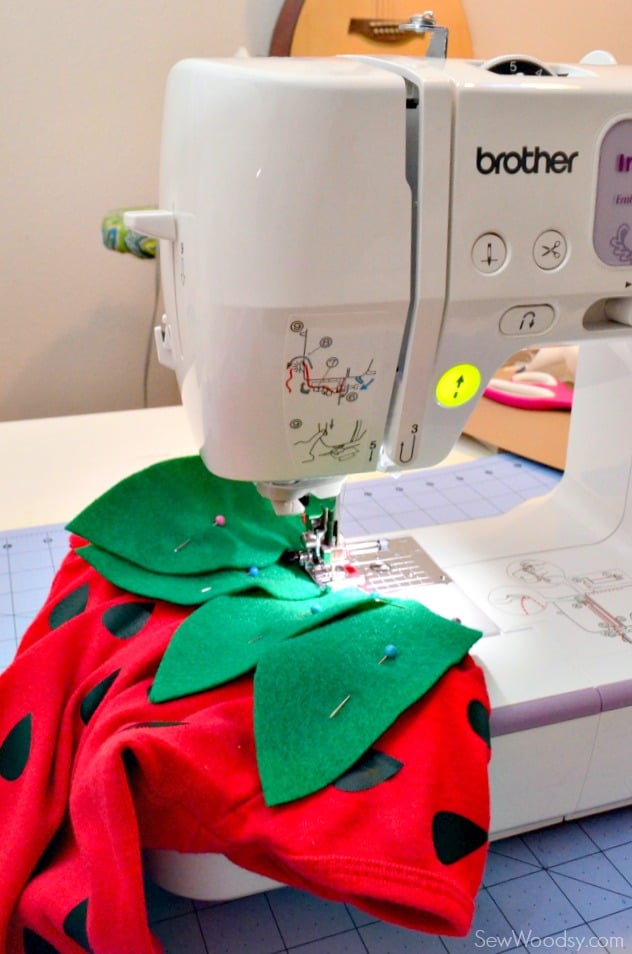
Using my sewing machine I sewed the leaves in place; however, if you don’t have a sewing machine you could do one of two things. You could use fabric glue and glue on the leaves–that will take a good day to dry or place heat and bond on the back and iron it in place.
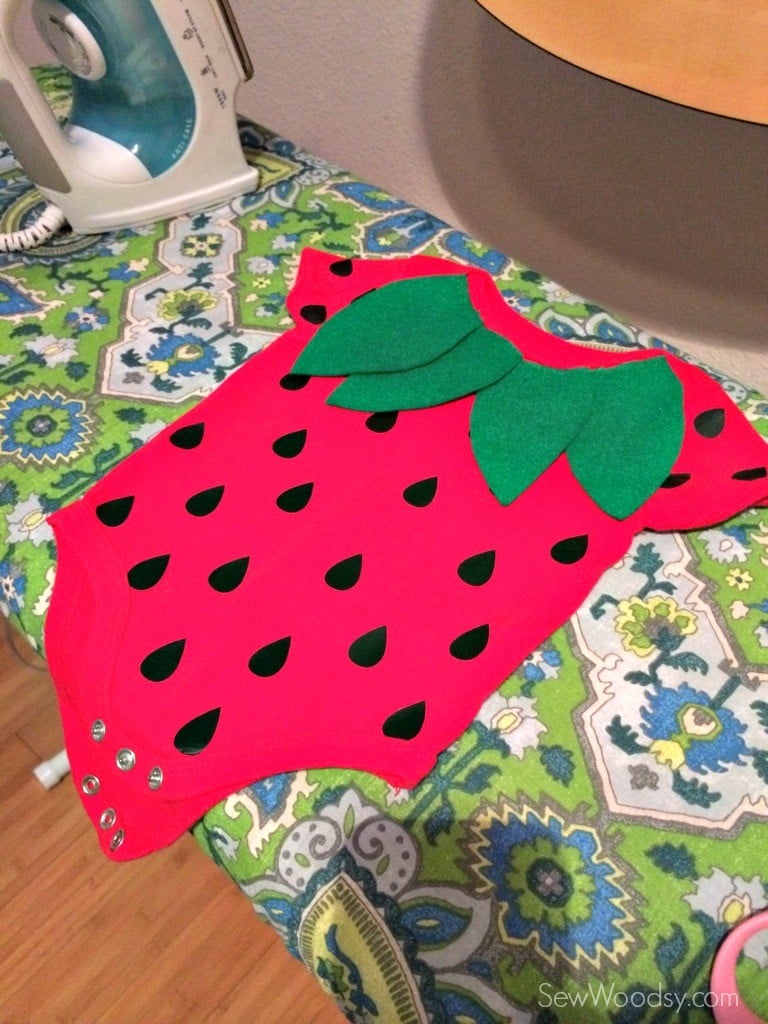
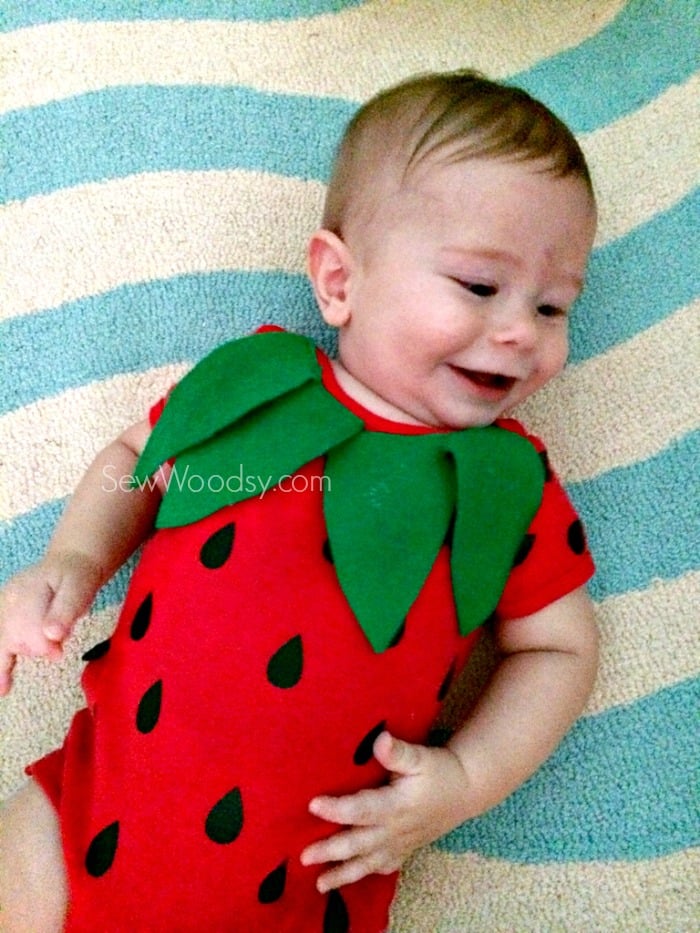
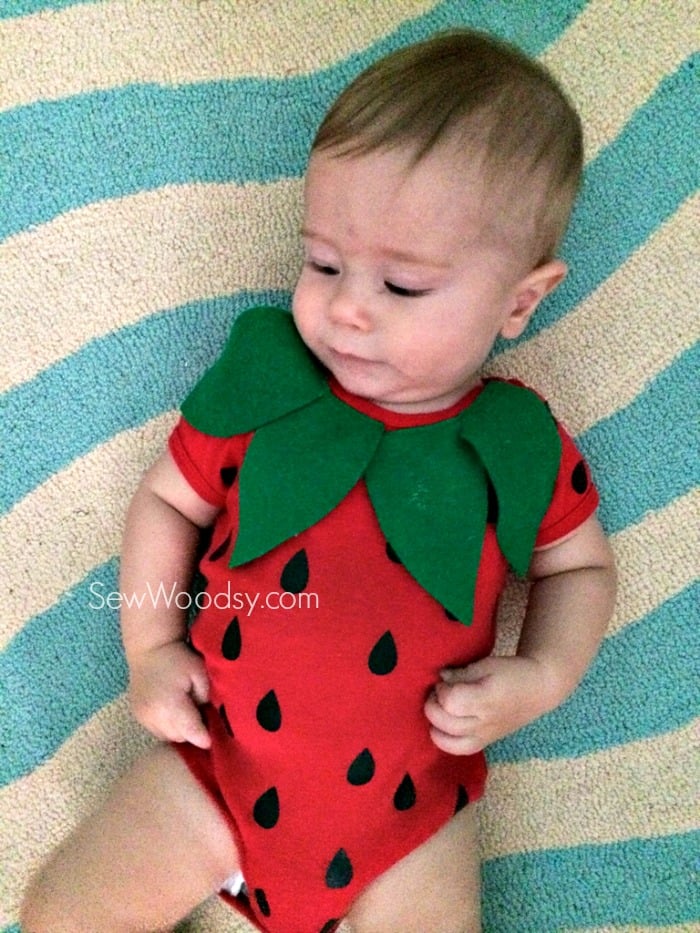
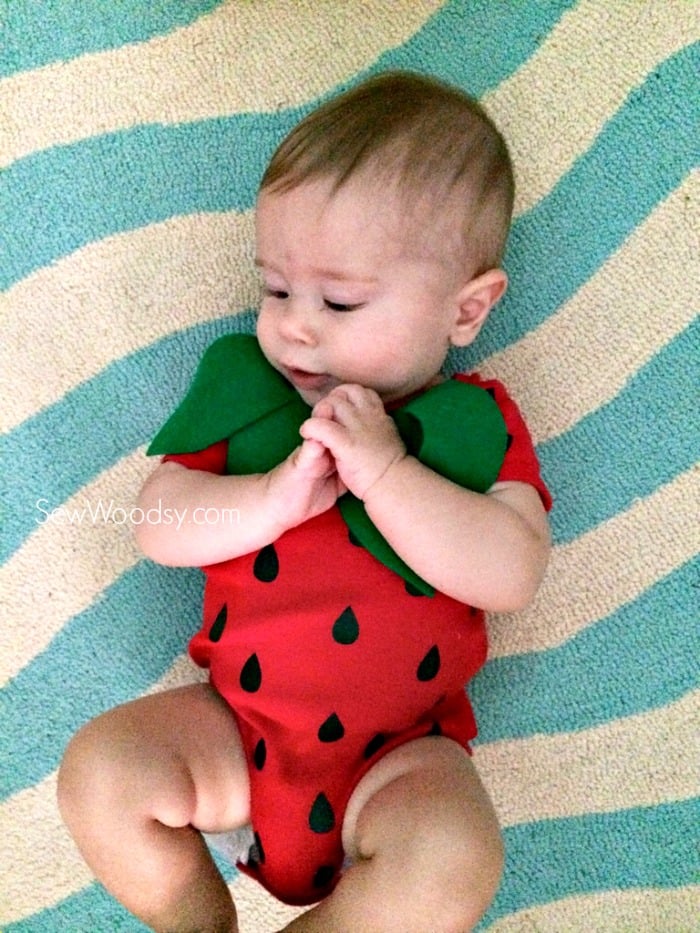
This is what it looked like when it was finished.
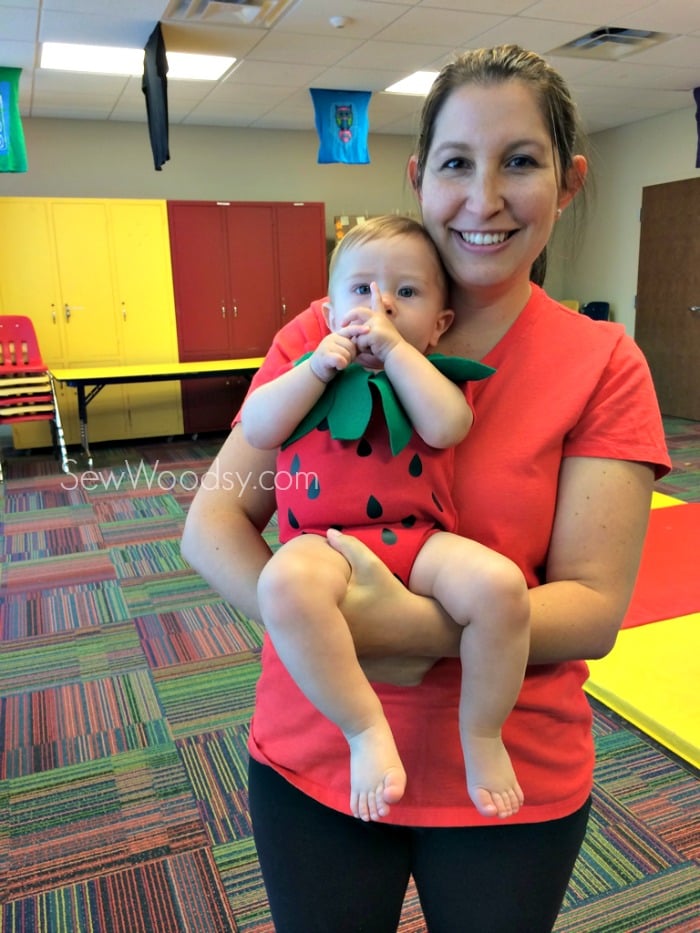
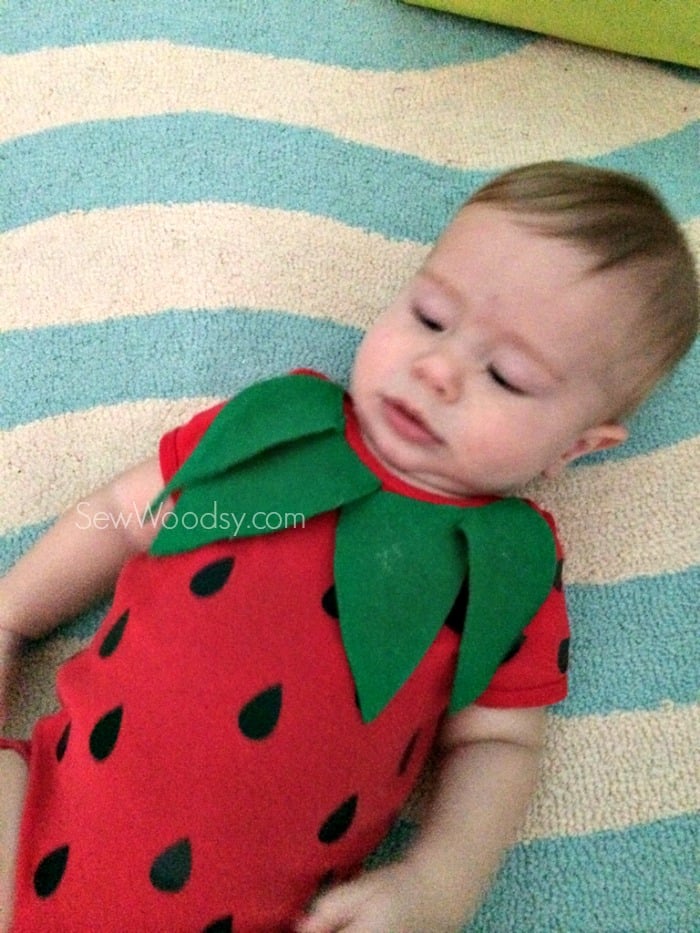
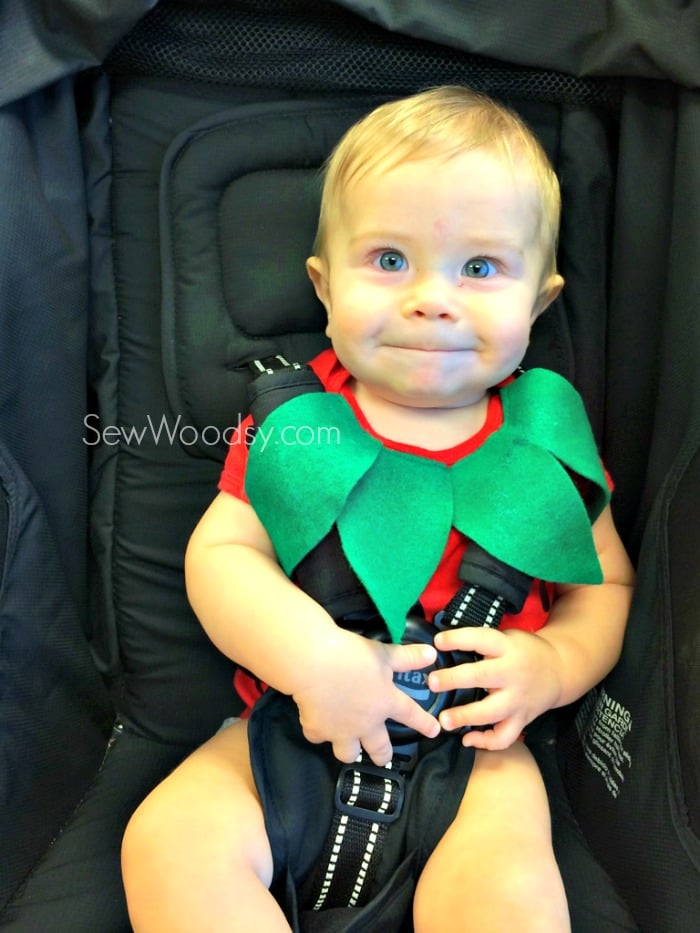 Here are a few photos of my handsome little strawberry. And ironically the kid LOVES to eat strawberries. I go through 2-4 pints a week!
Disclaimer: There are affiliate links in this post. That means that if you buy from the links we will make a small percentage of the sale.
Leave A Reply!