• Skip to primary navigation
  • Skip to main content
  • Skip to primary sidebar

Sew Woodsy logo

  • DIY
  • Crafts
  • Cricut
  • Travel
  • About
menu icon
go to homepage
search icon
Homepage link
  • Home
  • Thanksgiving
  • DIY
  • Cricut
  • Travel
  • About Us
    • Email
    • Facebook
    • Instagram
    • Pinterest
    • Twitter
    • YouTube
  • ×

    Sew Woodsy » Holiday

    Published: Oct 9, 2015 · Modified: Sep 24, 2019 by Katie · This post may contain affiliate links.

    DIY Halloween Window Clings

    Sharing is caring!

    11 shares
    • Facebook
    • Twitter

    DIY Halloween Window Clings

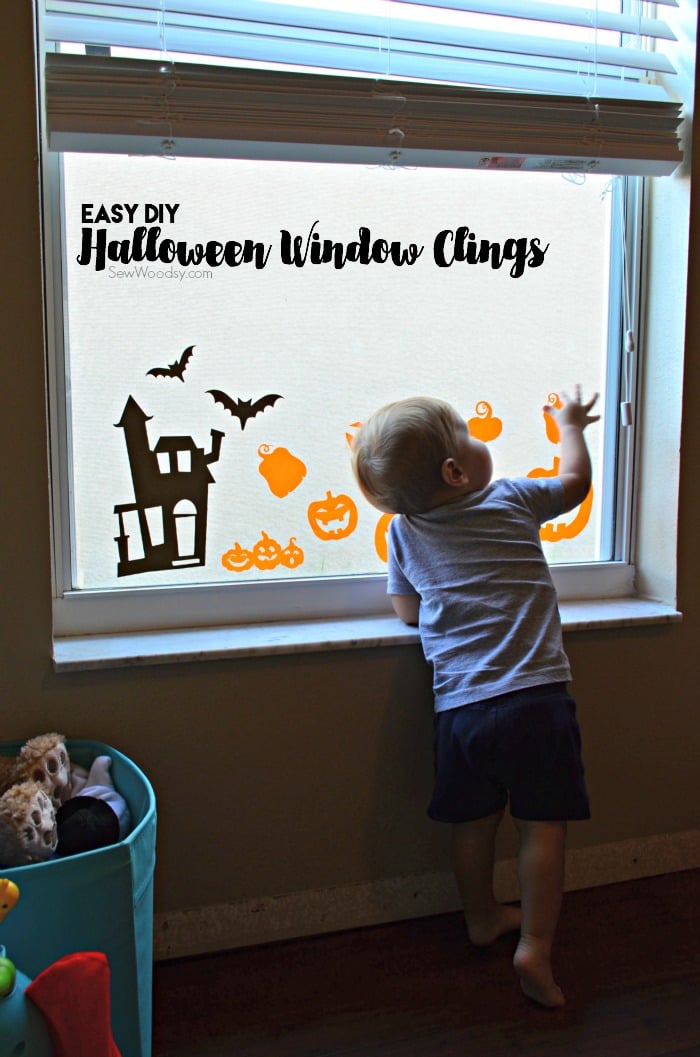
    Get ready for pure childhood fun excitement. These DIY Halloween Window Clings are soon to be a hit in your home, too! I just introduced my curious toddler to the wonderful world of window cklings. Oh boy, did I get an amazing 30 minutes of pure entertainment. Gave me enough time to do the dishes and start dinner.

    This was my first time cutting window clings on my Cricut and it was awesome (and so easy to do)! I cut these window clings in less than 10 minutes all while Ryder was happily playing in his playroom. We recently set up my make-shift office and put a baby gate on the door, so I can work and still watch him in his play room. Our doors are parallel and it works out great (most days).

    If you are looking for a fun toddler and kid Halloween activity these window clings are for you!

    Supplies for the DIY Halloween Window Clings:

    • Cricut Explore
    • Cricut Design Space™
    • Black& Orange Window Cling
    • Cricut Tools

    Cricut Halloween Window Cling Setting

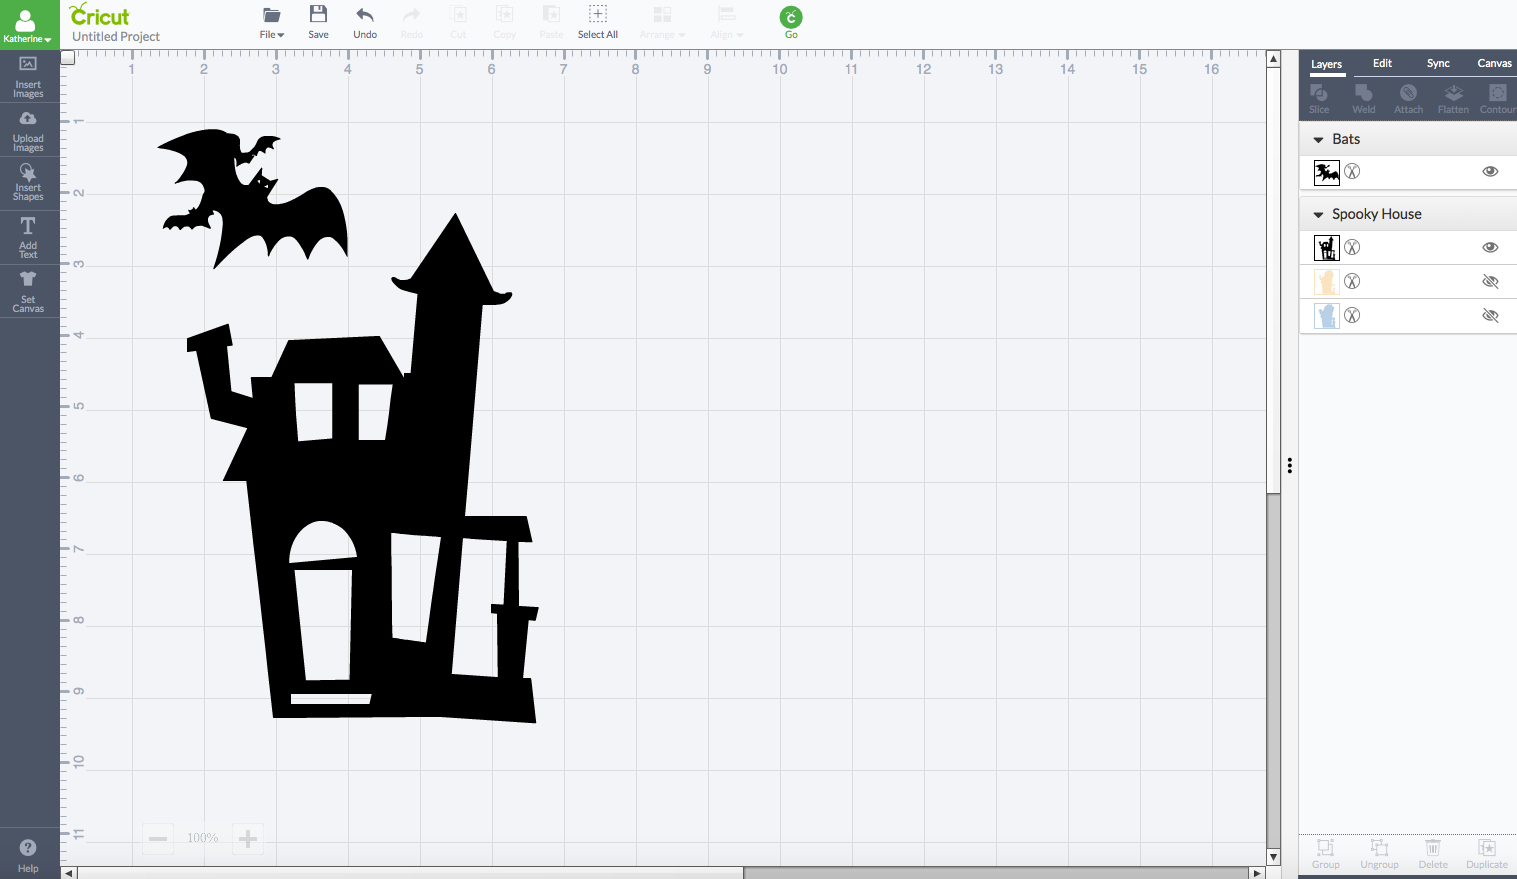
    First up select your images. Remember you’ll need all of your images to be the same color to cut on the same color of window cling. I chose to only cut out black and orange for these Halloween window clings. 

    DIY Halloween Window Clings

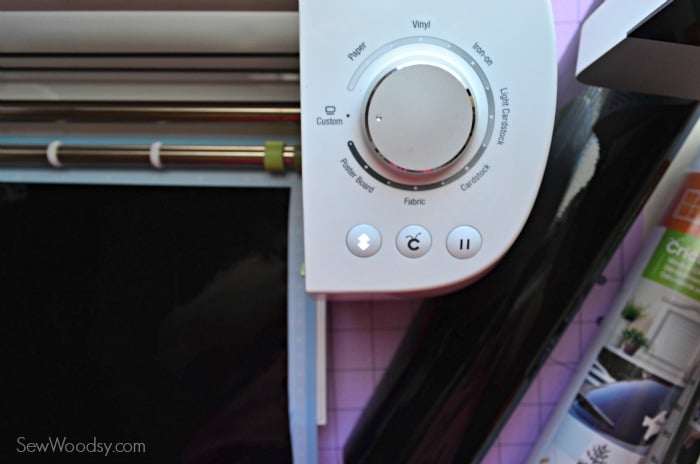
    Make sure your machine is on the “custom” setting. And make sure to load the color-side up of the window cling. If you place the colored side on the sticky portion of the mat it will ruin the window cling. Just FYI… speaking from experience!

    Cricut Halloween Window Cling

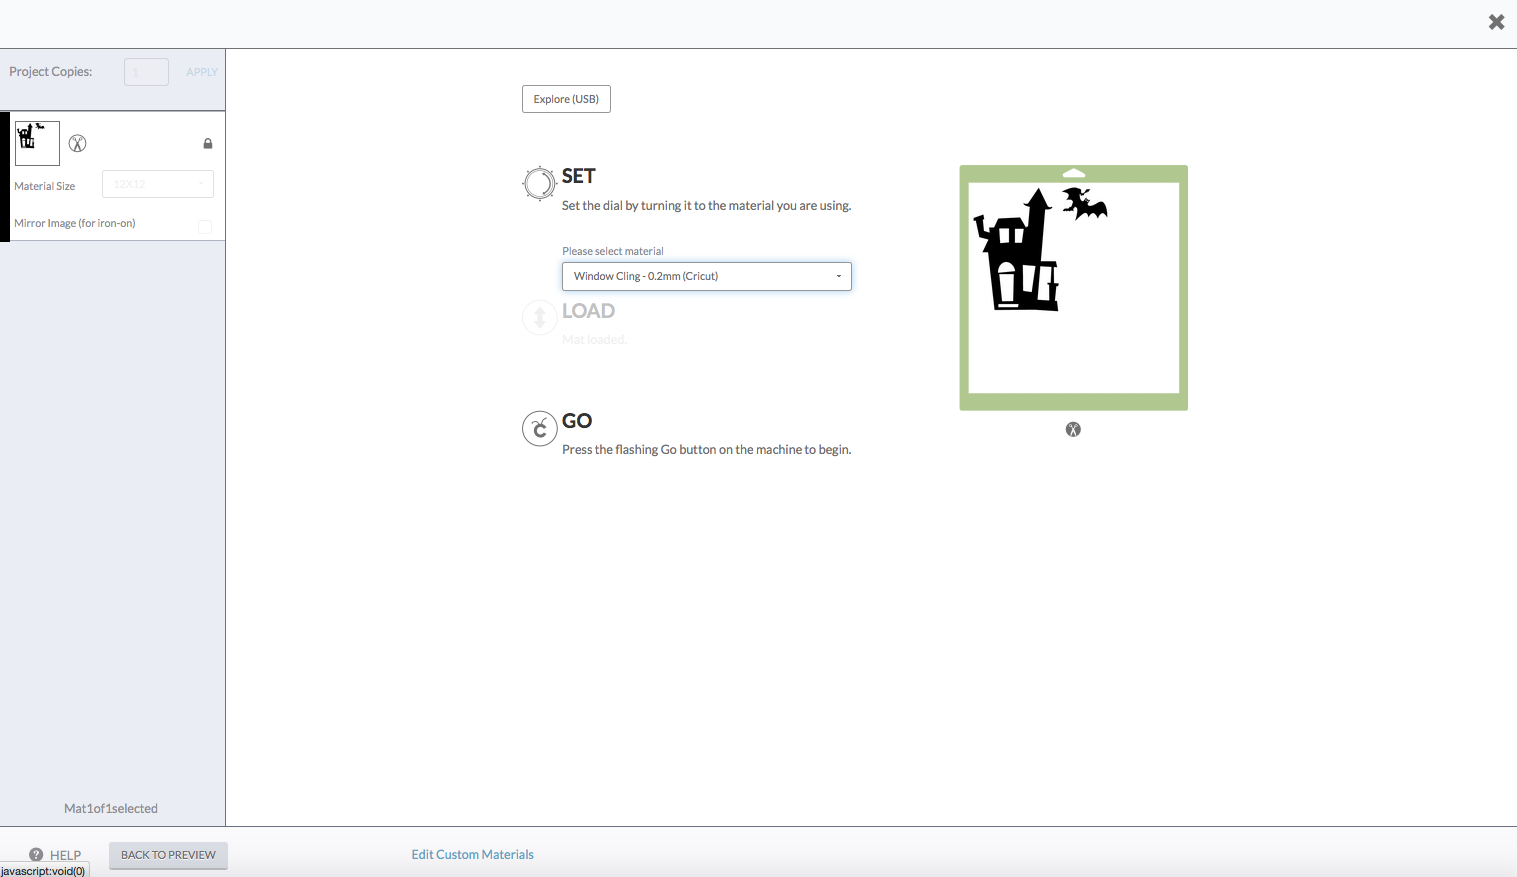
    The Cricut Explore is so smart that it will automatically recognize that you chose the “custom” button and then you have to scroll through the millions of options. Once you’ve selected it press cut.

    DIY Halloween Window Clings

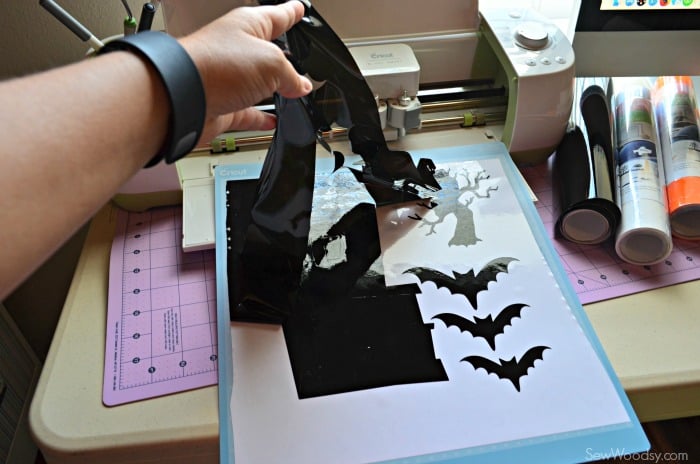
    Then remove the negative parts of the window cling from the mat.

    DIY Halloween Window Clings 2

    Repeat with other colors until you have as many window clings as your heart desires!DIY Halloween Window Clings 4

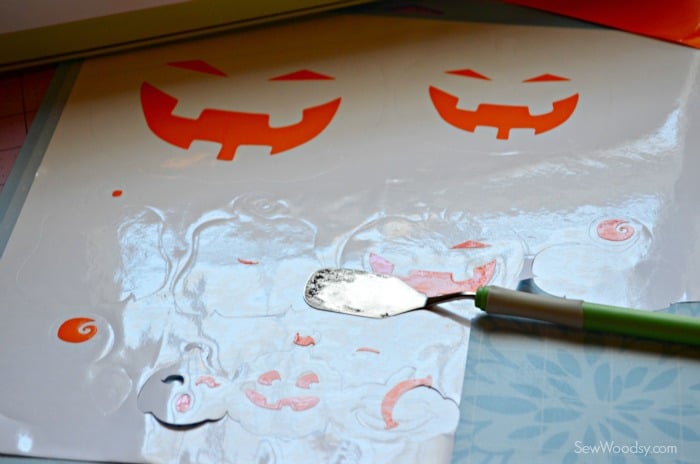
    I removed the negatives and were left with cute pumpkin faces. I only choose to keep the largest pumpkin face since I had a feeling the rest would be destroyed–heck it all was about to be destroyed.

    DIY Halloween Window Clings 6

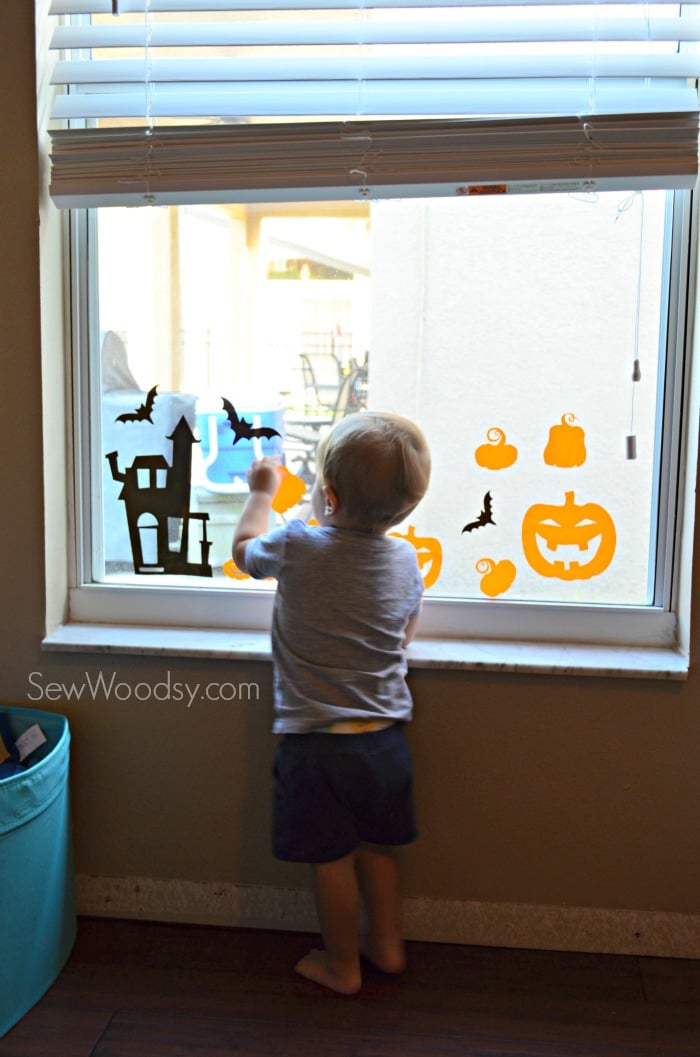
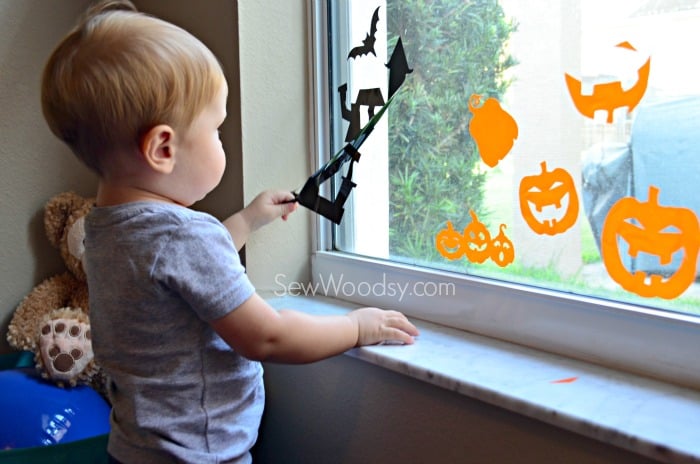
    Then once everything was cut I placed the Halloween window clings on the window. DIY Halloween Window Clings 7

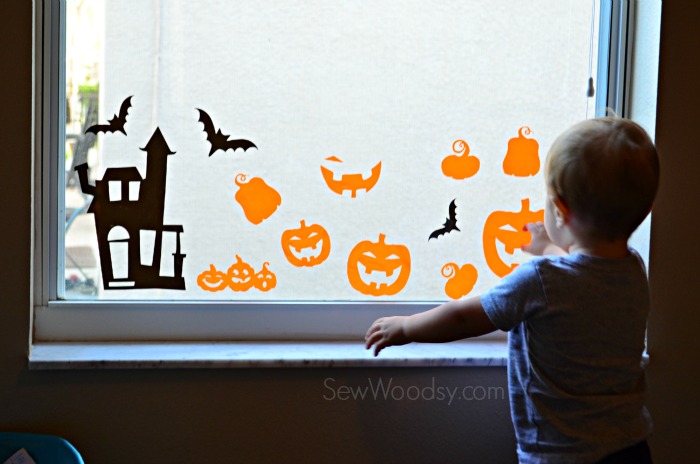
    And my curious toddler began picking and pulling them apart. DIY Halloween Window Clings 8

    He was mesmerized by the window clings.

    DIY Halloween Window Clings

    It gave him a good half hour of entertainment. DIY Halloween Window Clings 9

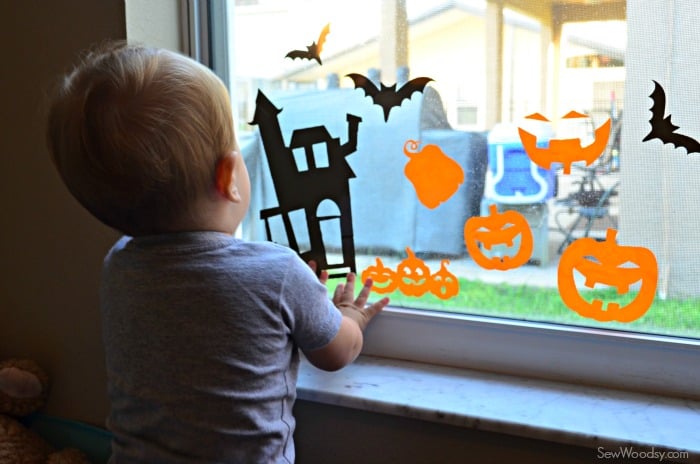
    I plan to make more window clings for the other holidays coming up! I will also give you a little advice now, if you have a toddler like me (1.5 years old) don’t go with intricate cuts. Keep it simple. I’m already brainstorming fun activities for year round window clings.

    Disclaimer: There are affiliate links in this post. If you click on a link I will make a small portion of the sale. 

    « DIY Infant Strawberry Costume
    Easy Tweedle Family Costume »

    Reader Interactions

    Leave a Reply Cancel reply

    Your email address will not be published. Required fields are marked *

    Primary Sidebar

    • Email
    • Facebook
    • Instagram
    • Pinterest
    • Twitter
    • YouTube
    Male and female hugging on each other in the woods.

    Hi, we're Katie & Jon! Welcome to our home away from home!

    Sew Woodsy is a lifestyle blog focusing on crafts, home DIY projects, family, travel and all things life. Get comfy and join us on our adventure!

    More About Us →

    9 different logos from various media outlets where Sew Woodsy has been featured on.

    Easter Projects

    • Kids Easter Basket Ideas
    • 25 Easter Basket Ideas for Toddlers
    • Free Easter Coloring Pages
    • 17 Easter Craft Ideas

    Trending

    • How to Create a Natural Log Pathway + Video
    • Tips & Tricks on Installing Butcher Block Countertops
    • How to Host a Baby Shower at Work
    • How to Use Heat n Bond

    Male and female hugging on each other in the woods.

    Hi, we're Katie & Jon! Welcome to our home away from home!

    Sew Woodsy is a lifestyle blog focusing on crafts, home DIY projects, family, travel and all things life. Get comfy and join us on our adventure!

    More About Us →

    9 different logos from various media outlets where Sew Woodsy has been featured on.

    Easter Projects

    • DIY Follow the Bunny Pillow Cover
    • Bunny Kisses & Easter Wishes Burlap Garden Flag
    • Easter Bunny Family Pillow
    • DIY Easter Bunny Onesie with Name

    Trending

    • How to Create a Natural Log Pathway + Video
    • Tips & Tricks on Installing Butcher Block Countertops
    • How to Host a Baby Shower at Work
    • How to Use Heat n Bond

    Footer

    ↑ back to top

    9 different logos from various media outlets where Sew Woodsy has been featured on.

    About

    • About Us
    • Privacy Policy
    • Accessibility Statement

    Newsletter

    • Sign Up! for emails and updates

    Contact

    • Contact
    • Work with us
    • Advertise

    Copyright © 2010 - 2022 Sew Woodsy