Thank you Jeffrey Court for sponsoring todays post. There are affiliate links in our post–if you purchase from them we will make a small percentage of the sale. As always, all opinions are our own.
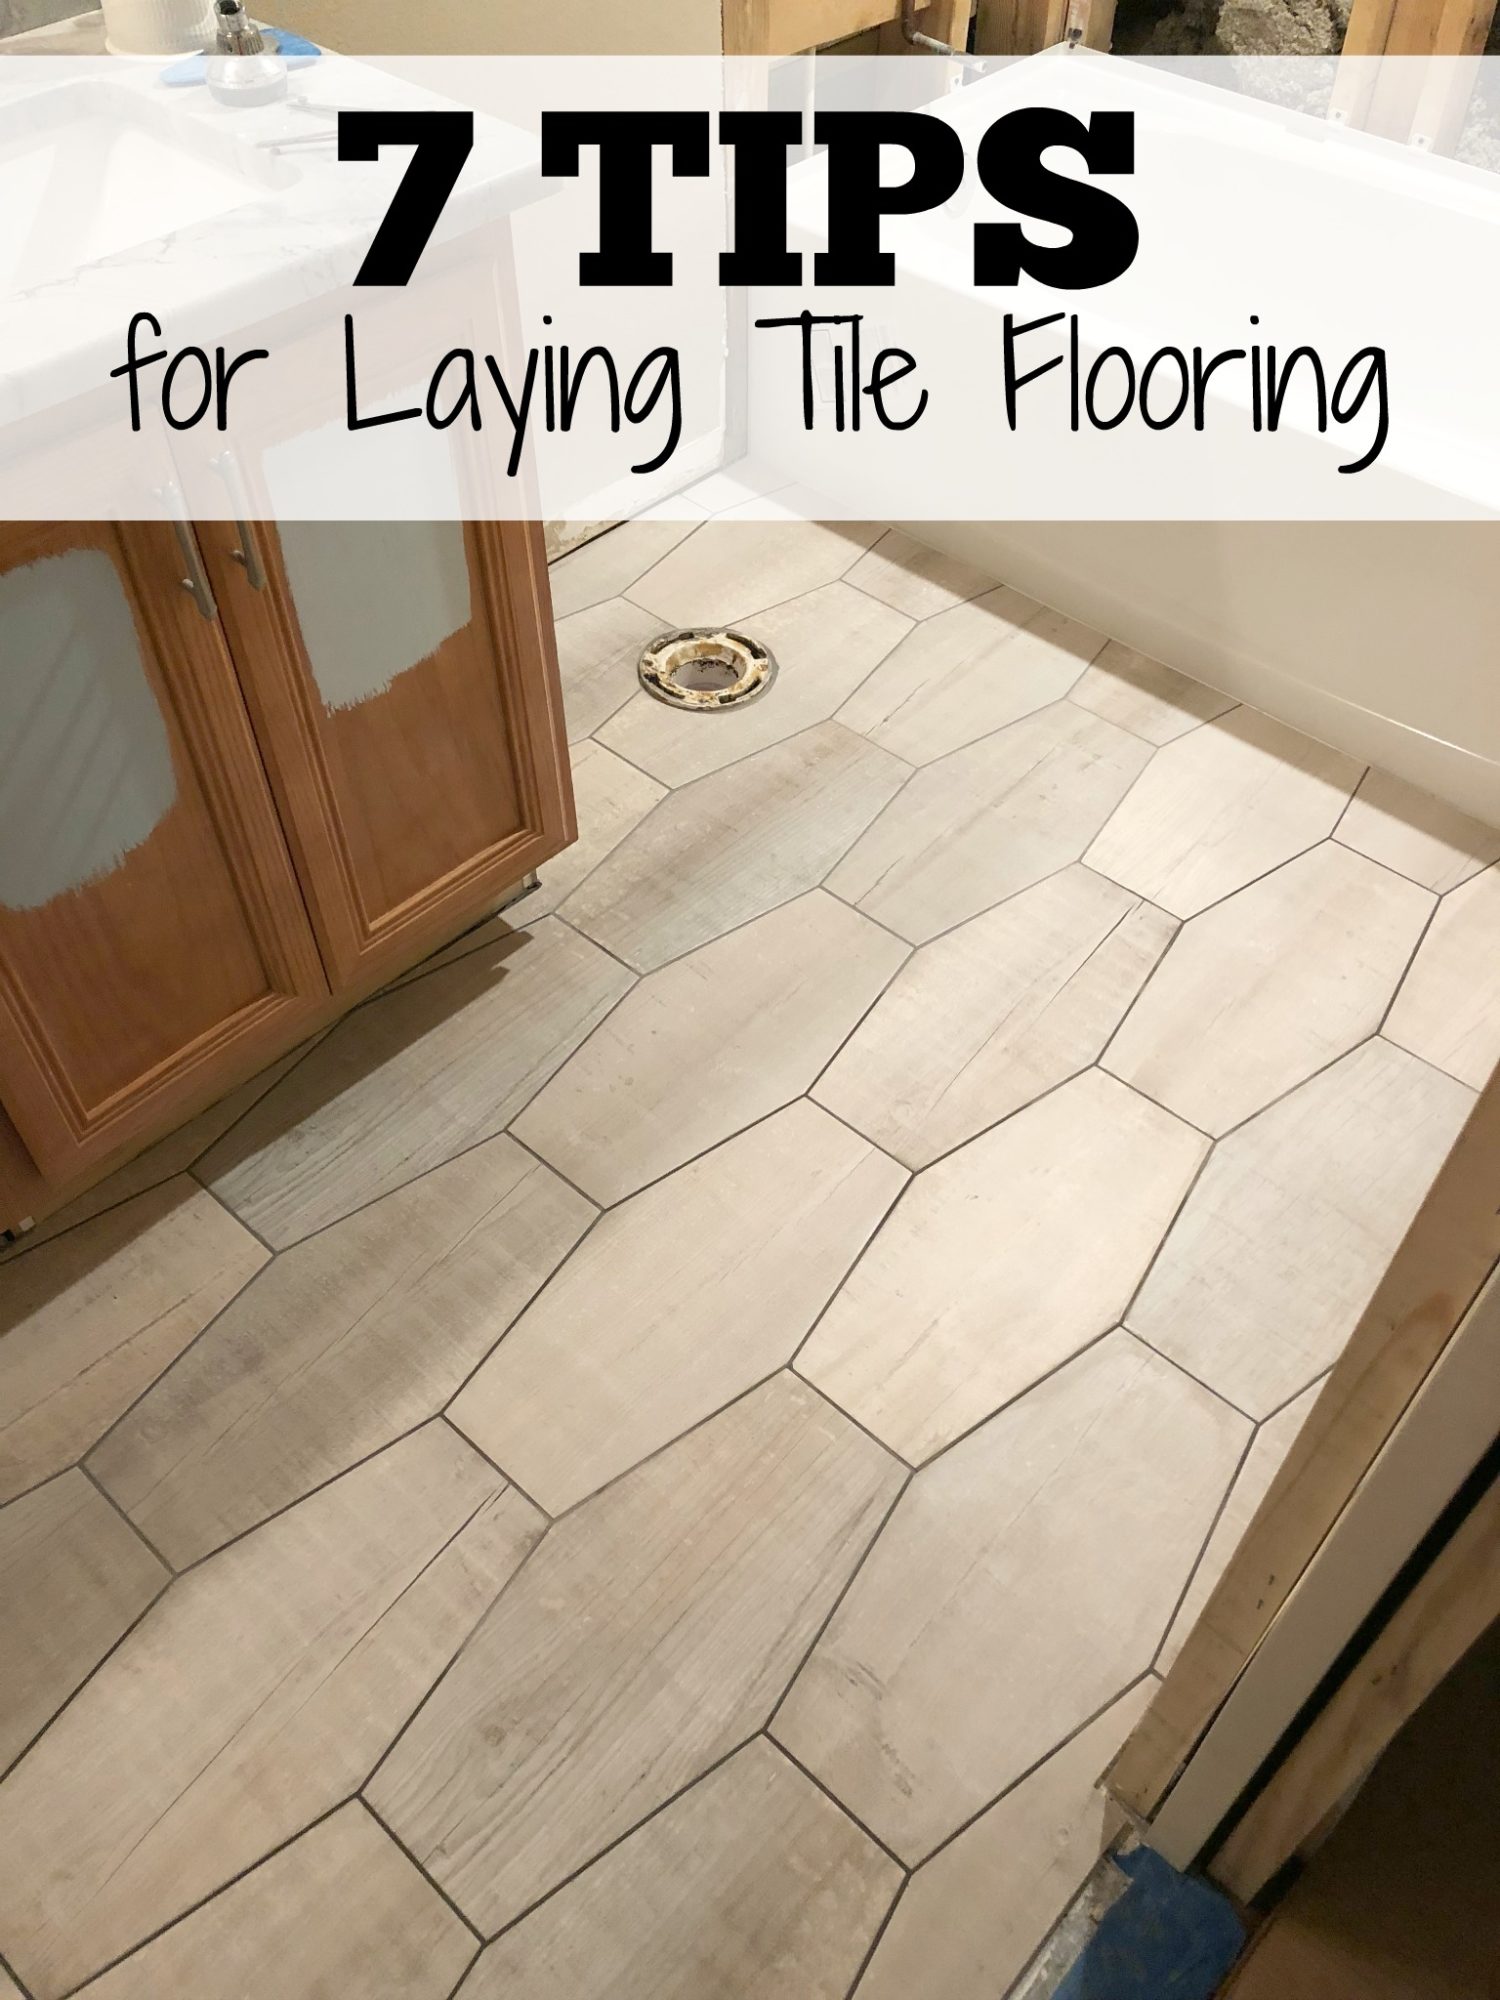
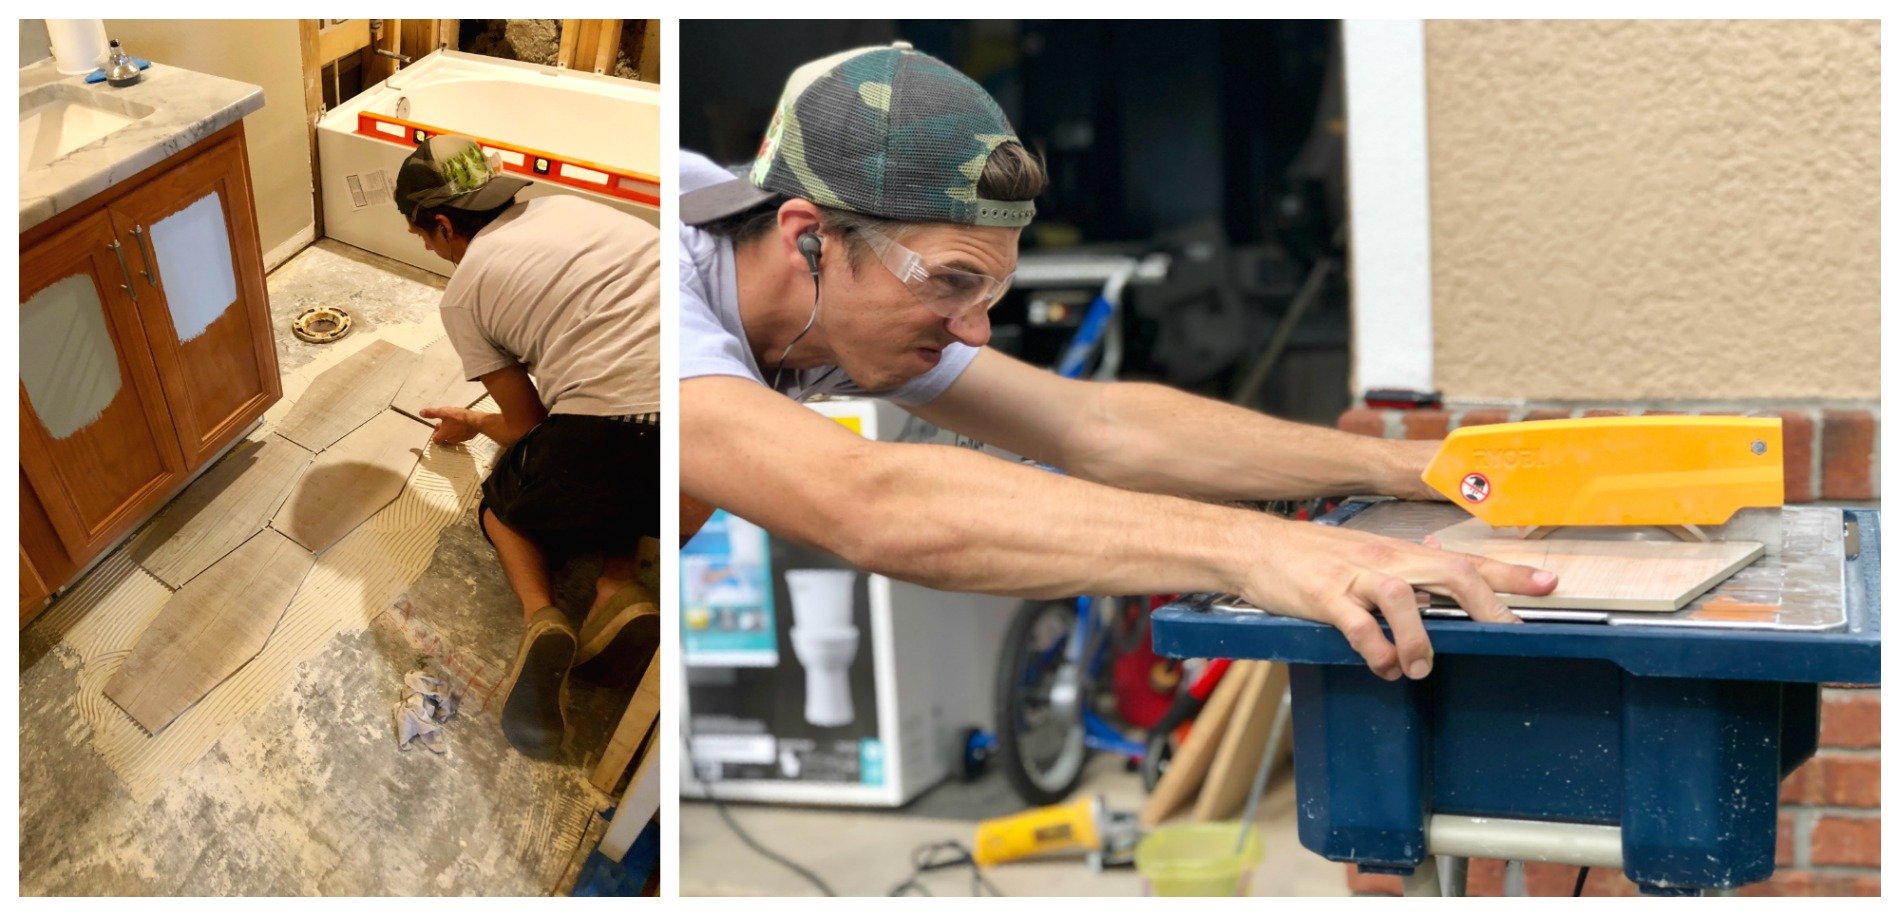
We are currently shoulder deep in a bathroom renovation. We finished our floors last week and I wanted to share a few tips for those who have never layer tile before. A little back story: I entered us in the One Room Challenge sponsored by Jeffrey Court on a whim while I was browsing through emails in bed one late evening in March. We were already planning on renovating the kids bathroom and I figured why not enter a contest!?! We get all our tile provided for our project (HUGE win), it puts a deadline under us and keeps us very much accountable, and we have the chance to win $5,000! It’s one big win in our book. So a week went by and then I finally heard back and found out we were selected! Fantastic! However, we already had purchased our floor tile (and it wasn’t Jeffrey Court). I had to go back to the drawing board on floor tile choices (don’t worry–that tile isn’t going to waste it will be used for our laundry room)! After consulting with a designer from Jeffrey Court both Jon and I fell in love with the Oakwood Lilly Porcelain Hexagon Floor tile.
Here are our tips for first time “tilers”:
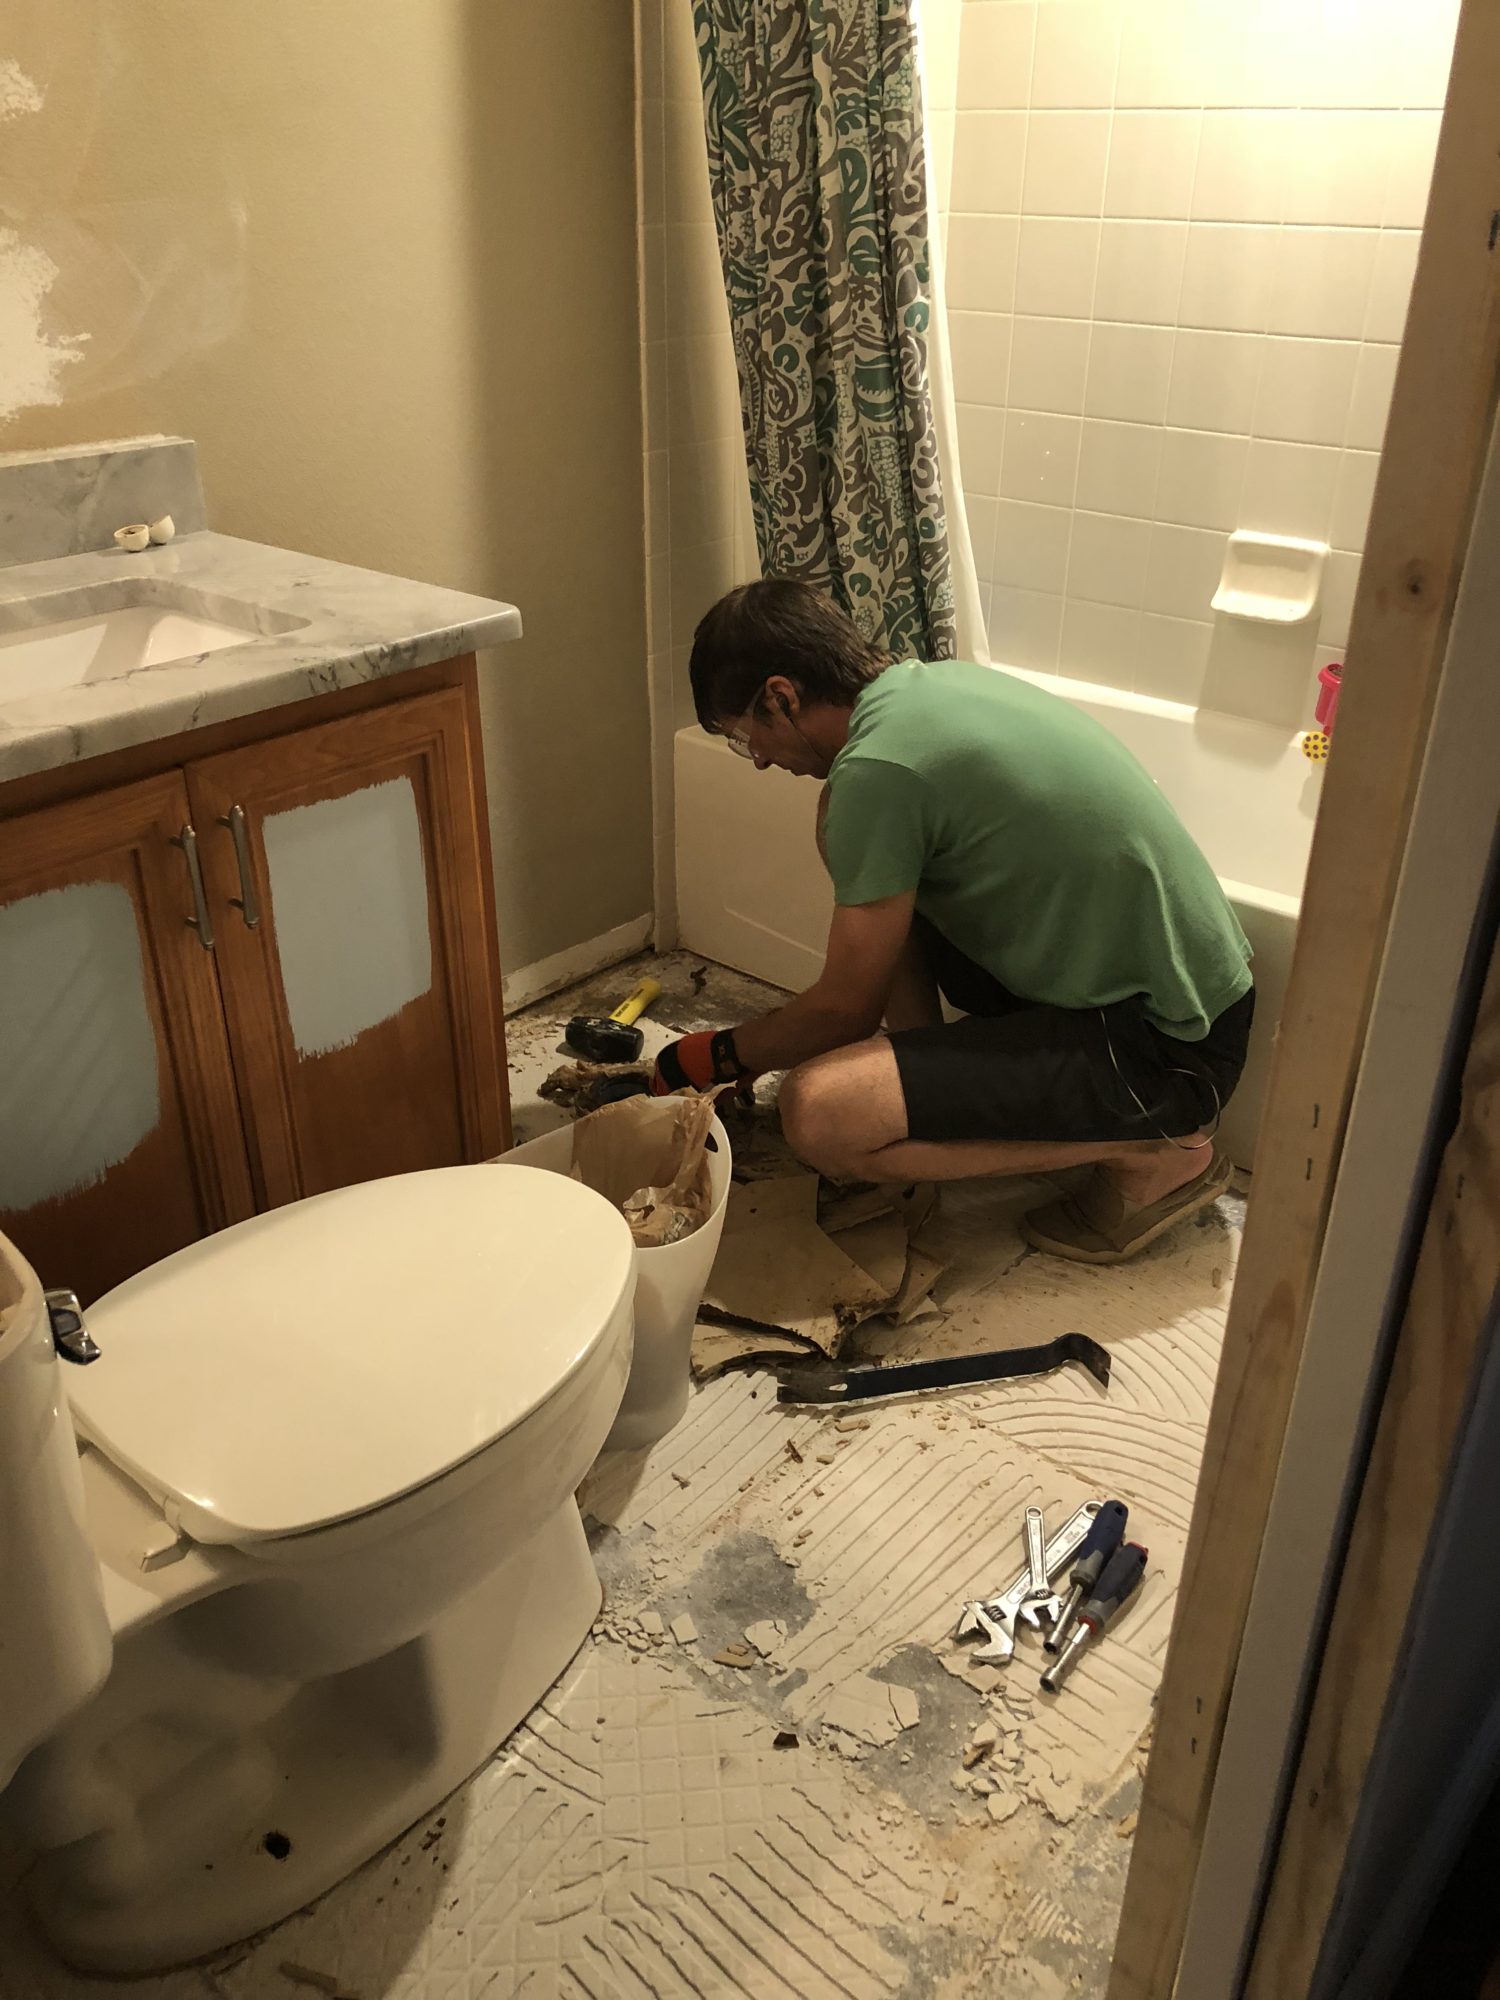
1. Start with a clean even surface. Make sure you also remove your baseboards! Remove the toilet if you can too.
2. If you are gutting the bathroom make sure you set your new tub in place before you begin tiling the floor. You’ll need to tile right up to the tub!
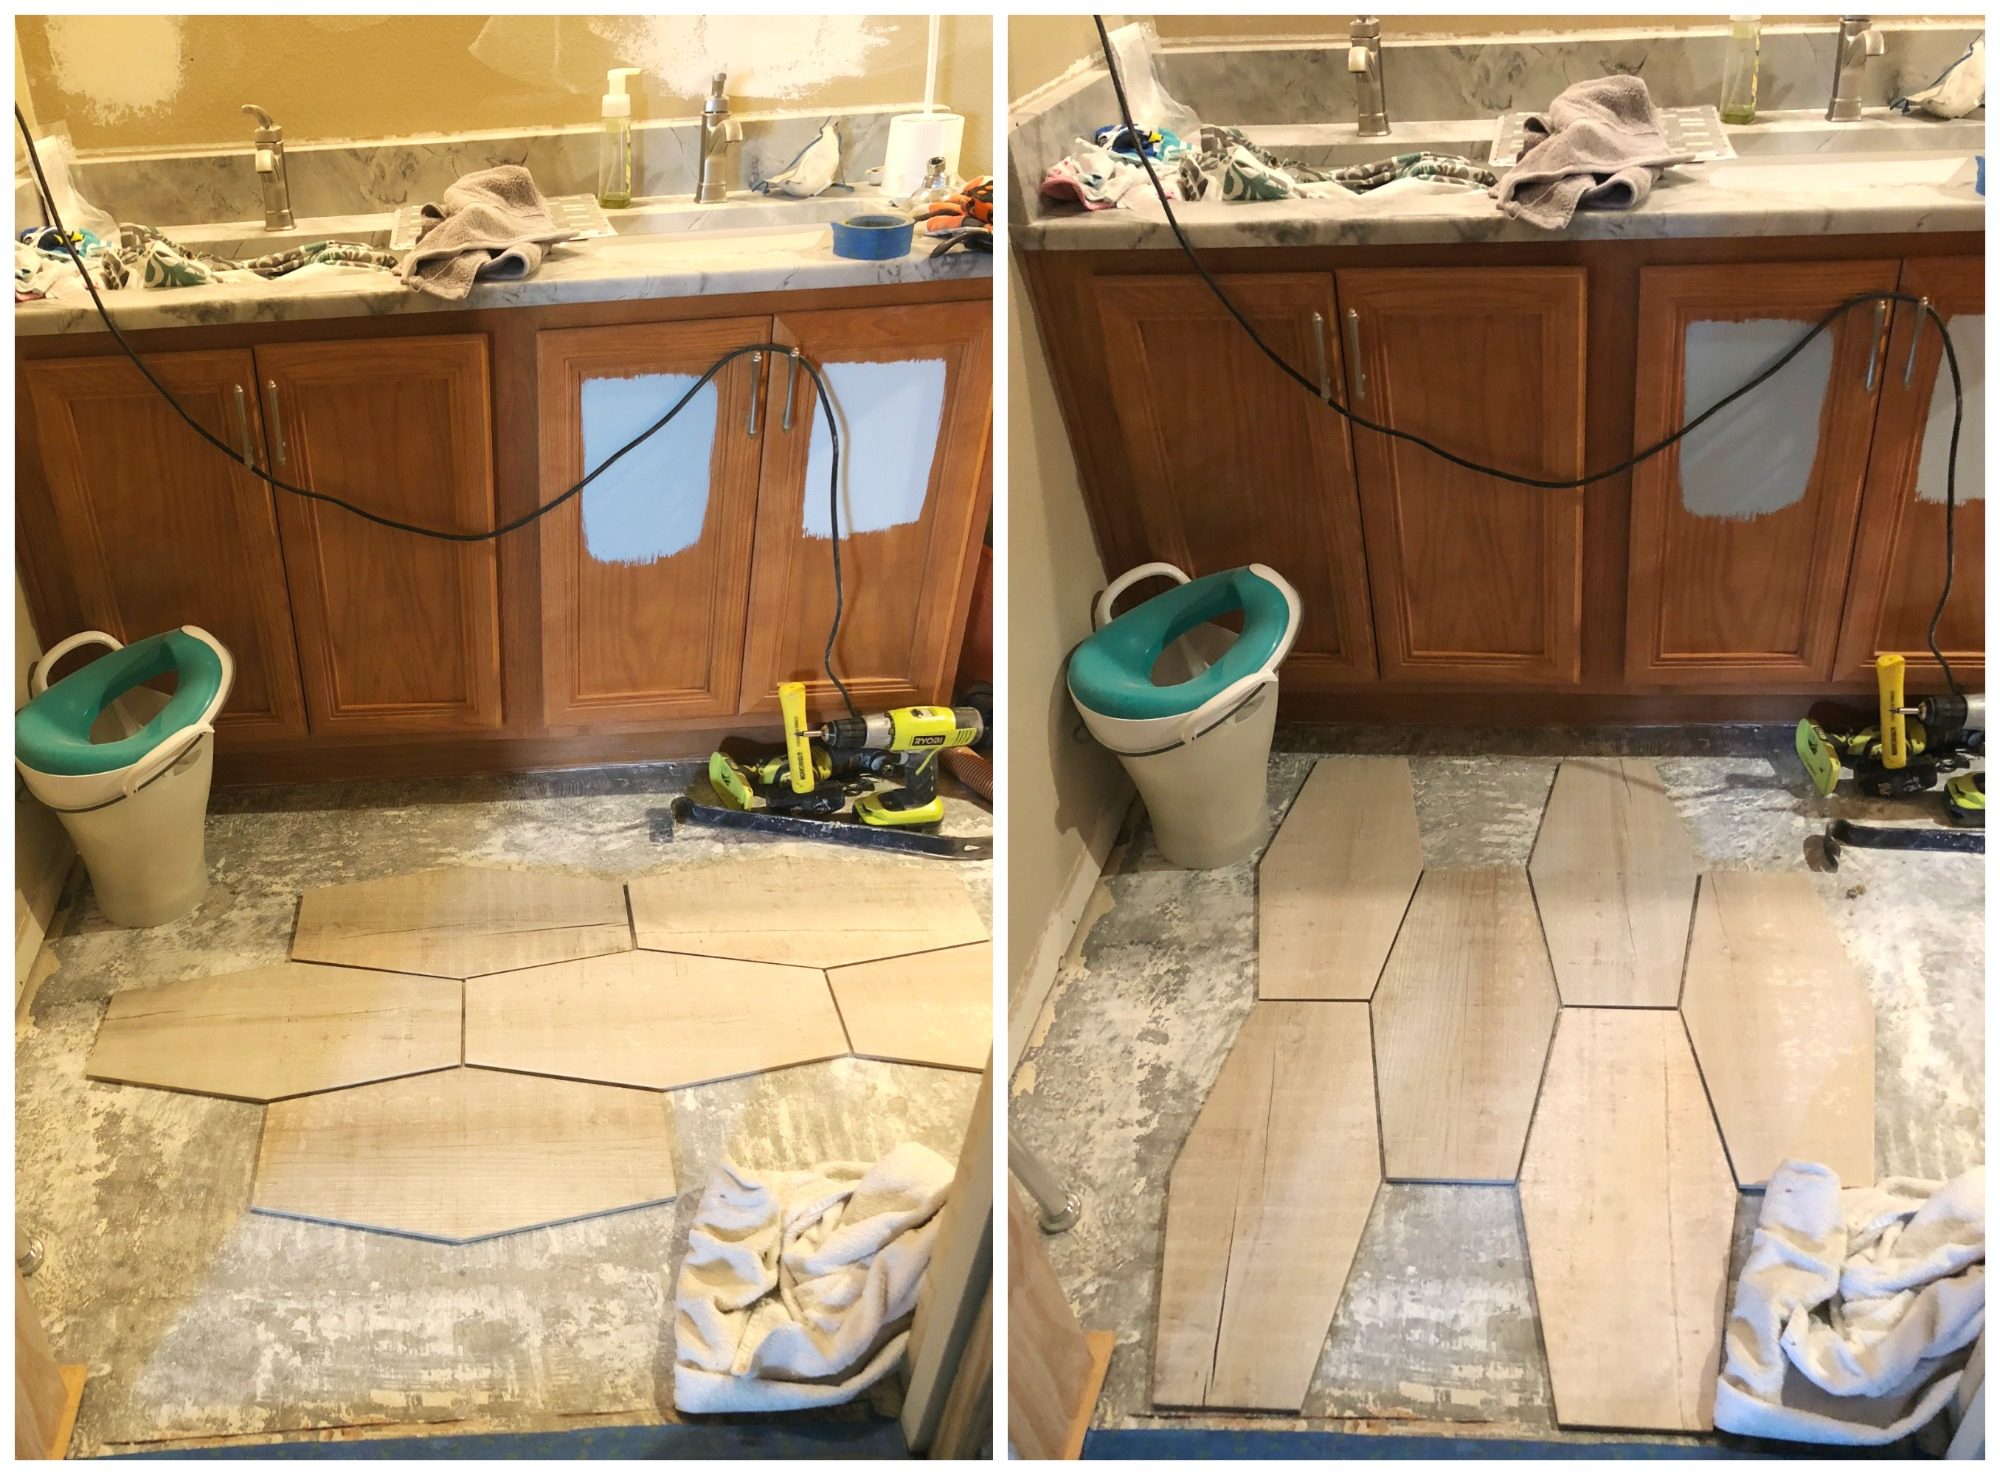
3. PLAN–planning, planning, planning! pre-lay tiles on the floor so you can figure out the direction you want the tiles installed.
4. Figure out the center of your room. Then, snap a string line and install from the center of the room. This will ensure you have the same size tiles when you lay to each wall.
5. Make sure you have the right equipment for the job! We have used our RYOBI tile saw for quite a few tile projects. It’s worth the investment. You will also need safety glasses and hearing protection. Jon wears Bose Noise Canceling Earbuds (he has found these work better then most ear protection headsets). You’ll also need to read the box to see what size trowel your need for smearing the mortar on the ground. Each tile style differs!
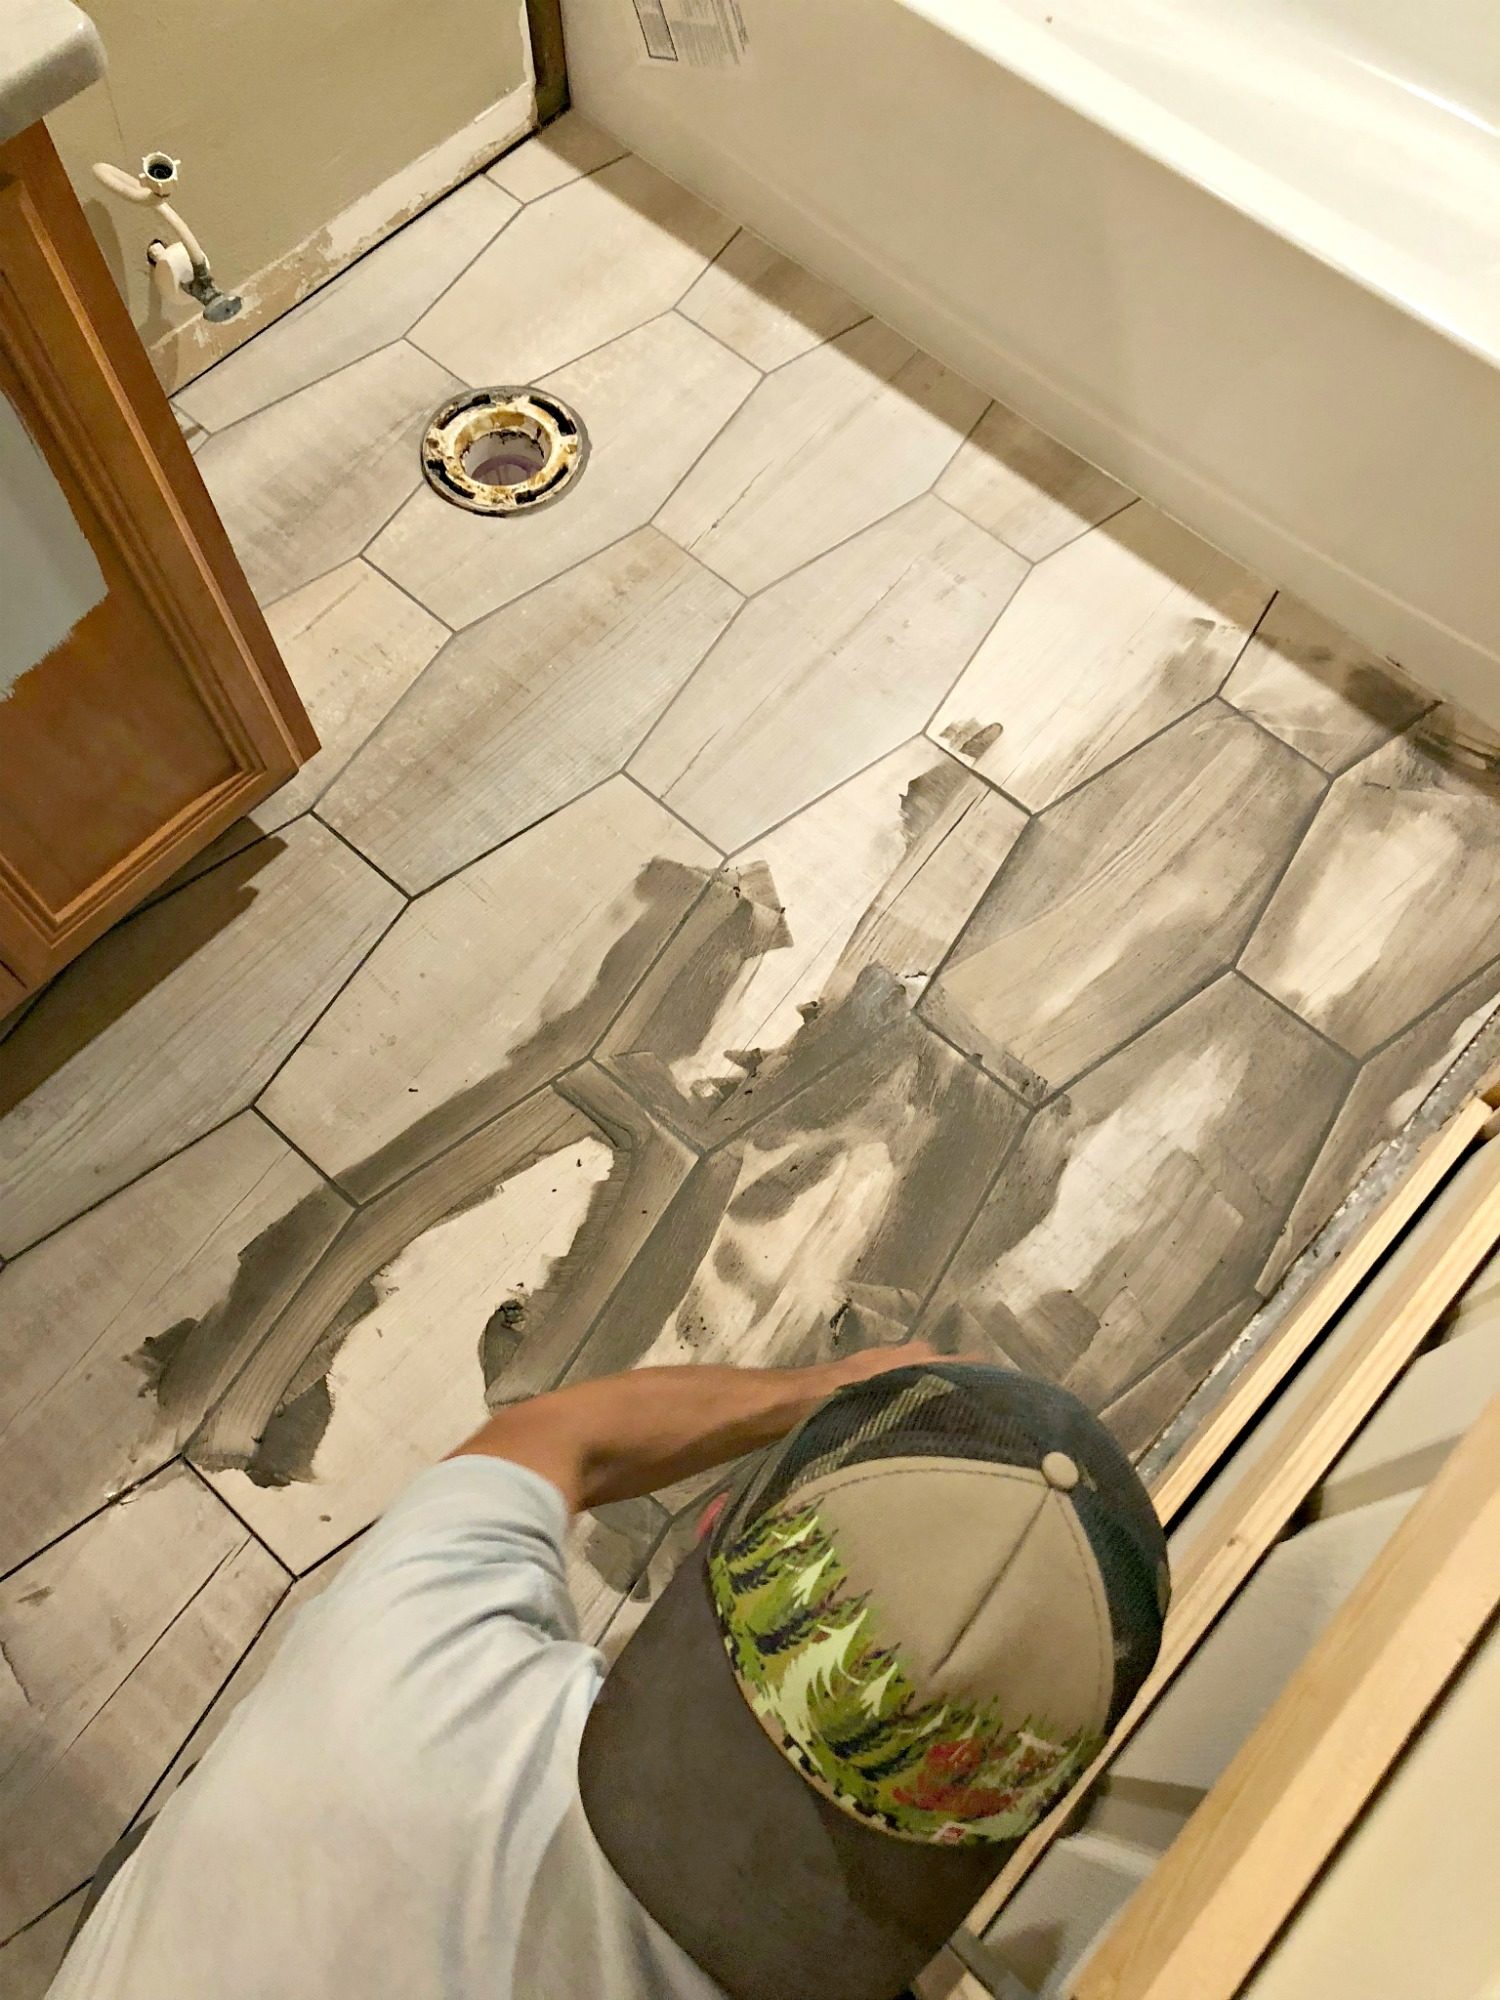
6. Grouting–mix in small batches. It’s better to keep mixing batches then mix a big batch and it turns rock hard in minutes!
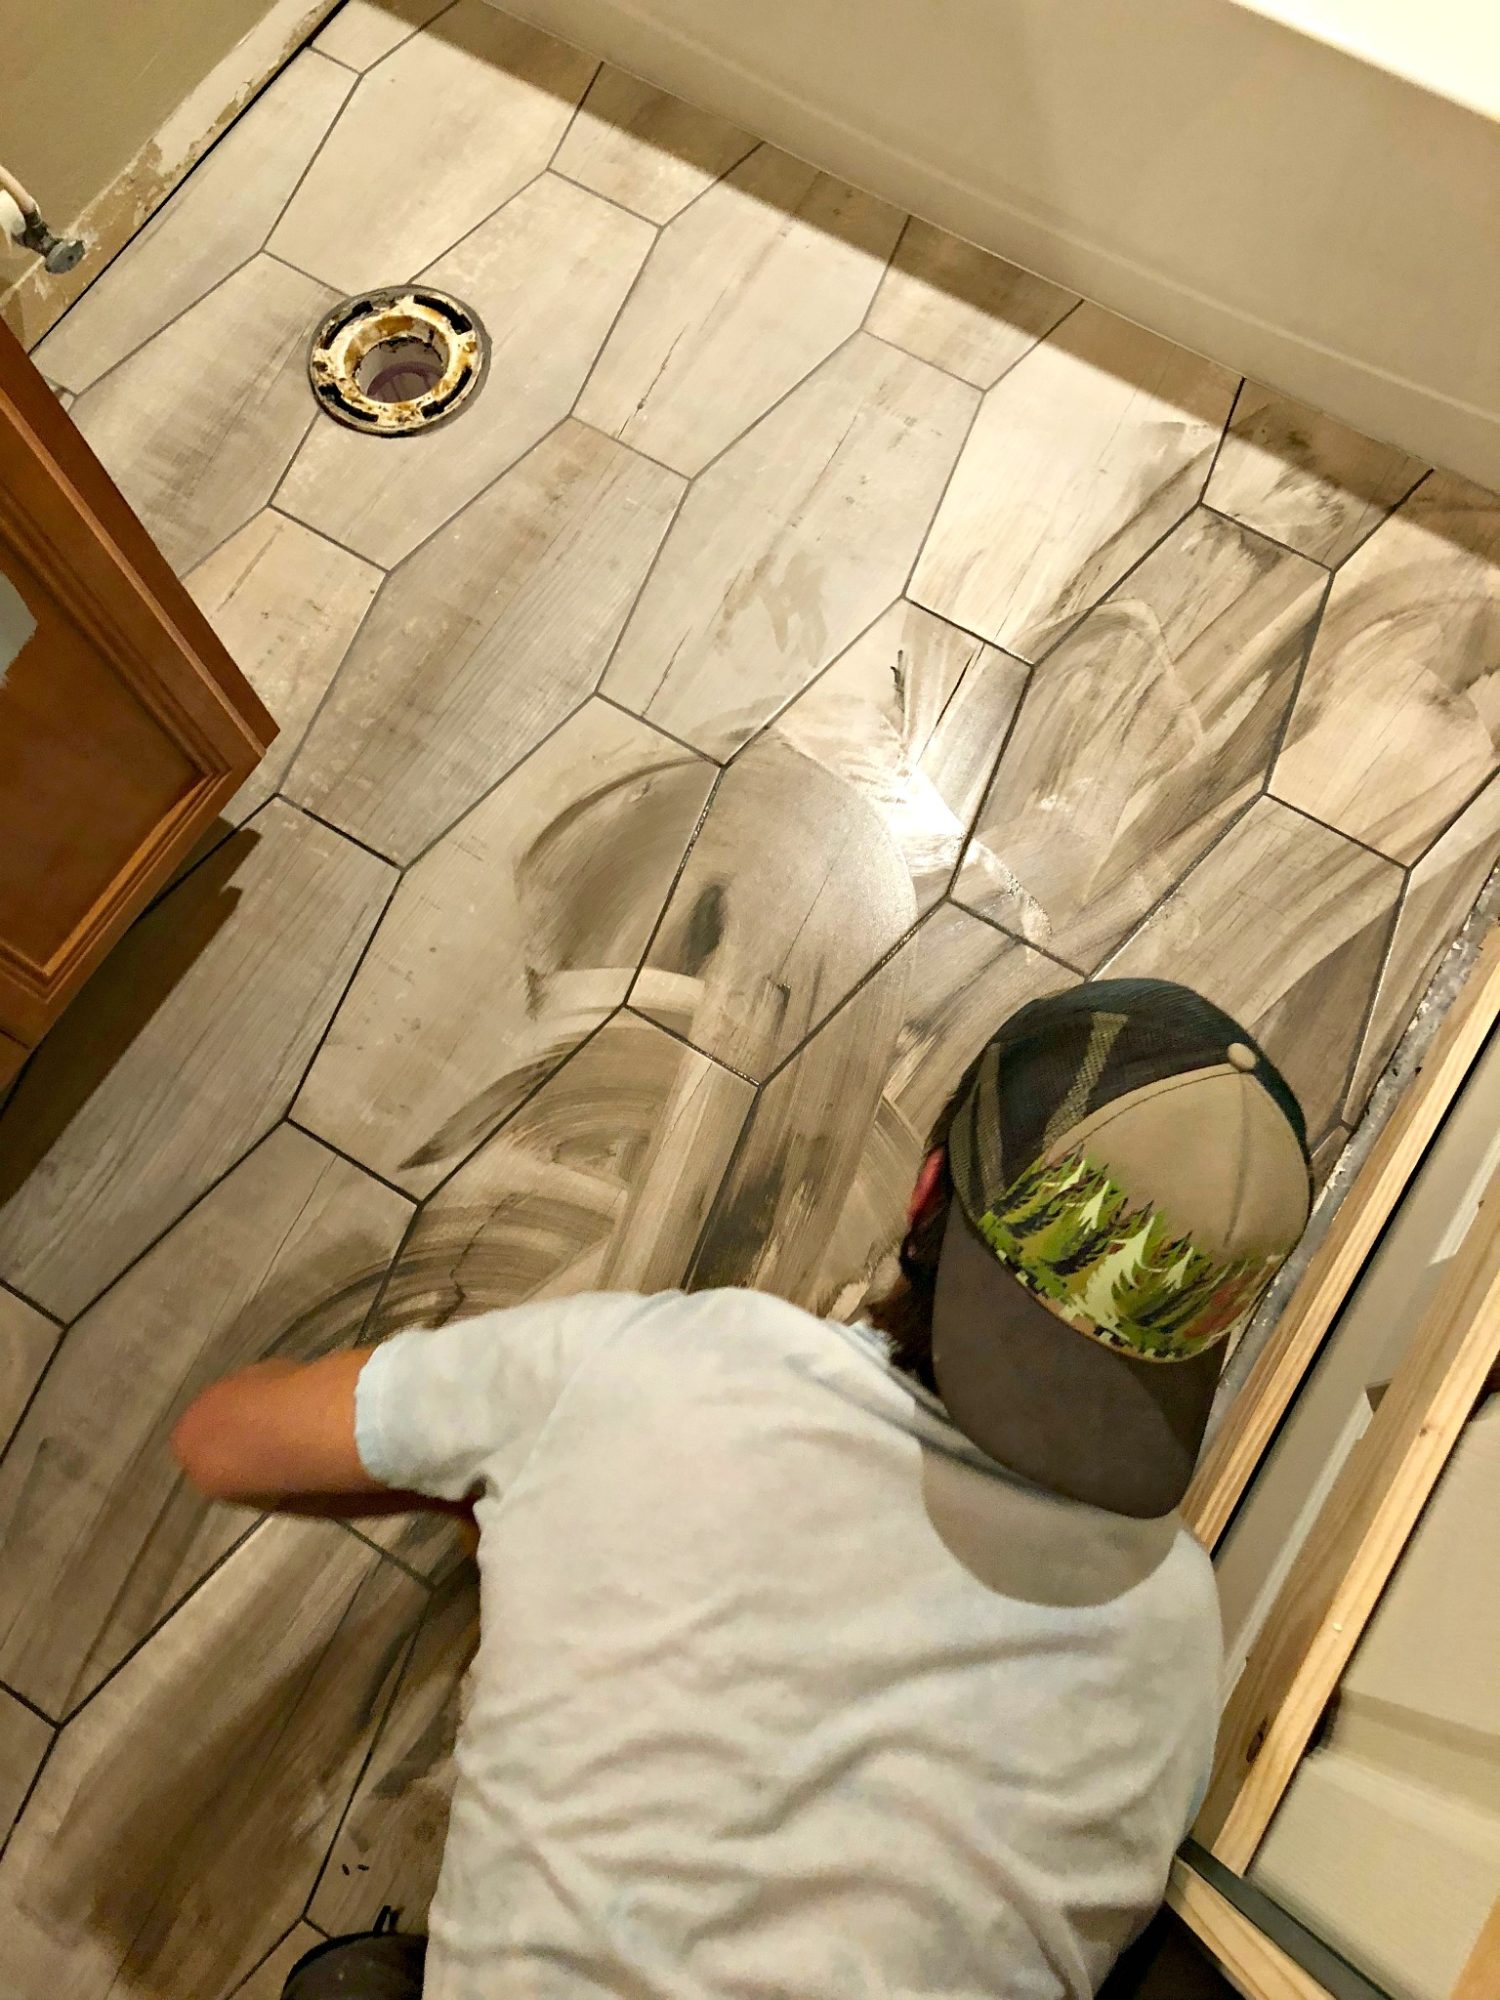
7. Make sure you thoroughly clean the glaze off the tile so you have a clean finish. I.e., saves you from having to scrub later.
Jon really wanted the last tip to be: “Save yourself the headaches and time and hire a professional.” In all seriousness–tiling is a lot of work. You can do it, but just make sure you plan and have the time to tackle the tile project. Now that we have two children (and a business and life in general) time is extremely valuable. Time is money. I tried to push to hire out tiling our bathroom but Jon insisted he wanted to save money and do it himself. We are going on five full weeks of around the clock working on our bathroom and it’s close to being done; however, lots of blood, sweat and tears have gone into the bathroom! Our entire family will be happy when the bathrooms done. Not just for having a bath again to bathe our children or a toilet that is convenient to our family room. To have our “daddy” back so he can enjoy his family. That’s what we are all most excited about! Just decide what you really want to do and if you want to try tilling take our tips and (watch some YouTube videos) and run with it! YOU CAN DO IT~ if you put your mind to it!
