• Skip to primary navigation
  • Skip to main content
  • Skip to primary sidebar

Sew Woodsy logo

  • DIY
  • Crafts
  • Cricut
  • Travel
  • About
menu icon
go to homepage
search icon
Homepage link
  • Home
  • Thanksgiving
  • DIY
  • Cricut
  • Travel
  • About Us
    • Email
    • Facebook
    • Instagram
    • Pinterest
    • Twitter
    • YouTube
  • ×

    Sew Woodsy » Cricut

    Published: Feb 21, 2012 · Modified: Jan 29, 2019 by Katie · This post may contain affiliate links.

    Burlap Wrapped Mason Jars

    Sharing is caring!

    0 shares
    • Facebook
    • Twitter

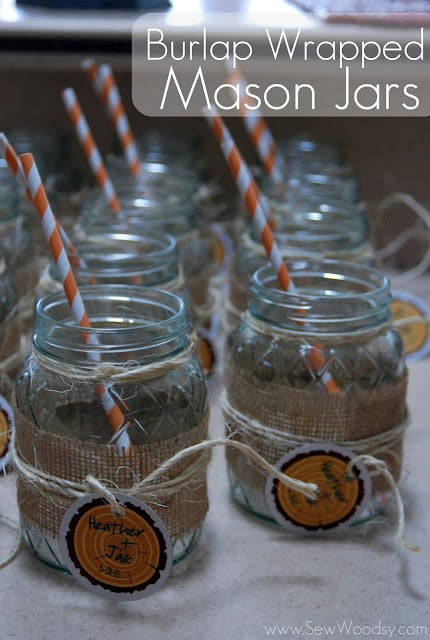
    I co-hosted my best friend’s bridal shower this past Saturday. I’ve been assisting with the planning for a little over a month now, and I’m happy to report that her bridal shower was a hit! She is going with a “rustic” wedding theme, so we wanted to follow along with her theme and tie that into her shower theme. When her sister and I began planning I knew I wanted to incorporate mason jars some where in the mix. It was until I was browsing on Pinterest that I knew I wanted to use mason jars as our drinking glasses for the afternoon. I lucked out because I found a 12 pack of 1 pint mason jars on clearance at Walmart for $5. Typically they are about $10 for a dozen. I also knew I wanted to incorporate burlap into these jars since cutting/sewing over 75 yards of burlap hasn’t thrown me over the edge just yet — I figured what’s another yard or two? I also wanted to incorporate the stickers my best friend’s sister ordered from Etsy (sorry guys I have no idea where these stickers came from). That’s when it occurred to me to make a wine charm of sorts. Sticker on the front and leave the back blank so everyone can write their name on the backs!

    Supplies: 

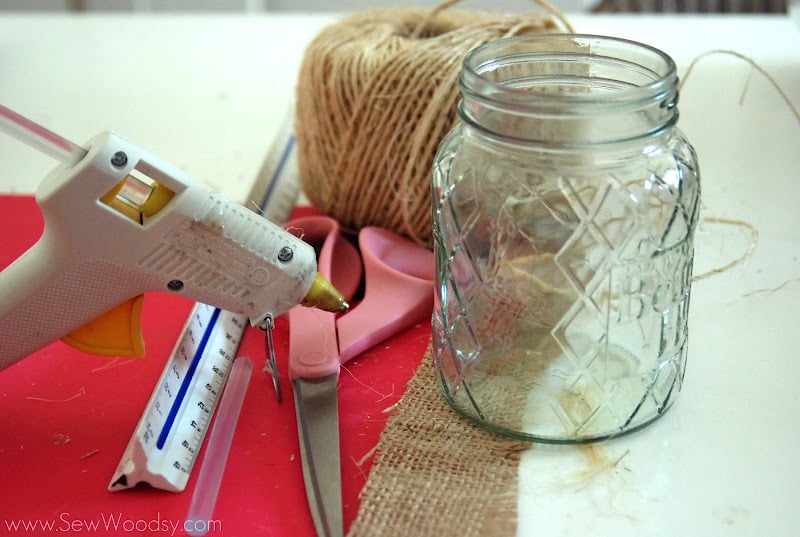
    Mason Jars – Burlap – Twine

    Scrapbook paper – Cricut or Circle punch

    Hole punch – Sticker of choice
     
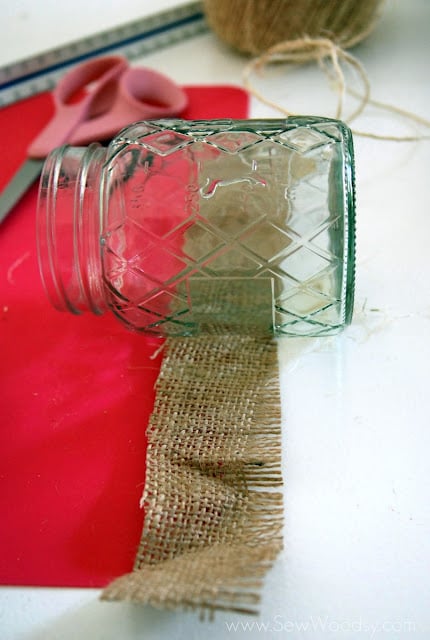
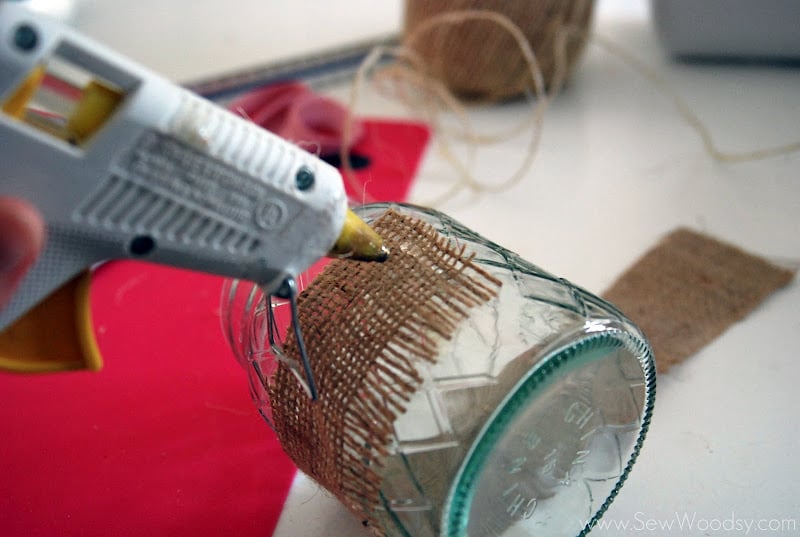
    1. Cut your burlap strip to be 2 inches wide by 12 inches long (that’s what worked for my jar if you need it larger make it larger). I then pulled a few threads from the top and bottom of the burlap. Lay the strip of burlap underneath the side of the mason jar.
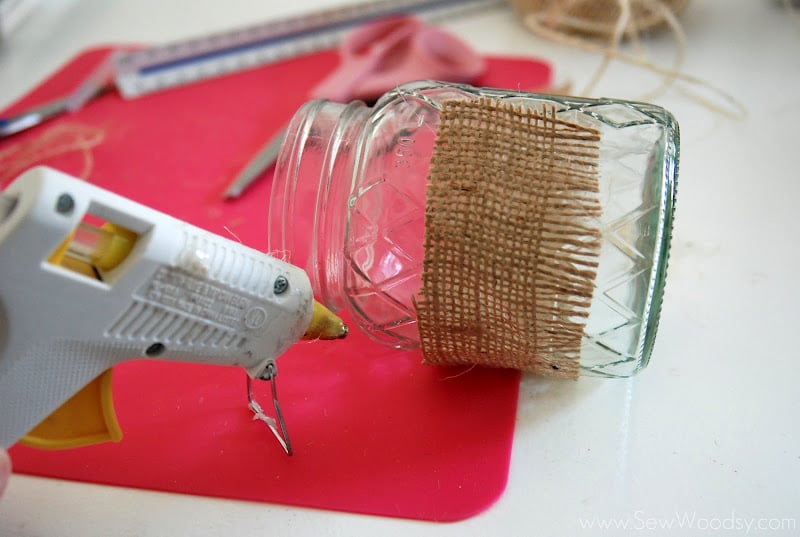
    2. Next, you’ll want to place a dab of hot glue on the side of the mason jar. *I love using my Hot Glue Gun Helpers–especially the tools that allow me to hold down the fabric/hot glue without getting burnt!
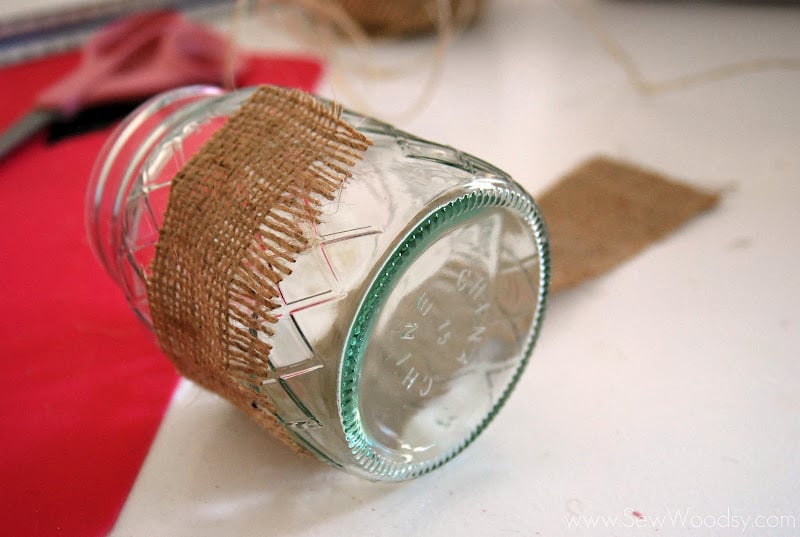
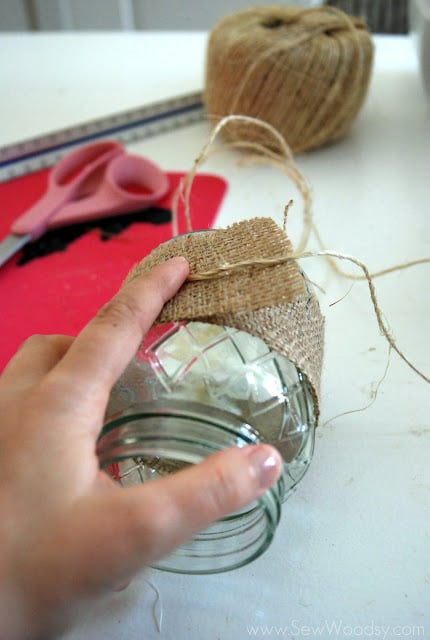
    3. After you’ve adhered one side of the burlap to the jar then wrap the burlap around the jar and adhere the other side.
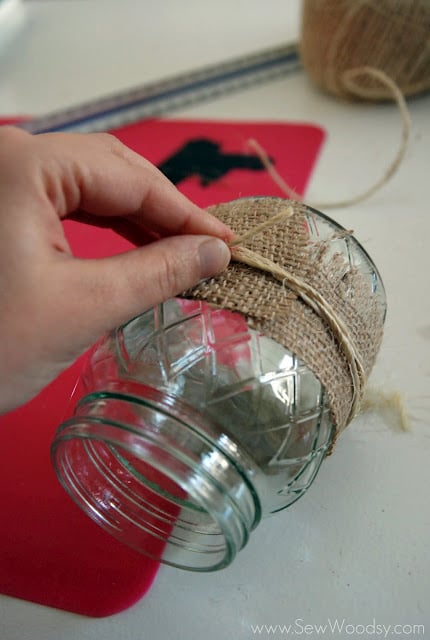
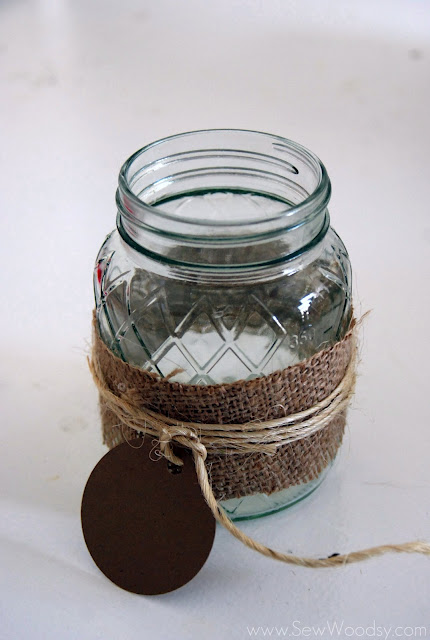
    4. Next, you will want to adhere the twine. I used hot glue to make sure the twine stayed in place and didn’t slip off, but you can simply tie this on if you’d like. I placed a dab of hot glue on the burlap and placed the twine on top of the hot glue.
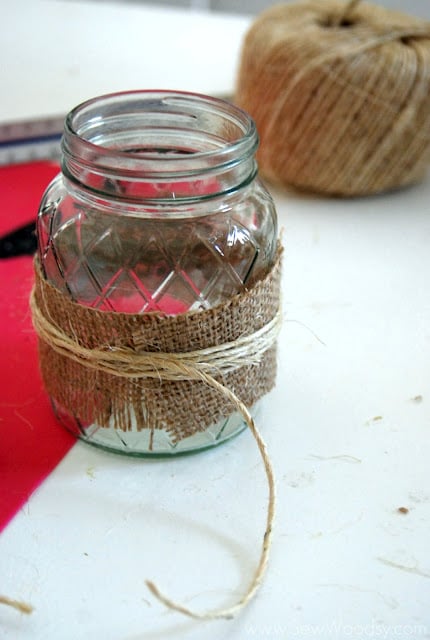
    5. Begin wrapping the twine around the burlap. I wrapped the twine around 3 times but you can essentially do as little or as much as you’d like. Once you have enough twine wrapped about the mason jar secure it with additional hot glue. I left a good 4-6 inches of twine hanging so I could tie on the “mason jar charms”. *not pictured is how I wrapped the twine around the tops of the mason jars. Repeat the same method as stated above.
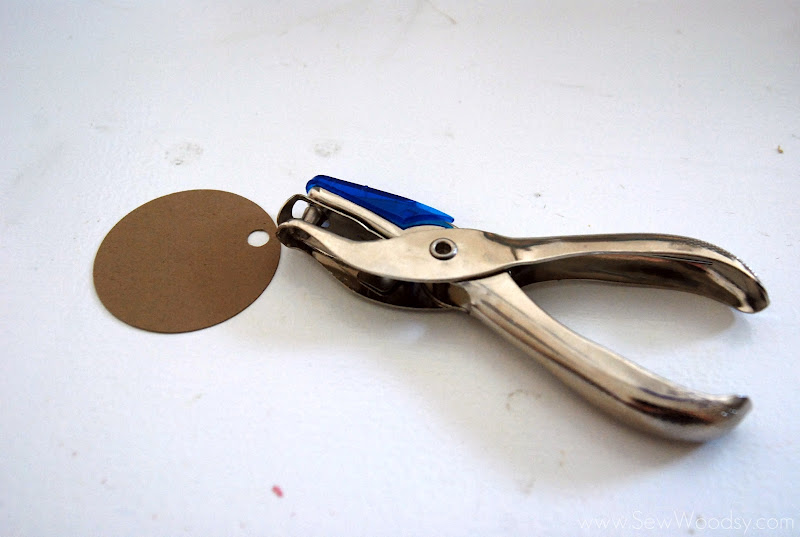
    6. Next, using your die cutting machine and/or circle punch cut out enough circles for each of your mason jars. Then hole punch the circles so you can tie them onto the jar. *You can also add your sticker to the circle then hole punch.
    7. Lastly add your circle on to your mason jar.
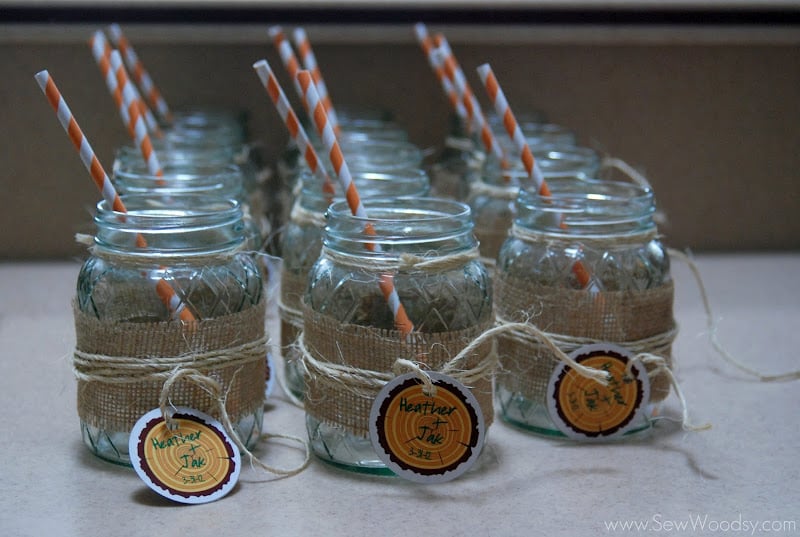
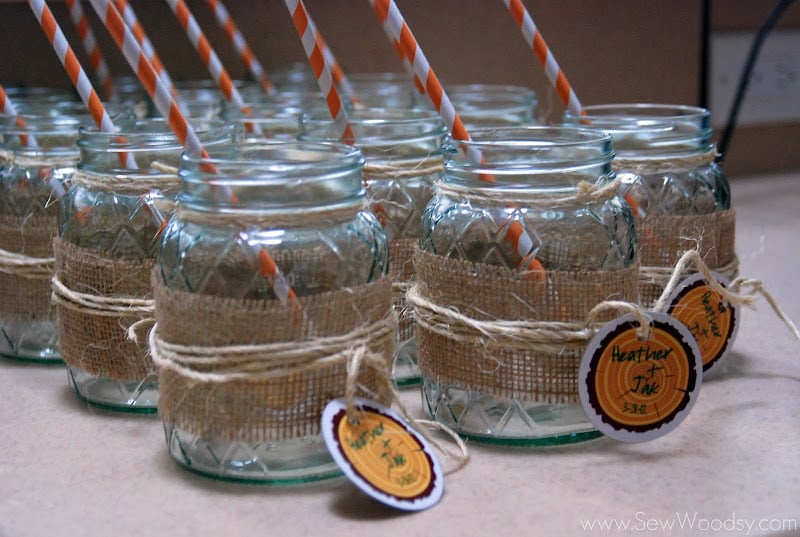
    Here is what the finished product looked like. I must admit everyone was very impressed with this super easy to make “accessory” and best of all it went right along with our theme.
    *I bought the paper straws from Pick Your Plum a few weeks back. We filled these lovely mason jars with sangria (and for the n/a option raspberry lemonade).
    « Chevron Heart Frame
    {Bridal Shower Favors} Lemon Tea Sugar Scrub »

    Primary Sidebar

    • Email
    • Facebook
    • Instagram
    • Pinterest
    • Twitter
    • YouTube
    Male and female hugging on each other in the woods.

    Hi, we're Katie & Jon! Welcome to our home away from home!

    Sew Woodsy is a lifestyle blog focusing on crafts, home DIY projects, family, travel and all things life. Get comfy and join us on our adventure!

    More About Us →

    9 different logos from various media outlets where Sew Woodsy has been featured on.

    Easter Projects

    • Kids Easter Basket Ideas
    • 25 Easter Basket Ideas for Toddlers
    • Free Easter Coloring Pages
    • 17 Easter Craft Ideas

    Trending

    • How to Create a Natural Log Pathway + Video
    • Tips & Tricks on Installing Butcher Block Countertops
    • How to Host a Baby Shower at Work
    • How to Use Heat n Bond

    Male and female hugging on each other in the woods.

    Hi, we're Katie & Jon! Welcome to our home away from home!

    Sew Woodsy is a lifestyle blog focusing on crafts, home DIY projects, family, travel and all things life. Get comfy and join us on our adventure!

    More About Us →

    9 different logos from various media outlets where Sew Woodsy has been featured on.

    Easter Projects

    • DIY Follow the Bunny Pillow Cover
    • Bunny Kisses & Easter Wishes Burlap Garden Flag
    • Easter Bunny Family Pillow
    • DIY Easter Bunny Onesie with Name

    Trending

    • How to Create a Natural Log Pathway + Video
    • Tips & Tricks on Installing Butcher Block Countertops
    • How to Host a Baby Shower at Work
    • How to Use Heat n Bond

    Footer

    ↑ back to top

    9 different logos from various media outlets where Sew Woodsy has been featured on.

    About

    • About Us
    • Privacy Policy
    • Accessibility Statement

    Newsletter

    • Sign Up! for emails and updates

    Contact

    • Contact
    • Work with us
    • Advertise

    Copyright © 2010 - 2022 Sew Woodsy