Learn how easy it is to sew a Magician’s Cape in minutes!
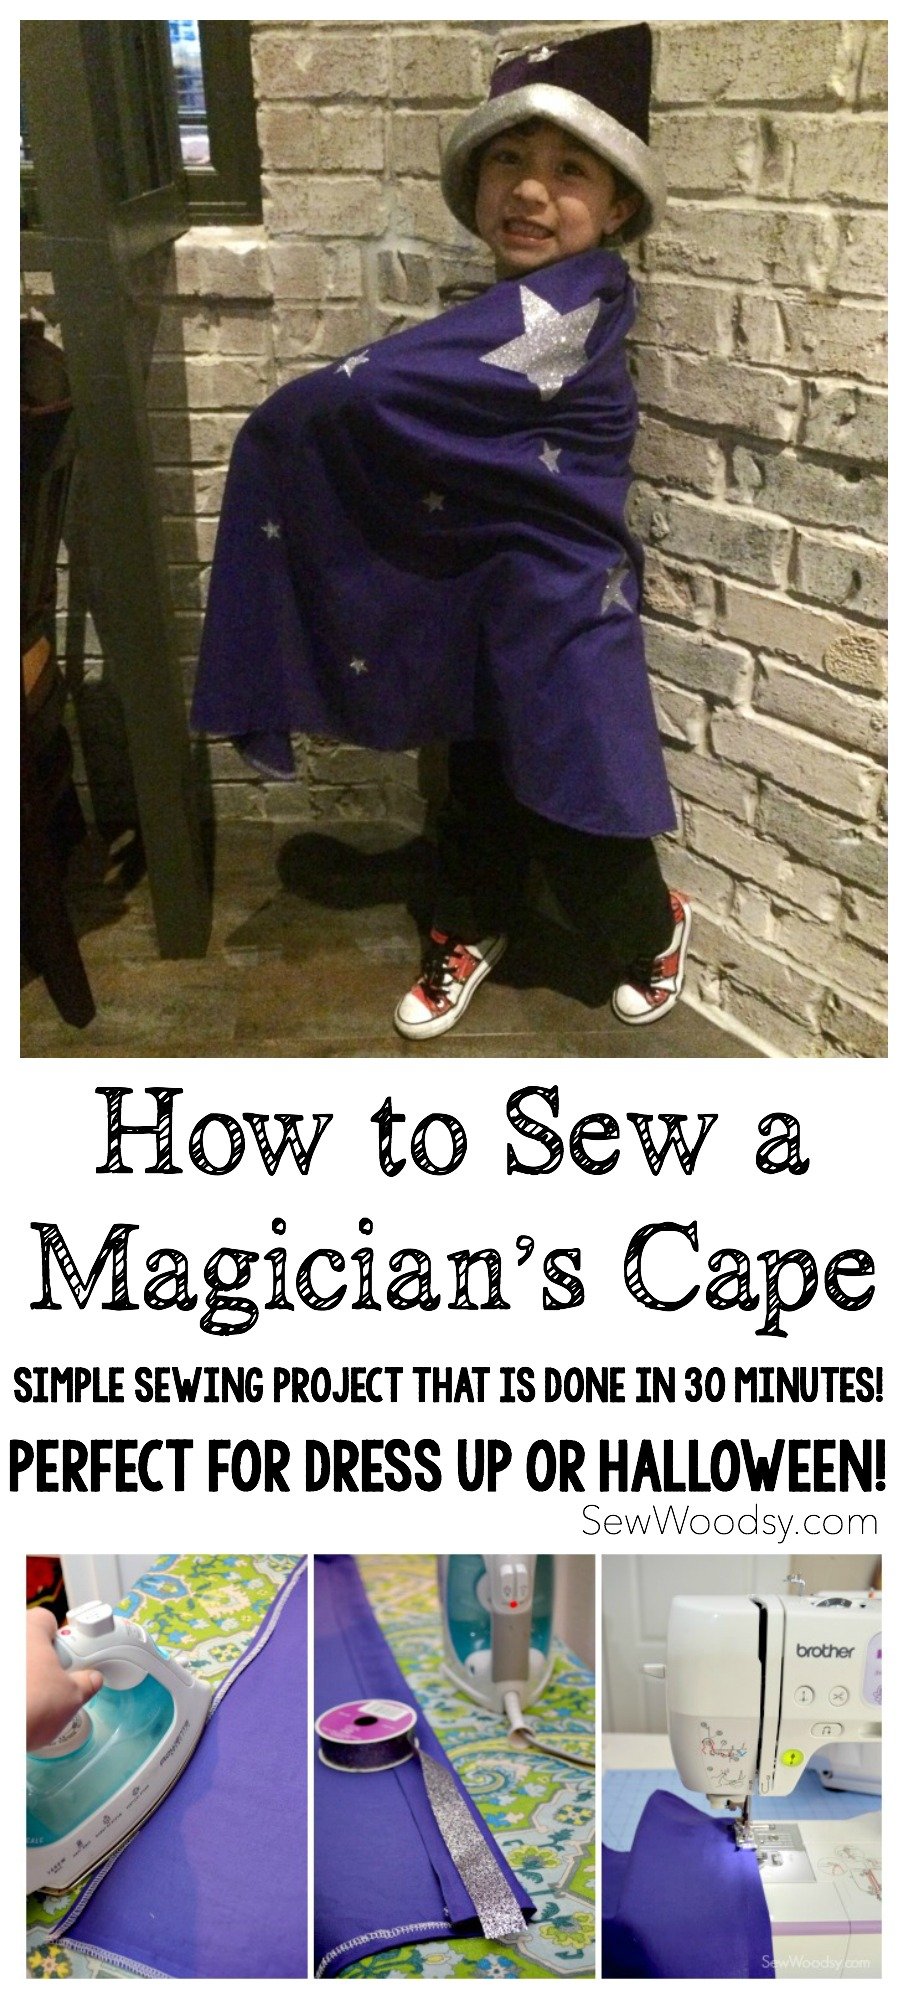
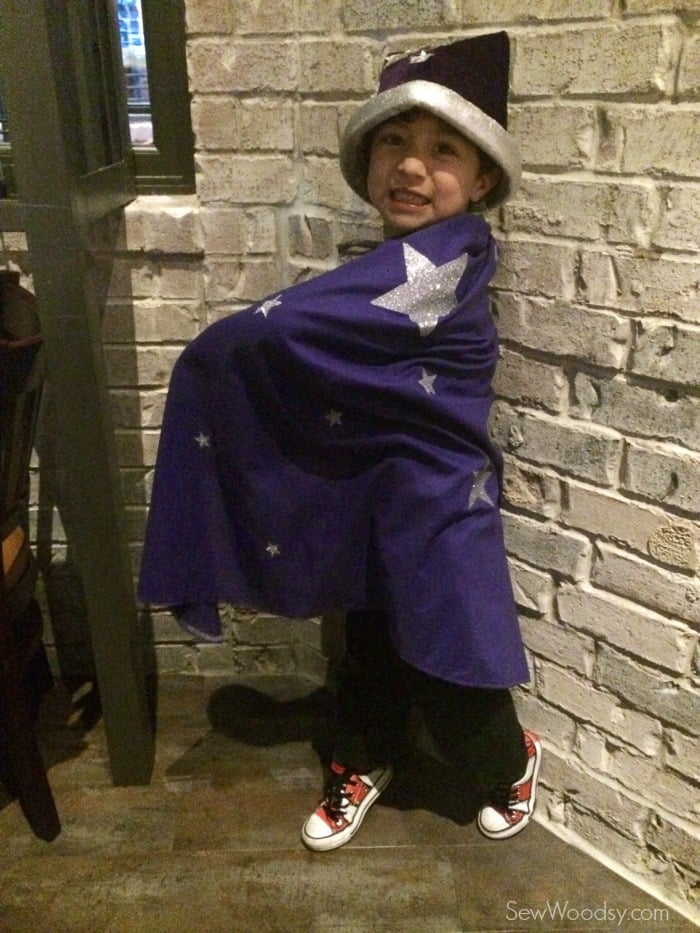
Back in March my mother in-law took my nephew to our local repertory theater to see a child’s play. The play’s main character was a magician. My five year old nephew, Nicholas, loved the play and all of a sudden wanted to be a magician. After the show they passed by the merchandise table and my mother in-law splurged and purchased a magician’s hat for my Nicholas. He really wanted the cape but she just couldn’t fathom spending a lot of money on a cape that he was probably only going to wear a few times. The next day, she called me and asked me if I wouldn’t mind sewing a cape for my nephew’s birthday. I was 36/37 weeks pregnant at the time and although tired I agreed to sew the cape. I finally got to take my serger for a spin and my new sewing machine that I bought last year!
This was my first actual projects I sewed using both. I used a yard of fabric and iron-on vinyl to create an easy-to-sew magician’s cape! So whether you have a five year old who is obsessed with magic or you are looking for a fun and easy DIY Halloween costume–this is the tutorial for you!
Supplies:
- 27- x 30-inch purple cotton fabric
- sewing machine, thread, scissors, pins
- 1-1/2 yards of ribbon
- Cricut Explore
- Cricut Iron-On Vinyl
- Cricut Tools
- Iron and Ironing board
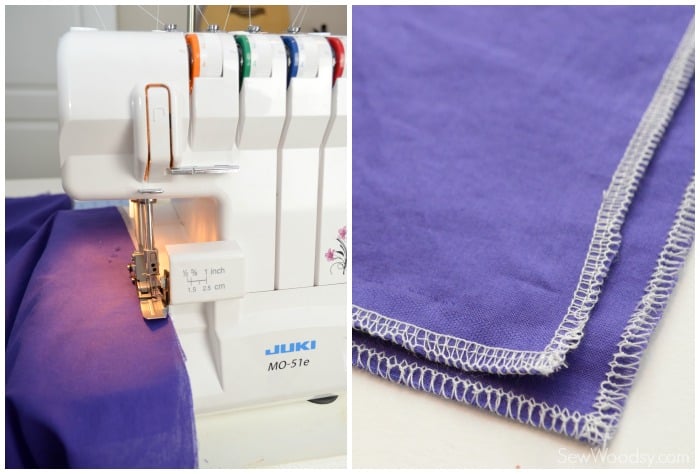
First, you will want to cut a 27- x 30-inch rectangle from the fabric. Then if you have a serger run the edges through the serger. If you don’t have a serger don’t stress. You can use pinking shears (zig zag cut) and skip the “serger” step.
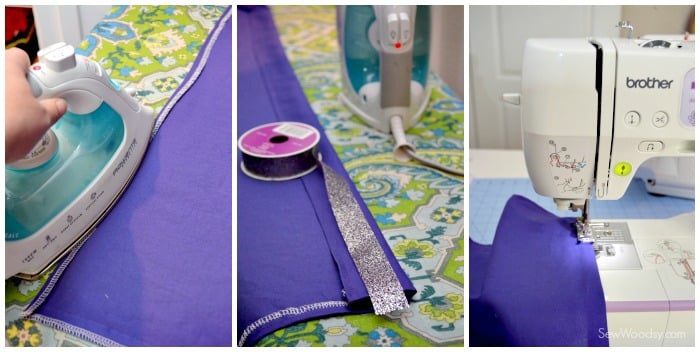
Next you will want to fold the serged ends over (about 1/2 inch) and iron. Sew around the edge so that serged side is not exposed. Then, you will want to lay the ribbon across the top of the cape, fold the fabric over so that there is 1/2 inch extra space. Pin and sew a straight line leaving the two ends open so you can run the ribbon through the top of the cape.
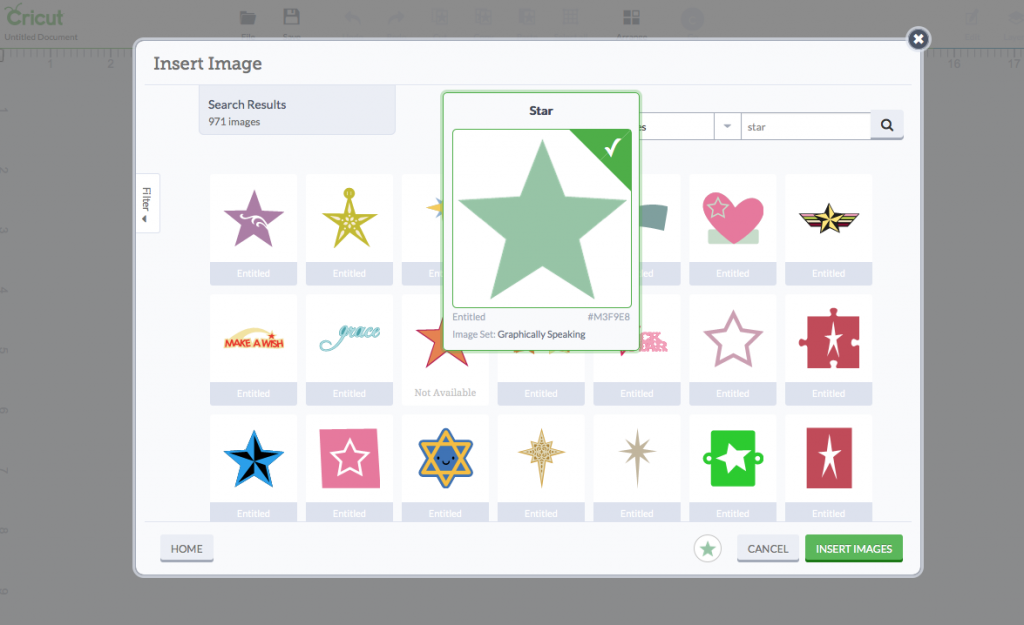
Now that the cape is constructed it’s time to cut the iron-on vinyl. Using my Cricut Explore I found a star shape and made a bunch of stars on my canvas. I only had a little bit of silver sparkle iron-on vinyl at home. I didn’t realize that until it was 10:00 at night and I had to bring the cape to my mother in-law the next morning. So I made do with what I had on hand. First I selected a star in the Cricut Design Space album. This star comes form the cartridge Graphically Speaking. 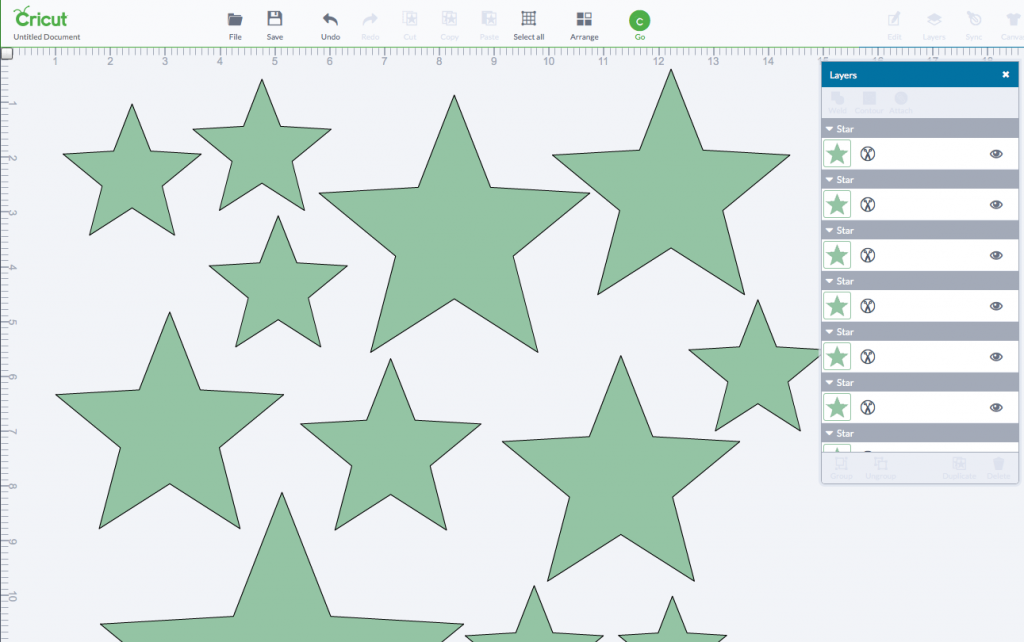
Then, I placed them at a variety of sizes. 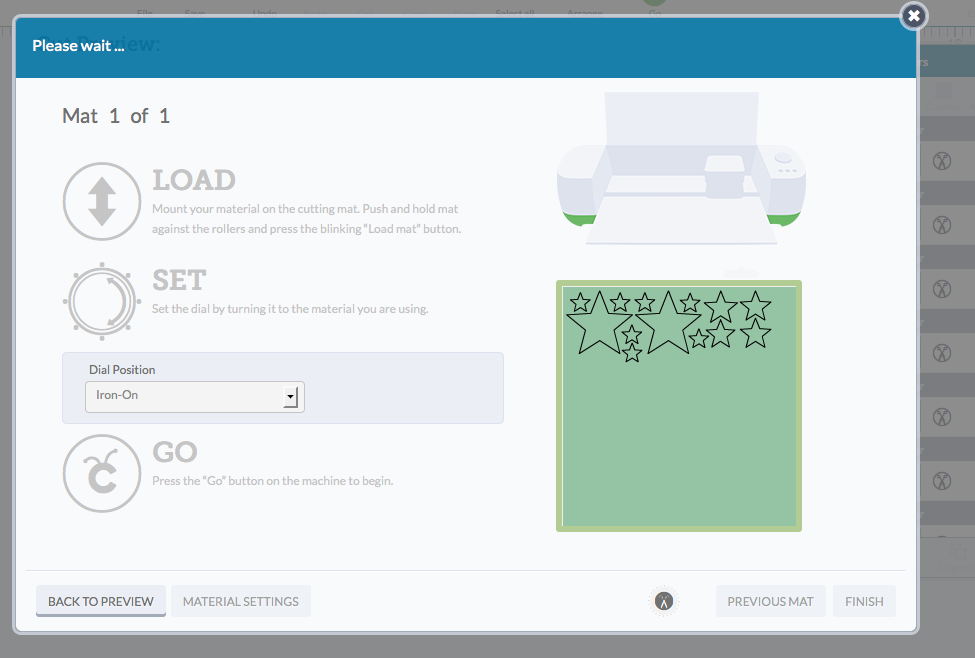 When I went to cut it automatically placed them on the mat how it felt they should be cut; however, you can place them around the mat any way you want. Just drag and drop them.
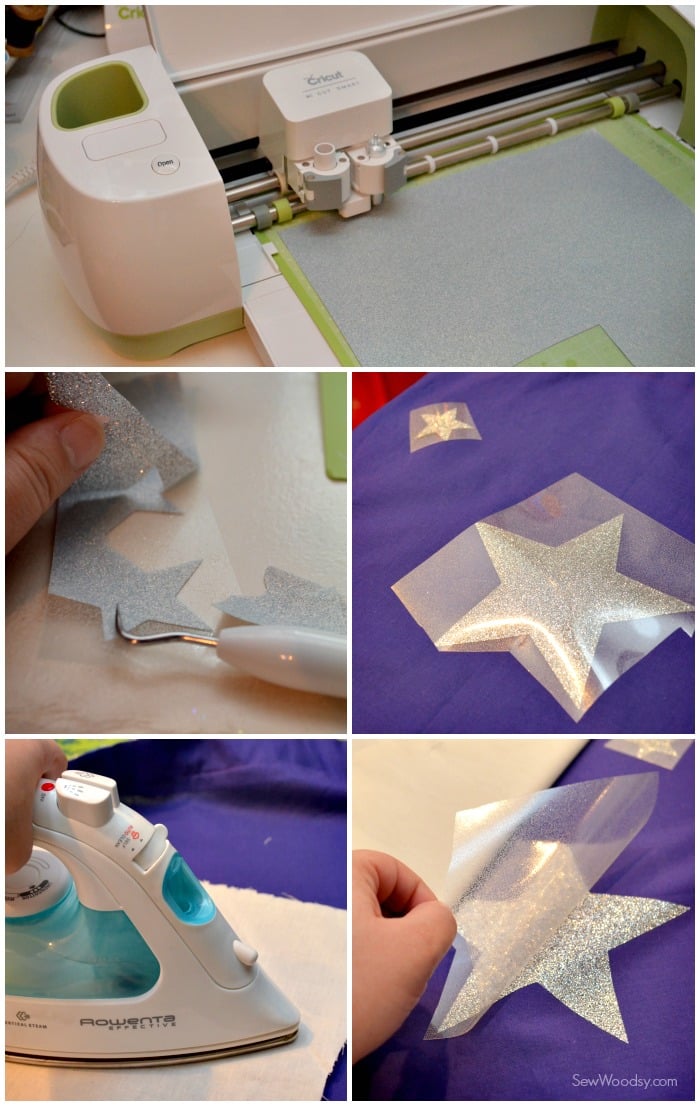
I selected my dial position to Iron-On, loaded my mat, and clicked on the “Go” button. Once the stars were cut out, I weeded all the negative vinyl and cut around the plastic to separate the stars. Then I ironed on the stars on to the purple cape. Follow the directions on the packaging if you not familiar with iron-on vinyl. You can purchase iron-on vinyl at Michael’s Craft Stores. Technically you don’t need a die-cut machine like the Cricut Explore to make the stars; however, it’s much easier if you have one!
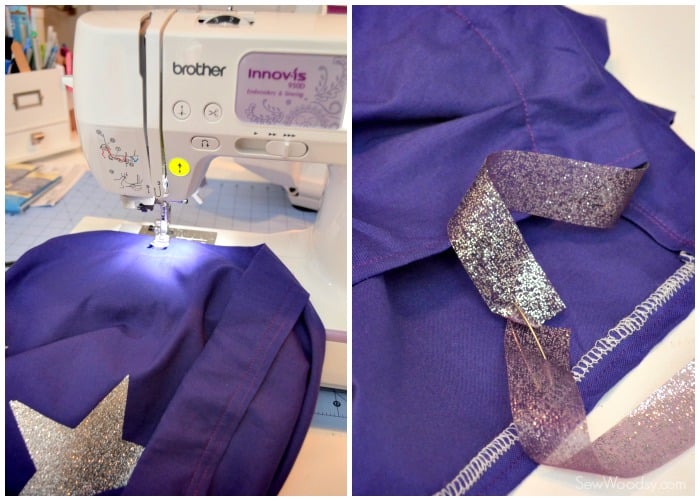
Once the cape is done, run the ribbon through the cape, pin the two ends together and do a small stitch in the center of the top of the cape to hold the ribbon in place and to avoid the ribbon from falling out. 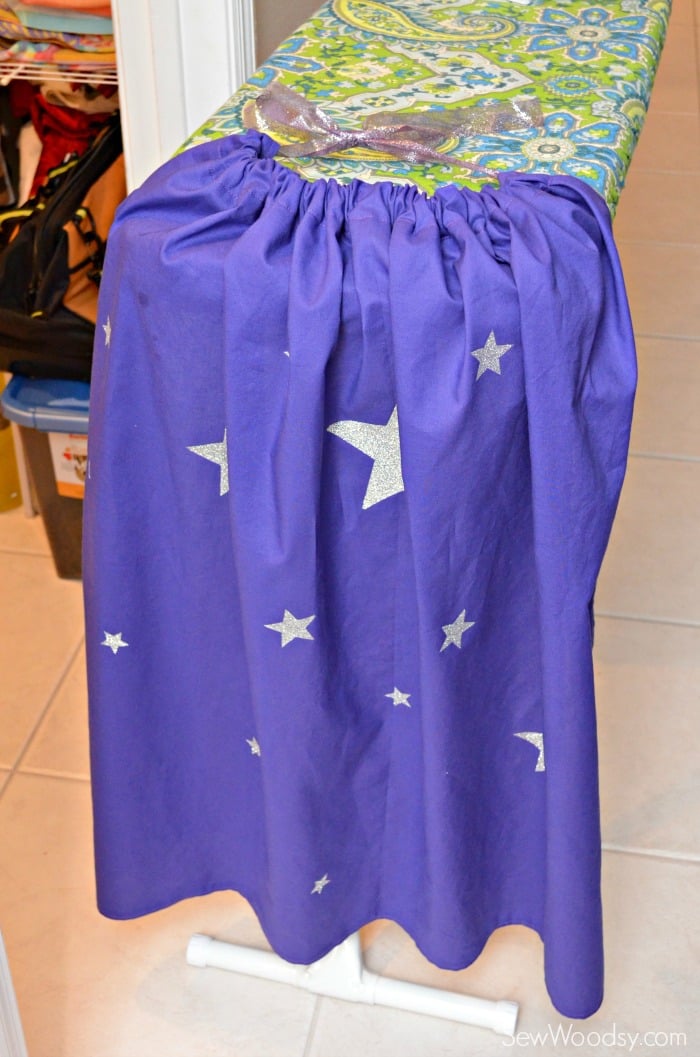 Tie it up and it’s ready to be worn for your littles magician in your life!
Disclaimer: There are affiliate links in this post. That means if you purchase from our links we make a percentage of the sale. As always all opinions are our own.