
Do you have a crazy amount of holiday decorations stored in bins? Our attic is bin heaven… If I had to guess we have a good 50+ holiday bins. Probably of those 50 bins, 20 are easily Halloween. For years, we have talked about coming up with a holiday bin organization spreadsheet. You see, since we blog, we tend to have to work on holiday projects throughout the year. Think working on Halloween projects during Valentine’s Day and Christmas in June (our poor child is going to be so confused with his holidays). From time to time I ask Jon to go into the attic and bring down some holiday decor. The problem is… he has to sift through ALL those bins just to find the 5 items I’m requesting. Instead, now I can say… “hey Jon, please go to Halloween Bin 3 and grab the skull, dead ivy garland, and snake wreath”. I can just scan the spreadsheet and go from there. Of course, this also means that when it comes time to packing up the bins after each holiday we have to look at the spreadsheet to see what items go in which bin. This is where descriptive writing comes in to play.
I’m participating in the next round of the Cricut Design Space Star contest. The categories this month is holiday and organization and my teams theme is is “fall into fall”. What better way to combine both categories this month than to show you how I’ve started organizing my holiday bins. I’m going to share with you the vinyl labels I created for my fall bins and the free spreadsheet I’ve created to get organized. You will be able to implement this system in your own home!
You can download my Cricut Design Space File for the Fall Bins Vinyl Labels HERE.
Supplies
- Cricut Explore
- Cricut Design Space
- Cricut Tools
- Cricut Vinyl
- Cricut Transfer Tape
- Bins
- Free Downloadable Spreadsheet
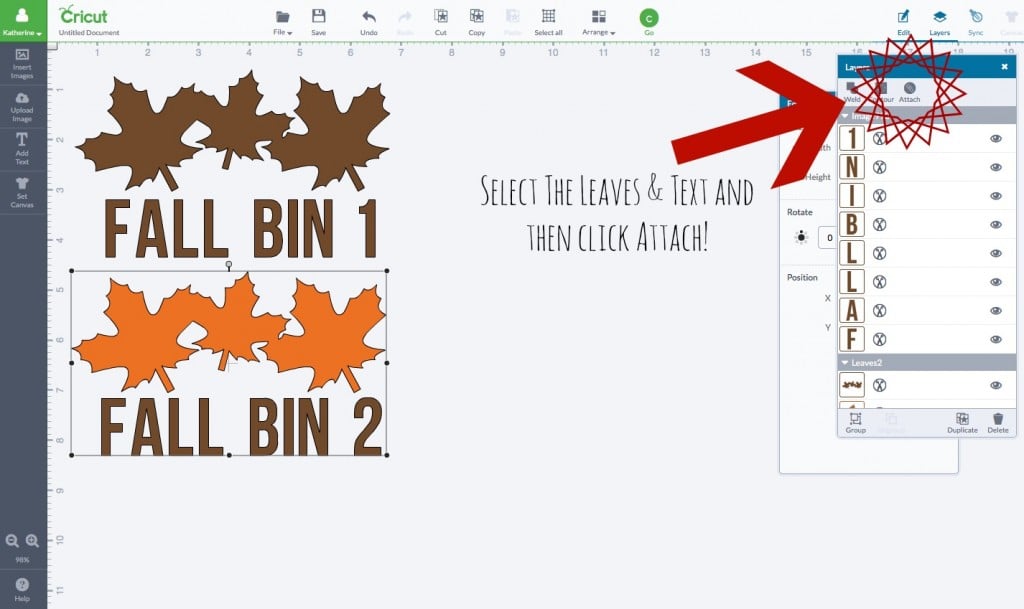
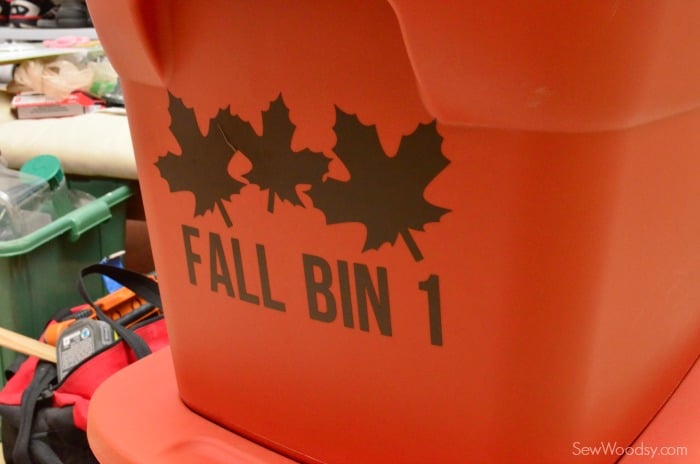
I choose a trio of leaves and used BEBAS NUE for the font. I placed the leaves how I wanted them and then the text. Then I selected the leaves and text and clicked “attach” in Cricut Design Space. This will allow it to cut exactly how you see it.
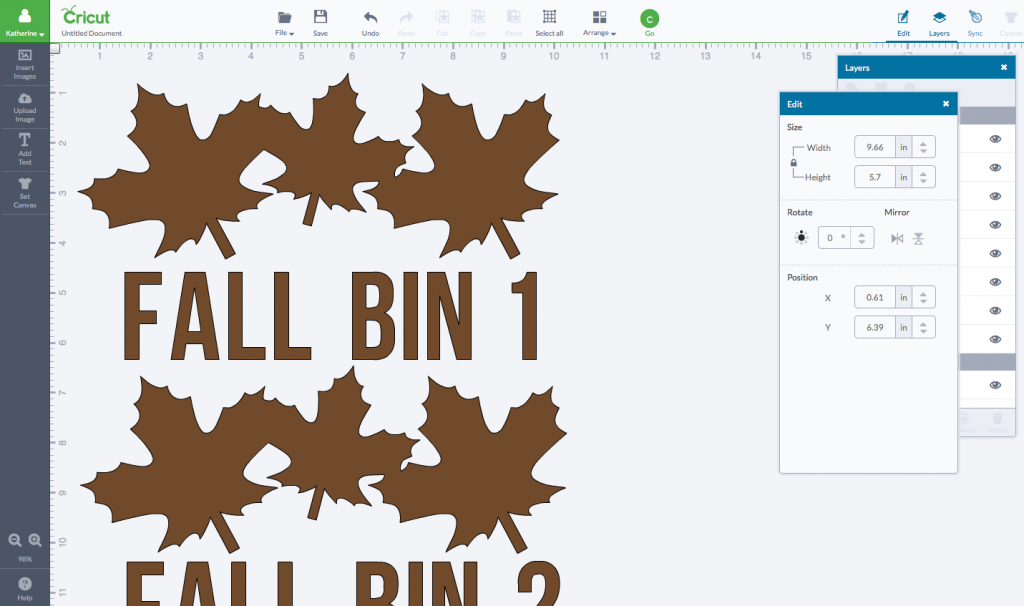
I made the leaves 9.6 inches wide and the text a little smaller than that.

This is how it looked when it cut on the mat.
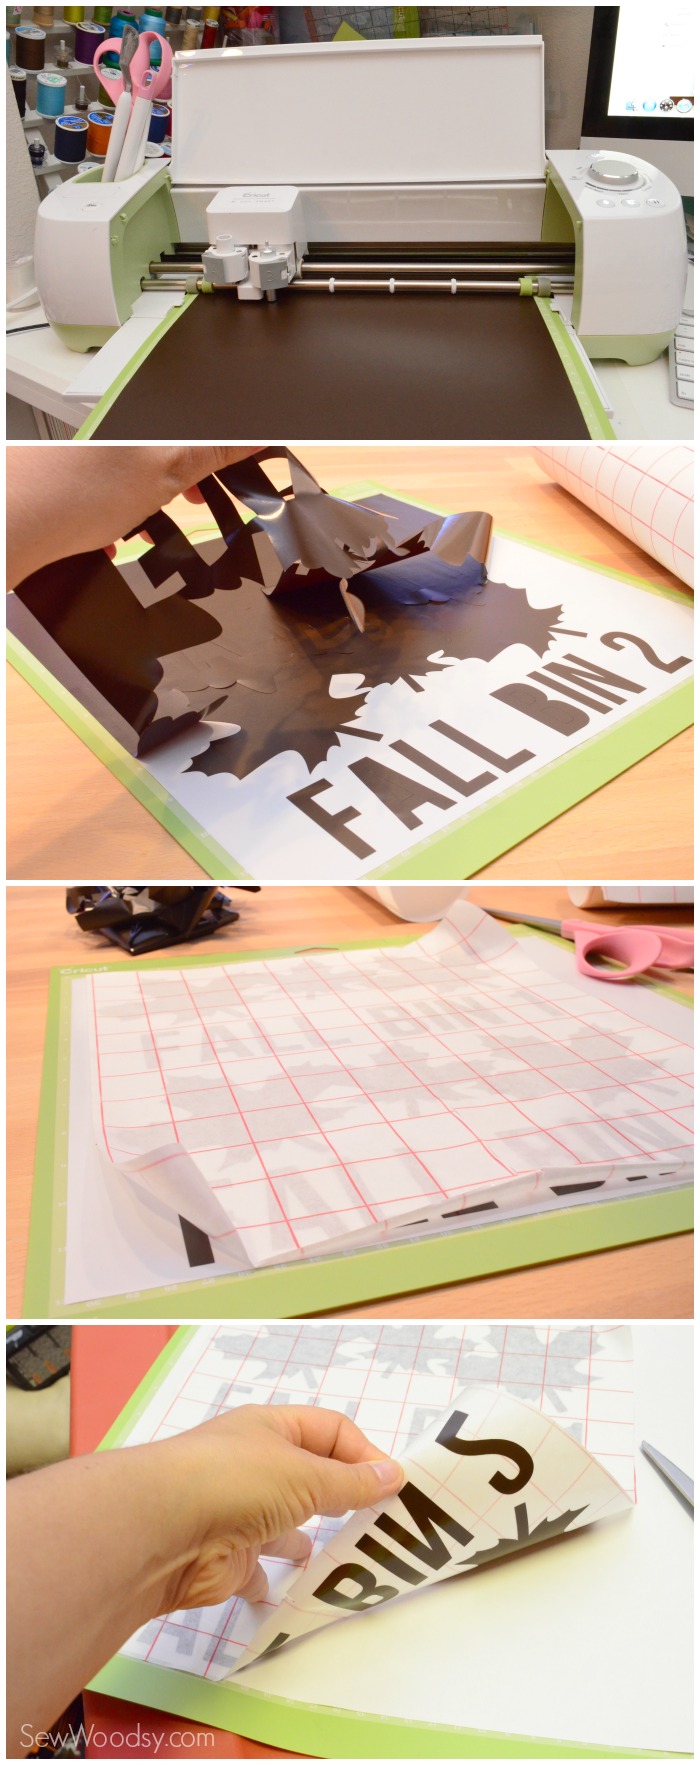
Next up, it’s time to cut the vinyl on the Cricut Explore, followed by pulling off all the negative vinyl, applying transfer tape, using applicator to adhere the transfer tape and vinyl together. Then I removed the transfer tape from mat (with spatula).
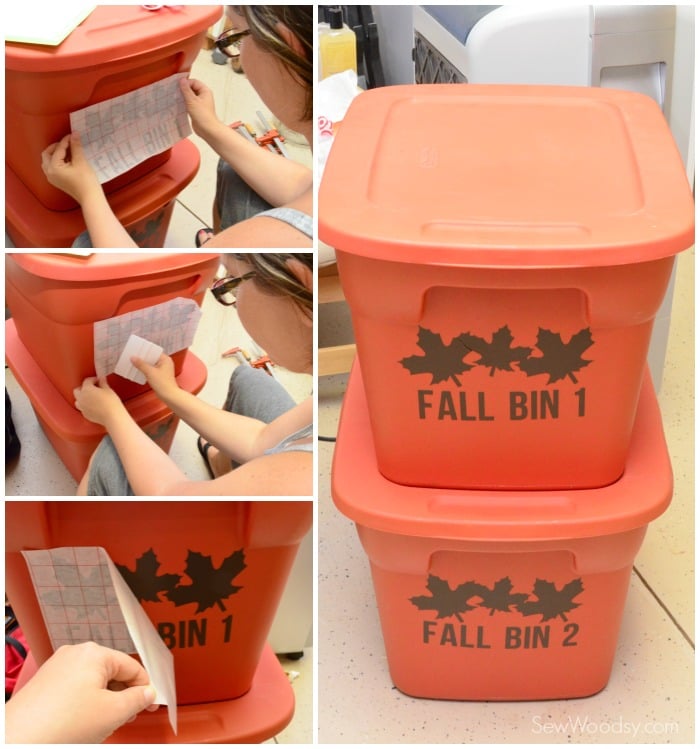
Next up, it’s time to adhere the vinyl on to the bins. Place transfer tape on bin, use the applicator to smooth the transfer tape, and slowly pull the transfer tape off the vinyl.
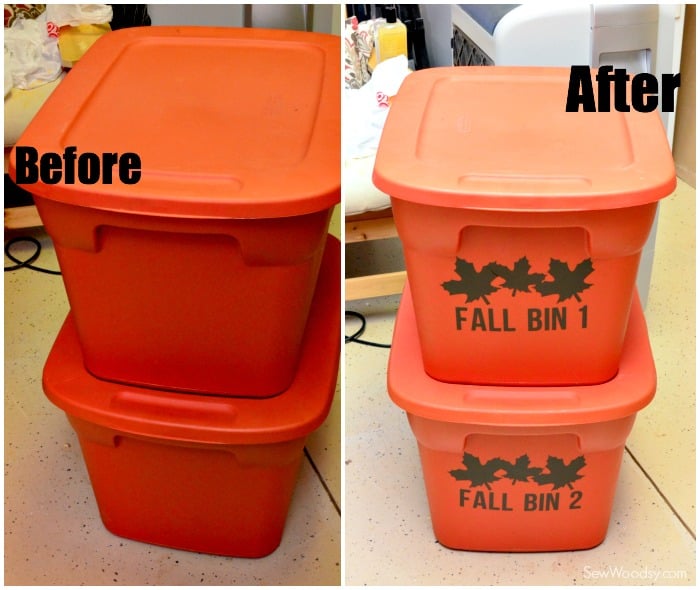
I love how the bins look!
And if your wondering… I’ve only completed my Fall bins. I’m hoping to tackle the Halloween bins in the coming week! Eek! But at least it will feel nice to be organized for once.
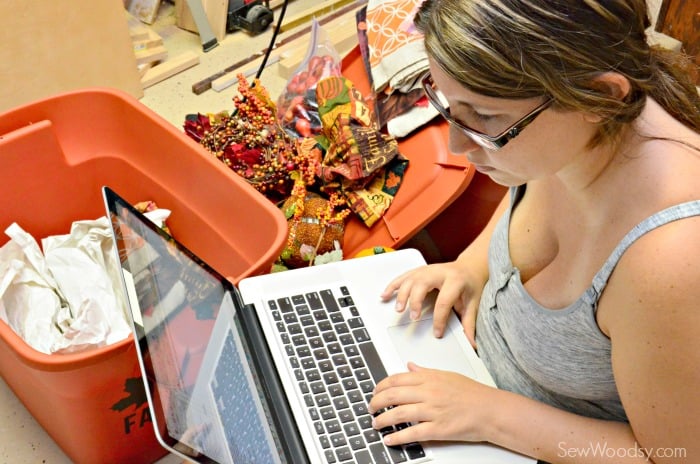
Next up, time to fill out the spreadsheet and get organized!

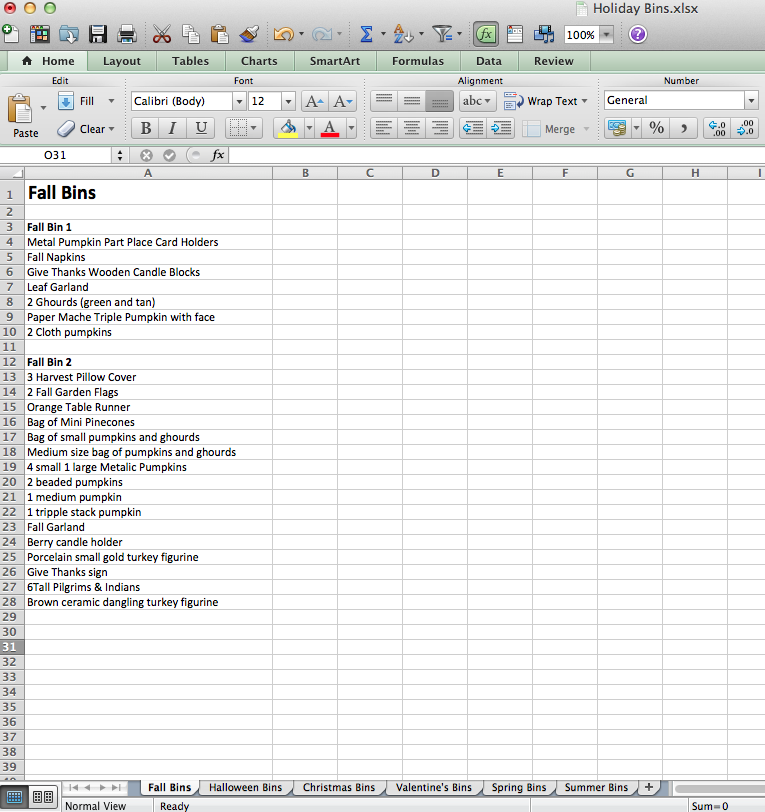
This is what my spreadsheet looked like filled out! And if you look at all those tabs on the bottom… looks like I have a lot of organizing ahead of me!

Enter the Cricut-I Made It! Contest – Because It’s Time to Make It Big
It’s time your creativity pays off so you can really make it. Cricut has just announced the second phase of the Cricut – I Made It! contest and this time they’re awarding one winner their own Make it Now™ project line to be sold in Cricut Design Space™!
To help create your line, Cricut will fly you to their headquarters in Salt Lake City to work side-by-side with their design team. Then you and a guest will enjoy an all-expense paid stay at the Grand America Hotel – a luxury resort in Salt Lake City, home to the best skiing in the world.
The winner will be featured on Cricut.com and every time a Cricut user purchases your project, you’ll earn money. Cha-ching! Cricut will even help with your publicity.
Cricut is upping the fame game even more…camera, lights, action….
Cricut has partnered with the The Design Network – a premier online design channel – to showcase the Cricut- I Made It! winner this fall. You’ll get a spotlight feature on a network dedicated to celebrating great designers and their creative star power.
Cricut’s judges, including DIY Diva Alison Deyette and two creative directors from Cricut, will pick 50 finalists from the best project entries based on creativity, use of materials and technique. Who will pick the ultimate winner? You, the public, will vote online in October.
To enter the Cricut – I Made It! contest, all you need is a photo of an original project. You can upload up to five photos (which can be five individual projects or multiple photos of one project).
You have until September 30th to enter. What are you waiting for? It’s time you Made It big! Head to cricut.com to enter today.
