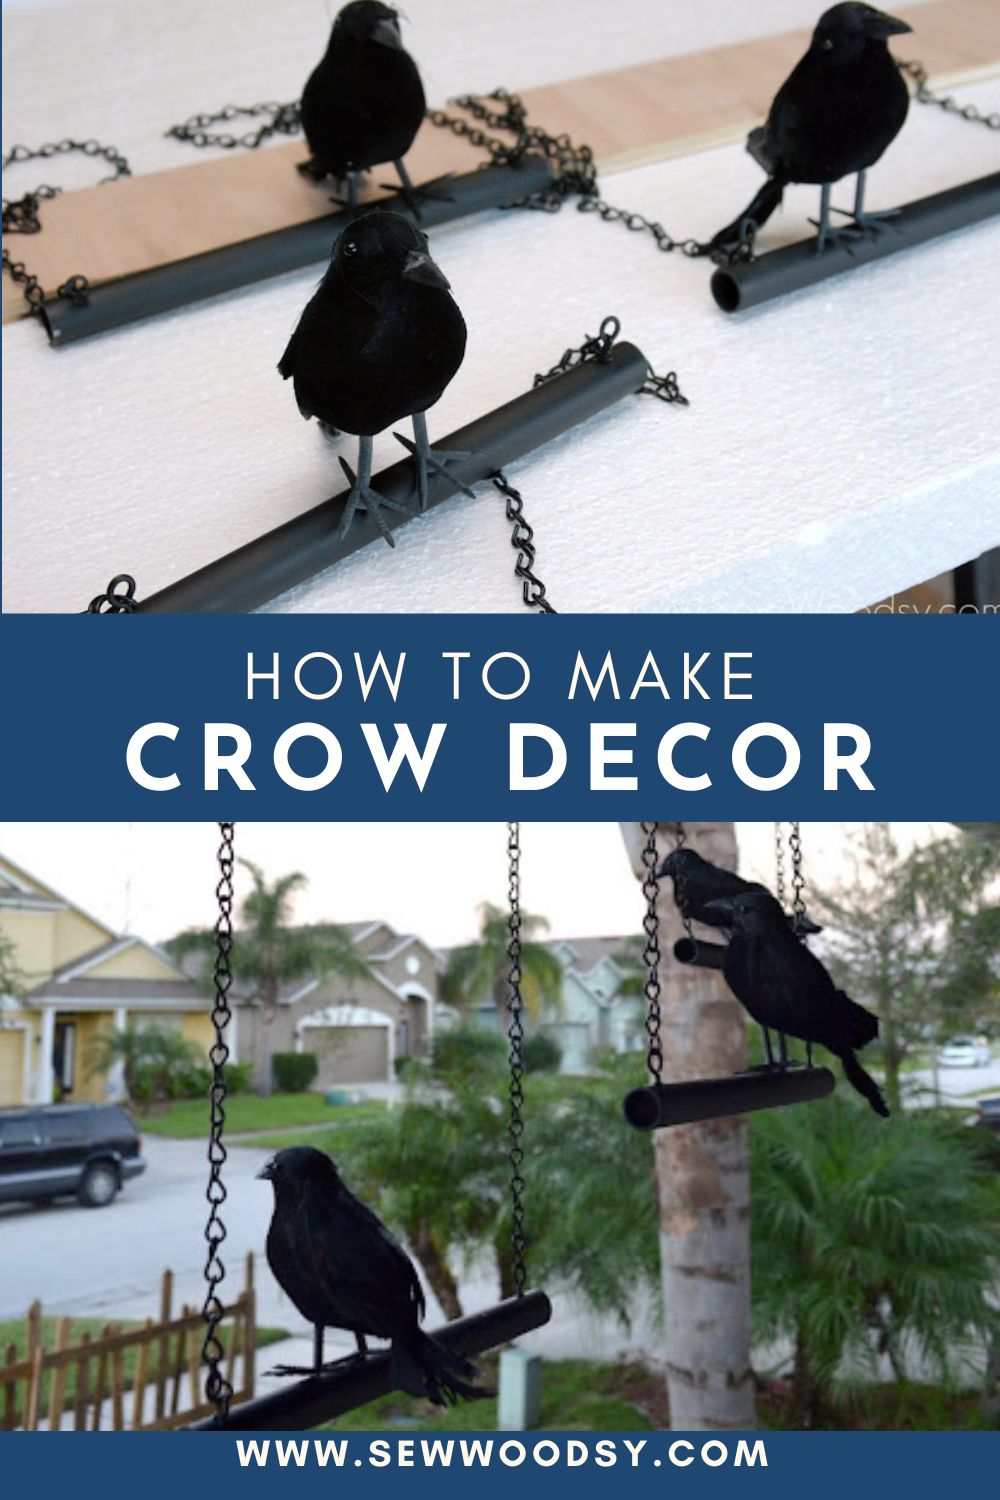

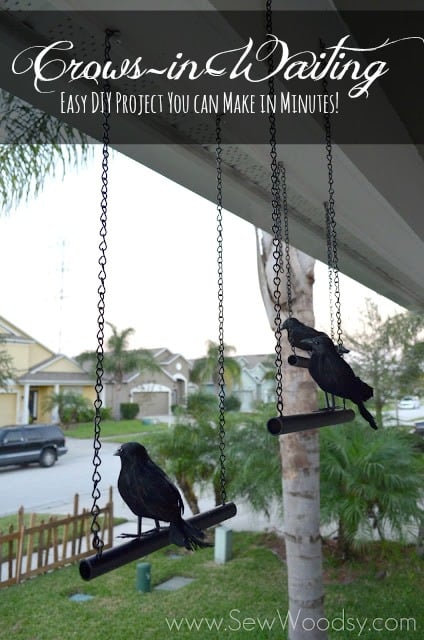
Elevate your Halloween decor with these eerily lifelike homemade crows-in-waiting that add a spooky touch to your home’s ambiance. You’ll learn how to craft these crows-in-waiting easily with my step-by-step guide.
We made these crows-in-waiting back in 2012 after getting back from our Europe trip. I totally forgot to share these last year (I blame that on the severe pregnancy brain I was experiencing), and when I was going through my draft post a few weeks ago I realized I had this awesome Halloween project waiting in the wings for the world to see!
When I first saw the Ravens-in-Waiting project in the Halloween edition of Martha Stewart I knew I needed to make the project. However, using paper packing tubes and foam core was not going to cut it with our humid weather in Florida. I needed to step-it-up with a more durable version. I utilized basic materials that we already owned: pvc pipe, black matte spray paint, and crows from the Dollar Store. All together this project cost me less than $10 (but I had a majority of the materials) and took me about two hours from start to finish.
Table of contents
Supplies

- 1/4-inch thick PVC Pipe
- PVC Pipe Cutters
- Rust-oleum Black Matte Spray Paint
- Rust-oleum Comfort Grip
- Drill
- 5/64 Drill Bit
- 12 feet of Black Chain
- Chain Cutters
- 1/16 Drill Bit
- 3 Dollar Store Crows
Directions

Measure the PVC to be about 10-12 inches in length.

Then, using PVC pipe cutters I cut the PVC. It was really easy to cut–I promise!

Then I gave the PVC and hooks a few coats of black Rustoleum spray paint.

What they looked like once they were done on one side.

Once they dried I flipped over the PVC and hooks and sprayed the other side.

Once everything is dry, drill pilot holes into the PVC. Make sure you get a good grip on the PVC so it doesn’t “run away” on you.

This is what it will look like once its done.

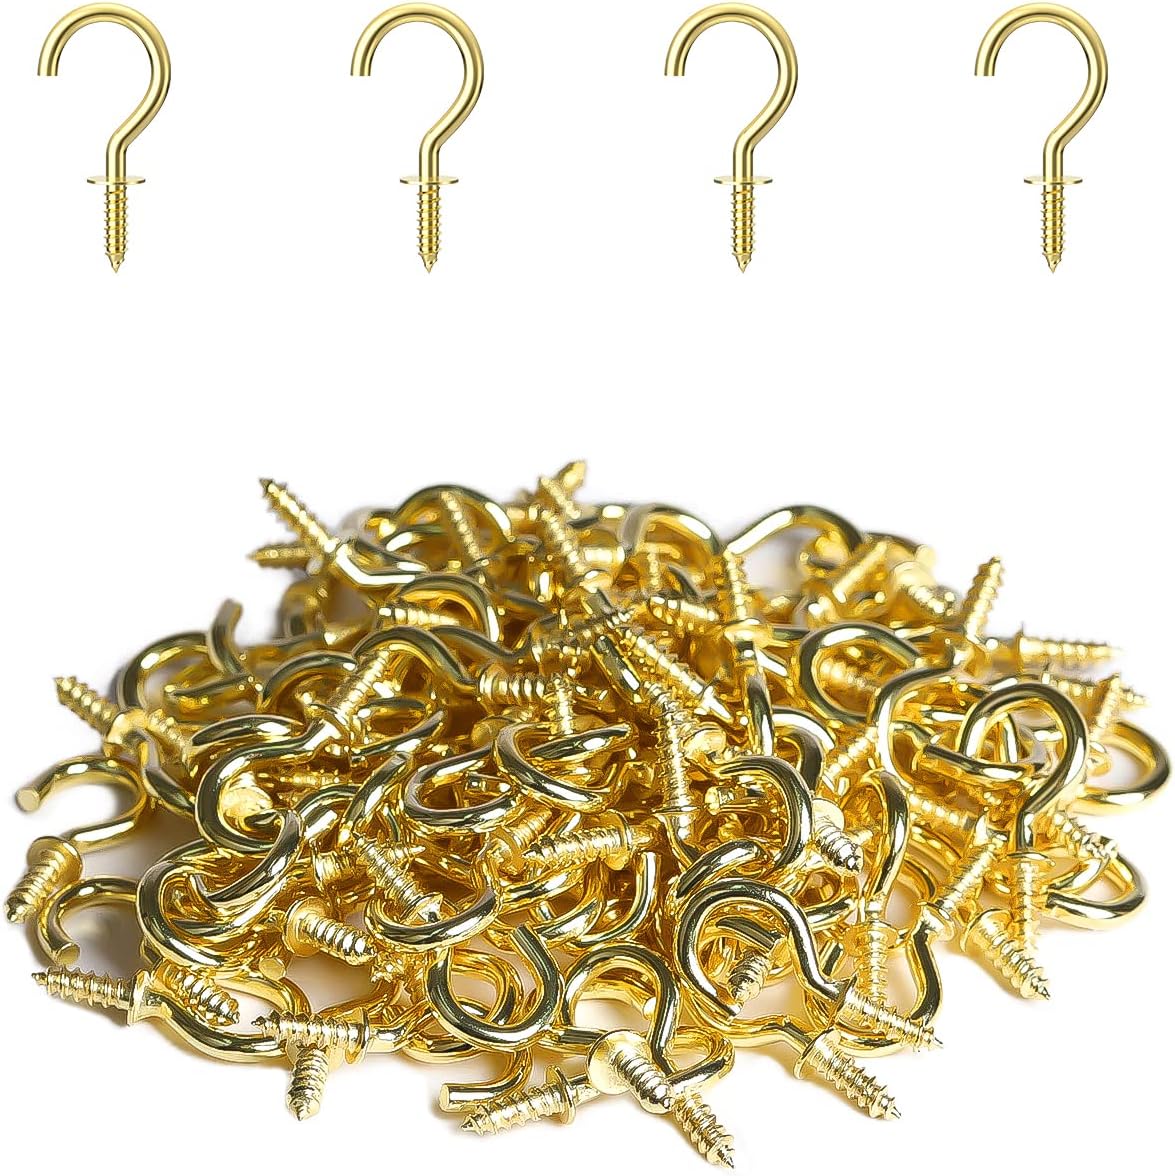
Then, just screw in the hooks!

Take bolt cutters and clip the black chain to the size you need. No exact sizes here it all depends on the needs of your space. I did do three different lengths because I wanted them staggered in length.

Jon used needle nose pliers to bend the hook around the chain so that it was secure.

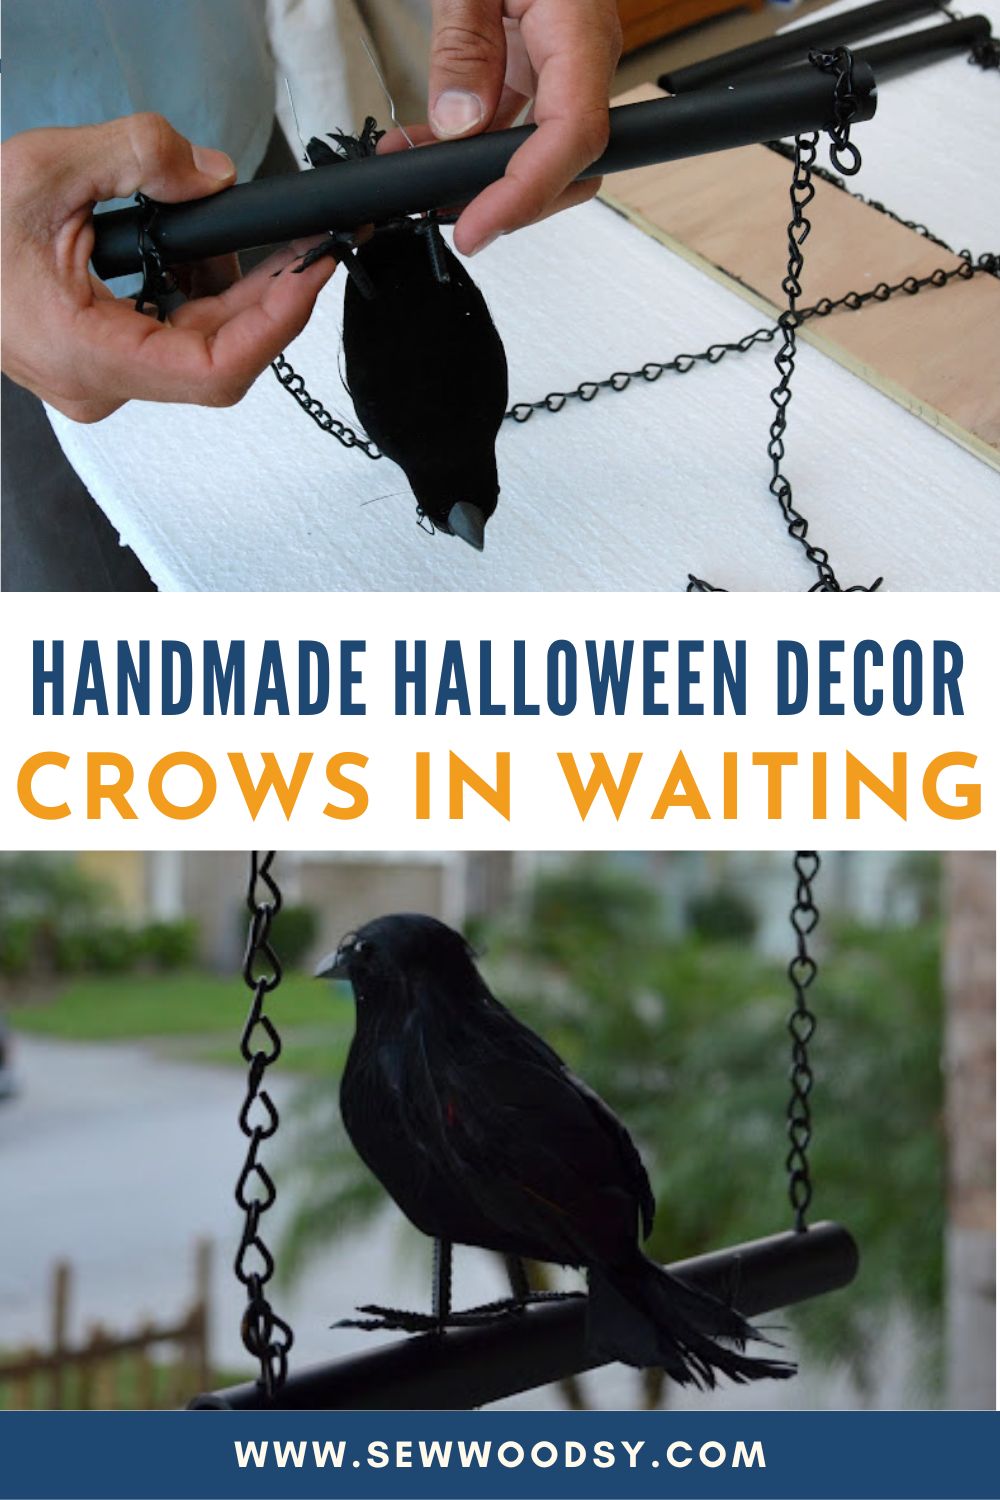
Lastly, drill a pilot hole in the middle or on the side of the PVC.

You’ll want to do this to secure your crows to the PVC. Two small pilot holes to run the wire through the PVC that’s on the bottom of the crows feet.
It will look just like this…

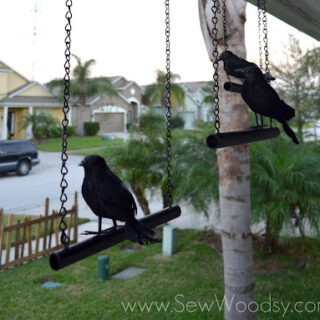
This is what they looked like once they were done.

Once the Halloween crow decorations are done you can hang them from the ceiling. If you have a front porch you can hang them up there!

This is what they looked like from the back of our porch.

I’m in love with how they turned out!!! We’ve used them for the past two years and plan to use them again this year. I love making knock-off Halloween projects for super inexpensive!
Tips and Tricks
Here are a few of my favorite tips and tricks when working on Halloween crow decorations.
- Painting – For best results you can easily spread this project out into 2 days. Giving your PVC and hooks enough time to dry.
- Crows – I like to purchase them from the Dollar Store. You can also find small black crows at Target, Walmart, Party City, and sometimes even Dollar General.
- No Drilling – If you don’t have access to a drill, you can hot glue all the pieces together. It might not look as polished, but it will work if you don’t have a drill.
DIY Halloween Decorations
Looking for more DIY Halloween Decorations to make? Check these out:
If you make these Halloween crows, I would be honored and love for you to take the time to leave a star rating and comment! I spend hours developing and testing these projects, and always love to hear feedback and user experience!
Don’t forget to FOLLOW ME on Facebook, Pinterest, and Instagram, and subscribe to my email list!
How to Make Halloween Crows: Printable Directions
Halloween Crows
Elevate your Halloween decor with these eerily lifelike homemade crows-in-waiting that add a spooky touch to your home’s ambiance. You’ll learn how to craft these crows-in-waiting easily with my step-by-step guide.
Materials
- 1/4-inch thick PVC Pipe
- Rust-oleum Black Matte Spray Paint
- 12 feet of Black Chain
- 3 Dollar Store Crows
Tools
- PVC Pipe Cutters
- Rust-oleum Comfort Grip
- Drill
- 5/64 Drill Bit
- Chain Cutters
- 1/16 Drill Bit
Instructions
- Measure the PVC to be about 10-12 inches in length. Then, using PVC pipe cutters, cut the PVC.
- Spray paint the PVC and hooks with a few coats of black Rustoleum spray paint.
- Once the PVC pipes have dried, flip over the PVC and spray the other side. Make sure to flip over the hooks and coat the other side.
- Once everything is dry, drill pilot holes into the PVC about ½ inch from the ends. Make sure you get a good grip on the PVC, so it doesn’t “run away” on you. Then, screw in the hooks.
- Take bolt cutters and clip the black chain to the size you need. No exact sizes here it all depends on the needs of your space. I did do three different lengths because I wanted them staggered in length.
- Lastly, drill a pilot hole in the middle or on the side of the PVC. You’ll want to do this to secure your crows to the PVC. Two small pilot holes to run the wire through the PVC that’s on the bottom of the crows feet.
- Hang the Halloween Crows from the ceiling of your front porch, or wherever you would like!
Recommended Products
As an Amazon Associate and member of other affiliate programs, I earn from qualifying purchases.