Learn how easy it is to transform a neon green one dollar Halloween bucket into a Toy Story Alien Trick or Treat Bucket!

Last year, our family had a Toy Story theme for Halloween. My son wanted to be Buzz Lightyear and I was feeling extra guilty that I didn’t DIY his costume. That’s when I started thinking about what he would hold to trick or treat. At first I was going to make an alien themed bag–then I saw a neon green Halloween pumpkin at Walmart and I instantly knew I was going to transform that bucket into an alien. I mean the perfect compliment to a Buzz Lightyear costume! I did a good job of documenting the process and with the help of my Cricut I transformed this green bucket into an extrordinary Toy Story Alien Trick or Treat Bucket! This took less than 30 minutes from start to finish and because I had all the materials on hand I only spent money on the bucket and buying the Alien file. I’ve done all the work for you with this file. I’ve taken out all the layers and sized it exactly what it needs to be to fit the trick or treat bucket!
Supplies:
- Cricut Maker
- Cricut Design Space™ File
- Cricut Mat
- Cricut Premium Vinyl Permanent
- Cricut Transfer Tape
- Cricut Tools
- Green Pumpkin Trick or Treat Bucket
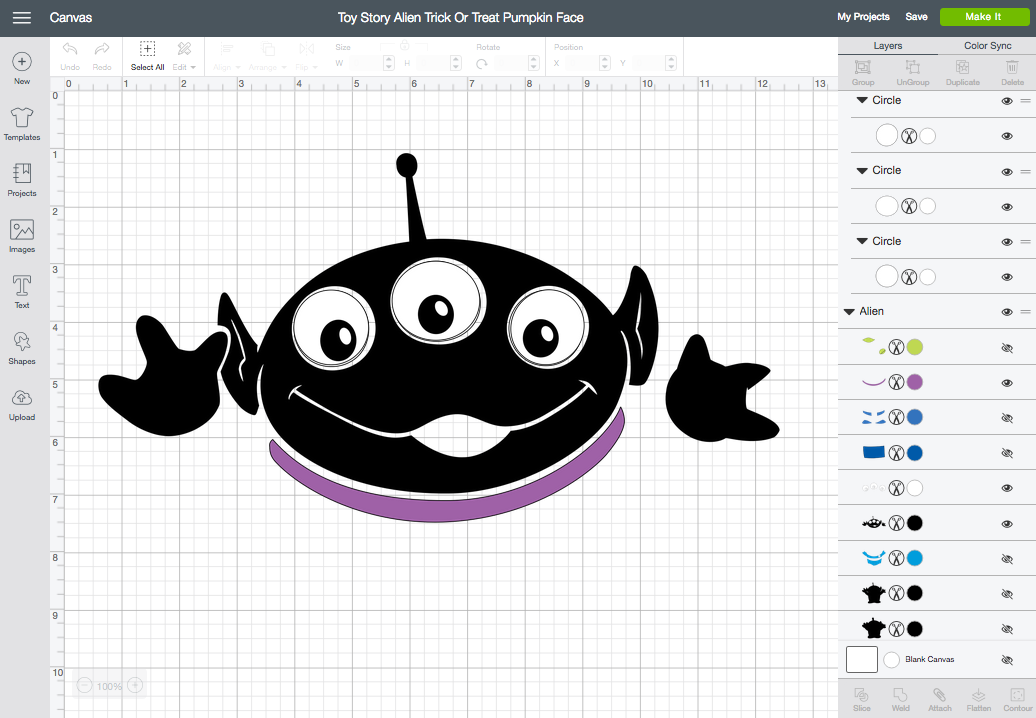
I’ve done all the guess work for you. Here is the link to my Cricut Design Space™ Toy Story Alien Bucket File. You need to print the black layer. Here is why… when you weed the image you will take away the main part of the face and leave the mouth and black outline of the eyes!
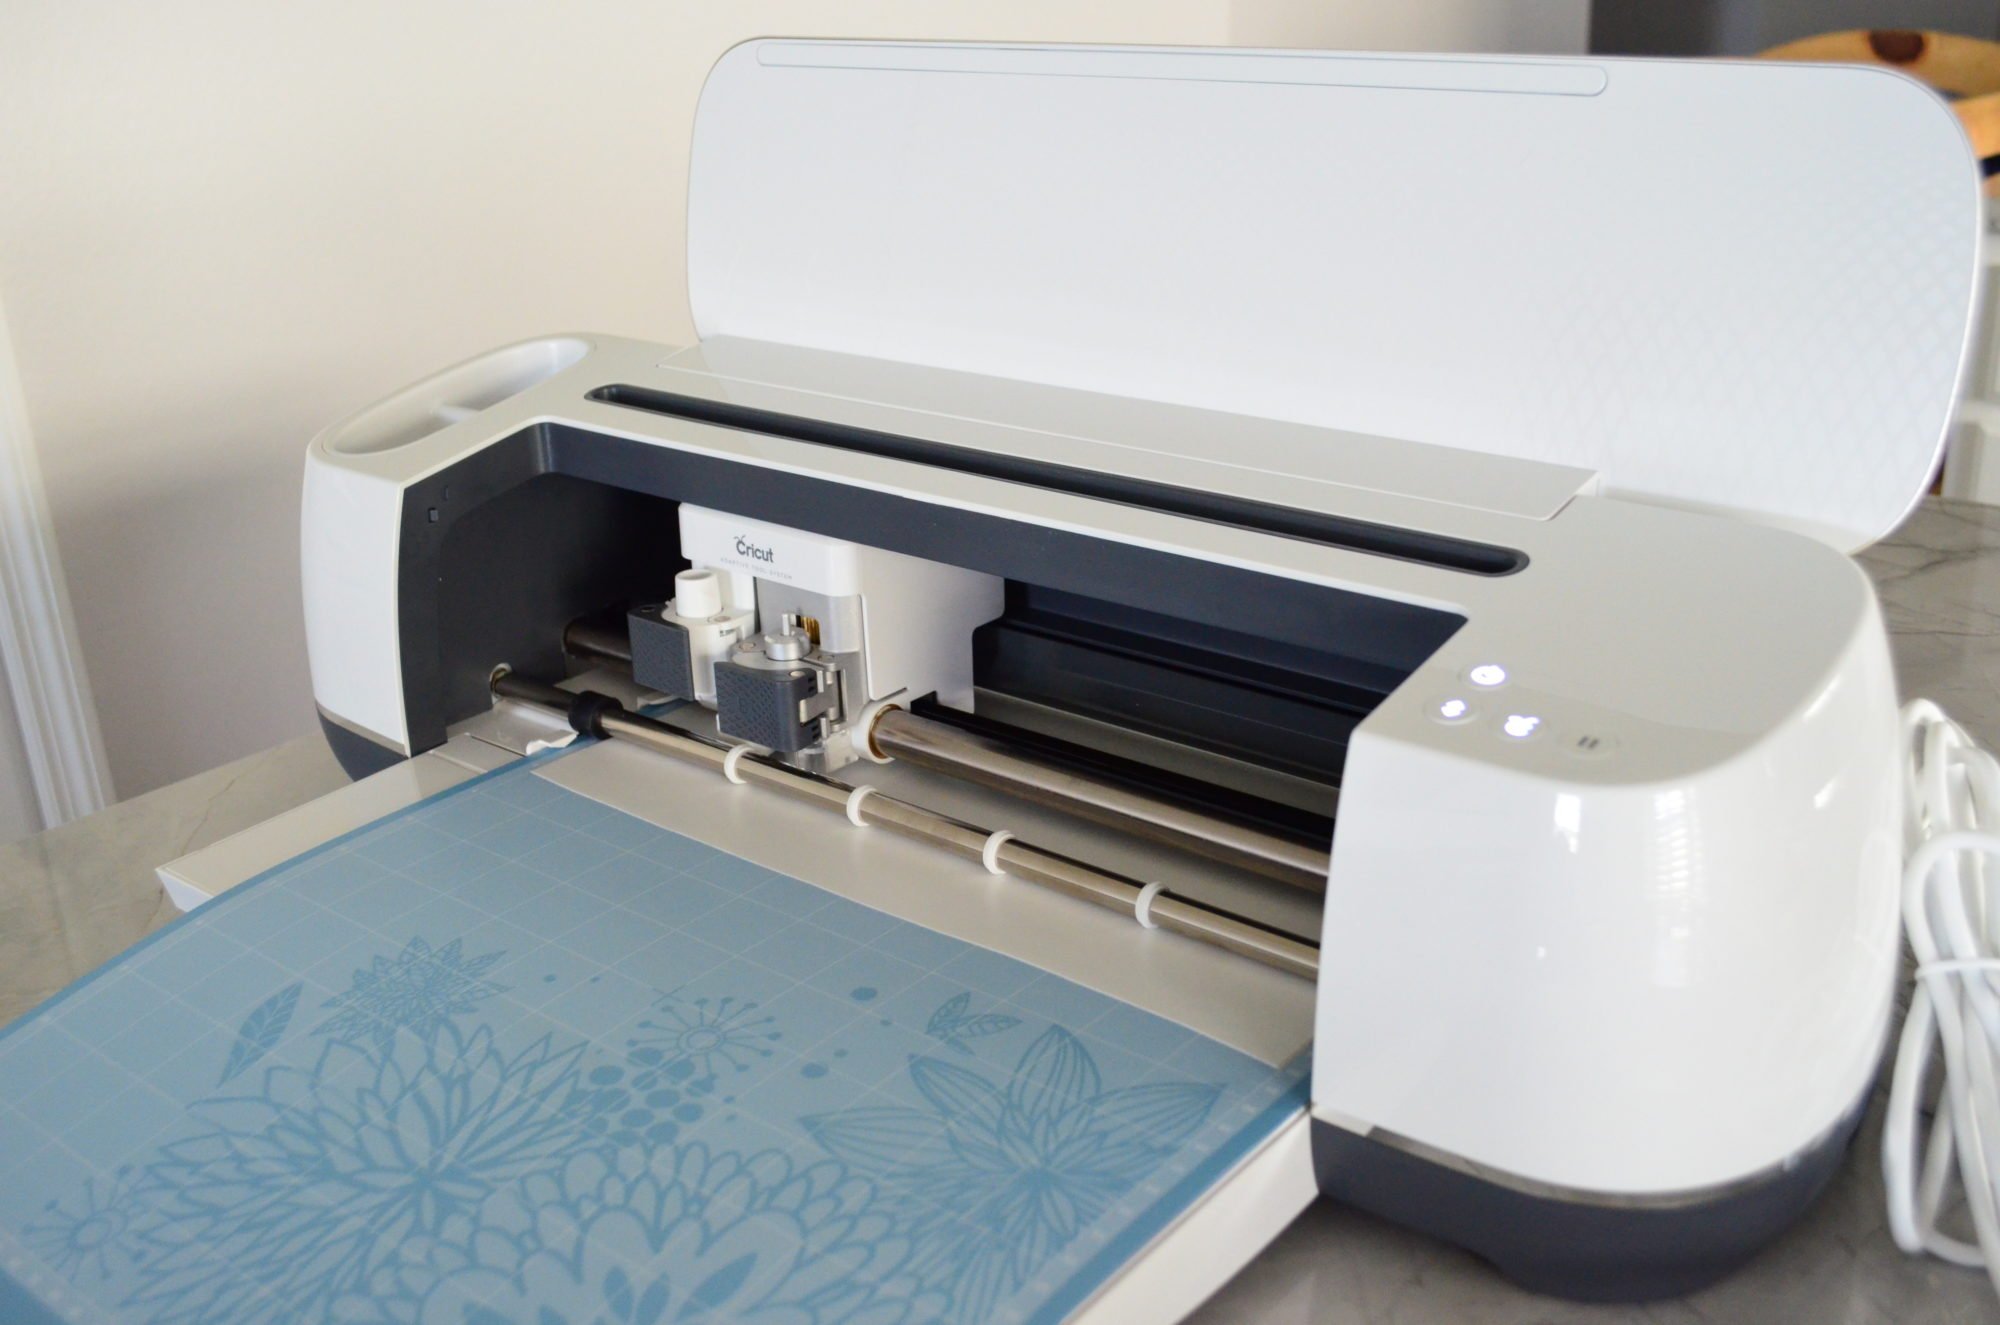
First, you’ll cute the white layer of vinyl. I used permanent vinyl for this project.
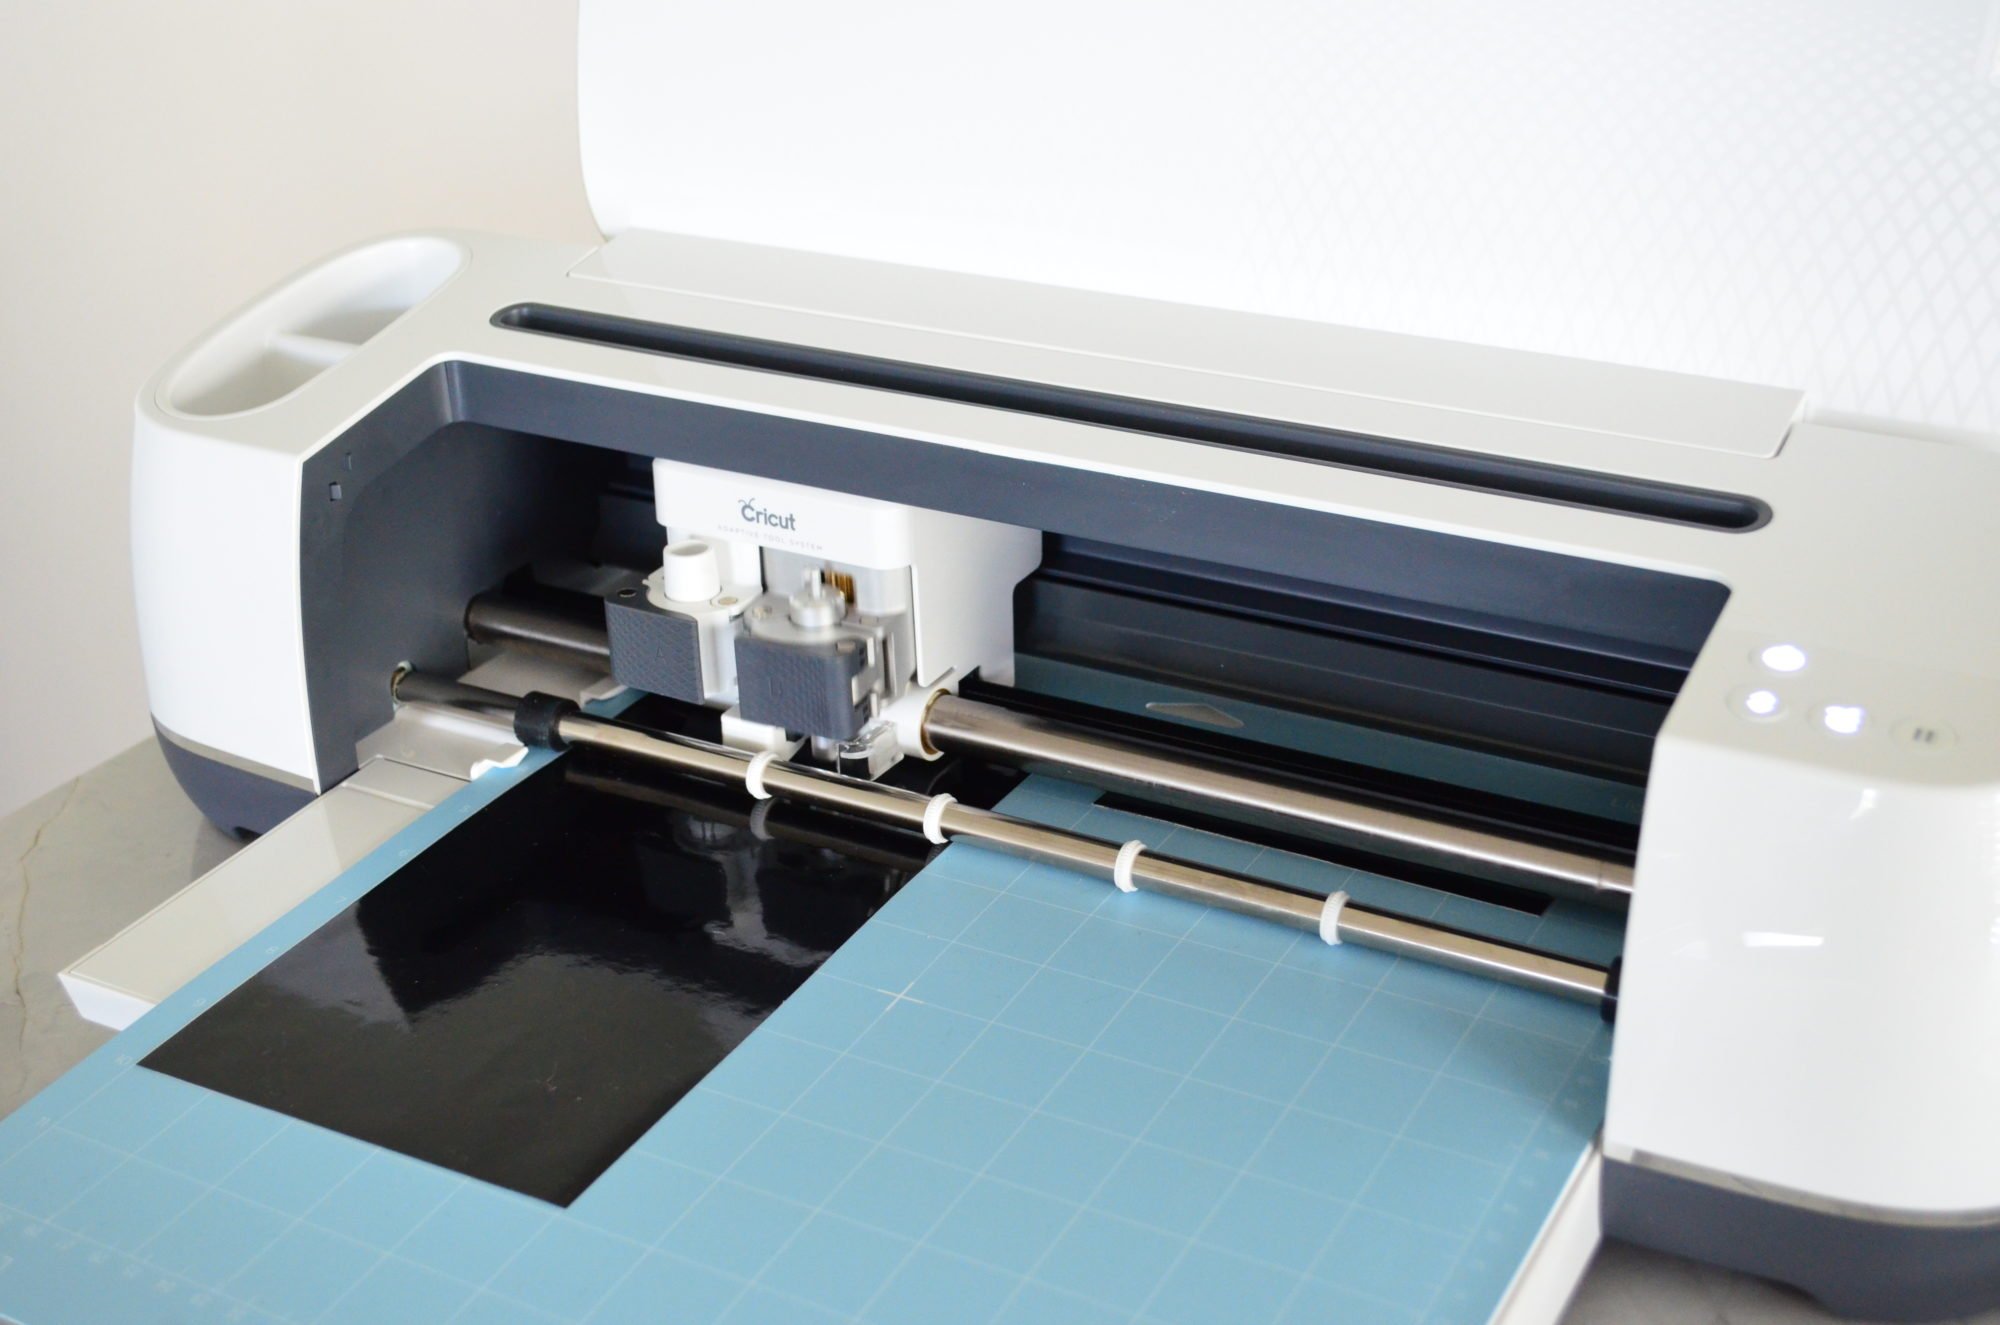
Next, cut the black layer. I had to cut this in two parts because I didn’t have enough vinyl.
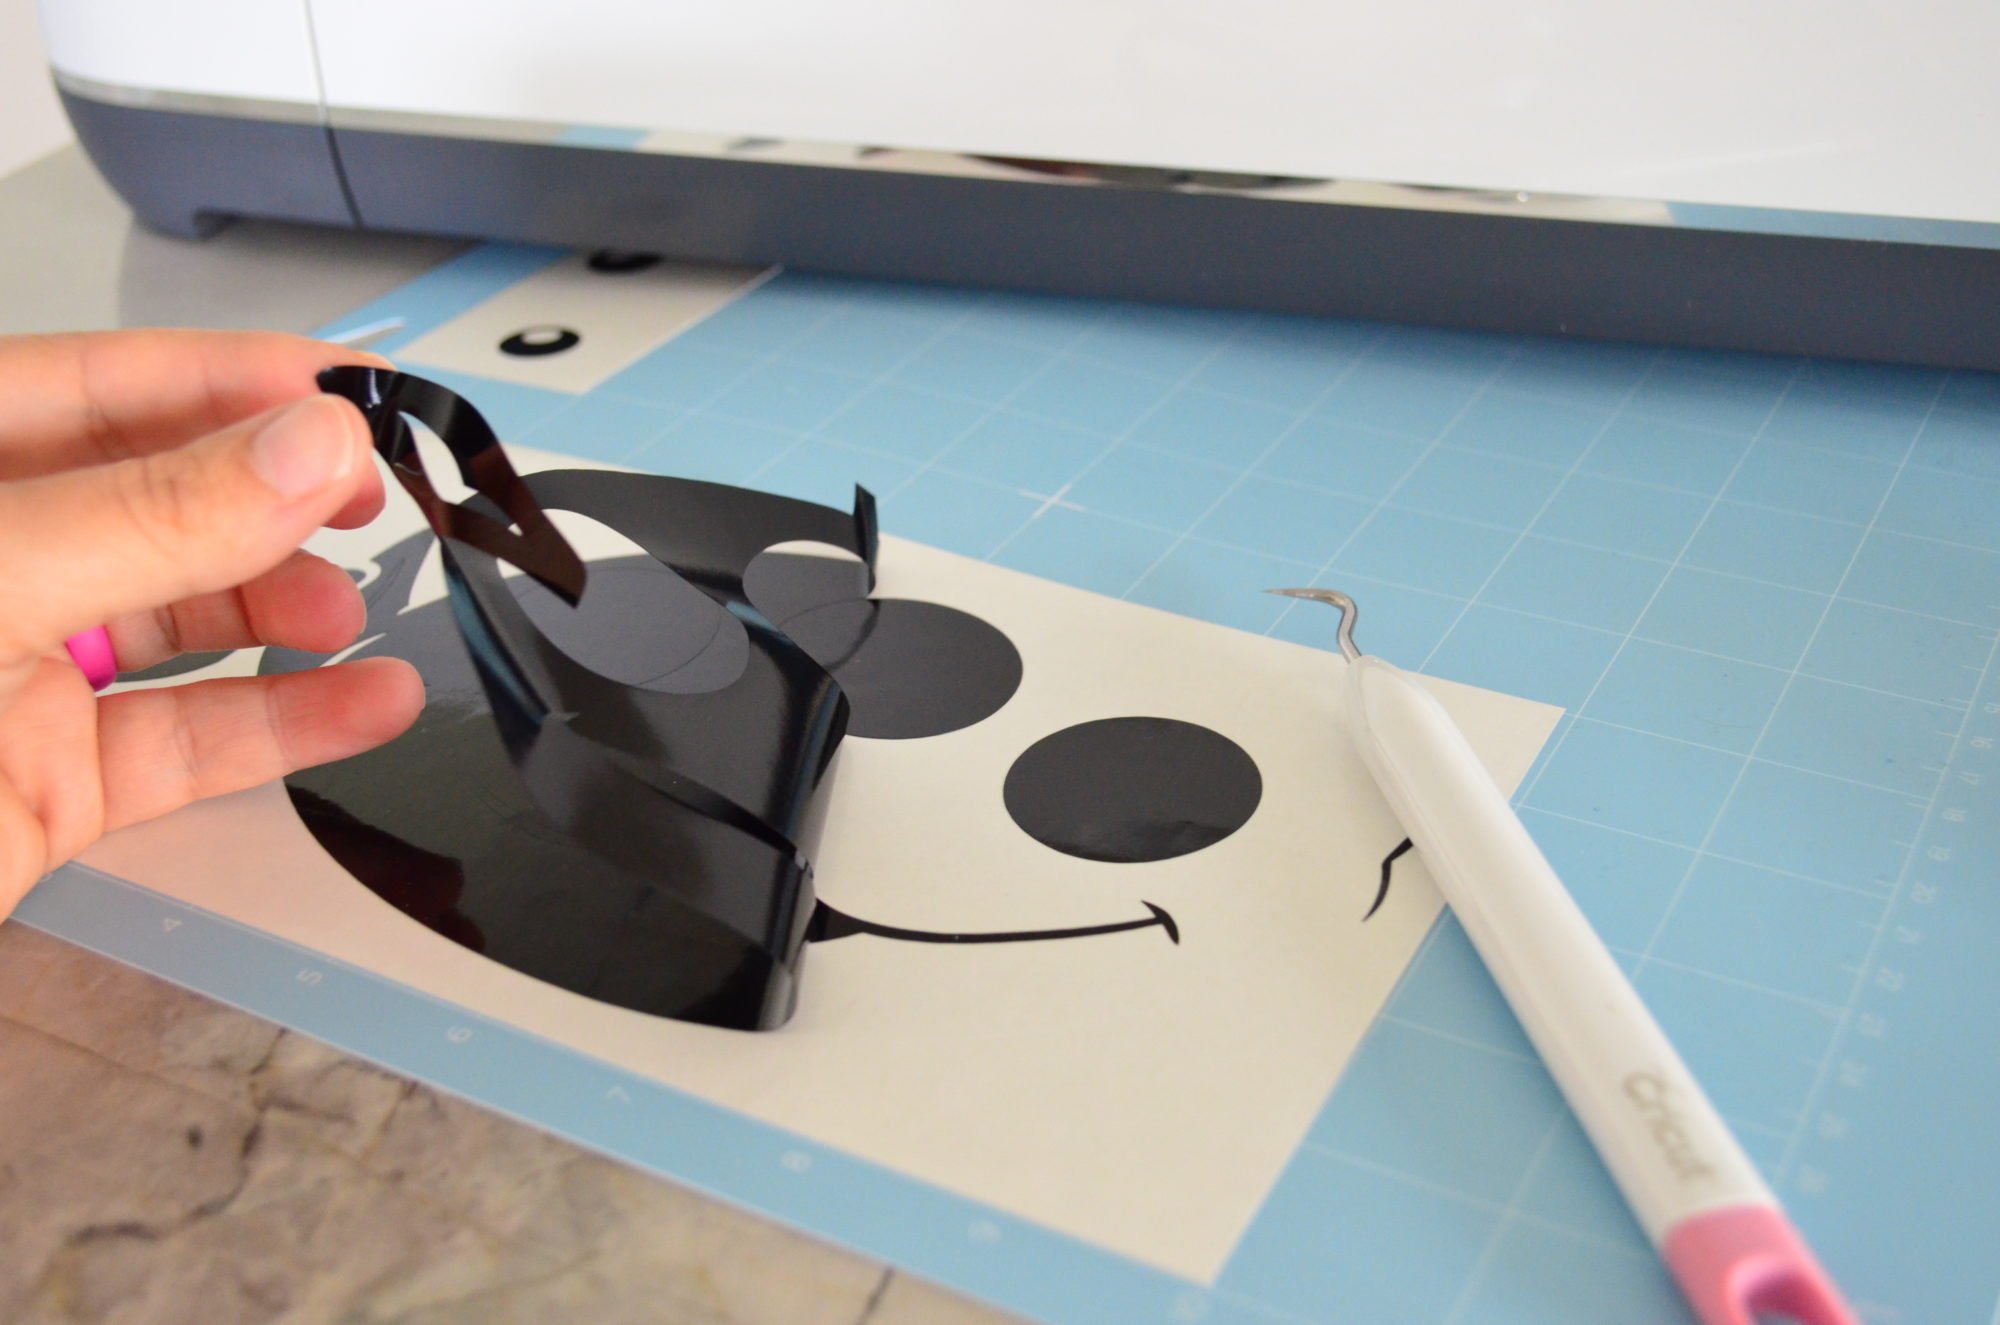
Weed the negative vinyl. For this design you want to take the face off from the alien. You just want the black circles for the eyes, the mouths and the outline for the ears.
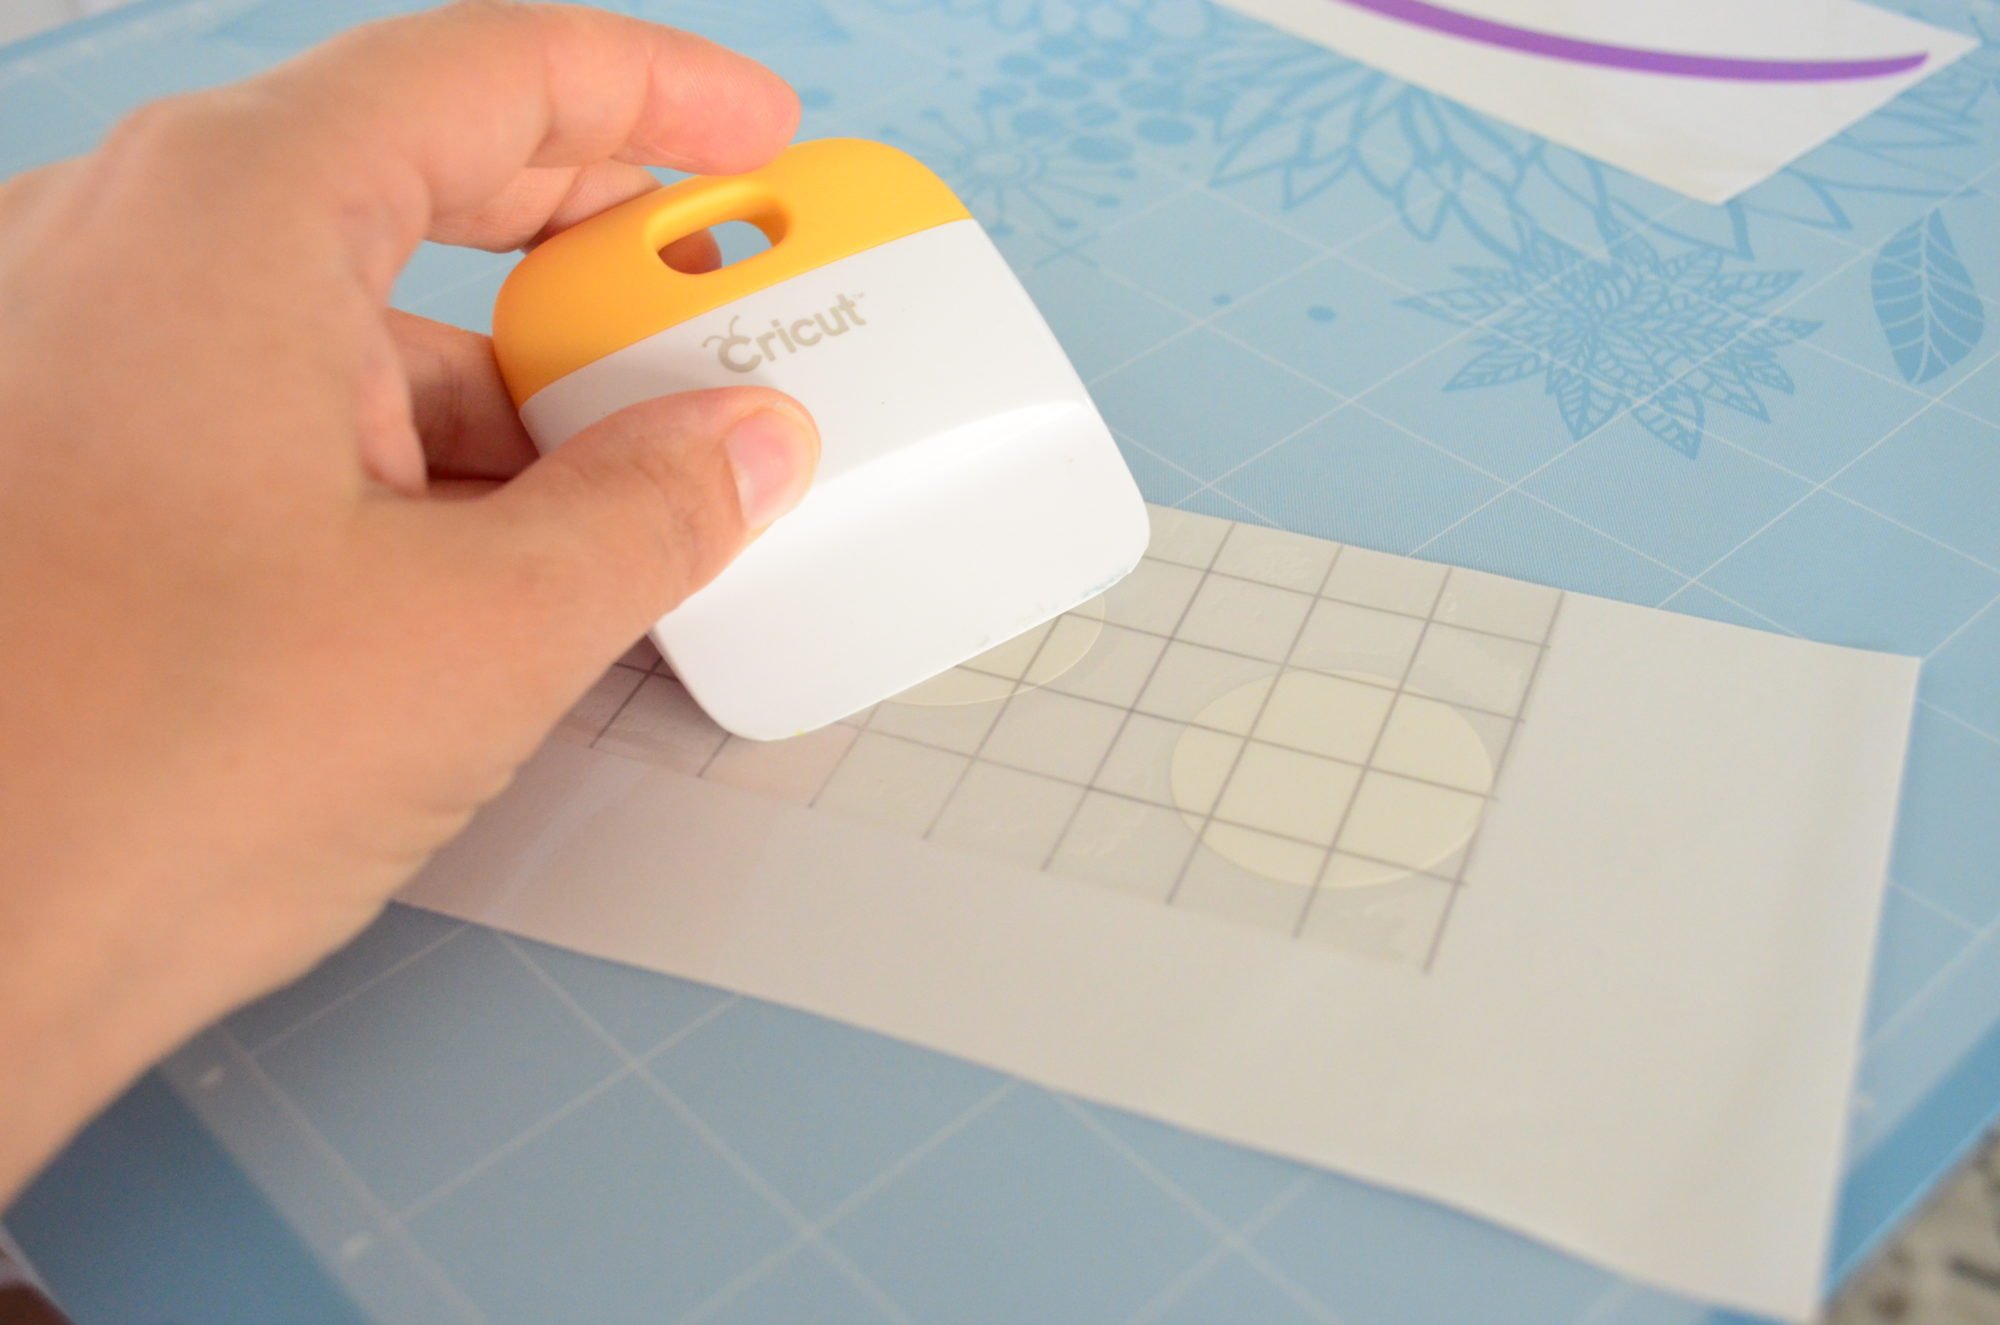
You have to layer the vinyl for this project. I started by applying Cricut Transfer Tape to the white circles for the eyes using the squeegee.
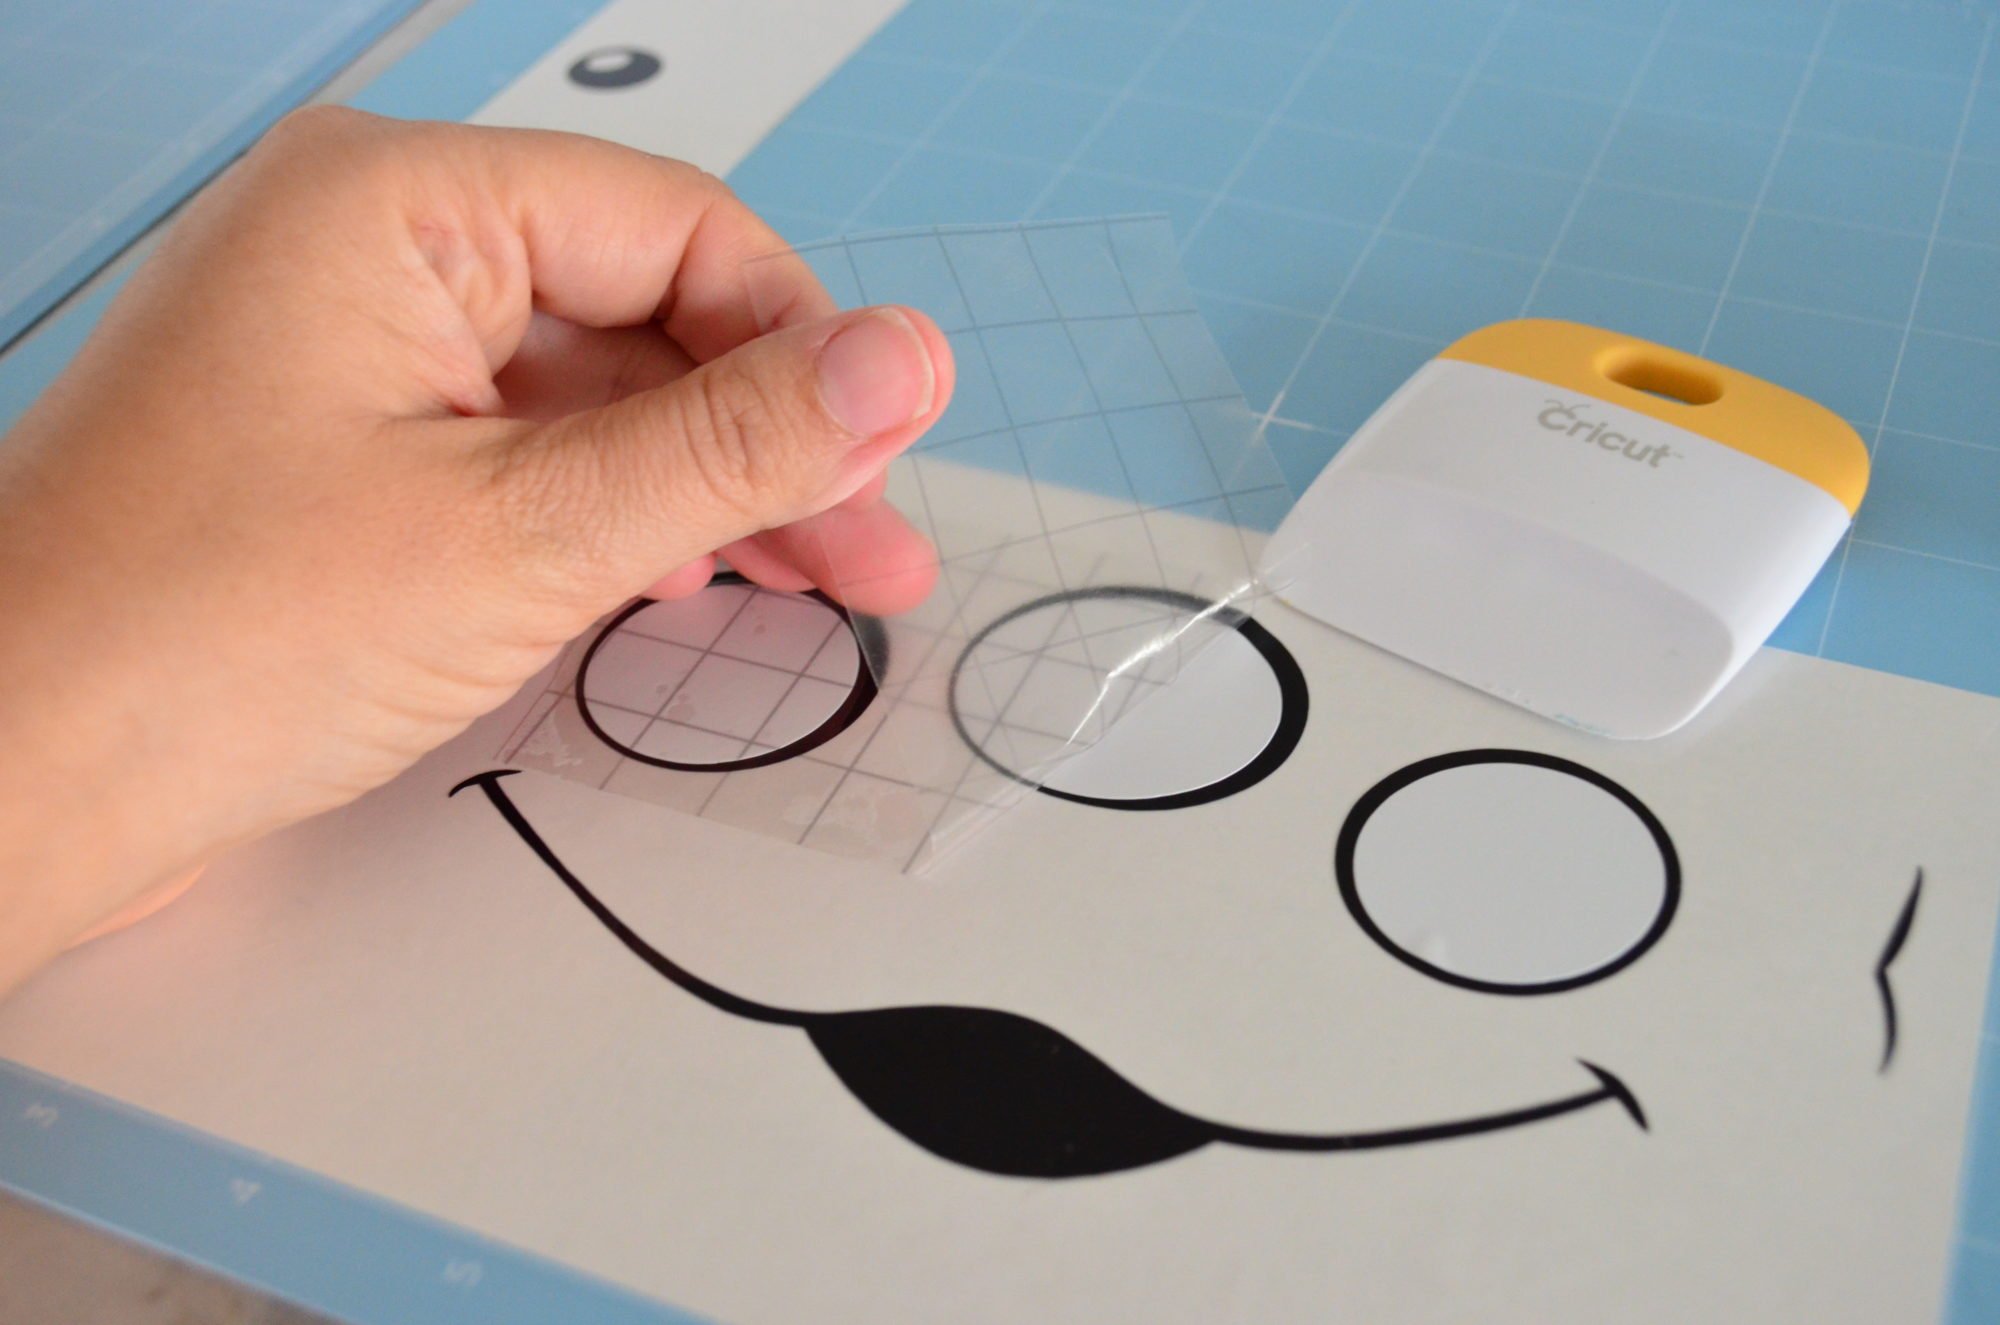
Then place the white layer on the black main layer. Smooth out any bubbles with the scraper.
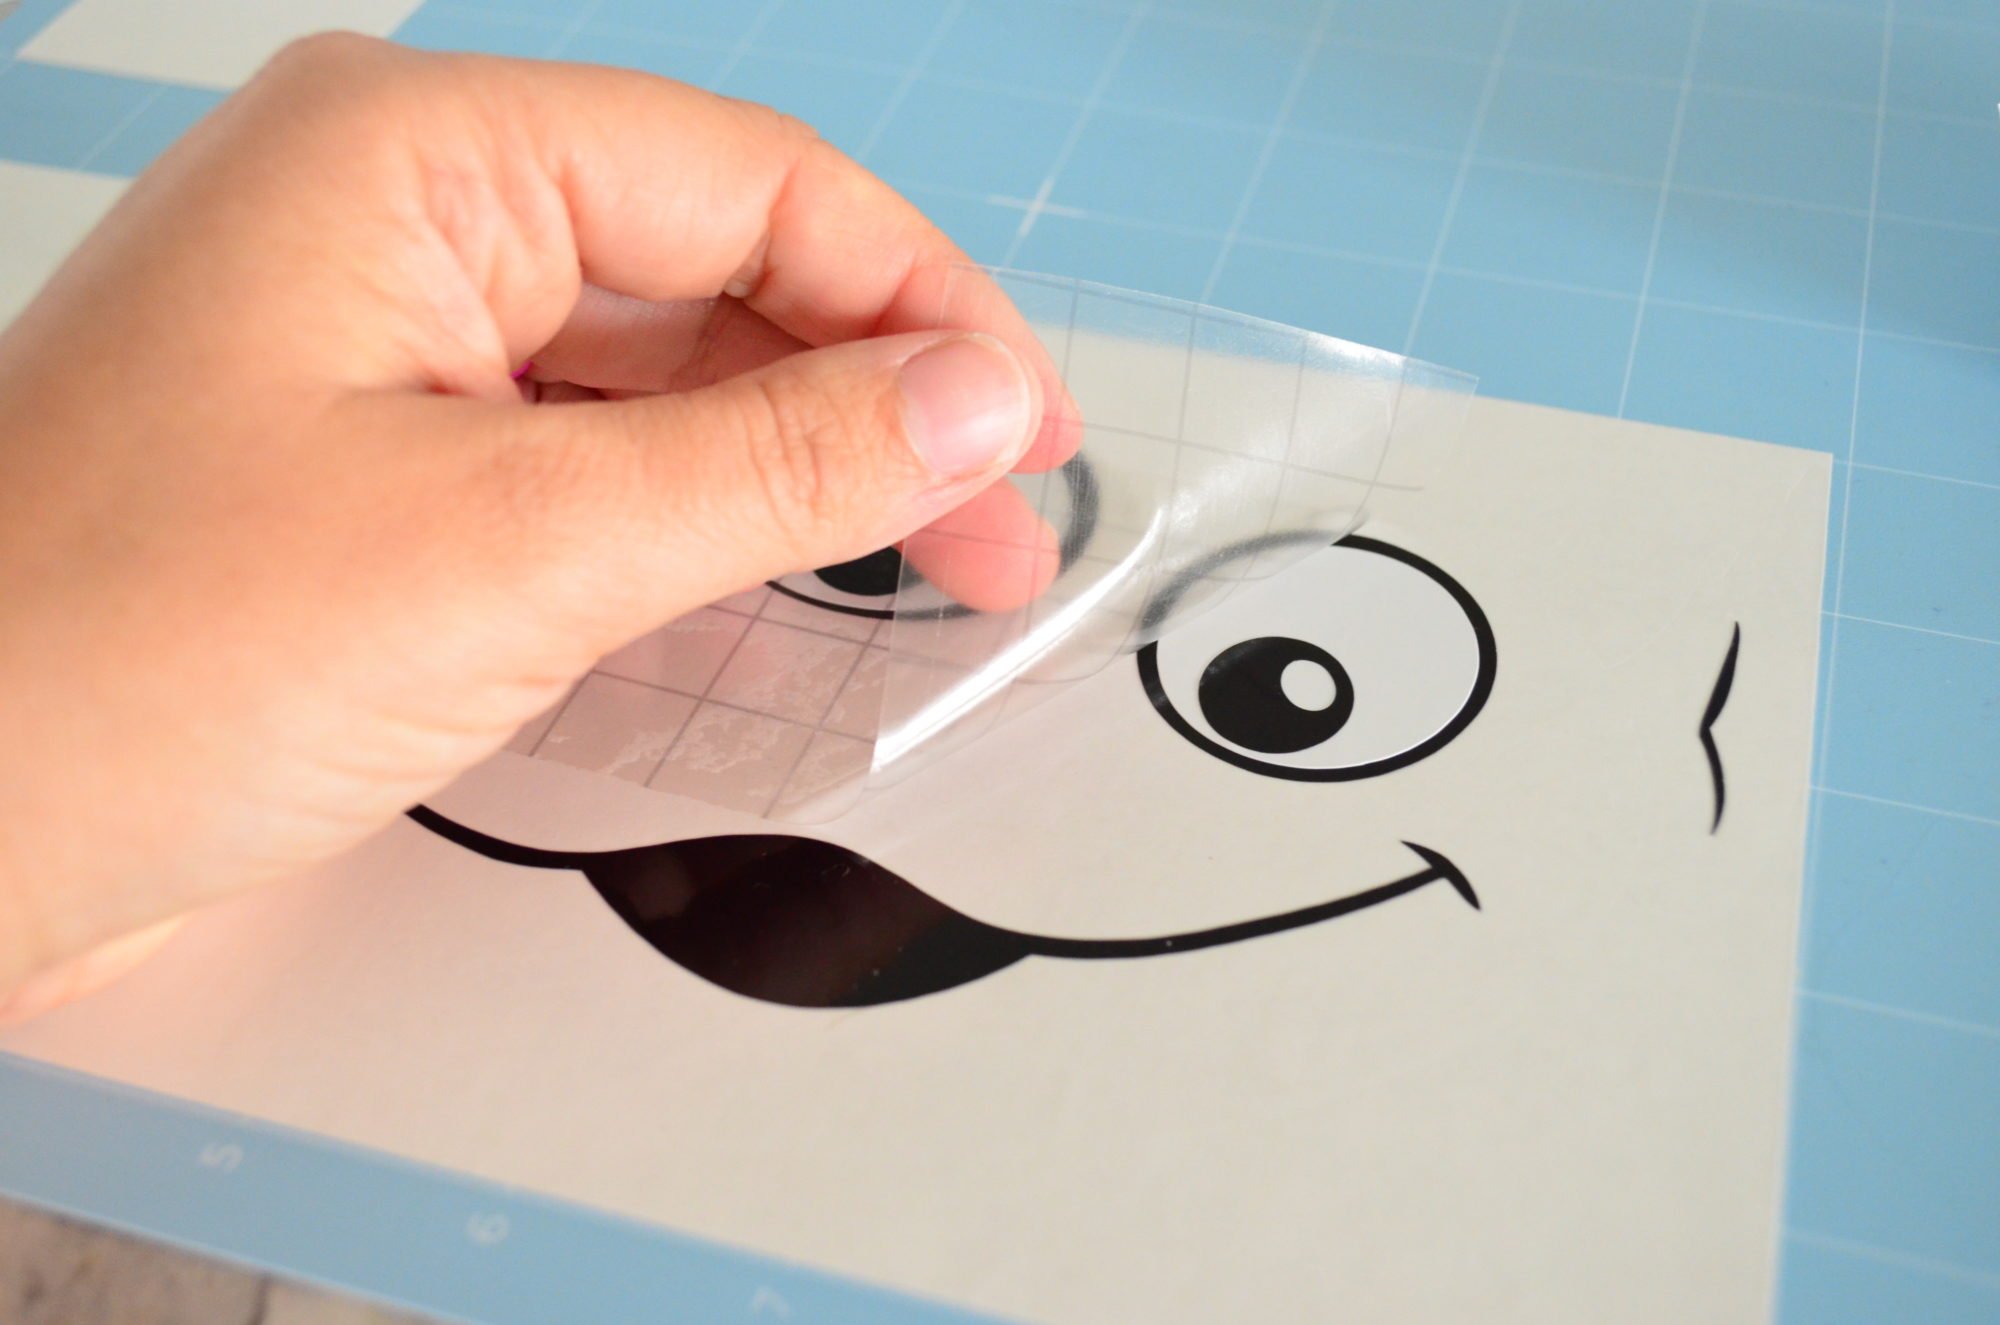
Next, you’ll add the third layer of vinyl on top of the white layer. This is the black eyeball. You’ll notice I’m using a half sheet of vinyl, so it doesn’t pull on the mouth.
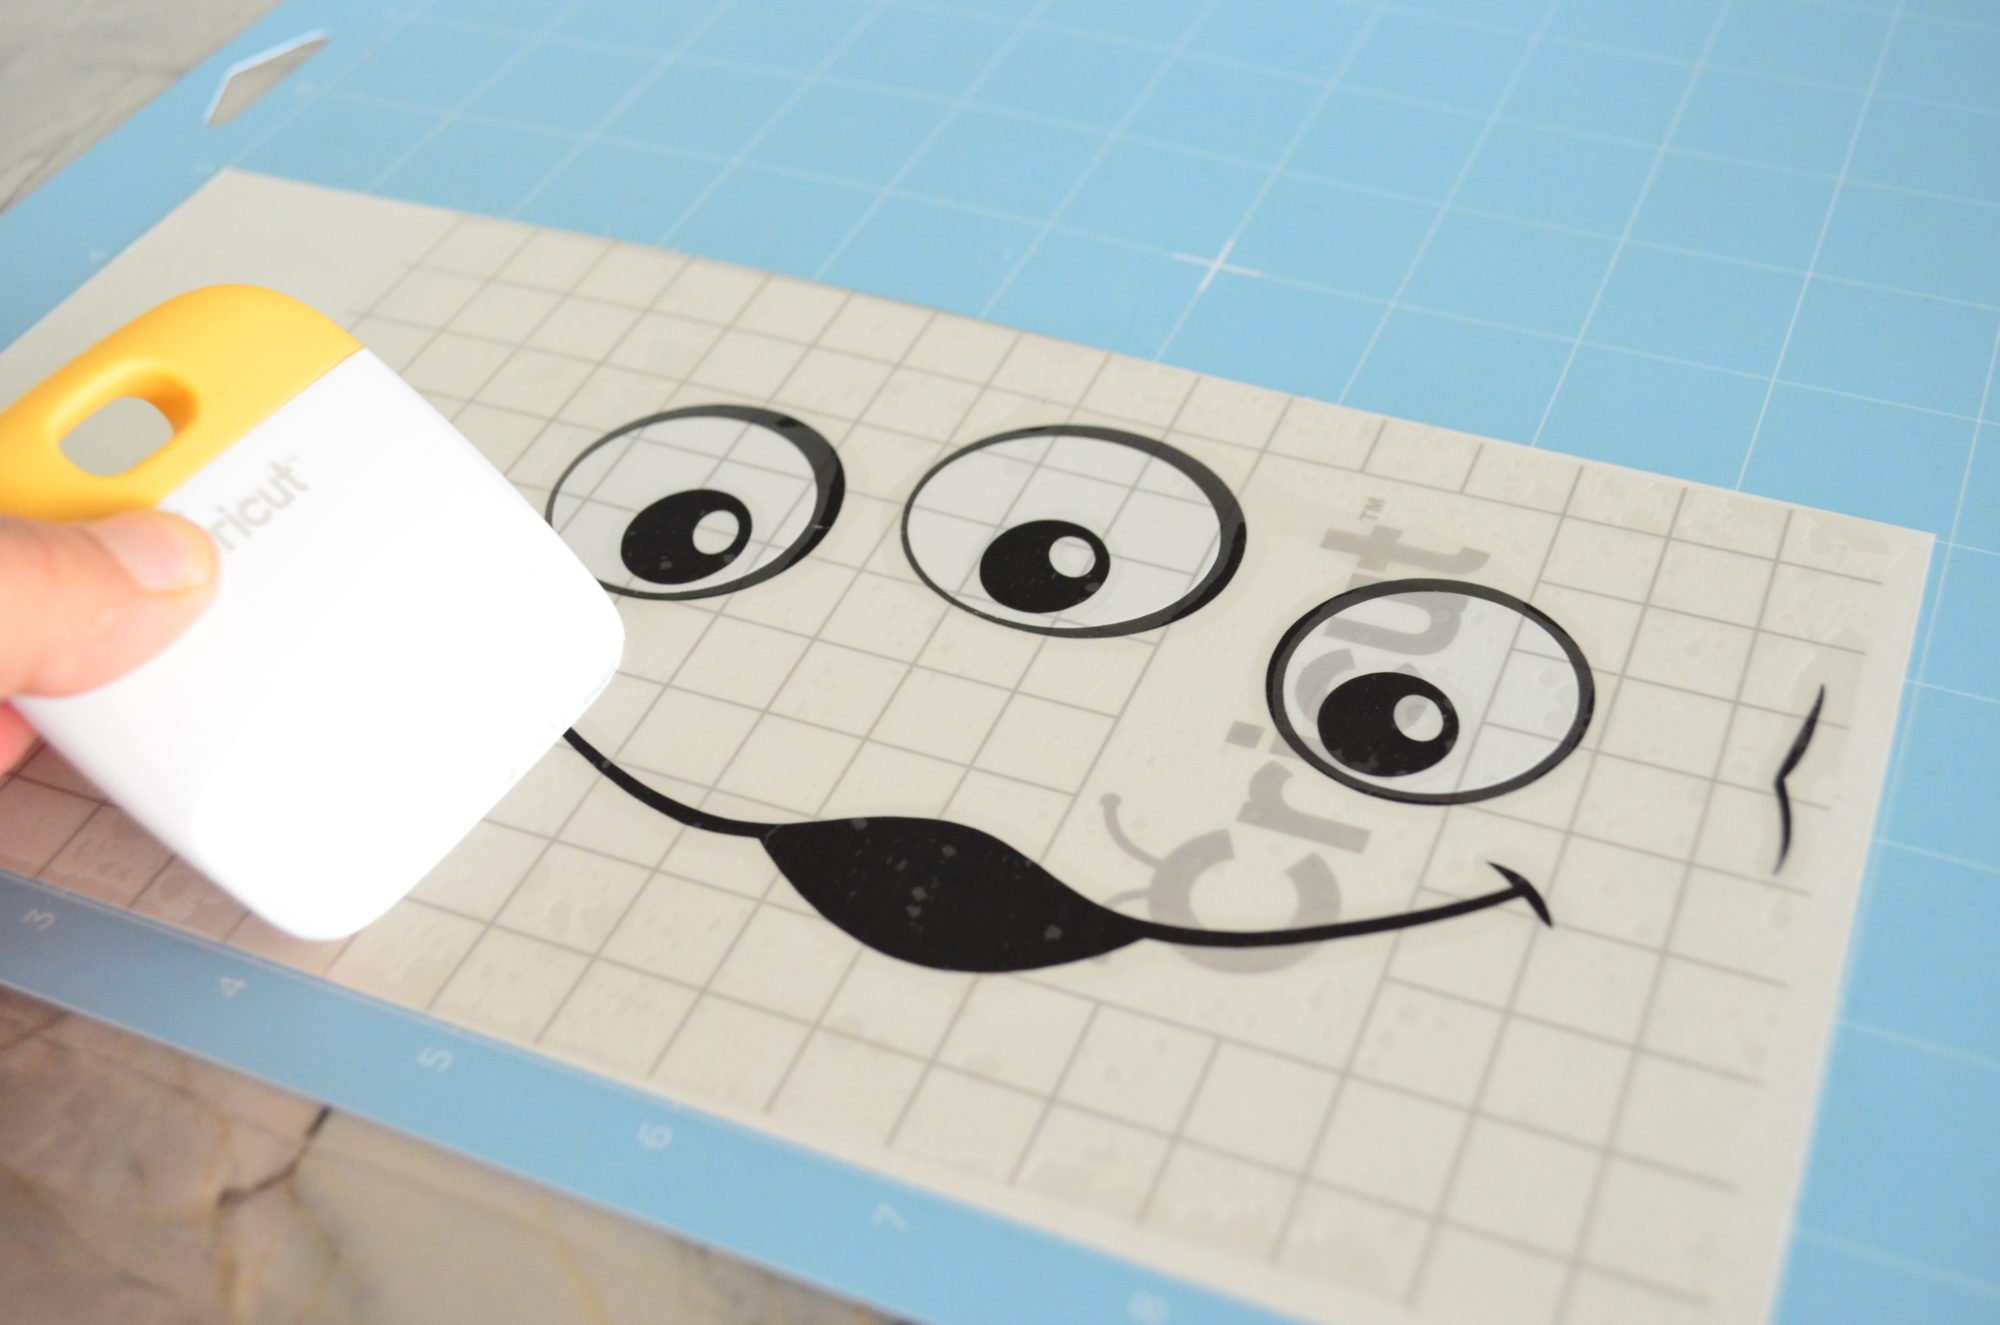 Next, add a large sheet of transfer tape on top of the entire design. Use the scraper and smooth out the transfer tape until no bubbles appear.
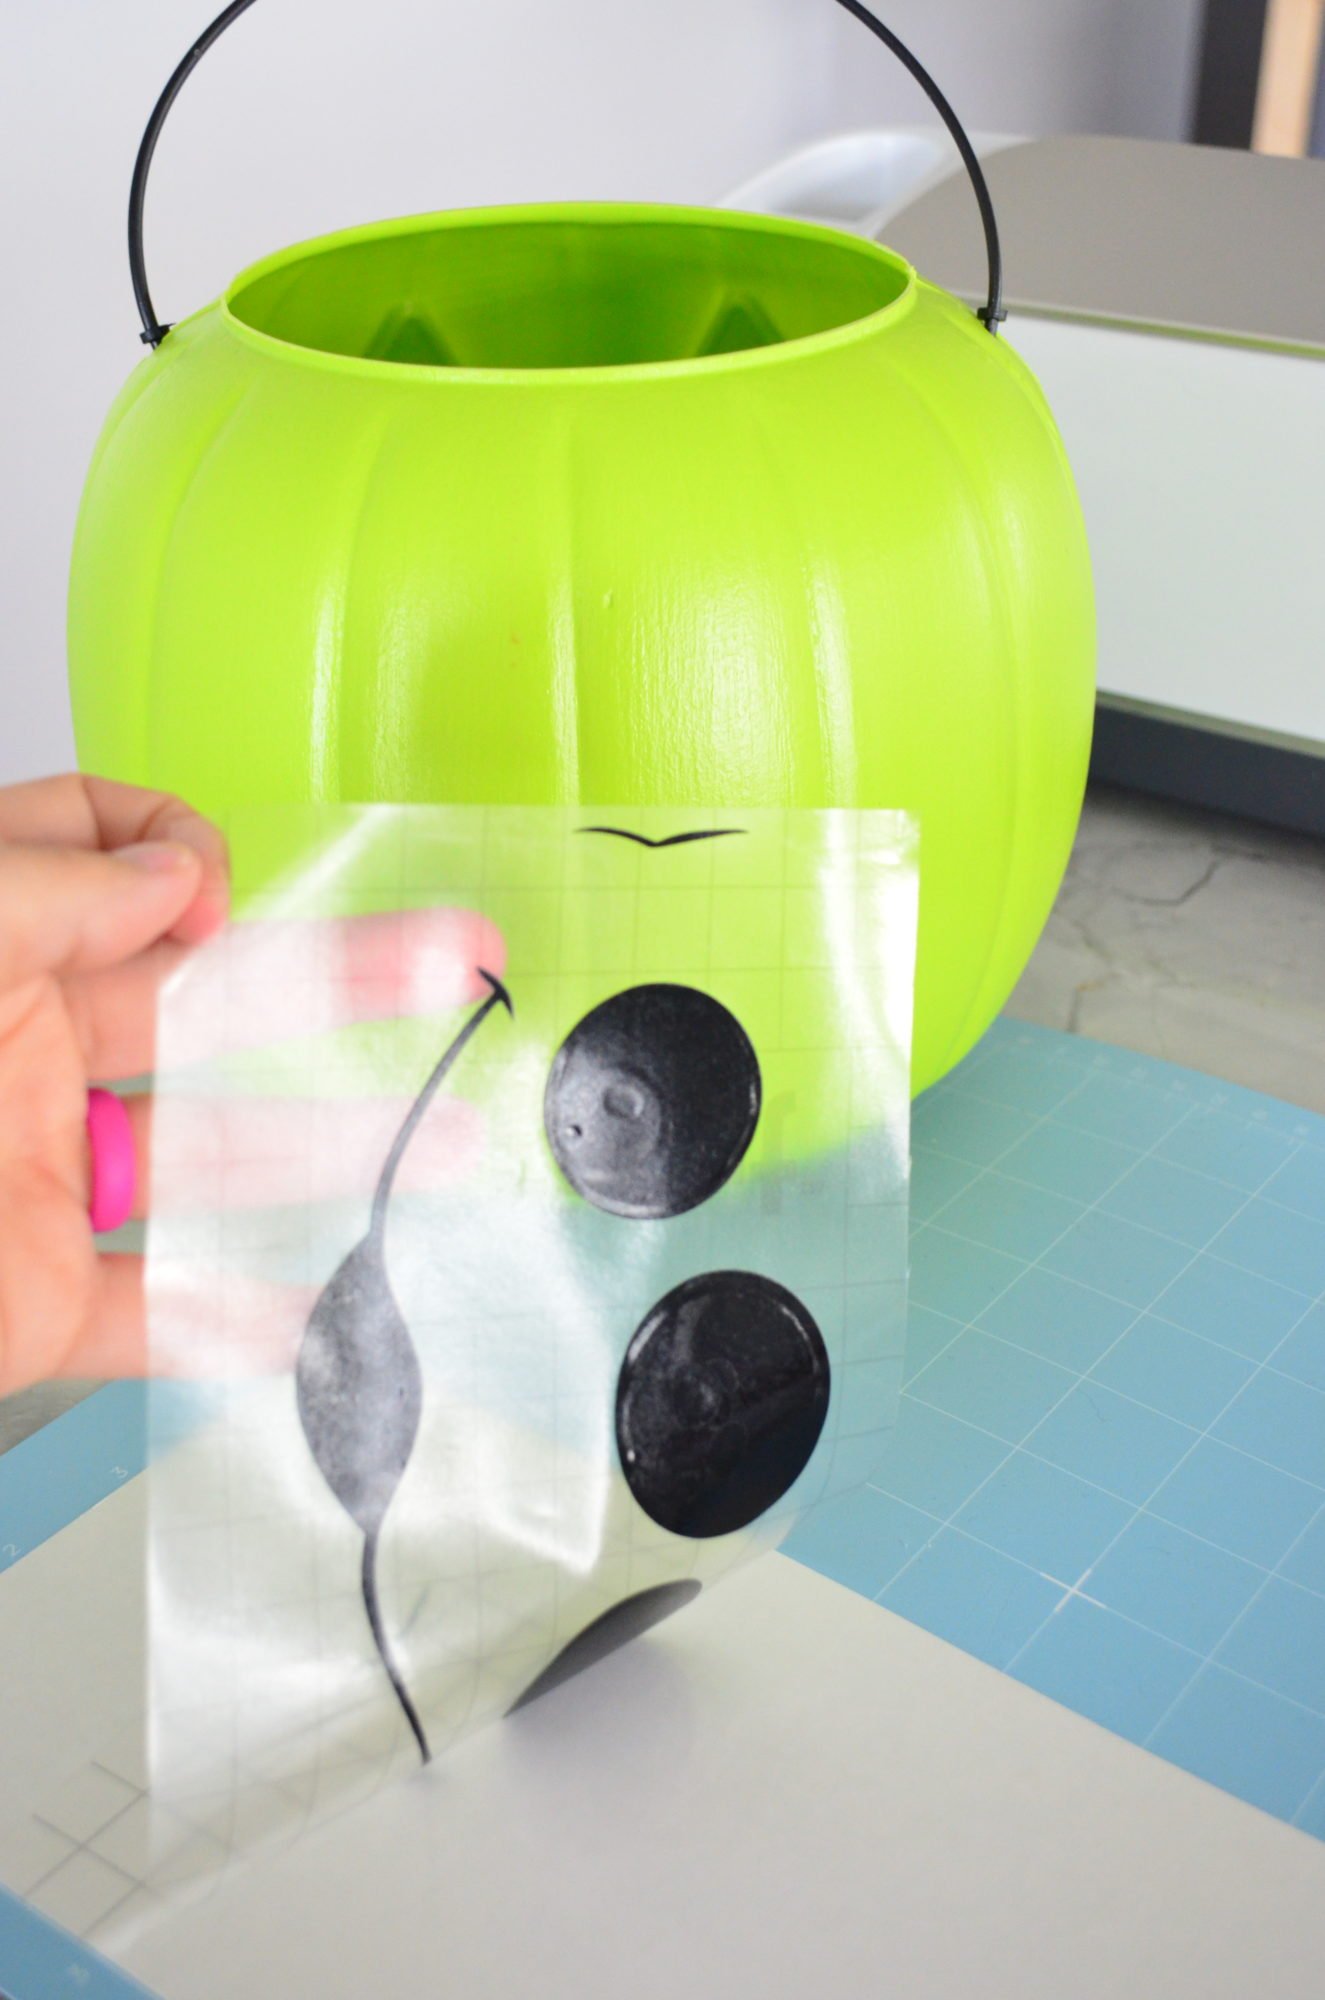
Then, carefully remove the entire design from the paper using the transfer tape.
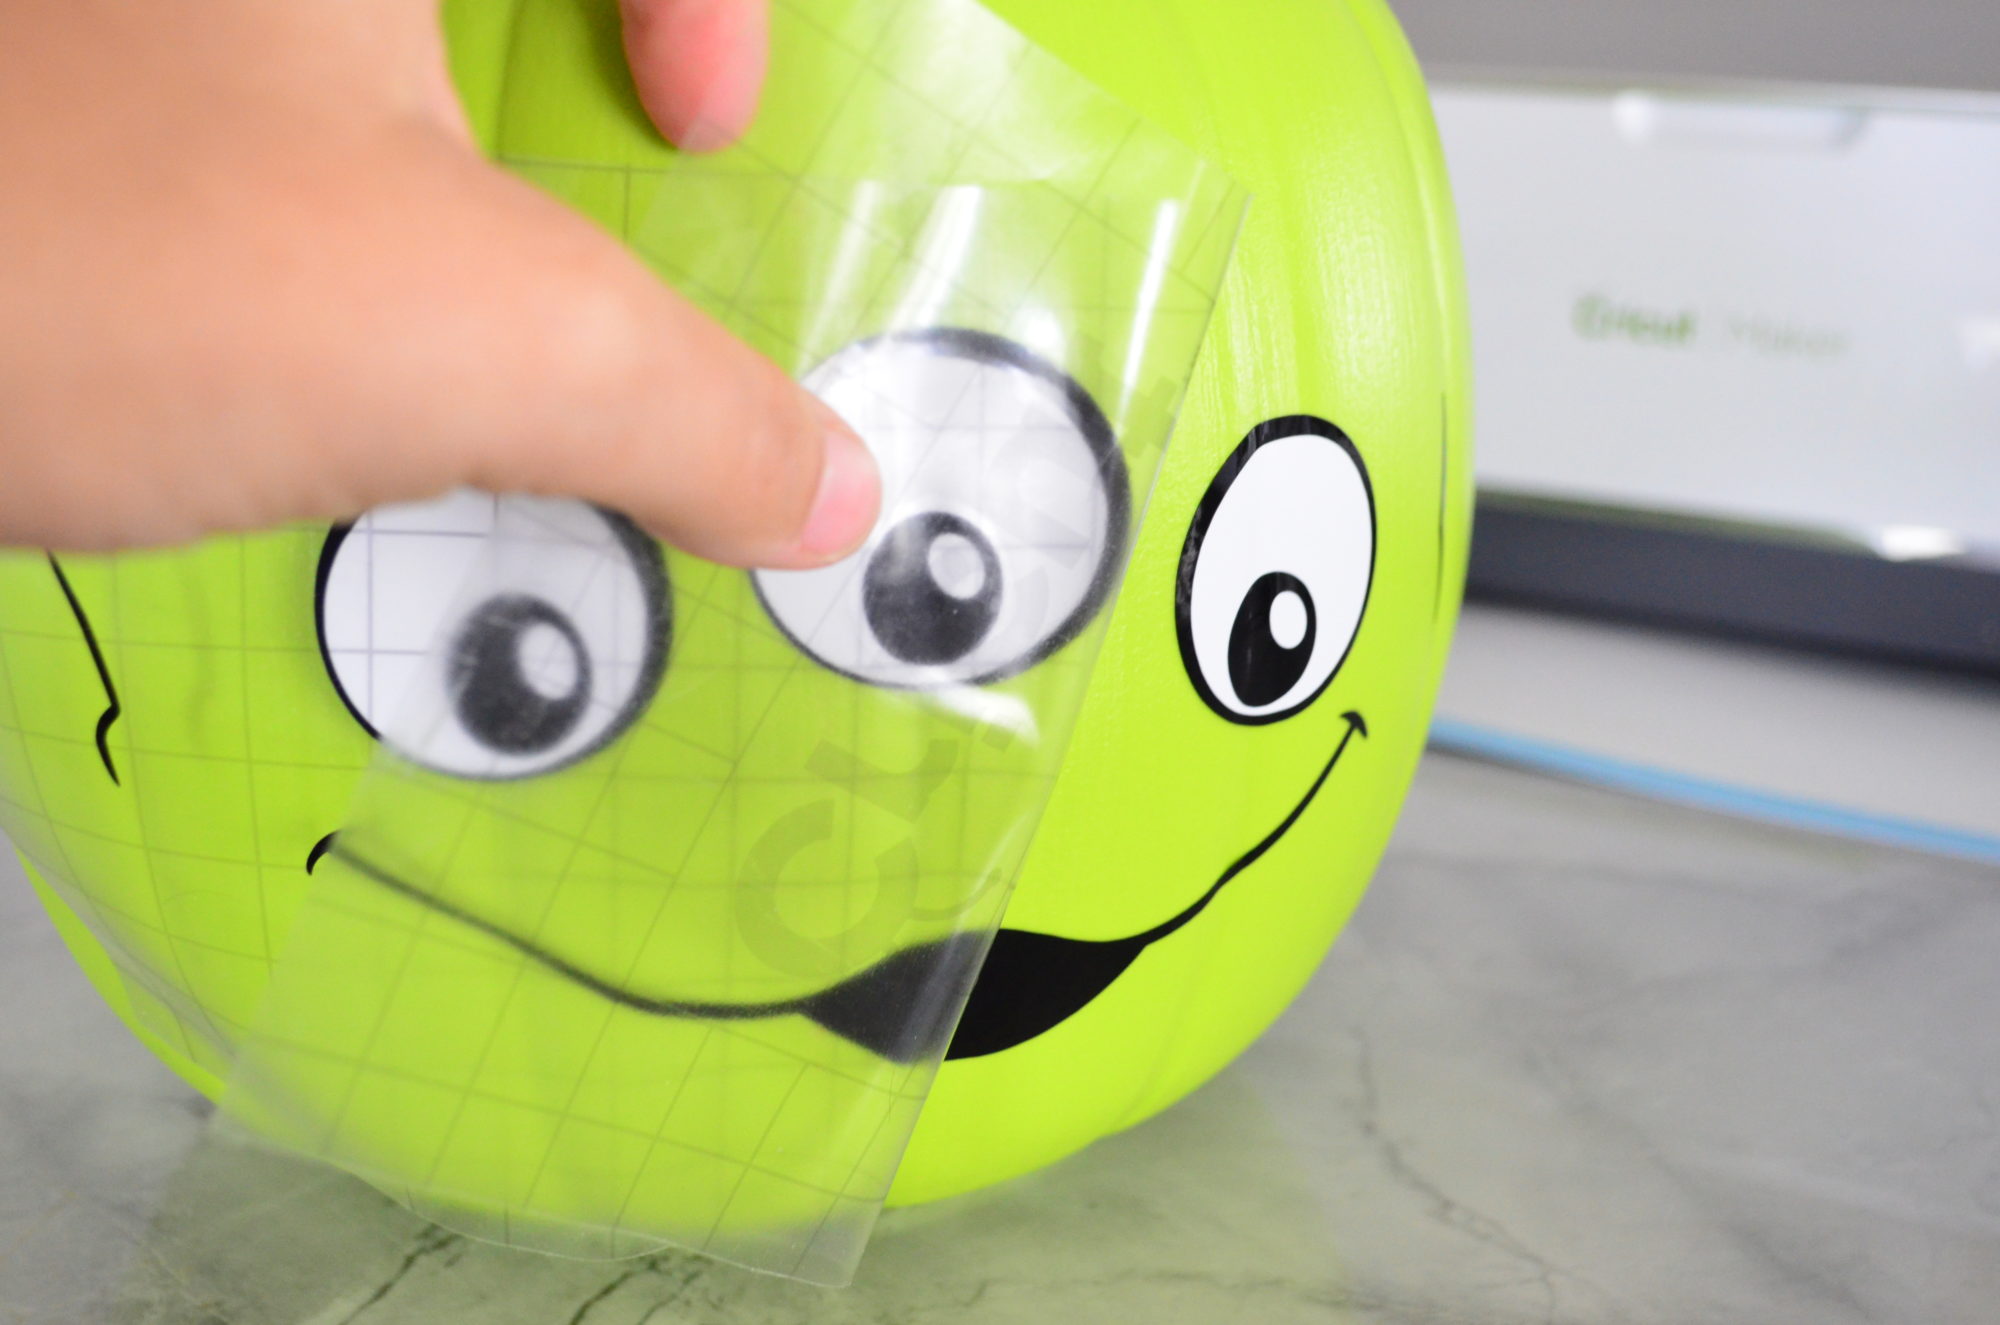
Transfer the permanent vinyl on to the bucket. Remember, because you are using permanent vinyl you will not be able to reposition the vinyl. You need to make sure it’s exactly where you want it to be.
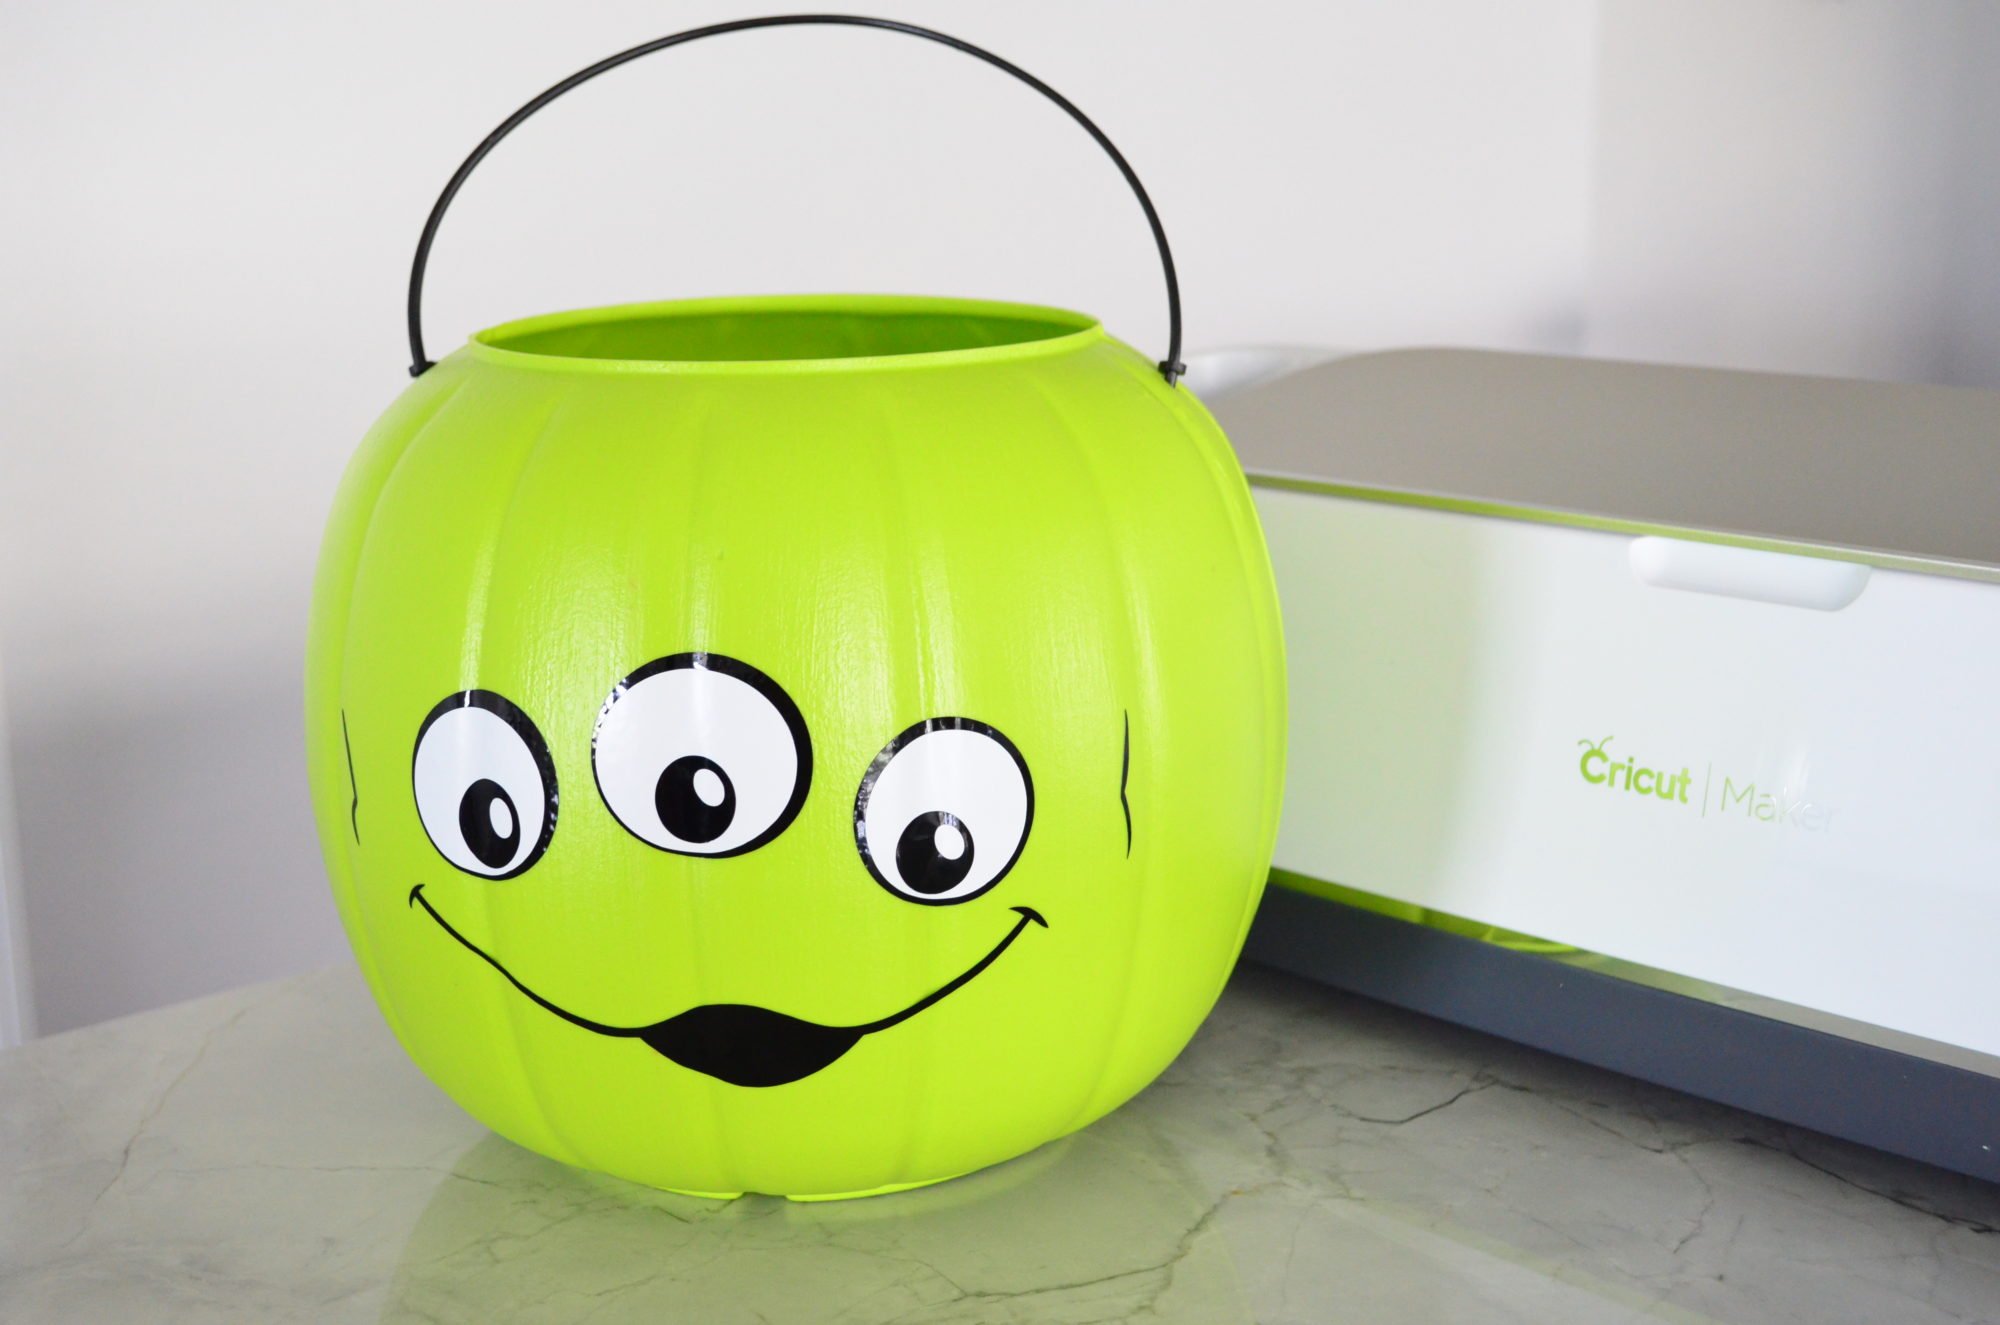
Easy as that–in less than 30 minutes and for a few dollars you have a Toy Story Alien Trick or Treat Bucket!
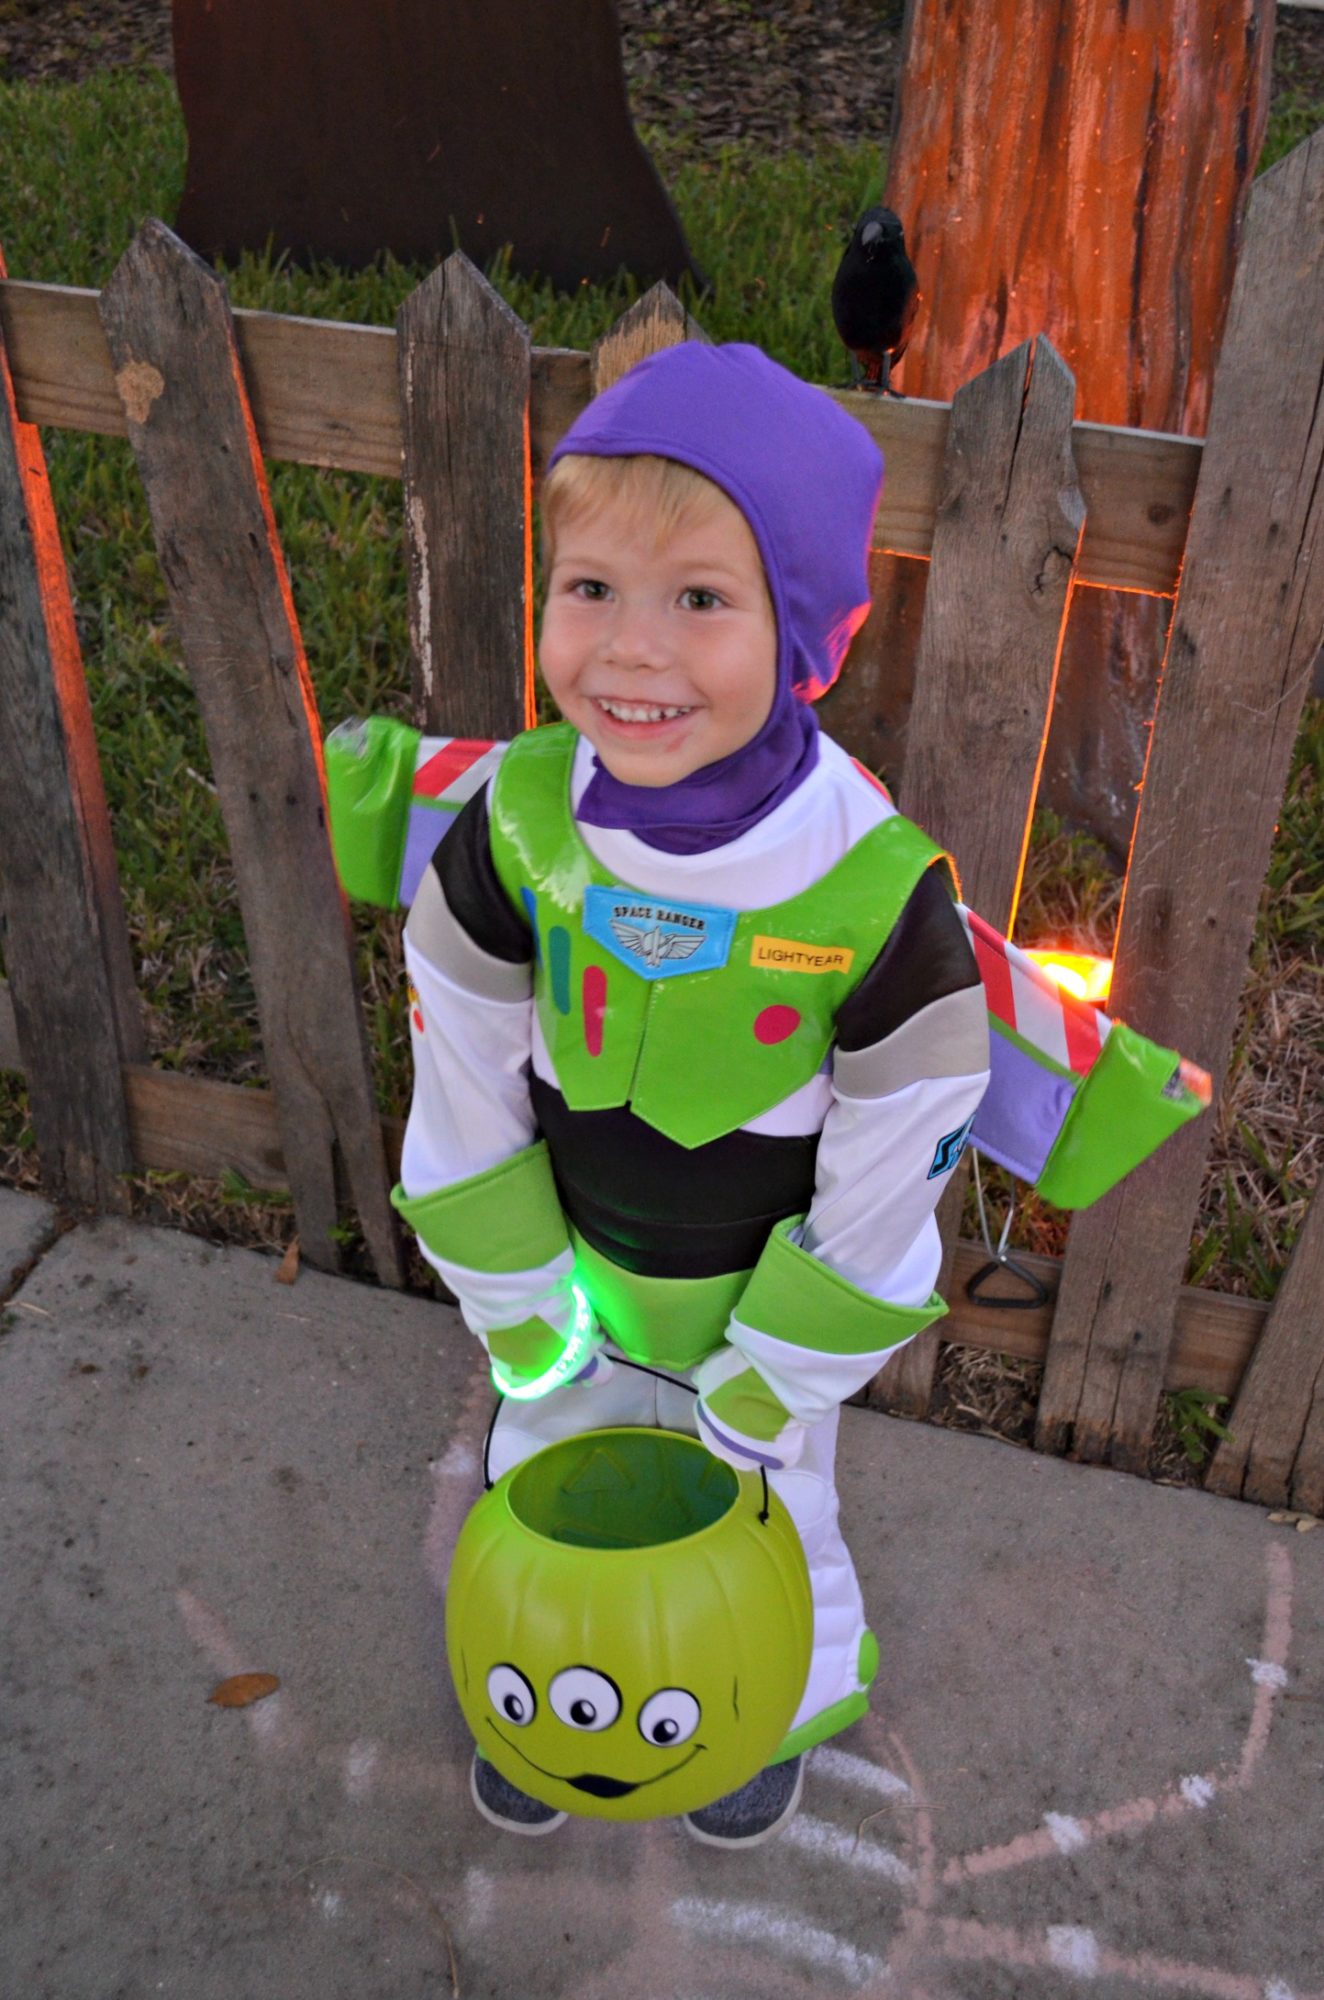
My son LOVED his bucket! It completed his costume and made me felt less guilty of not hand making the entire thing. I found the green glow bracelet in the dollar section at Target and he wore one on his wrist plus put one in his bucket!
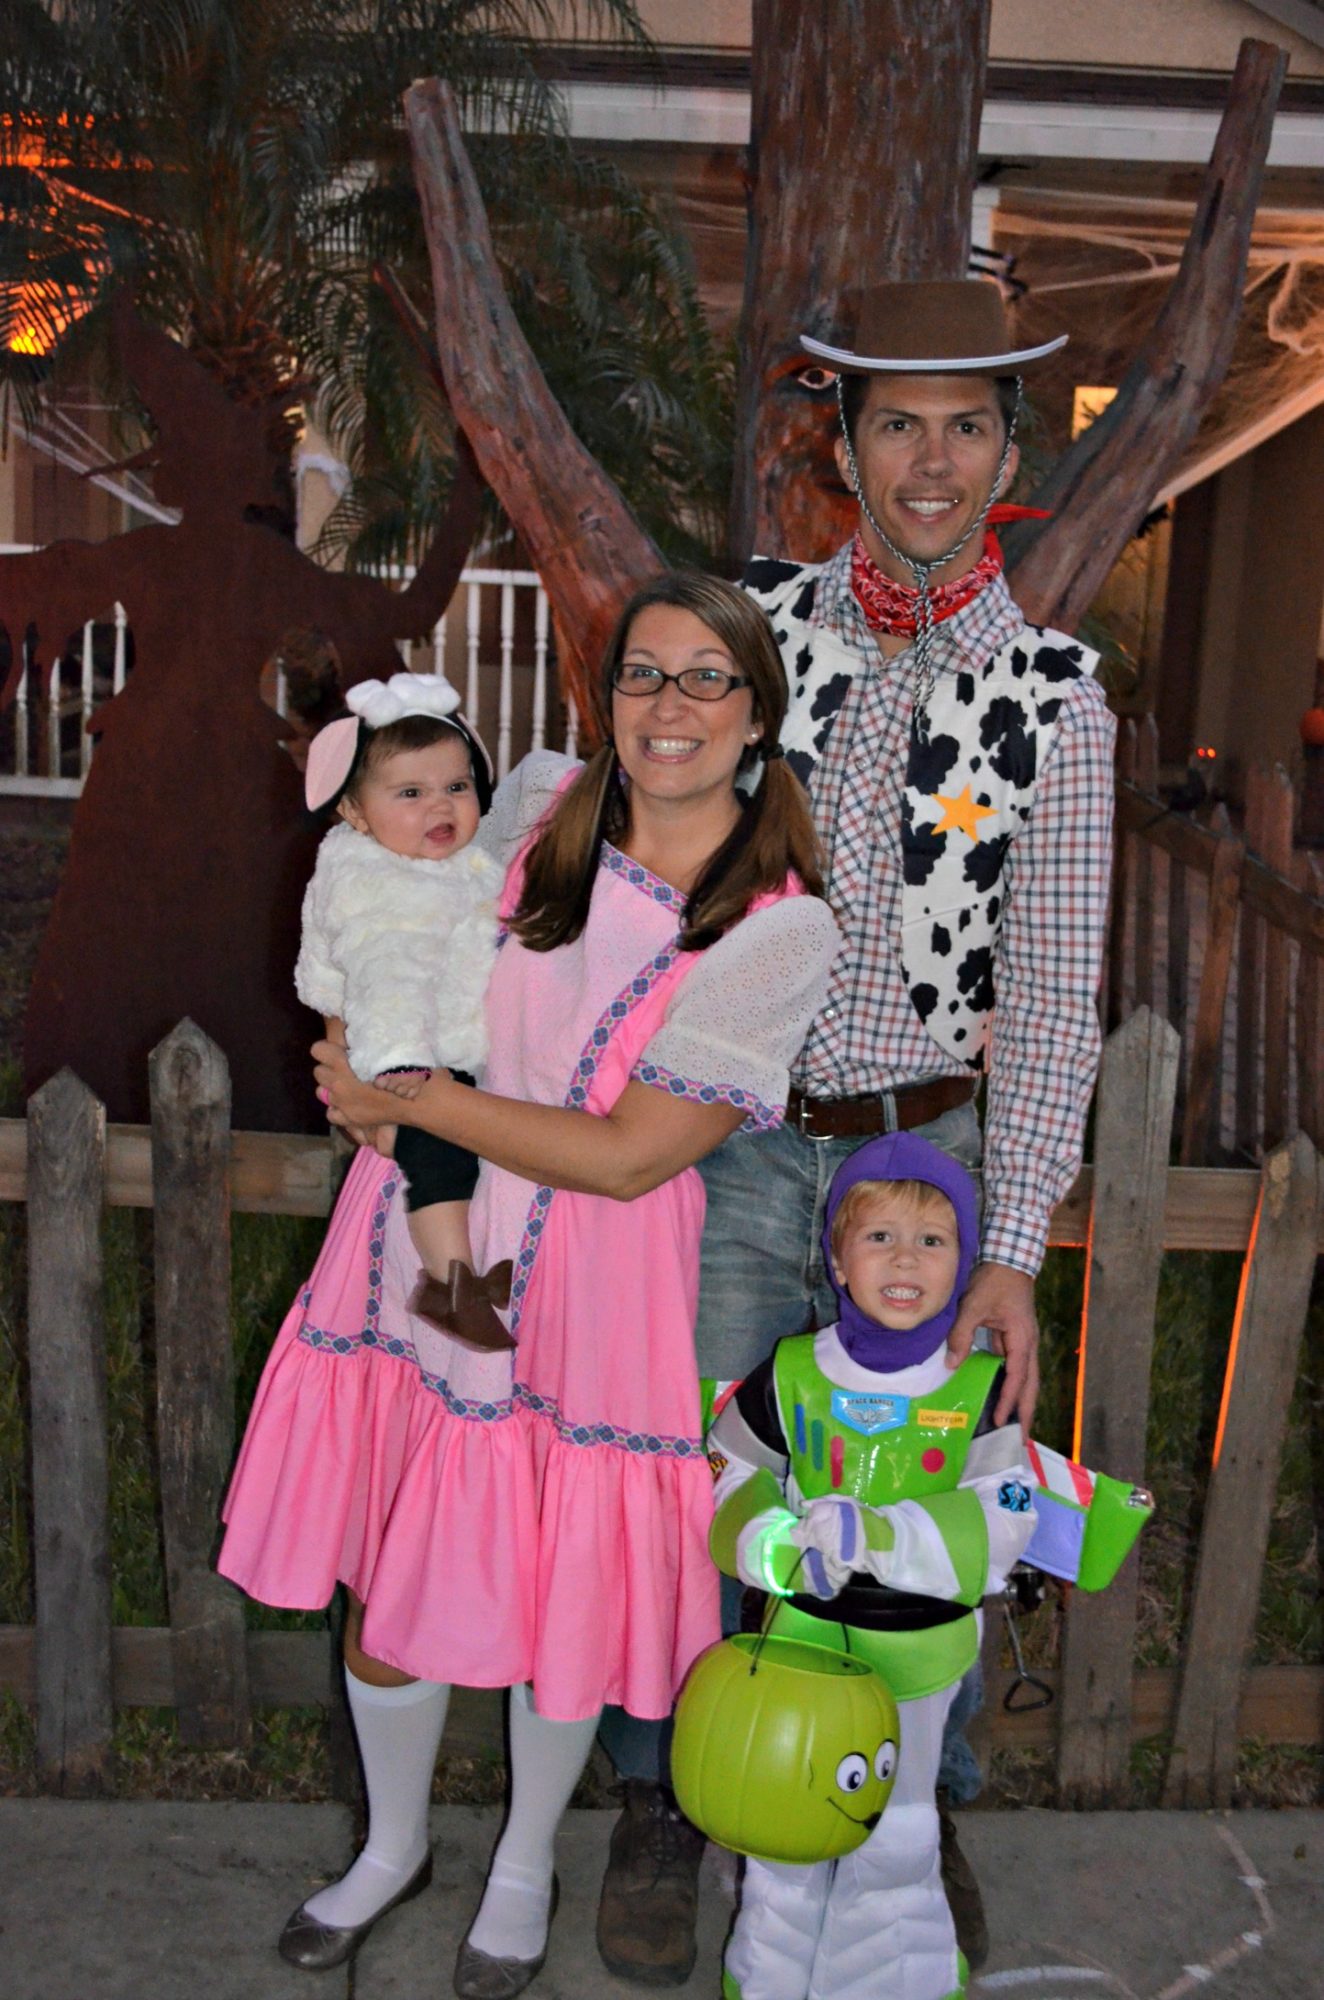
Here is our family dressed up like Toy Story characters last year for Halloween! My little Buzz Lightyear with his Alien!
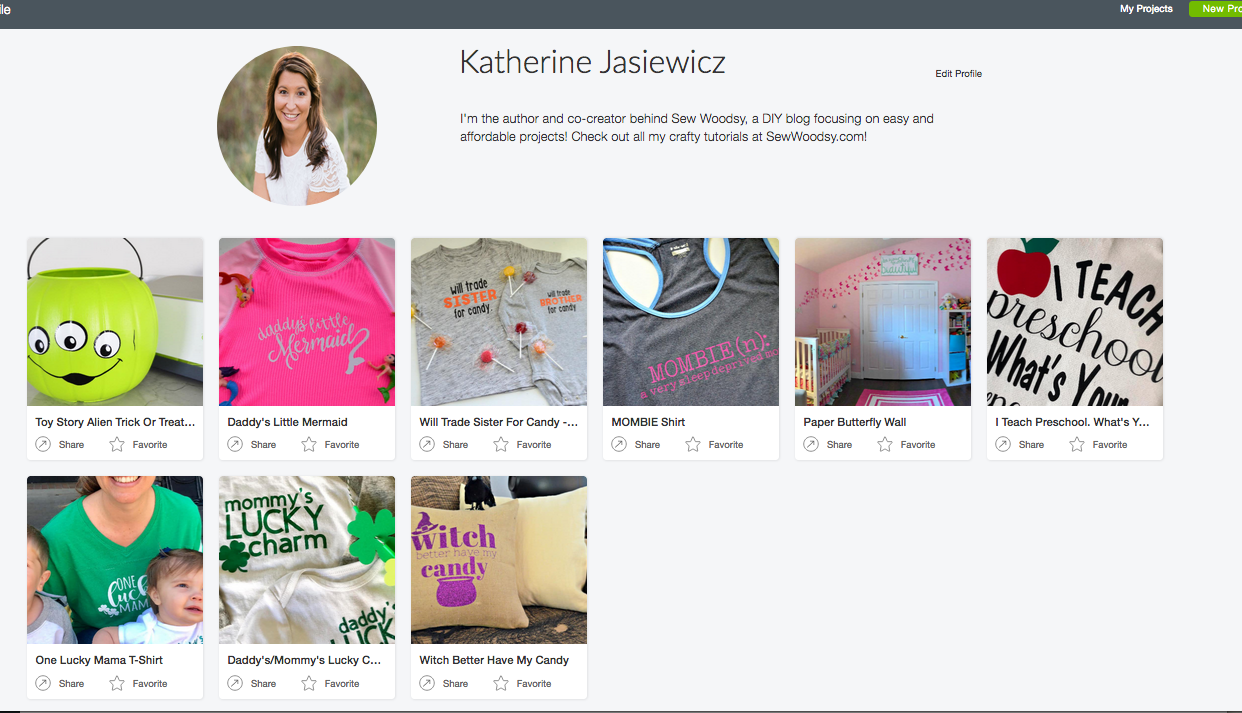
Remember, Cricut has a new community page where you can share your projects. Here is what my page currently looks like! Come follow me and “favorite” this project!
