This is a sponsored conversation written by me on behalf of Cricut. The opinions and text are all mine. There are affiliate links in this post. That means, if you purchase from them–we will make a small percentage of the sale at no additional cost to you.
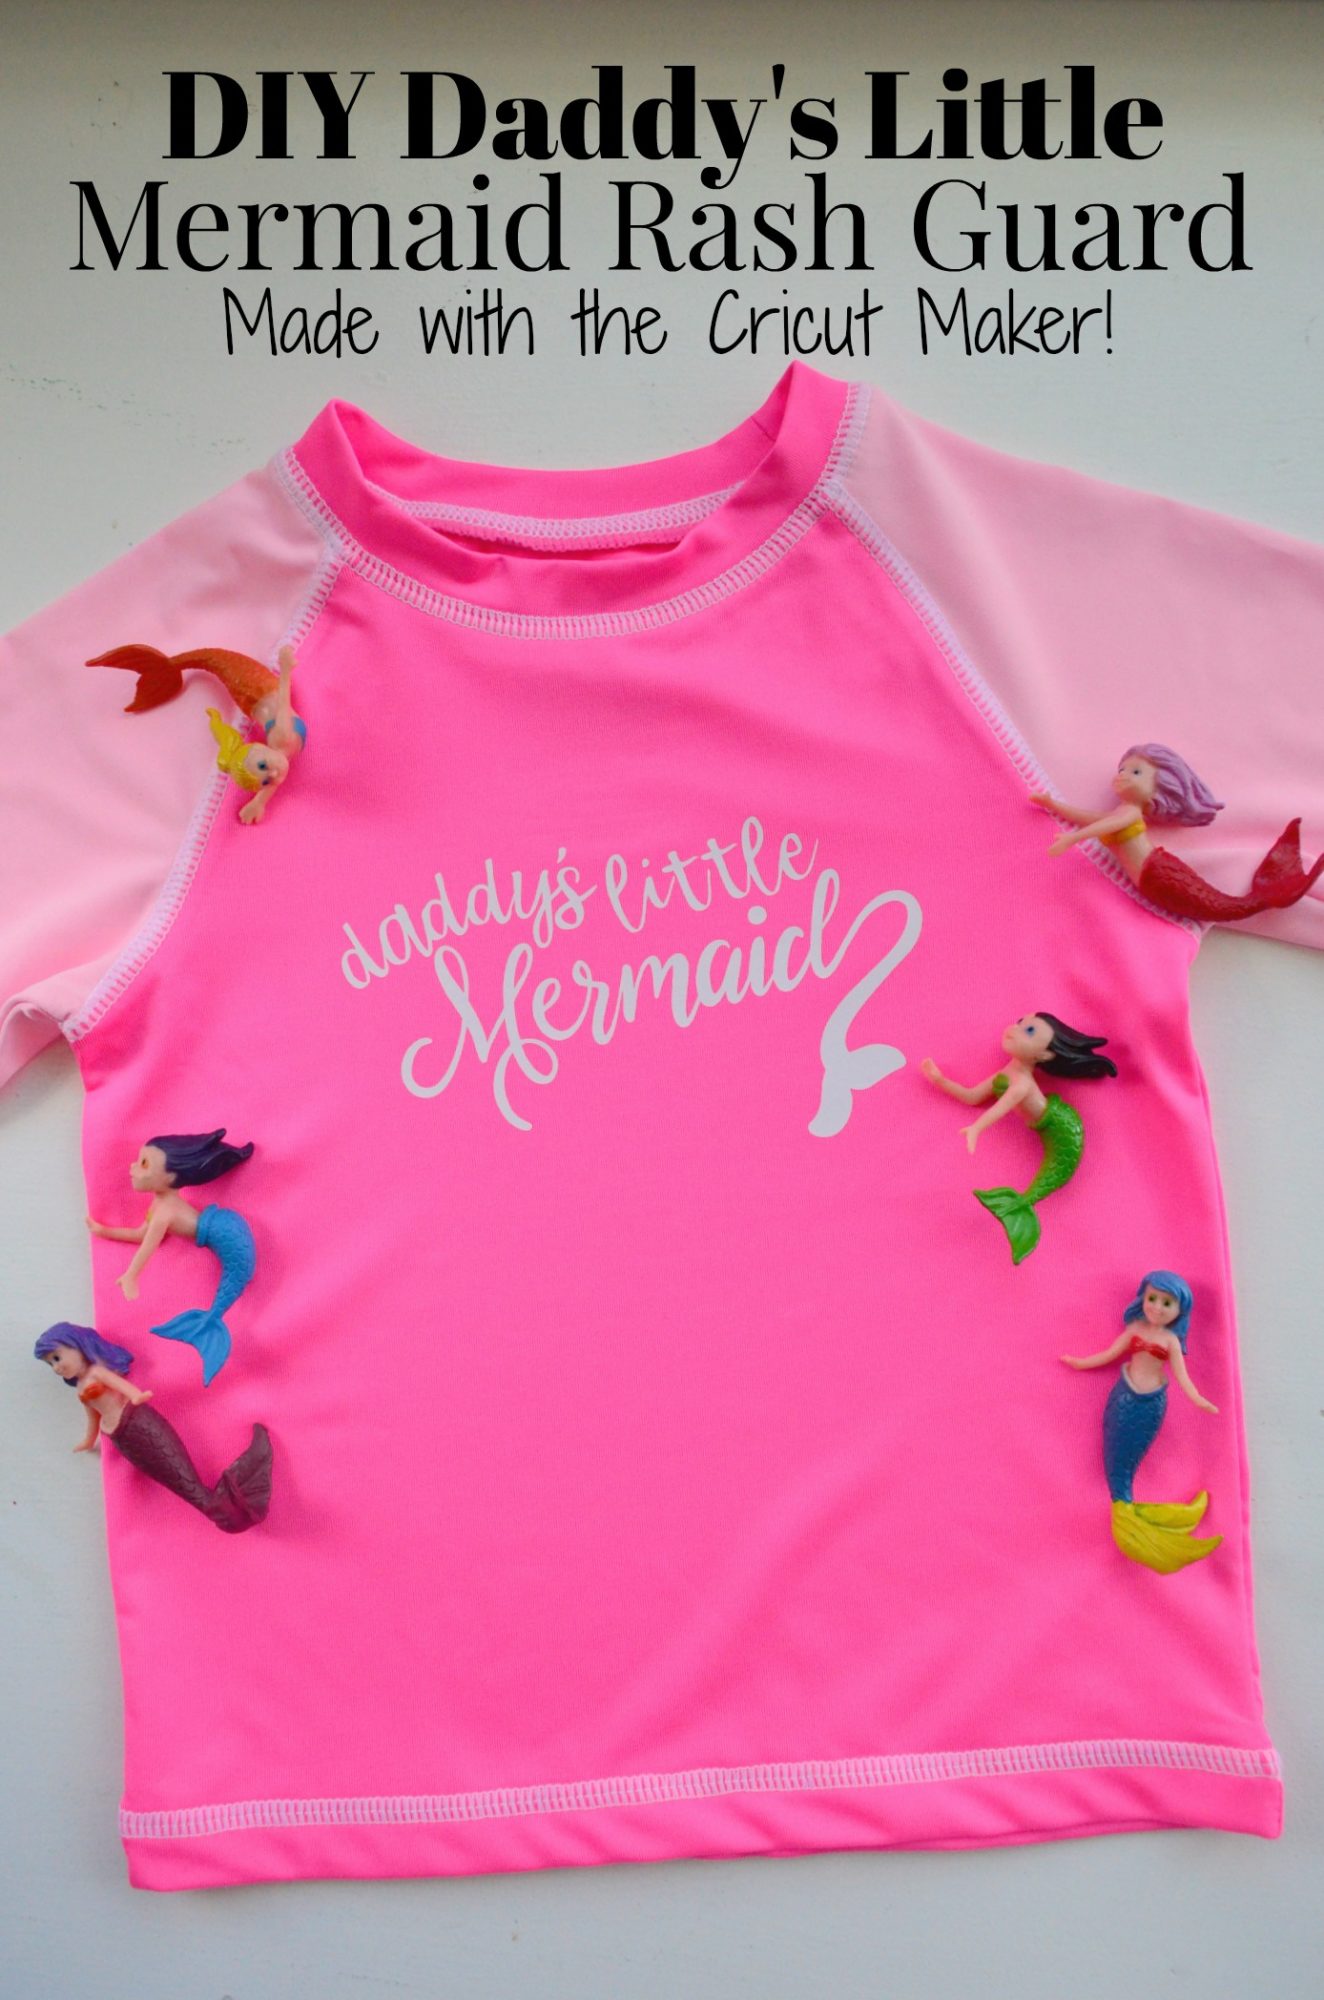
You guys know I love an easy DIY project and I’m smitten on customizing just about everything and anything I can. I’m excited to share my DIY Daddy’s Little Mermaid Rash Guard Made with Cricut Maker! I bought this blank rash guard at Wal*Mart a few months back and just knew I was gonna customize it. When my friends at Cricut announced they had a new smaller EasyPress (hello 6×7) I knew this was the first project I wanted to make. I love how it’s the perfect size for baby/toddler clothing! In fact, they added the 6×7 and the 12×10 to the already existing 9×9 EasyPress and now in a beautiful raspberry color!
I love that you get the profession iron-on success and feel in 60 seconds or less and it’s not huge and taking up a lot of work space. The new EasyPress 2 has a faster heat-up time now (which I didn’t think was possible from before), and precise temperature control up to 400 degrees Fahrenheit. I didn’t realize this but every EasyPress 2 has a USB port for firmware updates. Cricut has once again, thought of everything!
Now that you know all about the new Cricut EasyPress 2 I want to share how quick and easy it was to make this cute little “Daddy’s Little Mermaid” rash guard!
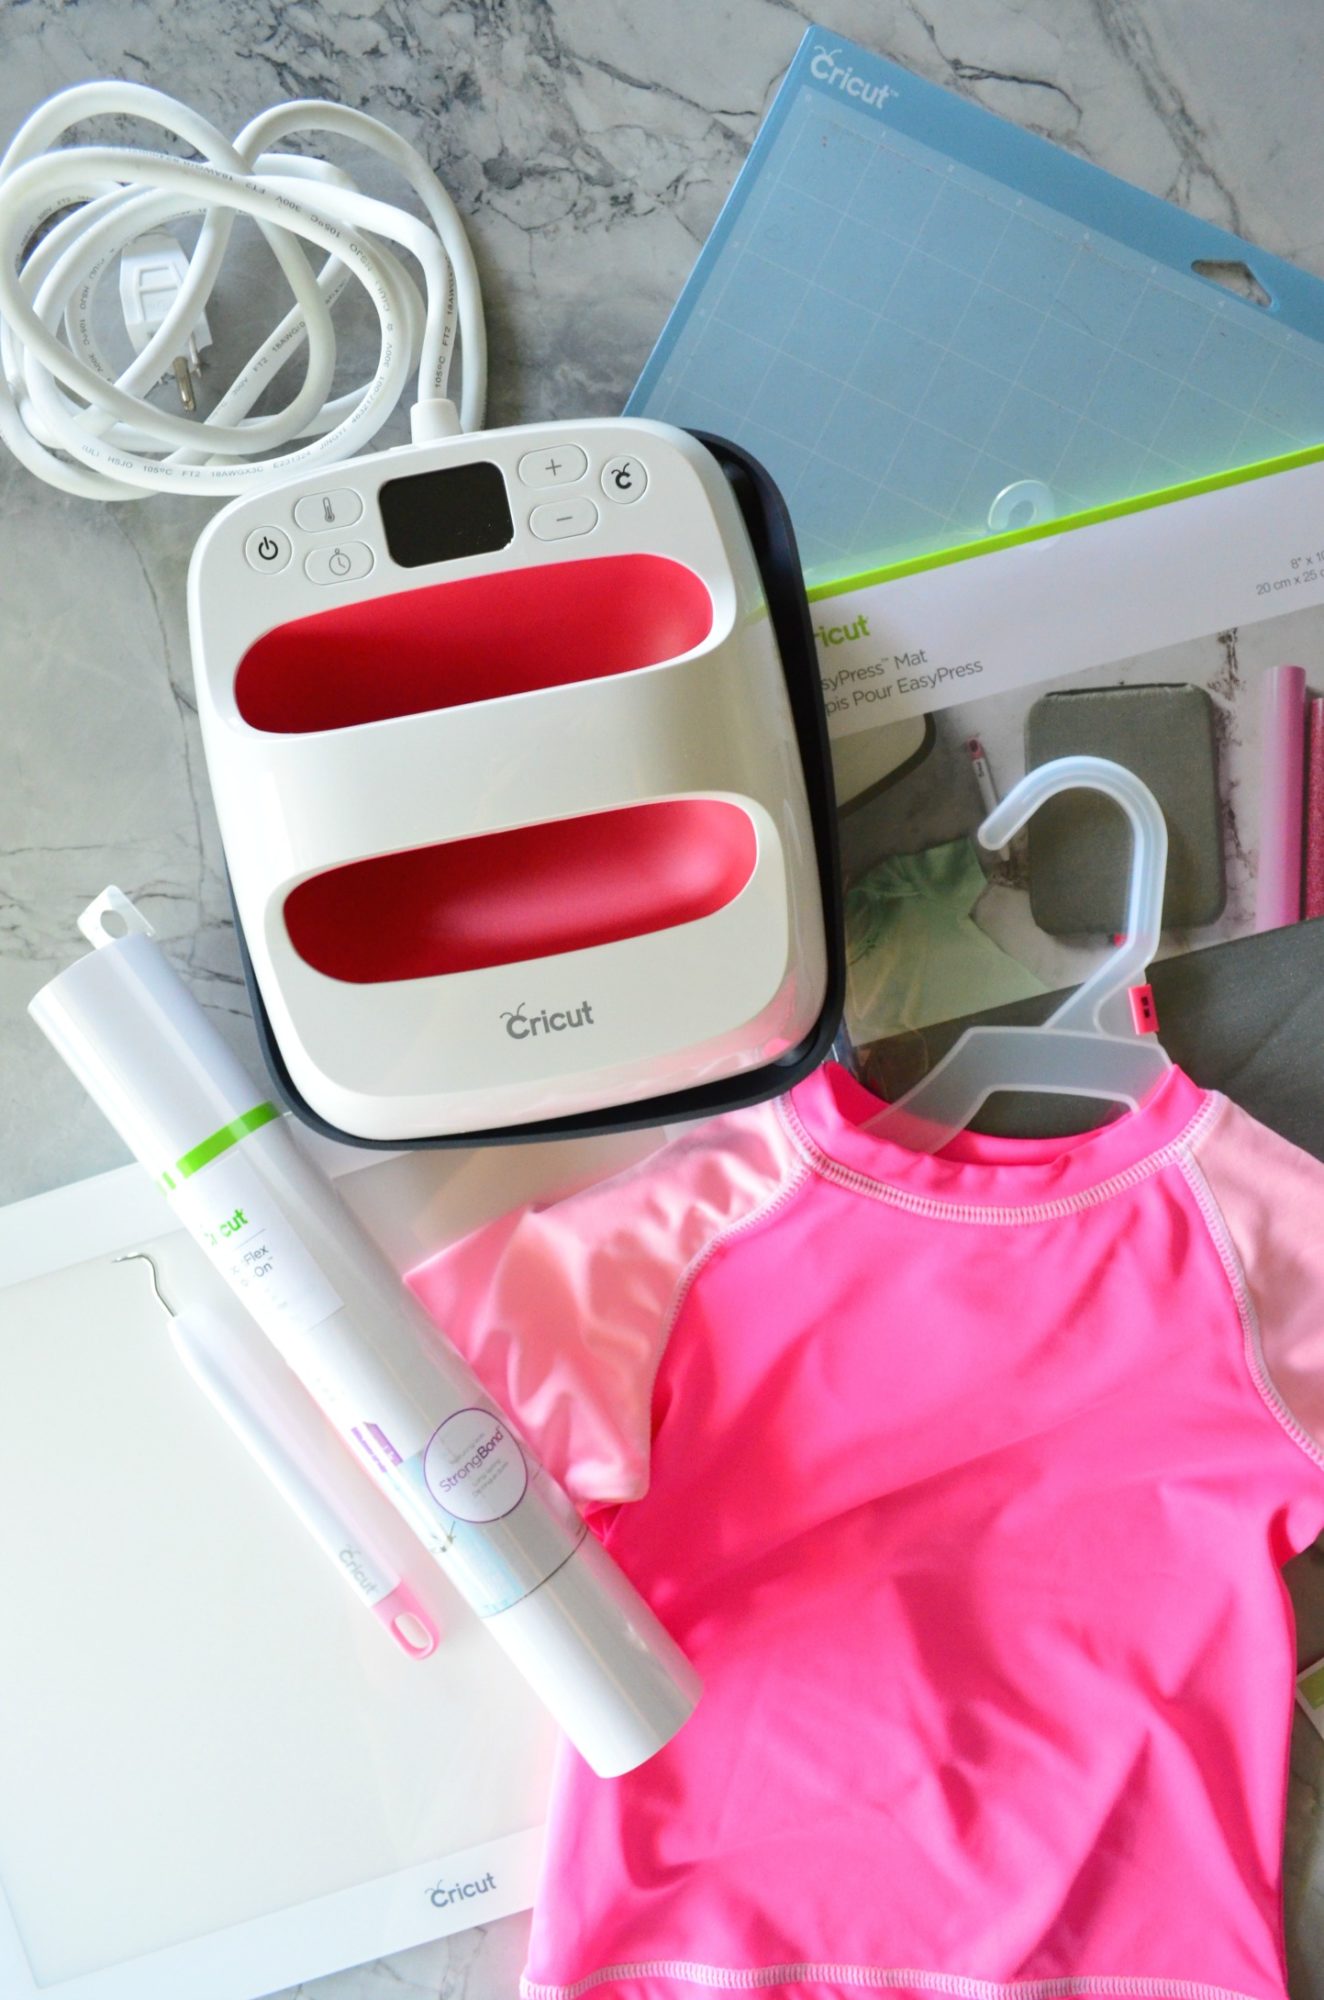
Supplies:
- Cricut Maker
- “Daddy’s Little Mermaid” file found on Cricut Design Space™
- Cricut Mat
- Cricut SportFlex Iron On™ vinyl, White
- Cricut Tools
- Cricut BrightPad
- Baby SPF Rash Guard
- Cricut EasyPress 2 6×7
- Cricut Iron-On Protective Sheet or Muslin
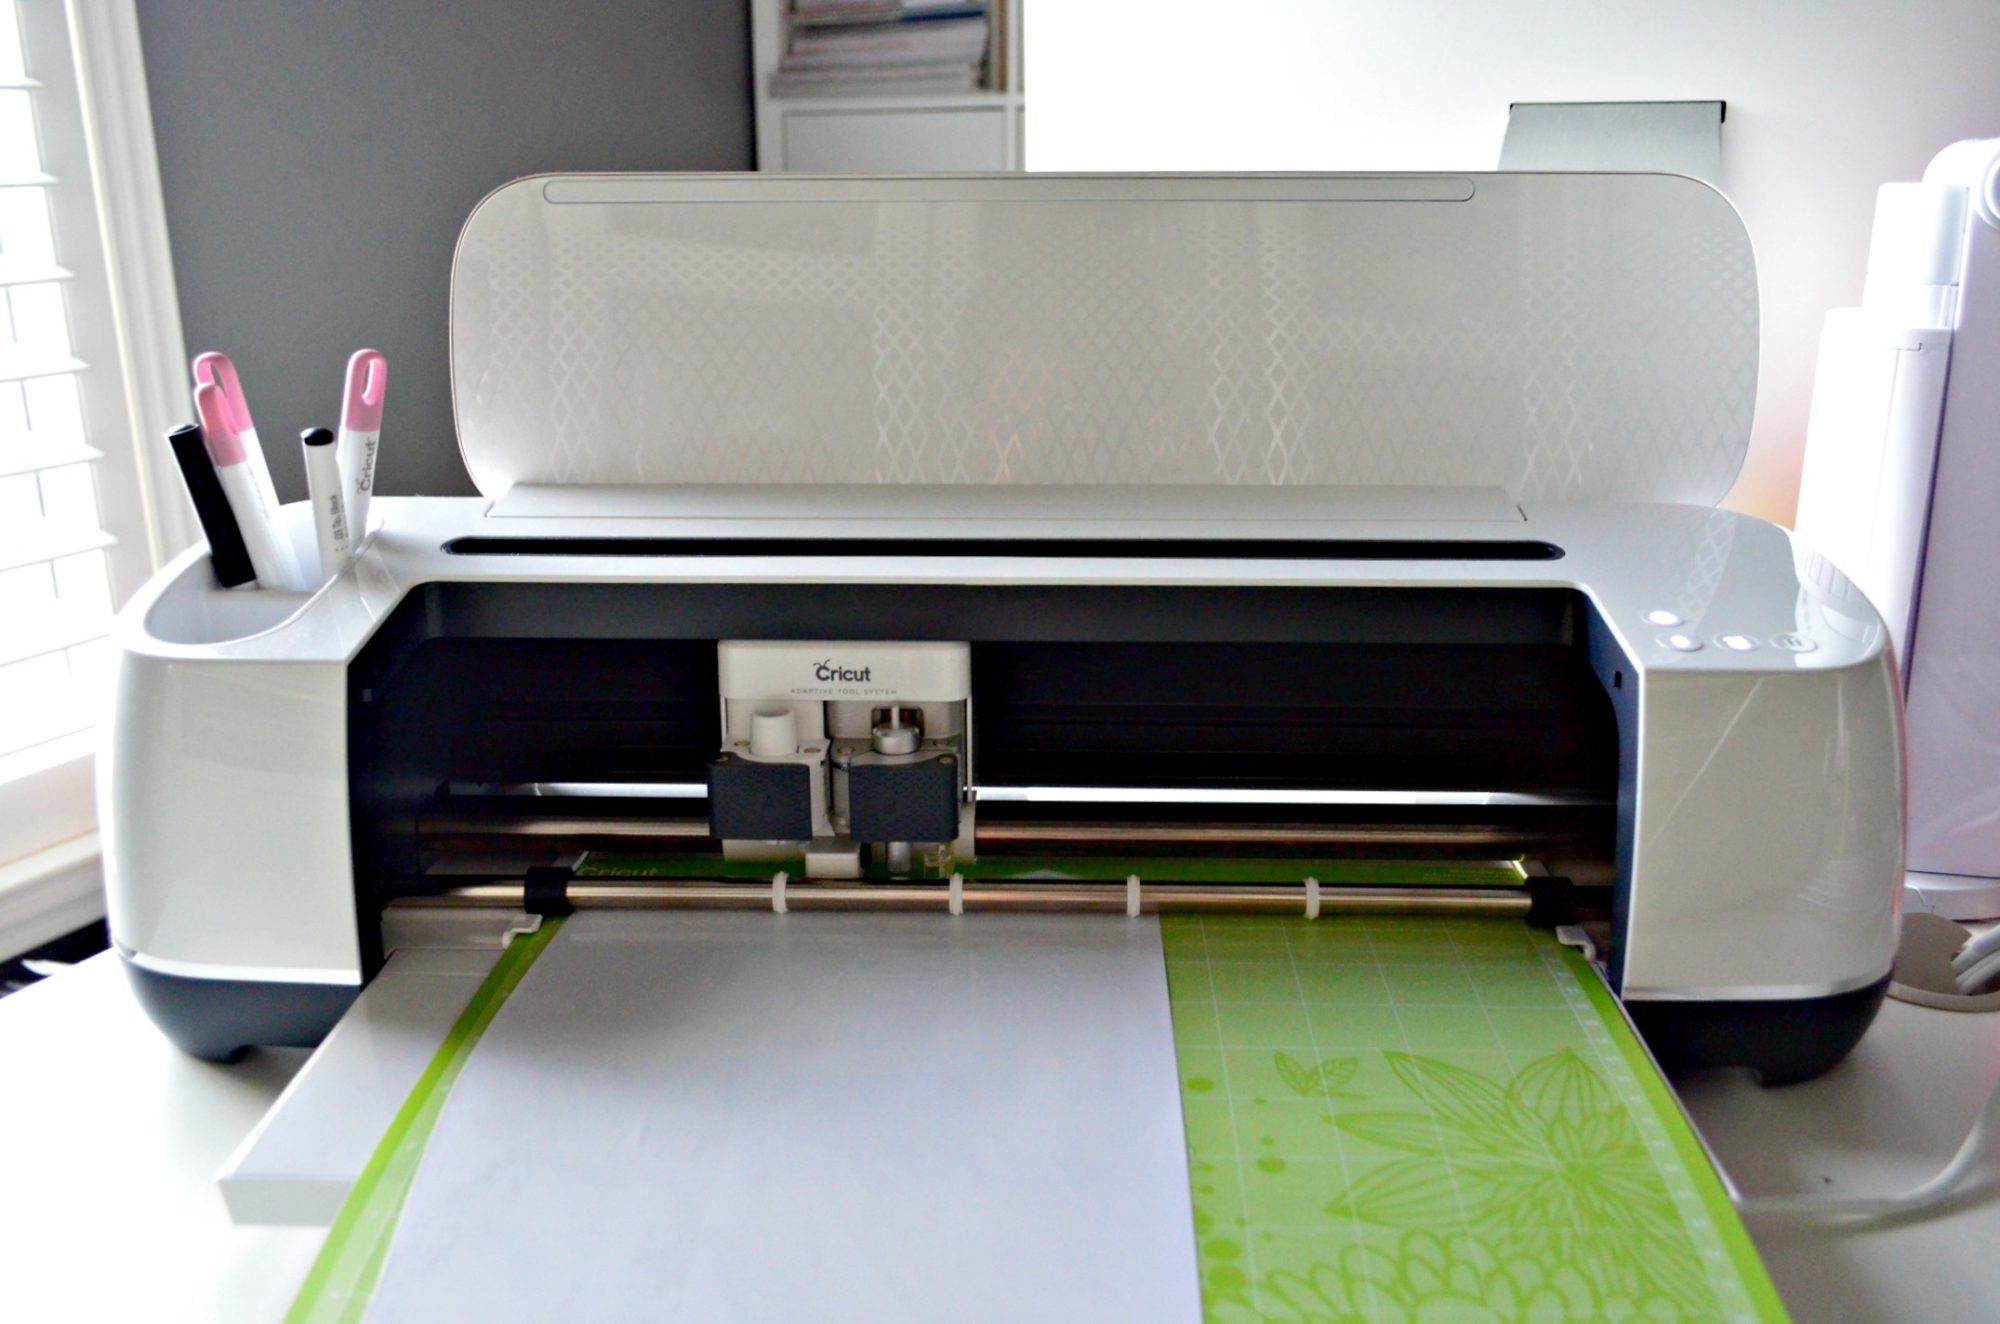
Once you are ready to cut–it’s time to let your Cricut Maker do it’s thing! Remember, this is Iron-On Vinyl so you’ll need to select “mirror image” before cutting.
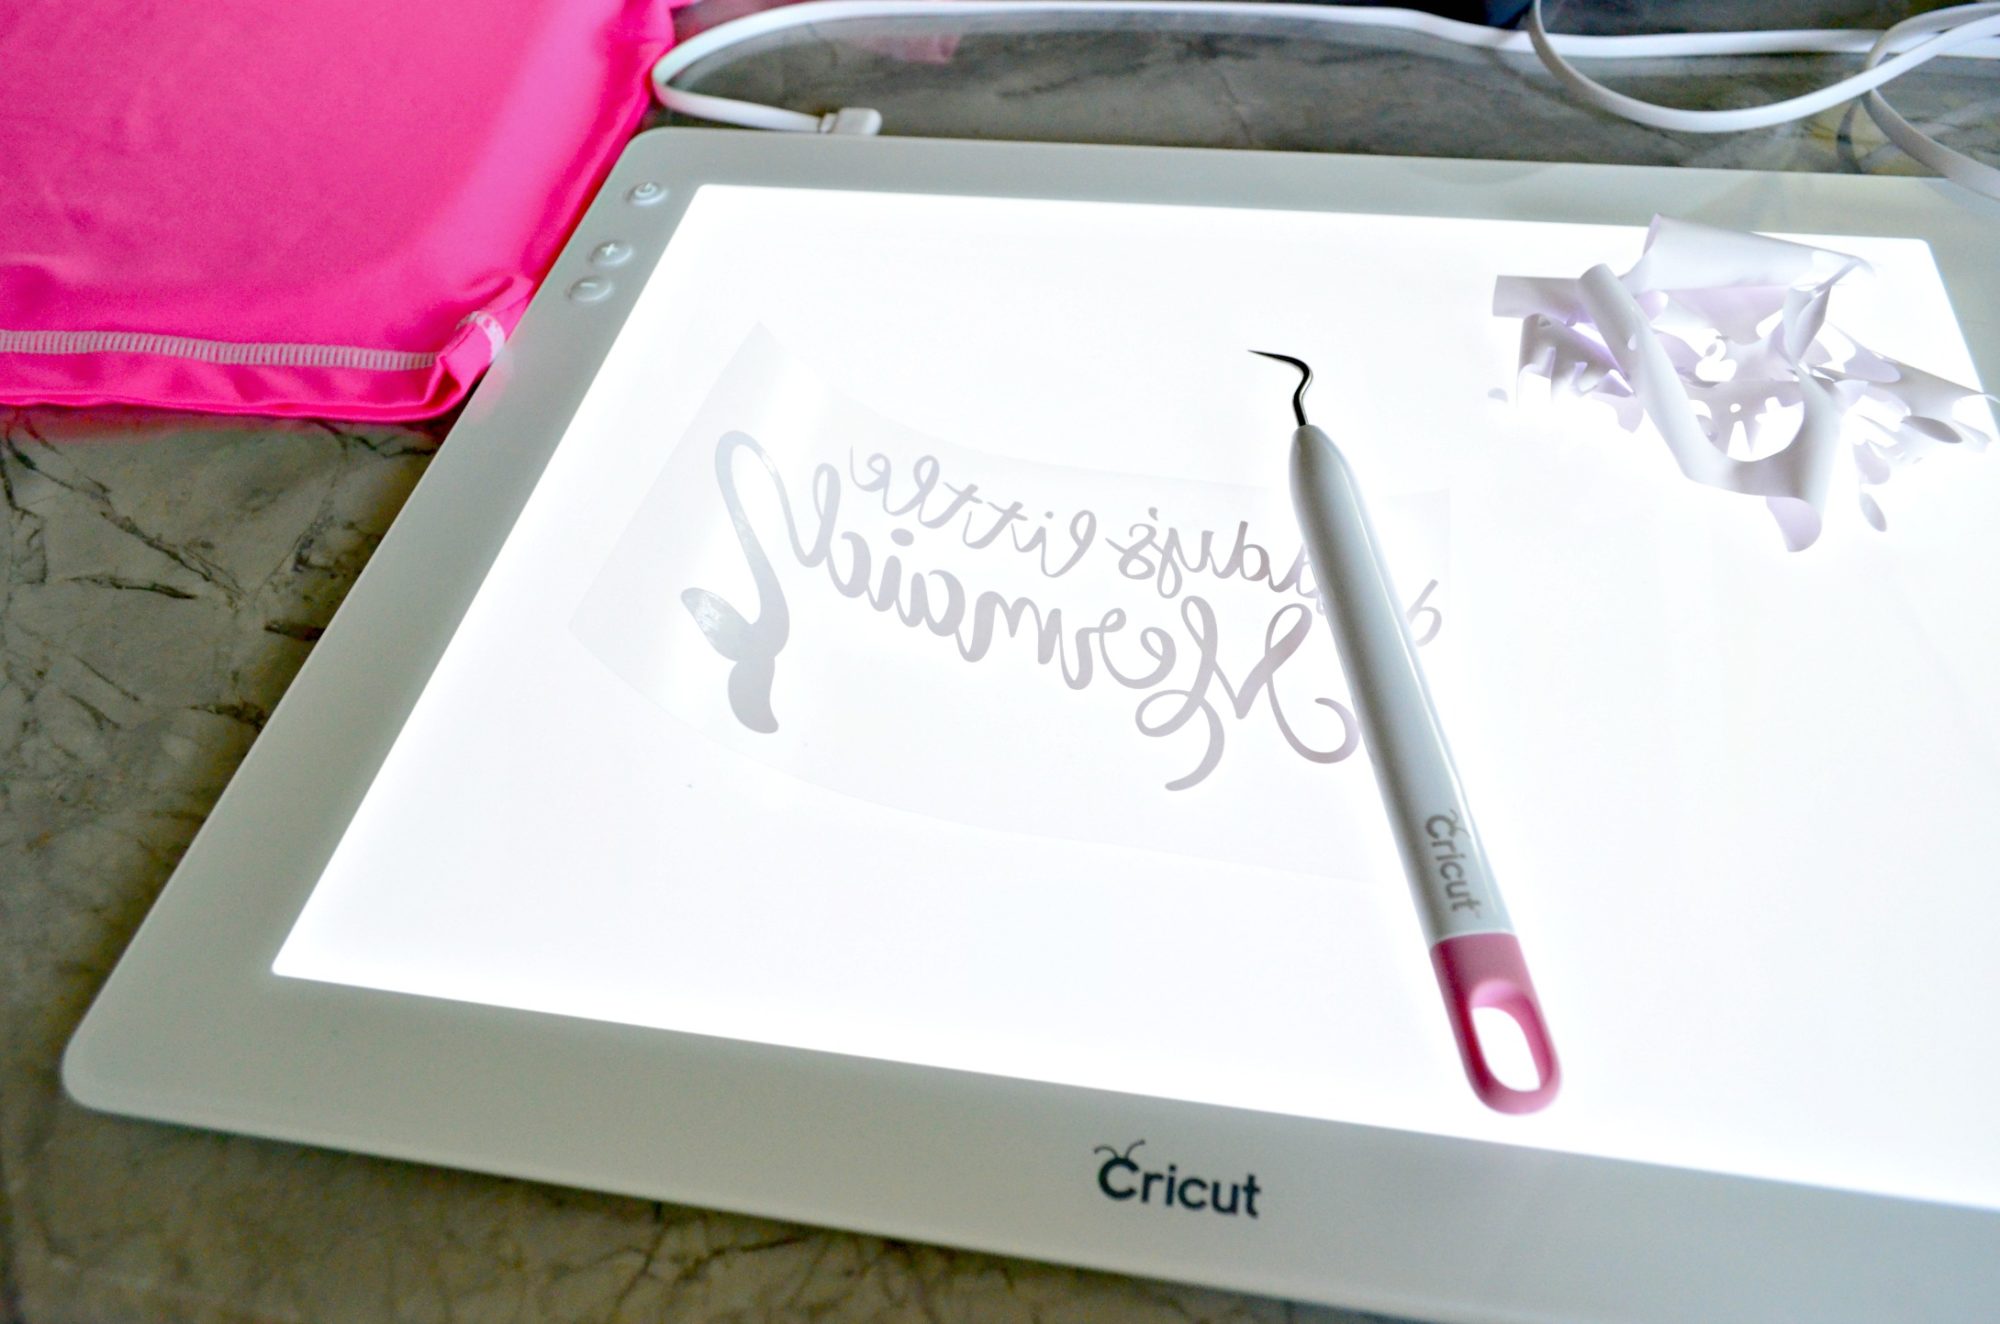
Next up, it’s time to weed out the negative of the design. Y’all know by now that I love my Cricut BrightPad and don’t weed without it.
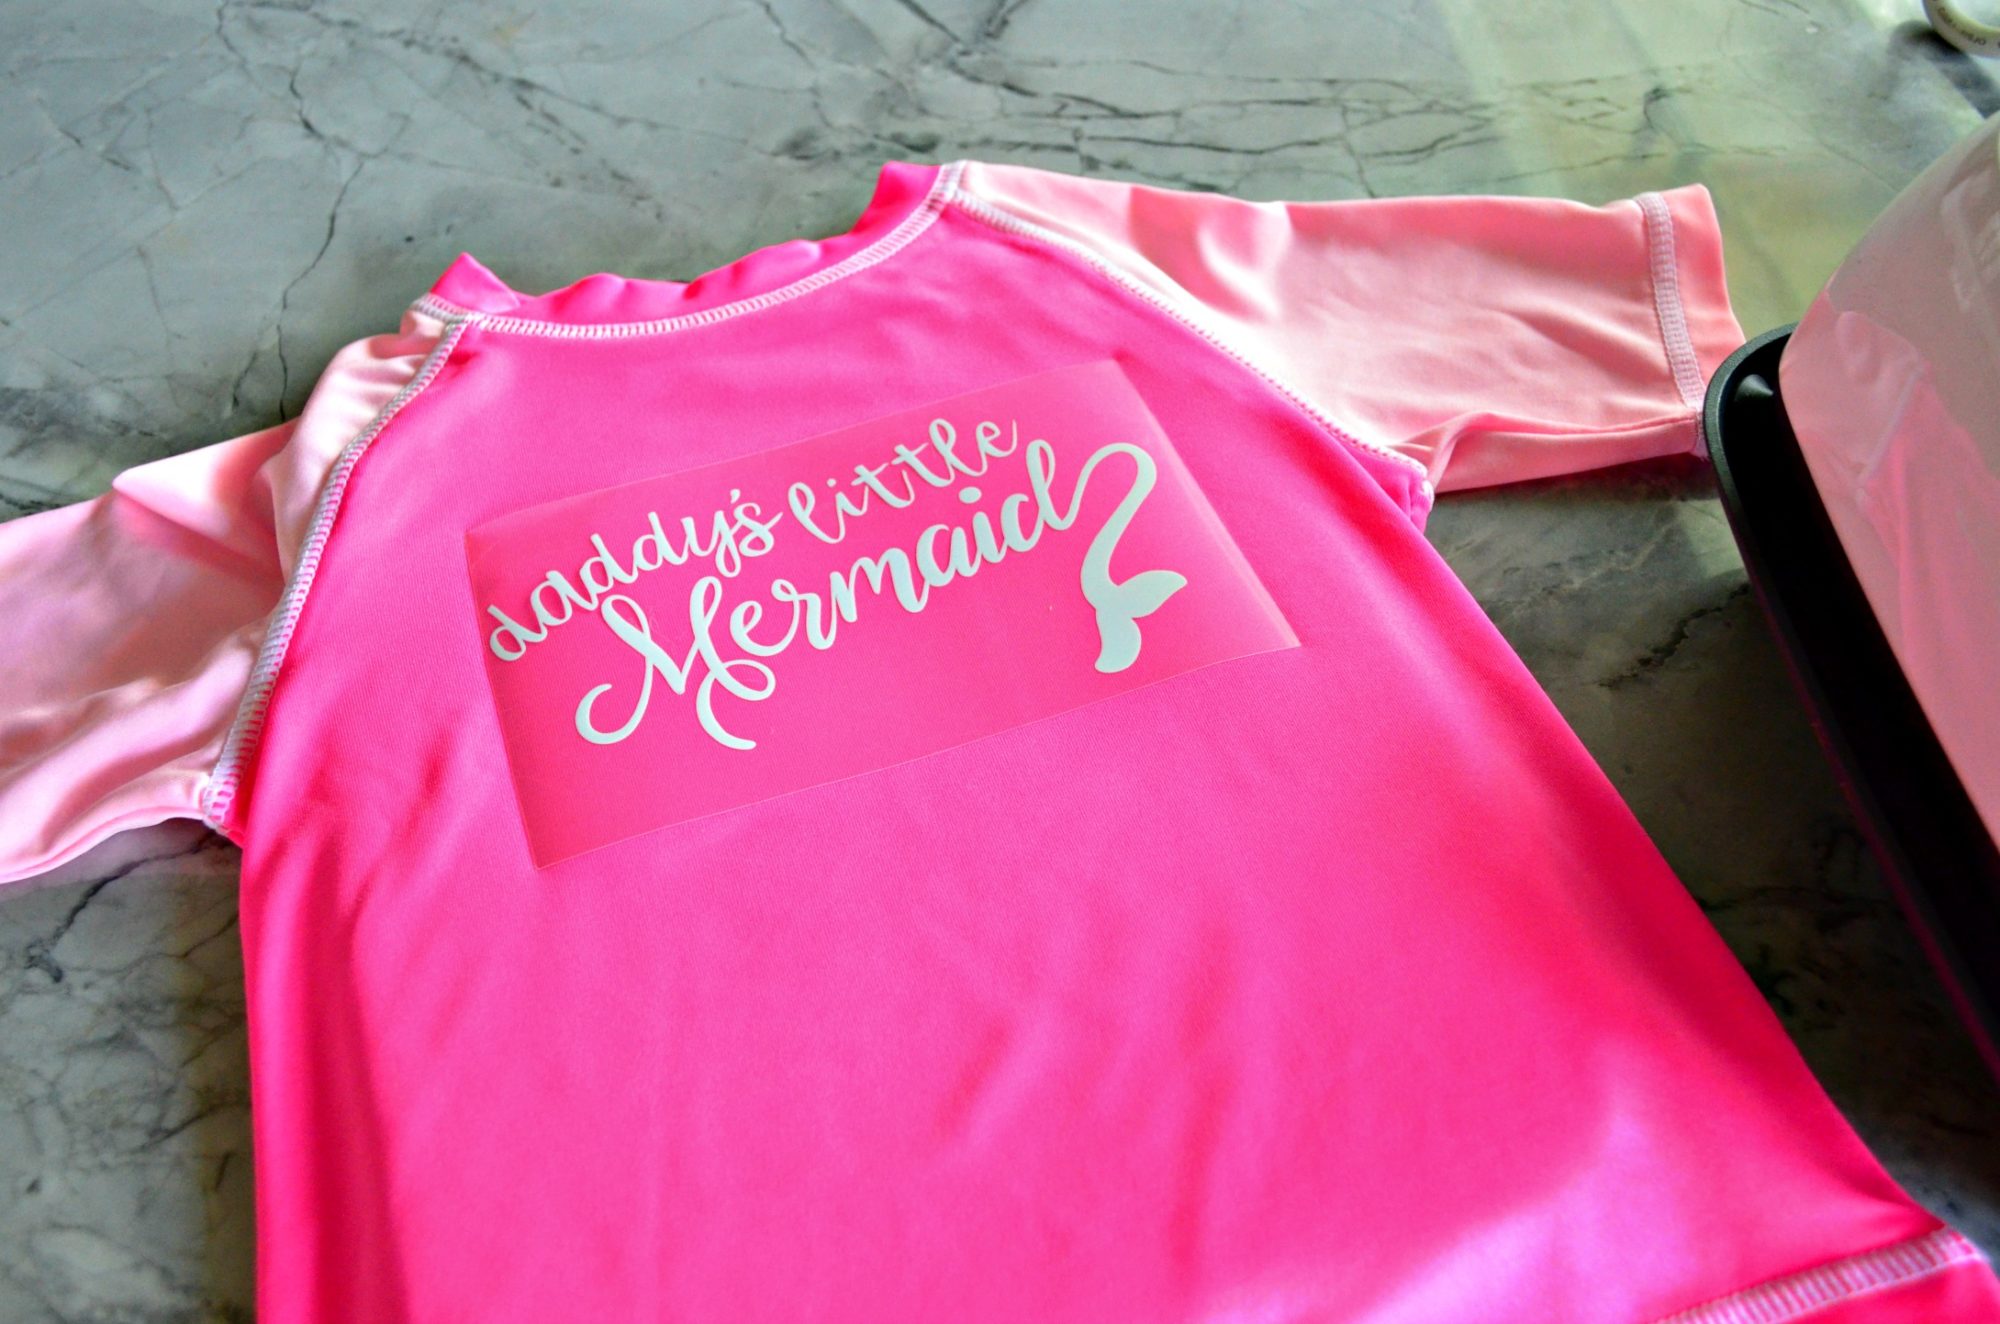
Place the mermaid design on the rash guard. Because this is a rash guard I used the Cricut SportFlex Iron On™ vinyl. This Iron-On vinyl is perfect for tech fabrics like a rash guard.
Cricut’s main goal is to make sure your iron-on material sticks and continues to stick after many, many washes. At Cricut, the quality of their iron-on materials and EasyPress are best-in-class.
This is why Cricut now has in place the StrongBond™ Guarantee on many of their iron-on materials. Cricut’s StrongBond™ Guarantee means that when this iron-on material is used as directed, you’ll be completely satisfied with the results. If not, they’ll replace it for free. Look for the StrongBond™ Guarantee on select iron-on materials.
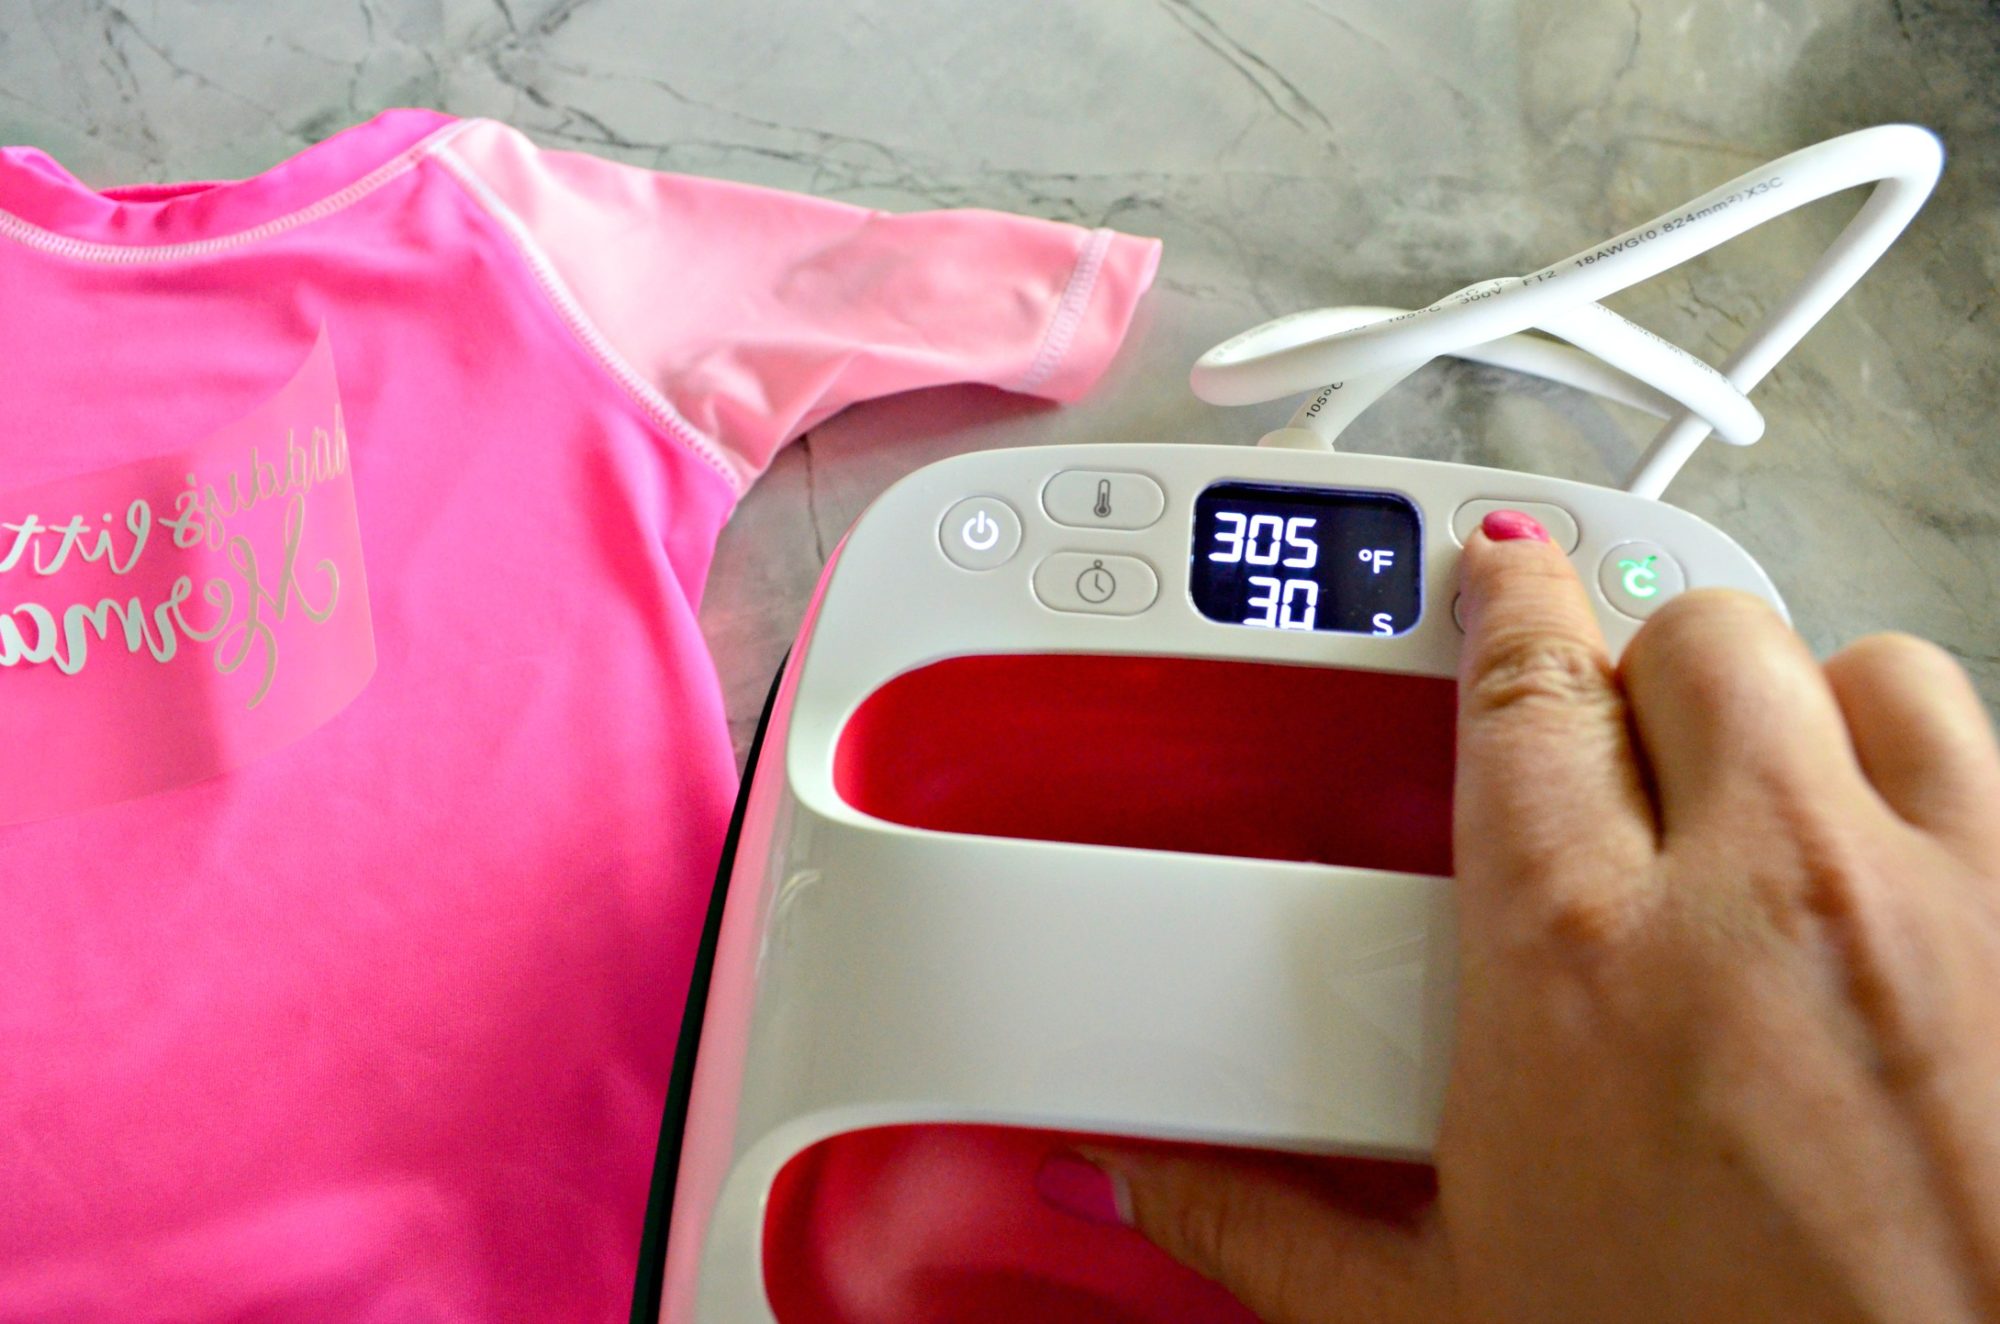 I love how easy to learn, simple to use the EasyPress 2 is and no guessing with it’s easy to read digital display! Once I plugged in my EasyPress 2 I selected the temperature setting to 305 degrees Fareneheit and the little clock button to 30 seconds. See this post on heating settings.
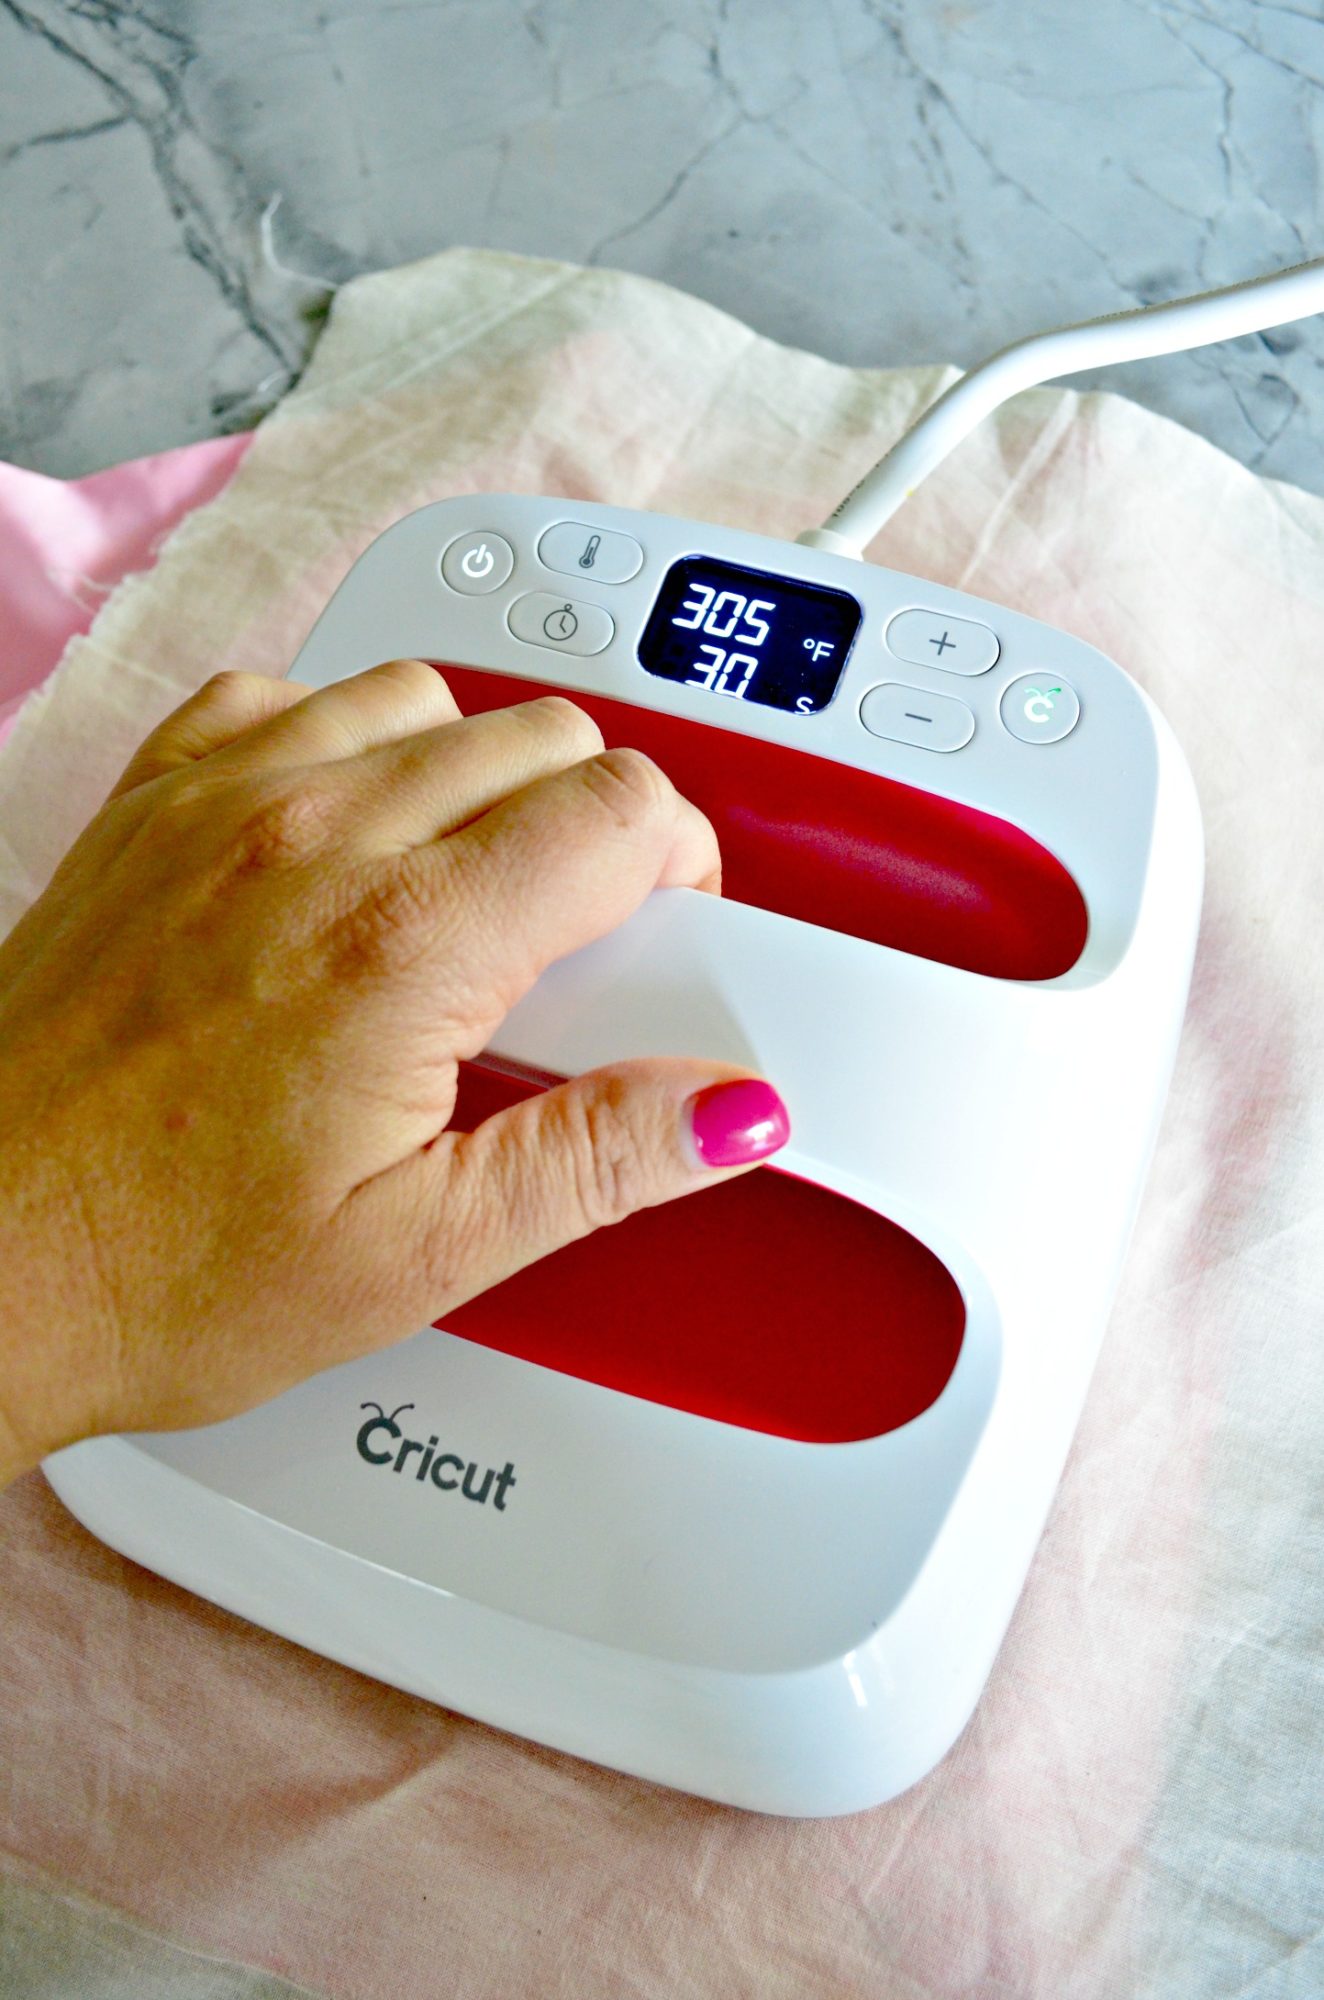
Place a muslin cloth or Cricut Iron-On Protective Sheet over the rash guard then press for 30 seconds. The EasyPress 2 has a ceramic-coated heat plate means dry, even heat for flawless transfers. Every EasyPress 2 comes with an insulated, streamlined Safety Base that keeps the EasyPress 2 in protected resting position while also protecting crafting surface. In my case–my kitchen countertop!
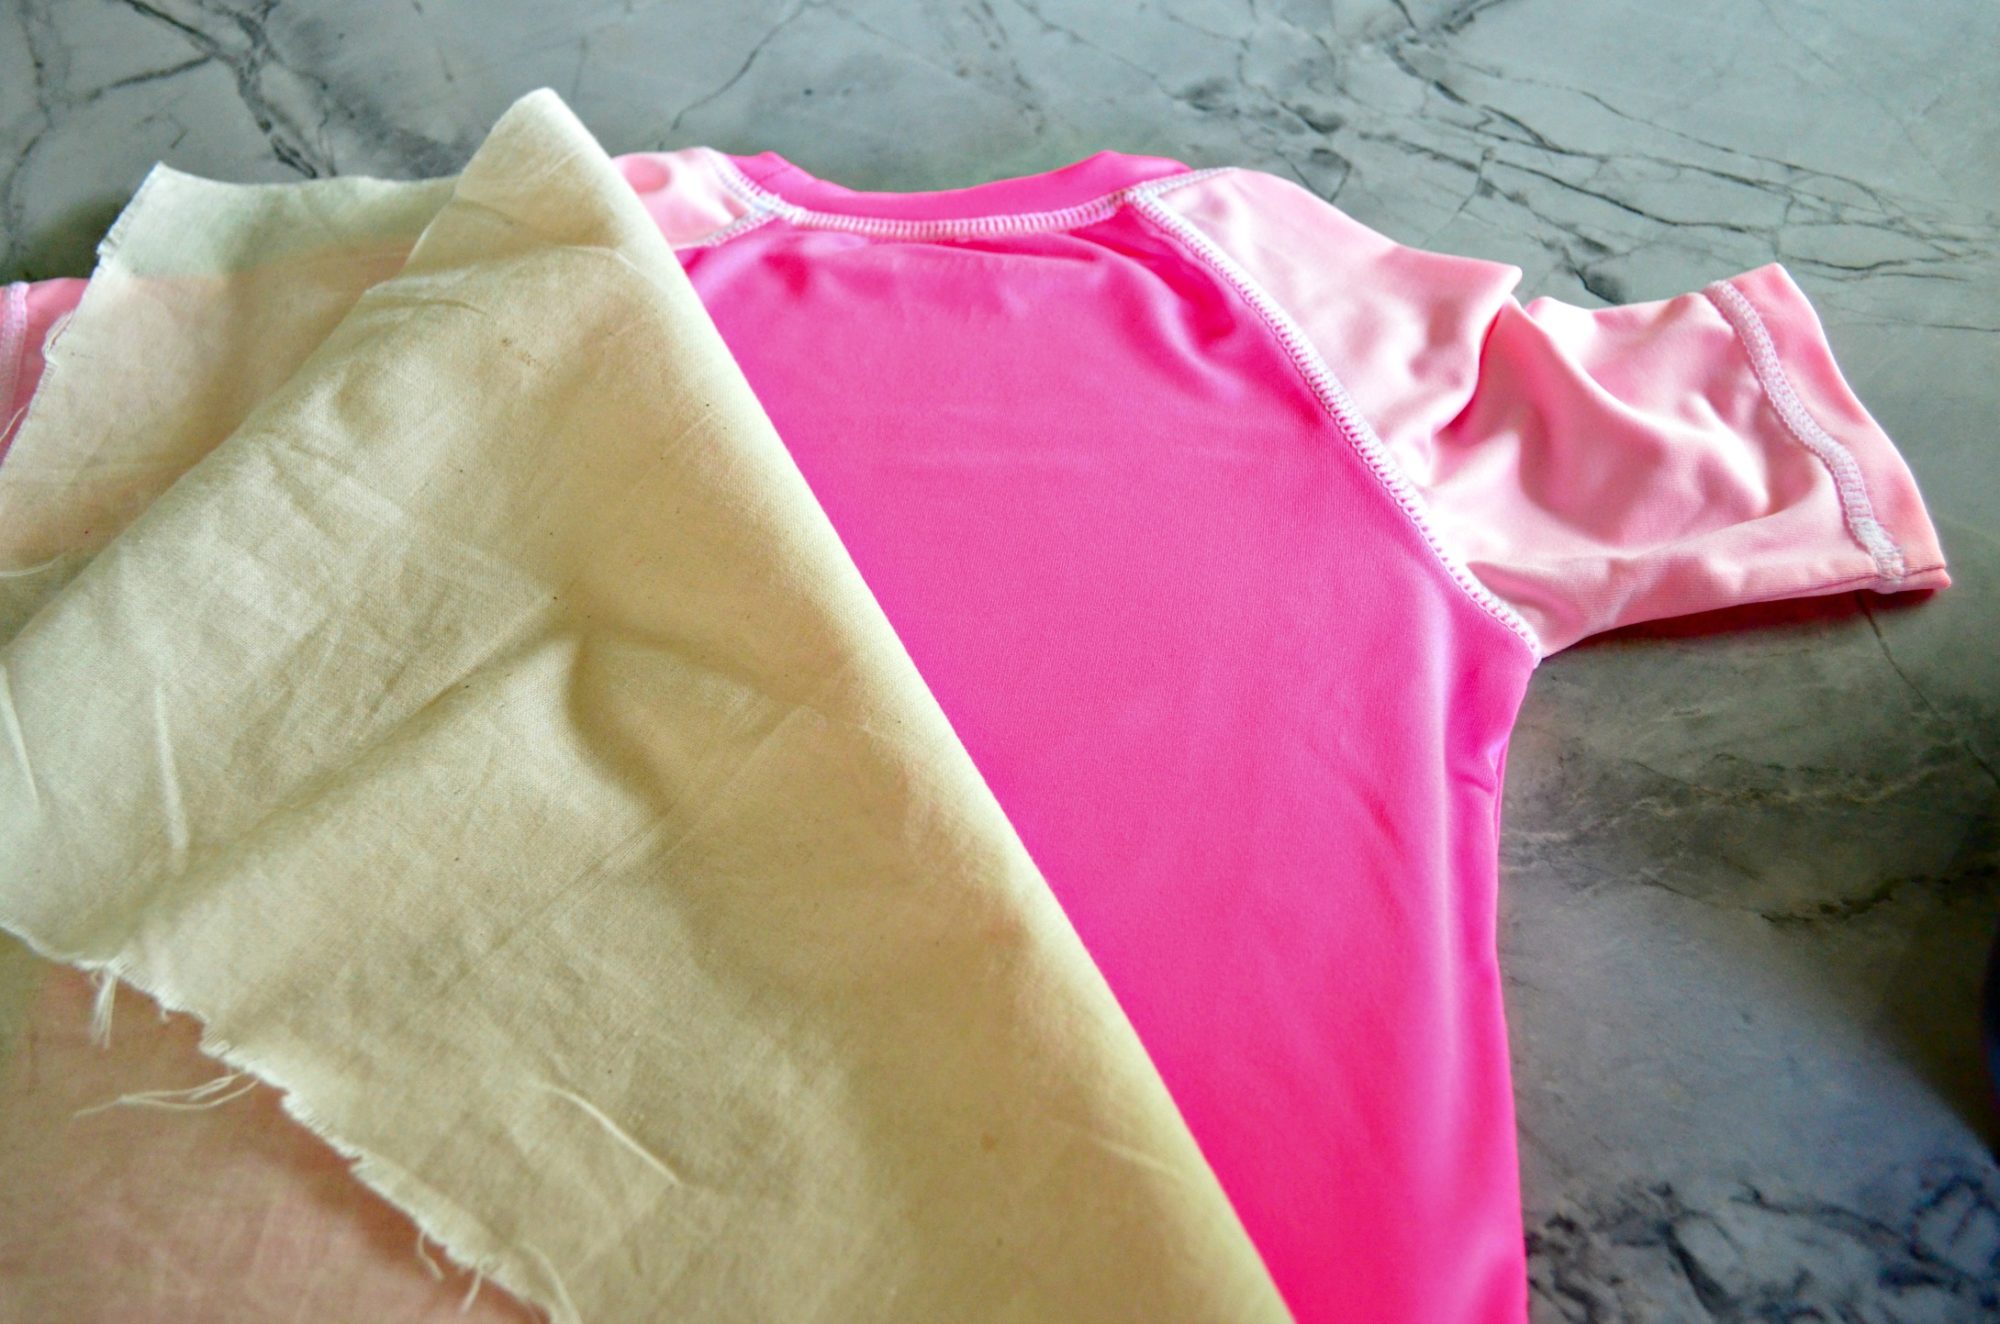
Flip the rash guard over, place the light muslin cloth or Cricut Iron-On Protective Sheet on top.
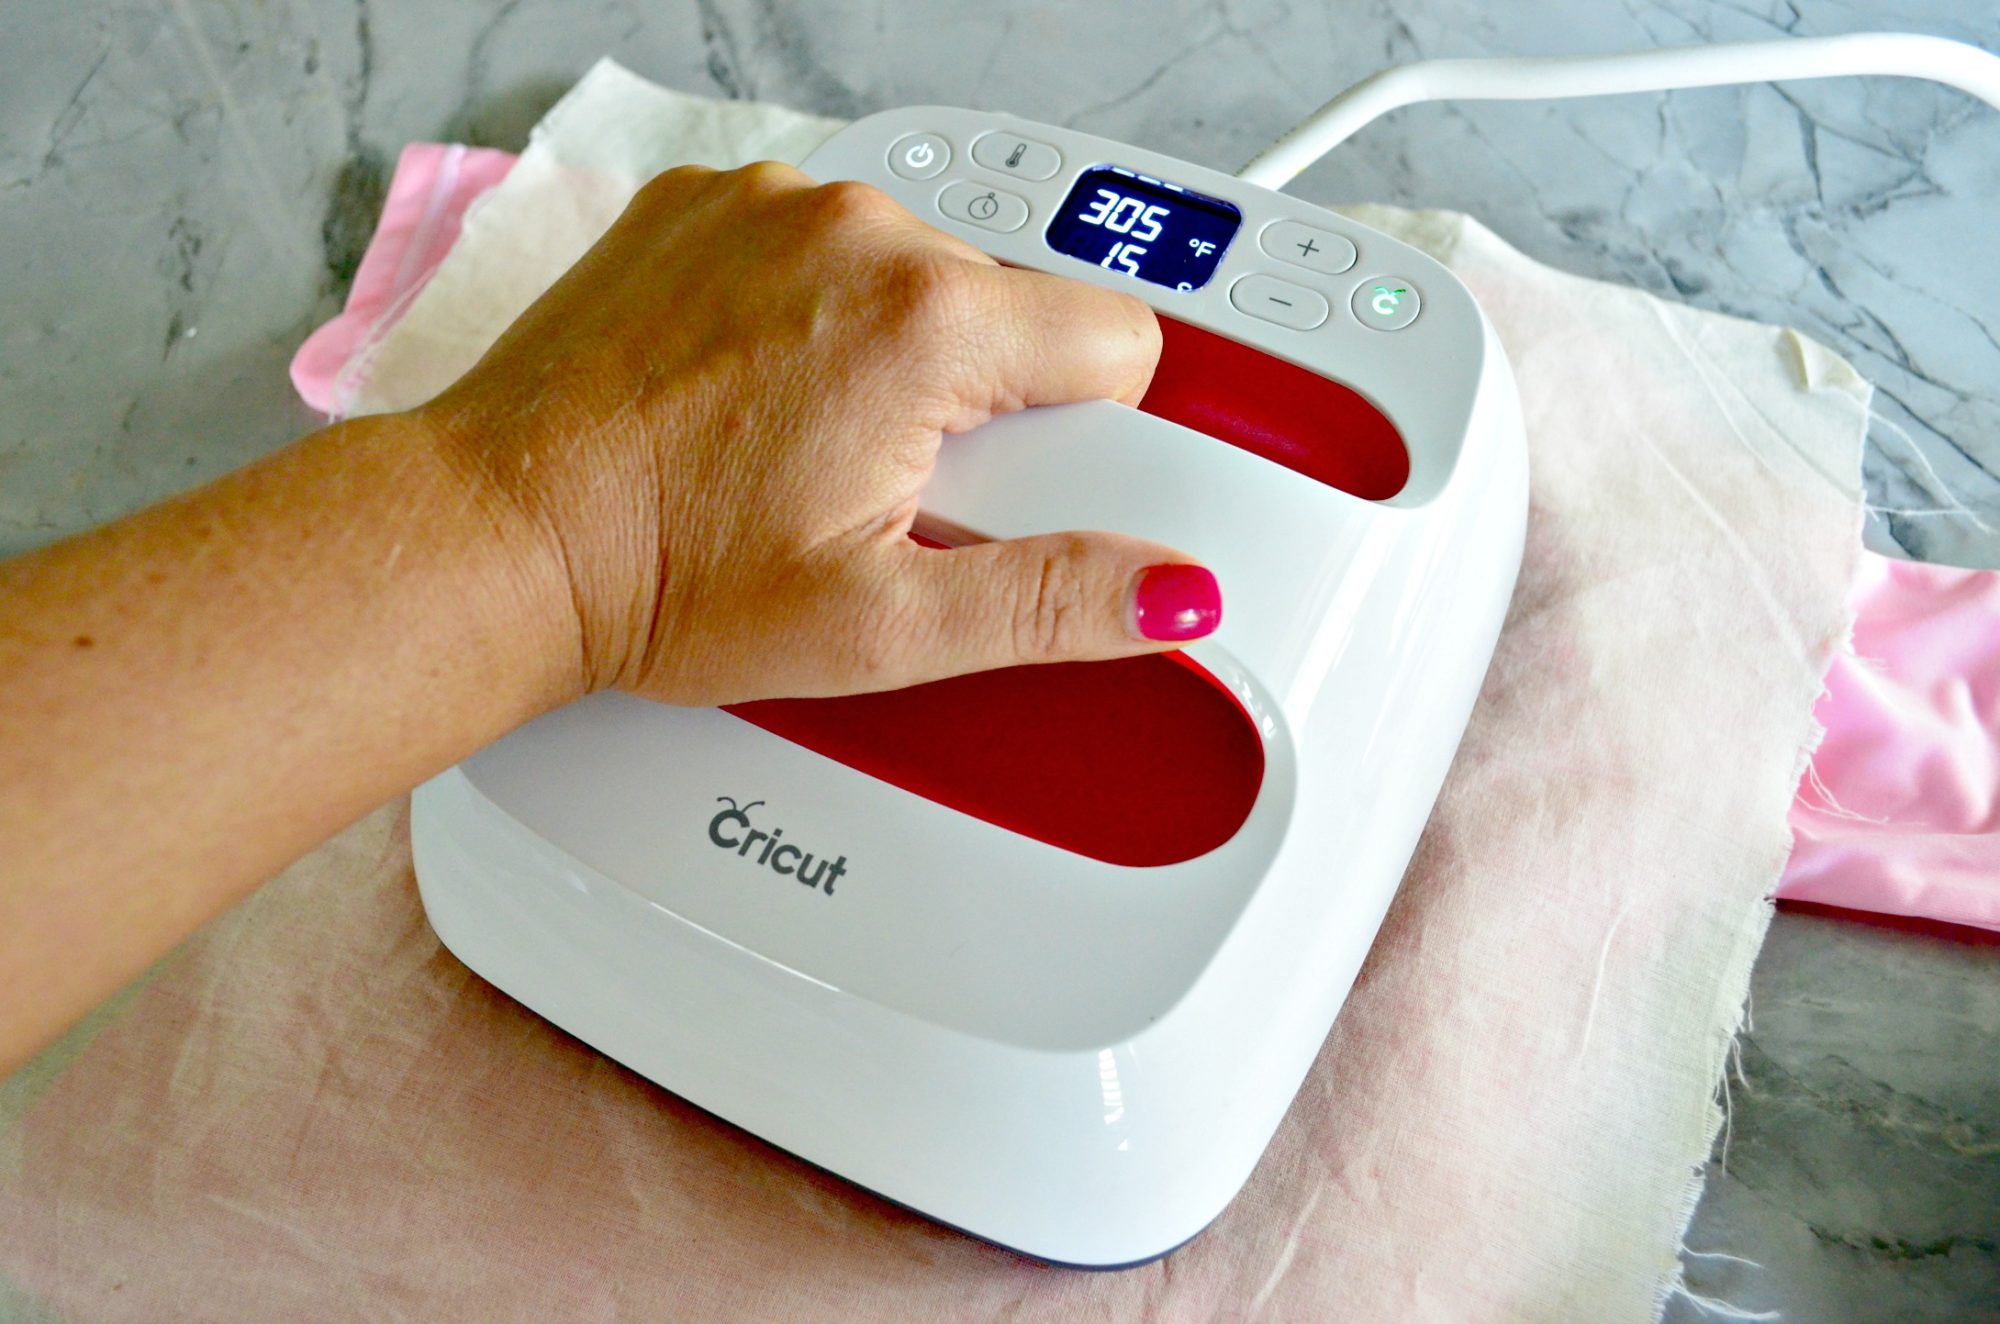
Then press for an additional 15 seconds at 305 degrees.
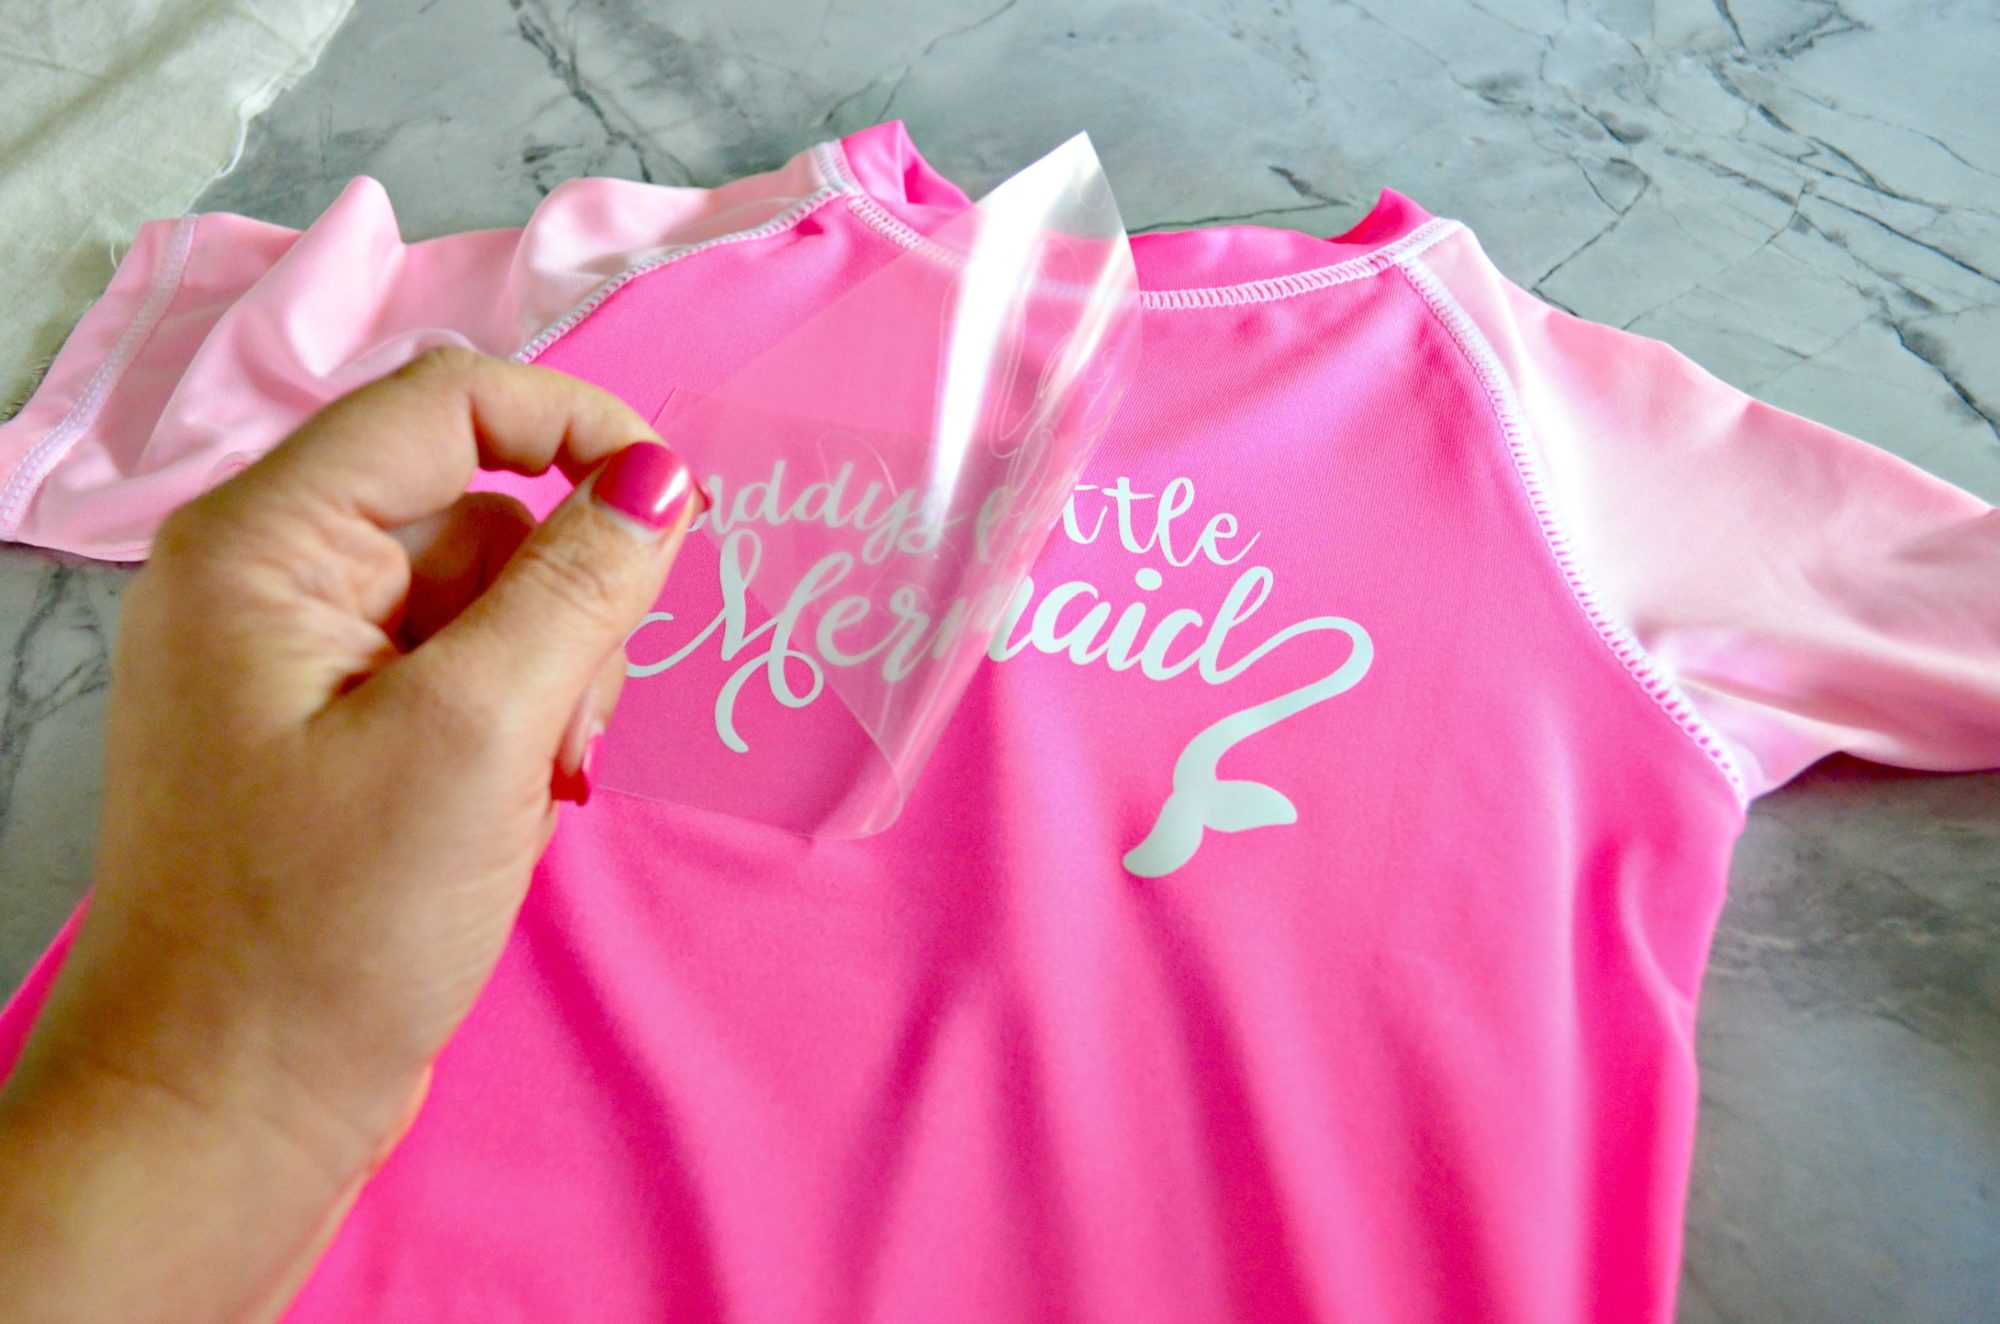
Flip the shirt back over and carefully do a warm peel of the plastic.
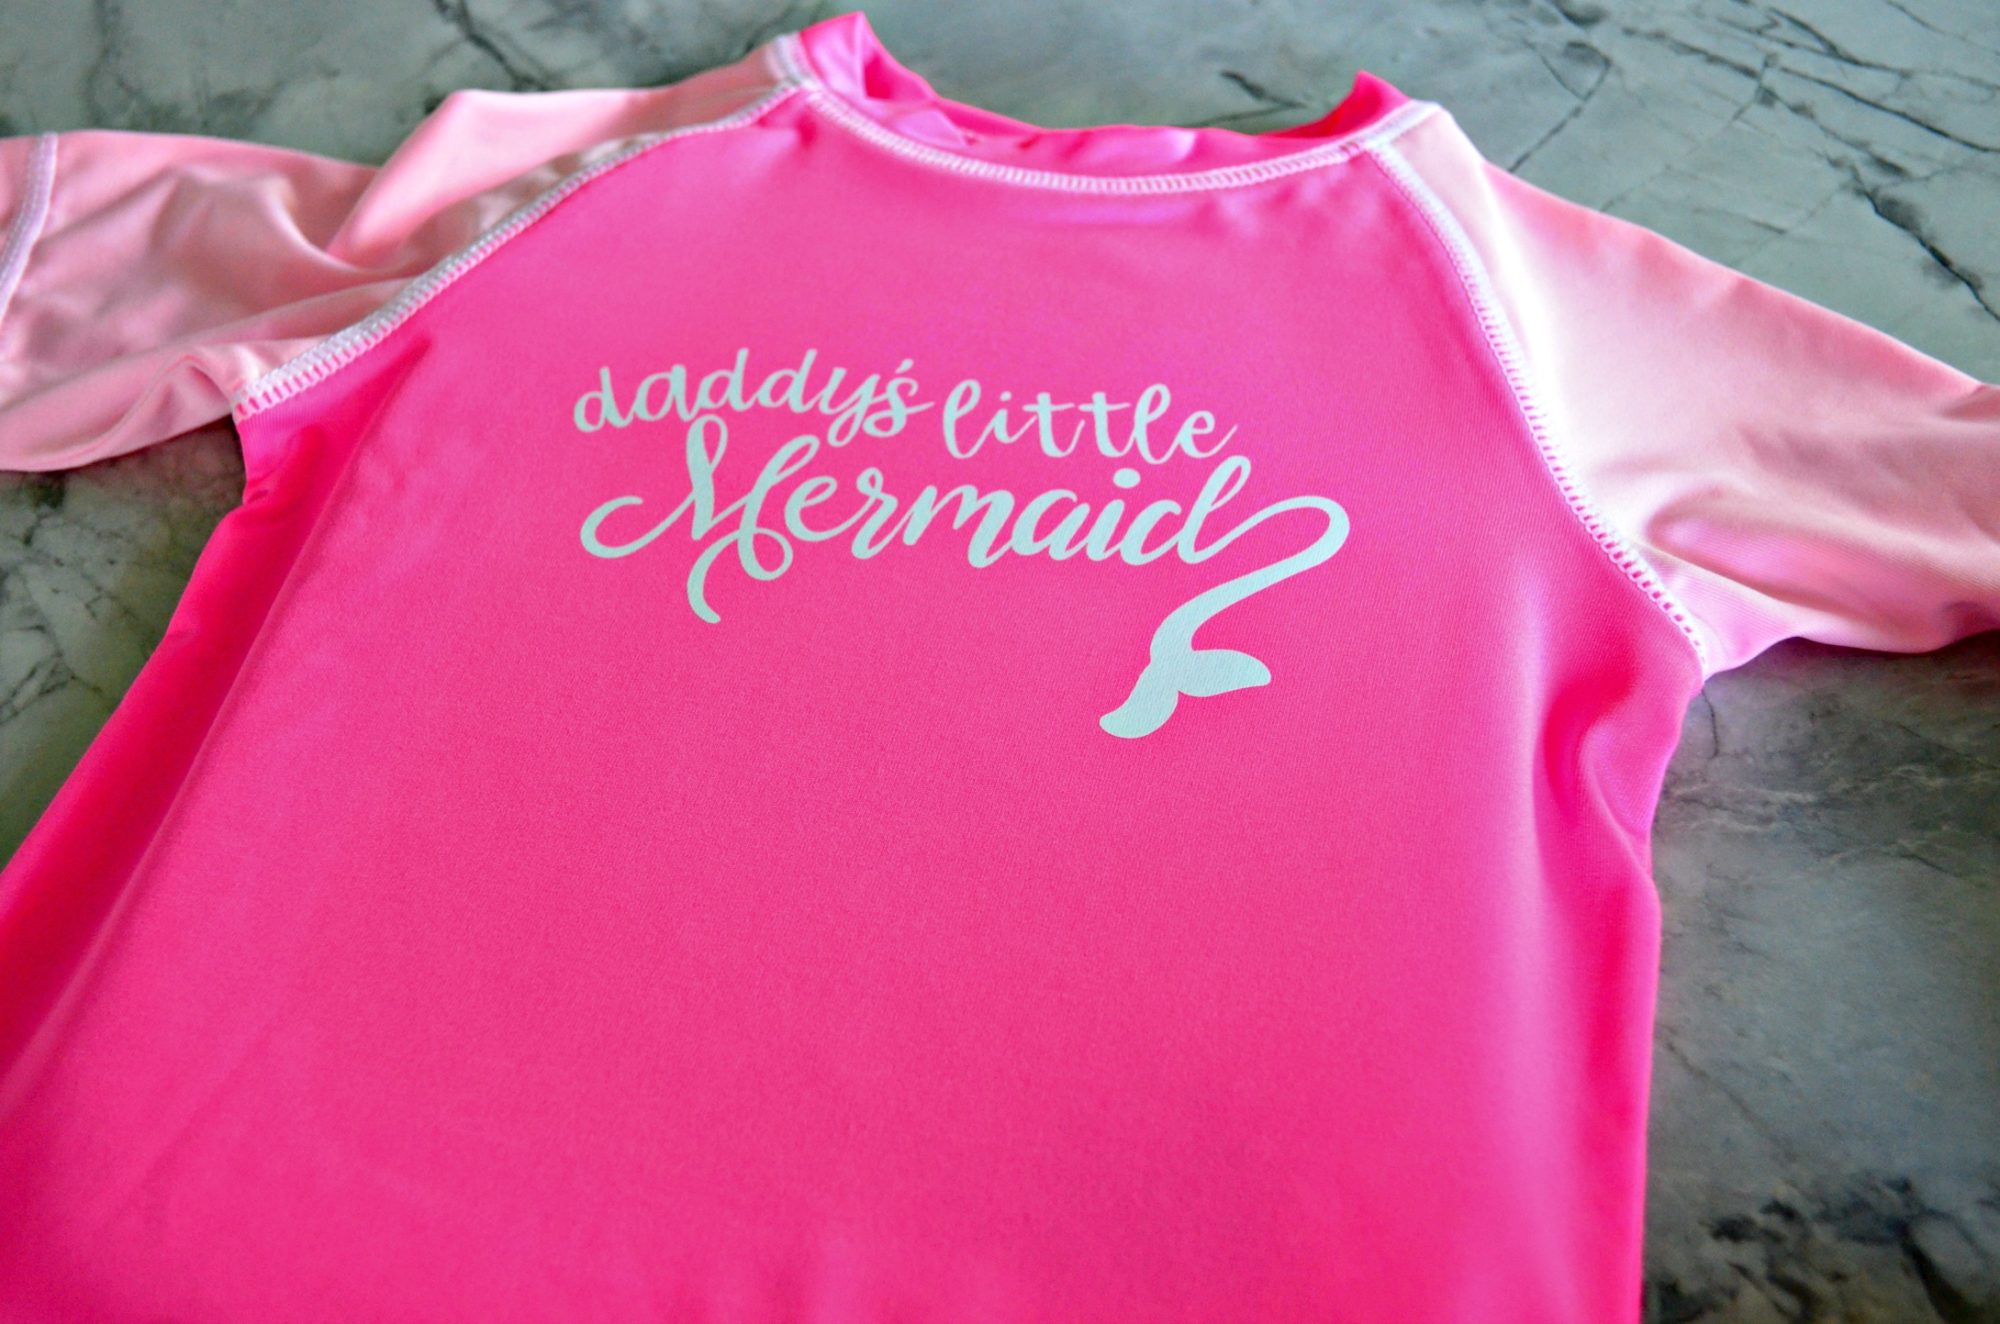
Easy as that you have a customized rash guard!
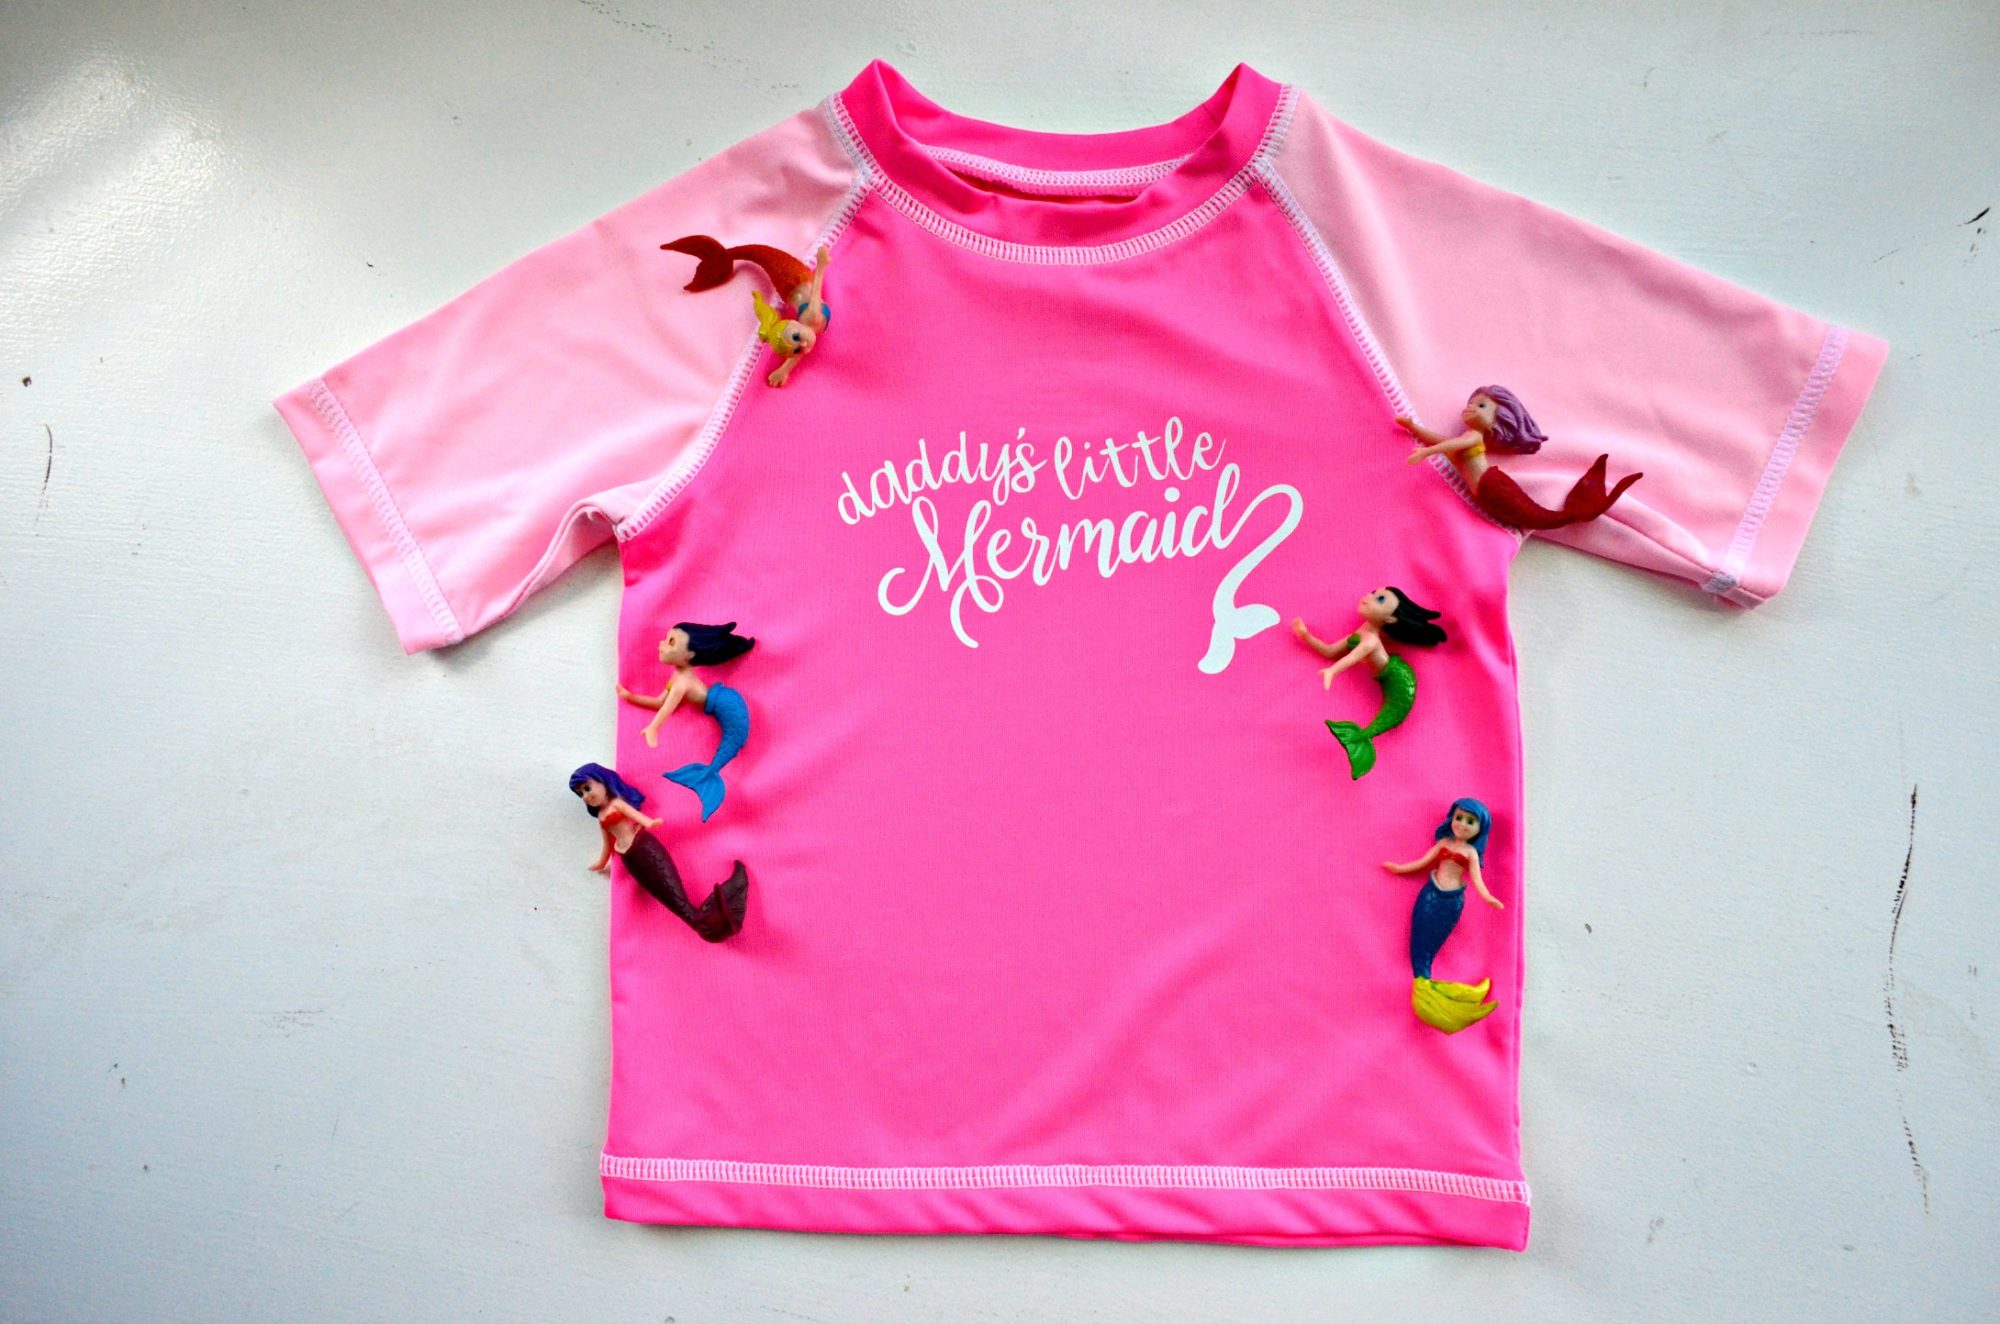
I can’t wait for my littler mermaid to wear this on our cruise next week!
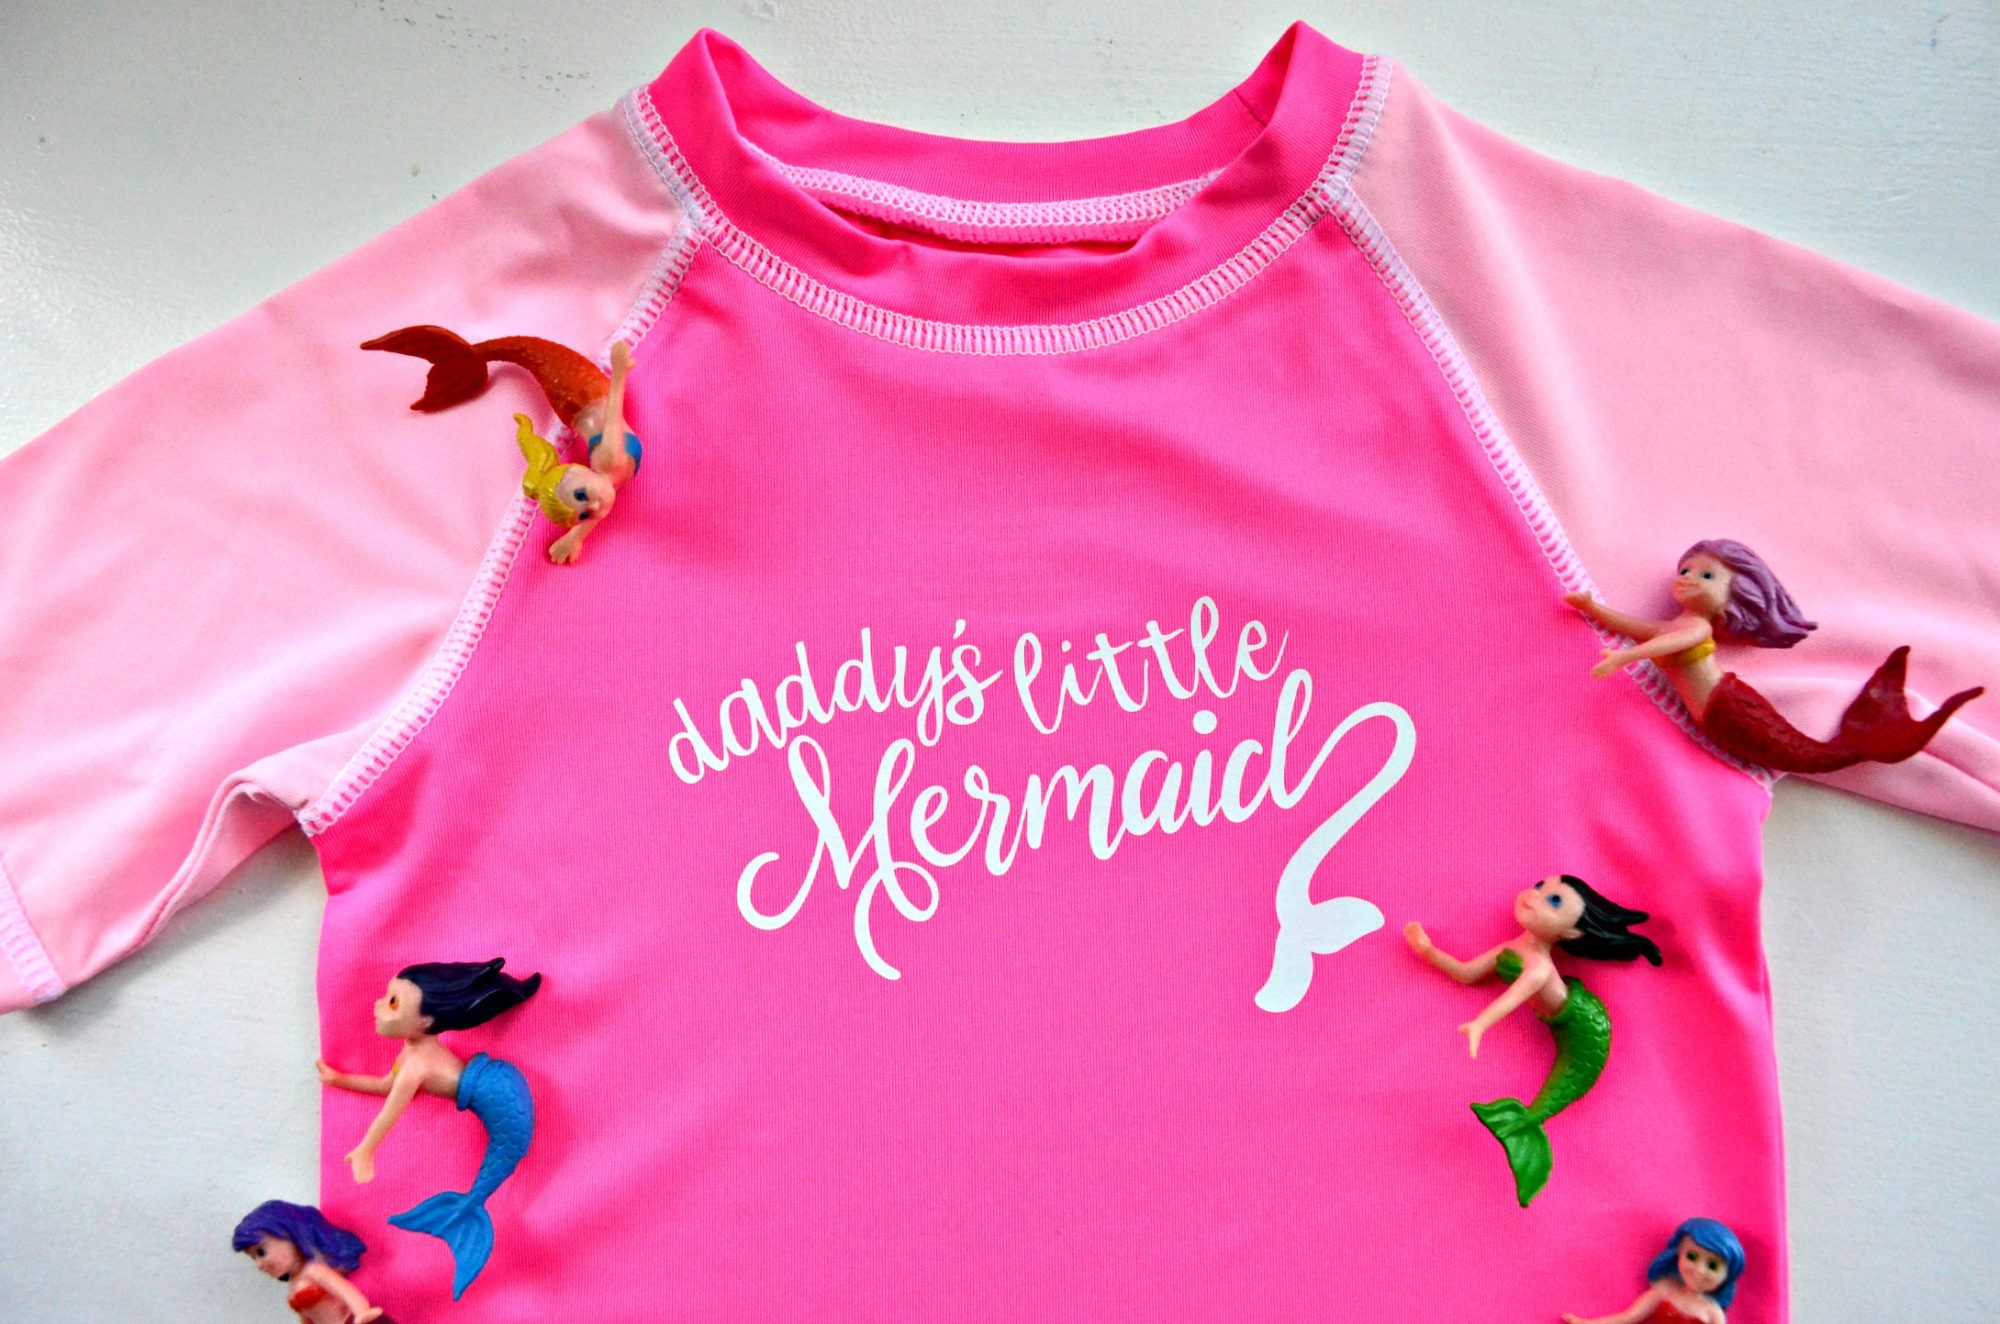
Best of all Everyday, SportFlex, and Glitter Iron-on are designed to outlast 50+ wash and dry cycles when used and applied as directed above. So she will be wearing this cute design until she can no longer fit into it!
Current Cricut Sale Alerts!
Access Exclusive Sale: Take an extra $10 off Cricut EasyPress™. Valid 9/19 – 9.25.
FREE Economy Shipping on orders $99+ to US and Canada. Use code FREESHIP9.
Disclaimer: Comments submitted may be displayed on other websites owned by the sponsoring brand.
This is a sponsored conversation written by me on behalf of Cricut. The opinions and text are all mine.
Leave A Reply!