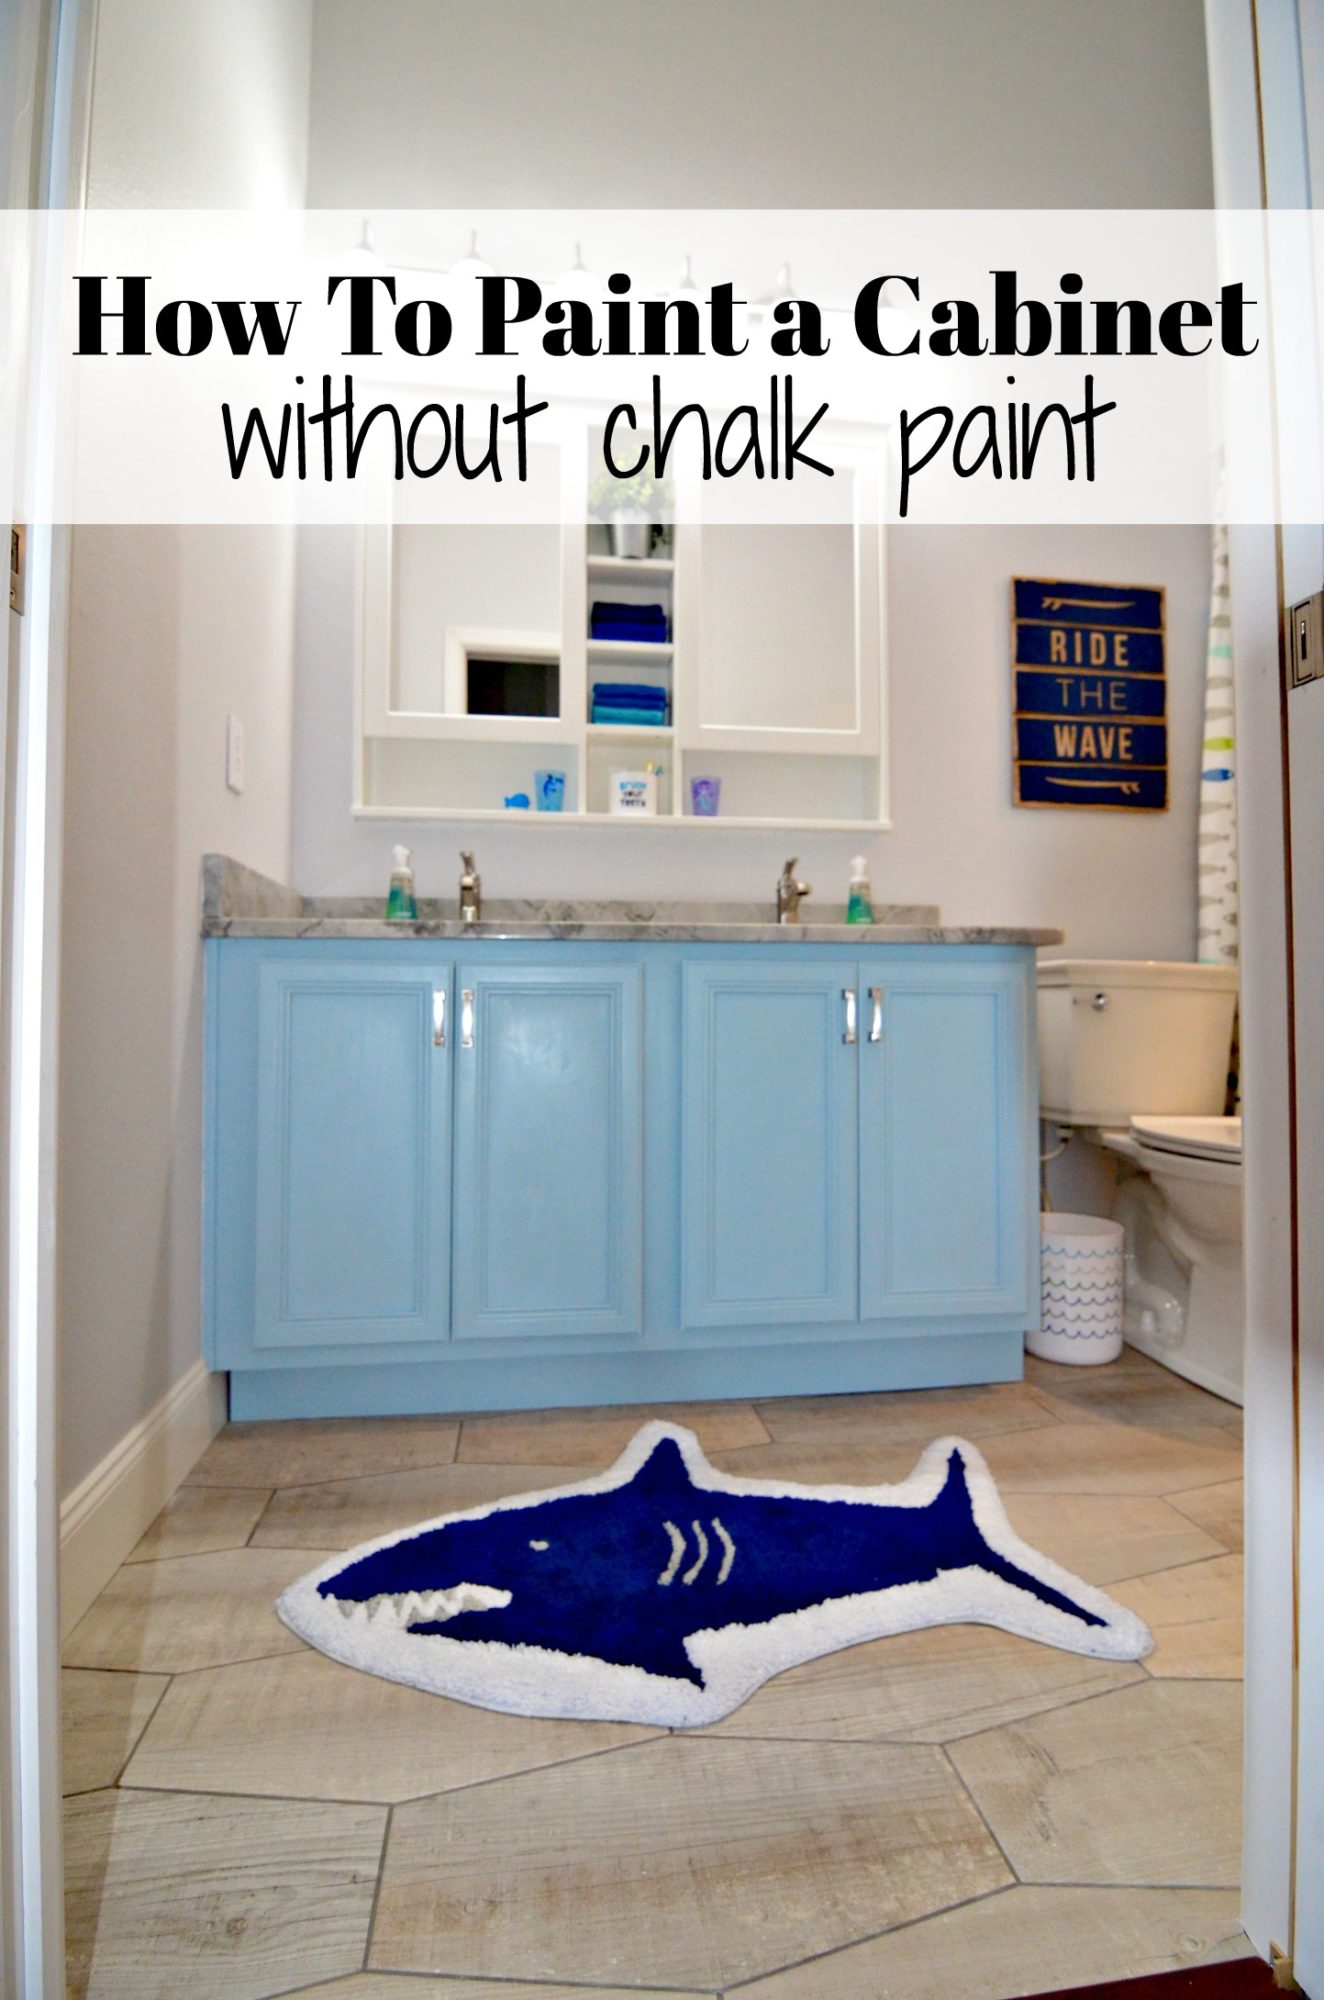
I’m excited to share this post today. I started writing this post when we were in the heart of our bathroom renovation and once we finished I was a bit burnt out. So I’m finally back to finish sharing a few more details on our bathroom renovation project. We’ve lived in our home for 3 years and I’ve yet to share about my kitchen cabinet painting experience. I will eventually blog about them–maybe. In any event, I used chalk paint because that’s what I was most comfortable with. However, since then I’ve painted a few other cabinets and have not used chalk paint and the cabinets came out just as good if not better (and much more affordable)! So today I’m sharing how to paint a cabinet without chalk paint!
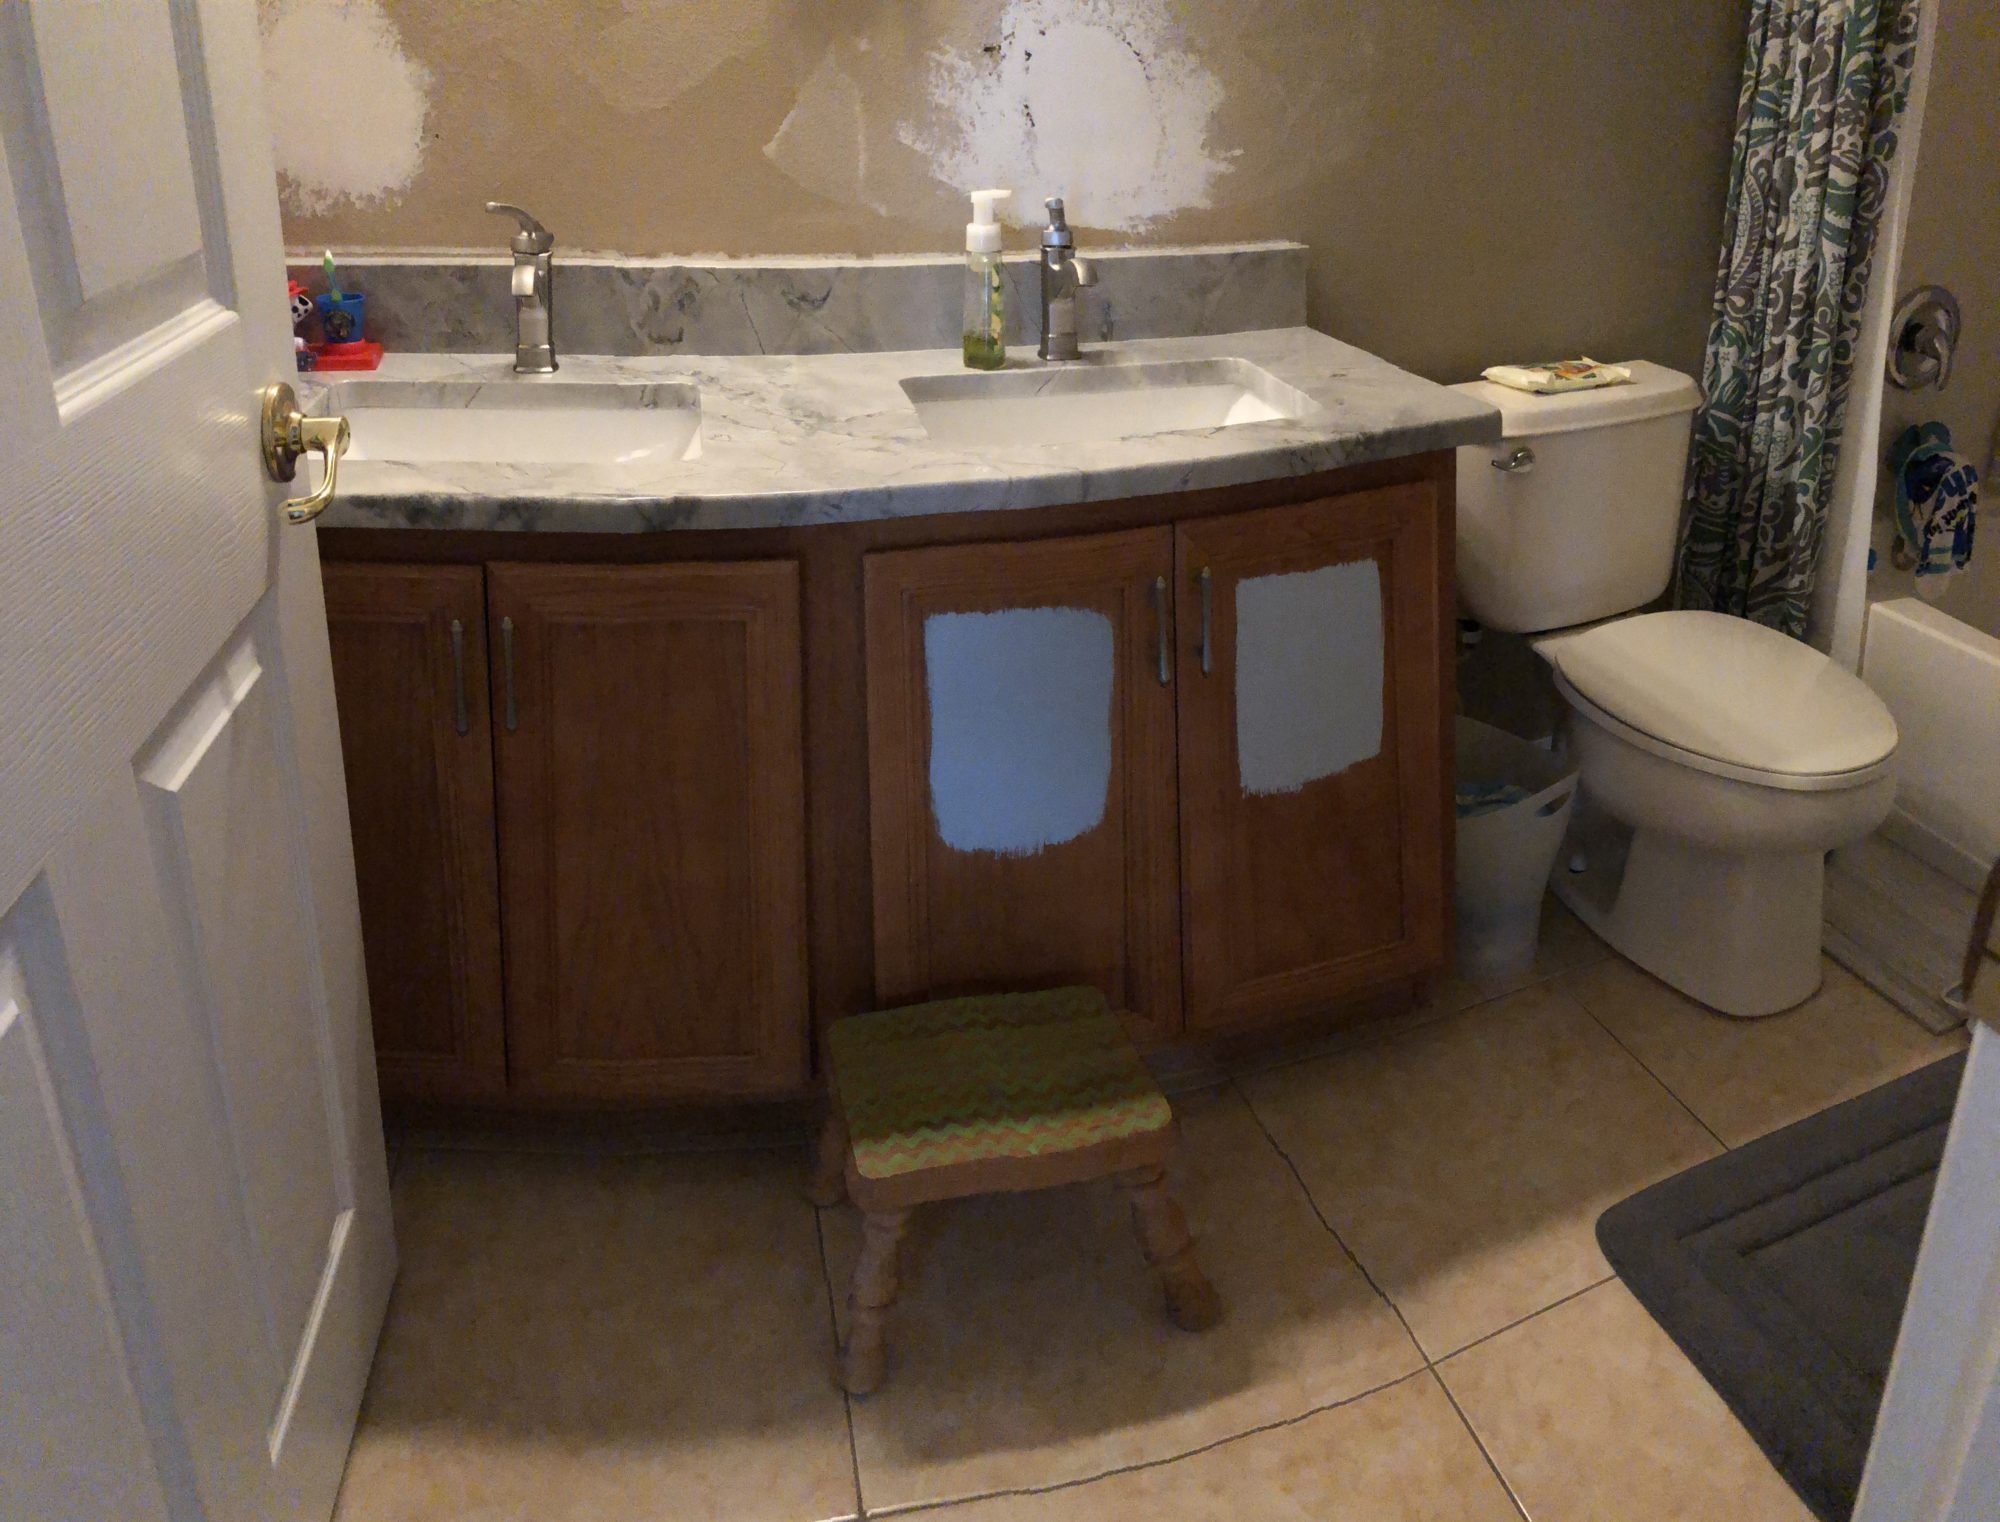
Here is what our bathroom cabinets looked like before. As you can see, we had two different shades of blue painted on the cabinets. This was like this for well over 6 months! We couldn’t decide and ended up going with the cabinet door on the left. The color is BEHR Spring Storm S450-3 because I know I’m going to receive a lot of questions on the color. It took us a while to find the perfect shade and even then we were apprehensive on the color. Once we applied it and installed new lighting we were instantly in love with our decision.
Supplies:
- RYOBI Drill
- Sand Paper
- Denatured Alcohol
- 2 Cotton Rags
- Flat Paint (whatever color you want, we used BEHR Spring Storm S450-3)
- Paint Brush
- Minwax Paste Finishing Wax
- RYOBI Cordless Orbital Buffer
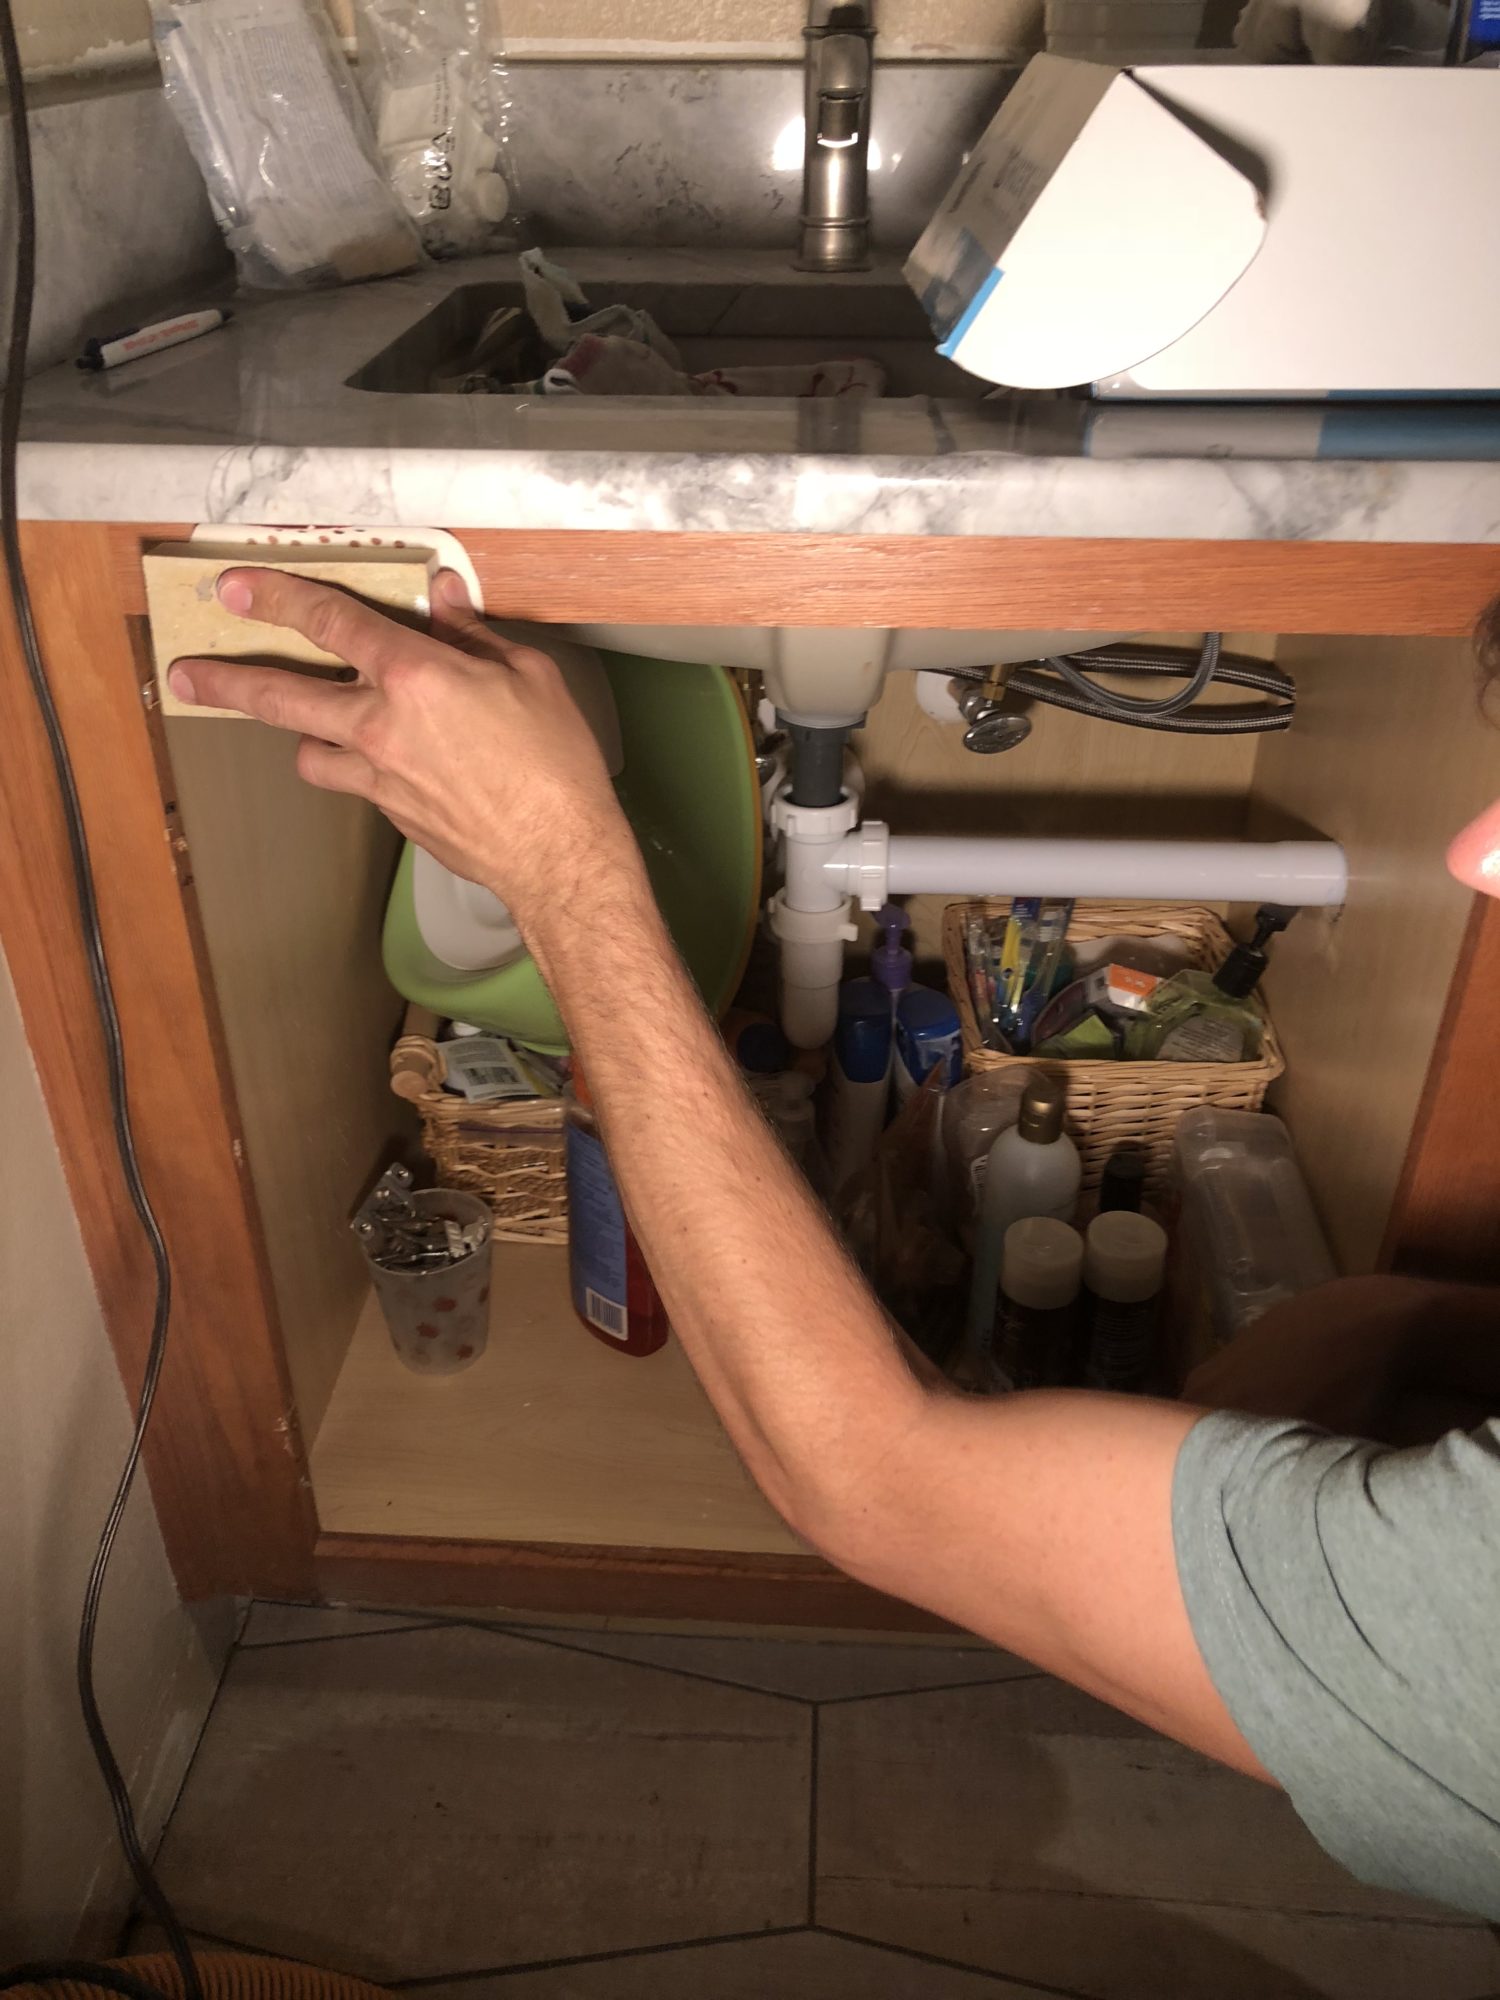
First, remove the cabinets and hardware from the frame. Then, you’ll want to lightly rub sand paper on the cabinets (nothing crazy but a very light sanding helps)!
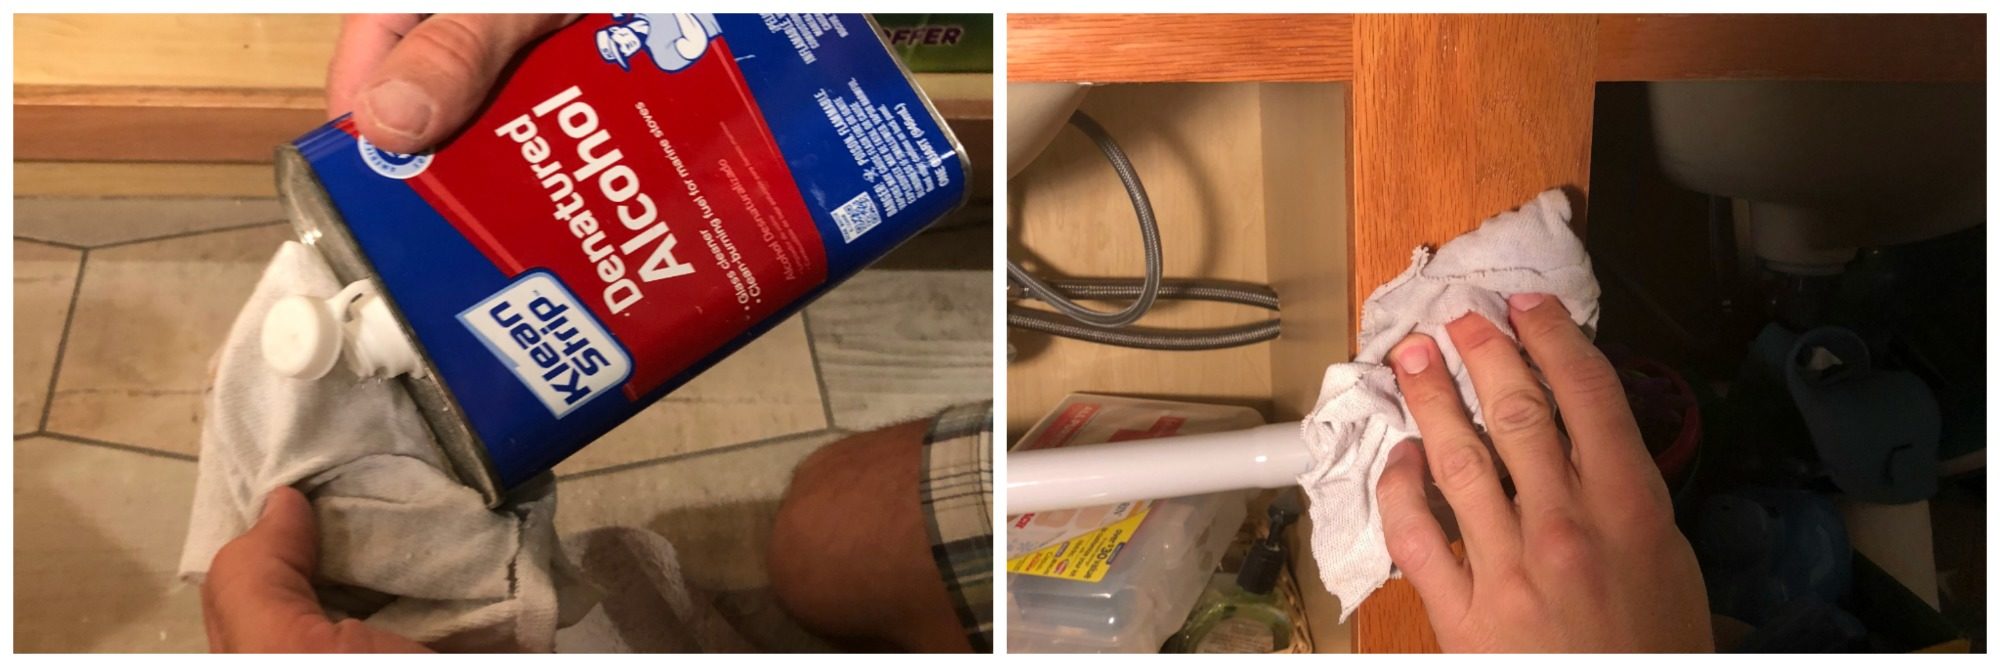
Next, time to clean the cabinets very well with denatured alcohol. This is where you’ll want to use one of the cotton rags.
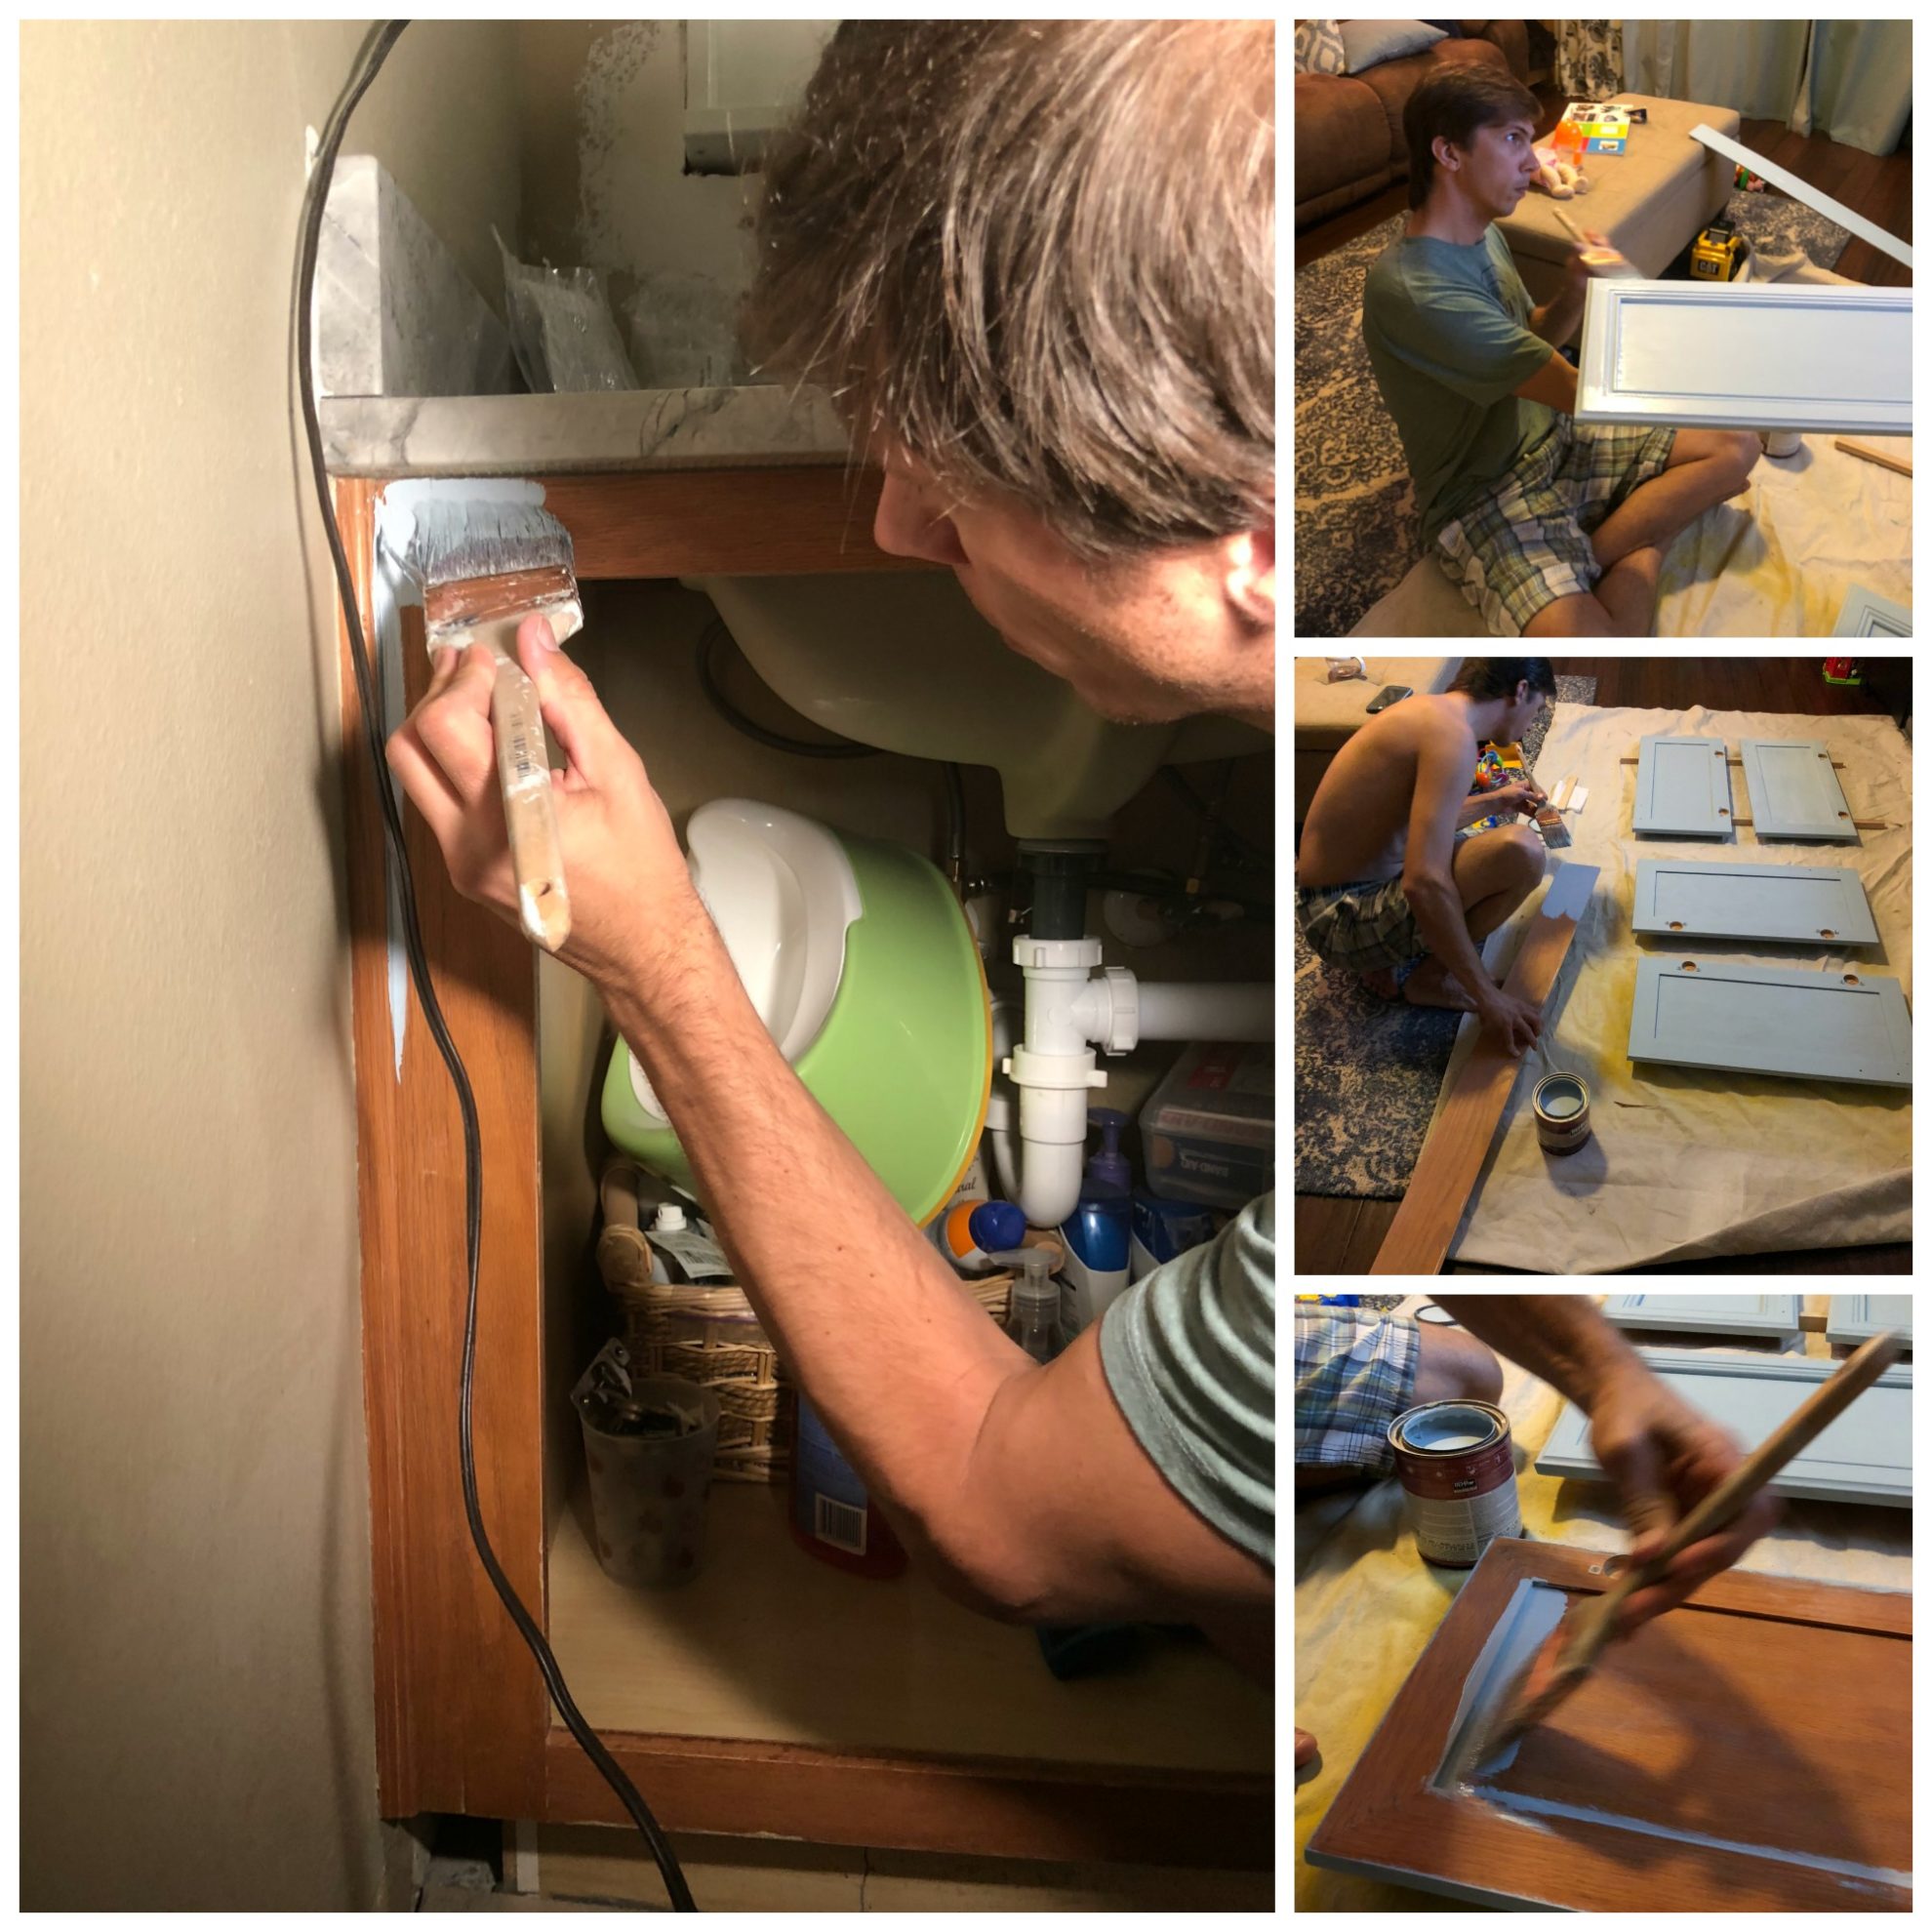
Painting cabinets step-by-step.
Next, using a paint brush, begin painting the paint on the cabinet doors. We did one coat on the backs and two coats on the front. It’s all on preference as to how many coats you’ll need. DO NOT stack the cabinet doors after they are done being painted and dried. They could stick and ruin the finish.
Next, paint the cabinet itself. *Obviously, you can do this in any order. At the end of the day you need cabinet doors separated and you need to paint both.
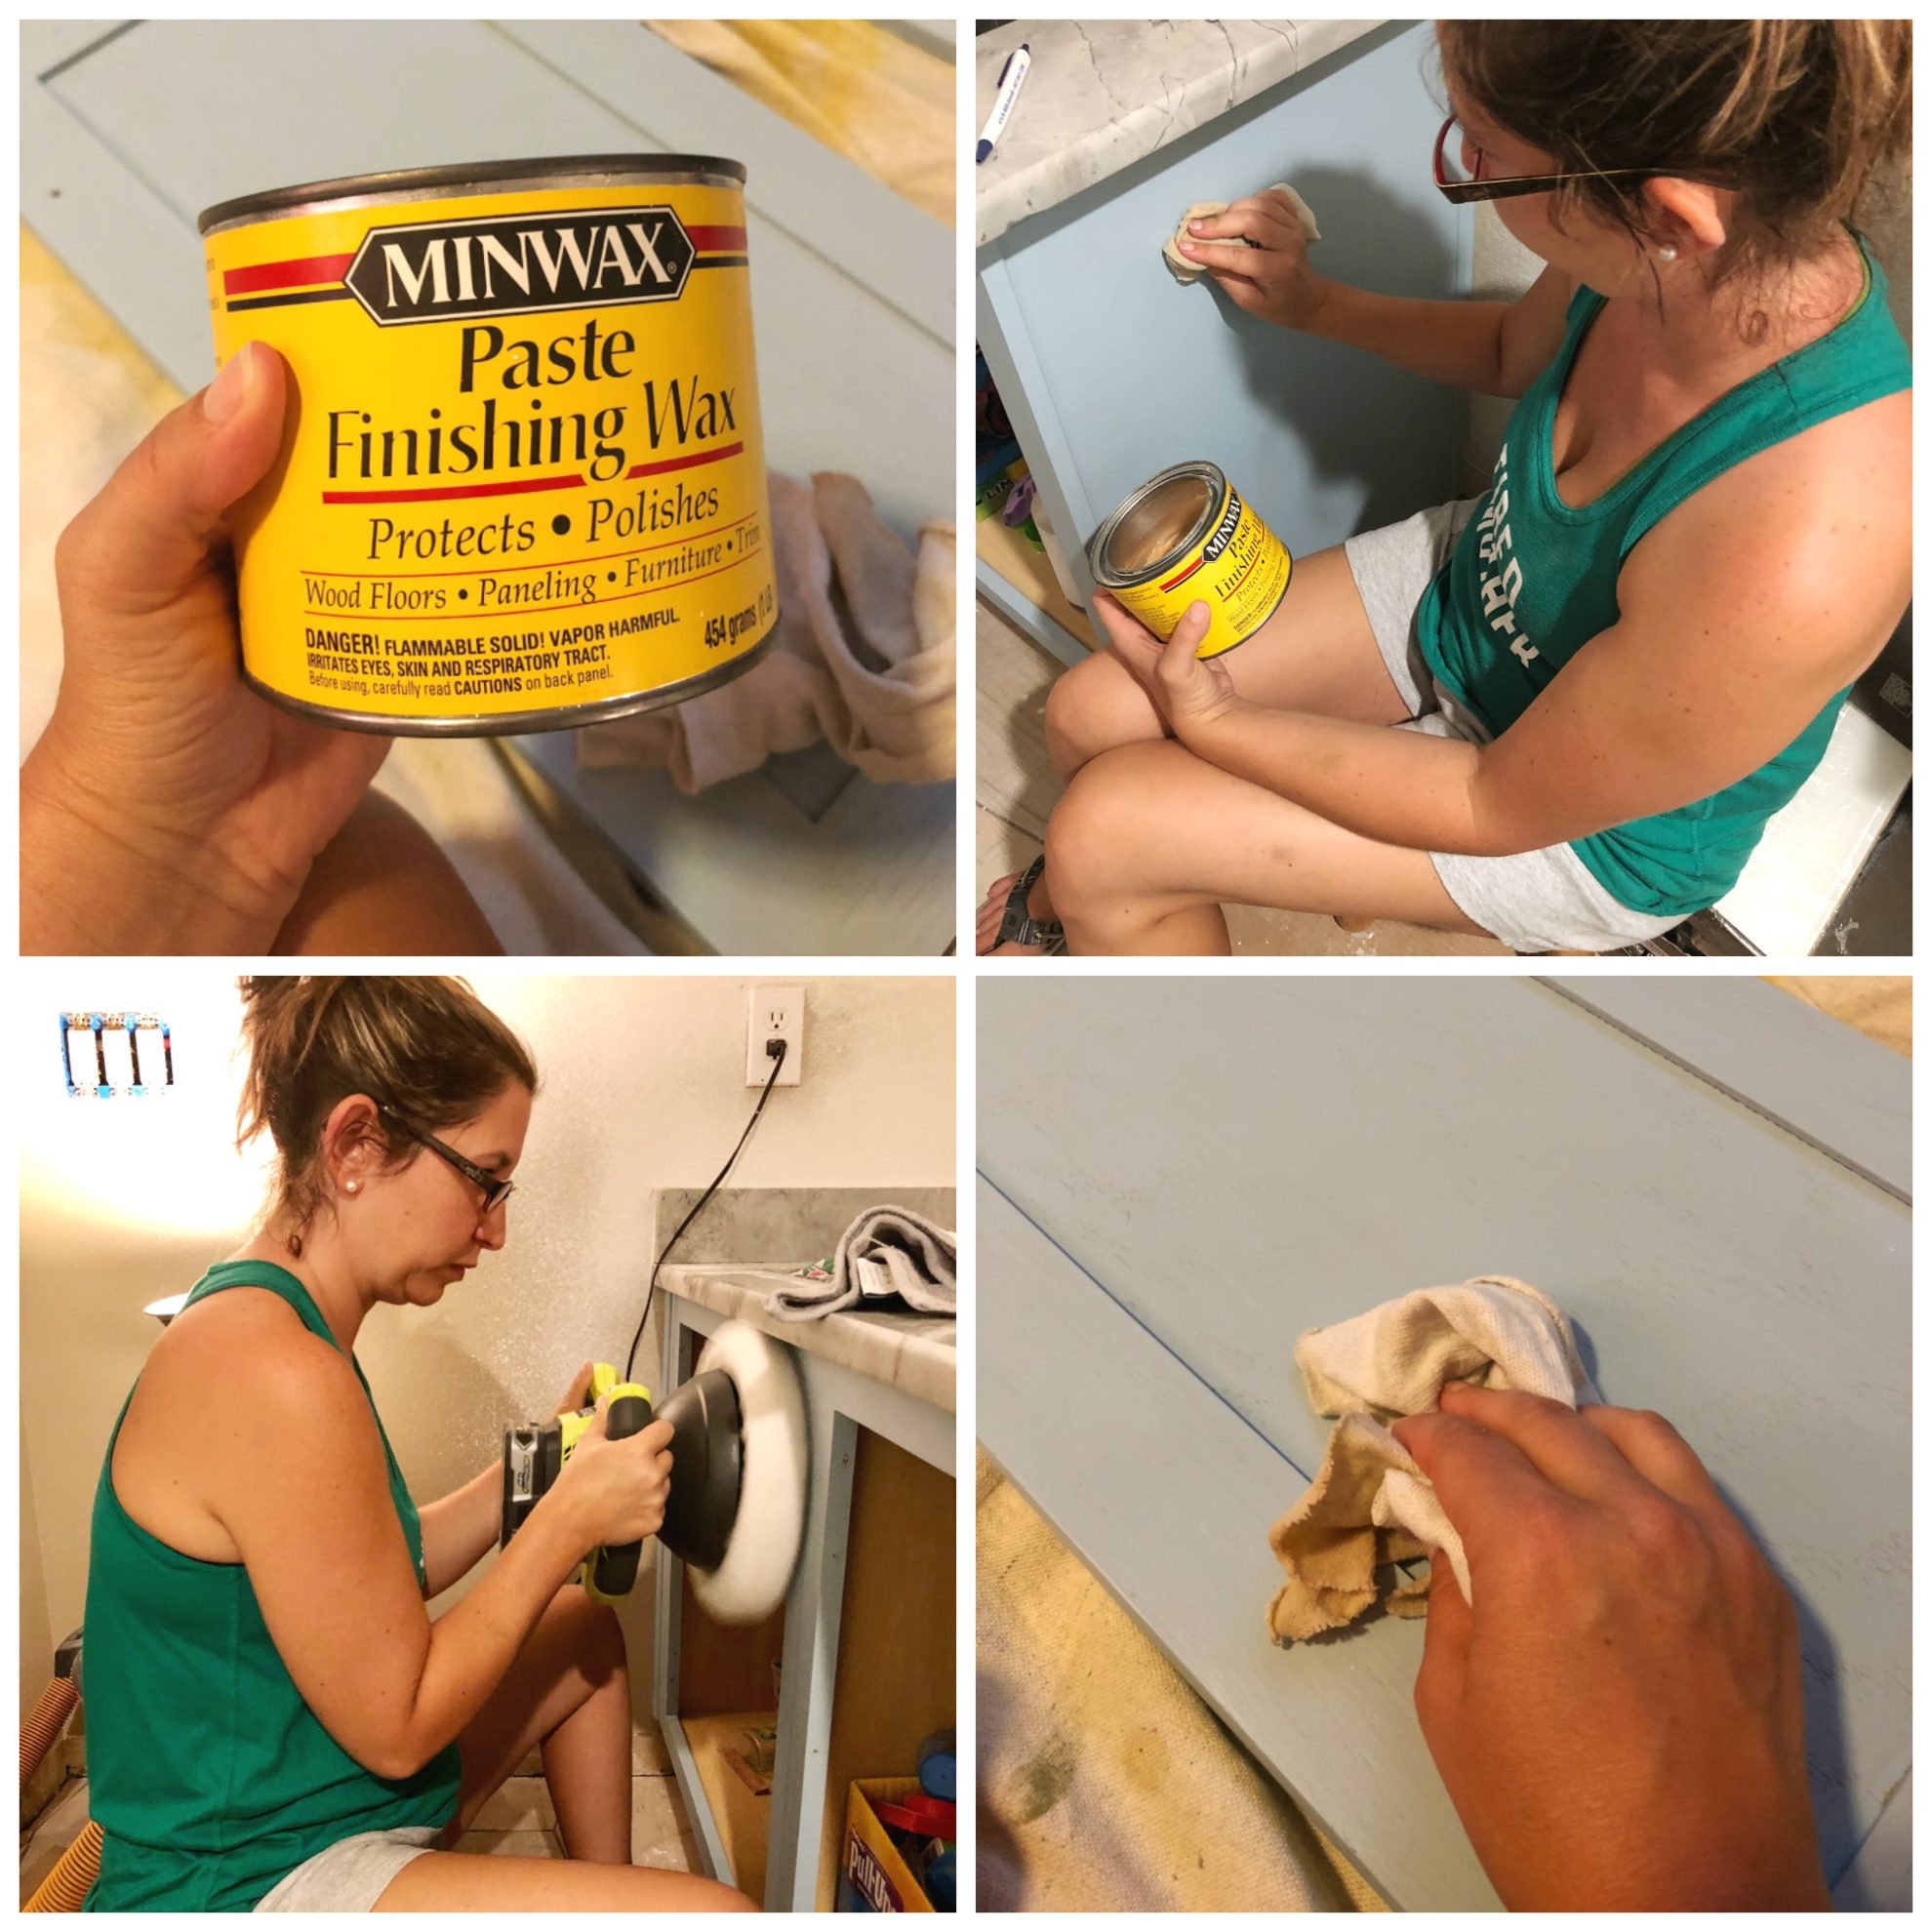
How do you finish painted cabinets?
Once the cabinets are dry it’s time to wax them. I give the cabinets at least 24 hours to dry before I wax them. This is what will seal them. I’ve always used Minwax Paste Finishing Wax.
I simply wipe the wax onto the cabinets (using a cotton rag) in a circular motion covering every single surface of the painted cabinet (including the backs of the cabinets). I work through all the cabinet doors (I always start with the back) and let them sit for at least five minutes.
Then, I buff with my RYOBI Cordless Orbital Buffer. I specifically bought this buffer for waxing cabinets and furniture. Trust me, this will make your cabinets so incredibly smooth. It’s worth the extra money spent for a flawless finish! This is key to finishing off the cabinets and giving them a professional look.
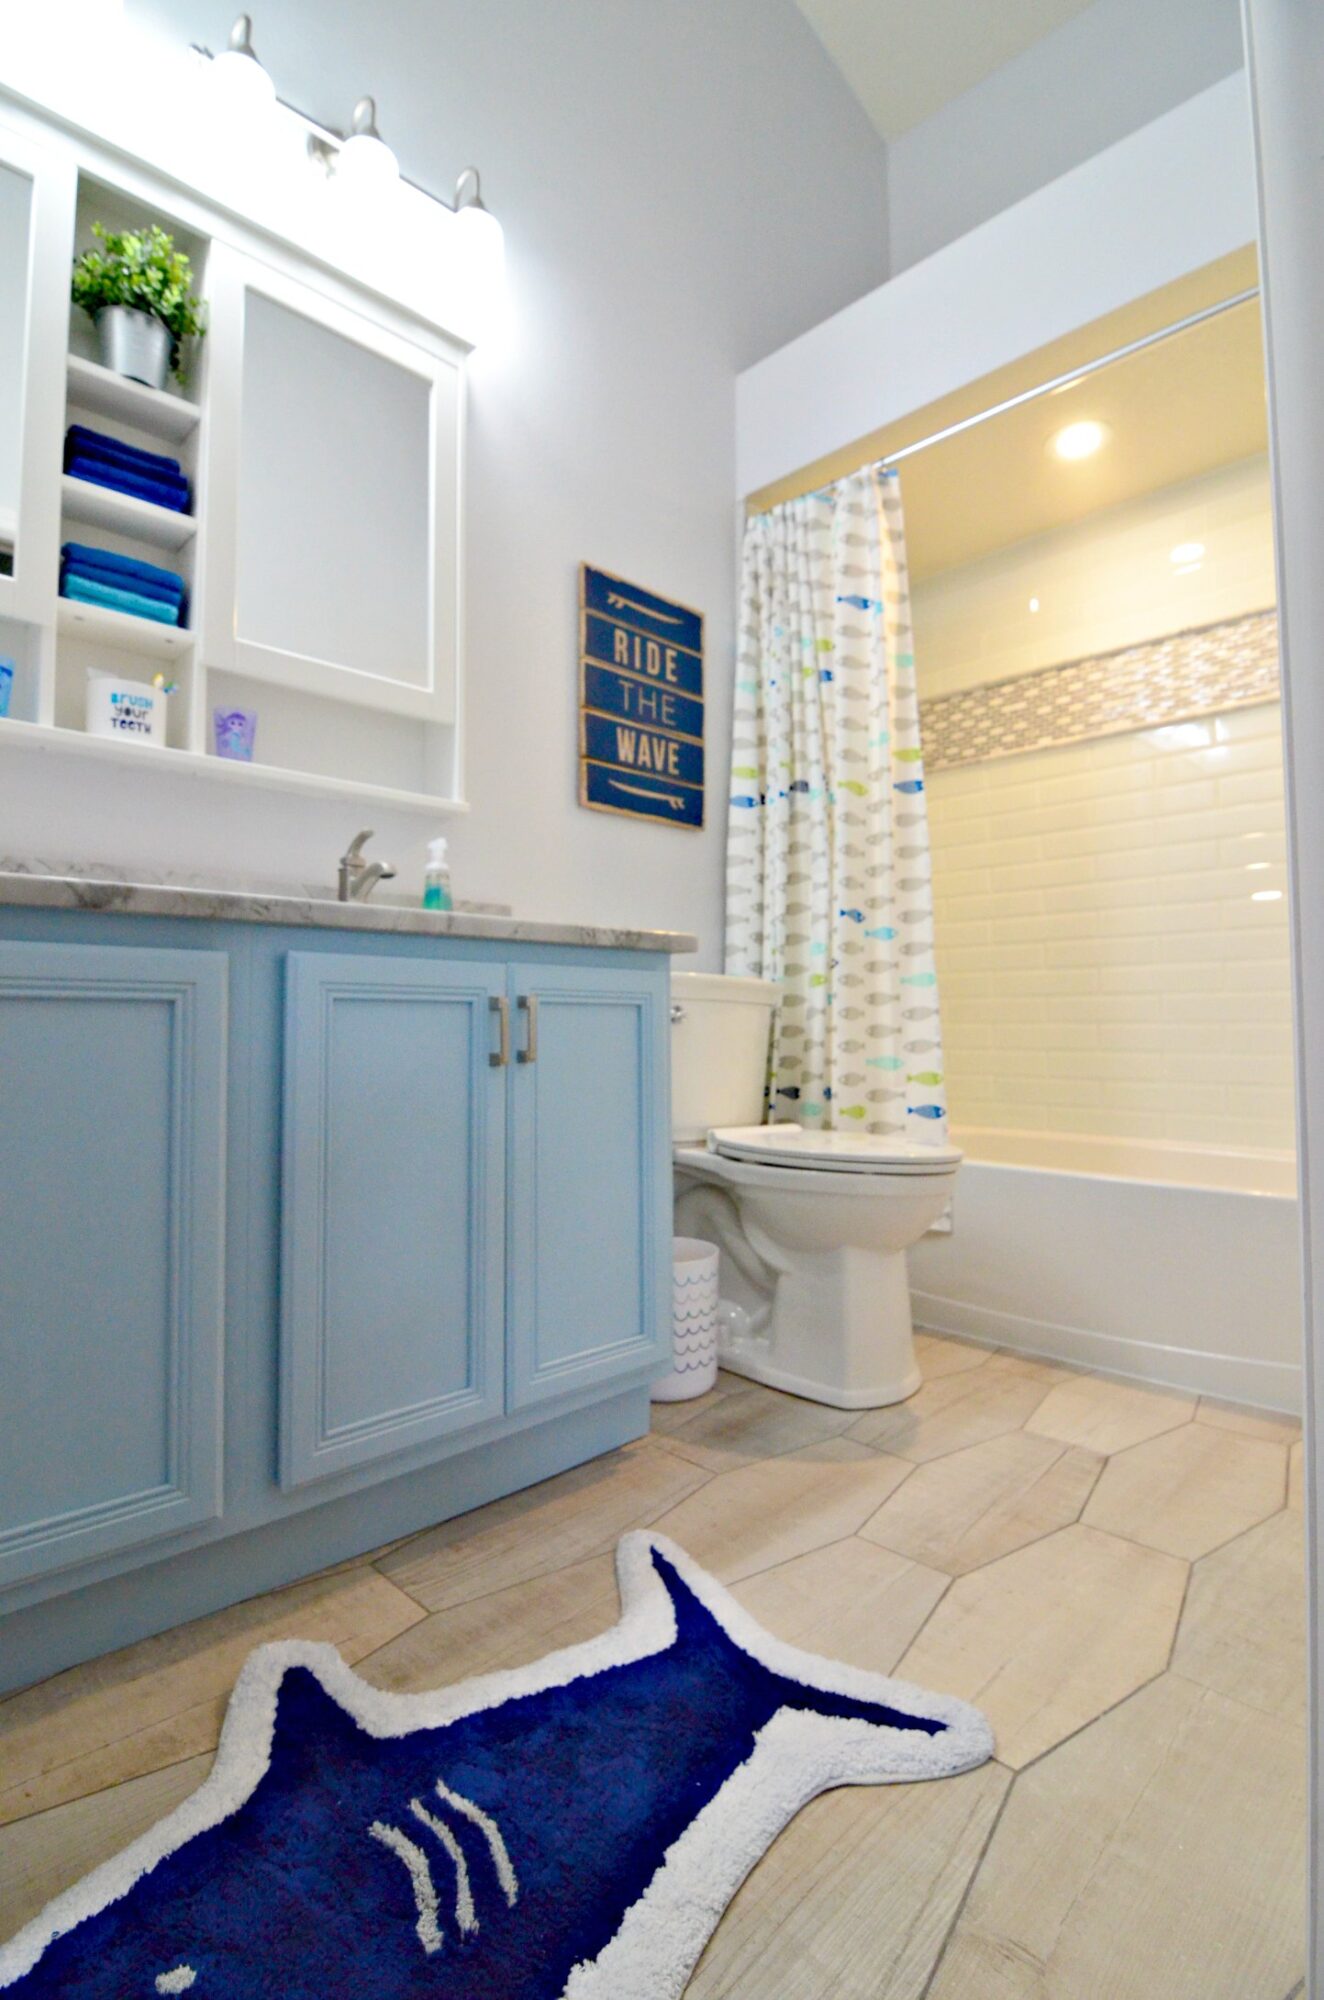
Then, once the cabinet frame and doors are waxed (easiest if they are still separated) it’s time to put them back on the frame and add your hardware. Super simple project, especially if you only have 2 cabinets to paint!
Cabinet paint color: BEHR Spring Storm S450-3
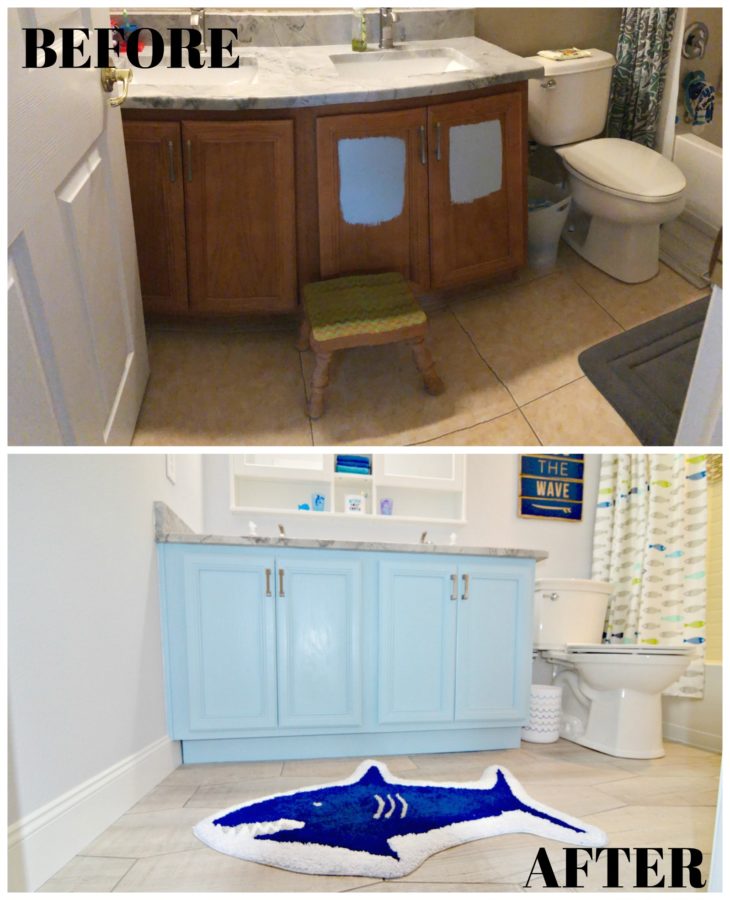
I mean woah–what an amazing transformation of the cabinets! Just think a little fresh paint and they are brand new.
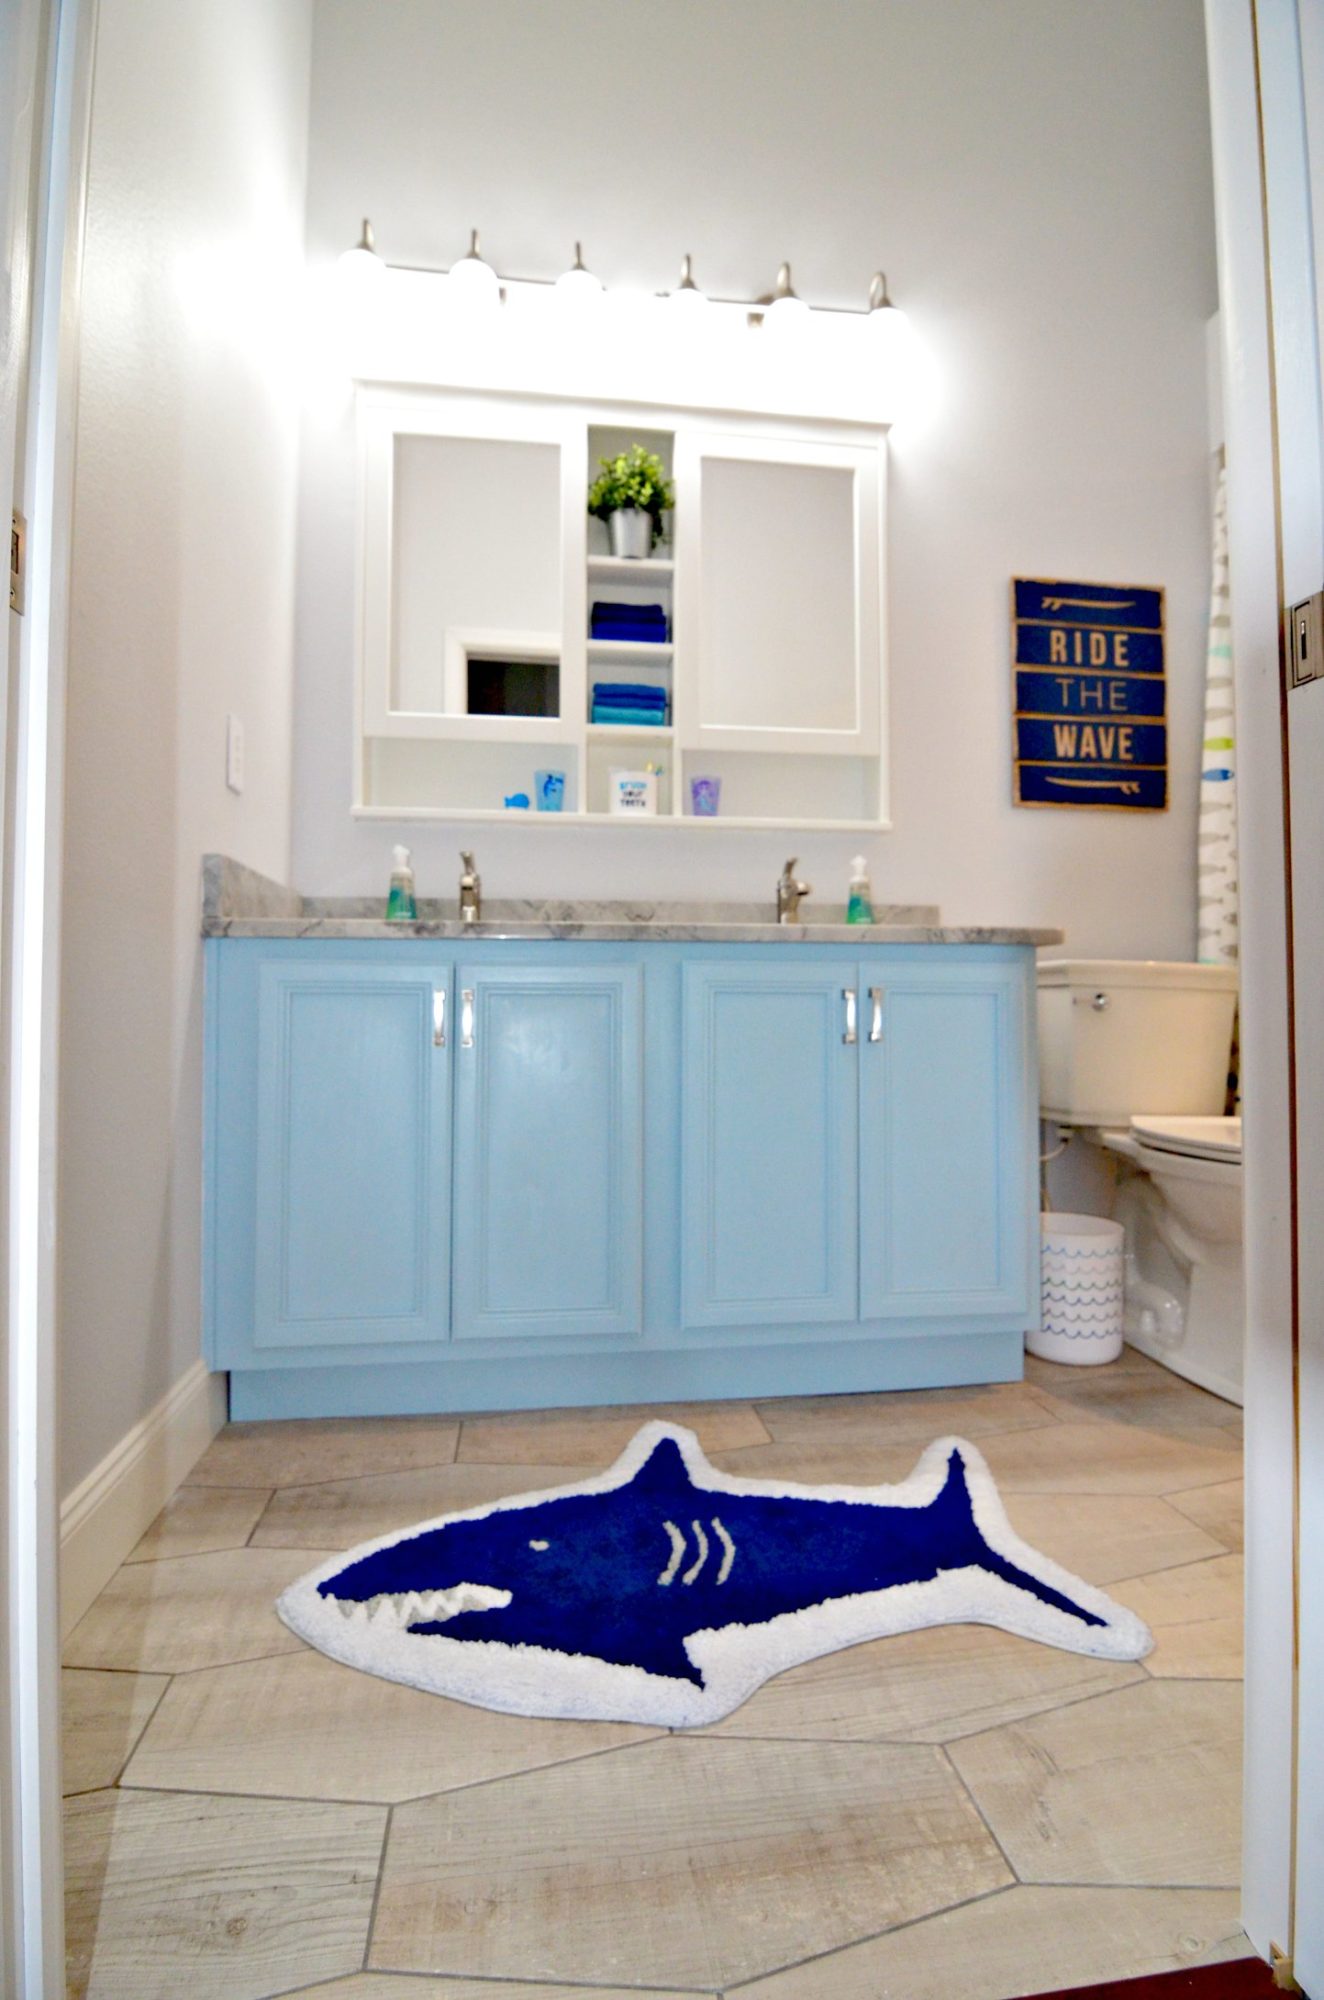
I love the transformation and still pinch myself every time we walk into the bathroom. Check out our before photos, bathroom inspiration board, and our full kids bathroom reveal blog post.
Leave A Reply!