This is a sponsored conversation written by me on behalf of Cricut. The opinions and text are all mine.
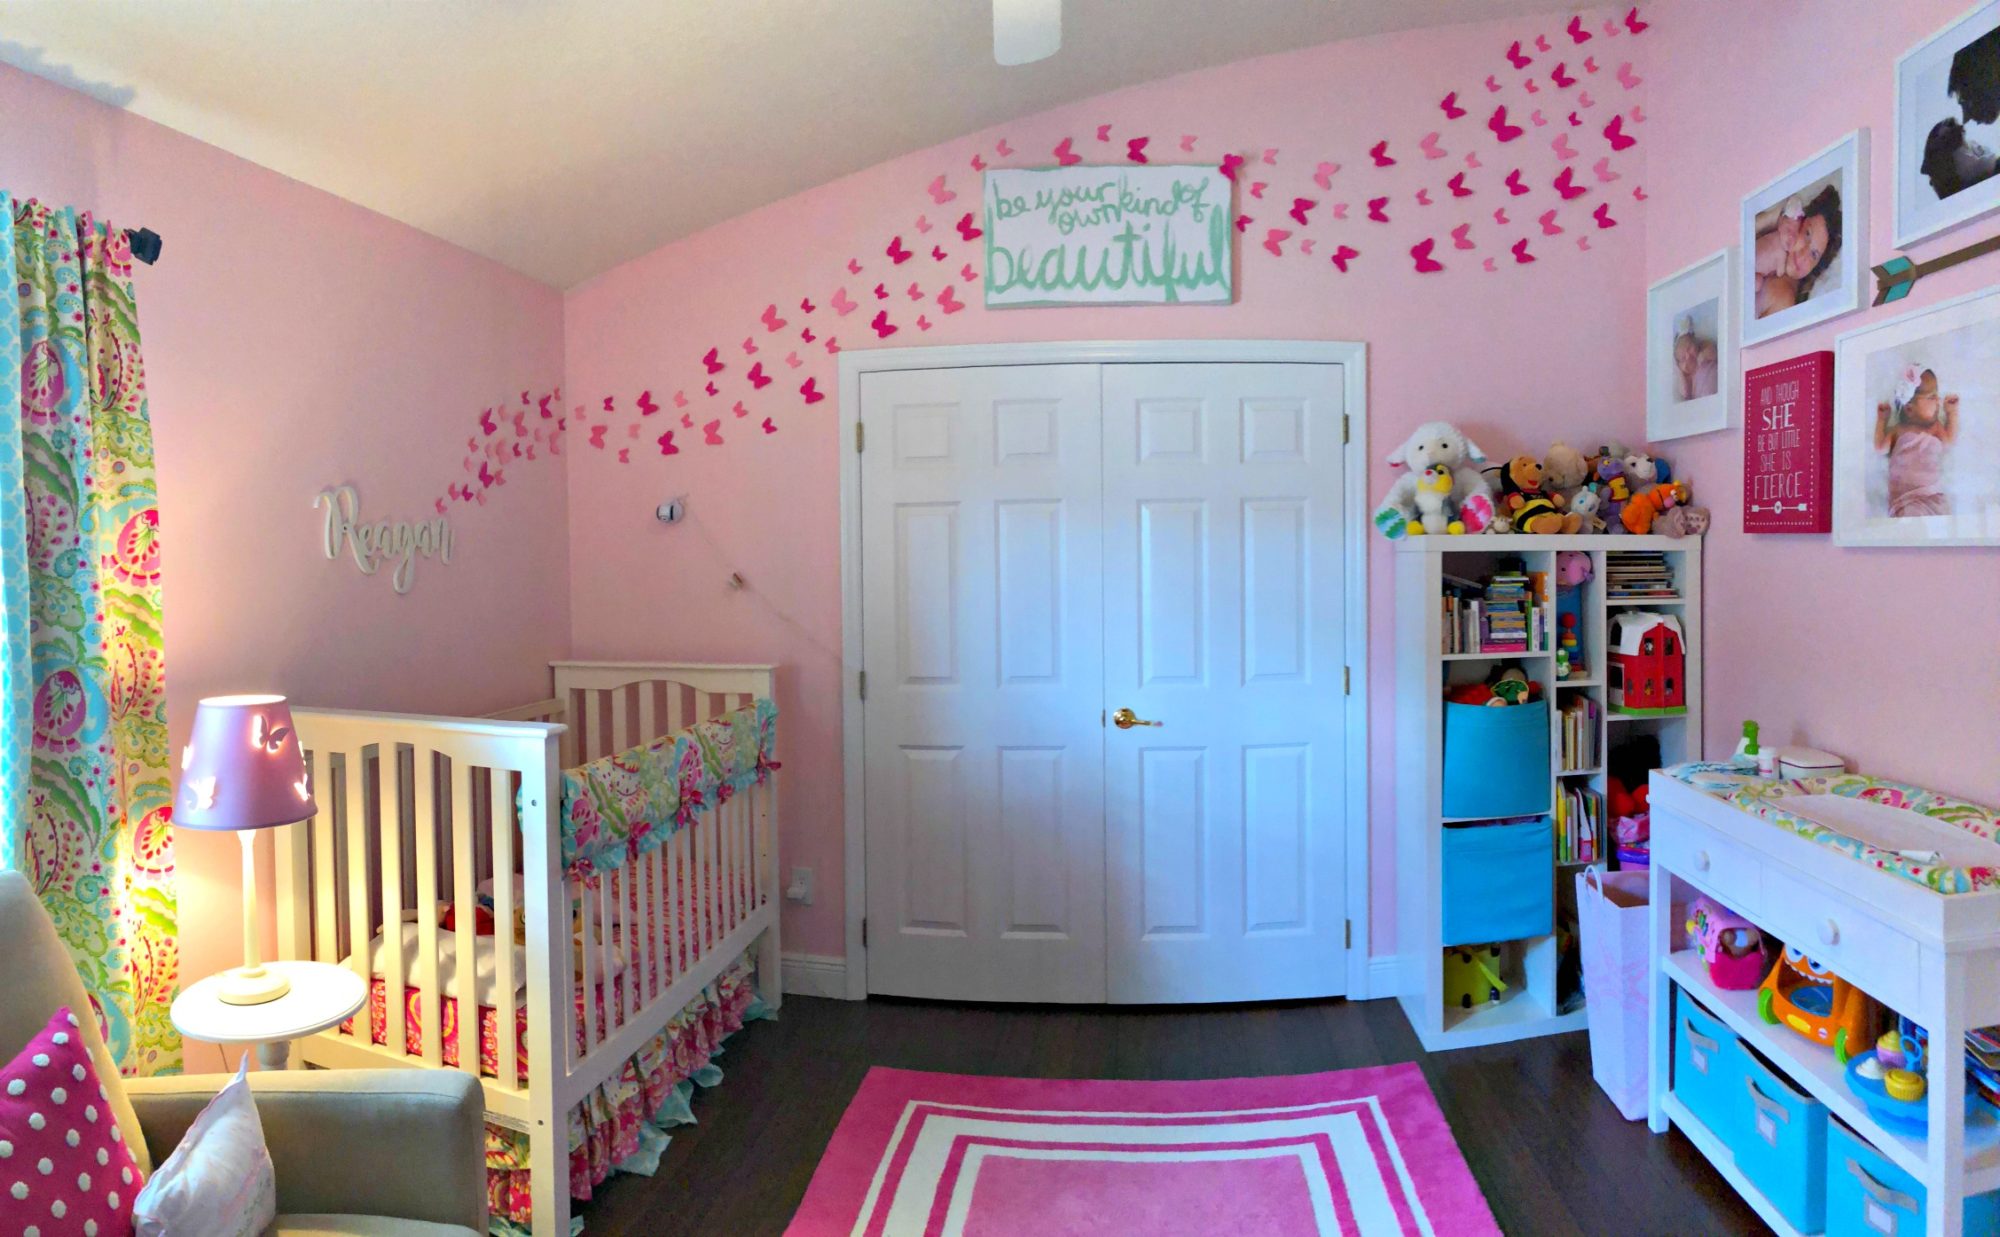
I’m so excited to share today’s post. I’ve been meaning to share this project for the past year and a half, and today it’s finally happening. I’m finally going to start sharing my daughters floral nursery. When we found out we were having a girl, the first thing I started doing was looking at bedding and nursery themes. I really wanted a flamingo theme, but I was very limited on choices, and my husband veto’d it. Wah! I then found this gorgeous pink, aqua, and cream bedding and I instantly fell in love. Thankfully, my husband approved and I ran with it. You can see my floral girl nursery inspiration board here.
For my son’s nursery, he had a whale theme. You might remember his paper fish wall. I knew I wanted to utilize paper card stock again in Reagan’s room but I wasn’t sure exactly how. Then I thought back to my friends coral and aqua nursery I featured. They hand cut the butterflies for their nursery and that’s when I knew butterflies went perfectly with the paisley print. It just added to the whimsical-ness of her room. I searched on Cricut Design Space and found a butterfly design I liked. Then I stepped it up a notch to give these butterflies a more 3-dimensional look. I added scoring lines to lift the wings up a little. Check out my tutorial below so you can make your very own paper butterfly wall!
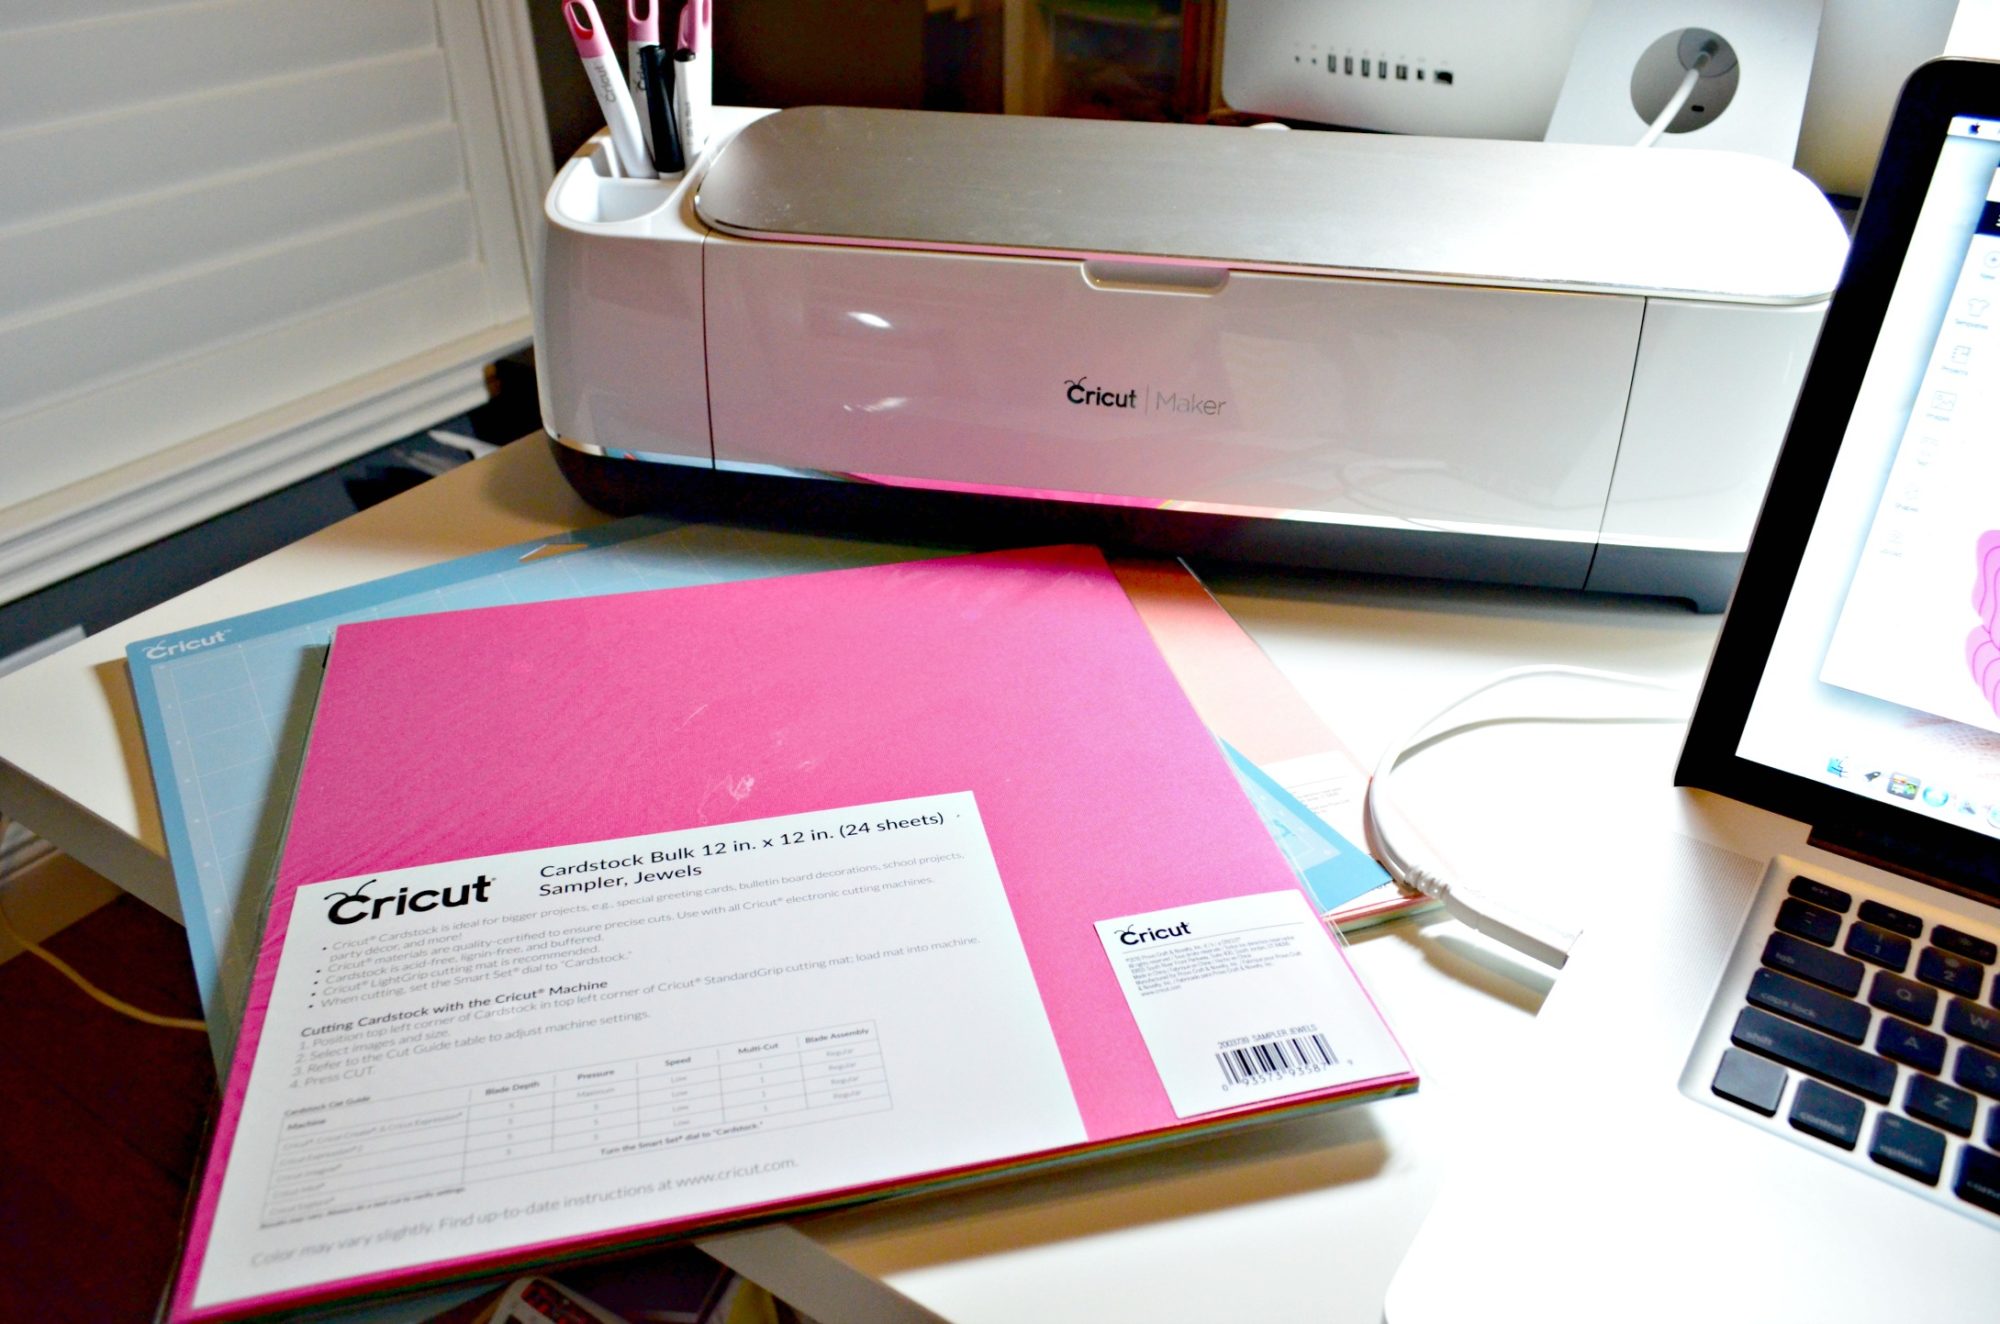
Supplies you’ll need to create the paper butterfly wall:
- Cricut Maker
- Cricut Design Space®
- Butterfly File with scoring lines
-
Cricut® Tools Scoring Stylus
- Cricut Light Grip Mat
- Cricut Cardstock
- 3-dimensional dot stickers
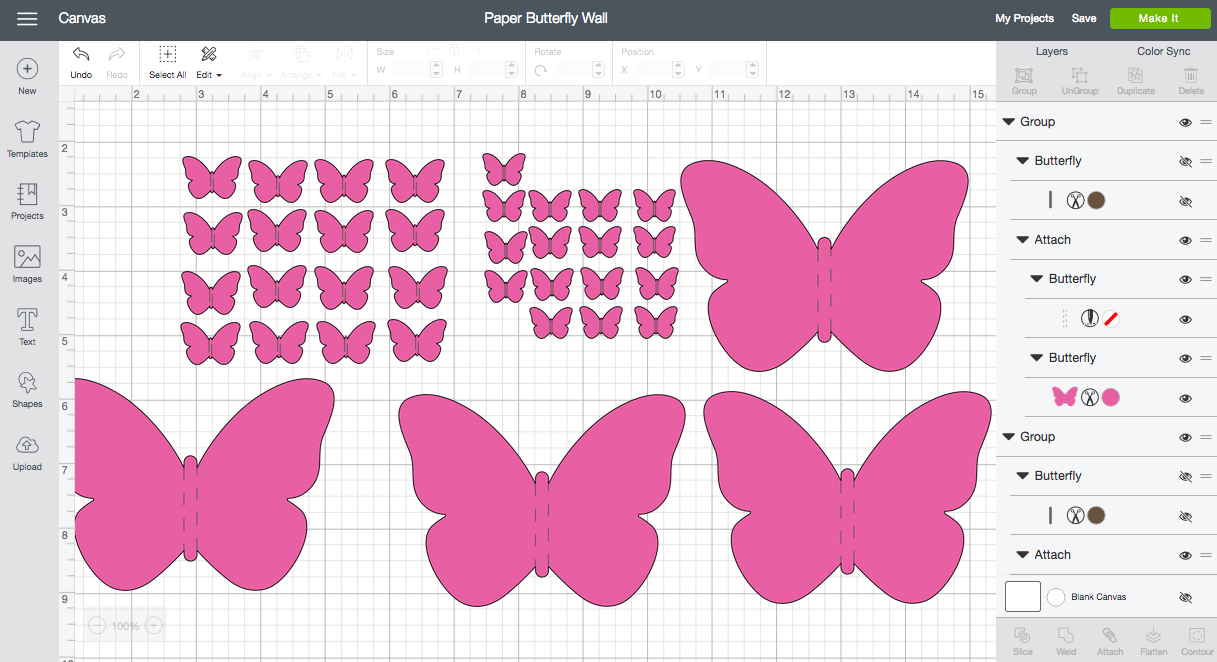
First you want to open up Cricut Design Space® (the software works on iOS, Android™, Windows®, and Mac®).
The butterfly image is from the cartridge “To You From Me” (Butterfly #M912383). I then added scored lines to the butterfly so that I didn’t have to manual fold them–this saved so much time and frustration. You can customize this Butterfly File with scoring lines file. You can add more butterflies, change the sizes and the colors! The sky is the limit. I’ve done the “hard” work for you.
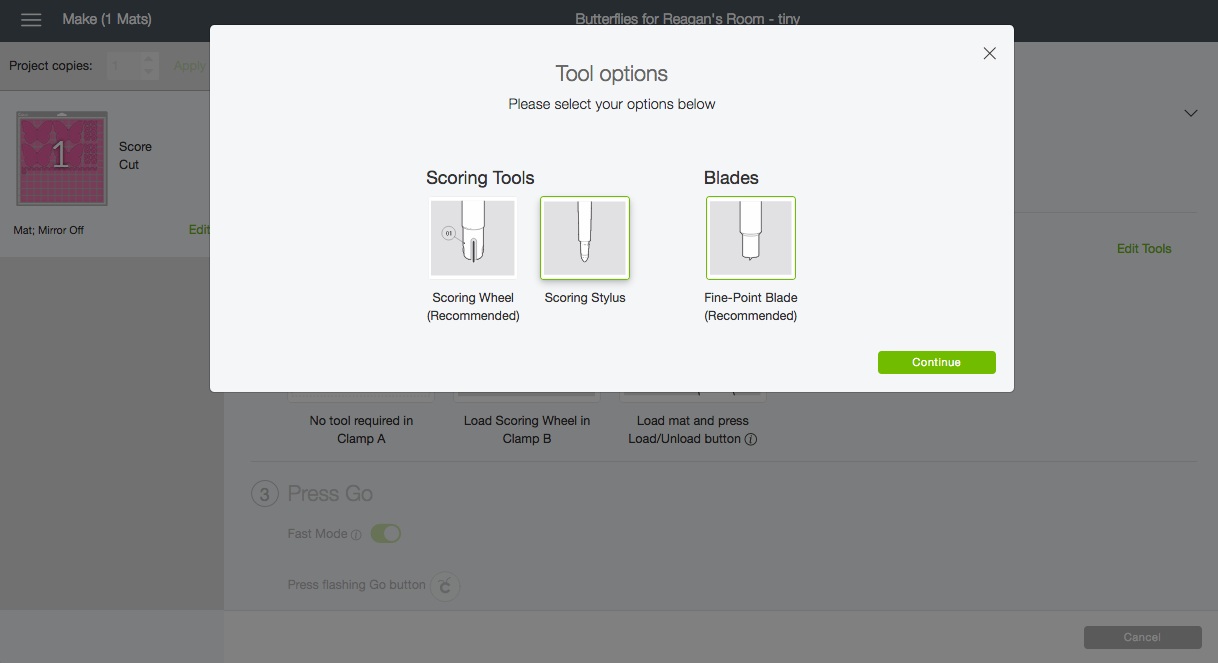
When it’s time to cut the Cricut Maker you will be prompted to insert the scoring stylus. However, since we now have a scoring wheel it automatically defaulted to this. In step 2 you’ll see on the right hand side it says “Edit Tools”. Select that and then you can select the Cricut® Tools Scoring Stylus. I don’t have the Scoring Wheel yet so I just used my stylus–it worked perfect!
Like I mentioned above the Cricut Maker is compatible with the new Scoring Wheel. It gives razor-sharp creases in cardstock, poster board, and more. I can’t wait to give it a try!
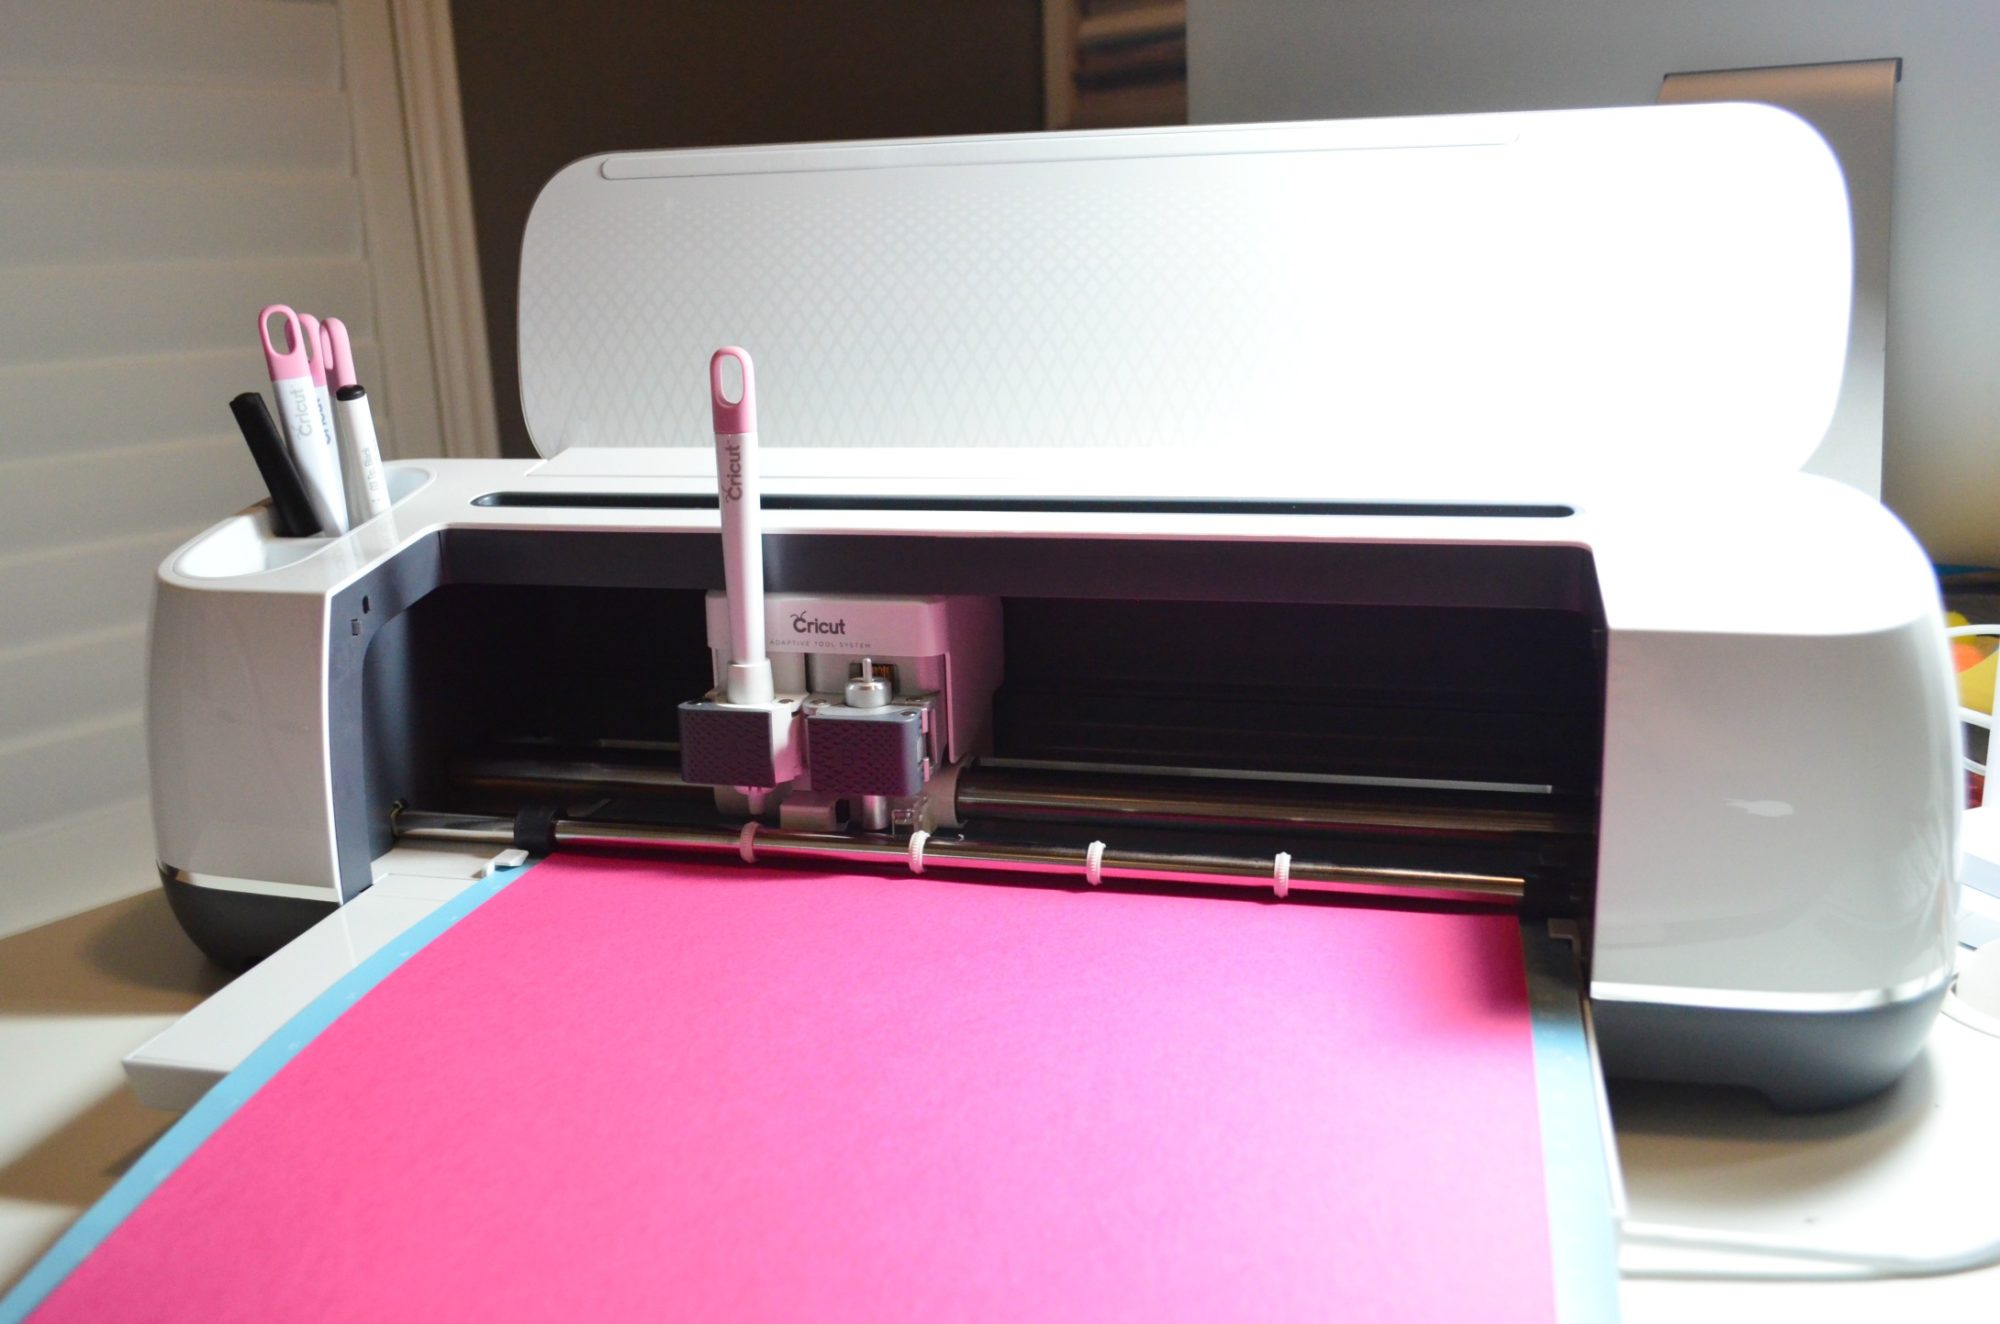 I have to share what I love about my Cricut Maker. It offers the ultimate in cutting performance and versatility. Unlike all other cutting machines on the market it has the “Fast Mode” option that I absolutely love and use any time I can. Fast mode works up to 2x faster for cutting and writing. It works with vinyl, card stock (like this project) and even iron-on vinyl!
In my case I used the Cricut® Tools Scoring Stylus which is part of the Adaptive Tool System™ for professional-level cutting performance and expandability. No more switching out each tool–you can place both tools in the Maker (or most Explore models) and let the machine do the work for you.
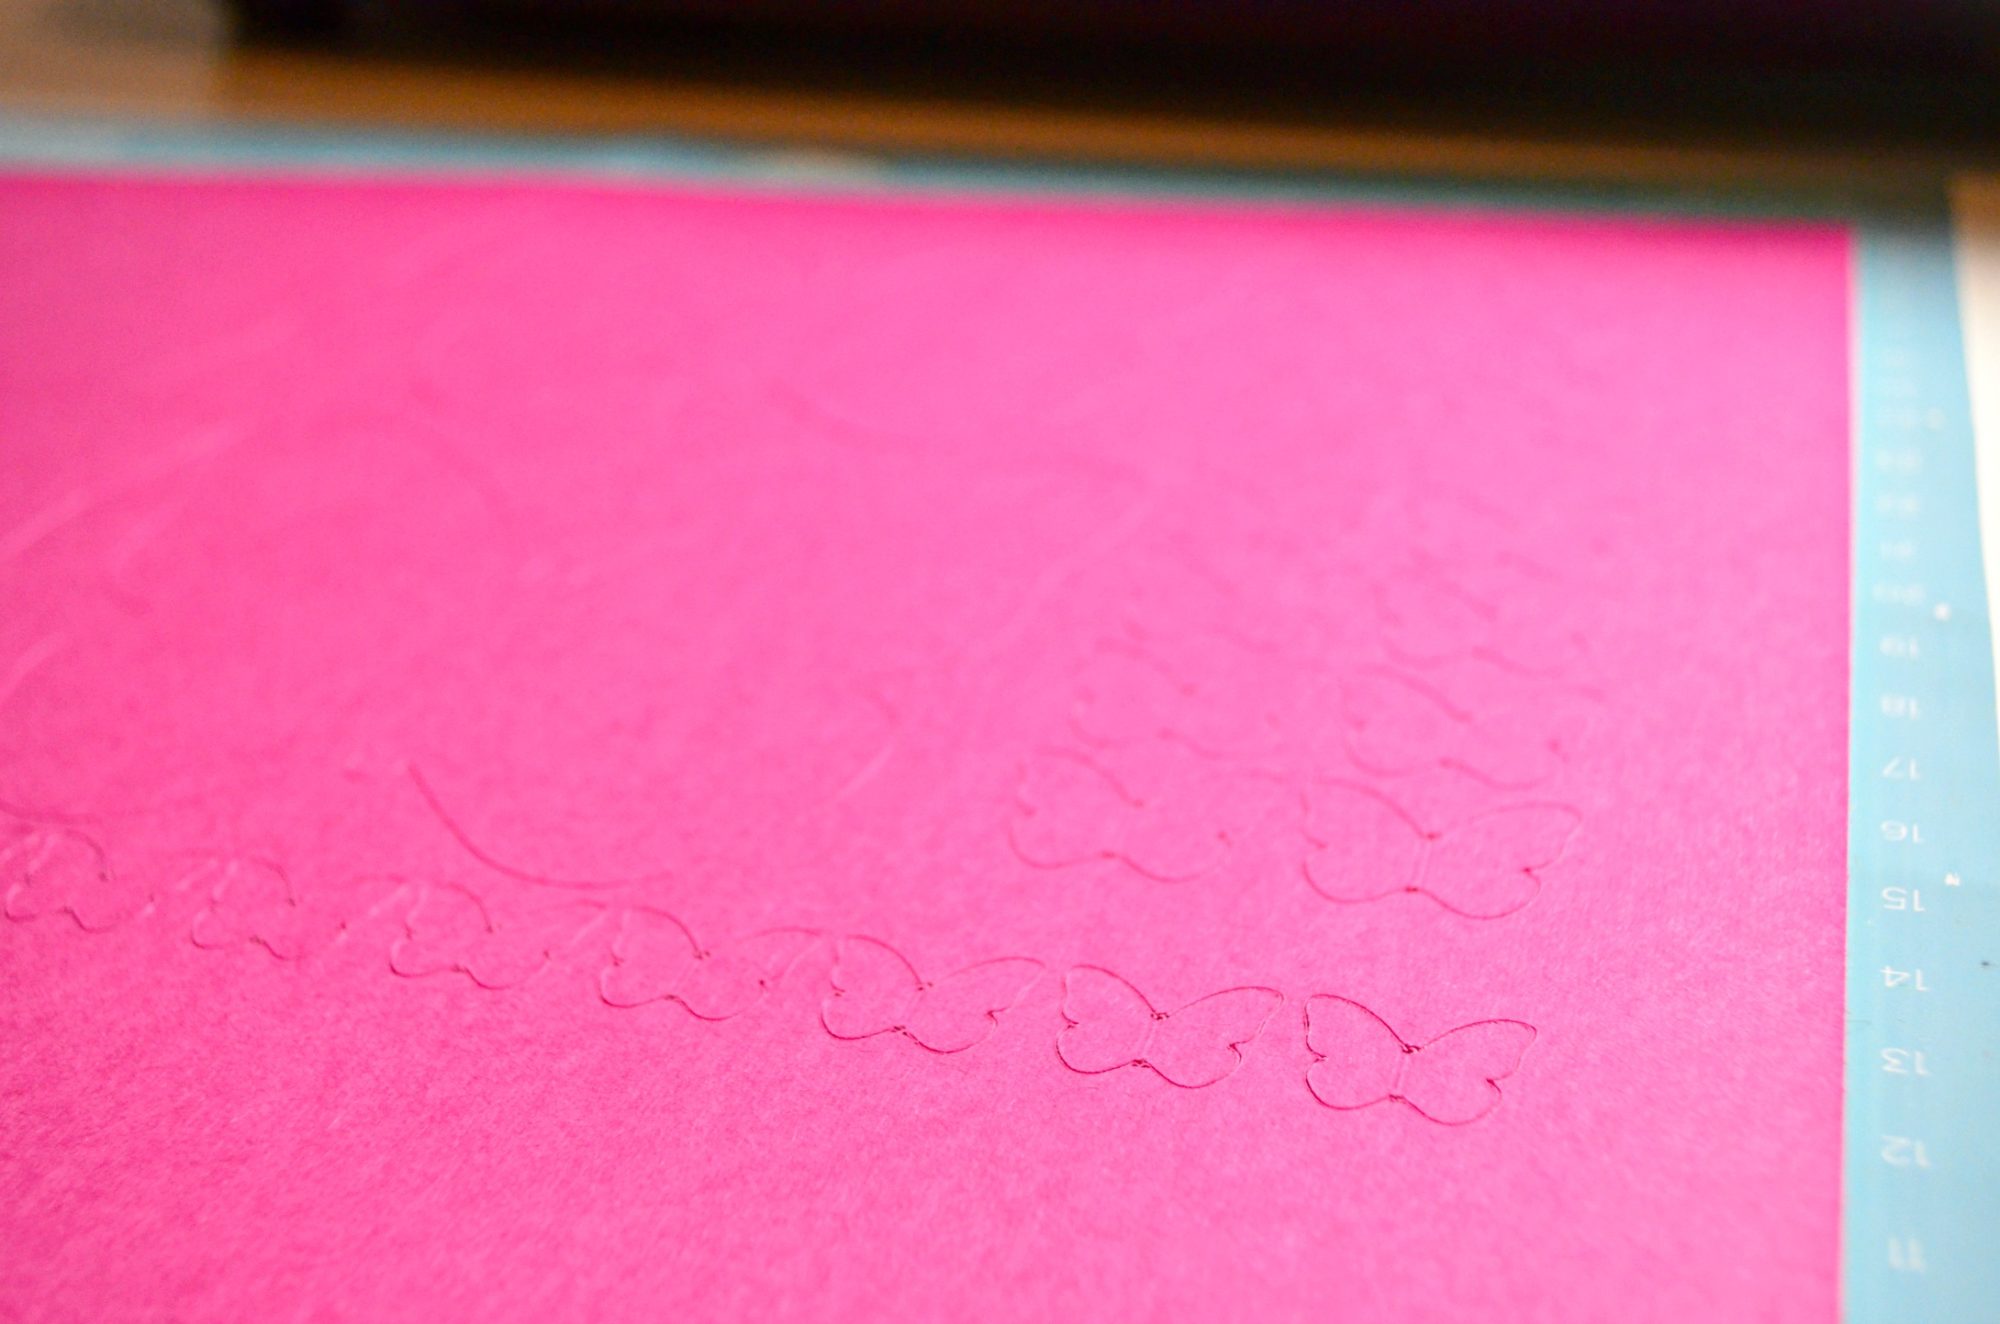
Look at the precise cuts. The Cricut Maker is the ultimate in professional-level cutting performance and versatility on the market and I love it. I love that I can cut super small butterflies and not have any worries about my cut not working.
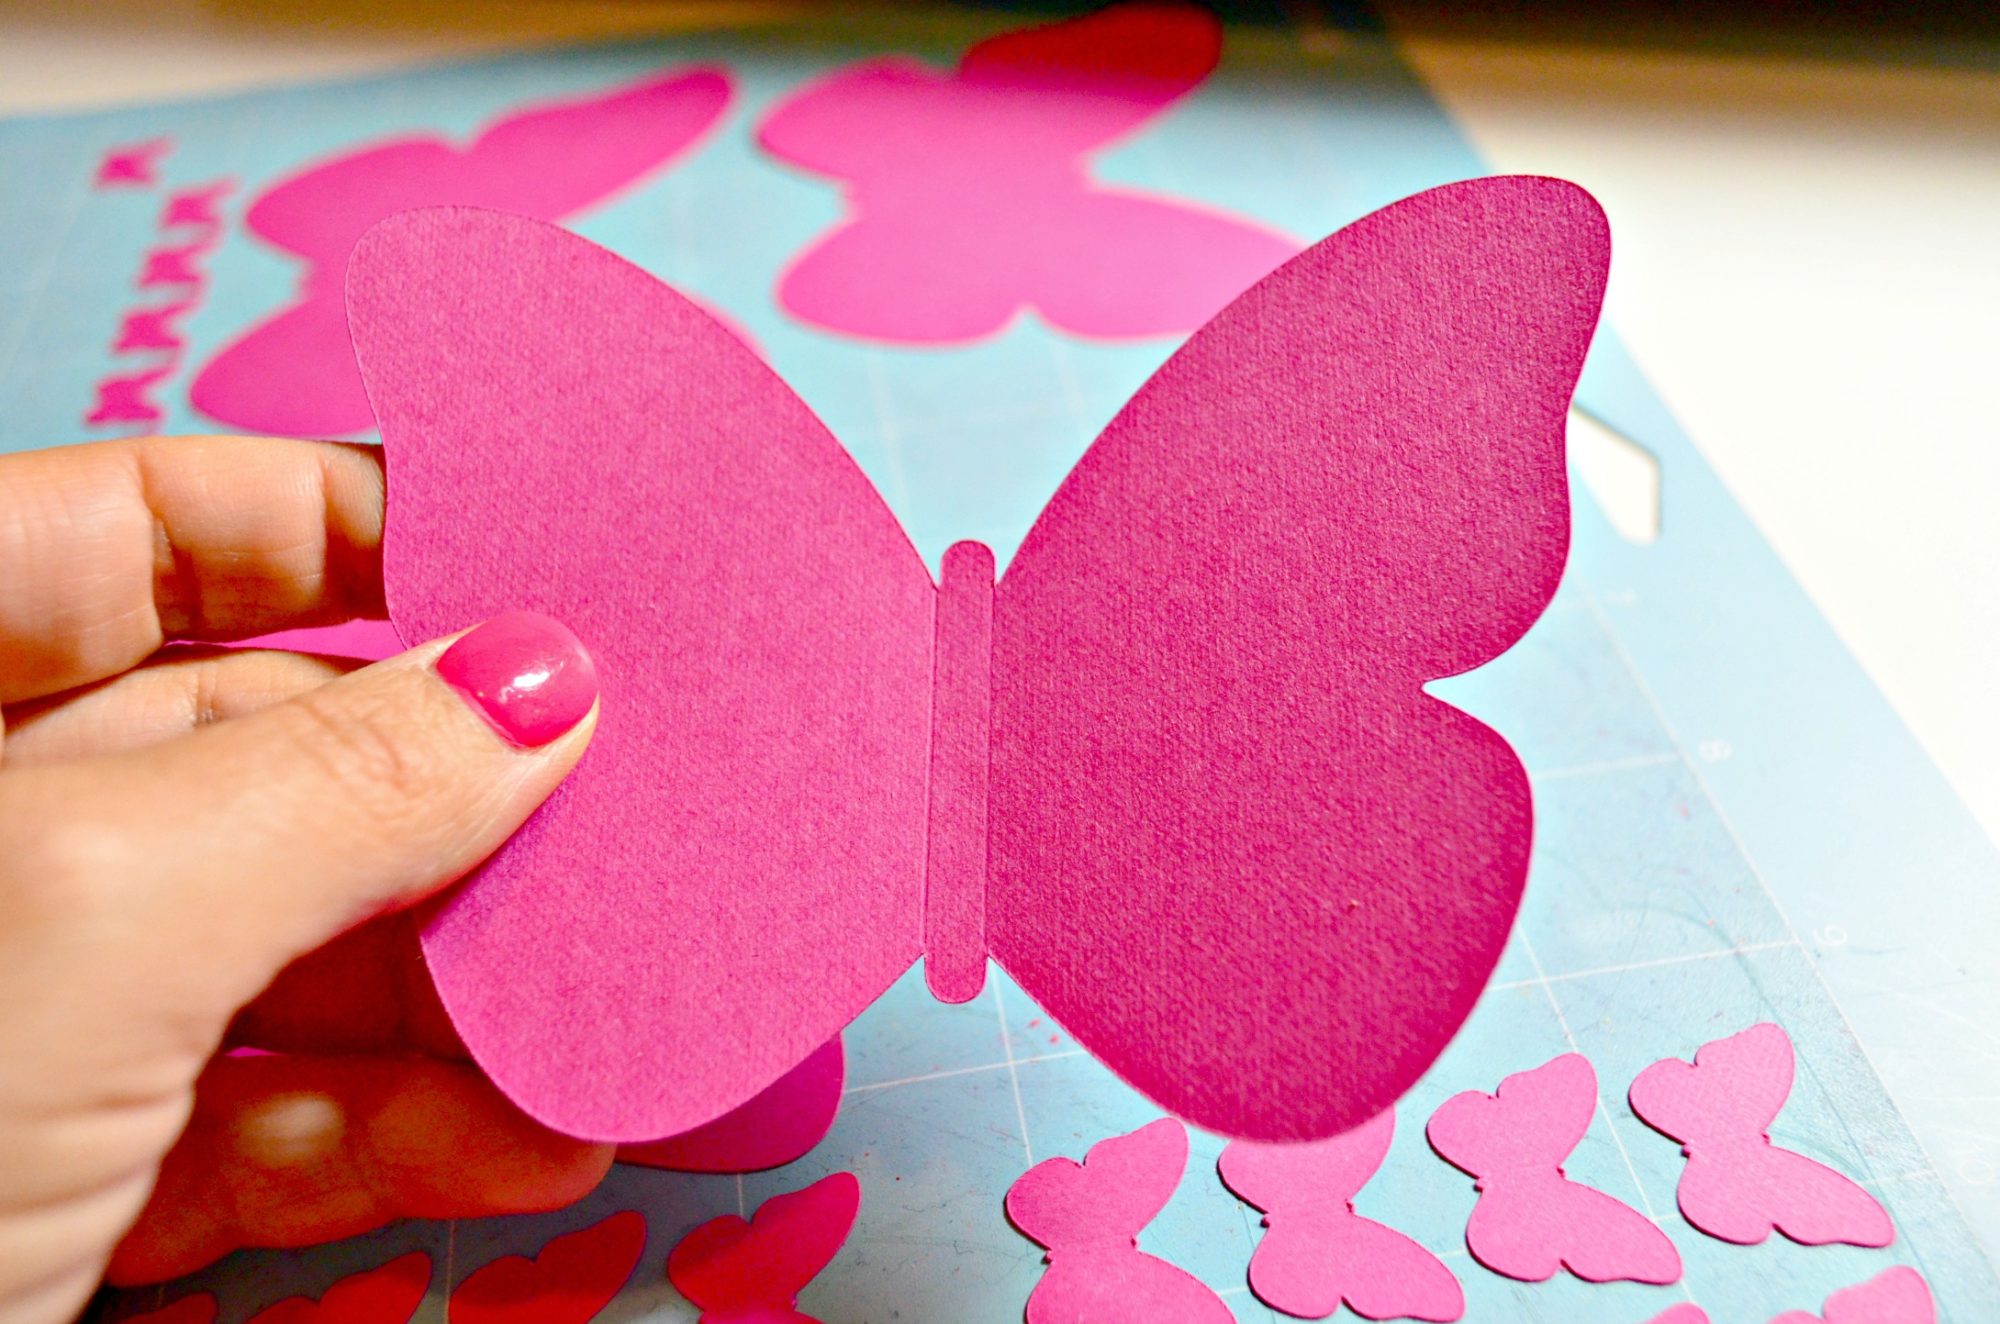
Check out that score too.
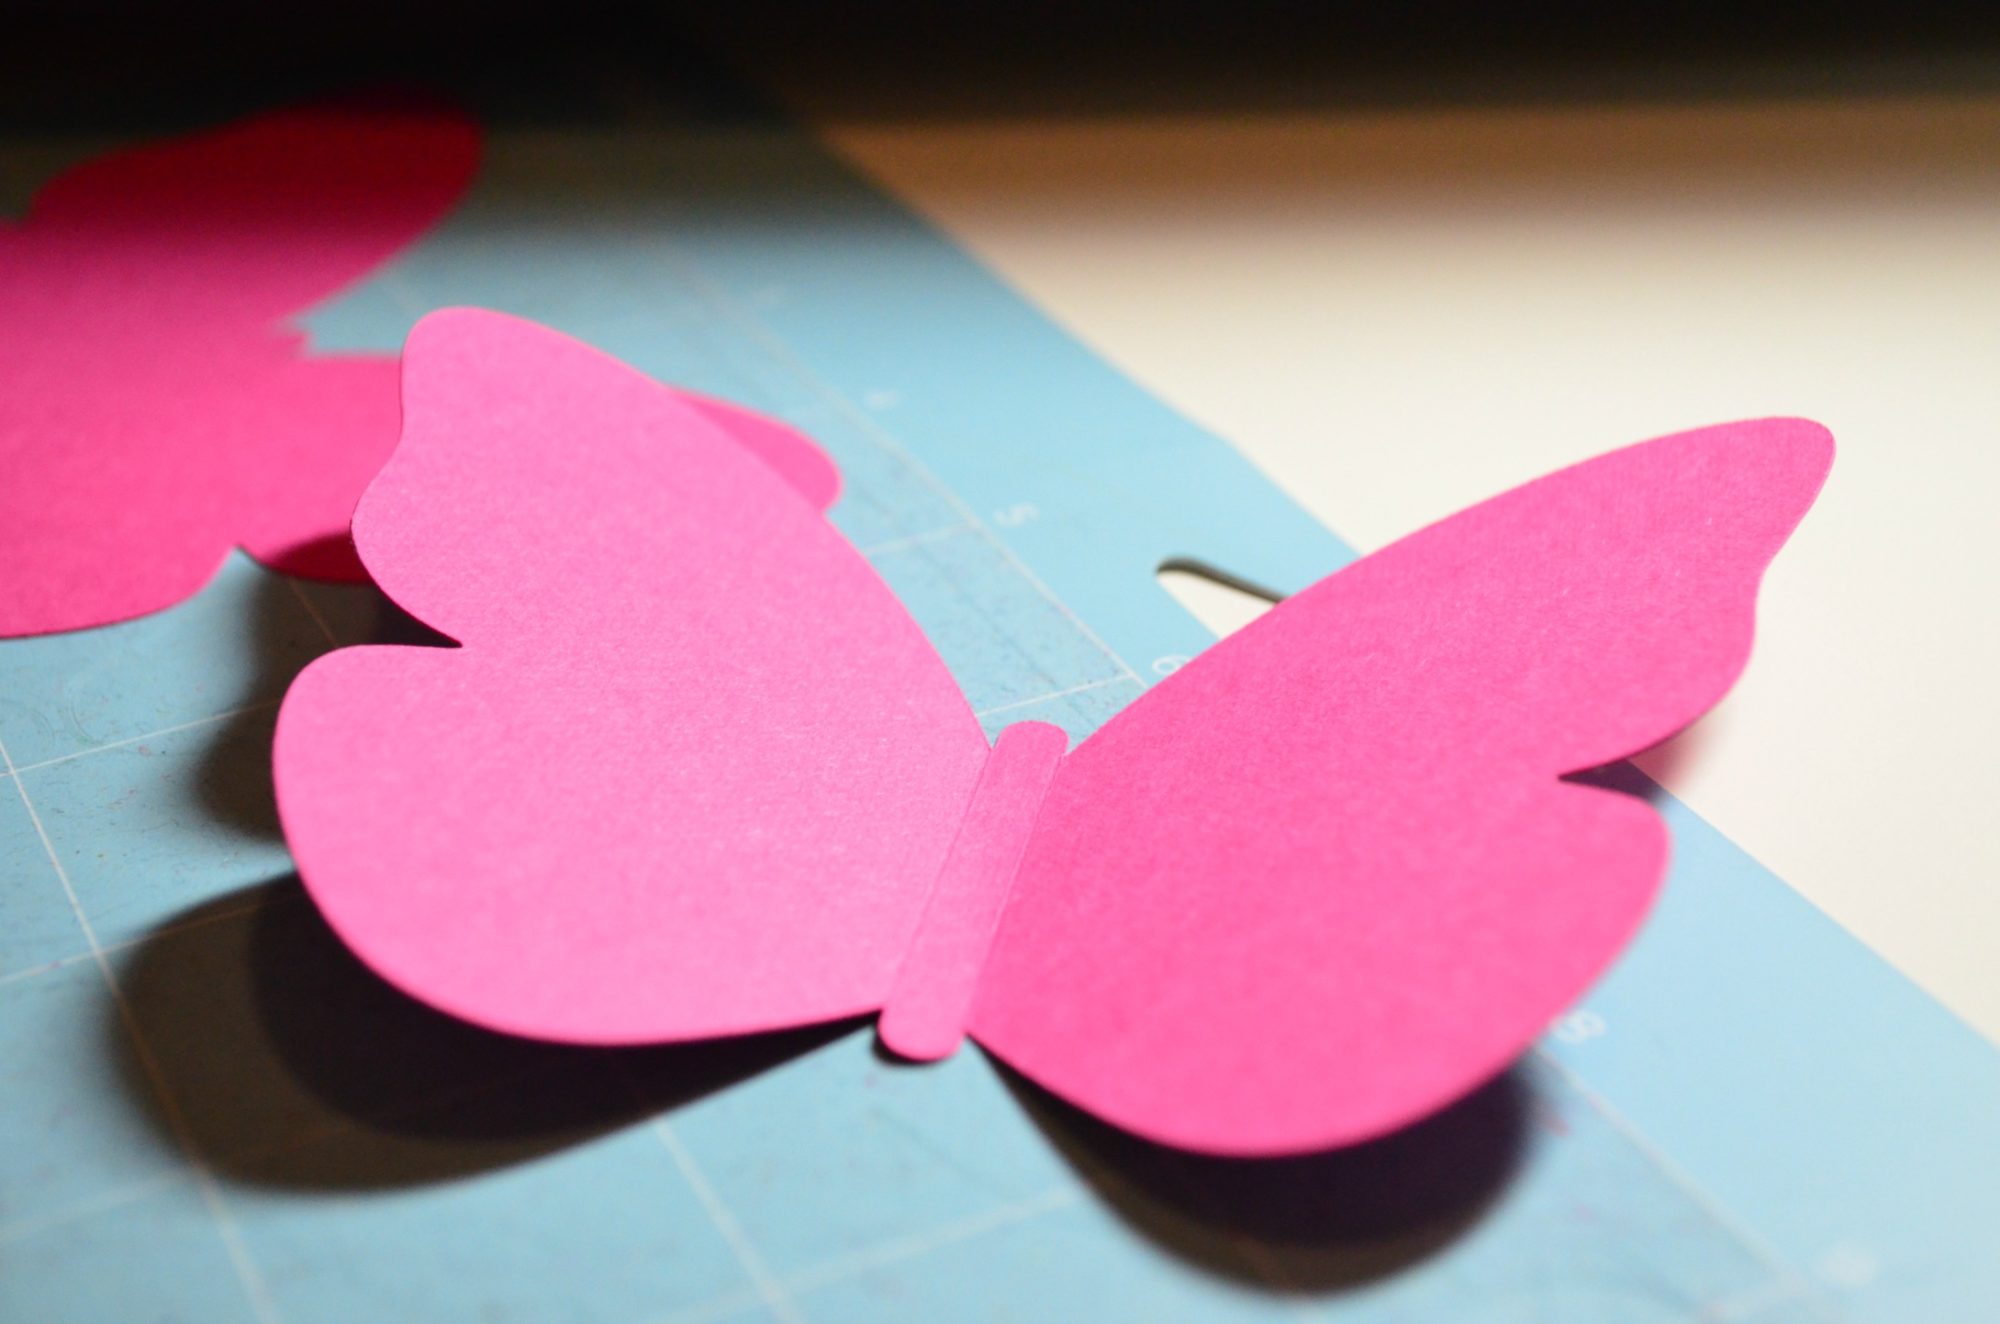
I love how it lays flat on the mat but the wings still have some dimension. It’s exactly what I was going for!
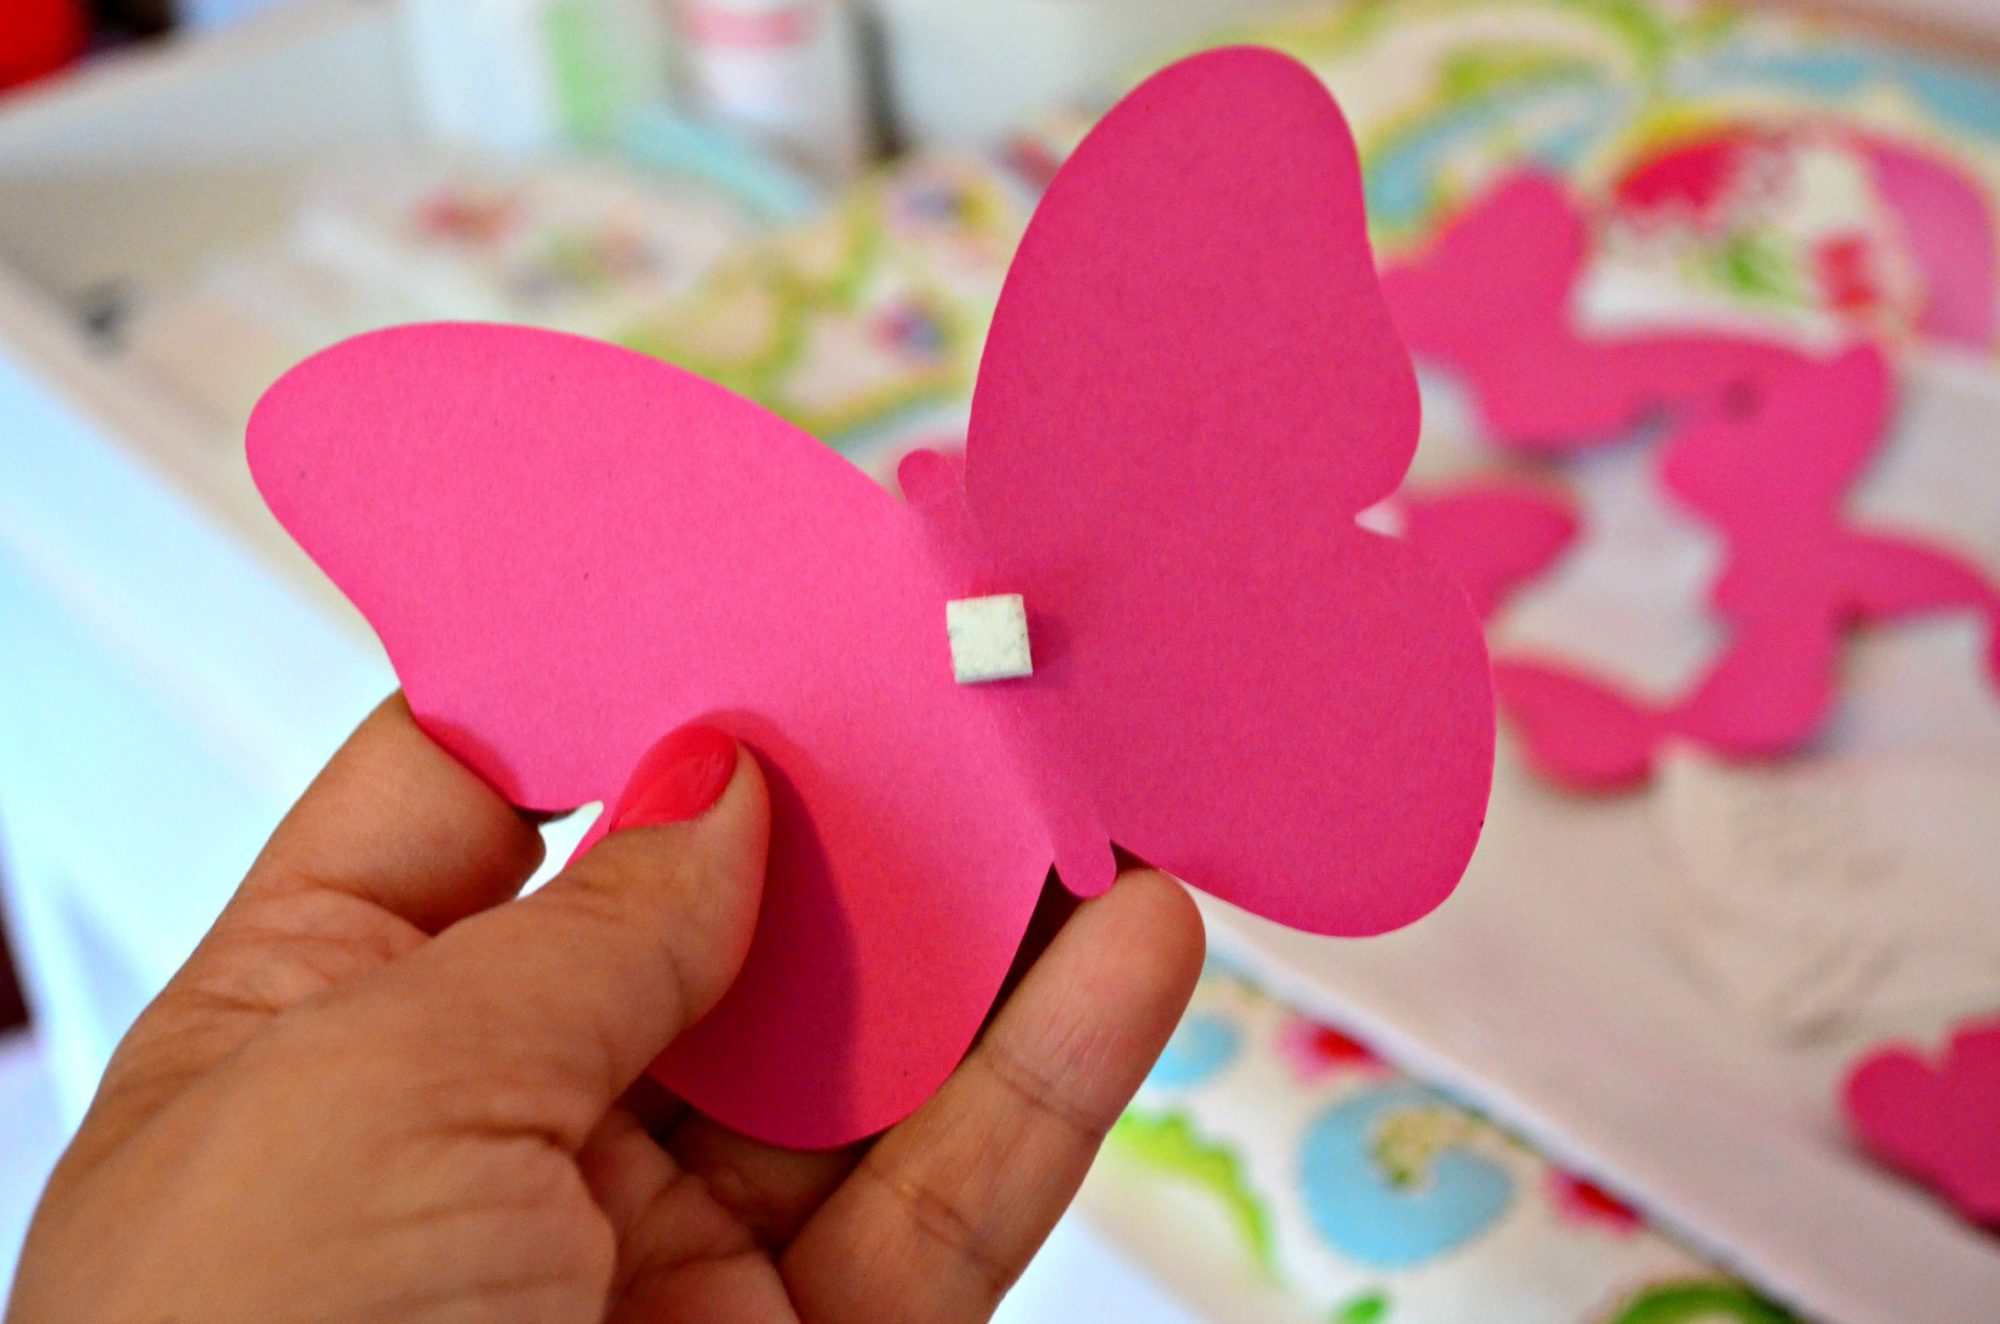
Next, add a single 3-dimensional dot sticker on the back of each butterfly. You can use circles or squares or even a small straight line. You just want it to be around the same width as the scored body.
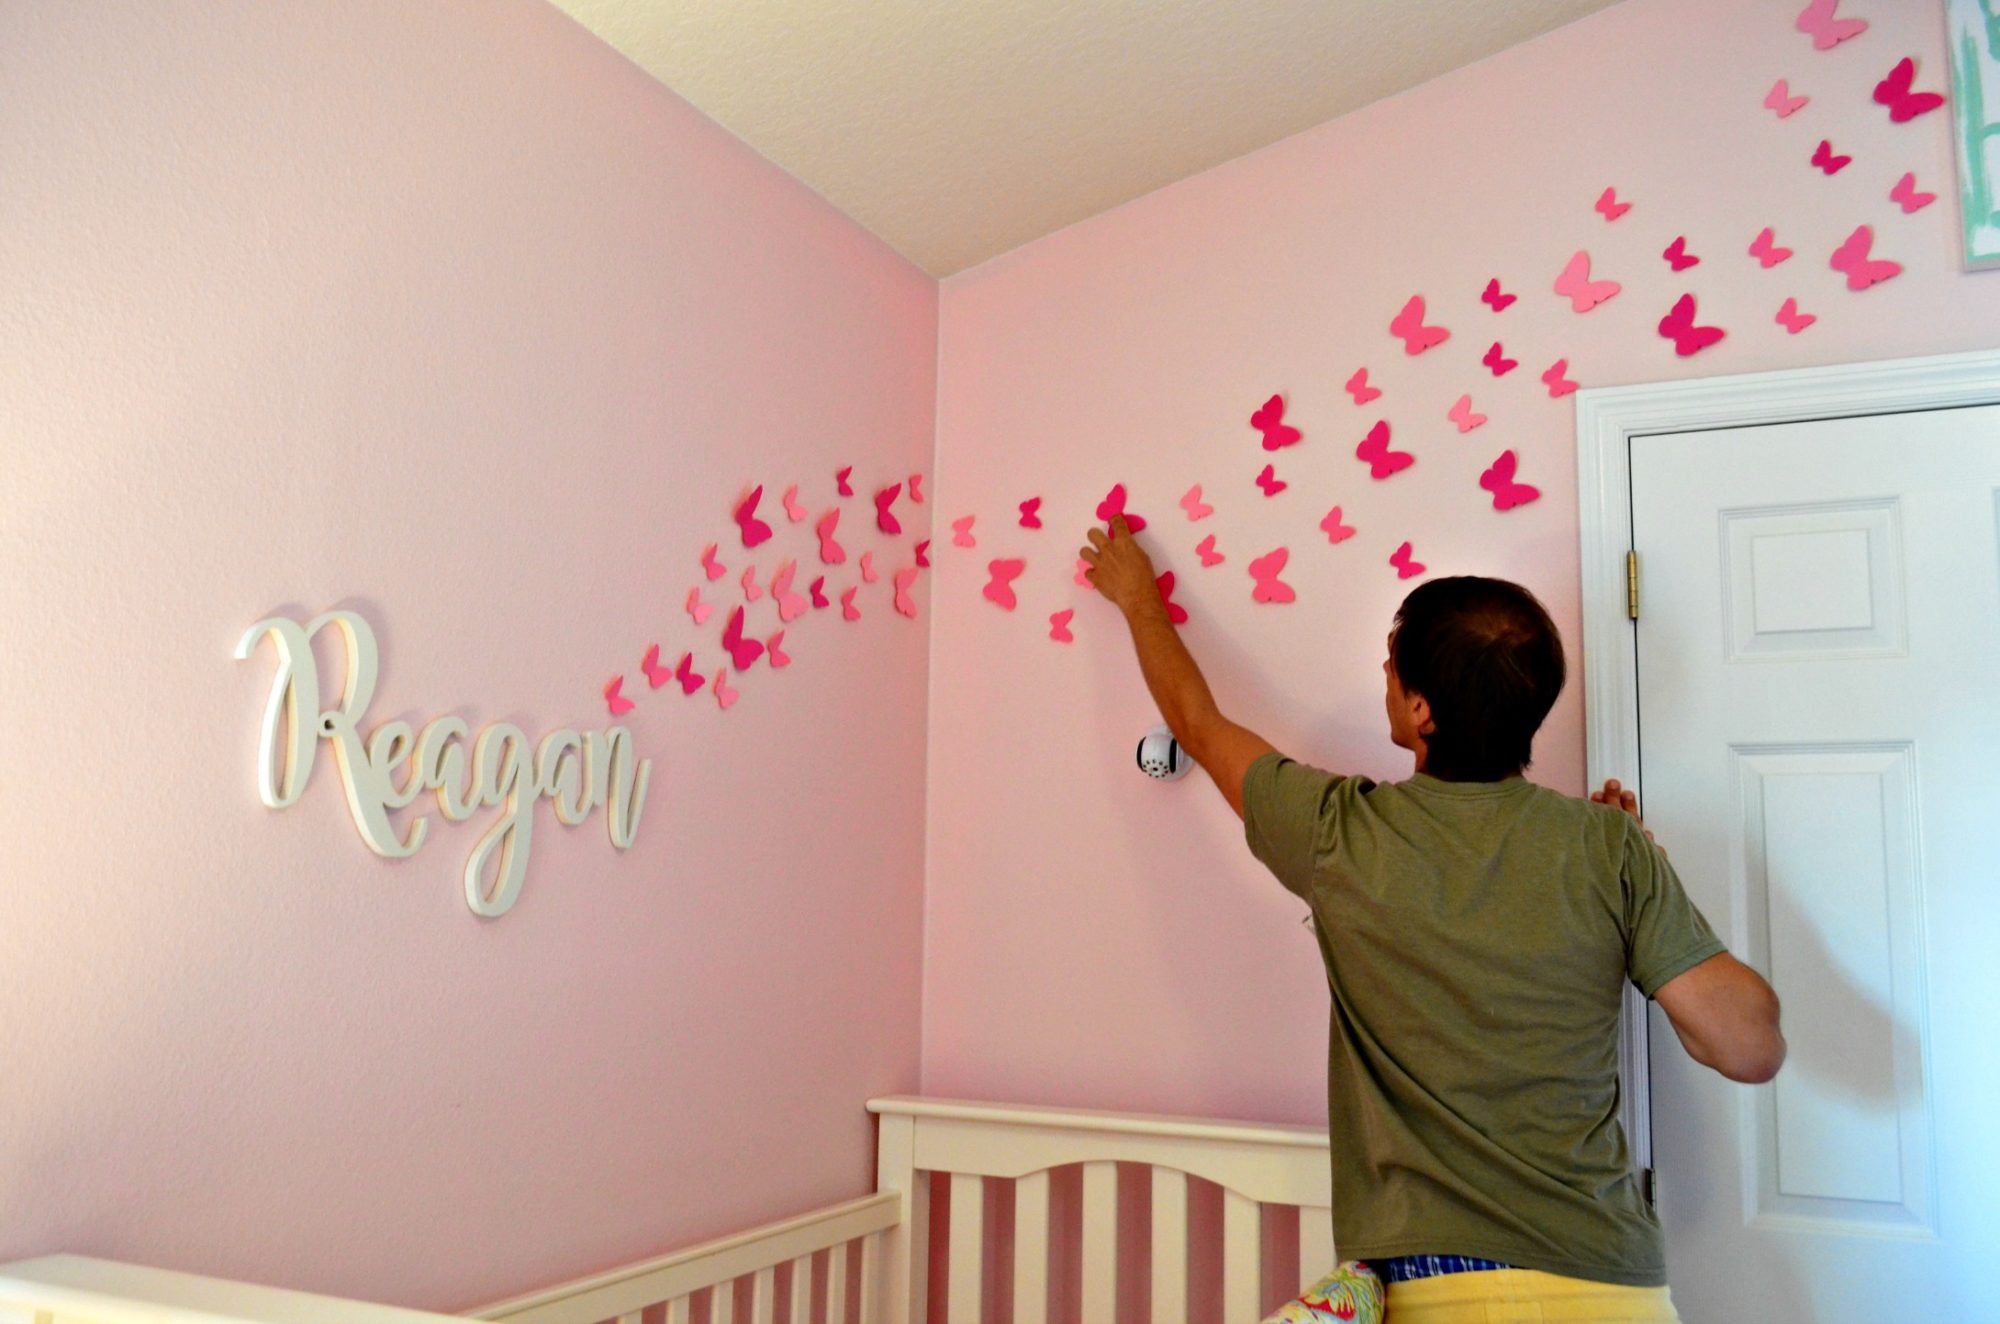
Next, it’s time to start adhering the butterflies. I don’t have photos of the room before we added the butterflies, and in the year and a half the butterflies have been up we’ve only lost less then a dozen. So that’s what I had my hubby do–rehang all the butterflies that decided to go for a fly.
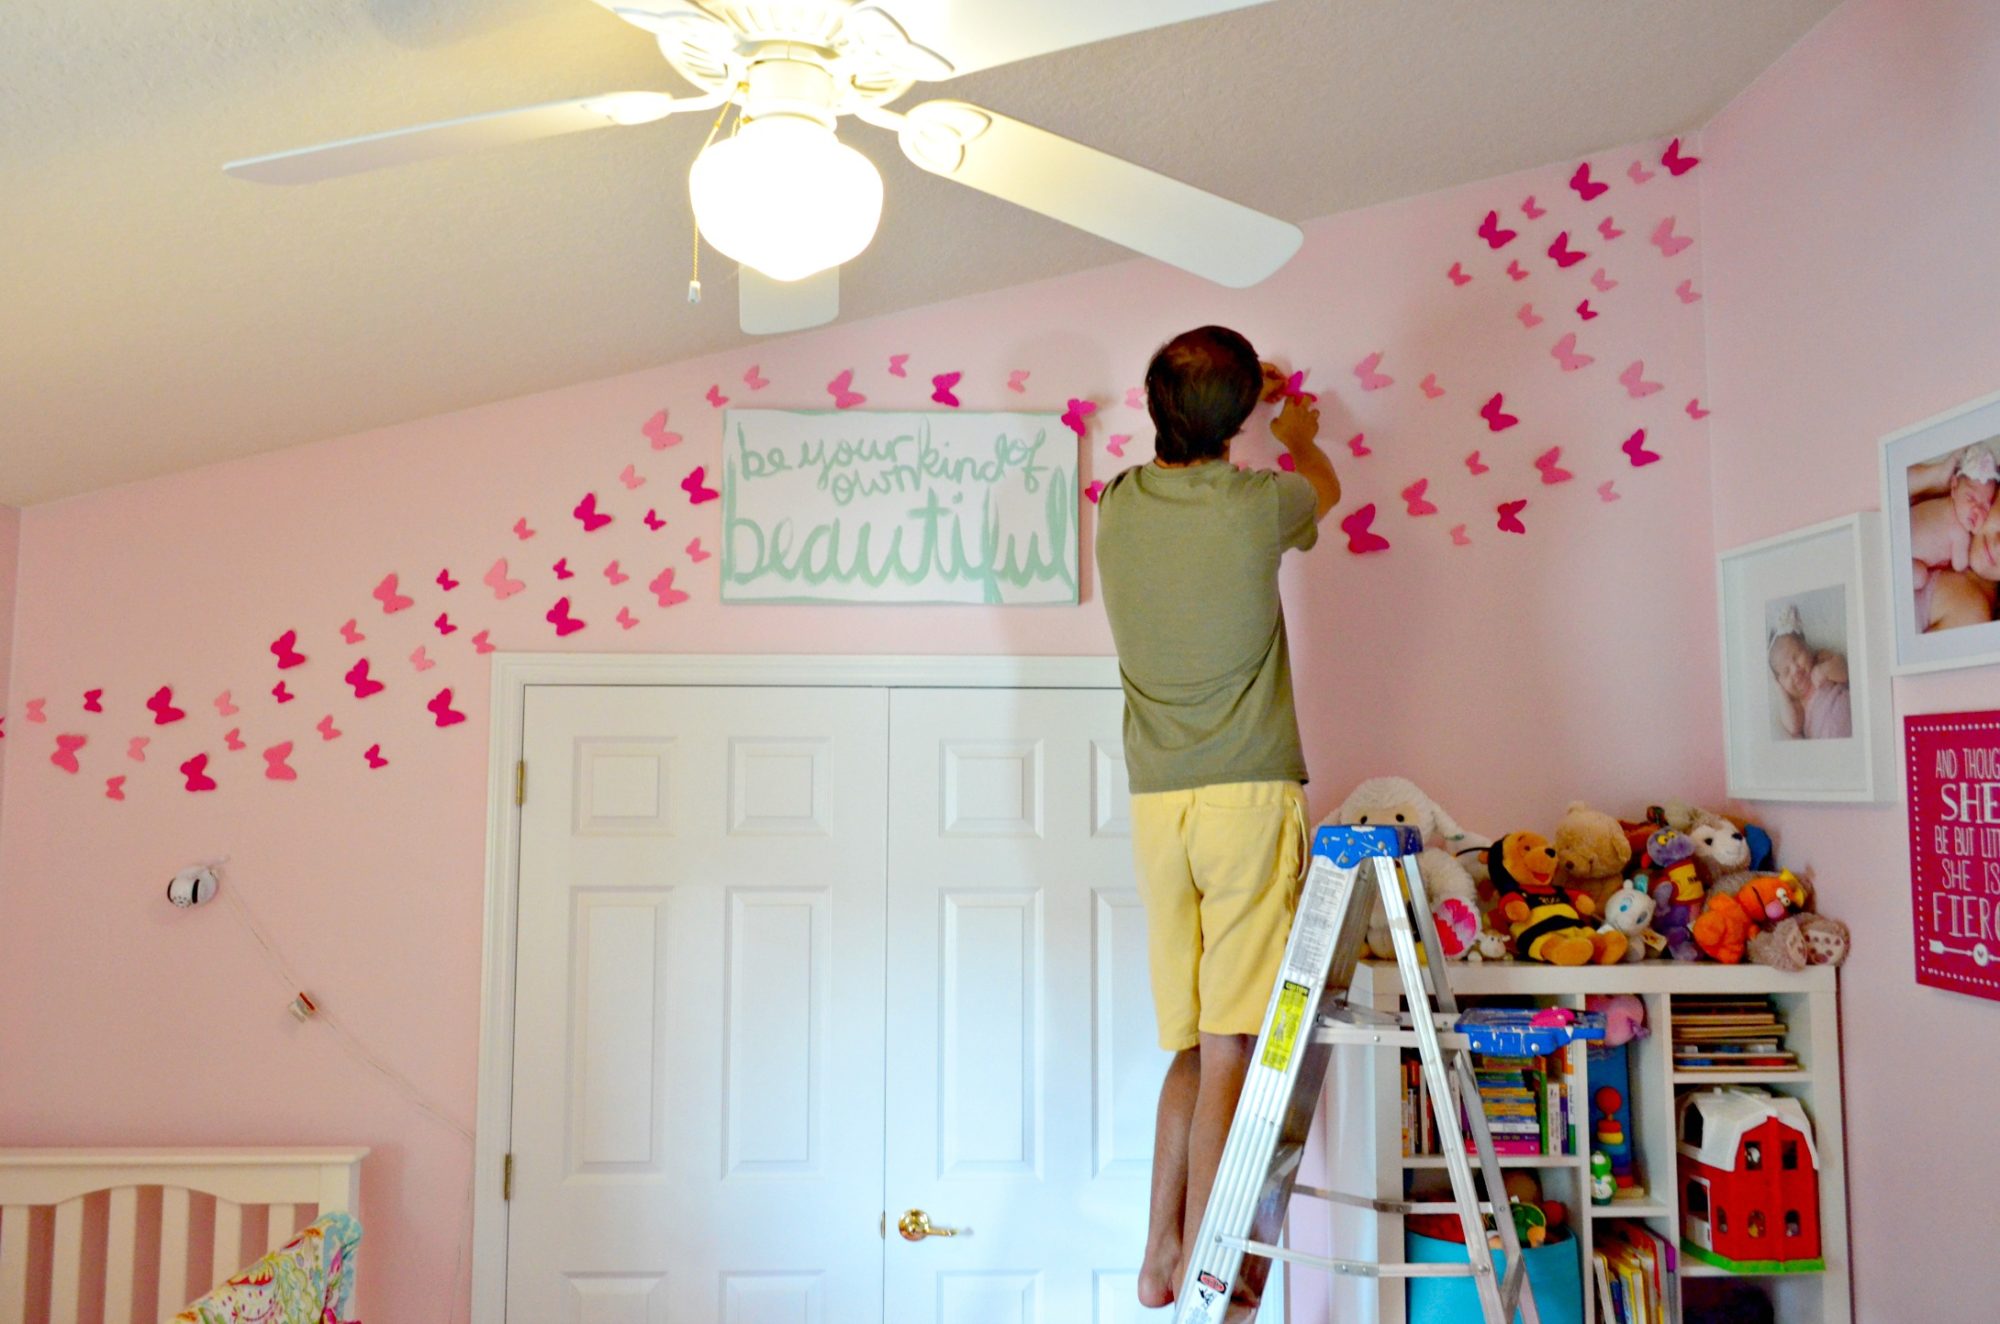
I found that it was best to have one person on the ladder and the other person on the ground giving directions. This is how I was able to achieve the look I was going for. We did start with a single line of butterflies and then filled out from there.
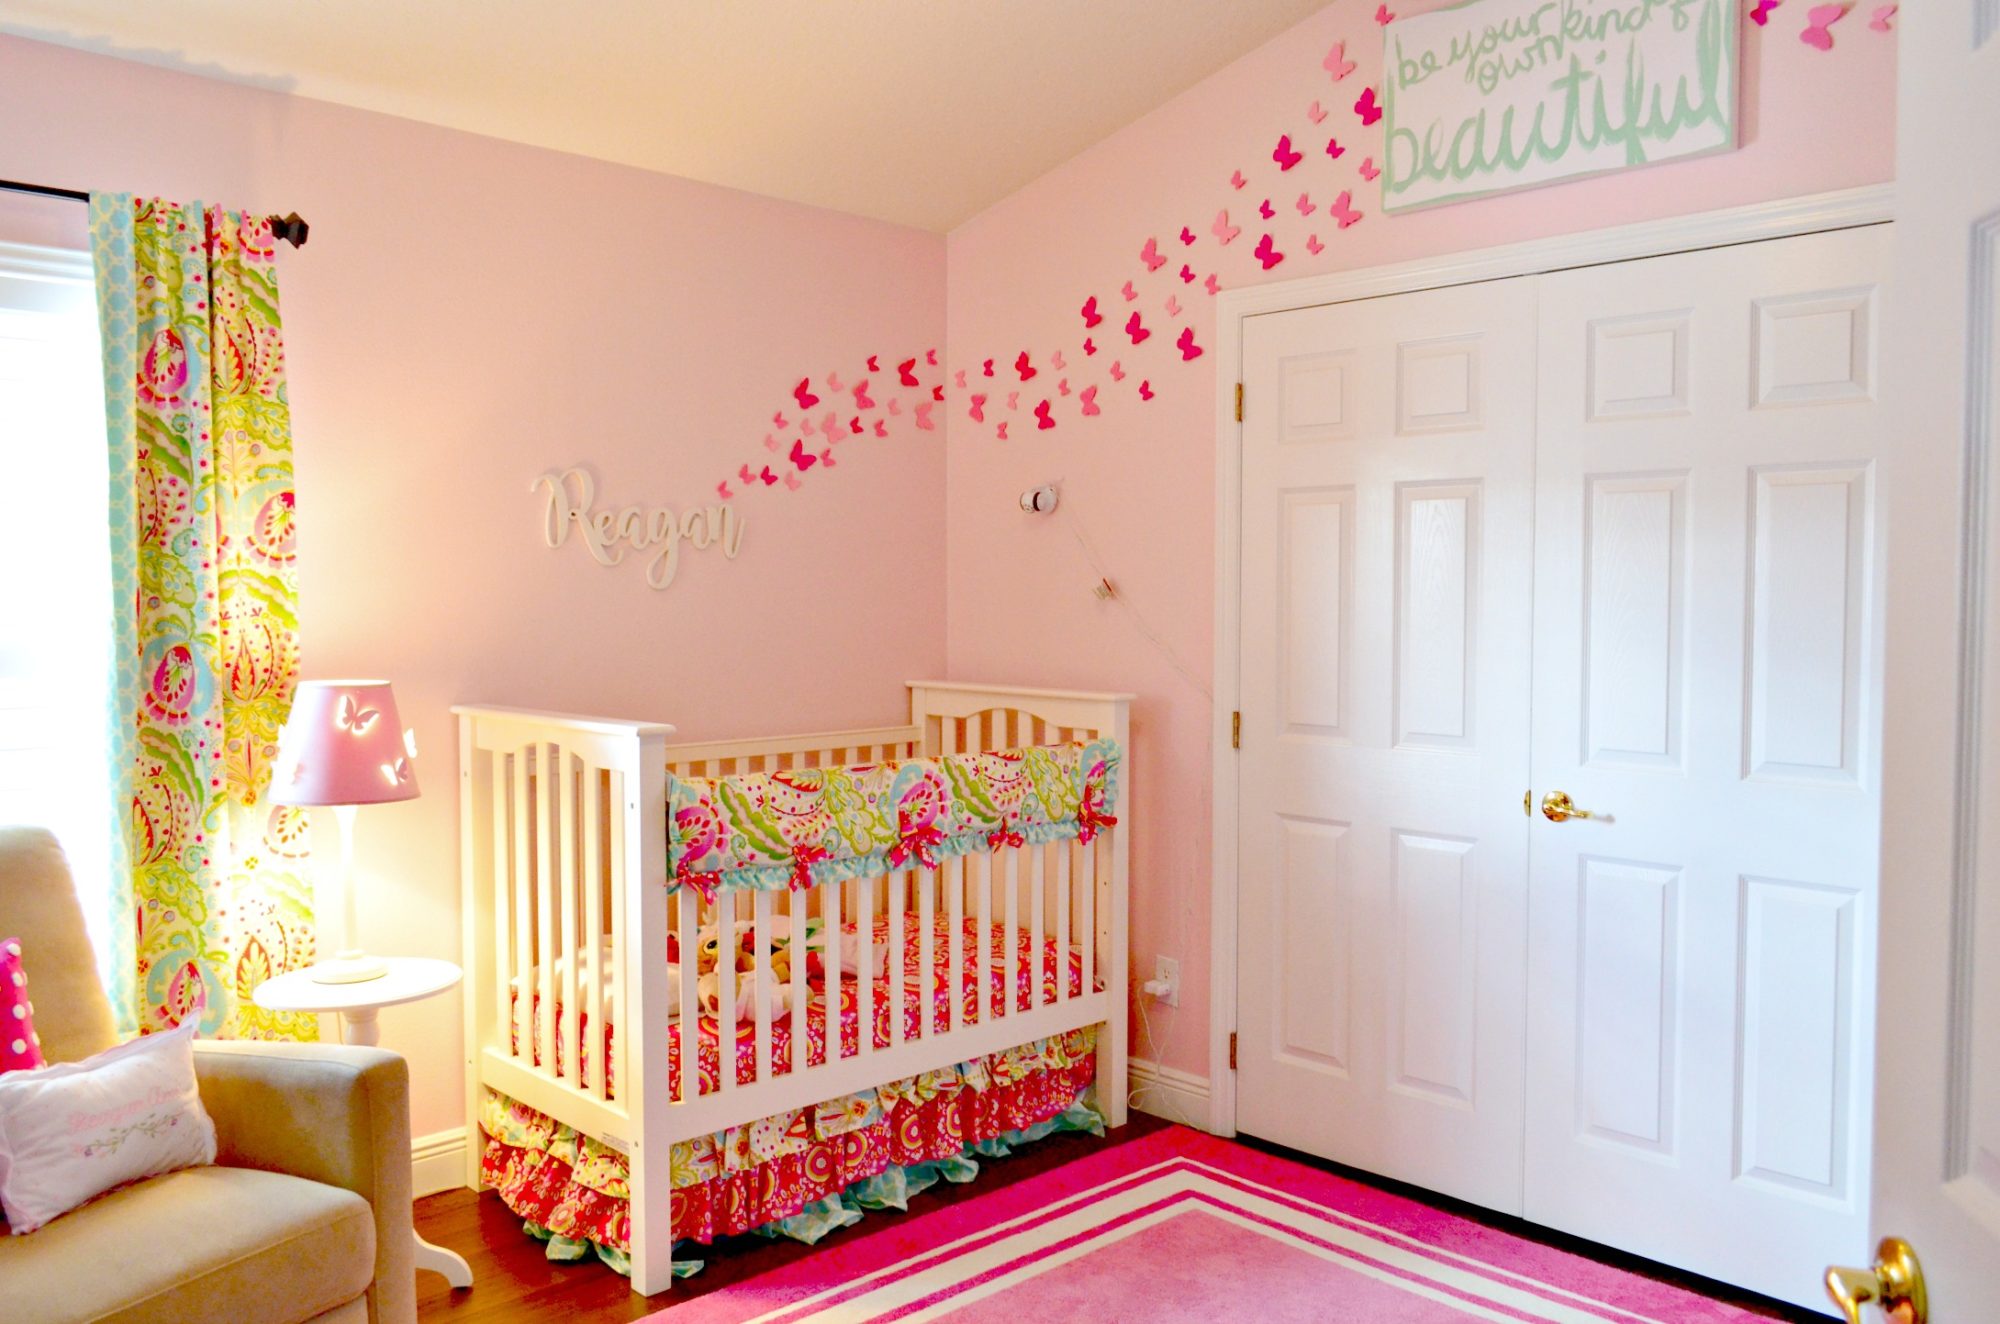
This is what her walls look like. I love how they flow over from one wall to the next.
 I’m in love with her nursery and will be sad when I have to transform it to a big girl room.
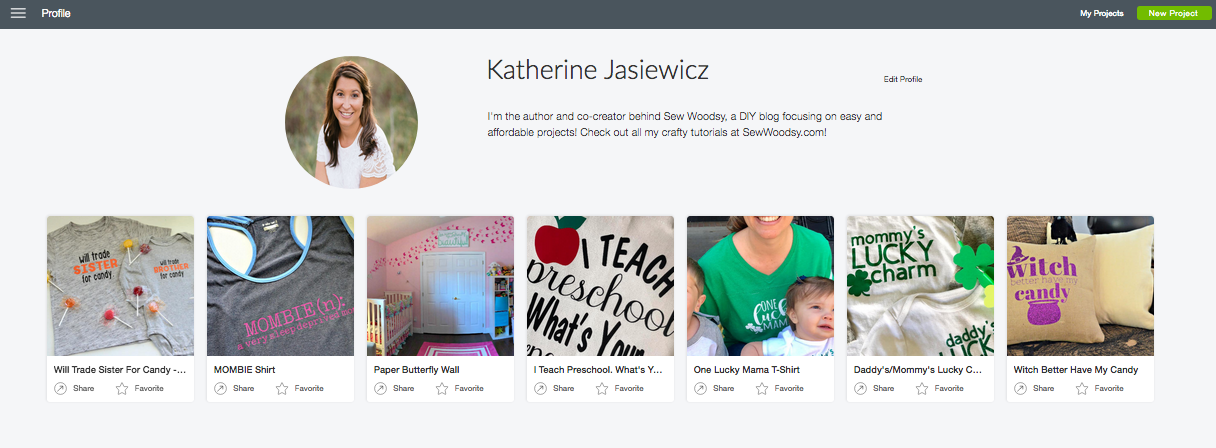
Did you know that Cricut has a new-ish function in the Cricut Design Space dashboard? Everyone now can create a community page where you can share all your projects you’ve made using Cricut exclusive content! Here is the link to my community page.
