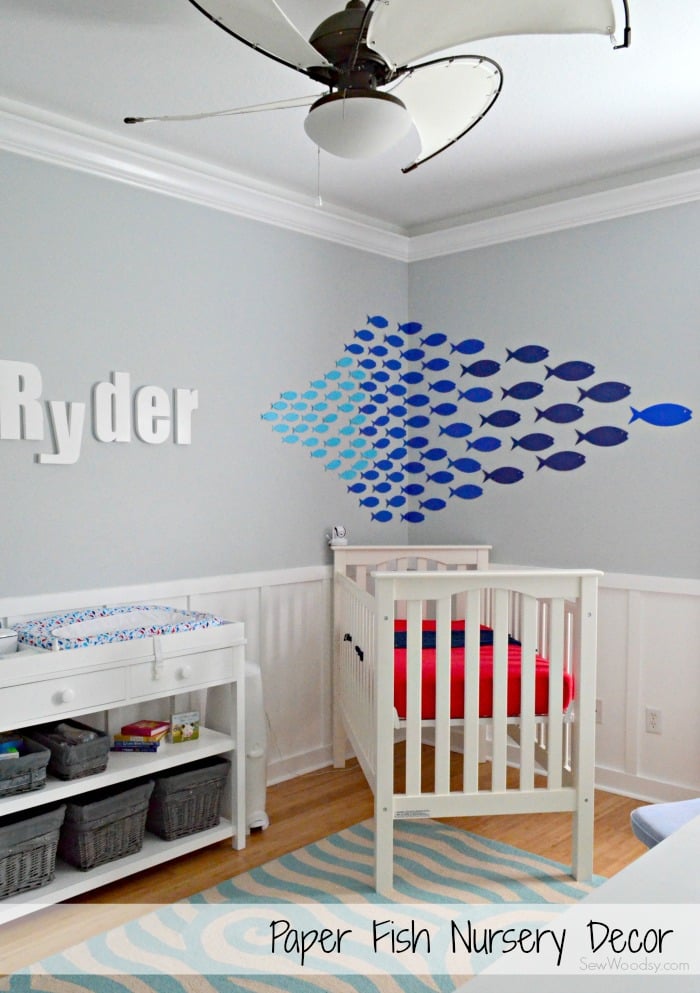
Oh man, am I excited to finally share the Paper Fish Nursery Decor I made for Ryder’s room before he was born. When we started brainstorming ideas for his nursery I knew I wanted to incorporate fish. I had it in my head that I wanted a school of fish swimming from one side of his wall to the next. Then to add more depth to the wall we added the hand-cut letters of his name to the wall. It’s like the fish are swimming from his name and I love everything about it! Can I tell you that this was super inexpensive. This is a time is money type of project. It took a while to cut all 90+ fish and time to sticker and adhere them to the wall. I am so glad I did this project before Ryder was born. I can’t imagine me doing this while juggling his every want and need.
Supplies:
- Cricut Explore
- Cricut Design Space
- Fish Image
- 3 shades of blue card stock
- 1 shiny piece of blue card stock
- 3 dimensional adhesive dots
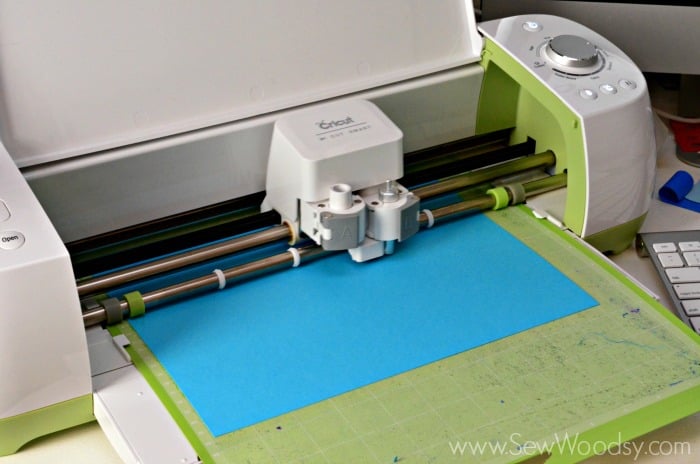
Load the image into Cricut Design Space. Begin working on sizing the fish image. I would do a few batches of small and then bump up the size. No exact measurements on this part. (Click the link to learn how to upload an image in Cricut Design Space). I used the card stock setting to make all of my cuts.
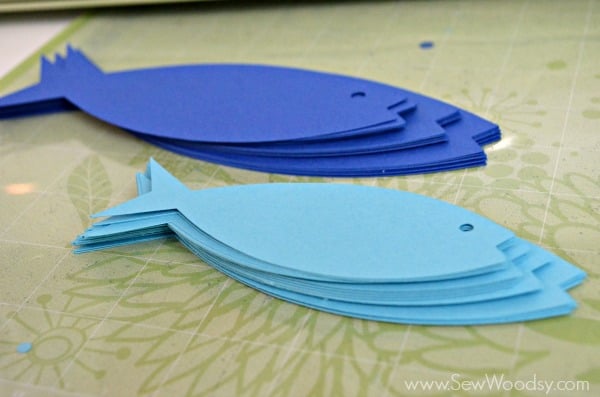
Once I had most of the fish cut out I stacked them in order of size.
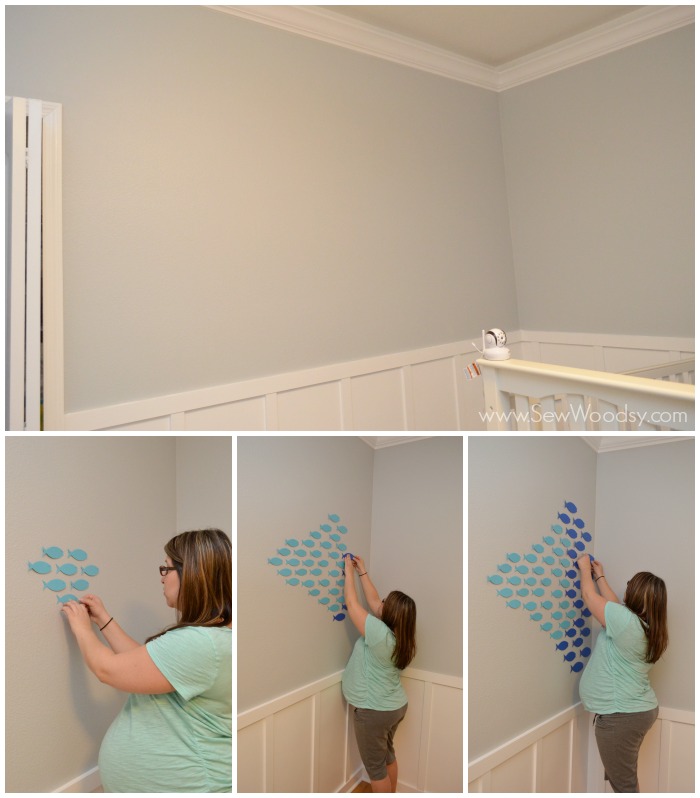
And then me and my big old nine month pregnant belly started attached them to the wall. Each fish, one-by-one.
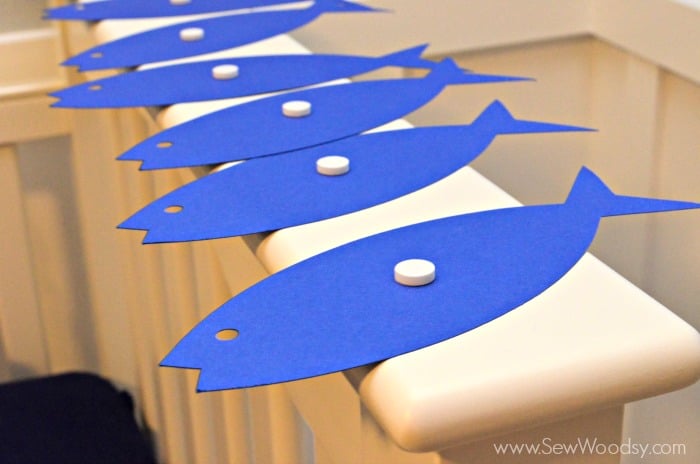
For the smaller fish I used one large 3-dimensional foam adhesive dot.
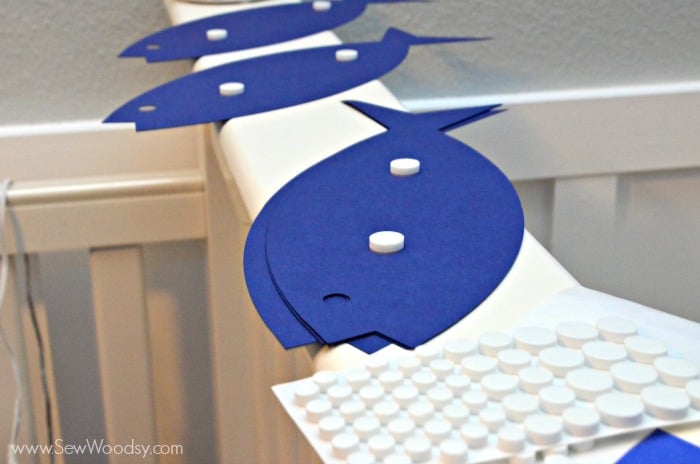
For the larger fish I sued two 3-dimensional foam adhesive dot.
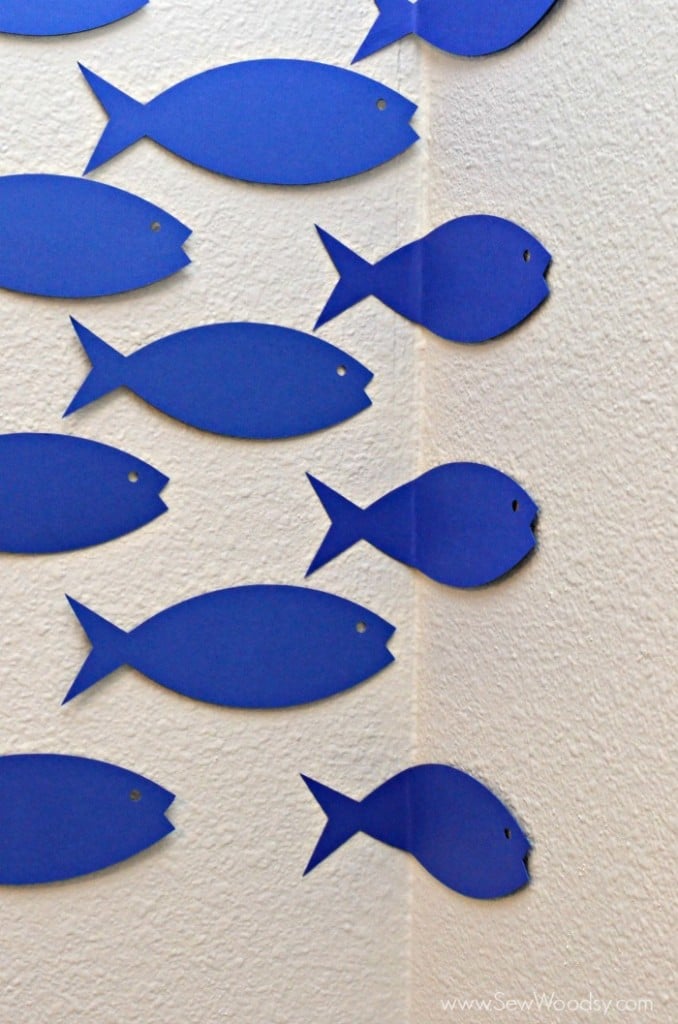
For the corner of the wall, we just simply bent the fish by hand pressing it gently along the crease of the wall.
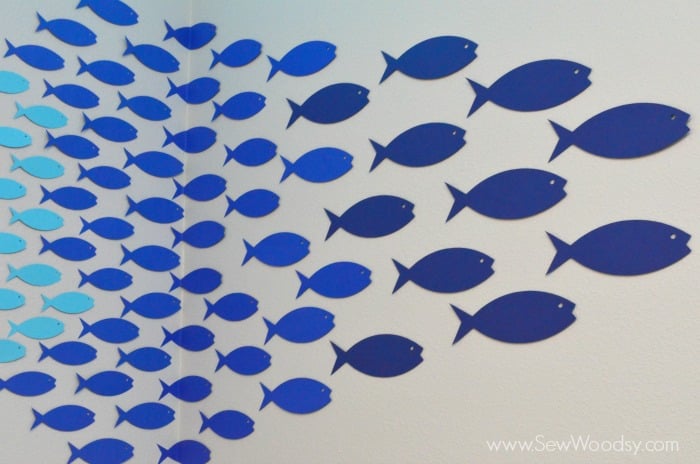
And this is what it looked like in all its glory!
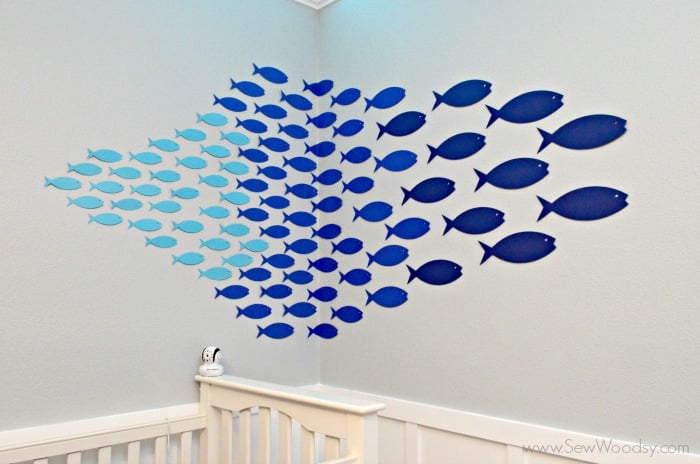
I love how I made it go small to large to small again. If I ever get around to it and find 24 x 24 paper I’m gonna make one GIANT fish as the leader of the pack. Right now, though this works!
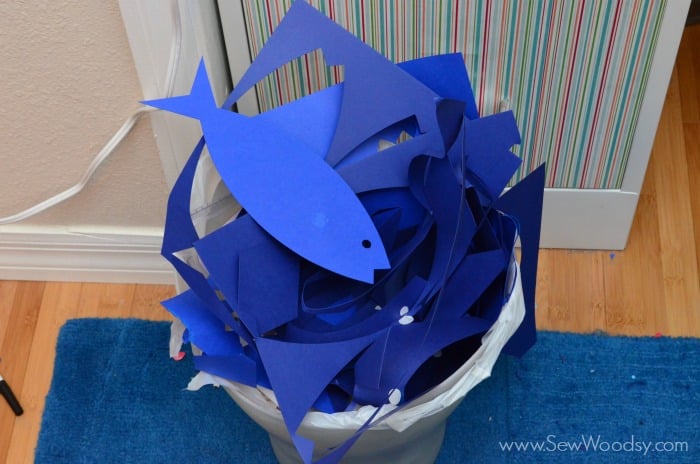
This is what the aftermath looks like when you cut 90+ fish.
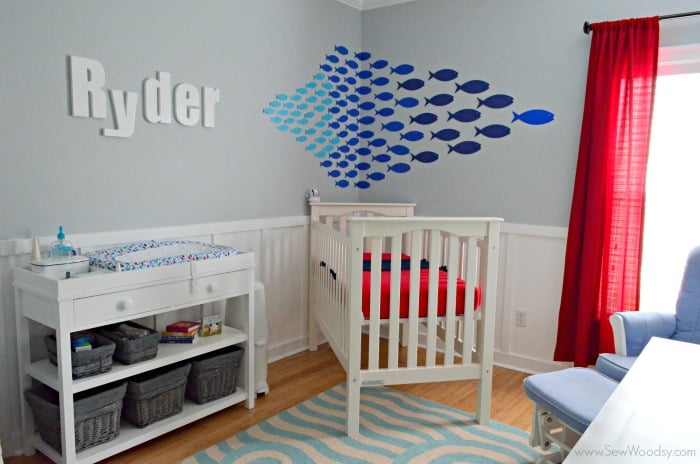
And you are even getting a sneak peak at Ryder’s new changing table that will be debuting on the blog next month!
For other nursery related post:
- Nursery Inspirations
- How to Cut Letters on a Scroll Saw
- DIY Nursery Whale Lamp
- How to Build an Extra Wide Simple Dresser
- {Video} DIY Board and Batten
- Burlap Starfish Art
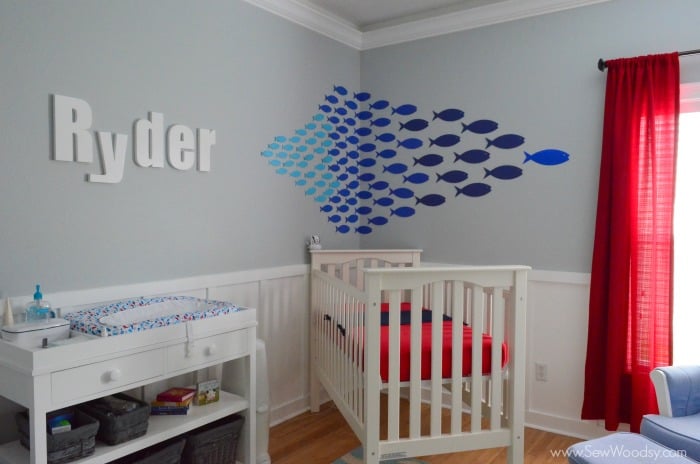 I like the gradient. In hind sight I wish the light blue would have been a little darker… but it works so I’m running with it.
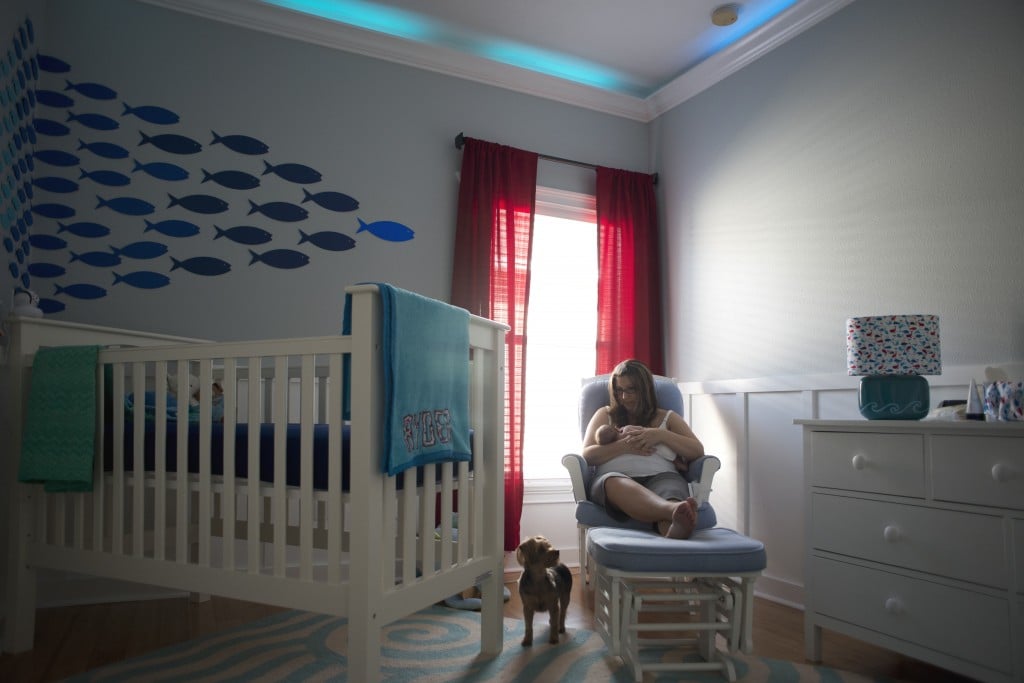
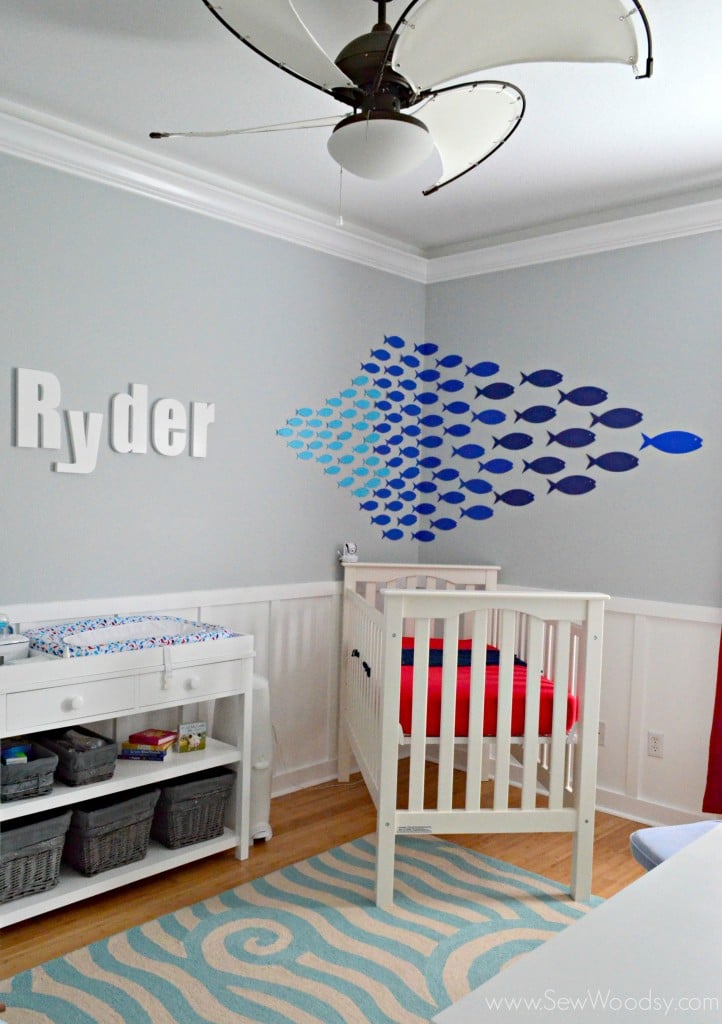
Here is a professional photo of the wall and room thanks to my friend Christy Buonomo Photography.

Both of these photos were previewed during our newborn photo shoot post!
I entered our paper fish nursery decor in the Cricut Design Star contest. Our team came up with a beach theme for the month of July 2014. If my project is selected it will be voted on to be part of the new Cricut Design Space project library.
If your a blogger and love Cricut make sure you join the Cricut Blogger Network Program. So you want to know how you can win a Cricut Explore? It’s simple! All you have to do is post your project on Facebook, Twitter or Instagram by hashtagging #cricut and #imadeit. If you’ve already hashtagged #imadeit, simply re-post and add #cricut. Read the official rules here.
Disclaimer: There are affiliate links in this post. If you make a purchase from our link we will make a percentage from the sale.

