I am proud to be a 3M- sponsored blogger, and, as part of my responsibilities, I get the opportunity to evaluate new products from 3M DIY. Opinions are my own and additional product used in the project were selected by me.

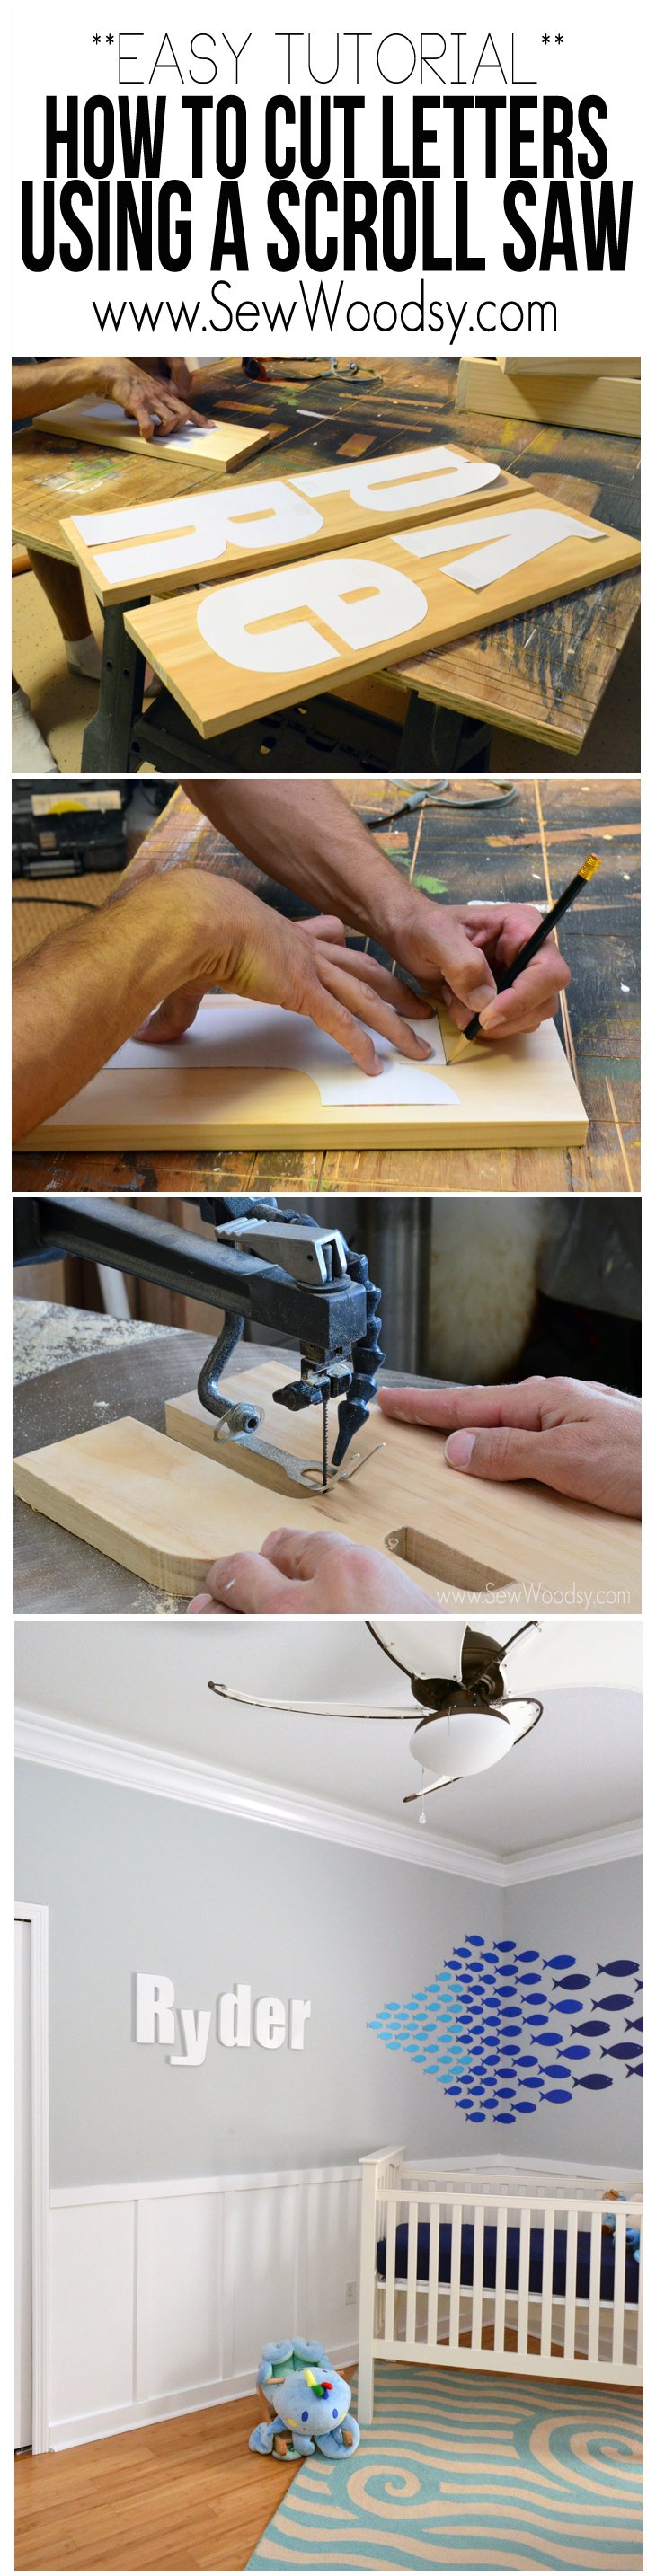
Something we have never shared on Sew Woodsy before is Jon’s love for cutting letters using his scroll saw. This is a hobby of sorts and we typically give these out as gifts for friends and family who are expecting babies. We also get request from friends and family to make letters and signs. We have been putting off making the letters for Ryder’s nursery for months now. We both couldn’t agree on the font of the letters. Something so small yet so important. After we went through hundreds of fonts we finally decided on a block style font; Impact.
Before Jon started his project, he gathered all of his safety equipment. This is something that he does before starting any project. Here is the supply list for this project:
- 3M™ Digital WorkTunes™ Hearing Protector
- 3M™ Safety Eyewear
- 3M™ Paint Sanding Valved Respirator
- Cricut Explore + Cricut Design Space
- Paper
- 1×8 Pine wood
- Pencil
- Scroll Saw
- Drill
- Drill Press with Drum Sander 150 grit
- 3M™ SandBlaster™ Pro Advanced Sand Paper NO-SLIP GRIP™
- Router with Key Hole Bit
- HomeRight® Finish Max Paint Sprayer
- White, Eggshell Finished Latex Paint

First up, using my Cricut Explore, I cut out letters as a place holder. To ensure that the letters were the same size I made sure that the length of each letter was the same at 14-inches. Don’t worry about if they are overlapping–the Cricut is smart enough to space them out. Most likely you will be cutting each letter on a separate sheet of paper. If you don’t have a die-cutting machine, no biggie. Just tile the letters, cut them out by hand and then trace them.
 Once the letters were cut out we placed them on the wall how we wanted them to be displayed. (Yes, that’s Ryder in the crib–hanging out while we decided on the letters of his name).
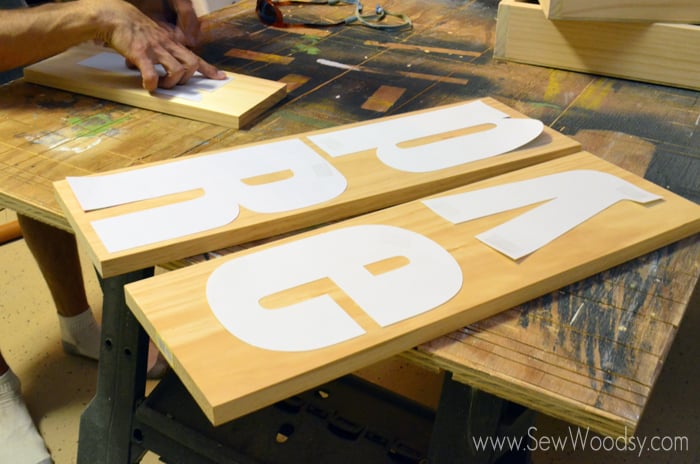 Jon laid out all the letters on the wood. He used 1×8 scrap wood that we happened to have on hand.
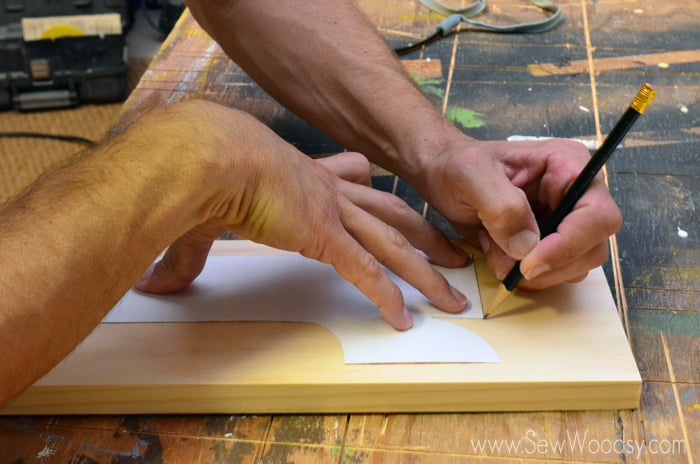 Using a pencil he simply traced around the letters.
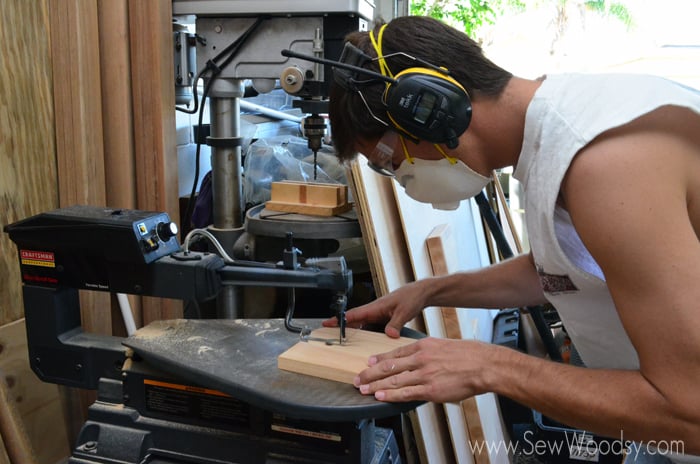
 He placed his safety equipment on and carefully began cutting out the letters.
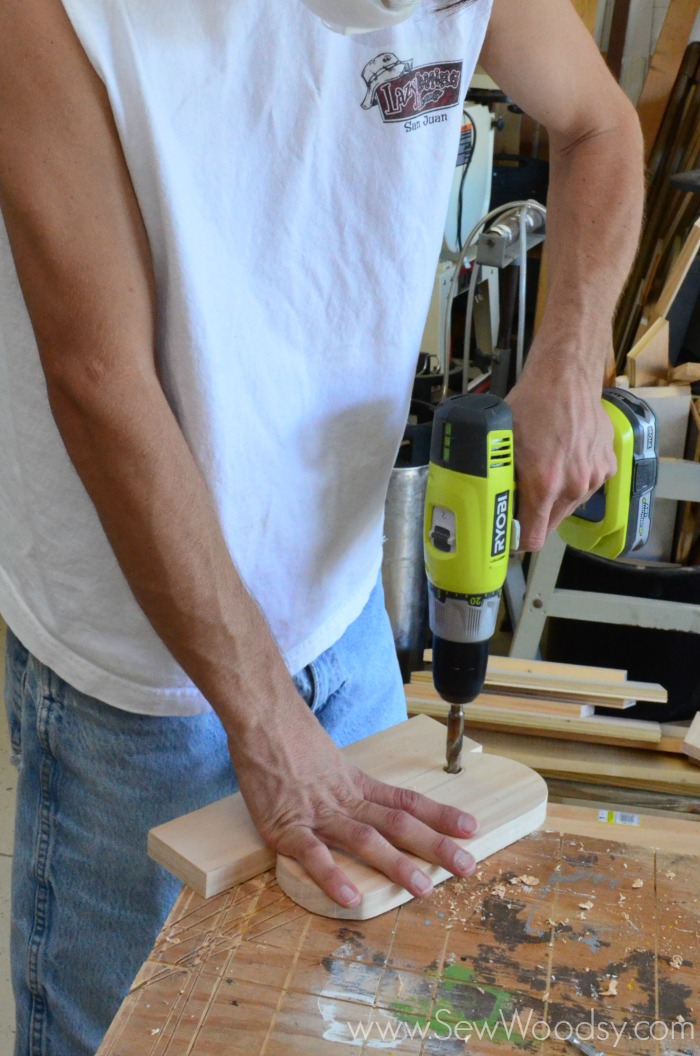
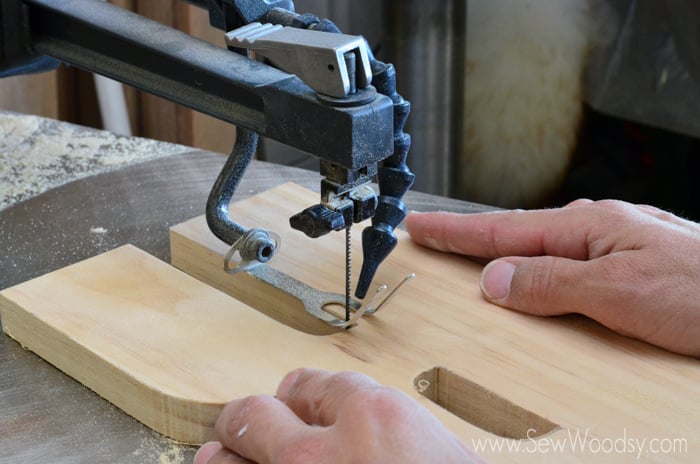
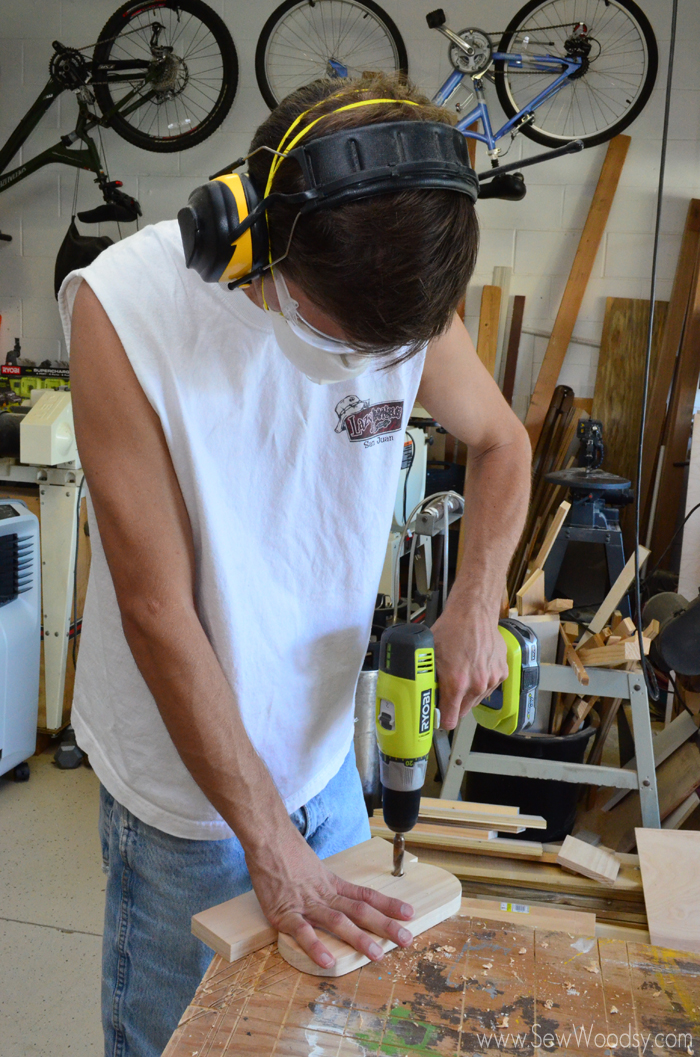
Using a drill, he drills a hole where he needs to cut in the middle of the wood.

He carefully removes the blade from the scrolls saw (make sure to always unplug the saw before removing the blade), places the drilled hole over where the blade will sit and then he replaces the blade back in the scroll saw. He turns it on and carefully begins cutting out the middle of the letters.
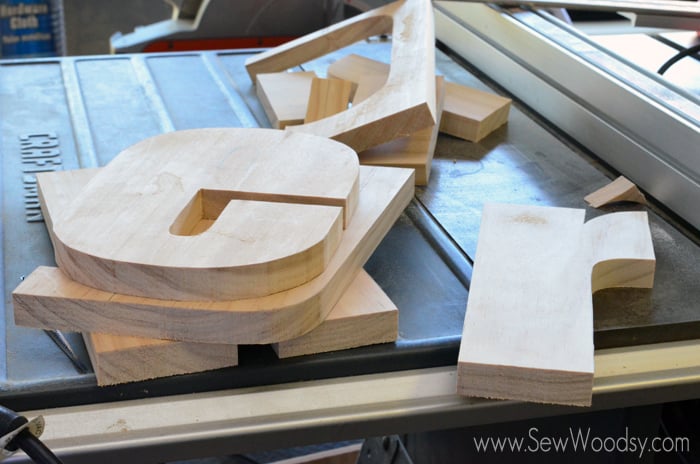 This is what it looks like prior to the holes being cut out for the letters.
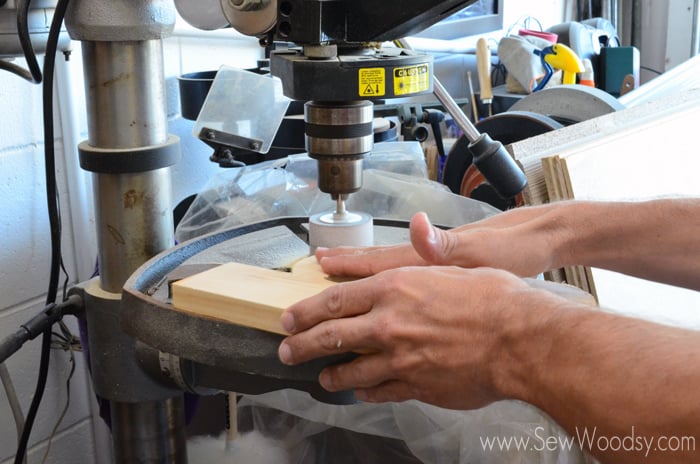
Jon placed a 150 grit drum sander on his drill press to sand the sides of the letters. If you don’t have a drill press with drum sander you can simply use a sander or manually sand the edges. (Not pictured) After he sanded the sides, he sanded the top and tight areas of the letters with 3M™ SandBlaster™ Pro Advanced Sand Paper NO-SLIP GRIP™ 220 grit to prep it for painting.
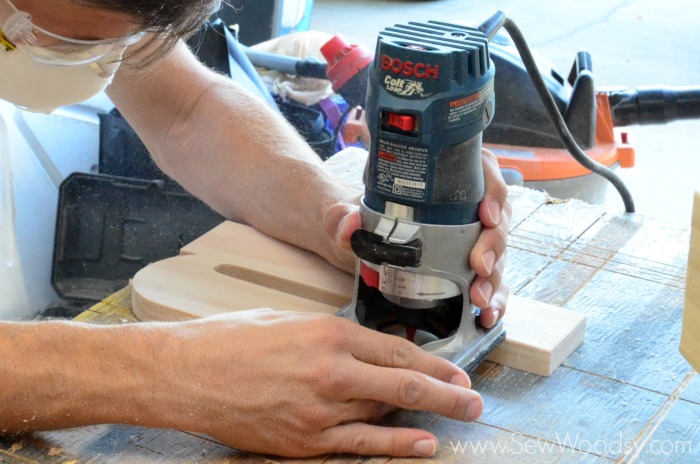
Lastly, before painting Jon used his router and key hole bit to create key holes to hang the letters. If you don’t have these tools, no biggies. You can use Scotch® Extreme Mounting Tape. This is the easy way to go and in hind sight we wish we would have done this instead.

Place the drop cloth down and paint the letters. We like to use the HomeRight® Finish Max paint sprayer. It gives a nice clean finish to the letters; however, if you don’t have a paint sprayer–just do it the old fashion way with a brush or roller.
 Once the letters are dry, it’s time to hang them. Jon placed the first letter on the wall and then measured out the rest of the letters.
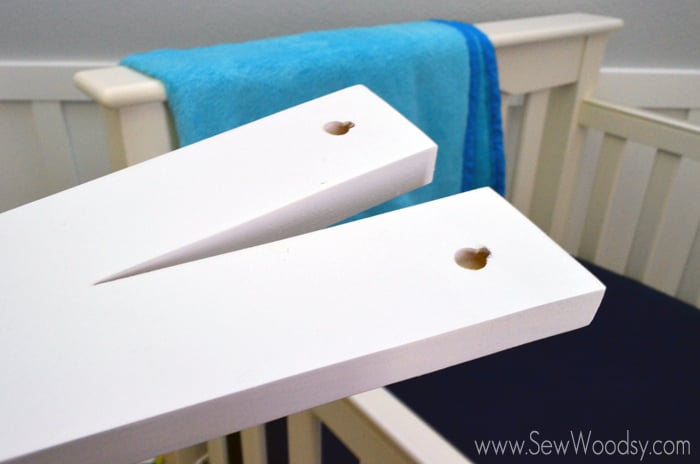
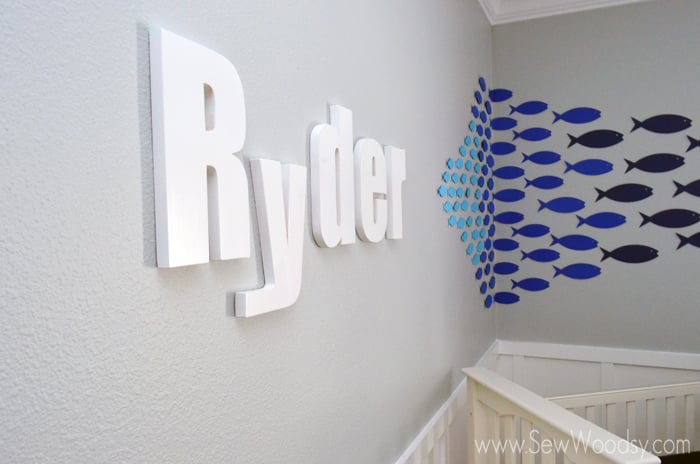
This is what the key holes look like. 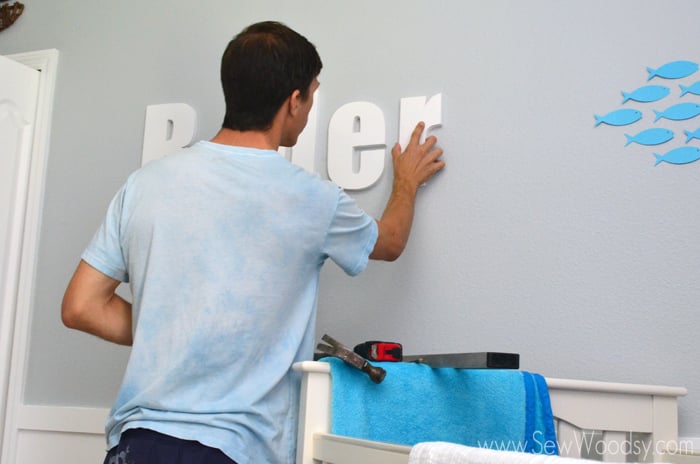 Jon placed the last letter on the wall and easy as that in an afternoon the letters for Ryder’s name was finally done!
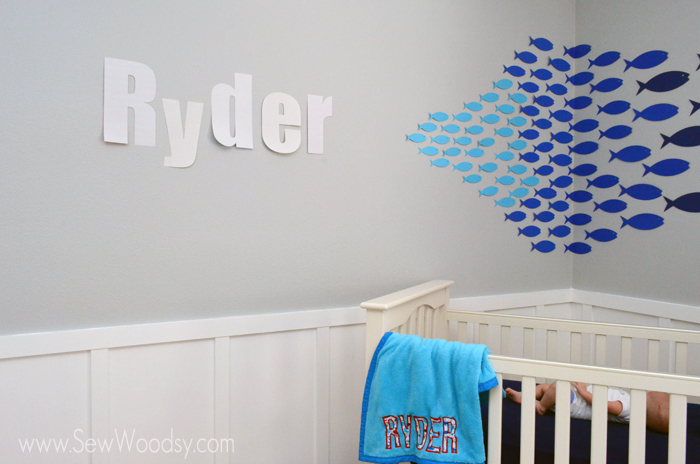
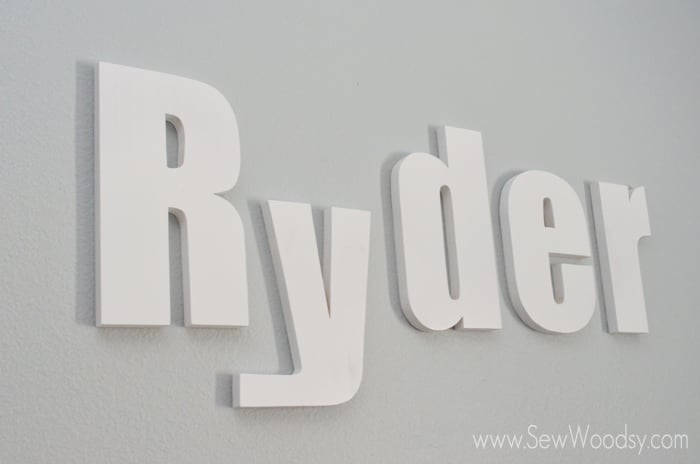 I’m so happy with how they turned out!
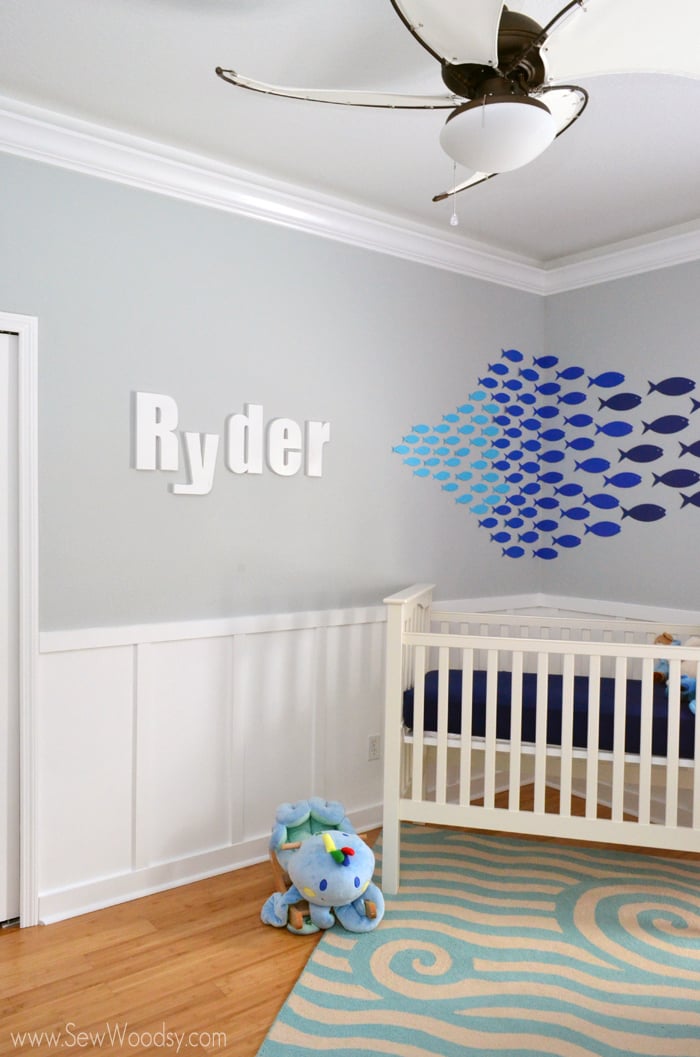 This gives a glimpse on how it looks in the nursery.
 If you own a scroll saw or ever wanted to cut out your own letters we hope this gives you a little insight on how easy it is to do. Just make sure you wear the proper safety equipment and always be careful and safe when operating tools.
3M DIY Website , 3M DIY Twitter , 3M DIY Facebook , 3M DIY Pinterest
I am proud to be a 3M- sponsored blogger, and, as part of my responsibilities, I get the opportunity to evaluate new products from 3M DIY. Opinions are my own and additional product used in the project were selected by me. There are affiliate links in this post.
