 The week before I was due to have Ryder I started nesting like crazy. I had a few DIY projects that I felt HAD to be done. I was staying up late after work every night to finish them. I just didn’t feel like I could have this baby without completing the projects. One of the projects was creating this custom newborn snap tee. I had eyed the “worth the wait” onesie set from Uncommon Goods for years and always knew that when I had a baby I wanted he/she to have that onesie. However, I did not want to spend the $36 they were charging for a onesie and hat.
That’s where my Cricut Explore came in handy. With a little iron-on vinyl and Cricut Design Space I was able to create this custom snap tee for pennies! And then of course brag to all the nurses in the hospital that I made it because they all loved his snap tee!
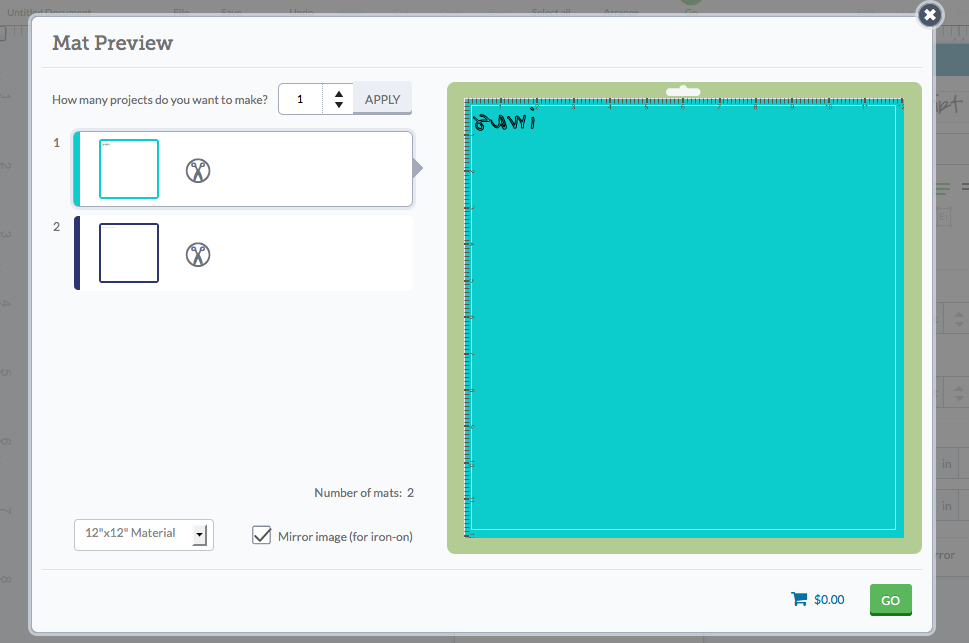 First up I created the phrase in Cricut Design Space. I assigned two different colors to the phrase so that way the Cricut Explore knew that I needed to cut out two separate pieces of iron-on vinyl. Make sure when working with iron-on vinyl and words that you click MIRROR IMAGE. Or else your phrase will read backwards and you don’t want that.
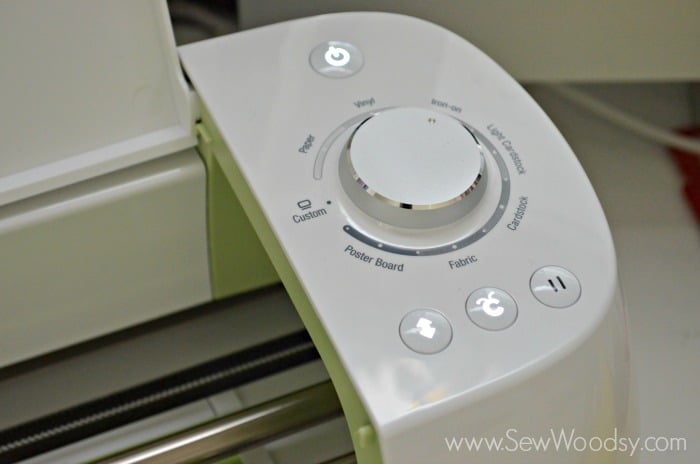
Next up, choose Iron-On on the dial setting and let the Cricut Explore go to work!
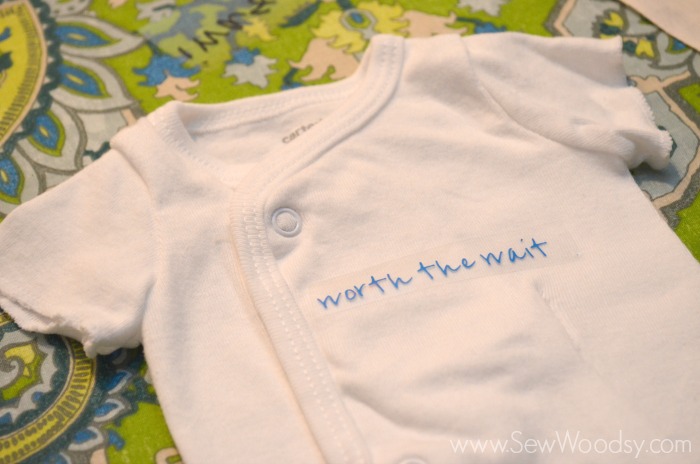
I applied the “worth the wait” portion first.
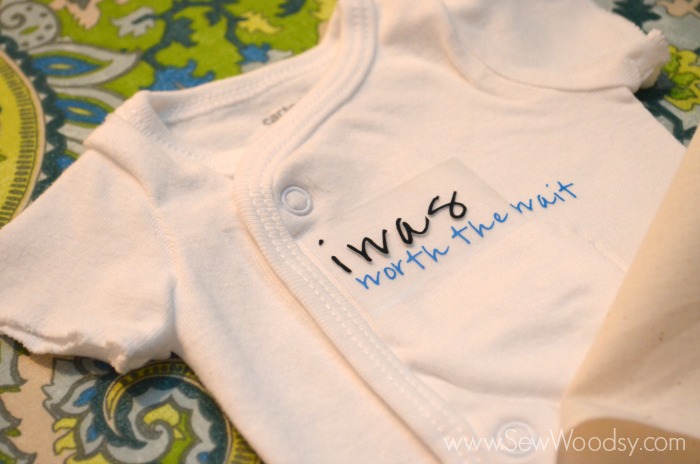
Then once I ironed on the “worth the wait” I lined up the “i was” words.
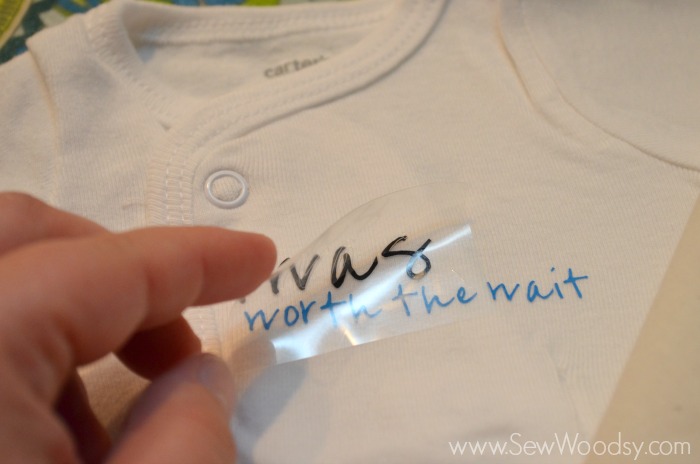
Ironed it on and removed the plastic covering. Easy as that… my shirt was done and all I needed was for my sweet baby boy to arrive.
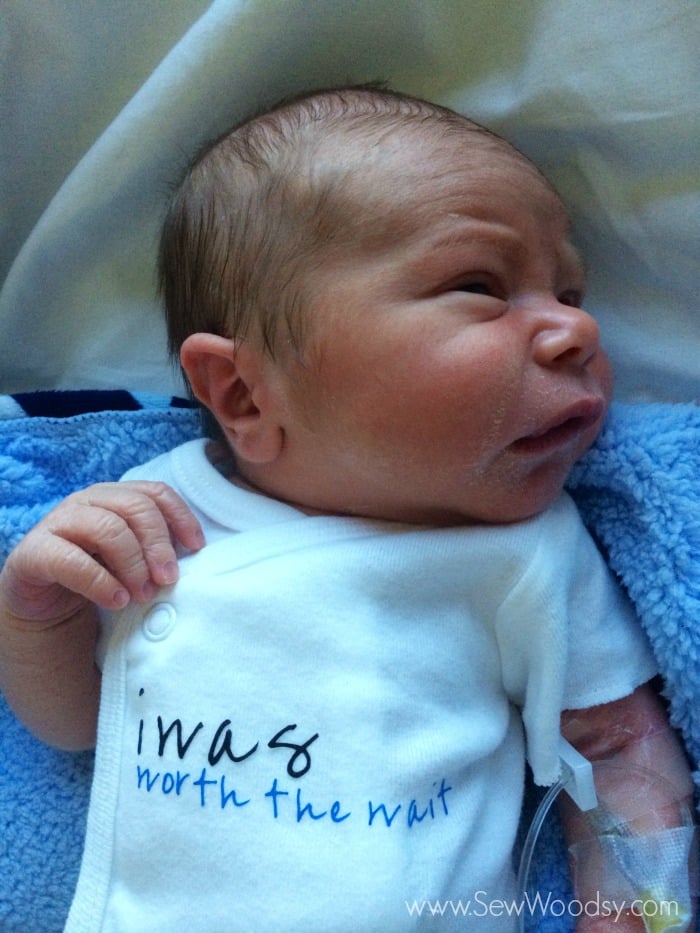
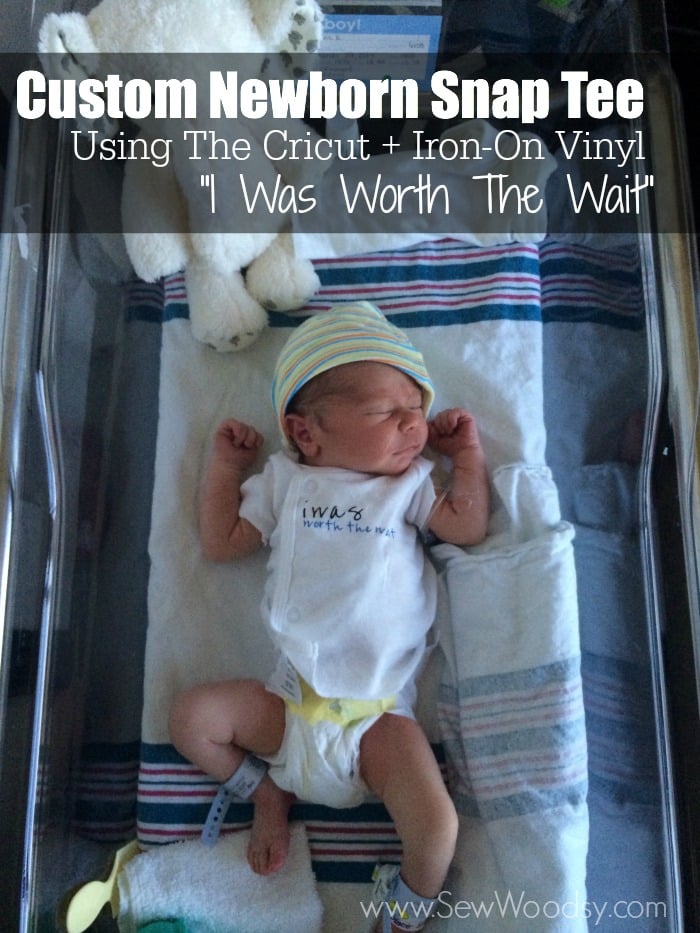
Ryder was a few days late but at the end of the day… was totally worth the wait.
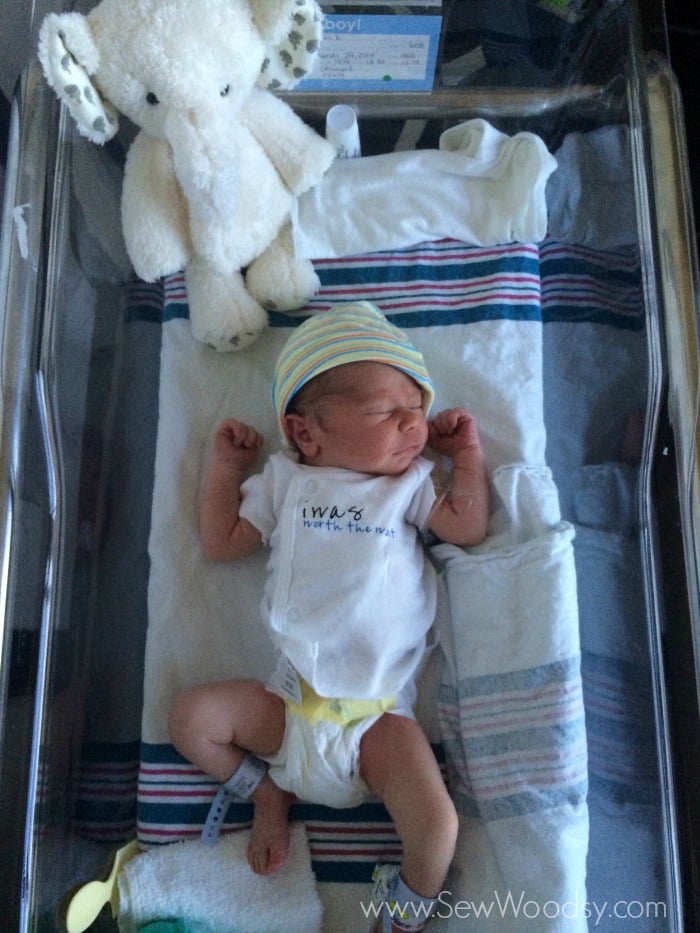
These photos were taken of him in the hospital a day after he was born on my iPhone.
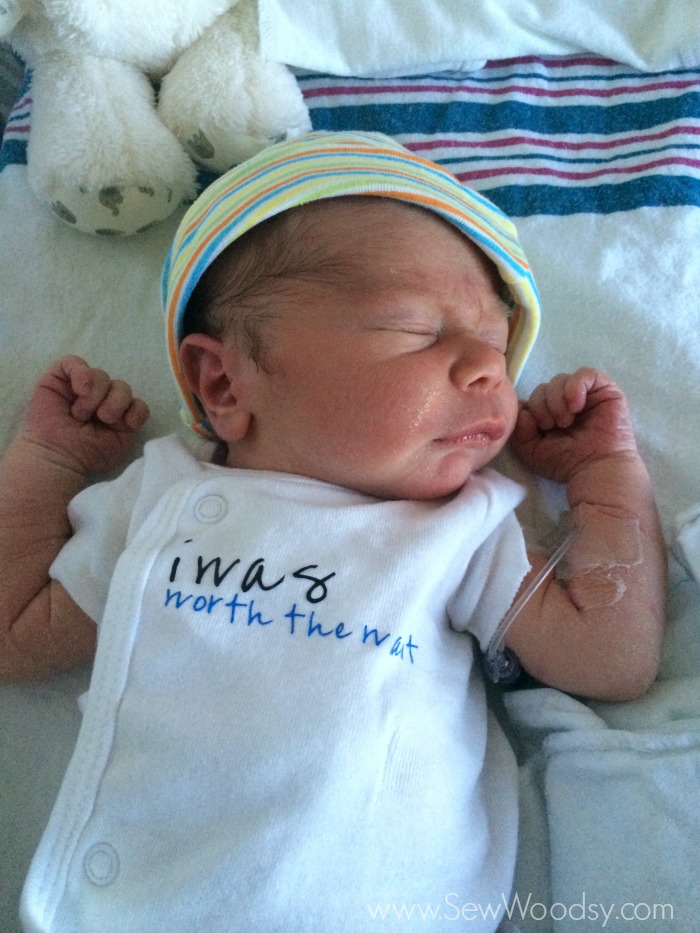
I look back at these photos and can’t believe how tiny and new he looked. Ryder is now ten weeks (as I type this) and is growing like a weed! I now get what everyone says when they say they grow fast.
Disclaimer: I’ve entered this project in the Cricut Design Space Star Challenge. If this project is selected I will win a cash prize. There are affiliate links in this post. If you purchase from the link we will make a percentage from the sale. As always all opinions are my own.

