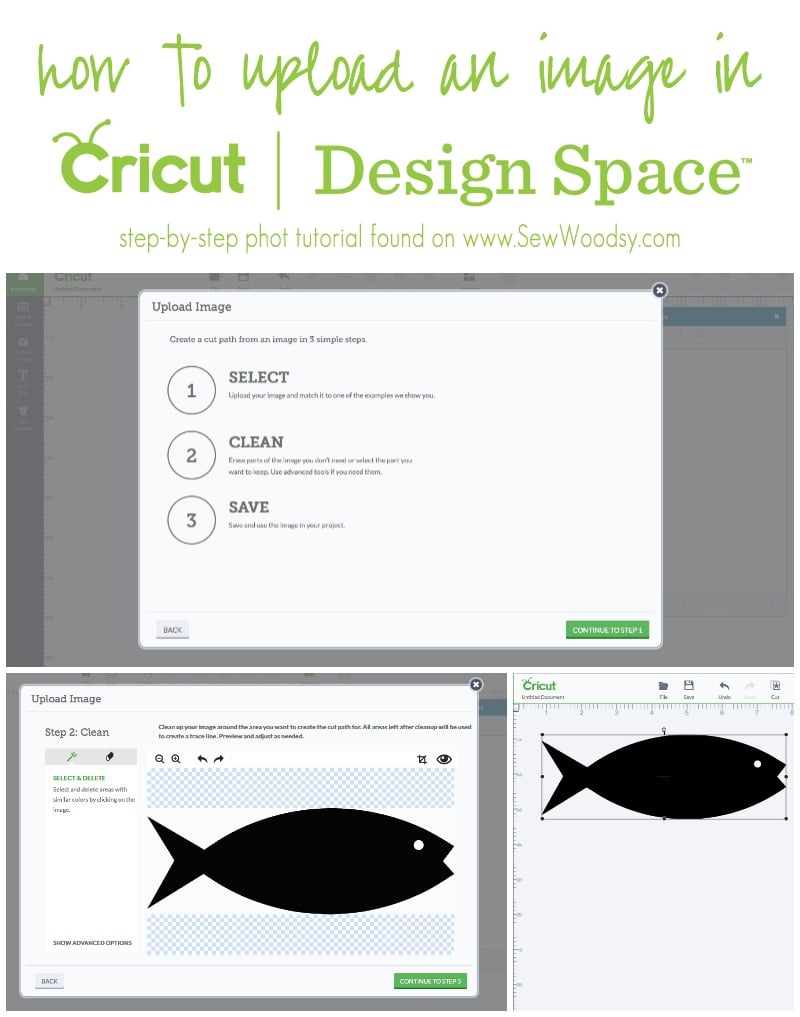
Back in January I shared Everything You Need to Know About the New Cricut Explore™. One of the really cool features about the new Cricut Explore is that it comes with Cricut Design Space for free. And an even cooler feature is that you can now upload your own images! Today, I’m going to walk you through a very basic tutorial on how to upload your own images in Cricut Design Space. It is super easy and in less than a minute you’ll have an image uploaded, stored in your library, and ready to cut!

Once your logged into Cricut Design Space, select “start a new project”. Then on the left hand side bar select “Insert Image”. This is the screen you will get when you select that option.
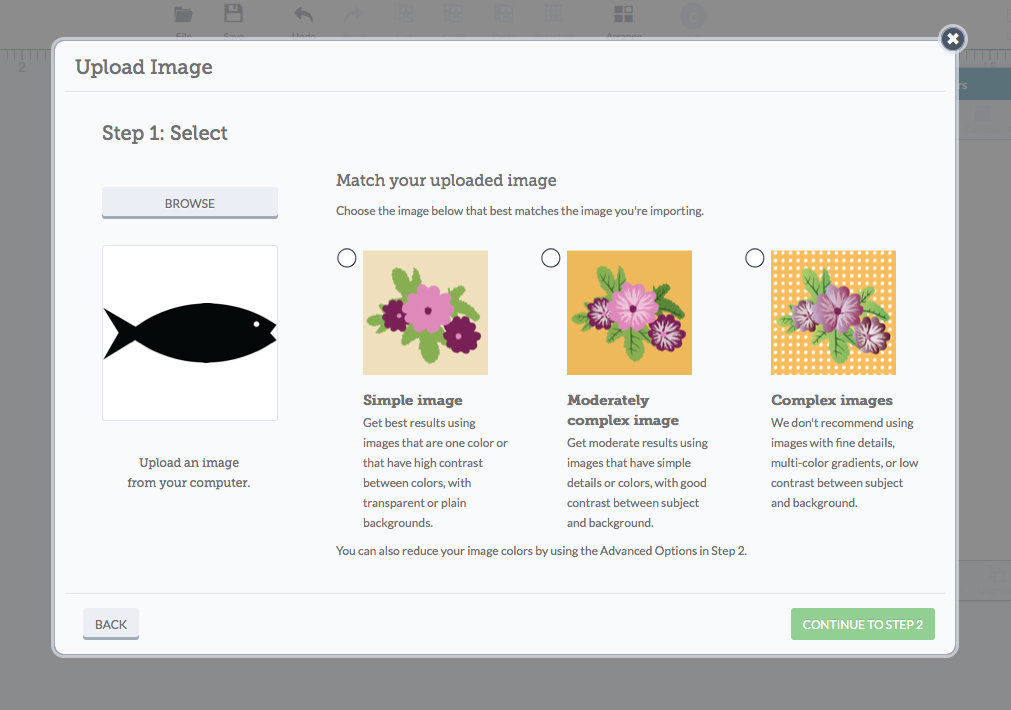
Next, select “browse” and choose the image you want to import into Cricut Design Space. I got this image from USF.Edu I have an upcoming project that involves a lot of these beauties!
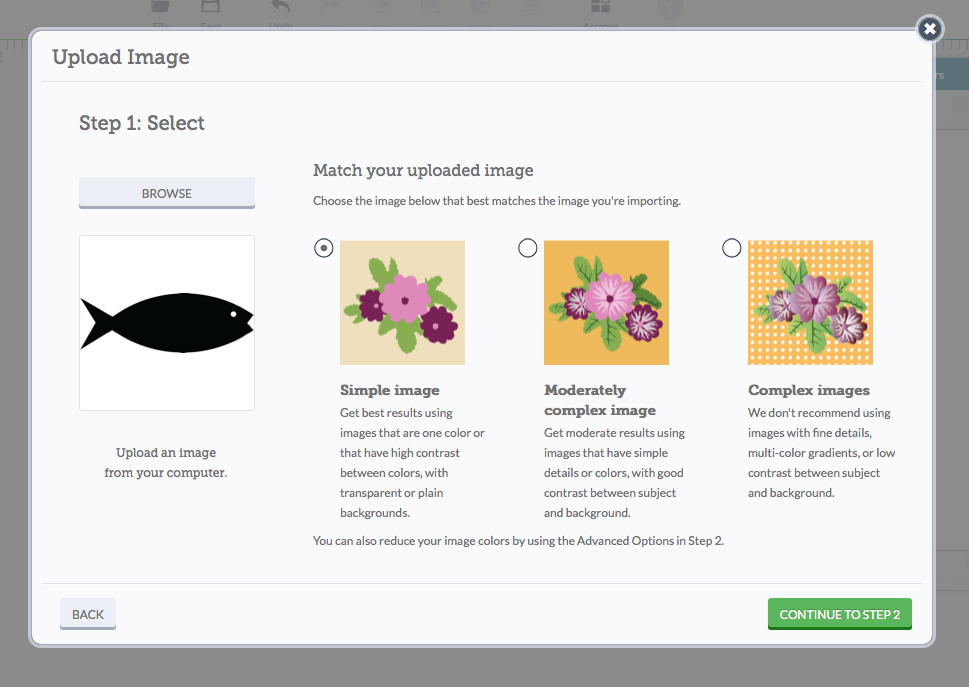 Then, select what type of image quality best matches the image you just uploaded. In my case, my image is VERY simple, so I selected “Simple Image”.
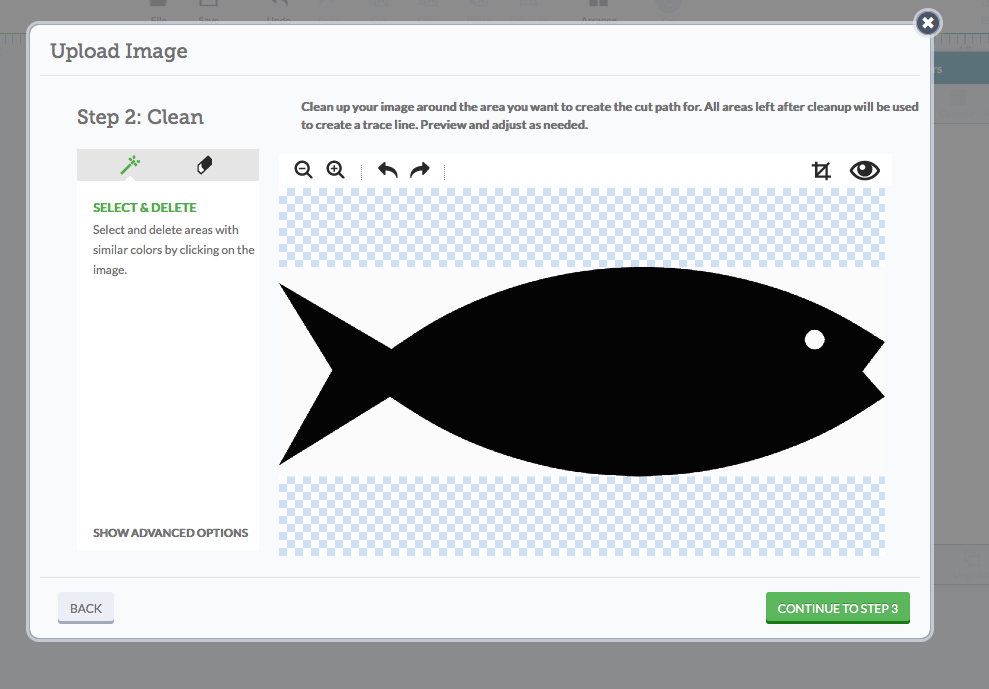 Once you click on “continue to step 2” this screen will appear. This is where you will remove all the white space that you do not want cut. Right now, if I was to leave it as is it would cut a big rectangle. Click on the little magic wand highlighted in green on the left hand side and begin removing the white space that you do not want cut.

You’ll notice, all of the white space is gone. Now click on “continue to step 3”.
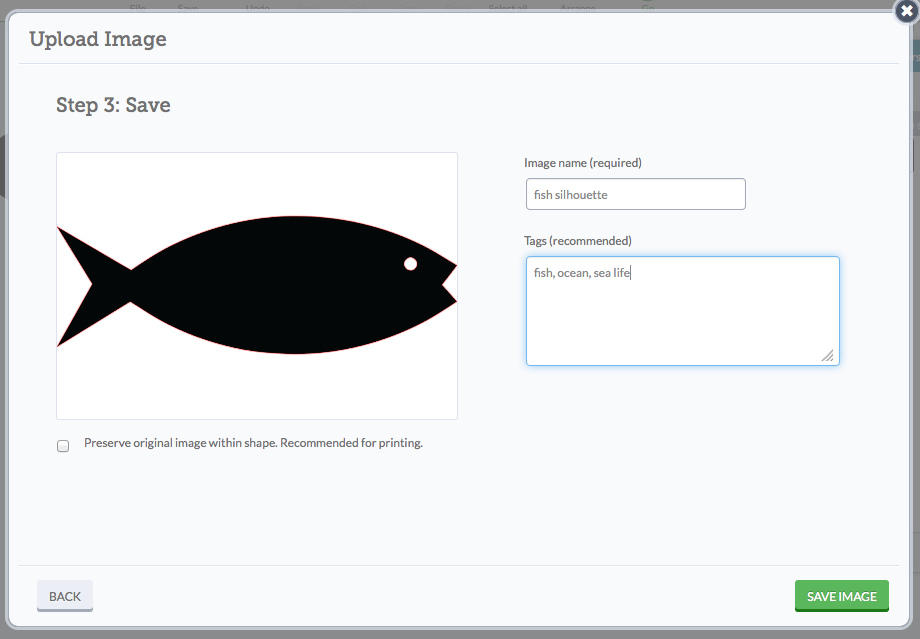
Next up, name your file. This will help you find your file later on down the road. Also, make sure you tag your image. I chose 3 simple tags, but you can do as many tags as you want. Once your done, click “save image”.
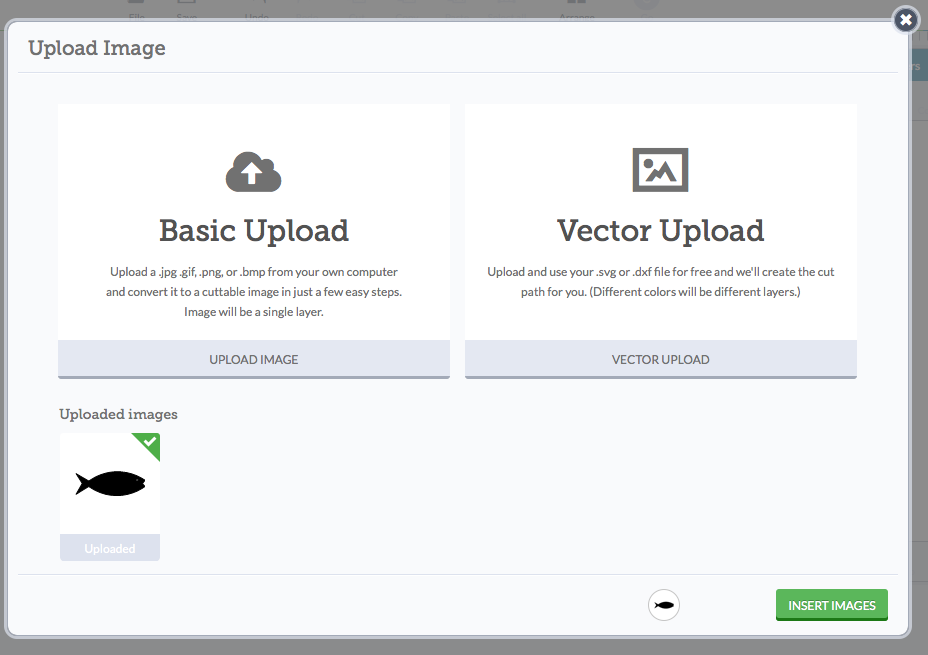 Once you’ve uploaded your image you can do one of two things. You can upload another image into the library or you can “insert images”. I just wanted to upload one new image so I chose the “upload images” option. You’ll notice that there is a green check mark on my image. This just means that this one image will be uploaded onto my mat in Cricut Design Space.
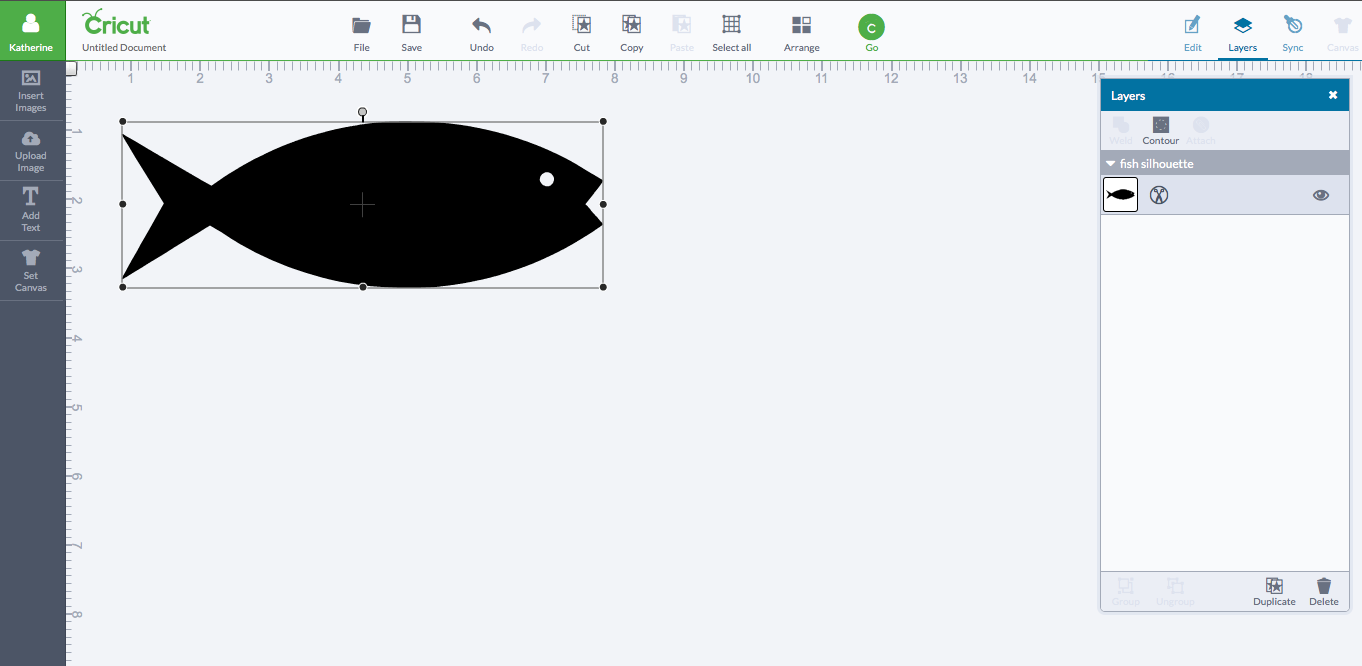 There you have it. Easy as that, I’ve uploaded my OWN image into Cricut Design Space. It’s a super simple and easy process. I do want to let you know if your image has multiple colors you will need to upload EACH color separately. In my case, I’ve uploaded a silhouette for a fish and I know that I only need it one color.
Hope this helps out everyone who is new to Cricut Design Space! If you have any questions, please feel free to leave a comment below and I’ll try to answer to the best of my knowledge!
Disclaimer: There are affiliate links in this post. If you purchase from the link we will make a percentage of the sale.

