• Skip to primary navigation
  • Skip to main content
  • Skip to primary sidebar

Sew Woodsy logo

  • About
  • Crafts
  • Cricut
  • Home
  • Beauty
  • Holiday
    • Valentine’s Day
    • St. Patrick’s Day
    • Easter
    • Patriotic
    • Halloween
    • Thanksgiving
    • Christmas
  • Travel
menu icon
go to homepage
search icon
Homepage link
  • Home
  • About Us
  • Cricut
  • Travel
  • Holiday
    • Email
    • Facebook
    • Instagram
    • Pinterest
    • RSS
    • Twitter
    • YouTube
  • ×

    Home » Baby

    Published: Mar 7, 2014 | Modified: Mar 7, 2014 | Posted Under: Baby

    {Video} DIY Board and Batten

    Sharing is caring!

    2 shares
    • Facebook
    • Twitter

    This is a sponsored post on behalf of Homes.com

    {Video} DIY Board and Batten

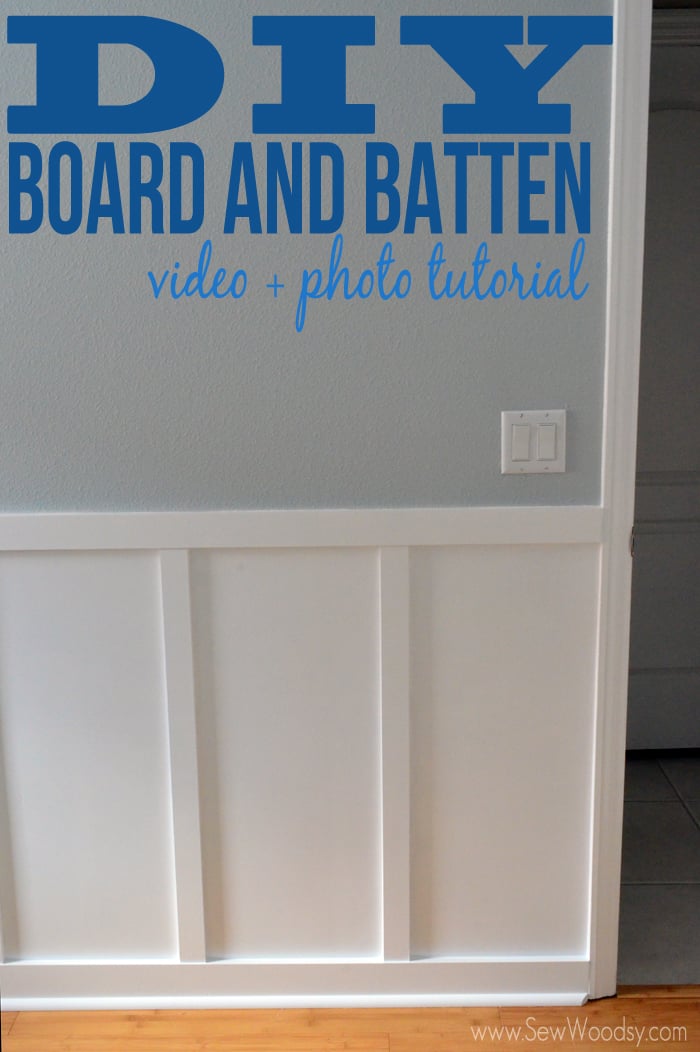
    Oh man, am I excited to finally share our video on how to install board and batten. I swear this feels like it has been our longest project to date. I know it hasn’t, but it feels like it. After we found out we were expecting we started brainstorming some ideas for the nursery. We both knew we wanted to install board and batten in the nursery. It’s a project we’ve been wanting to tackle and it was the perfect room for it. Little did we realize it would take us forever to install it and paint it. And let’s face it–working on labor intensive DIY projects at 7 and 8 months pregnant is really what most pregnant women want to do. Watch our video and see just how we installed the board and batten!

    Here are a few photo collages below that will walk you through a very abbreviated version of our board and batten video.

    How to Install Board & Batten from SewWoodsy.com

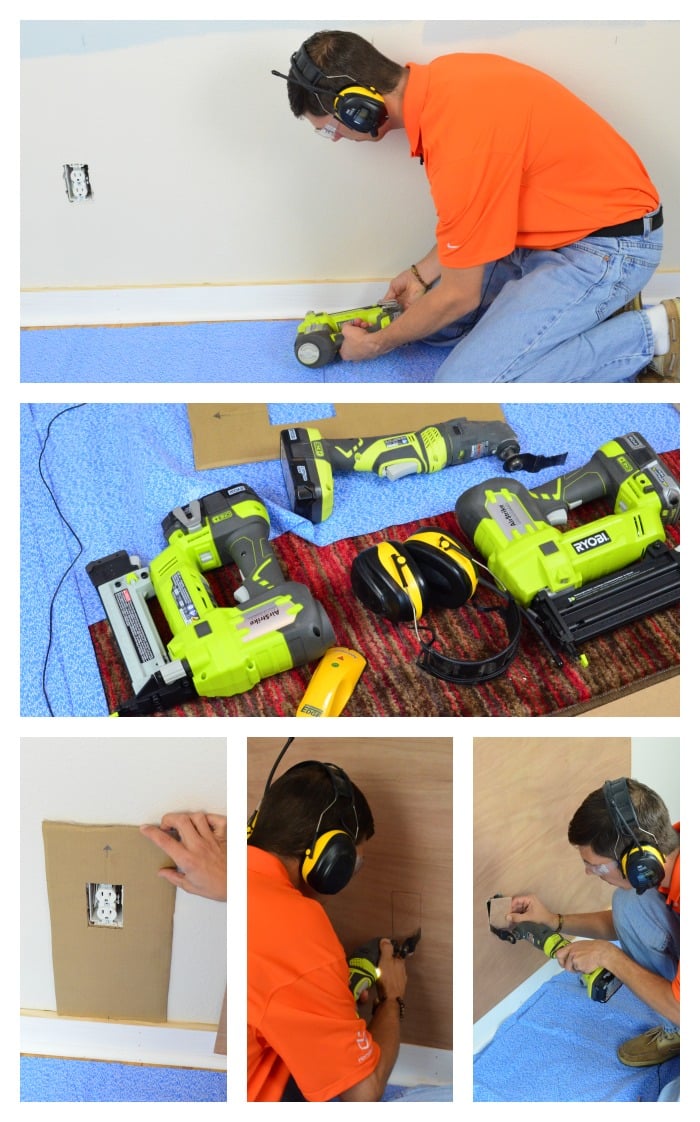
    We removed the baseboards and used 1×4. Then he made a template using a piece of cardboard to cut out the outlets. He secured the ⅛ inch paneling with a the RYOBI AirStrike Narrow Crown Stapler. Using the RYOBI multi-tool he cut out the outlet openings. How to Install Board & Batten from SewWoodsy.com

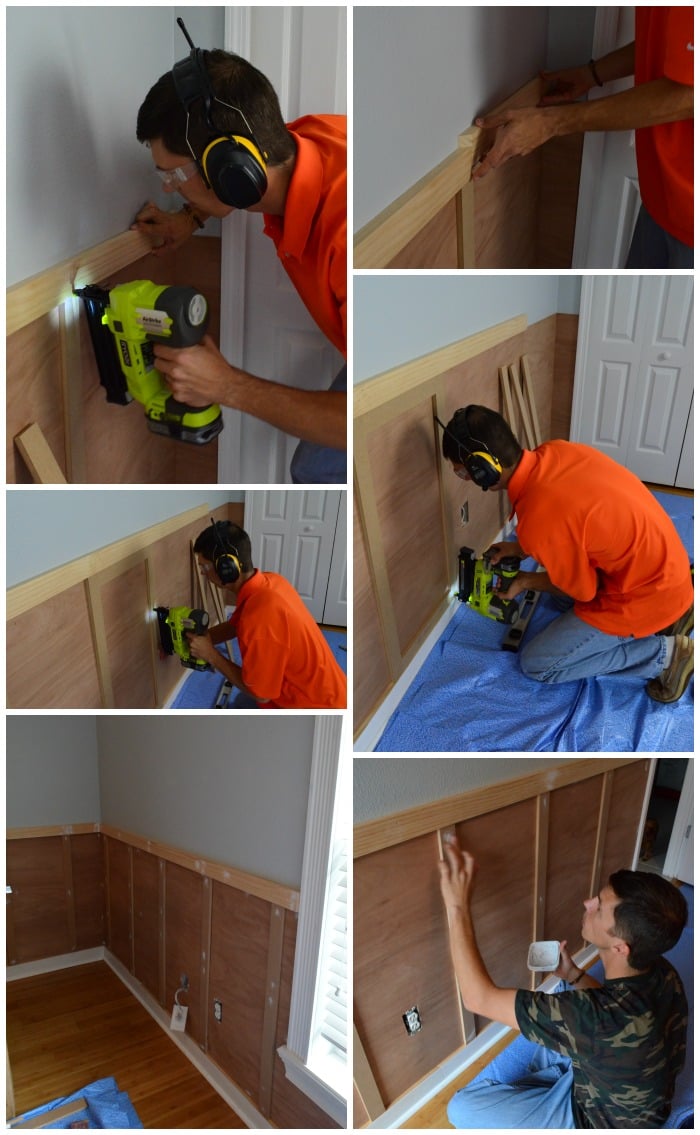
    Next up, install the top railing (also 1 x 4) to the top of the wood paneling. Jon cut 2-inch pieces of MDF and placed them 14 inches a part. He attached all of this using the RYOBI Brad Nailer. This is totally up to you. This is just what we liked. He secured each of the pieces of wood with a brad nail gun. Then, using patch plus primer he filled in all the holes. How to Install Board & Batten from SewWoodsy.com
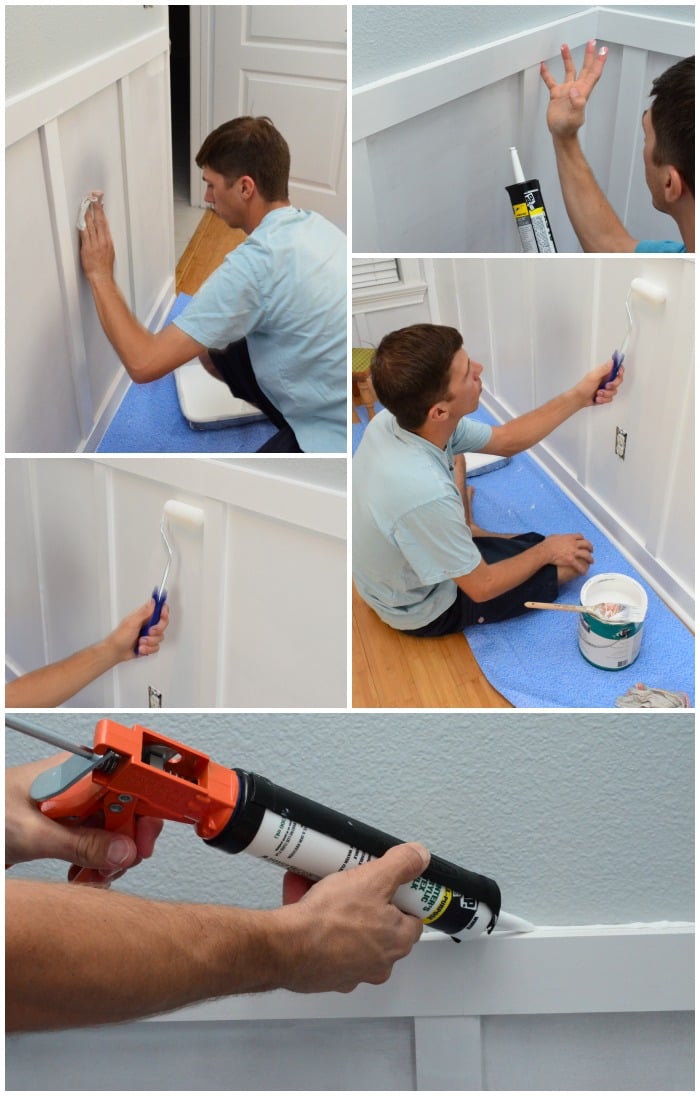
Lastly, once you’ve primed the board and batten give it a light sanding. Jon used 150 grit sand paper. Then, he did all the caulking before painting the semi-gloss white paint to the board and batten.

    Board and Batten


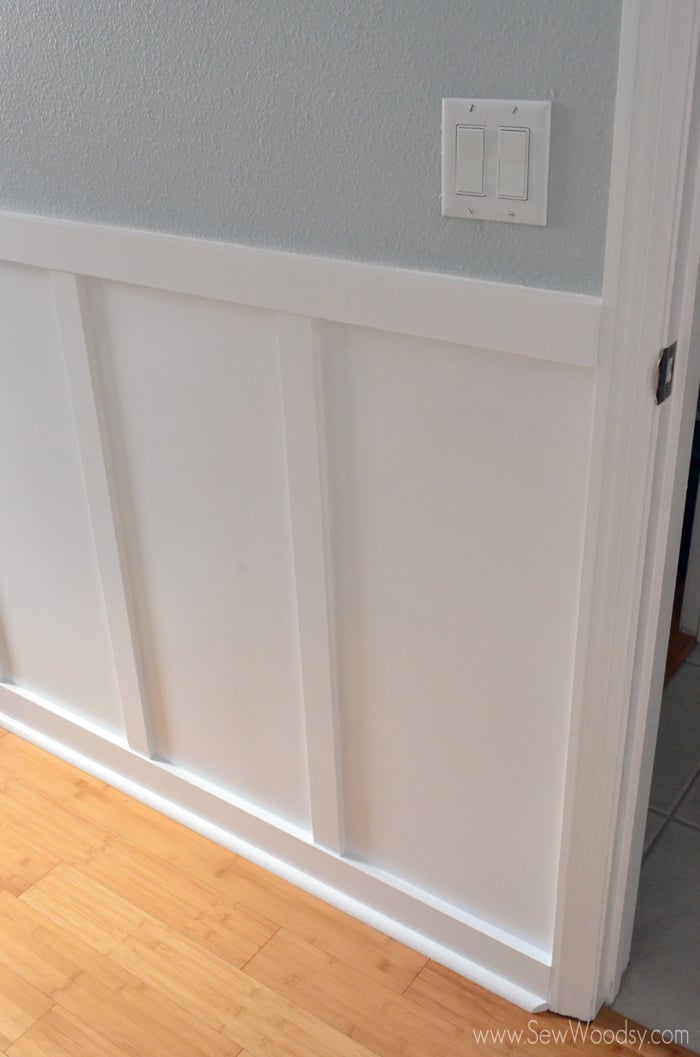
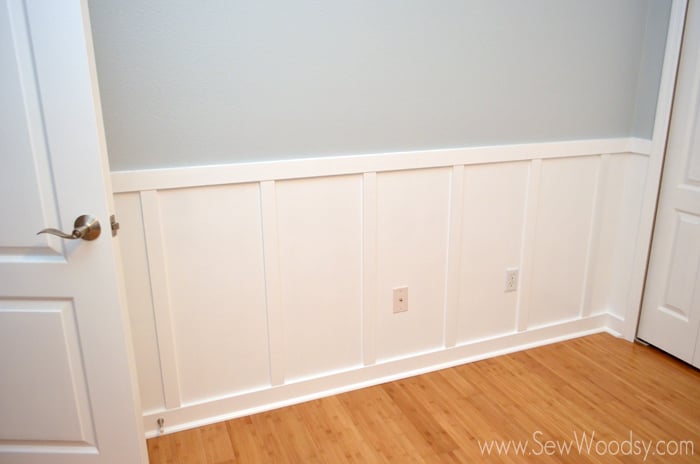
    Here is a peak at how it turned out. I love it. It looks like it’s straight from a magazine!!!
    Board and Batten

    Disclosure: We have a working relationship with Homes.com and are video brand ambassadors for 2013-2014 (thus we are compensated). As always all opinions are our own.

    « How To Upload an Image in Cricut Design Space
    Baby Shower Onesie Station »

    Reader Interactions

    Comments

    1. Darlene says

      March 08, 2014 at 11:34 am

      That looks really great. We have just purchased a log home and have some areas of sheet rock to redo and this may be a thought. The texture on the walls….did yall do that and if so how? I always look forward to the great tips on your website….keep up the good work!!!

      Reply
      • Katie says

        March 10, 2014 at 7:38 am

        Thanks Darlene. Our walls in our home are already textured. We installed the wood paneling so that the bottom portion is smooth. Jon contemplated re-texturing the walls smooth but we felt it would have taken longer to complete the project. Good luck!

        Reply
    2. Melanie says

      March 08, 2014 at 6:32 pm

      We installed something like this in one of our bathrooms. It adds a nice touch.

      Reply
      • Katie says

        March 10, 2014 at 7:38 am

        Very cool Melanie–it’s a pain but totally worth the look in the end!

        Reply
    3. Mary Beth @ Cupcakes and Crinoline says

      March 09, 2014 at 10:23 pm

      This is on my list ~ I love seeing how you did yours.

      Reply
      • Katie says

        March 10, 2014 at 7:41 am

        Thanks Mary Beth!

        Reply
    4. Randi - Dukes and Duchesses says

      March 09, 2014 at 10:39 pm

      Great tutorial … thanks! I pinned it. I’d love to do this in a room in my house.

      Reply
      • Katie says

        March 10, 2014 at 7:41 am

        Thanks Randi! It’s been on our want list forever now. We are so happy with how it turned out.

        Reply
    5. Jeanie @ create&babble says

      March 09, 2014 at 10:46 pm

      Thanks for the great tutorial. I’ve been thinking about doing this, too! Pinning!

      Reply
      • Katie says

        March 10, 2014 at 7:43 am

        Thanks Jeanie! When you get around to installing feel free to ask us any questions you may have!

        Reply
    6. Julie says

      March 25, 2014 at 11:45 am

      This is awesome! Your video was extremely helpful. I’ve installed board and batten before, but your tutorial would have made my process a lot smoother. I will definitely use your techniques next time. Thank you!

      Reply
      • Katie says

        March 26, 2014 at 11:45 am

        Awe thanks Julie!

        Reply

    Leave a Reply Cancel reply

    Your email address will not be published. Required fields are marked *

    Primary Sidebar

    • Email
    • Facebook
    • Instagram
    • Pinterest
    • RSS
    • Twitter
    • YouTube
    Male and female hugging on each other in the woods.

    Hi, we're Katie & Jon! Welcome to our home away from home!

    Sew Woodsy is a lifestyle blog focusing on crafts, home diy projects, family, travel and all things life. Get comfy and join us on our adventure!

    More about us →

    Father's Day

    • Father’s Day Printable
    • DIY Toddler Painted Father’s Day Card
    • DIY Father’s Day Journal
    • DIY “I’m A Proud Father” T-Shirt

    Trending

    • How To Grow Green Onions
    • How to Host a Baby Shower at Work
    • Tips & Tricks on Installing Butcher Block Countertops
    • How to Build an Extra Wide Simple Dresser

    Search The Blog

    Browse

    Footer

    ↑ back to top

    About

    • About Us
    • Privacy Policy
    • Accessibility Statement

    Newsletter

    • Sign Up! for emails and updates

    Contact

    • Contact
    • Work with us
    • Advertise

    Copyright © 2010 - 2022 Sew Woodsy