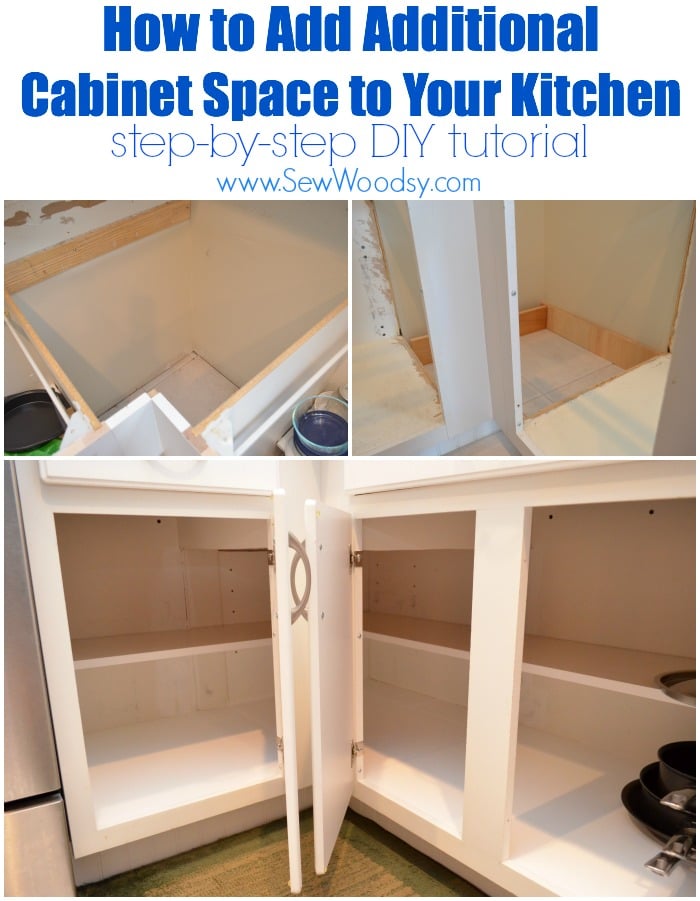
Today, I’m back to share another kitchen revamp update post. When we were planning our kitchen project, I had mentioned to Jon that I really wanted him to cut out the two sides that backed up to the corner and extend out our cabinet. I knew that our builder did not utilize the space properly (remember, we bought a foreclosure, so this was way out of our control). I knew that I had almost a whole other cabinets worth of room that had been blocked. So as soon as Jon removed the formica countertops he saw exactly what I suspected.
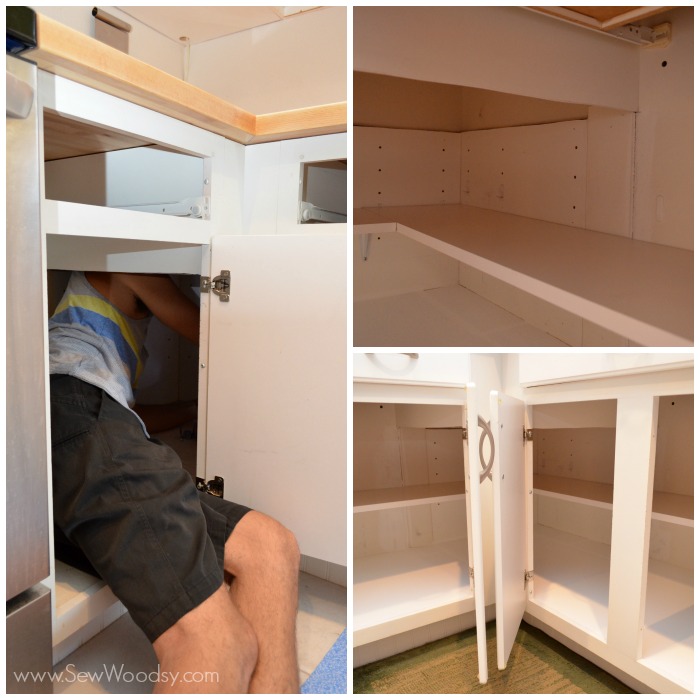
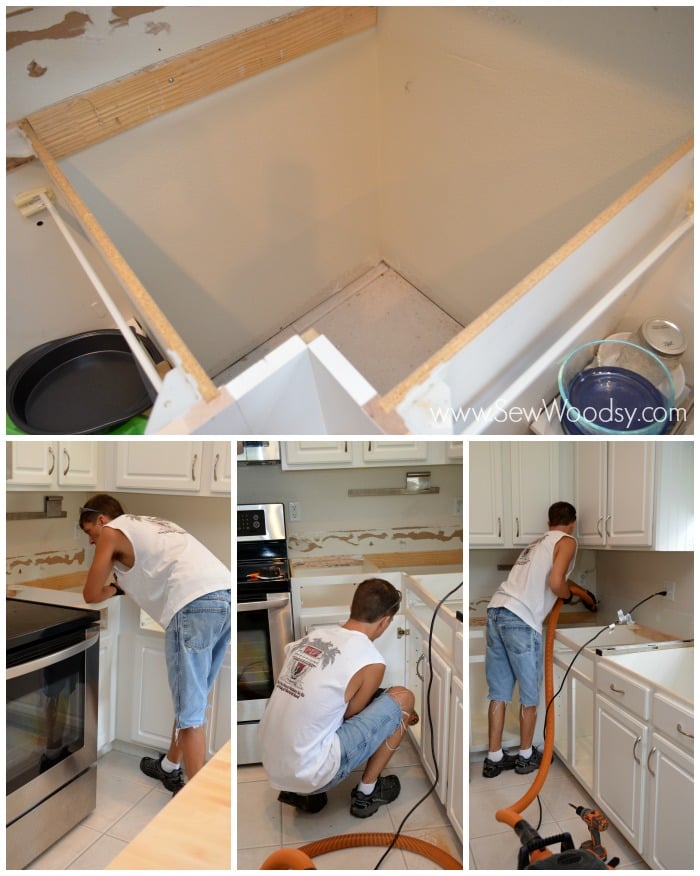 Jon, being the most amazing husband ever, took time out, to remove the two walls to the cabinets backing up to the dead space. First, we removed EVERYTHING from the cabinets. Talk about even more mass pandaemonium, and at the same time I had no idea I was storing so much kitchen stuff in just 2 cabinets! We had to move everything to our front room, pot and pans stacked on our coffee table, all the baking sheets on the pool table. It was like our kitchen had instantly thrown up in our home.
Jon removed the cabinet doors using his RIDGID Drill and then for some reason decided it was needed to start cleaning up all the mess/dust from removing the formica countertops. He is a neat freak and cannot work in a dirty environment. He is definitely a clean as you go type of person.
 He took a level and marked out where he was going to cut. Then using a multi-tool began cutting. Let me tell you now. If you don’t have a heavy duty multi-tool–do not attempt this project. I think it took four times as long because Jon was using a cheap $20 version. Right after that we got the RYOBI multi-tool that cuts in a breeze!
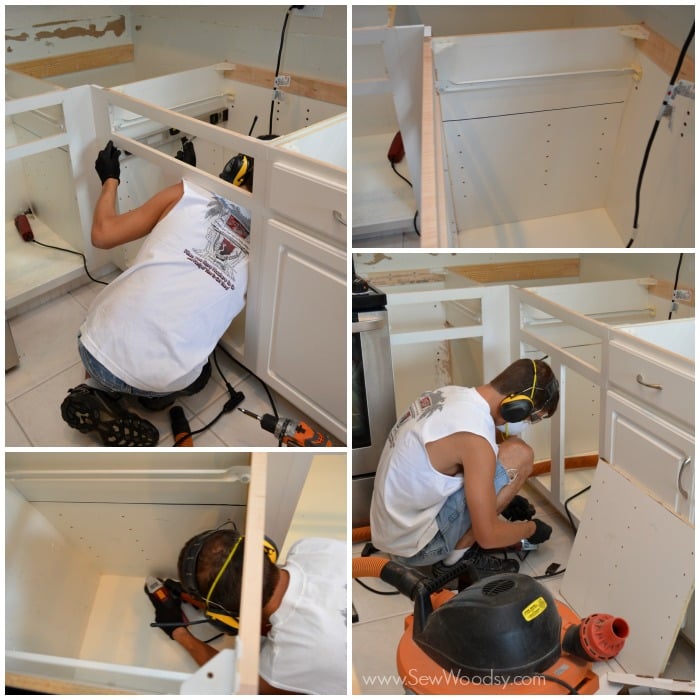
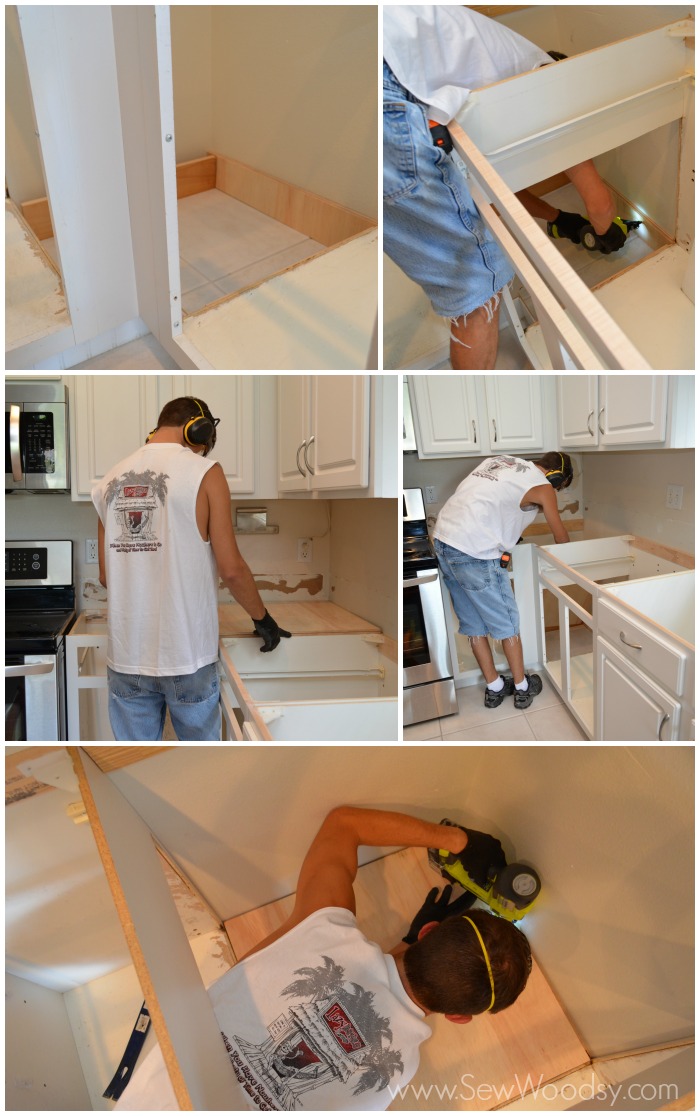 Next up, once the two sides were removed Jon made kick-plates for the dead-space corner. Then he cut out a piece of scrap Purebond Hardwood Plywood and made it flush with the other two cabinets. Next up, using his RYOBI AirStrike Brad Nail Gun he secured the wood in place.
He waited a week until he had the countertops on before he installed the shelving. He used the old sides of the cabinets and secured them to the wall. No need to get rid of them since they were still in decent shape. He bought one large piece of laminate shelving and cut and joined it to size, so that the ends met one another.
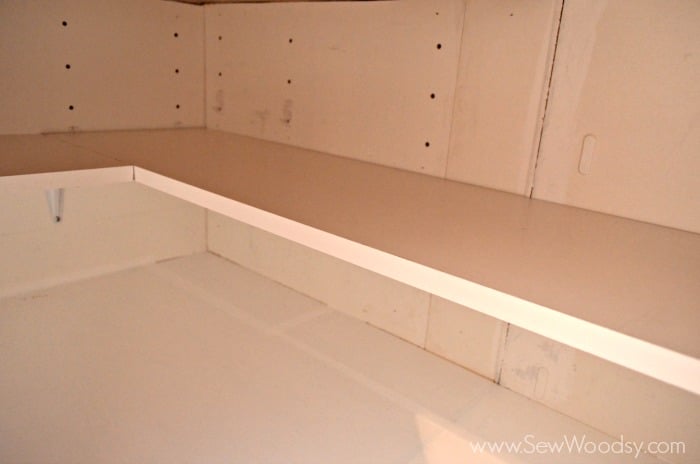
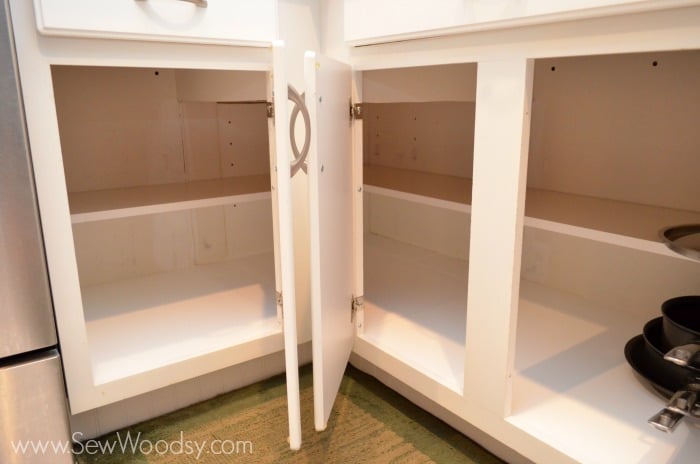
I will be the first to say, it does not look super pretty under their, but I could care less what it looks like. I’ve gained an entire cabinet. Yes, could we have repainted and made this look pretty, yes. Did we? No. I wanted my kitchen back up and running ASAP. Maybe one day we will then again no one goes into the cabinet to stare and admire it–they go in to grab kitchen goods stored.
I also want to make note that I thought this was a brilliant idea when I was only 10/12 weeks pregnant and had no belly. It is almost impossible for me to get anything from that back corner now. I’m always calling on Jon. The good thing is that I try to only store the stuff I don’t use that often.
In the coming weeks I’ll be sharing an organization post, because having all that space can get messy, quick. What do you think? Have you ever repurposed lost space to gain more?
