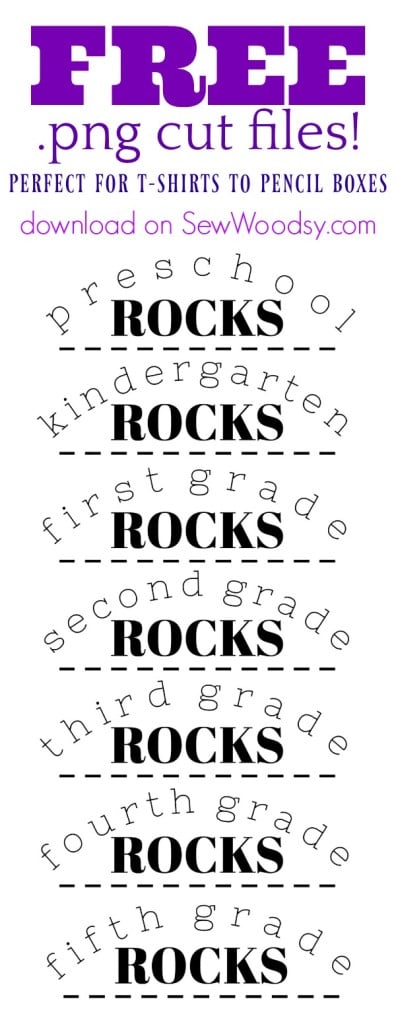
Make a customized Elementary School Rocks crayon/pencil box using my FREE PNG Files I created. Make this year the best year for your child at school!

My son started preschool this week. I’ve had fun customizing and creating all sorts of fun back to school items for him. I’m so excited to share with you guys my most recent PNG file design. I took a plain pencil box and added this cute “preschool rocks” vinyl onto the pencil box. It turned that $1 pencil box looking like it was much more expensive. To be honest, I had all the items on hand so it really didn’t cost me anything extra.
These cut files (I made them from preschool up to fifth grade) can be uploaded into Cricut Design Space (or you can use it for that “other” cutting machine (i.e., Silhouette)). I used my new Cricut Maker for this project! Eeeep! Can I just tell you it cut this file with perfect precision and not one tear or miss! I’ll show you how I created this cute pencil box in under 15 minutes time. I love easy craft projects that don’t take a long time at all to create!
Table of contents
Supplies
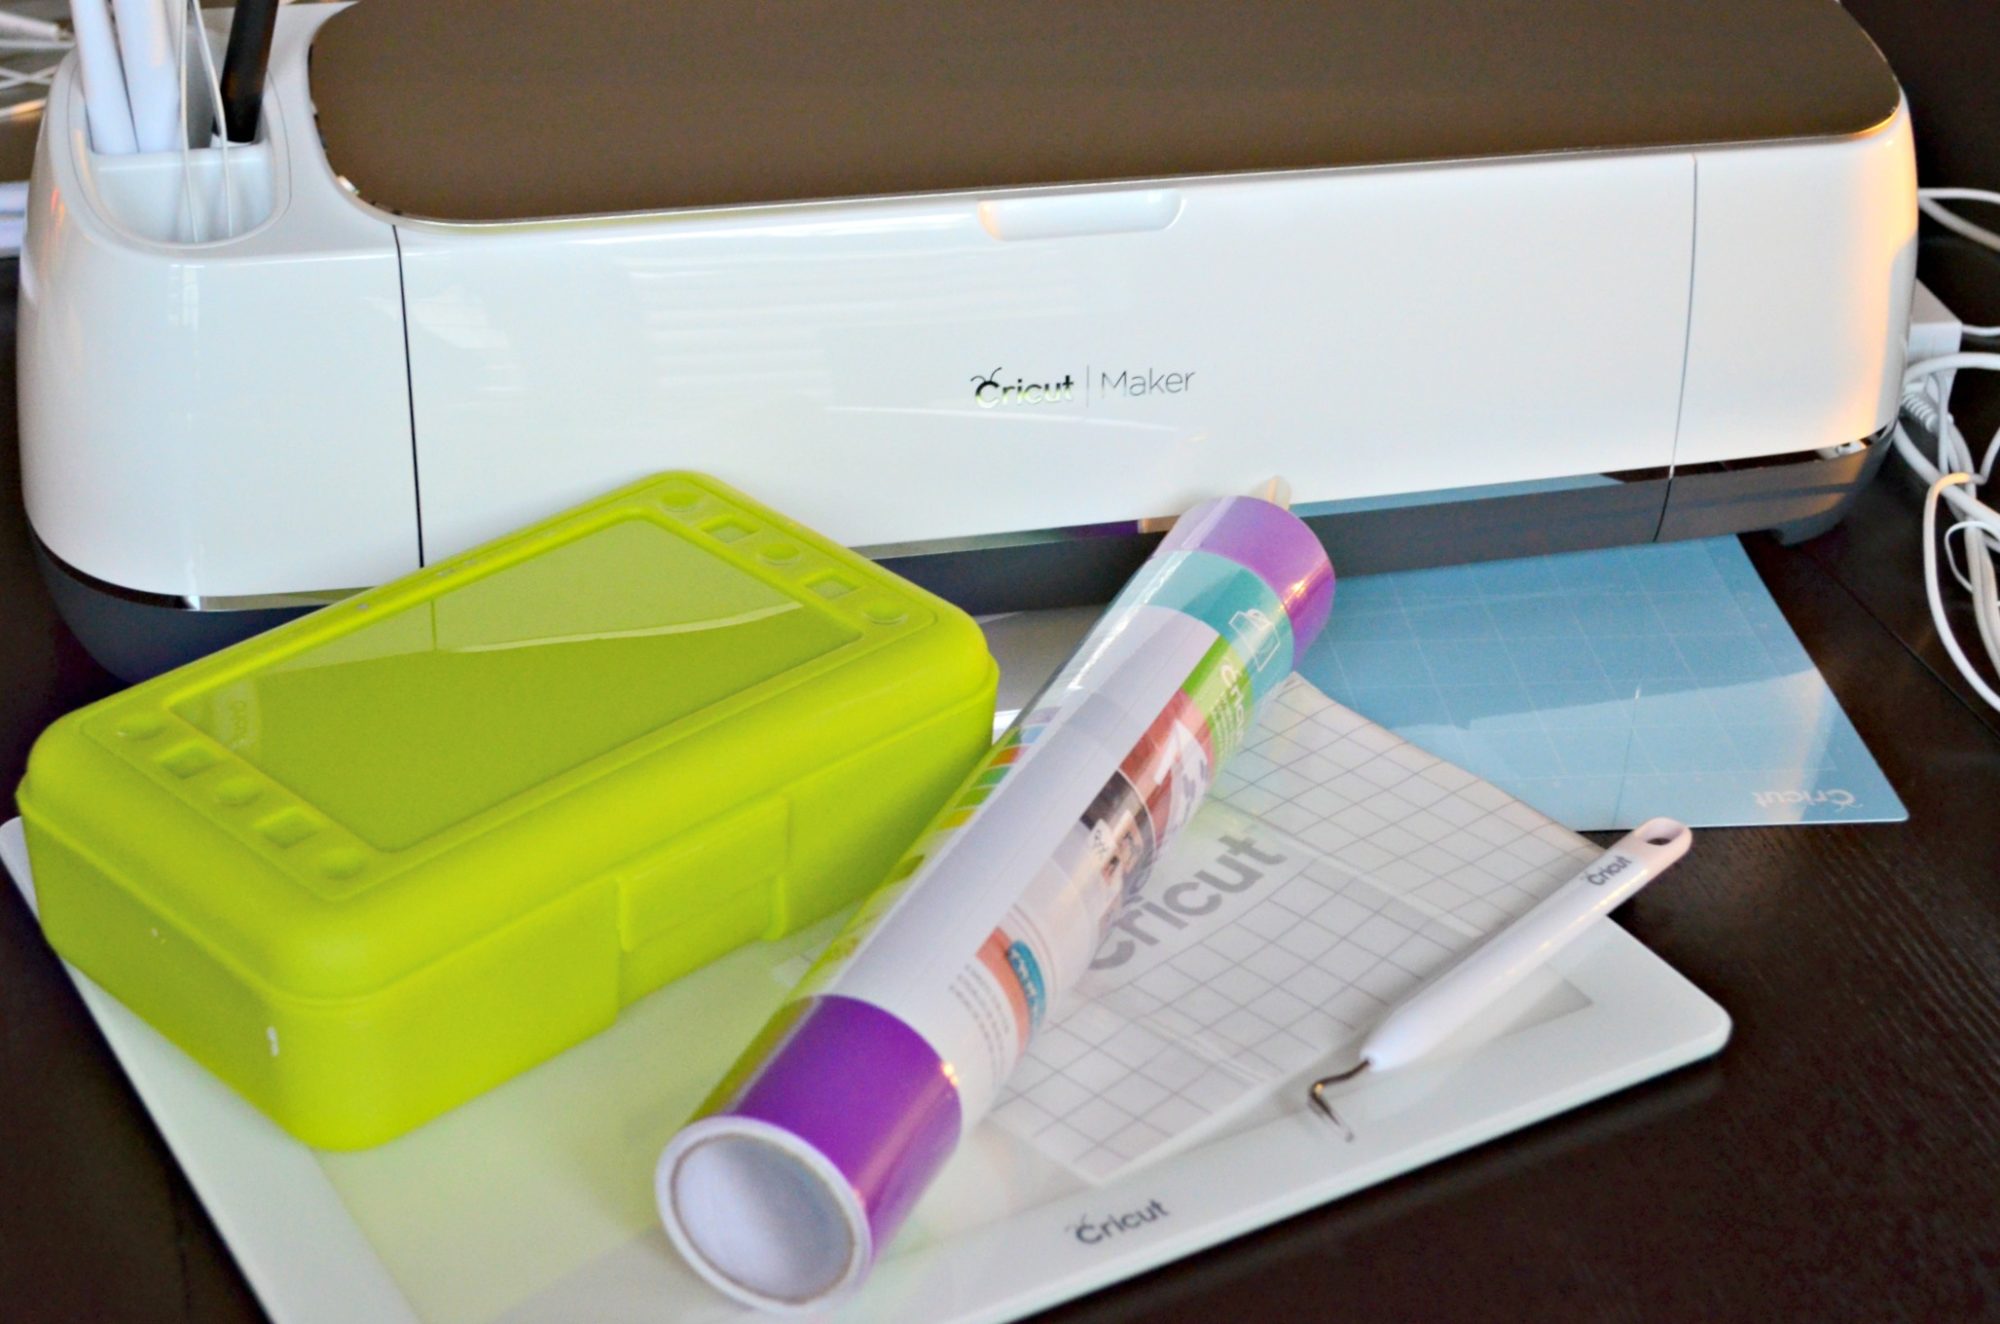
- Cricut Maker
- Elementary School Rocks PNG File (see below to download)
- Cricut Design Space™
- Cricut Mat
- Cricut Vinyl + Transfer Tape
- Cricut Tools
- Cricut BrightPad
How to Apply Vinyl Decal
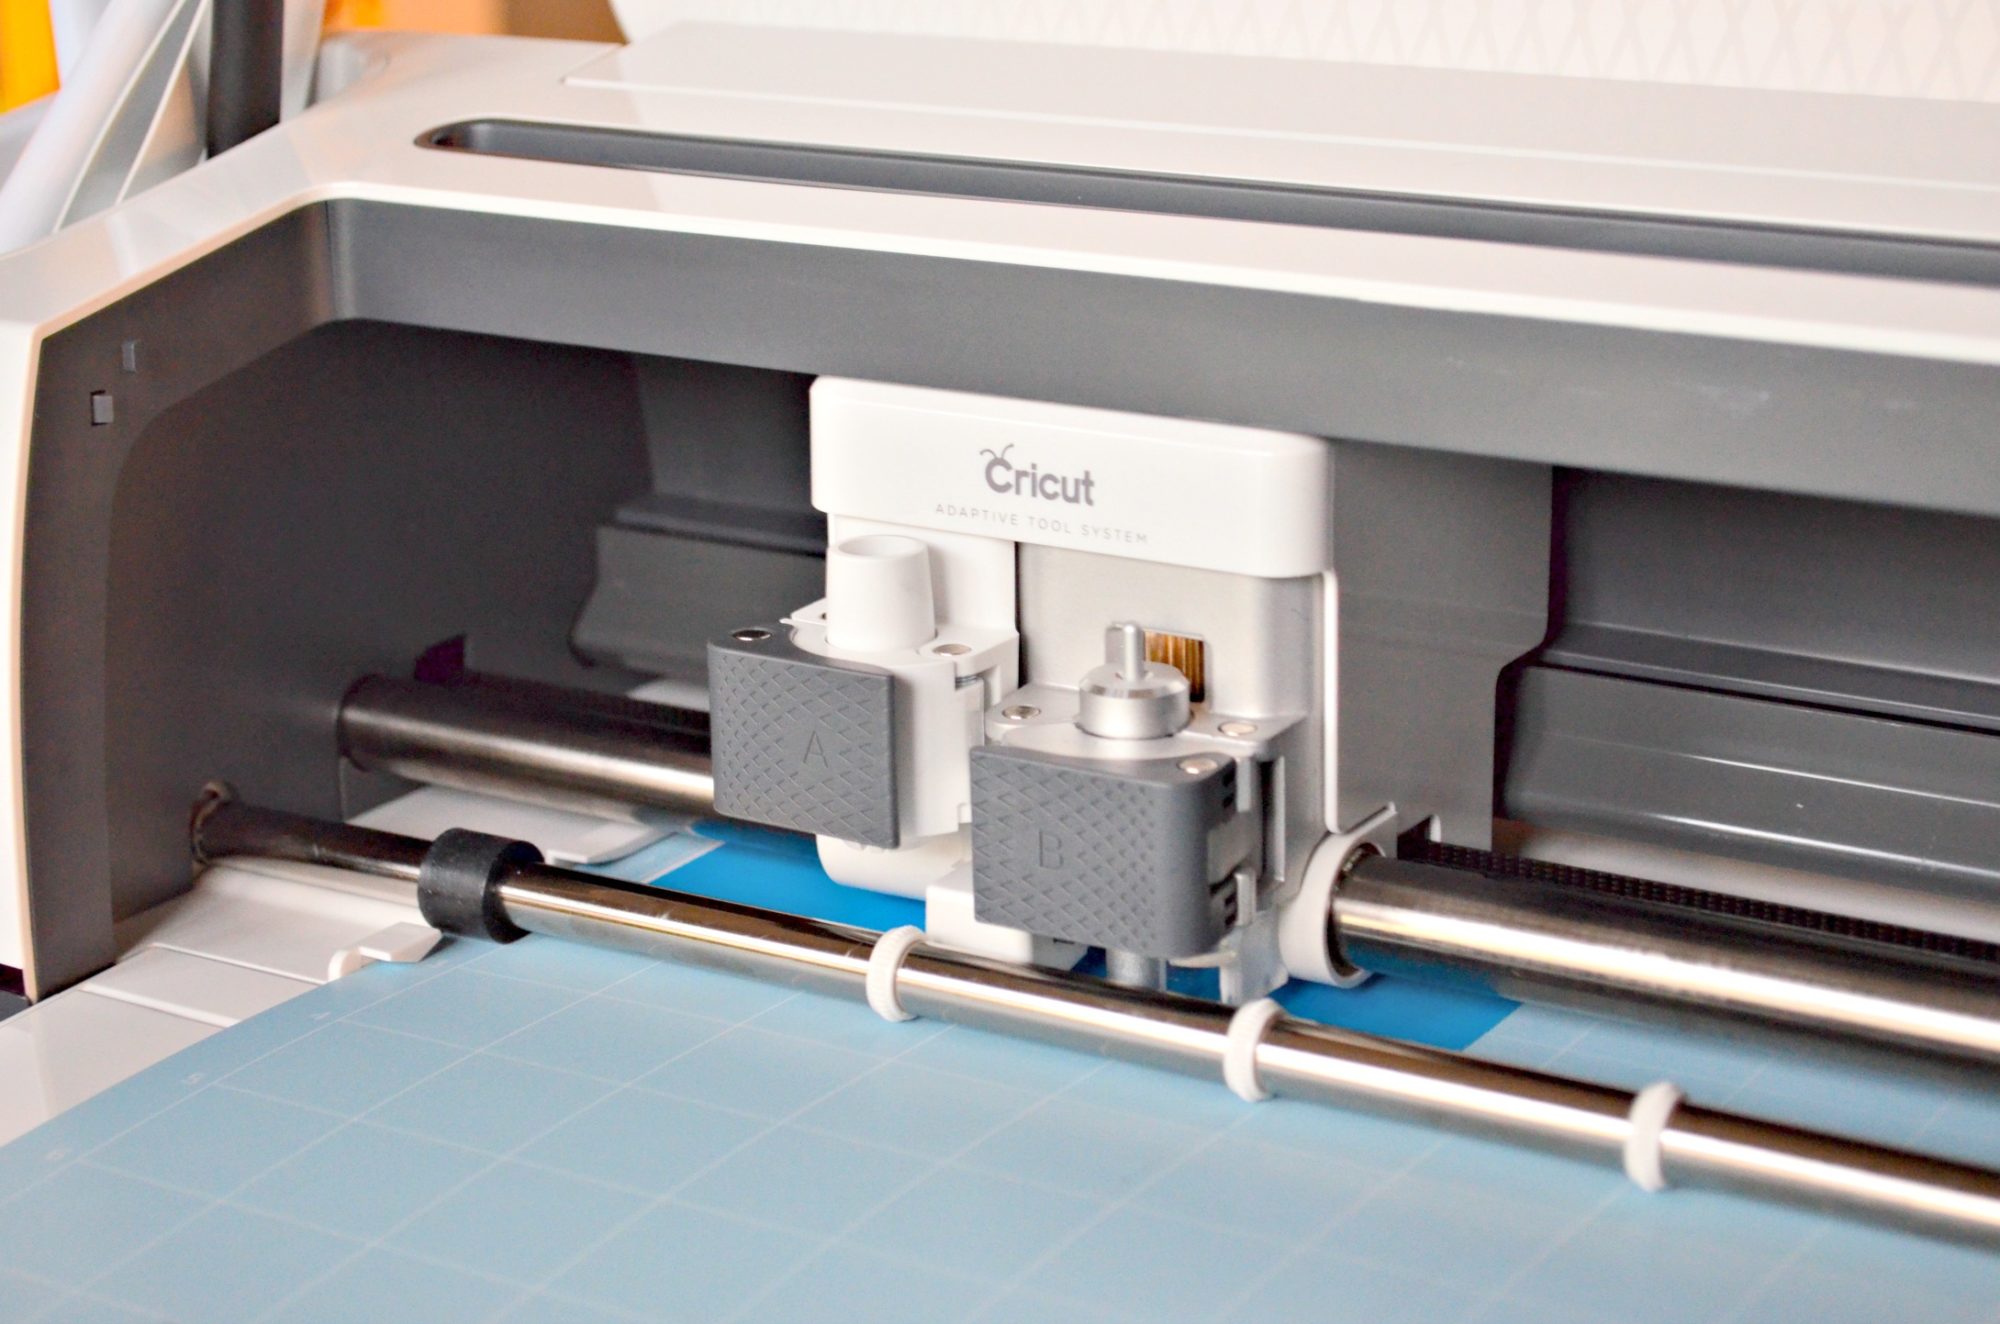
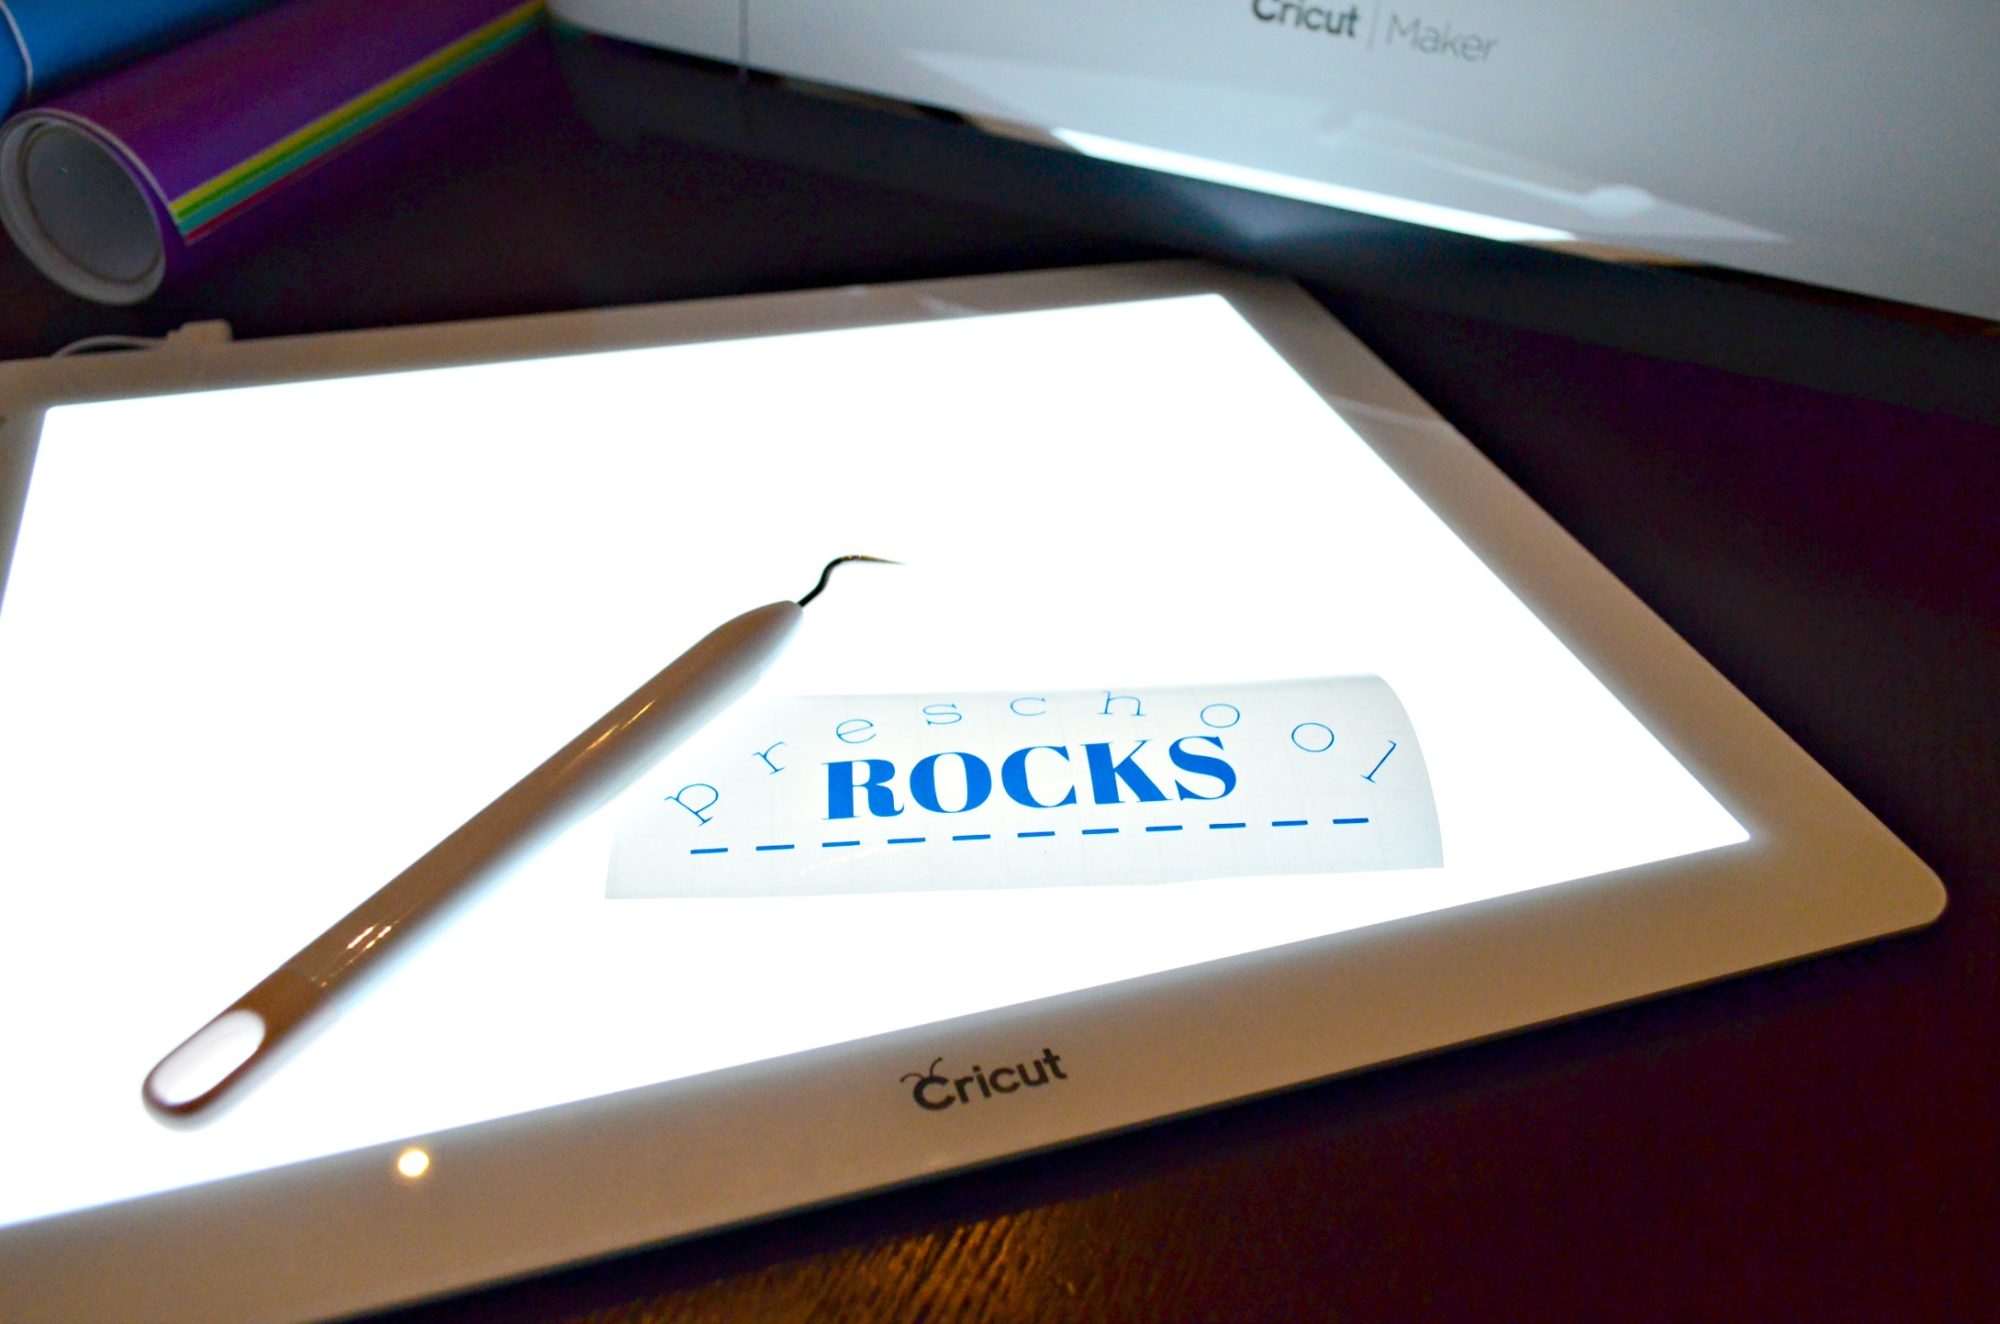
Once you’ve uploaded the design into Cricut Design Space (see my tutorial on how to upload a file in Cricut Design Space) it’s time to cut. Make sure you select vinyl and place the color vinyl face-side up (with the paper backing on the sticky part of the mat).
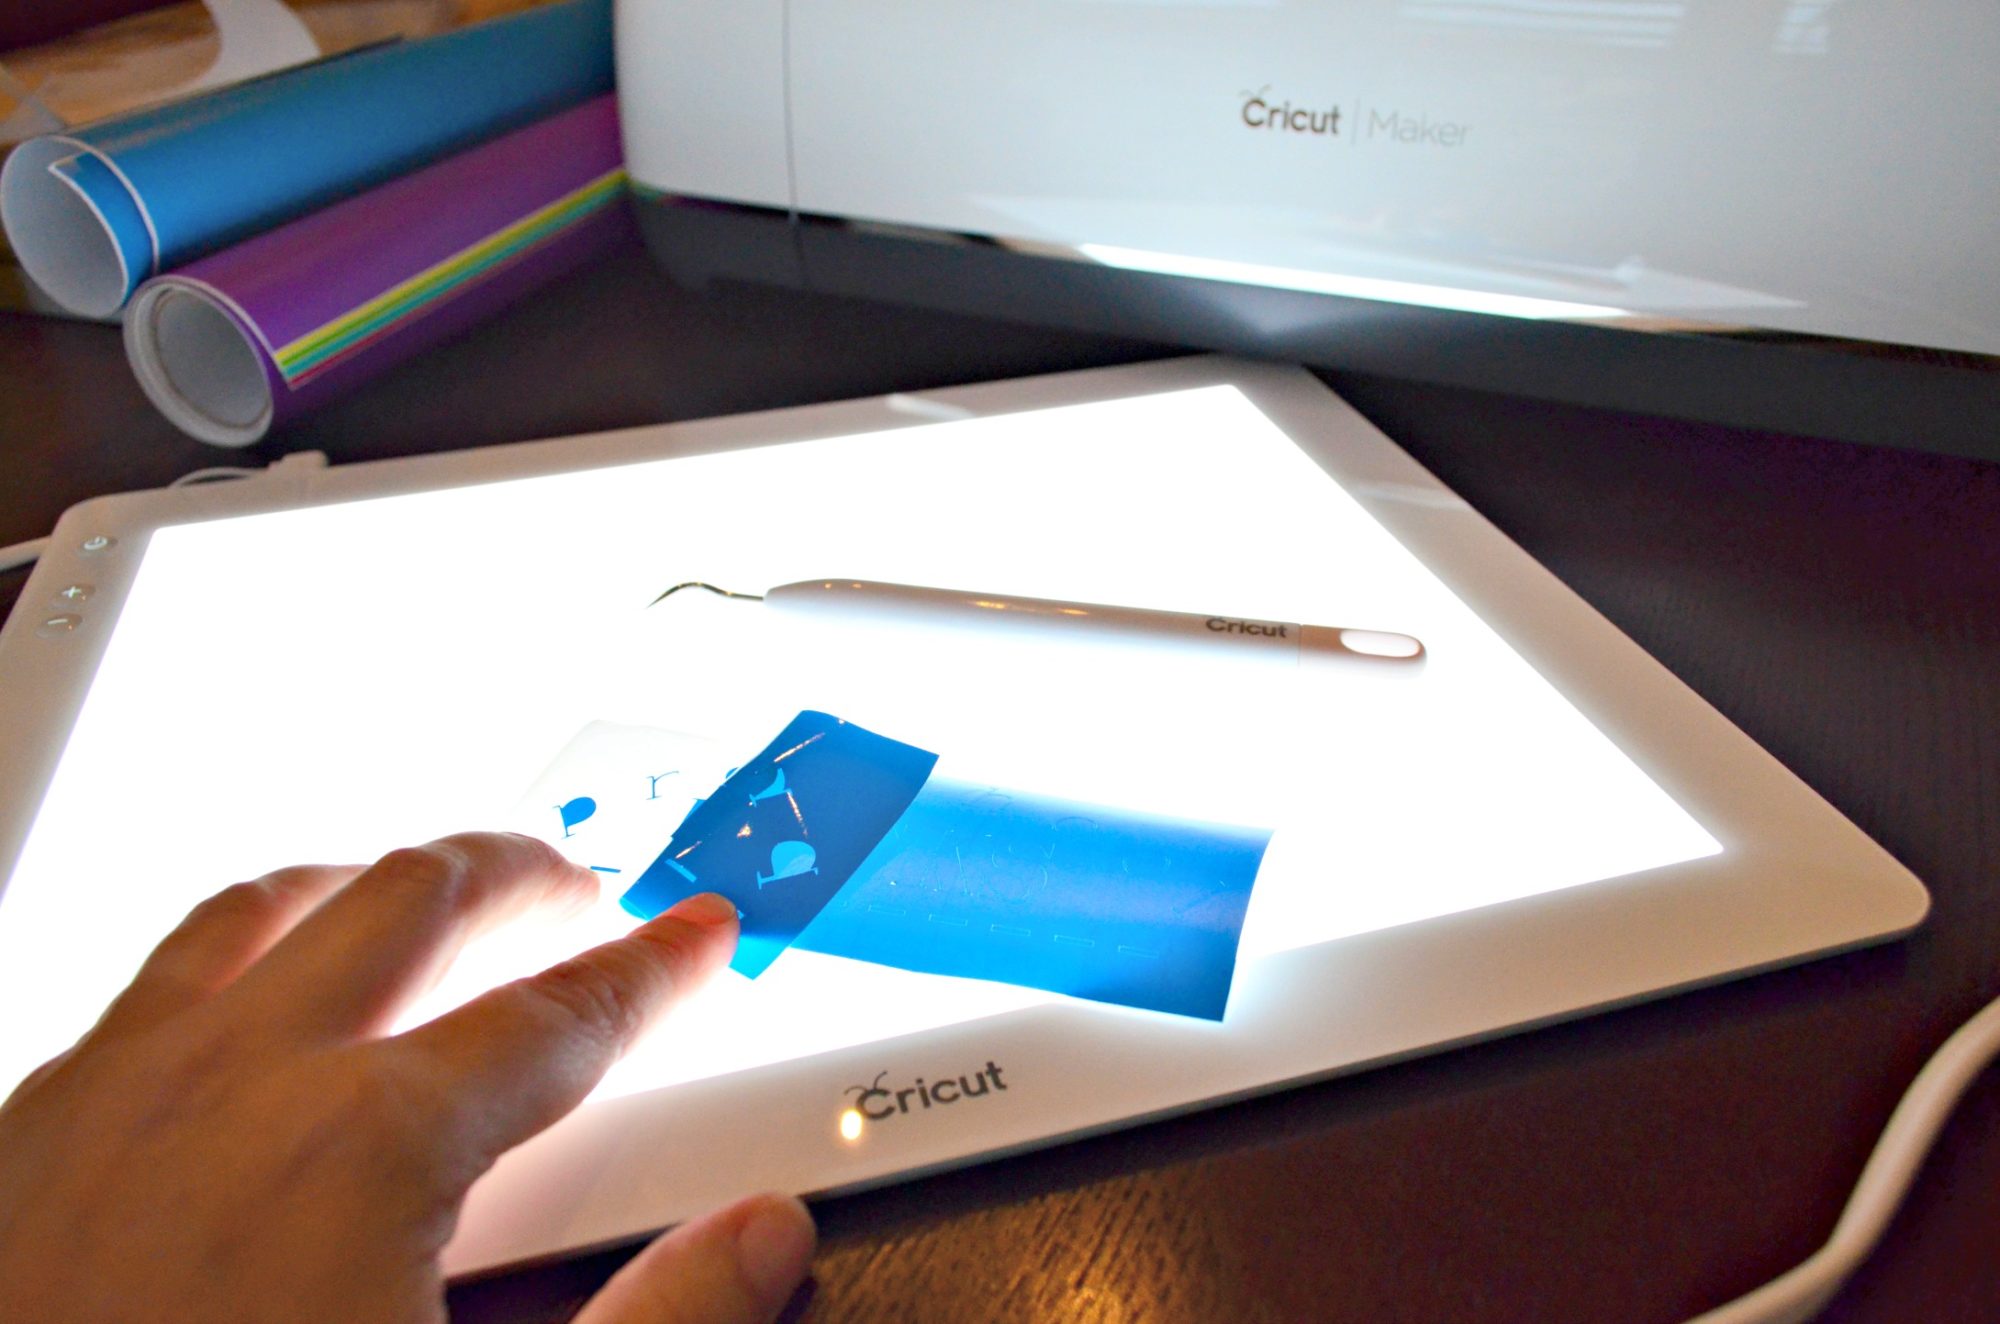
Next, you will remove all the negative vinyl from the design. Using a weeding tool–you will weed out all the small details. I find using the Cricut BrightPad makes this job so much easier!
After a few short minutes, my design was fully weeded out.
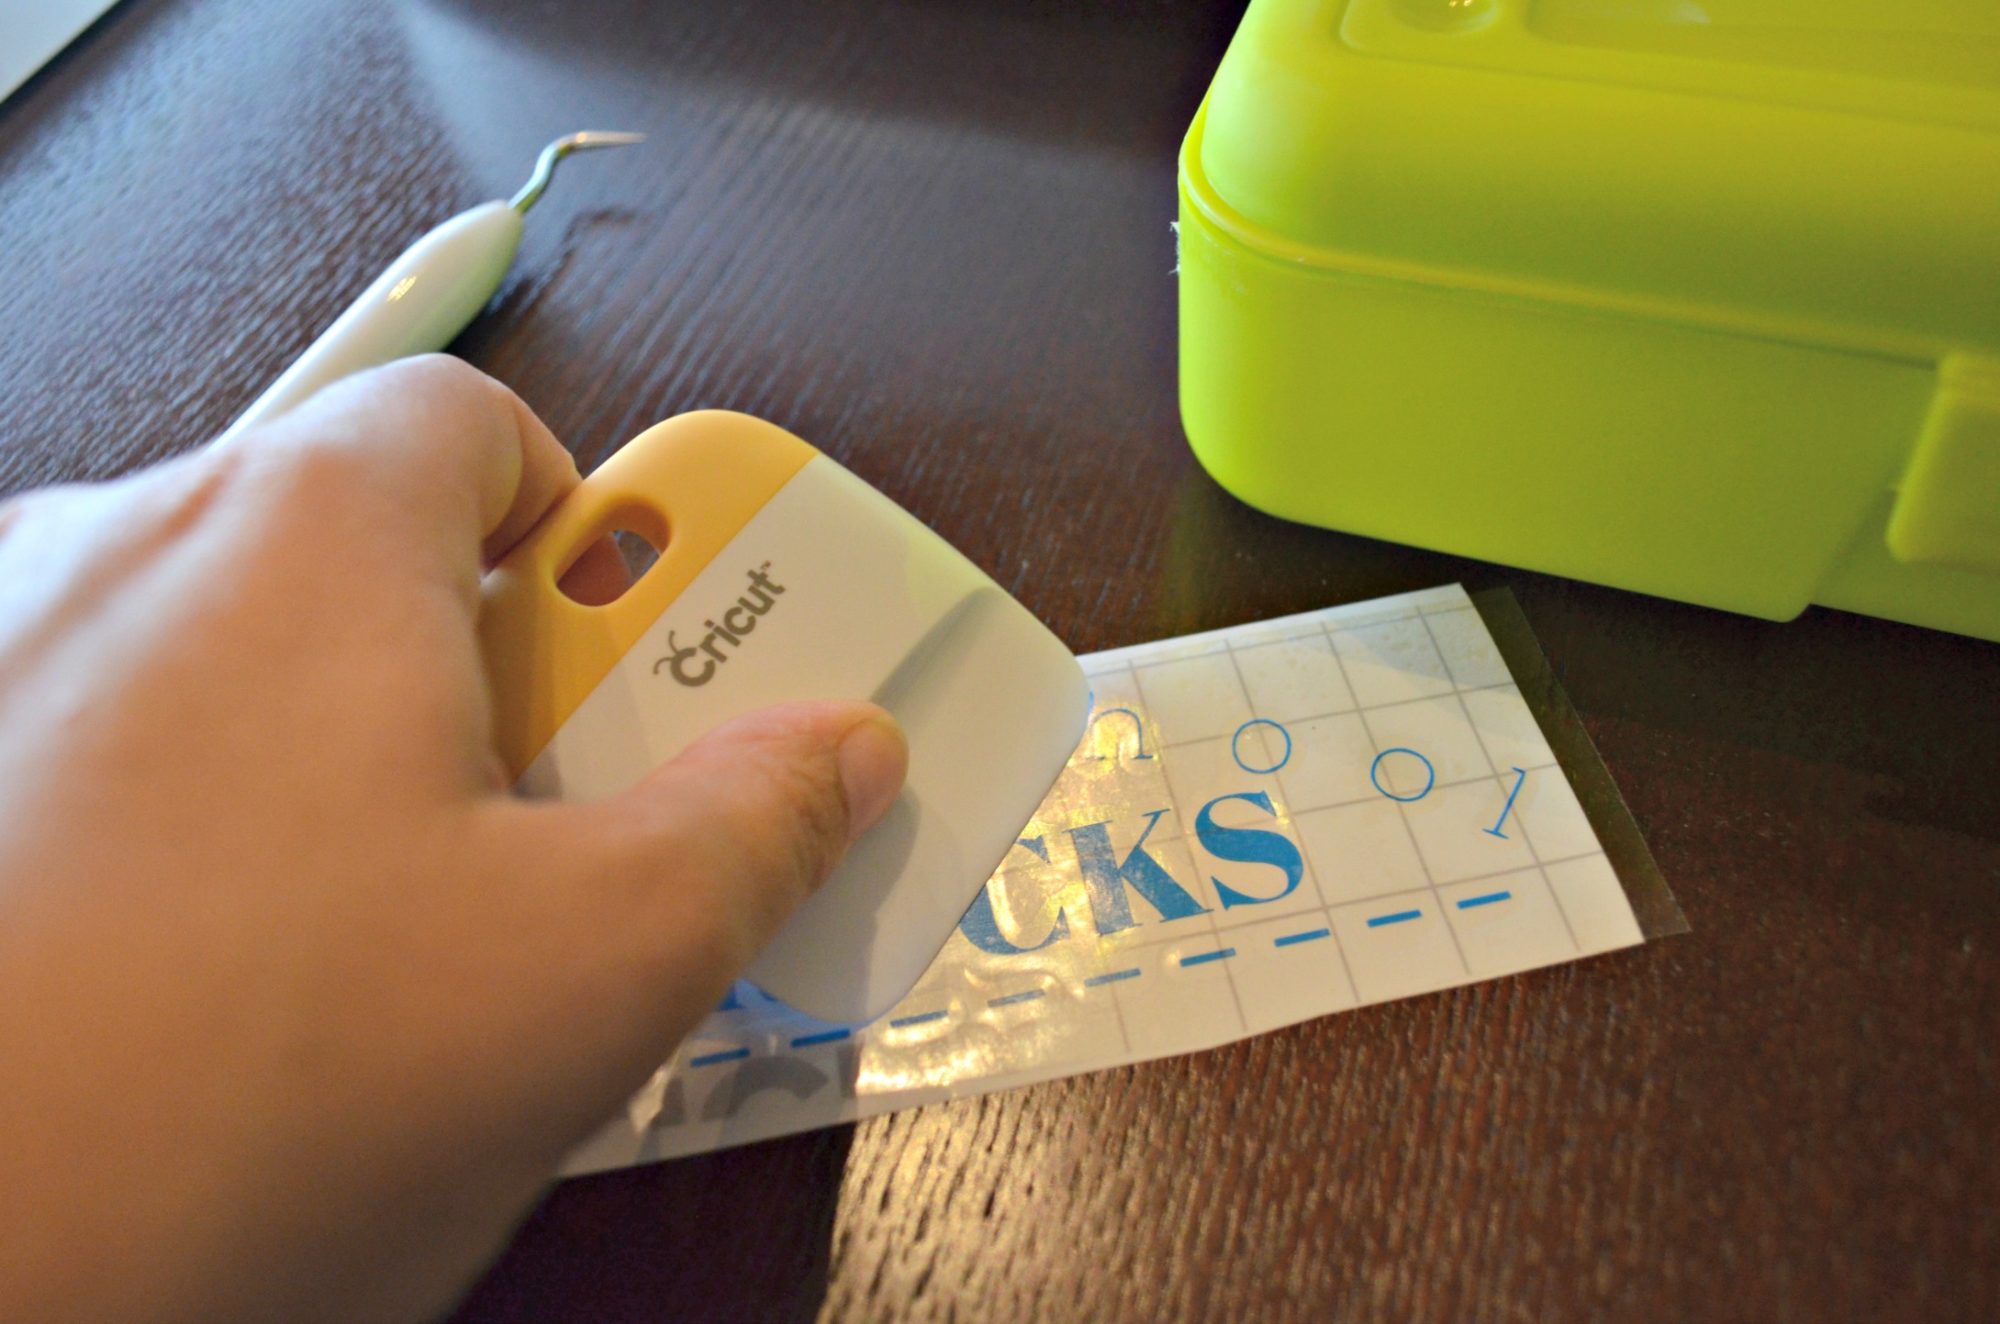
Next, apply transfer tape to the design. I use a squeegee to remove all the bubbles out and flatten the design on to the transfer tape.
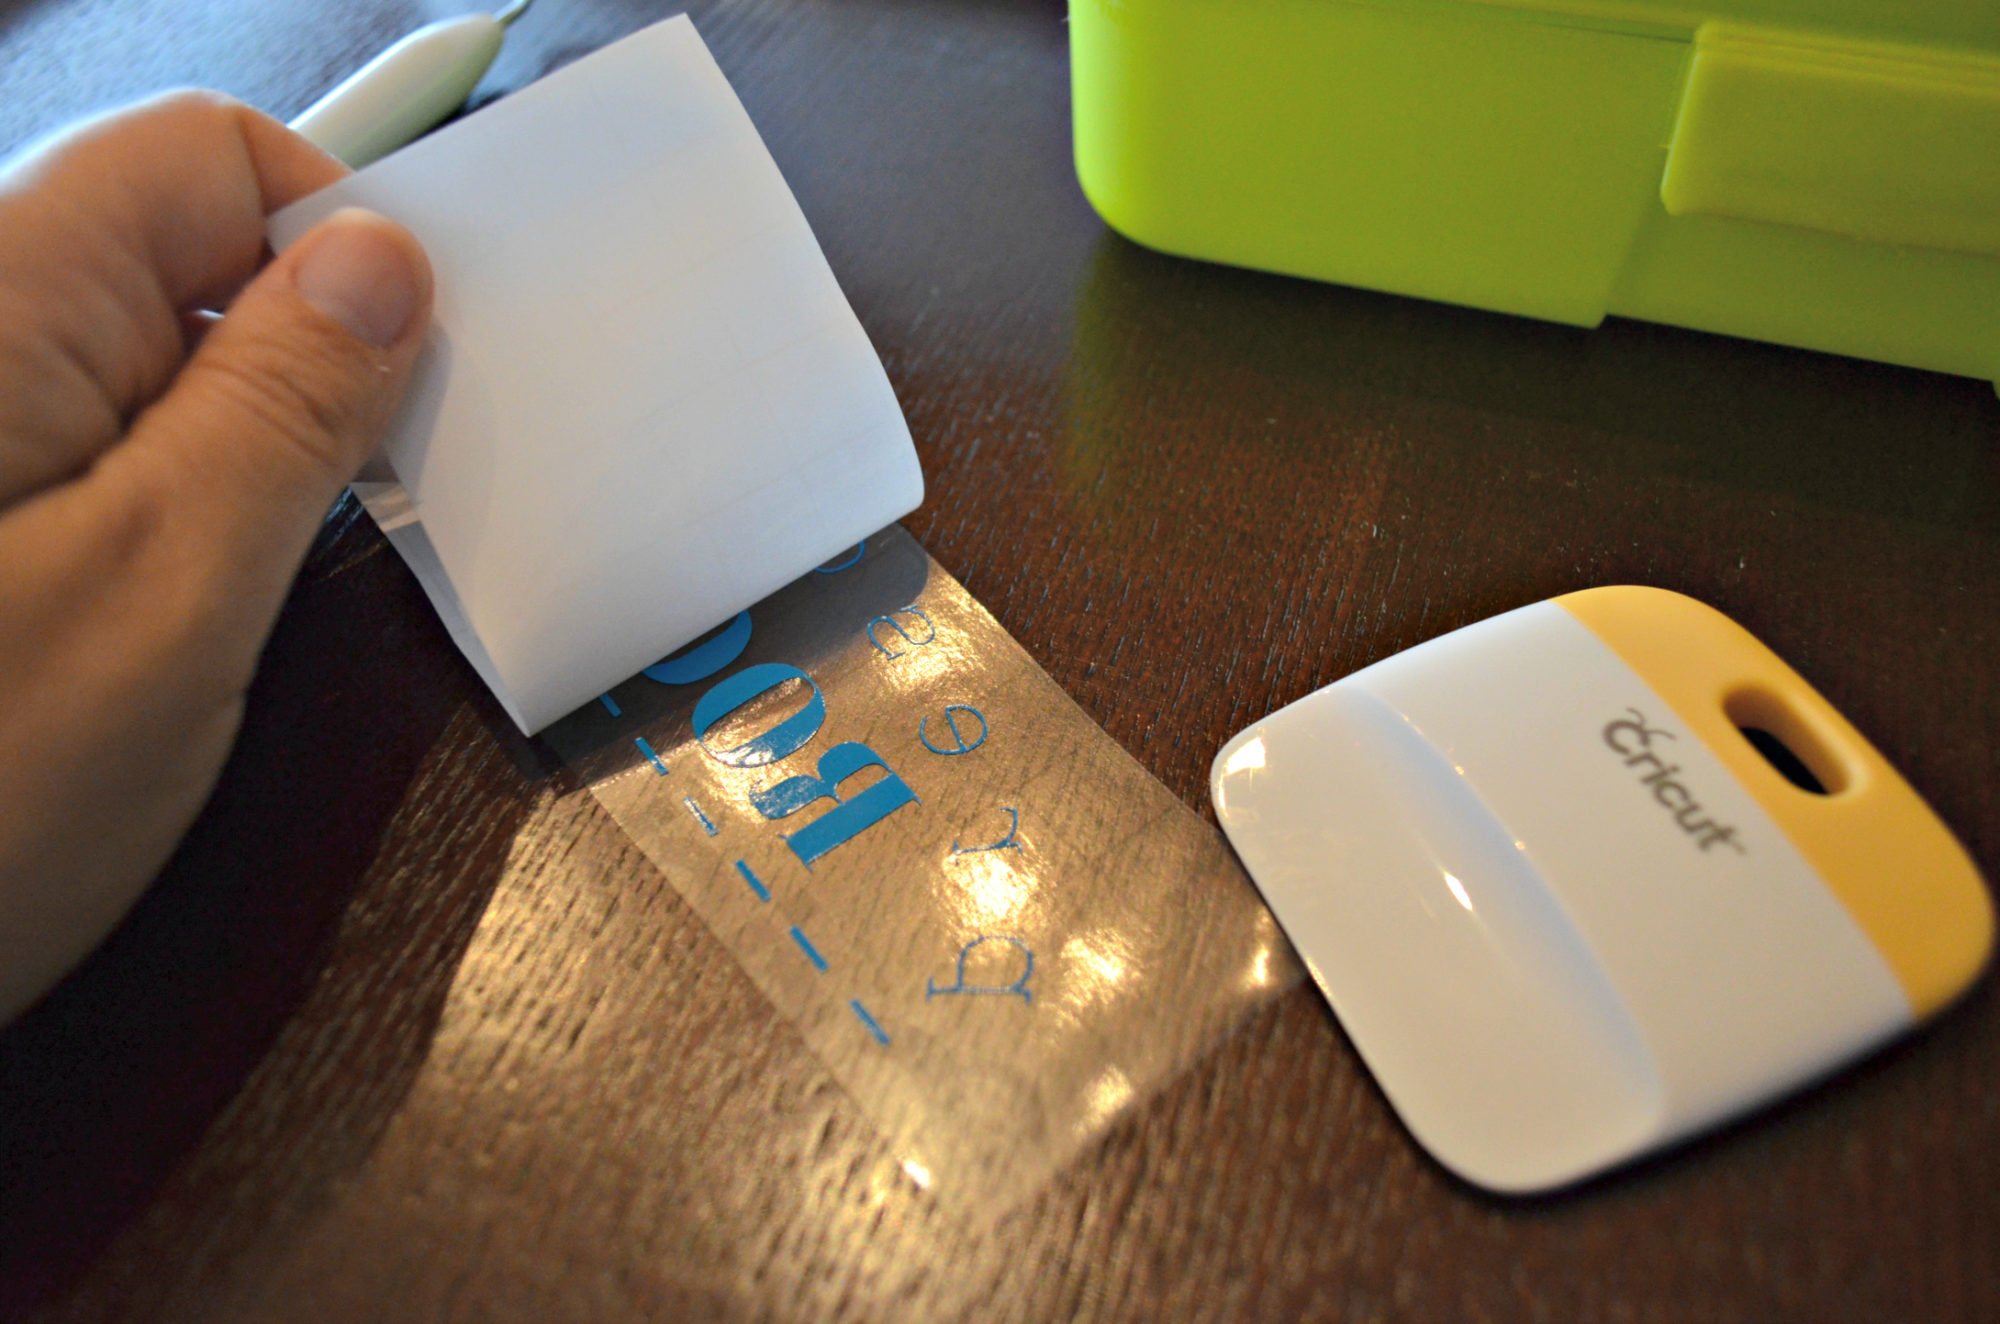
Next, carefully, remove the paper backing from the vinyl design.
This is how the vinyl design will look once it’s all weeded out!
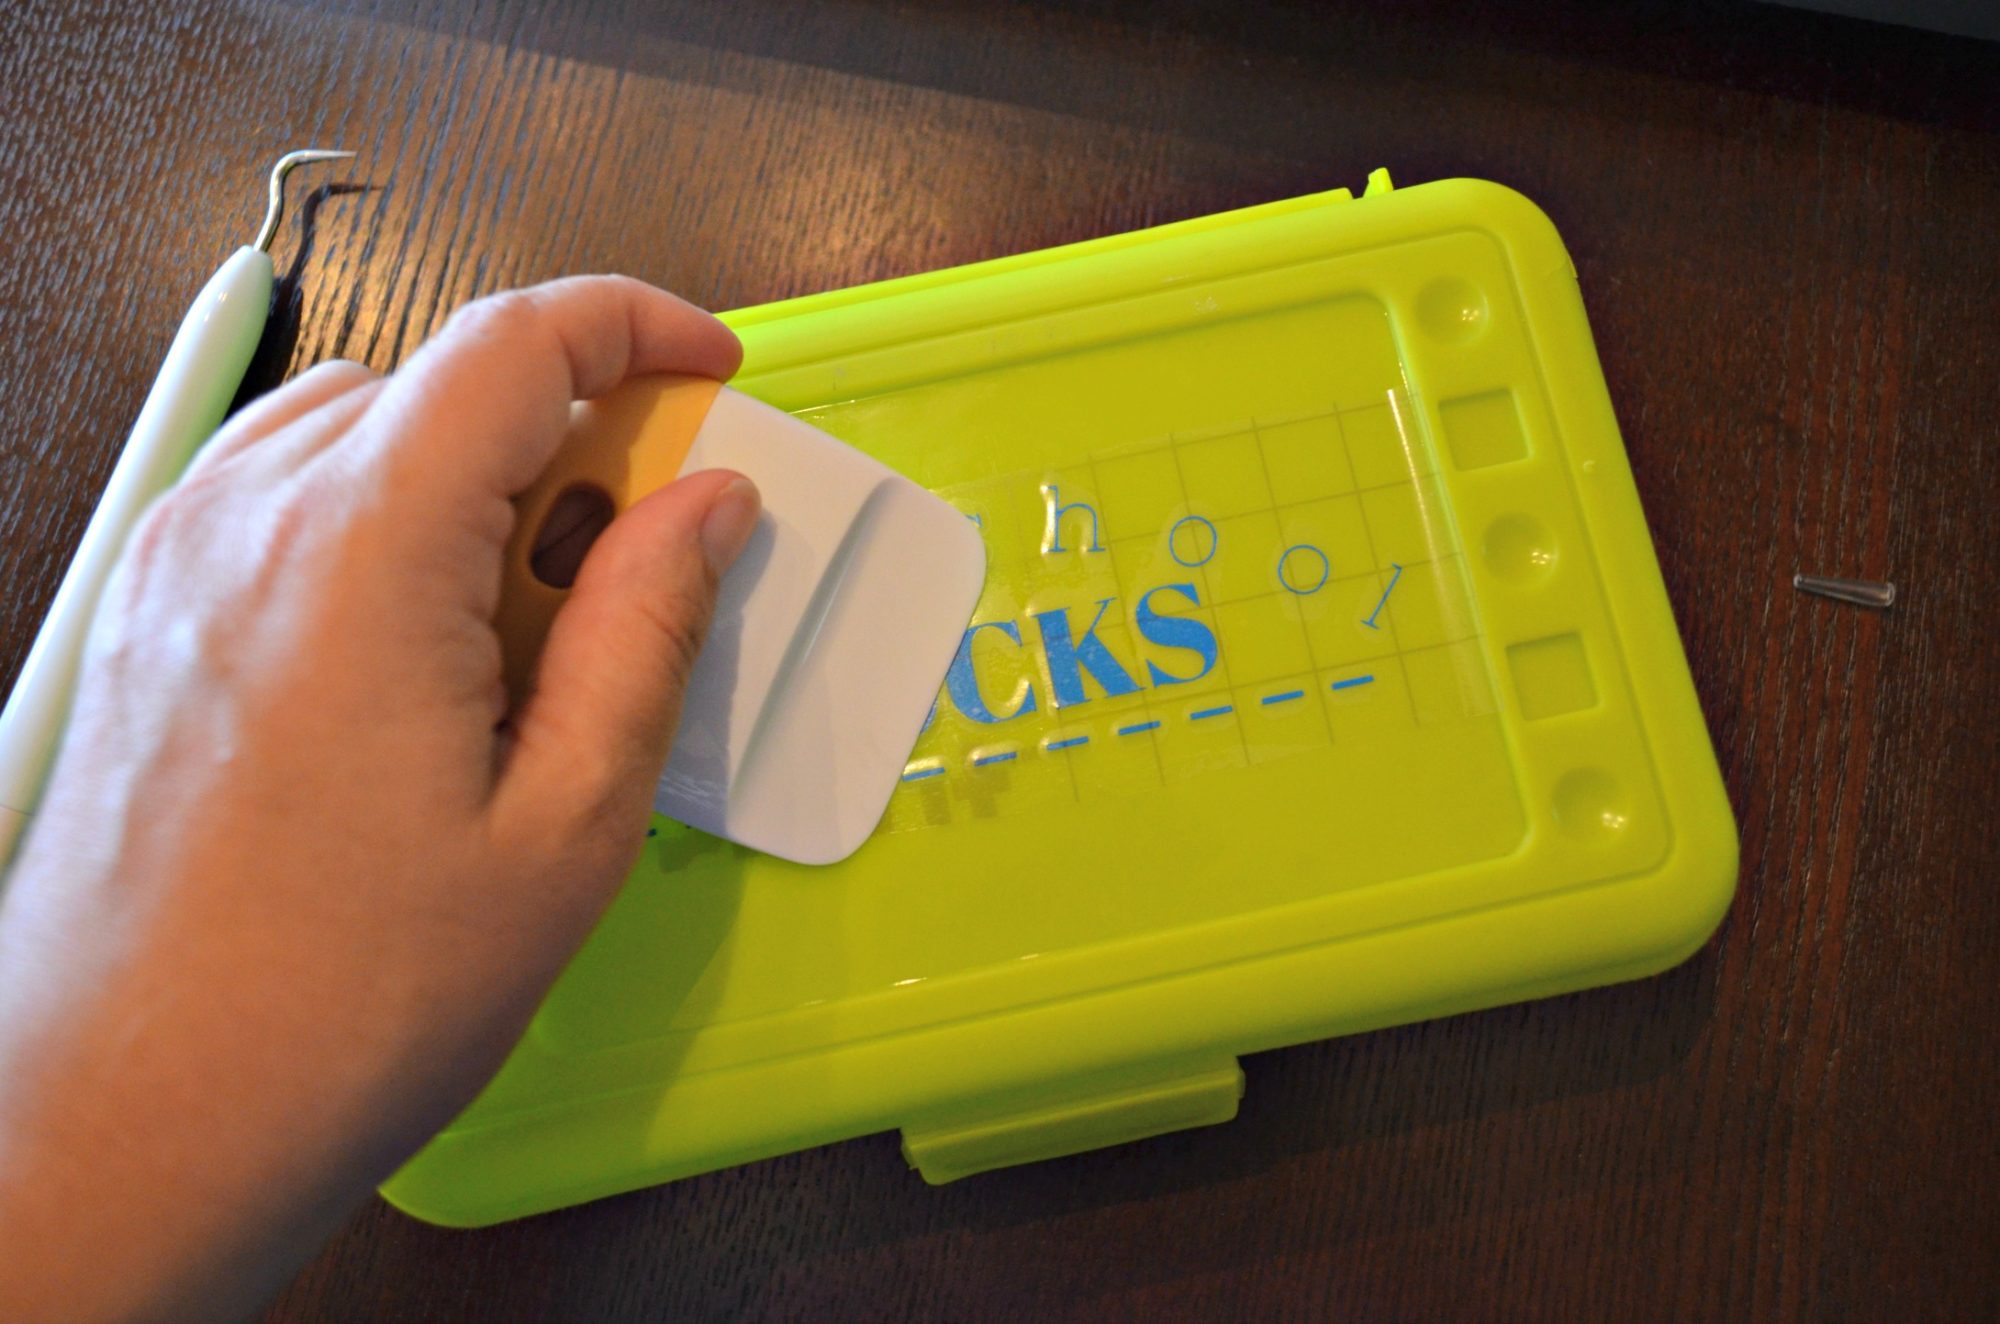
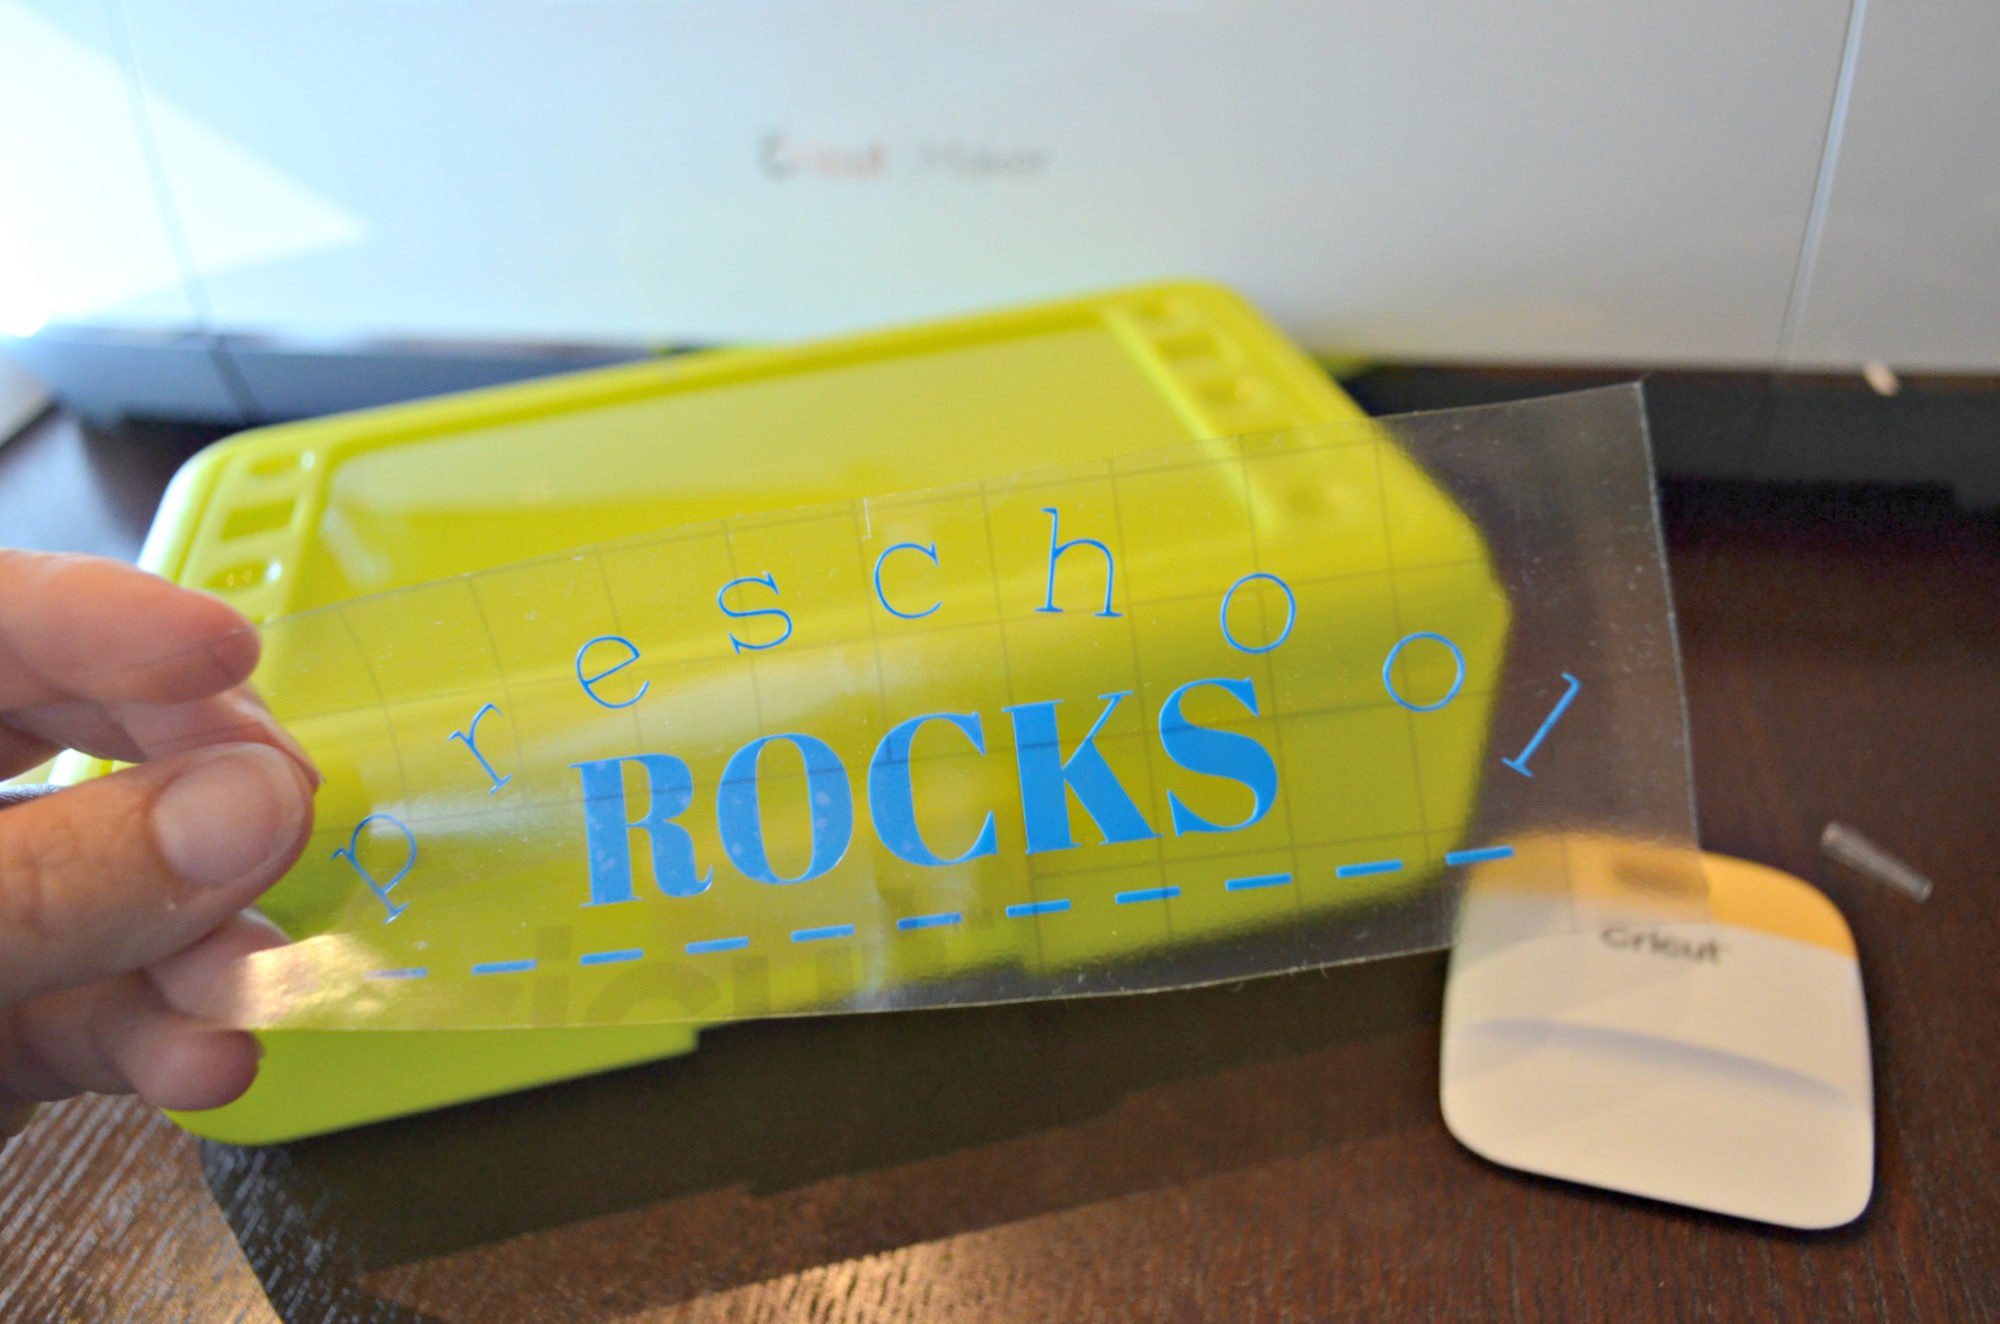
Next, carefully, place your vinyl transfer tape with design on the pencil box. Then squeegee out all the bubbles.
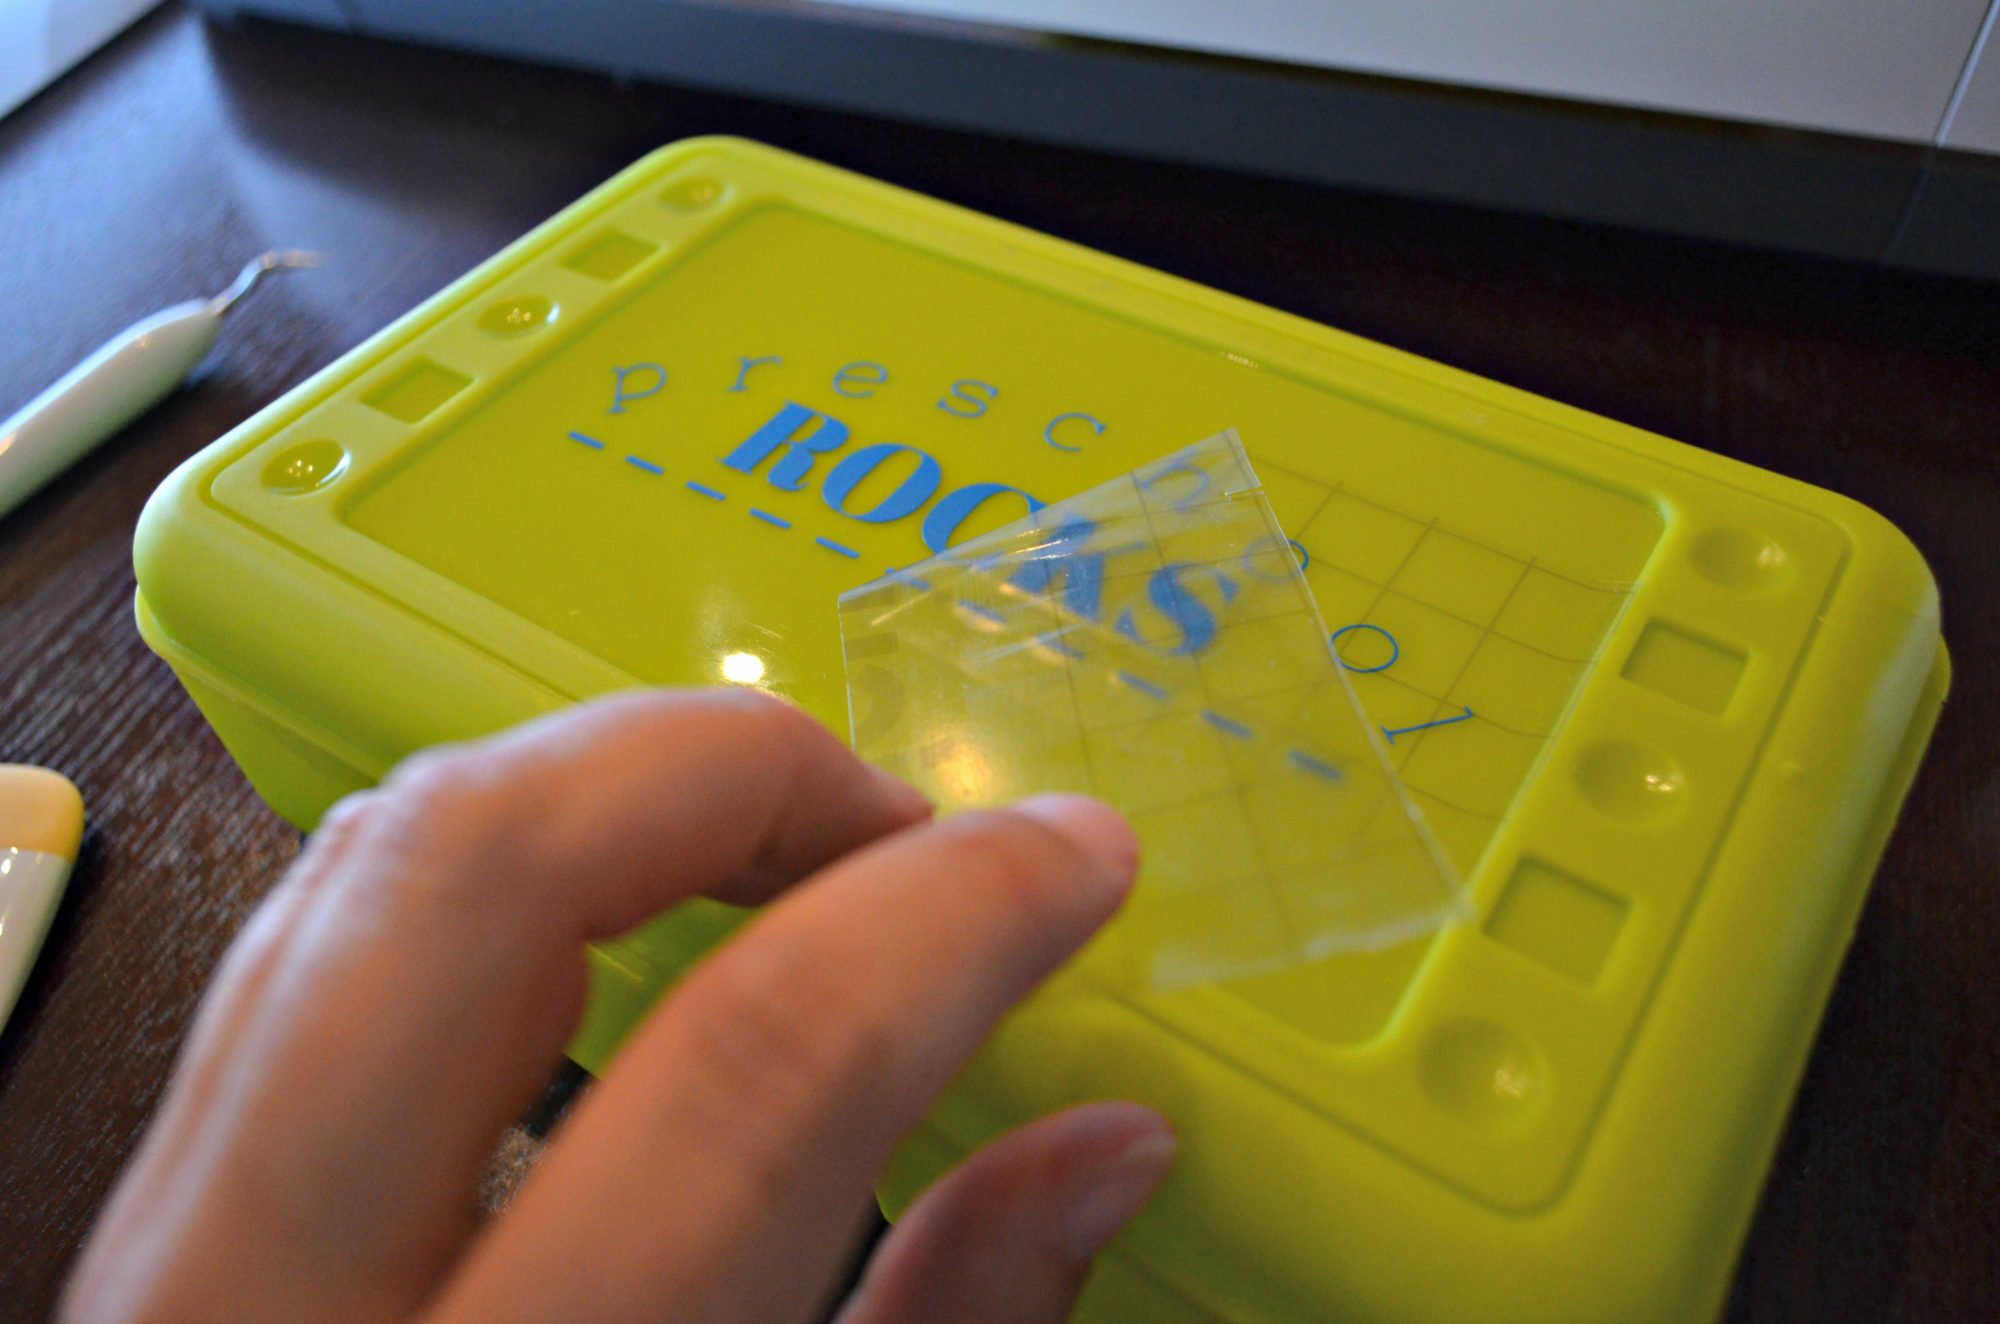
Carefully, begin to pull back the clear transfer tape.
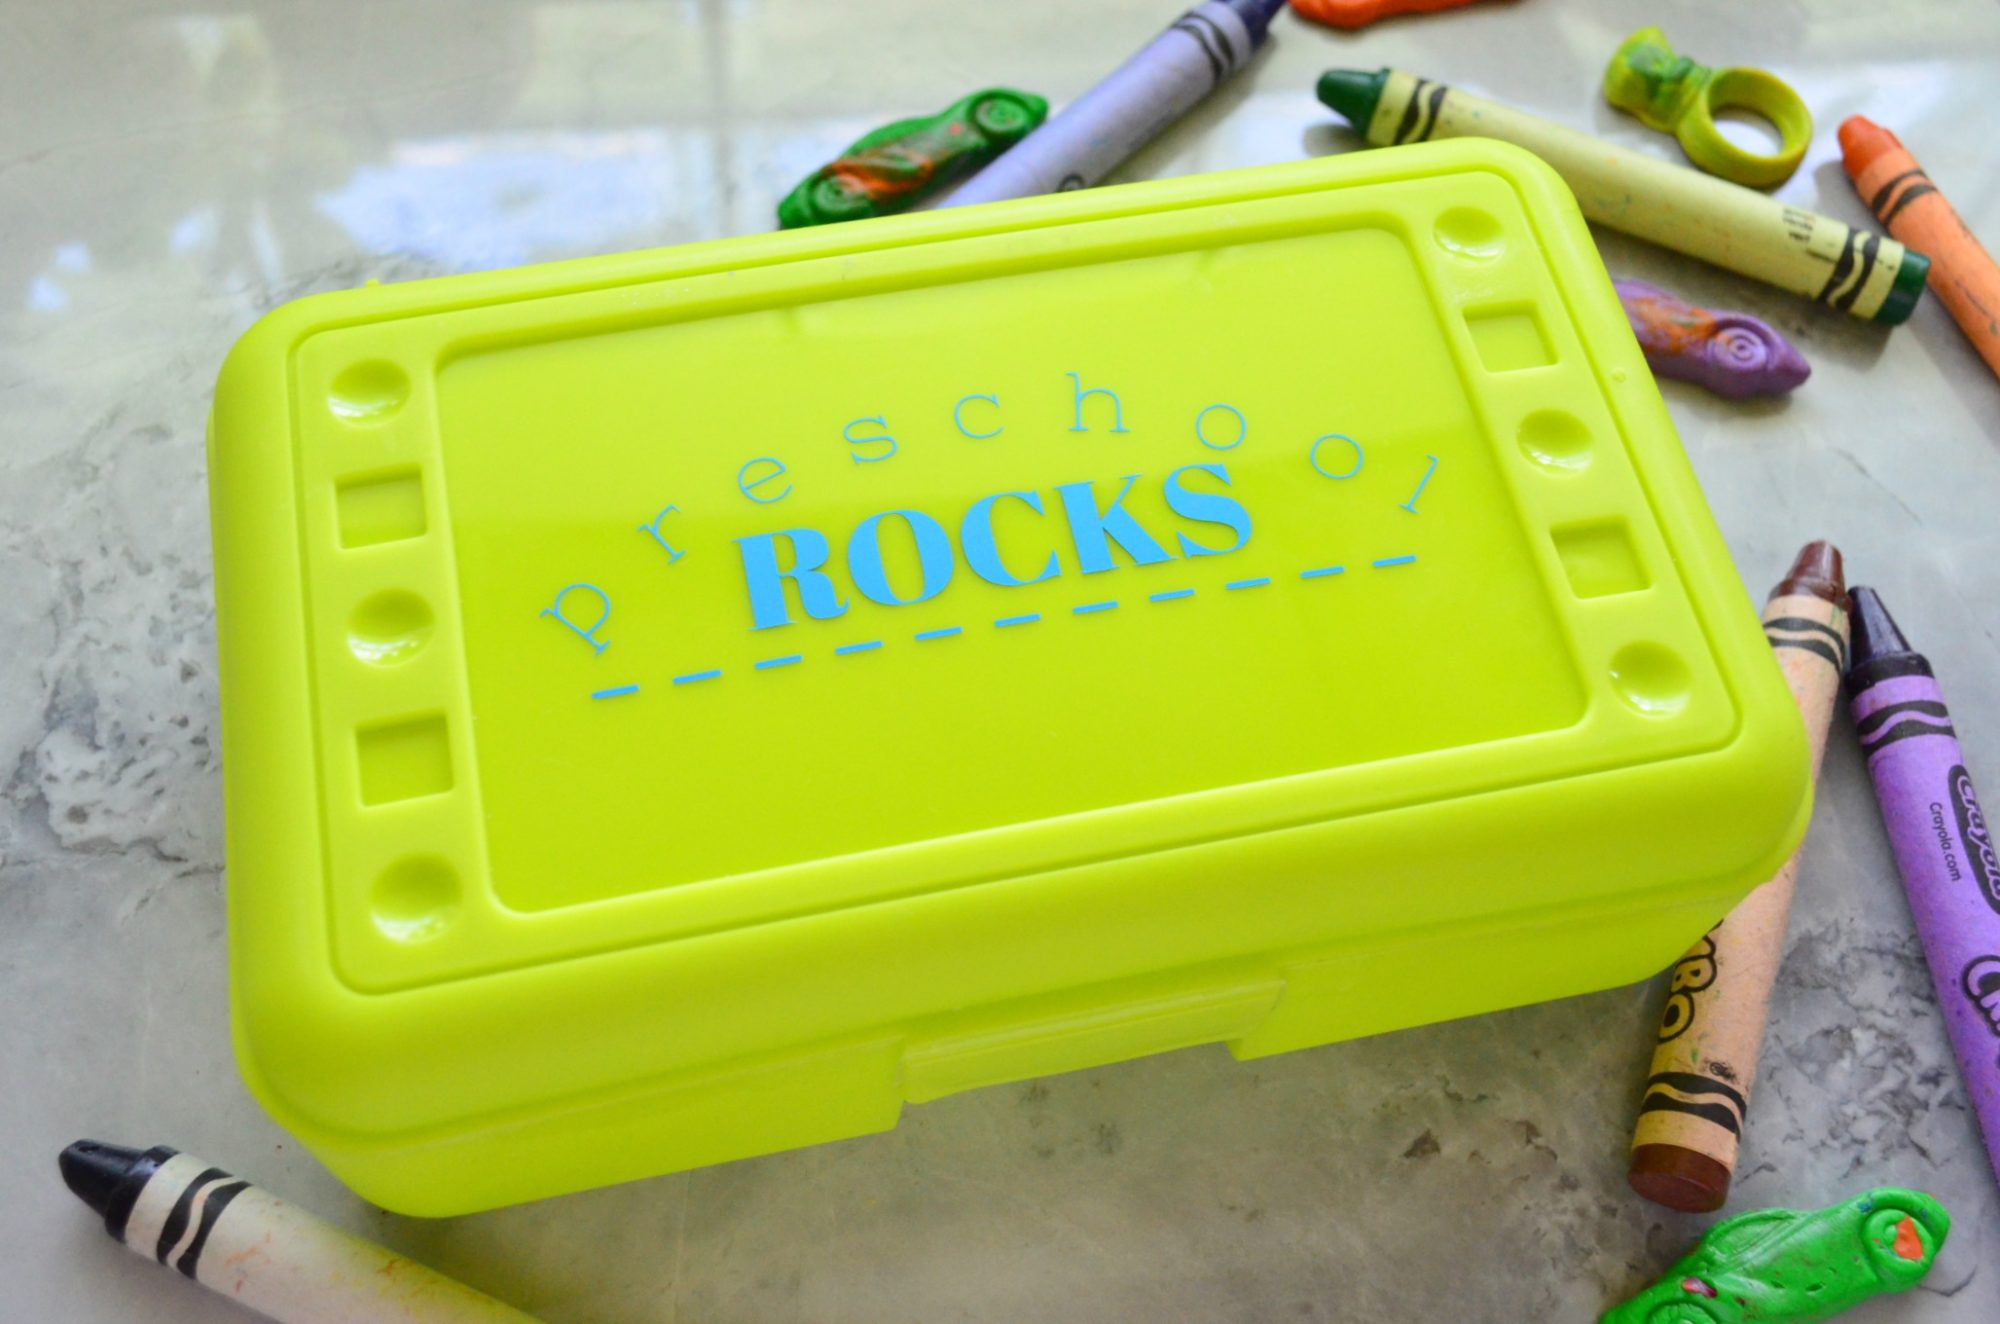
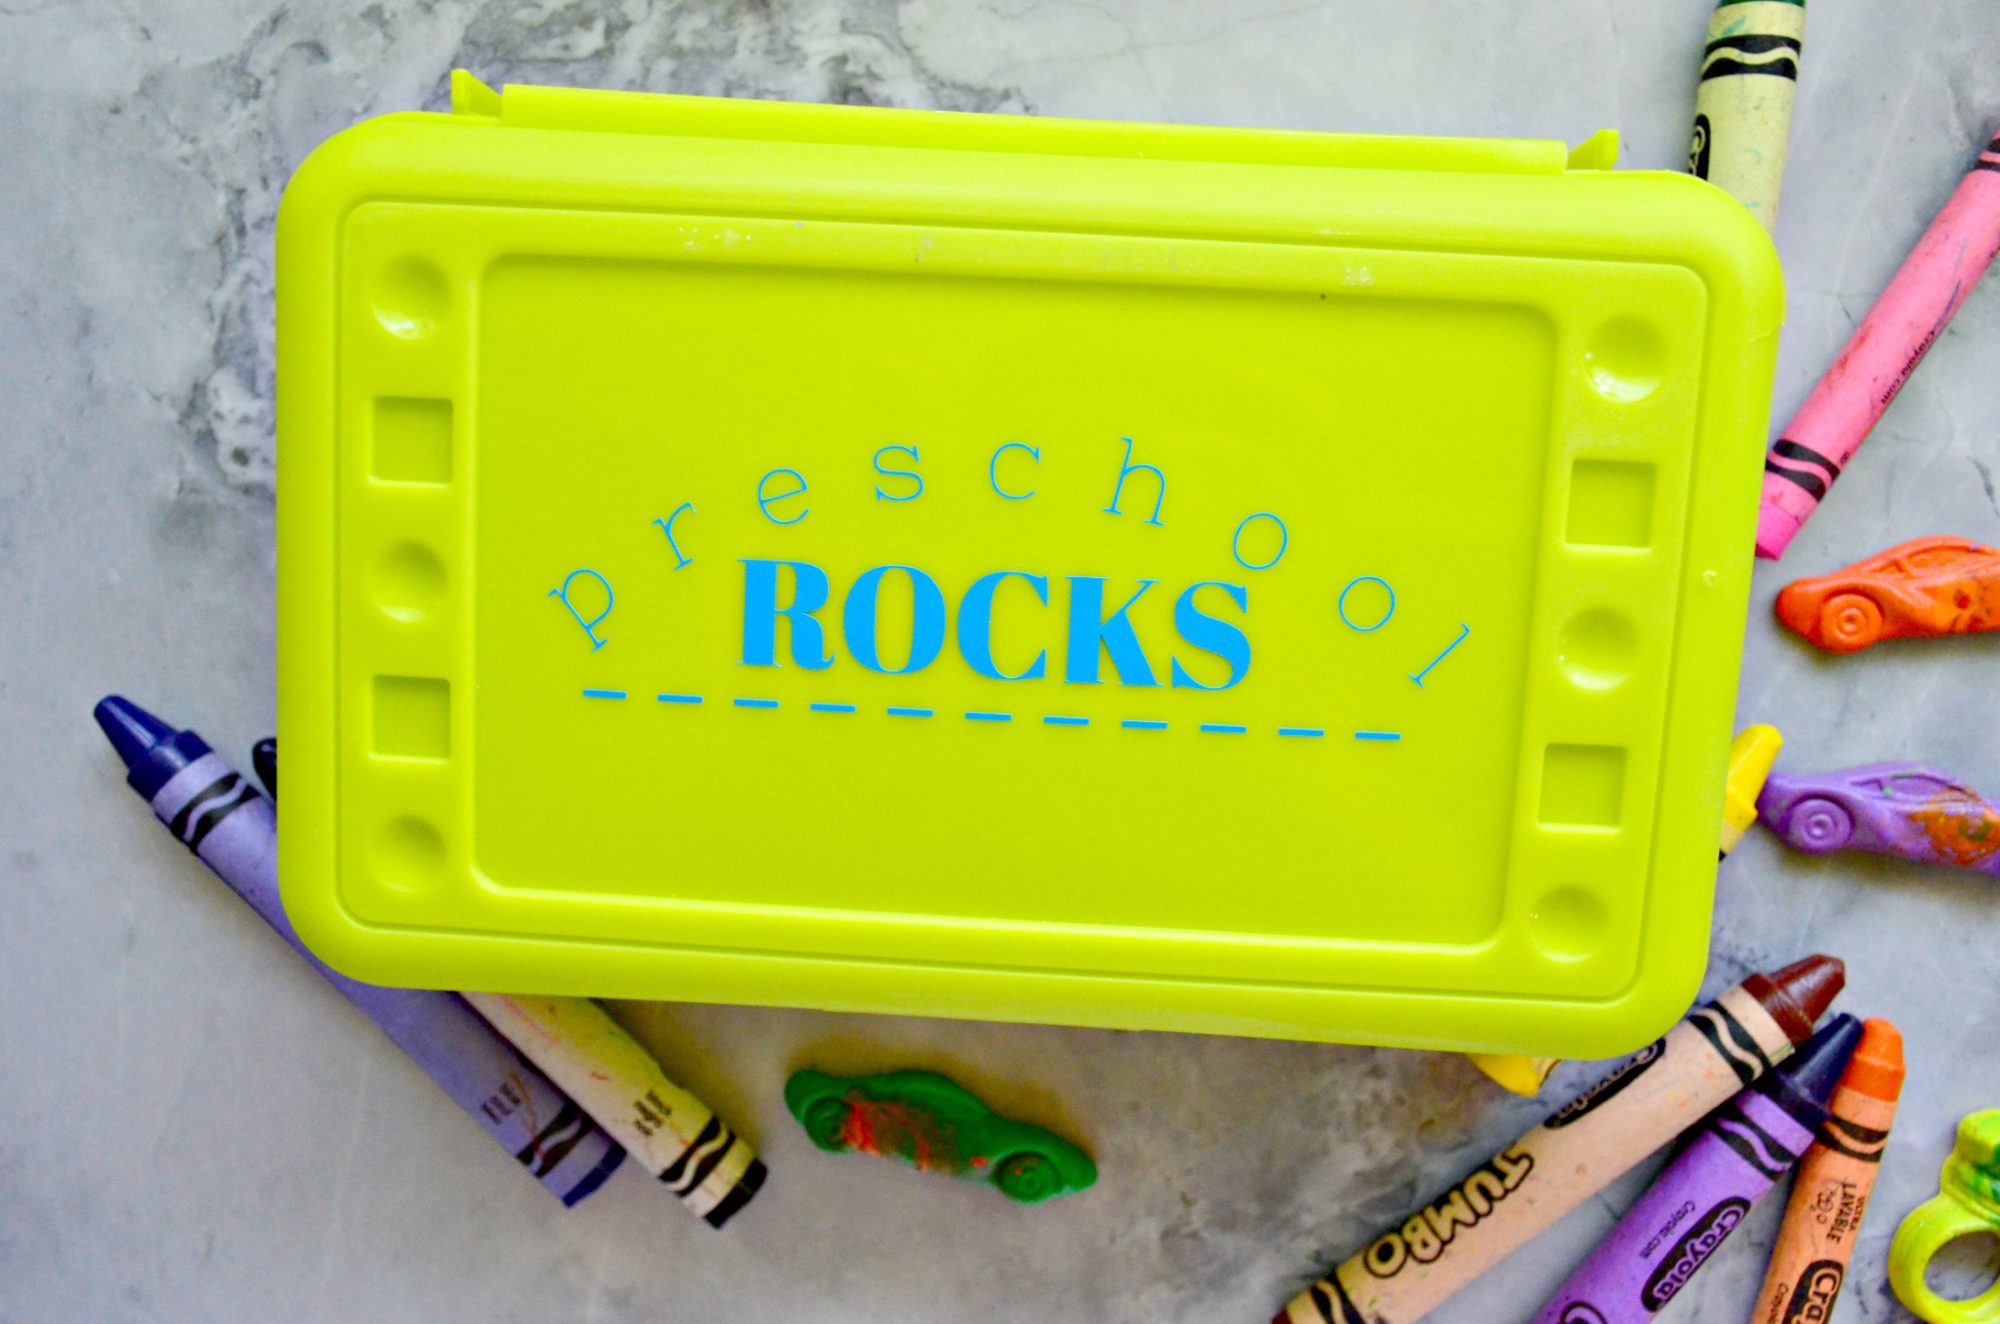
Here is what the final design will look like. If, you have a child in elementary school I’ve designed a file for each grade level. I hope your child has a successful year of learning and this fun statement pencil box will give them the extra motivation they need!
PNG FAQs
Here are a some of the most frequently asked questions when downloading the PNG files.
No, you cannot download the PNG files on a mobile device or tablet. You must use a desktop computer.
No, out of respect for the creative rights of SewWoodsy.com you cannot sell this design on anything. These files are meant to be used for personal use only.
Download the Free PNG Files below
You must download these files using a desktop computer. Unfortunately, the program I use is not compatible with a tablet or smart phone and will not work. Please only use the designs for personal use. Selling is absolutely NOT PERMITTED. If you would like to use any of these files not for personal use please email SewWoodsy@gmail.com to discuss licensing options.
Preschool PNG File
Preschool Rocks PNG File
If you have a preschooler you will want to download this PNG file to customize water bottles, lunchboxes and more!
Kindergarten PNG File
Kindergarten Rocks PNG File
If you have a kindergarten you will want to download this PNG file to customize water bottles, lunchboxes and more!
First Grade PNG File
First Grade Rocks PNG File
If you have a first grader you will want to download this PNG file to customize water bottles, lunchboxes and more!
Second Grade PNG File
Second Grade Rocks PNG File
If you have a second grader you will want to download this PNG file to customize water bottles, lunchboxes and more!
Third Grade PNG File
Third Grade Rocks PNG File
If you have a third grader you will want to download this PNG file to customize water bottles, lunchboxes and more!
Fourth Grade PNG File
Fourth Grade Rocks PNG File
If you have a fourth grader you will want to download this PNG file to customize water bottles, lunchboxes and more!
Fifth Grade PNG File
Fifth Grade Rocks PNG File
If you have a fifth grader then this is the free png file you'll want to download to make them something.
Back to School Ideas
If you are looking for more back to school ideas here are a few more projects you can whip up.
If you make something using any of these free downloadable PNG files please feel free to tag me on social media. I would be honored and love for you to take the time to leave a star rating and comment! I spend hours developing and testing these projects, and always love to hear feedback and user experience!
Don’t forget to FOLLOW ME on Facebook, Pinterest, and Instagram, and subscribe to my email list!
