Learn how to make your own DIY Backpack and how to apply iron-on vinyl to backpacks using a Cricut. You have endless design opportunities and the best way to express each child’s creativity.
Express your creativity and design your very own DIY backpack. In this post, you are going to master the skill of applying iron-on vinyl designs using a Cricut. Embark on a journey where imagination knows no bounds, and each design becomes a canvas for every child’s unique expression.
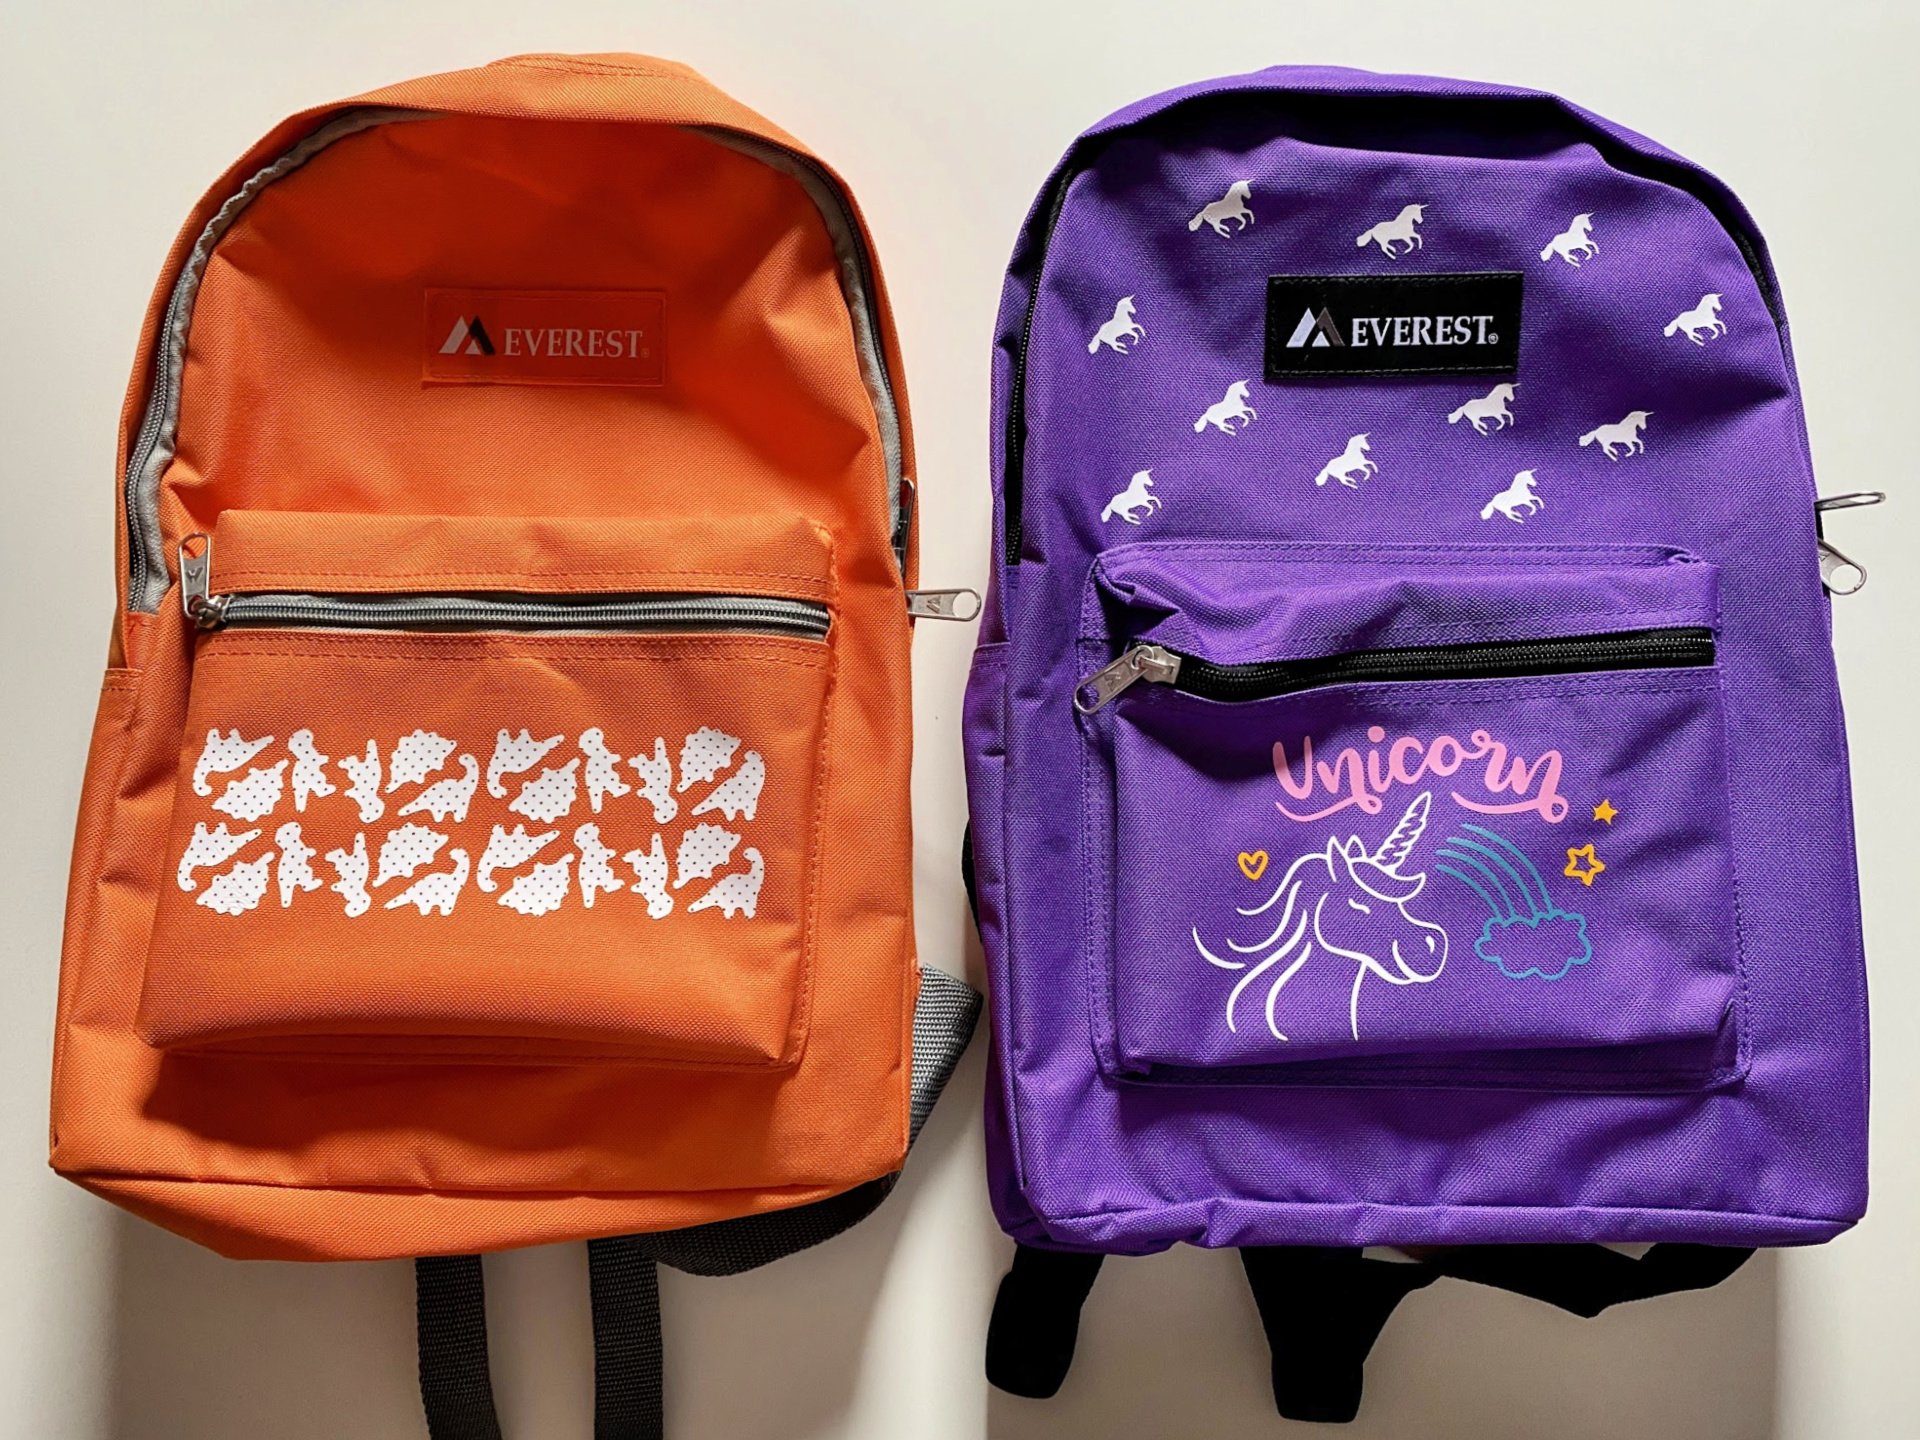
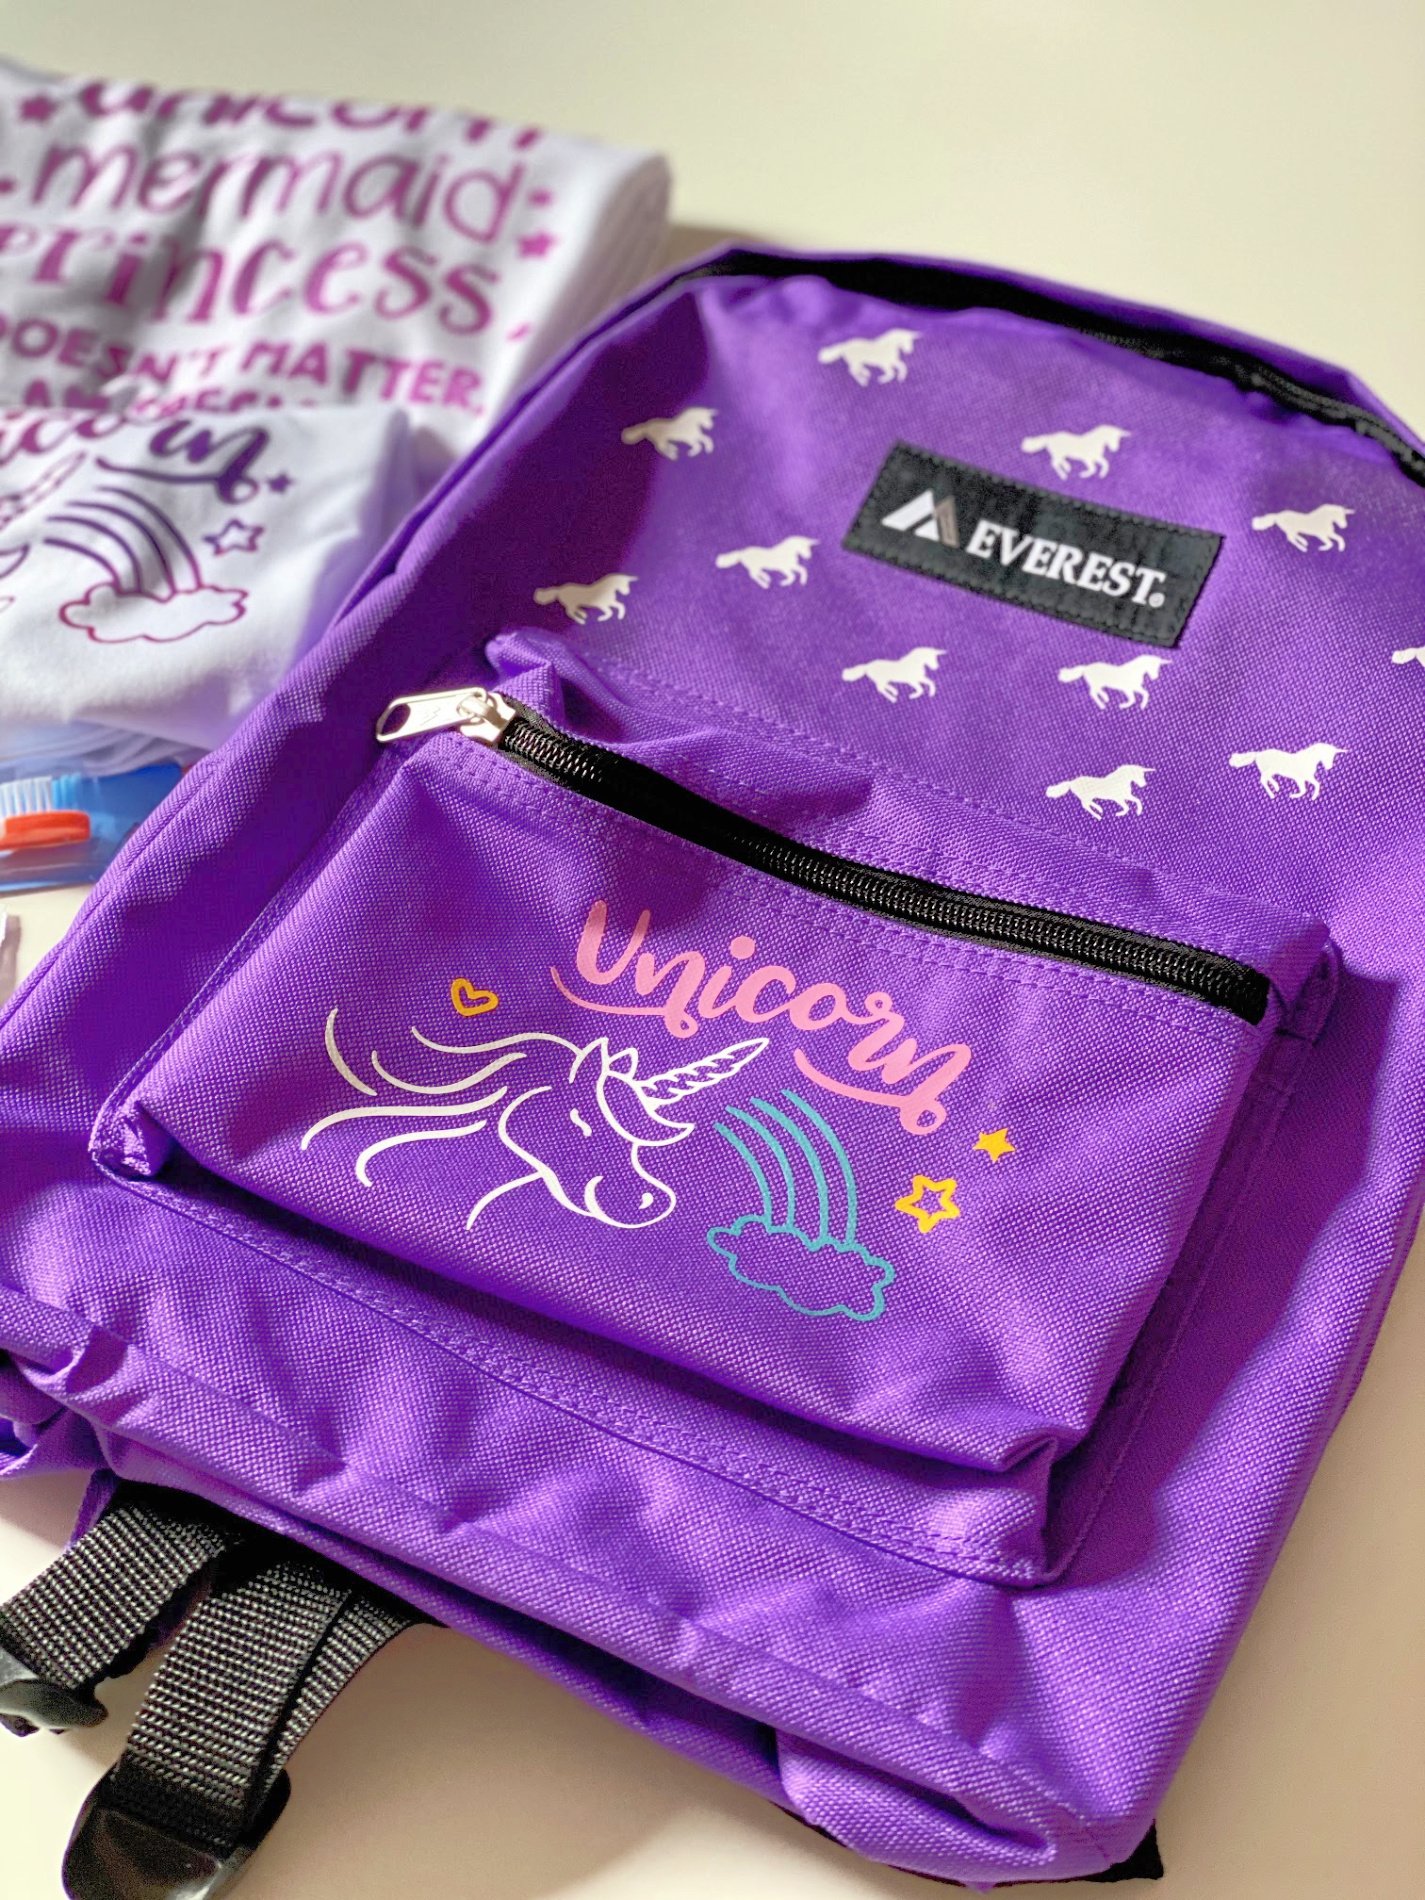
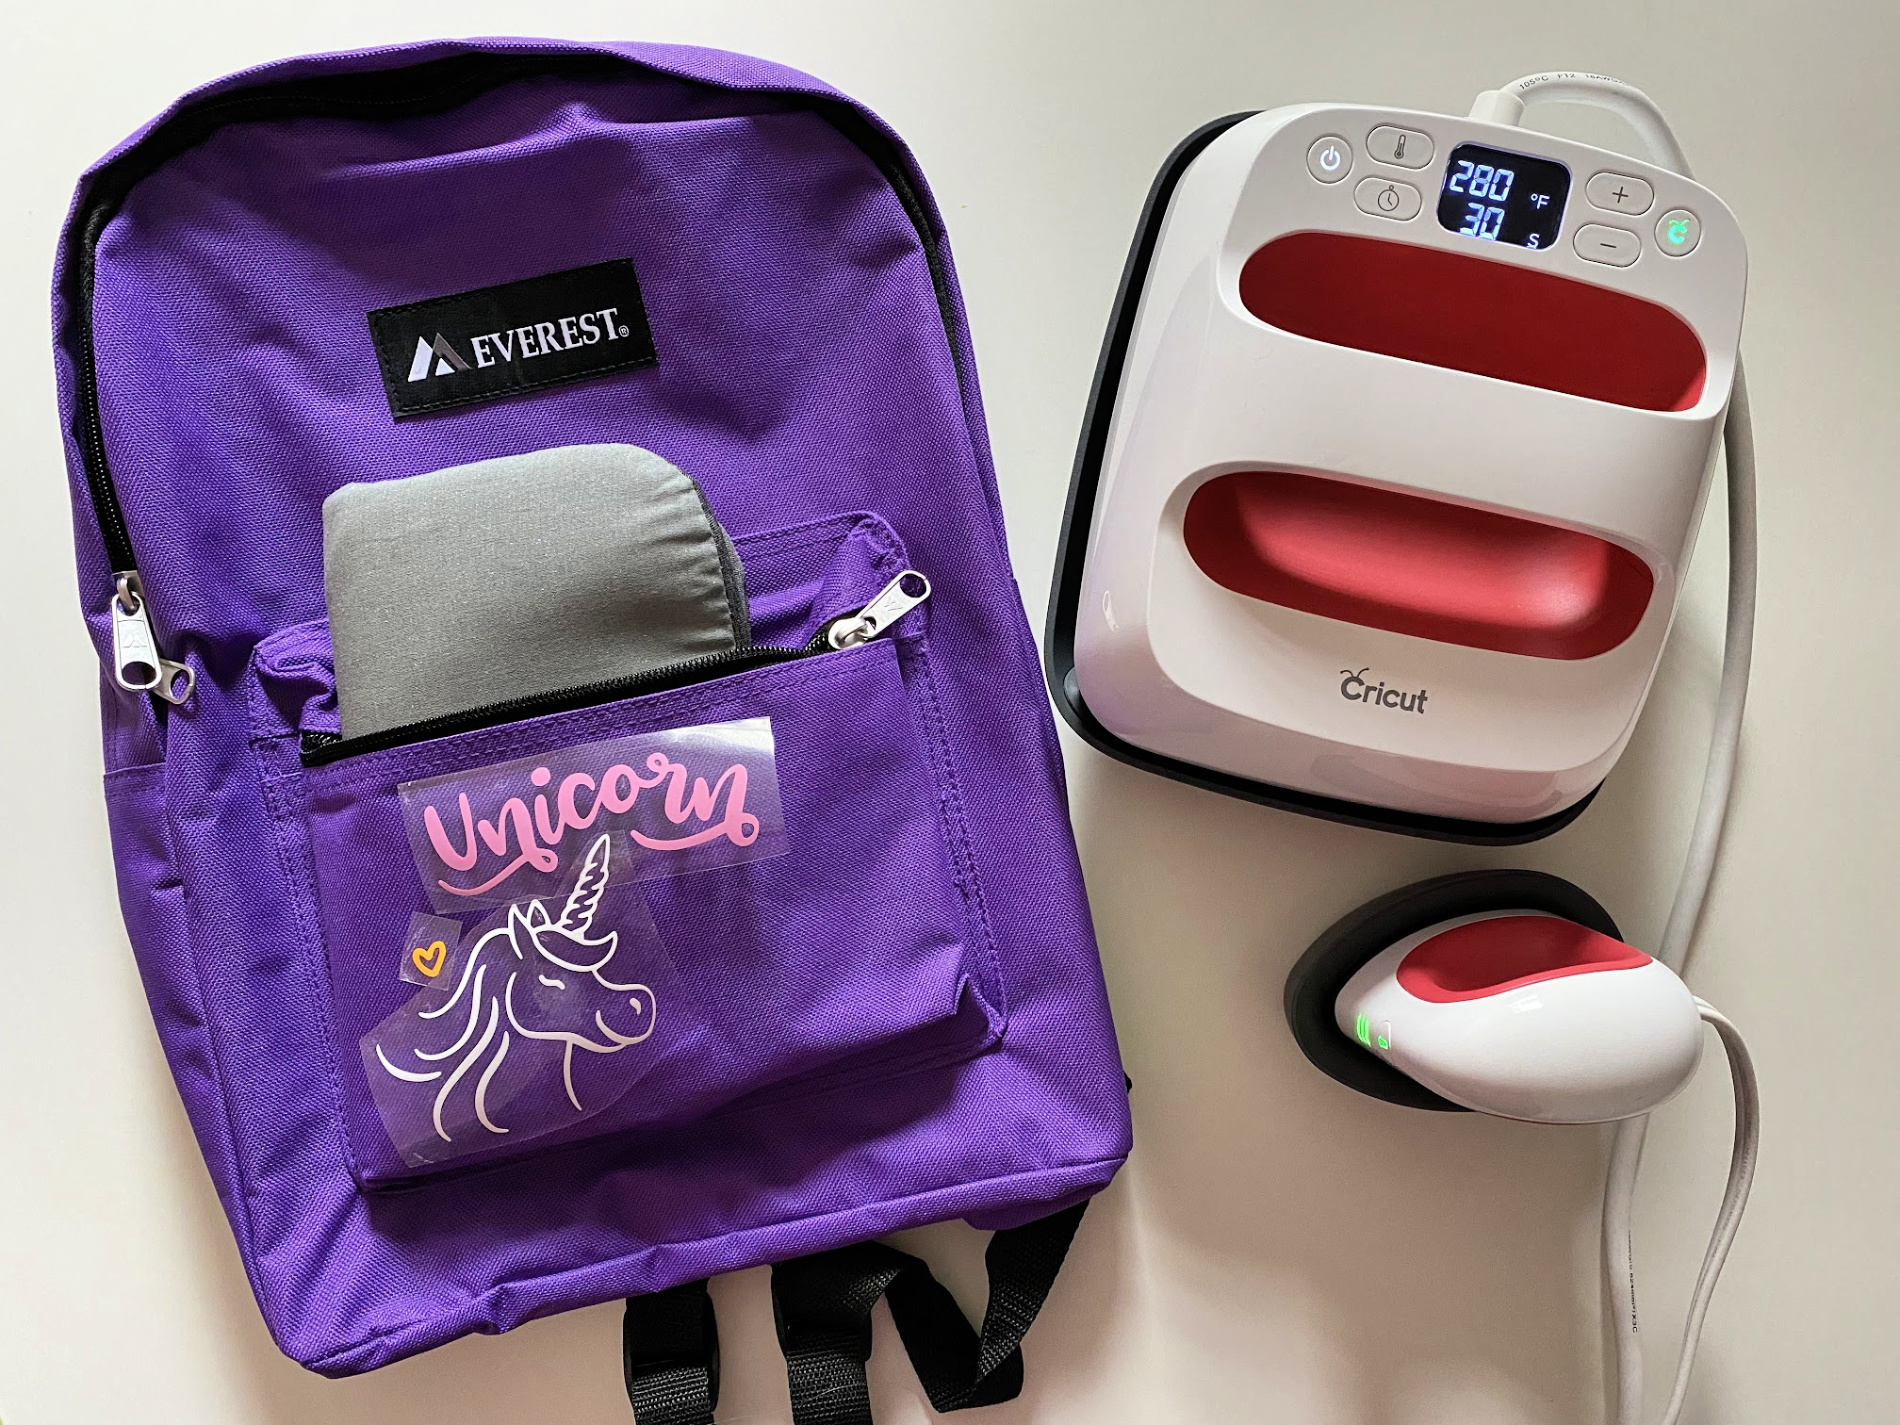
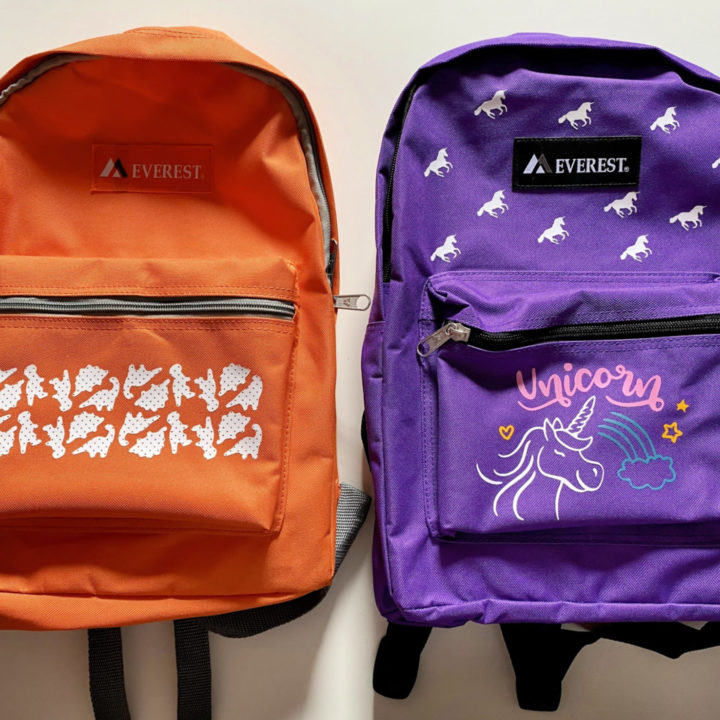
Above you’ll see the two backpacks you will learn how to make in this post using both traditional Iron-On Vinyl and Mesh Iron-On Vinyl. I love being able to take an inexpensive backpack and create it into something completely unique and one of a kind. I refrain from putting my kids names on backpacks for safety concerns; however, if you like to have their names on bags feel free to incorporate them into the design!
Table of contents
Supplies for Unicorn Backpack
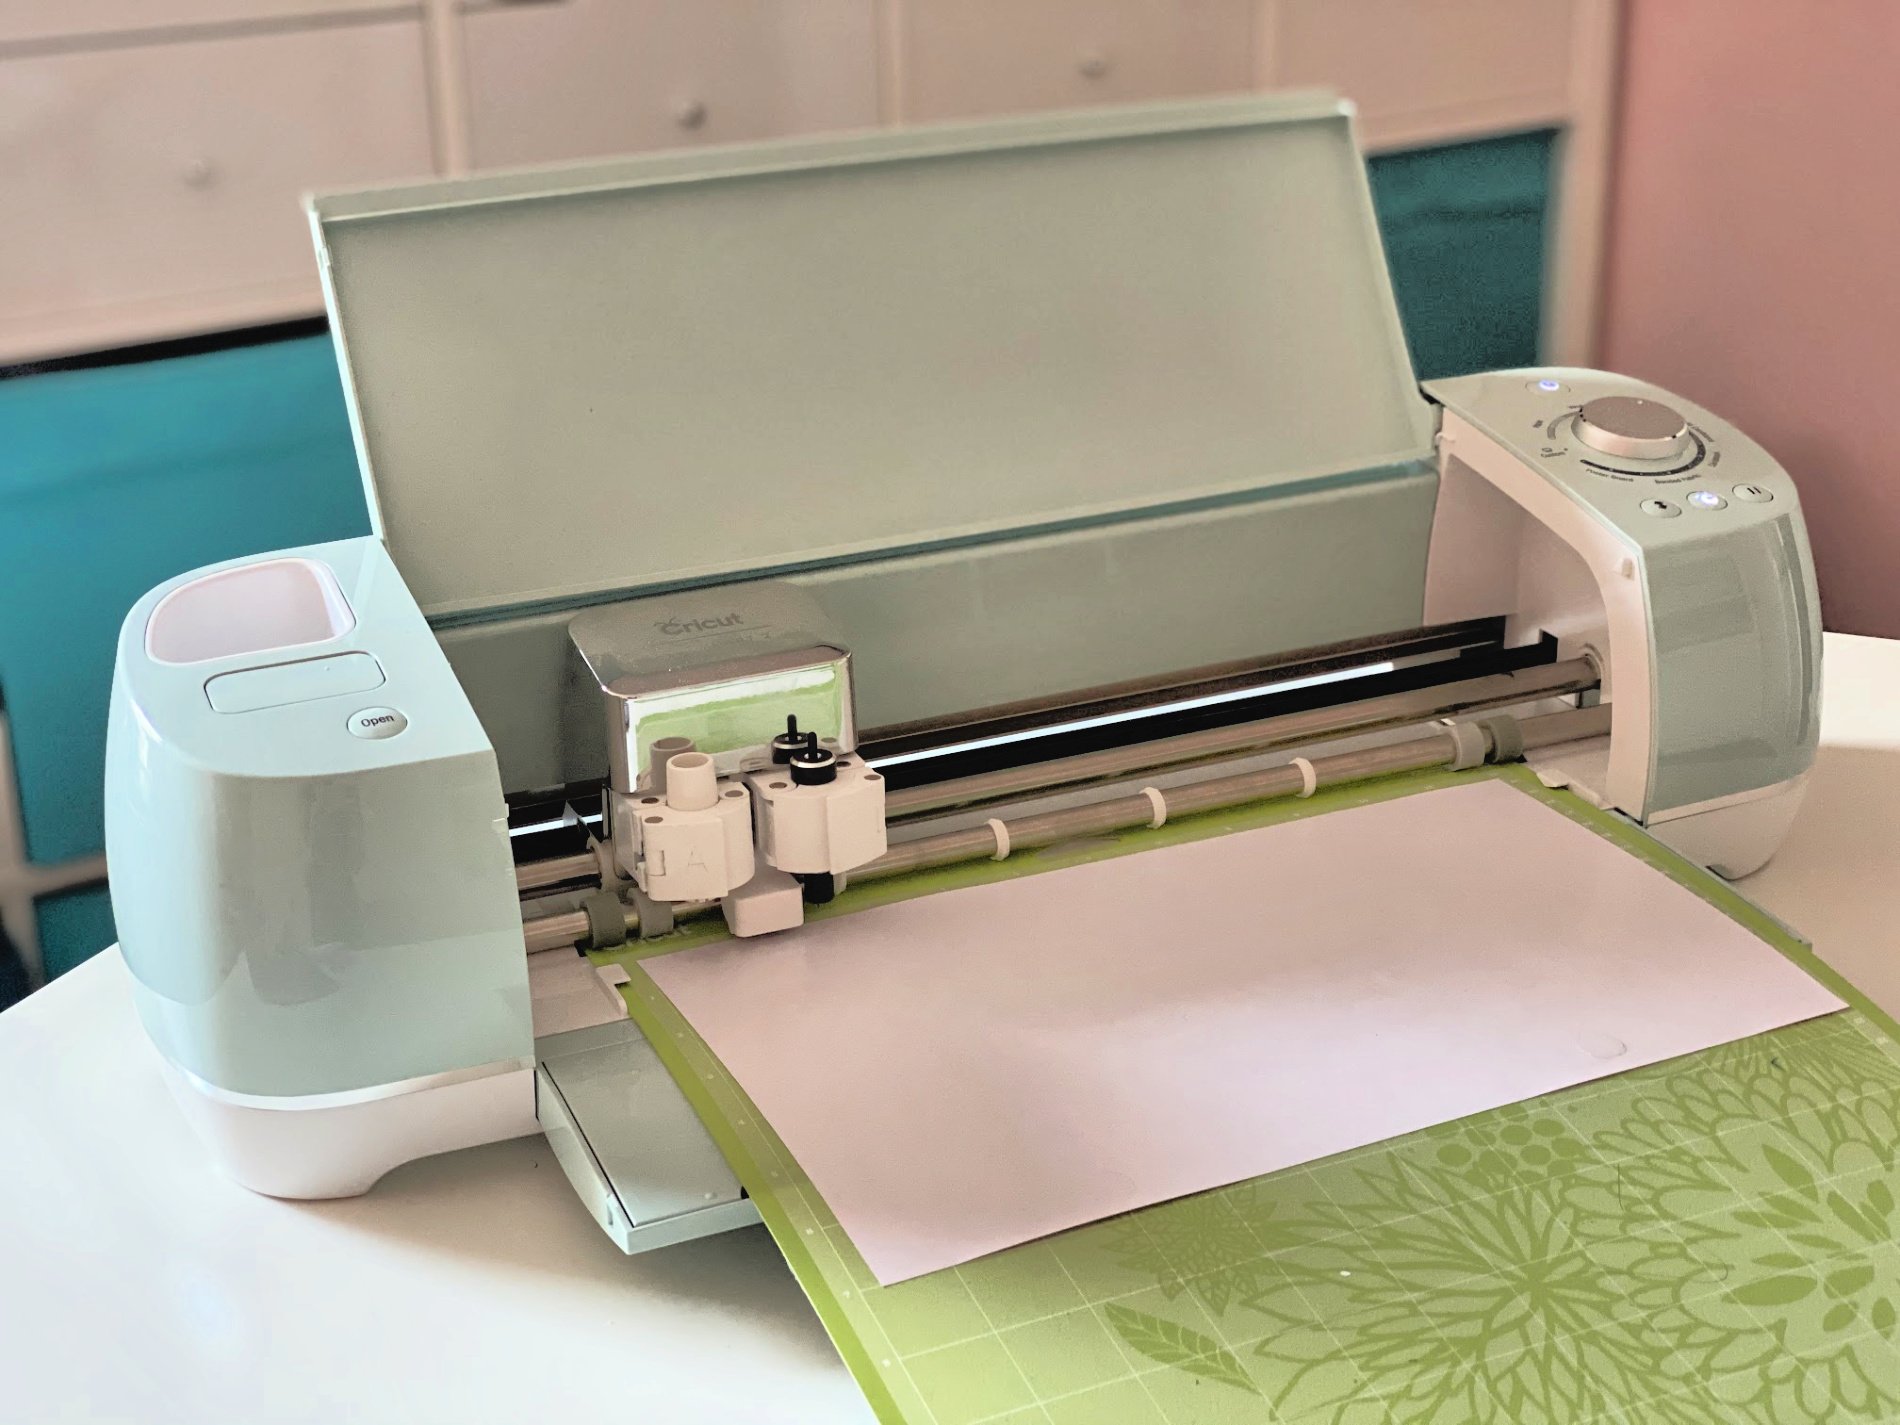
- Cricut Explore Air 2
- Unicorn Backpack Cricut Design Space™ File
- Cricut Mat
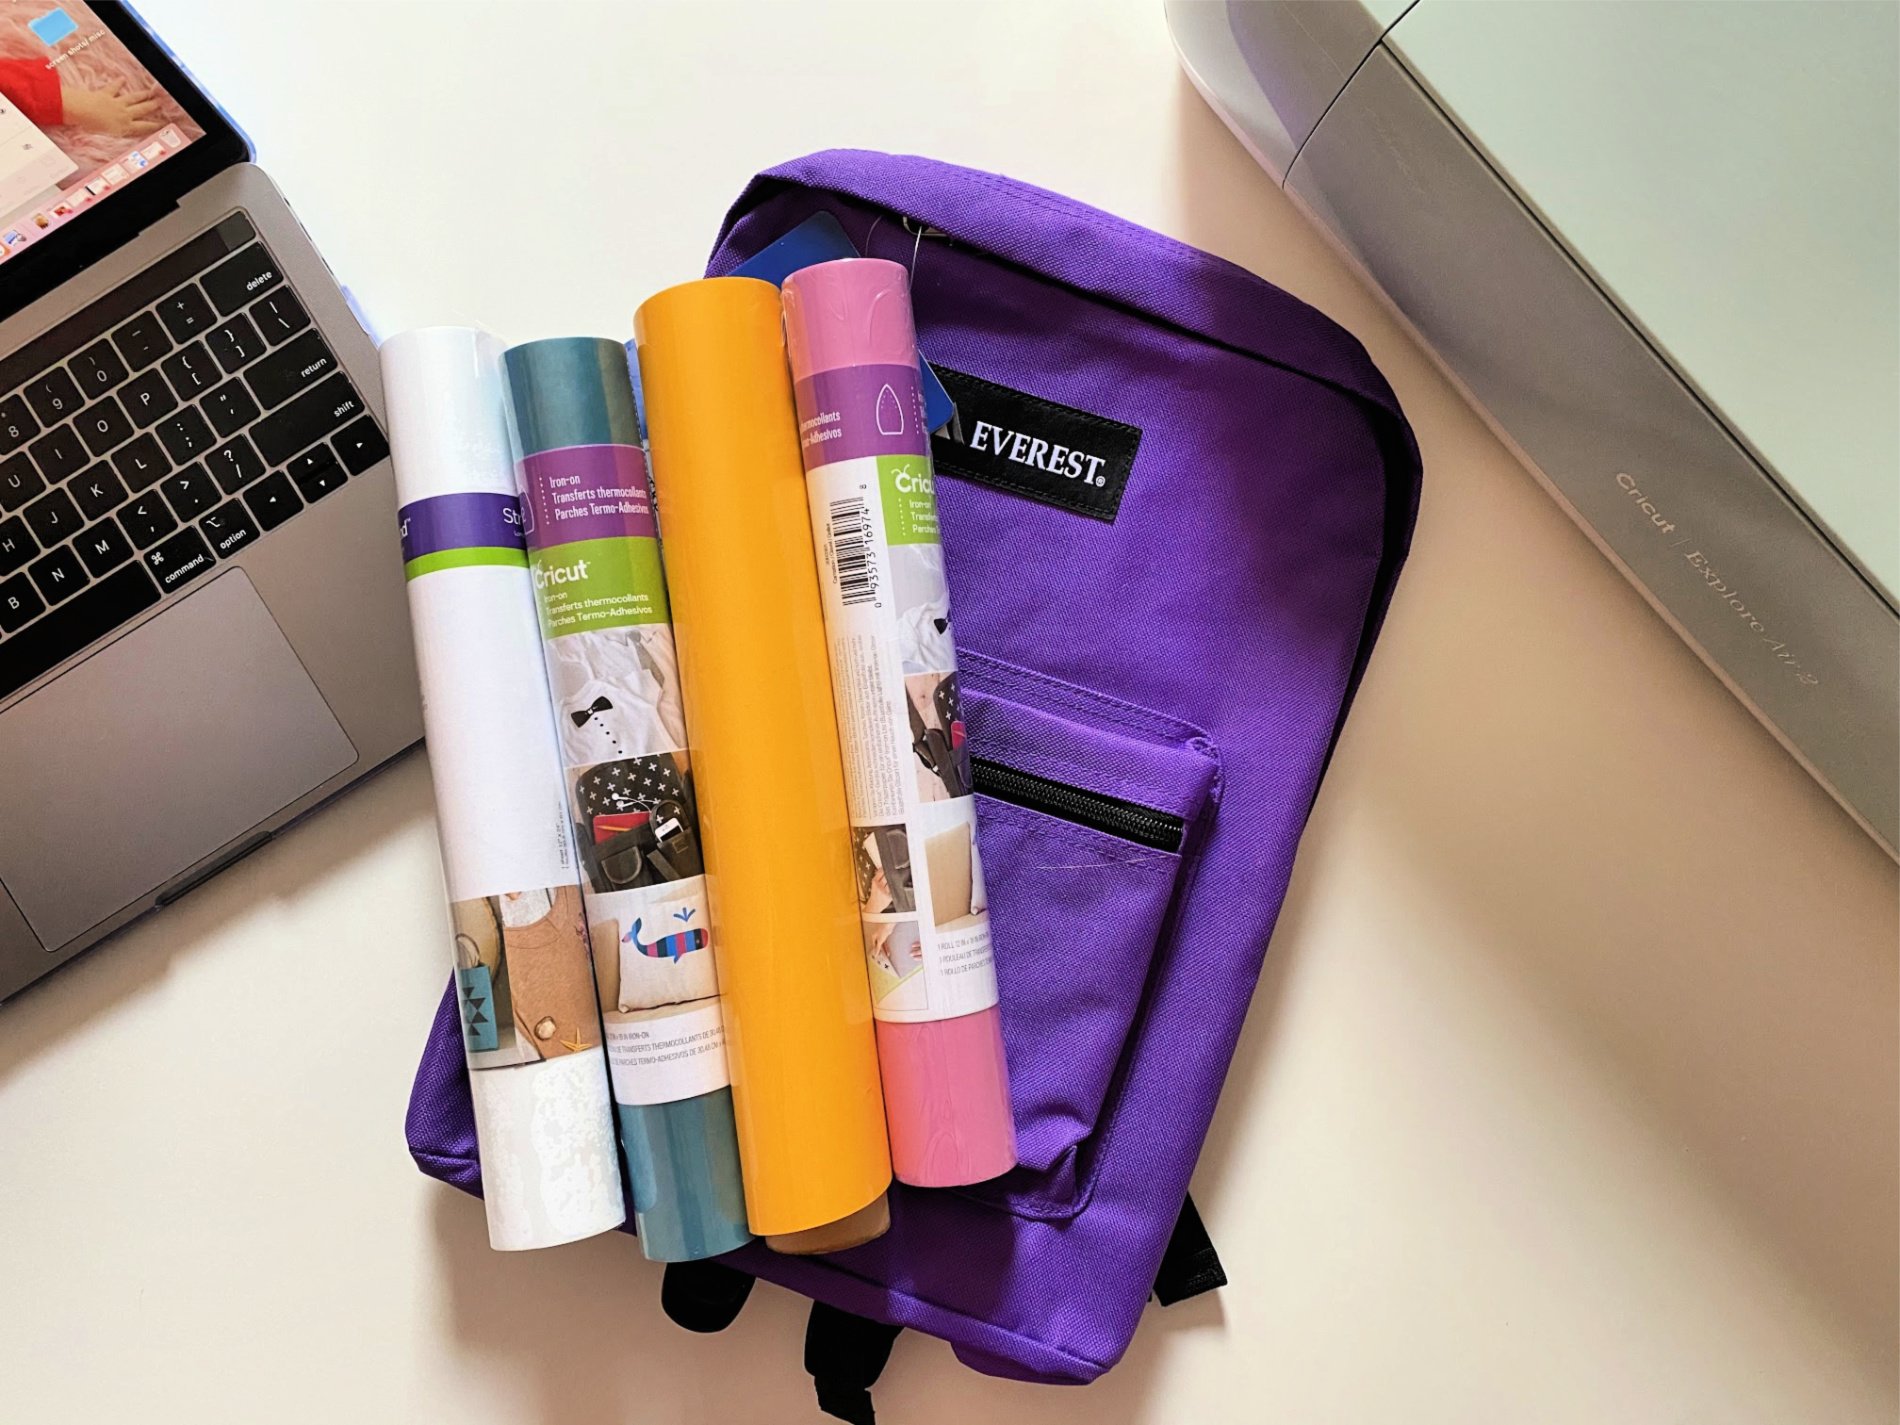
- Iron-On Vinyl
- Cricut Tools
- Cricut EasyPress Mini
- Cricut Mat
- Backpack
How to Customize a Backpack
First, open the file in Cricut Design Space™. Adjust size if needed according to the backpack you are creating on. Prior to cutting make sure you mirror image.
Next, cut the multiple pieces of Iron-On Vinyl.
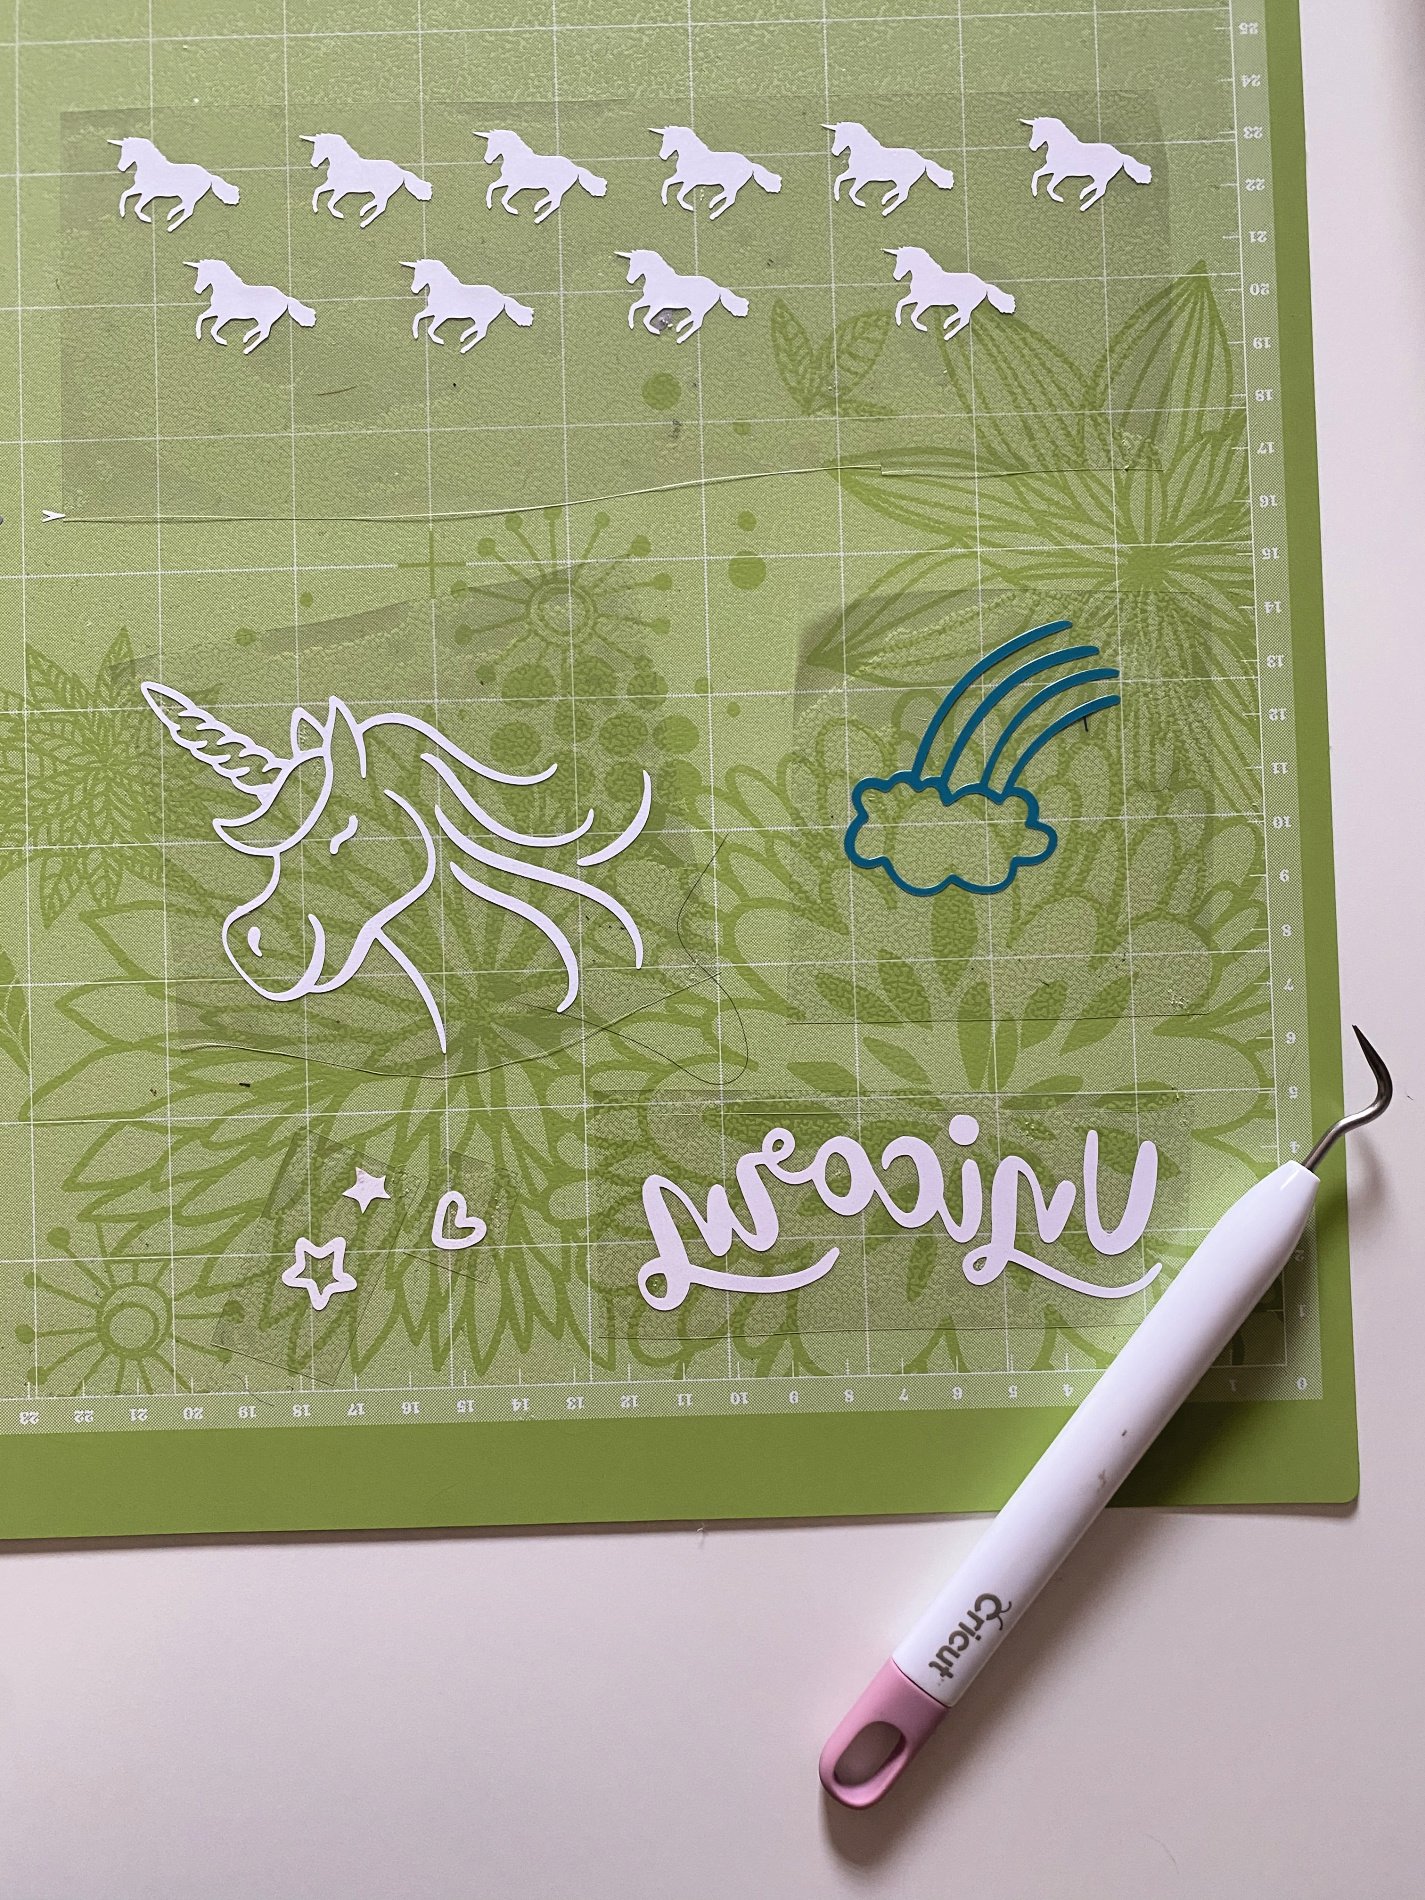
Next, weed the negative from the Iron-on Vinyl sheets.
Heat the EasyPress Mini and EasyPress 2. If you need a more step-by-step on this process make sure to head over to my how to use the EasyPress Mini post.
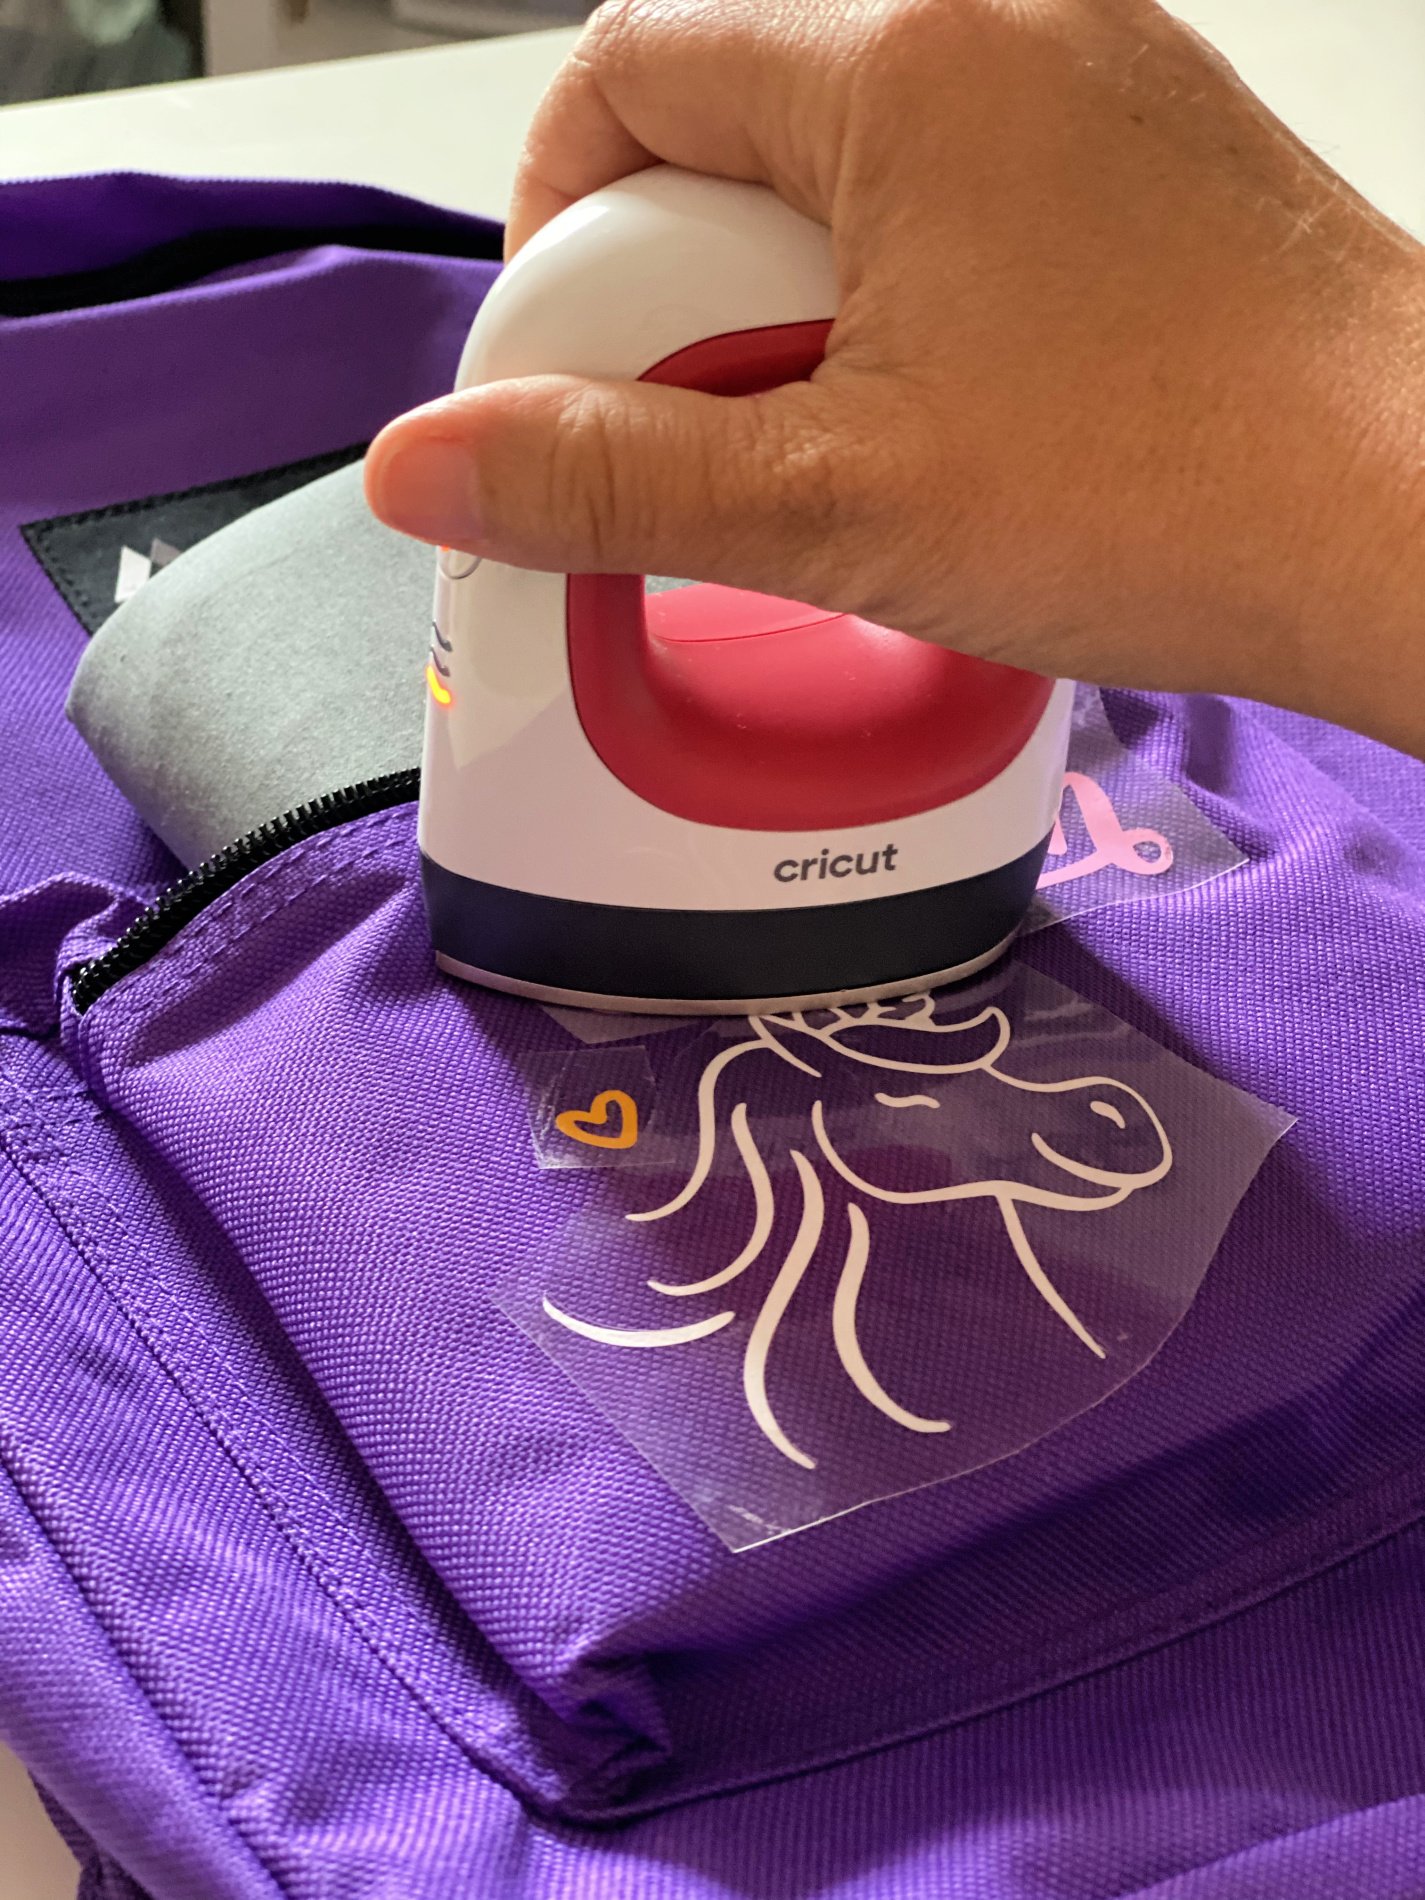
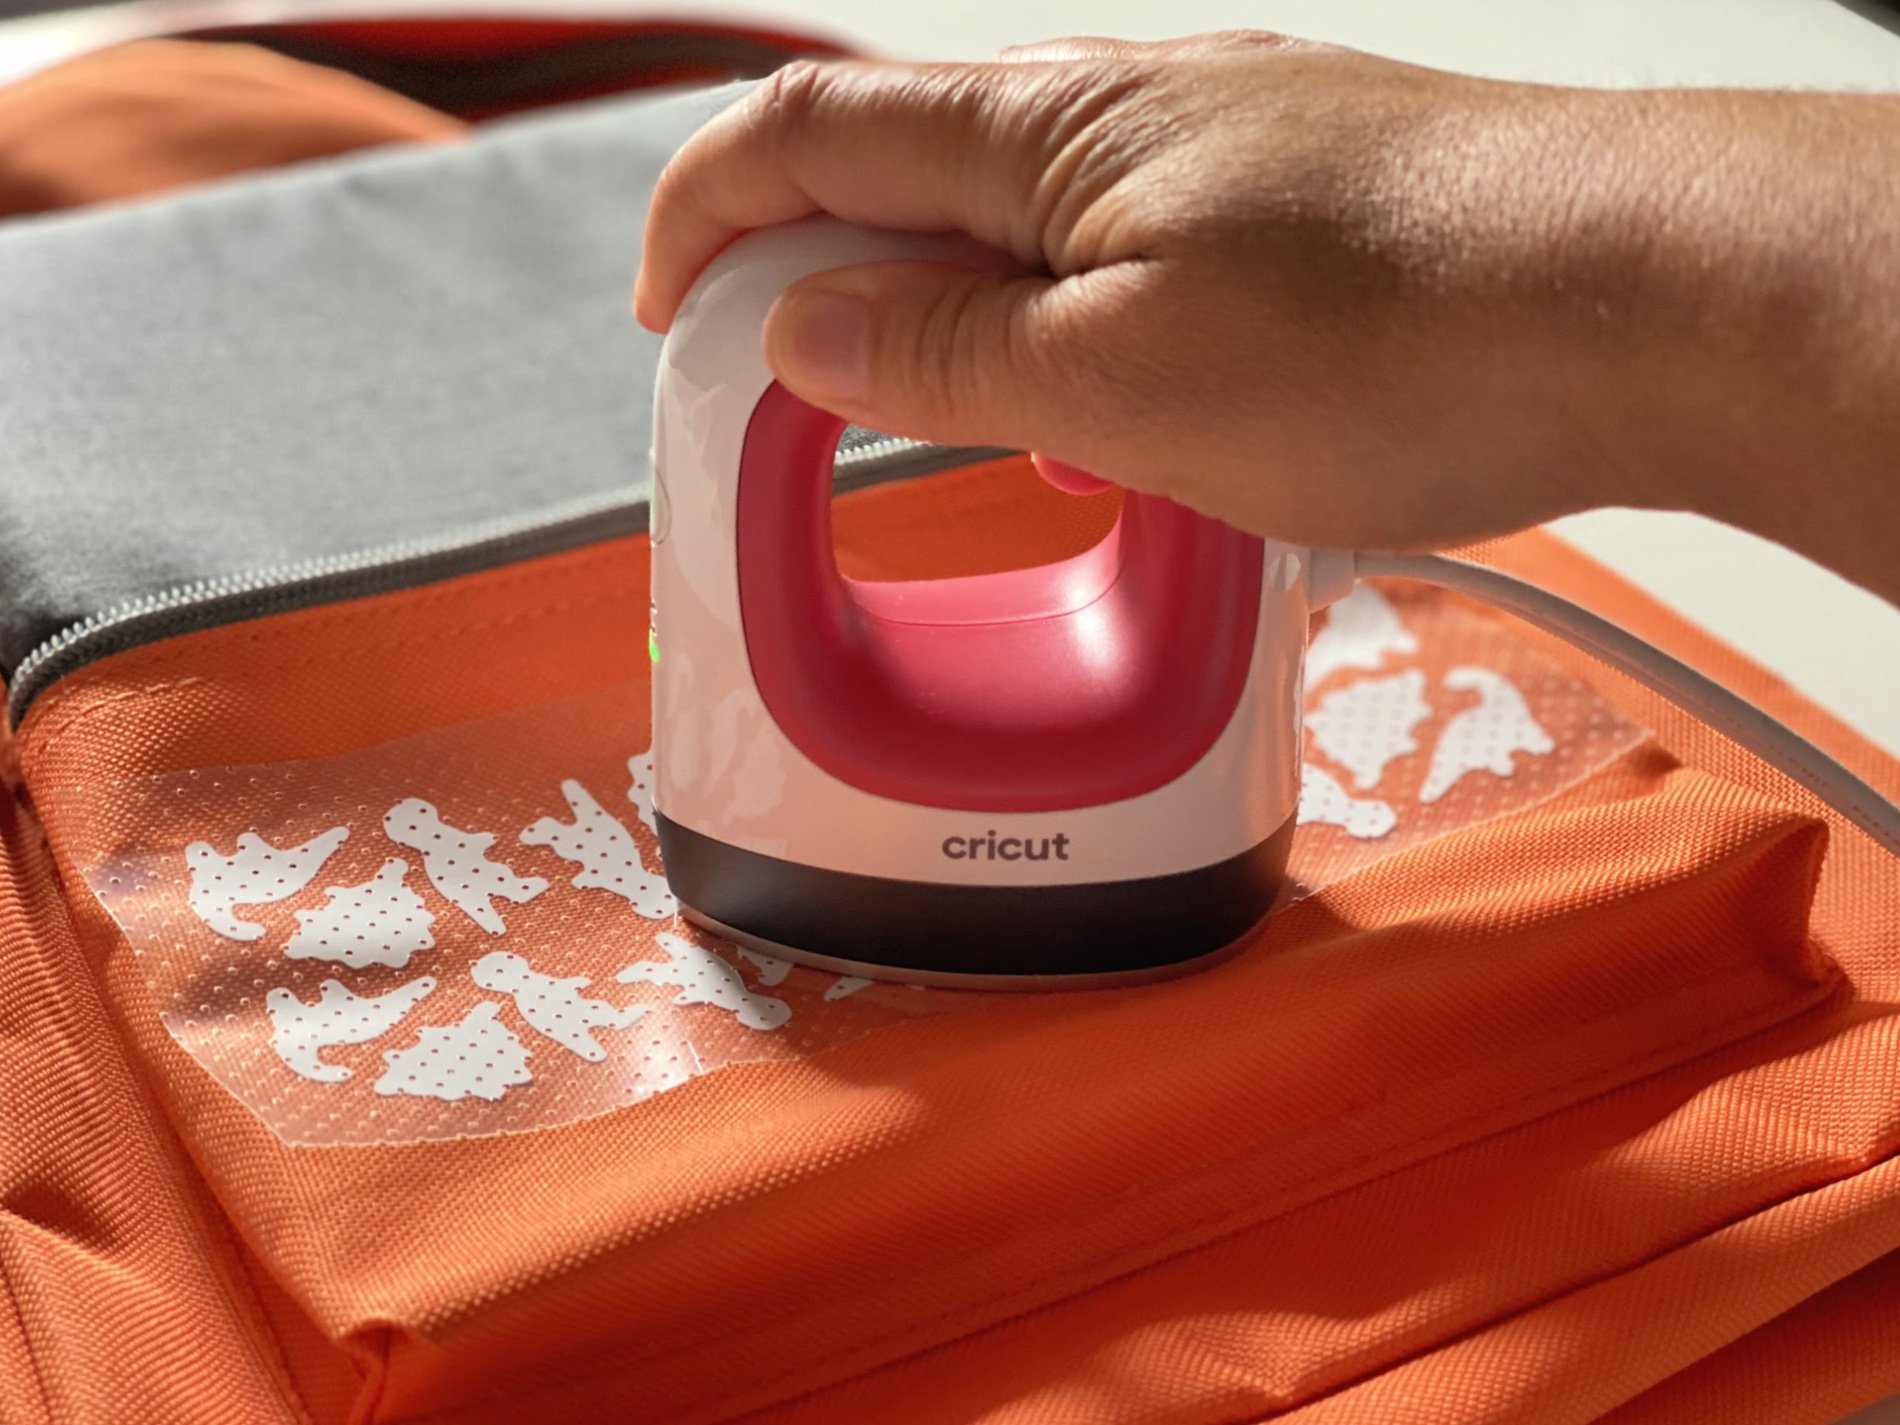
Begin to apply the first 2 layers of Iron-On Vinyl on to the bottom pocket of the backpack.
Then, add the second layer making sure to not place the plastic over the actual Iron-On Vinyl.
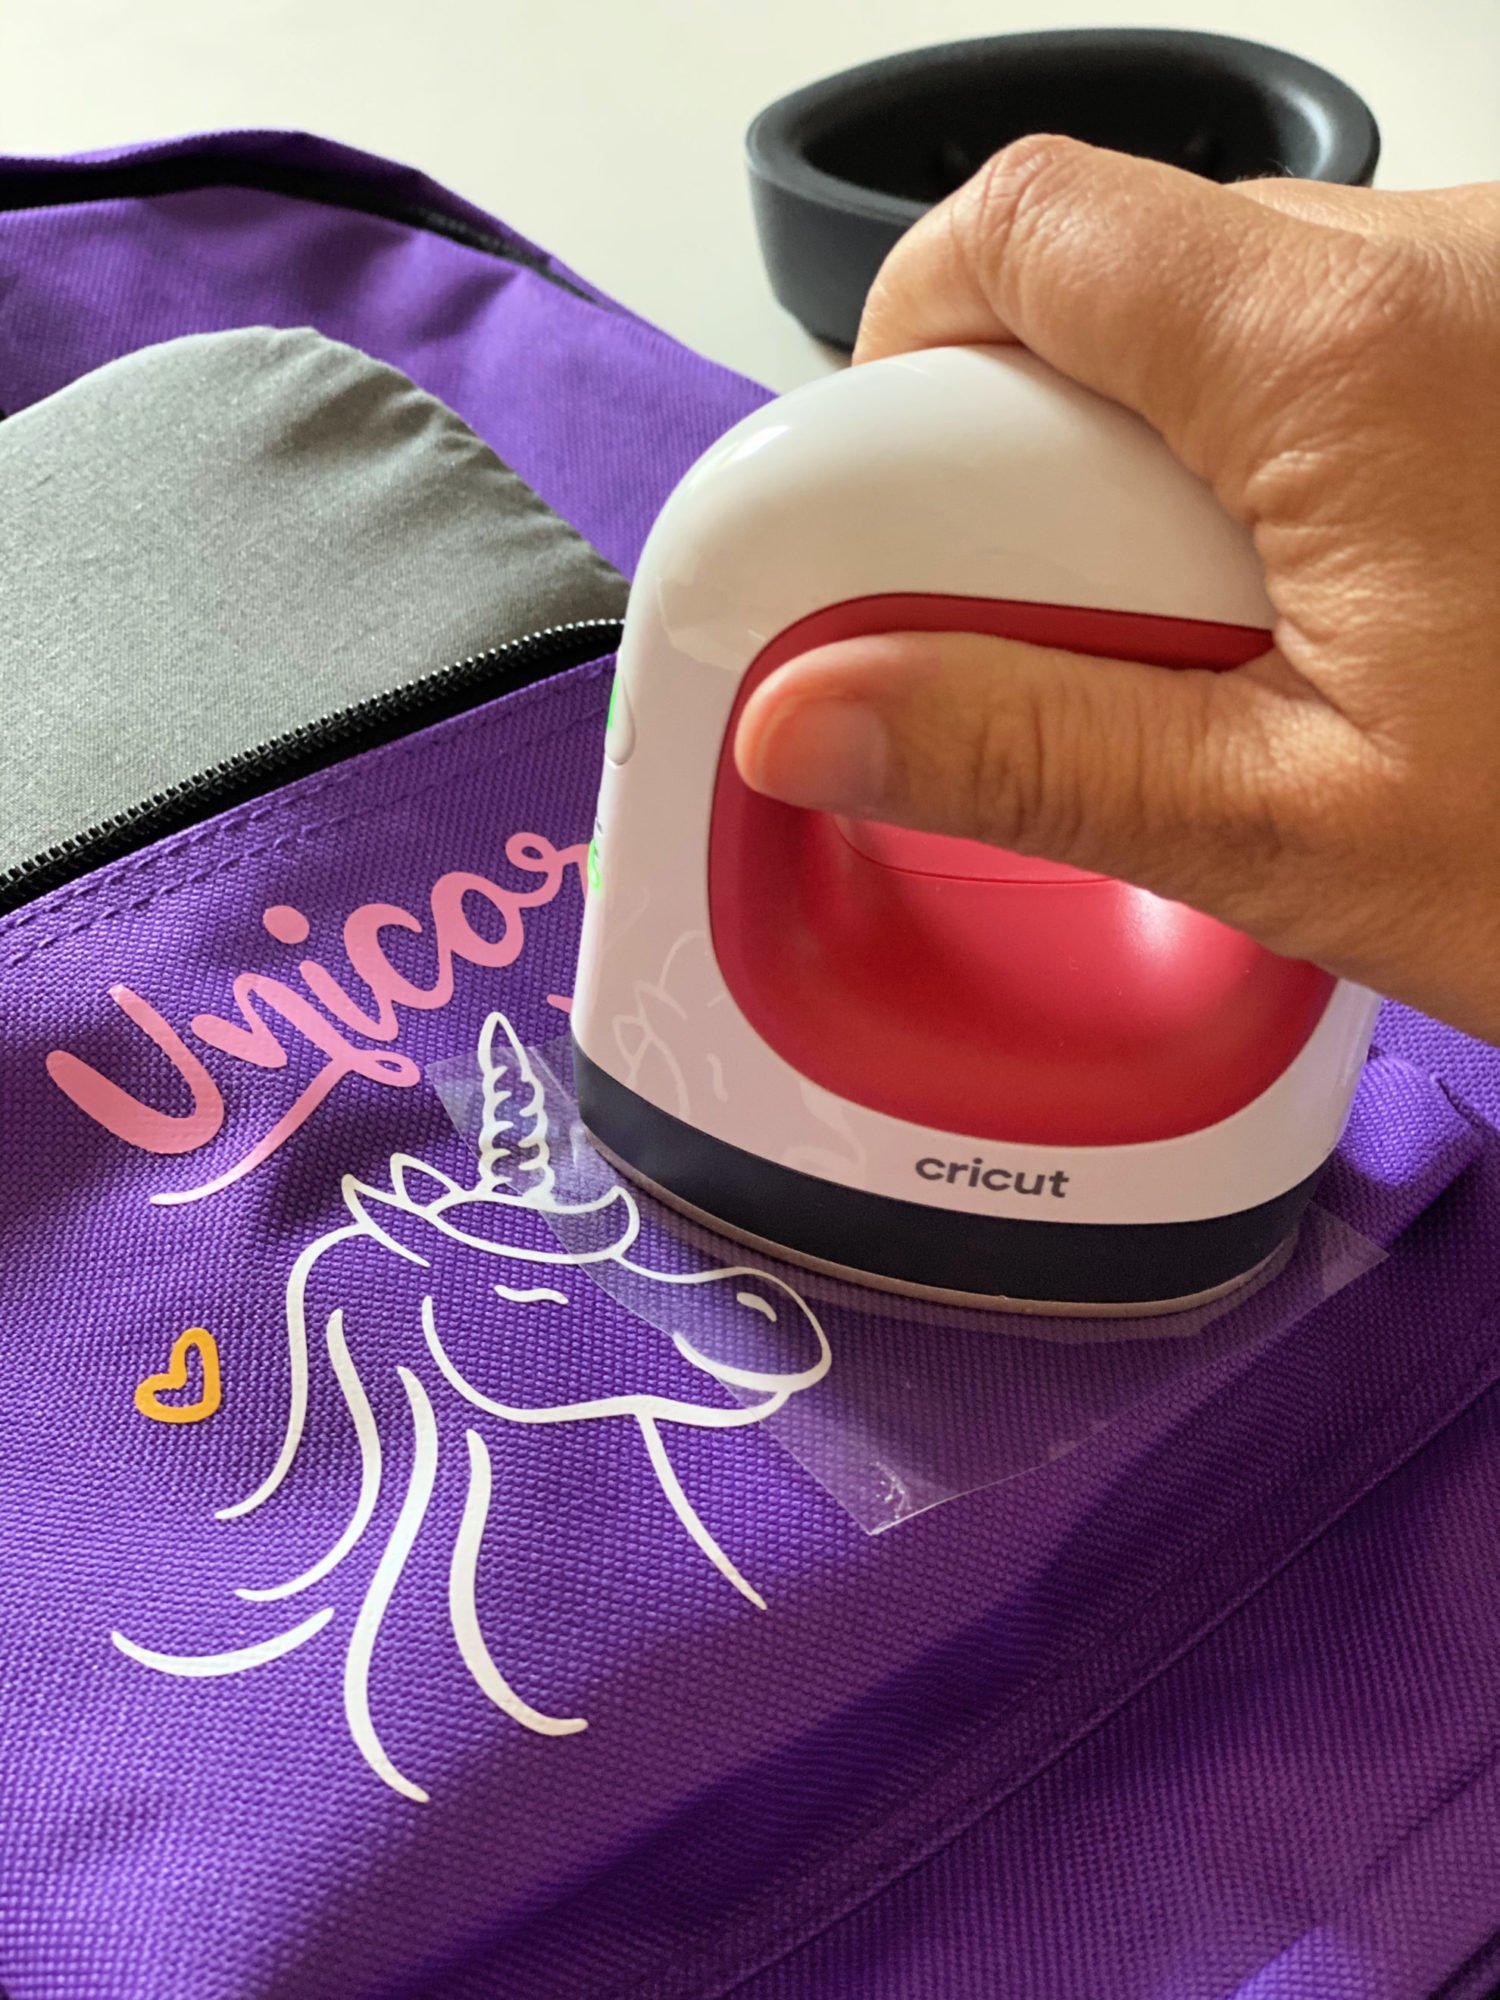
I found it was easier to use the EasyPress Mini for this part then the EasyPress 2, 6×7. Press down the design for a few seconds until the plastic starts to pop up.
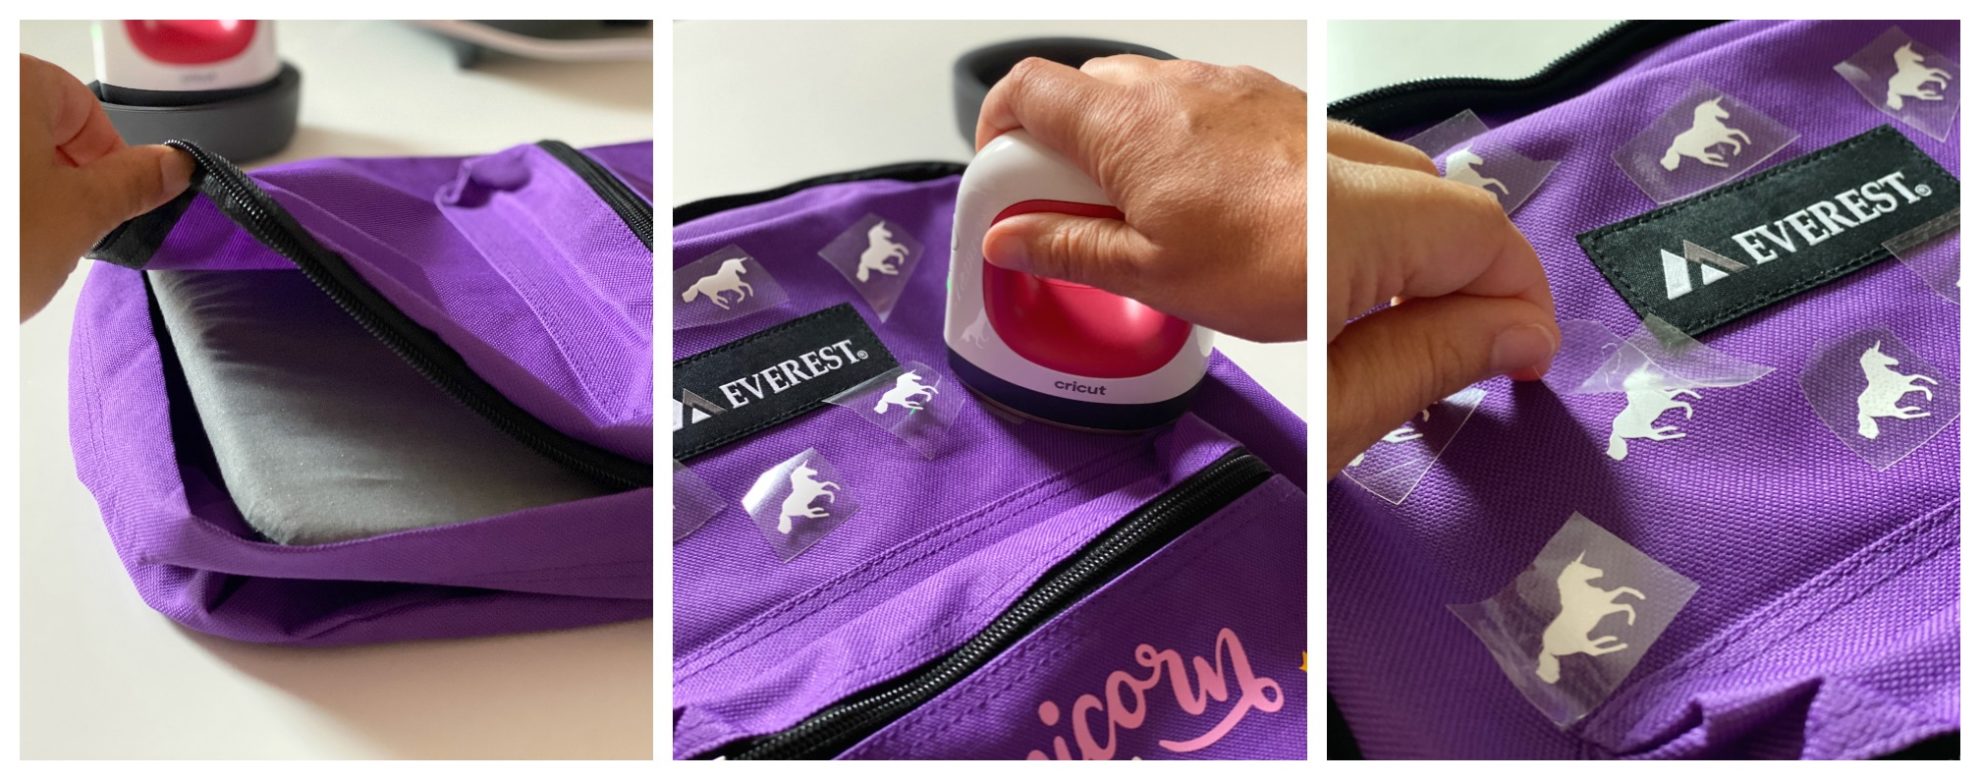
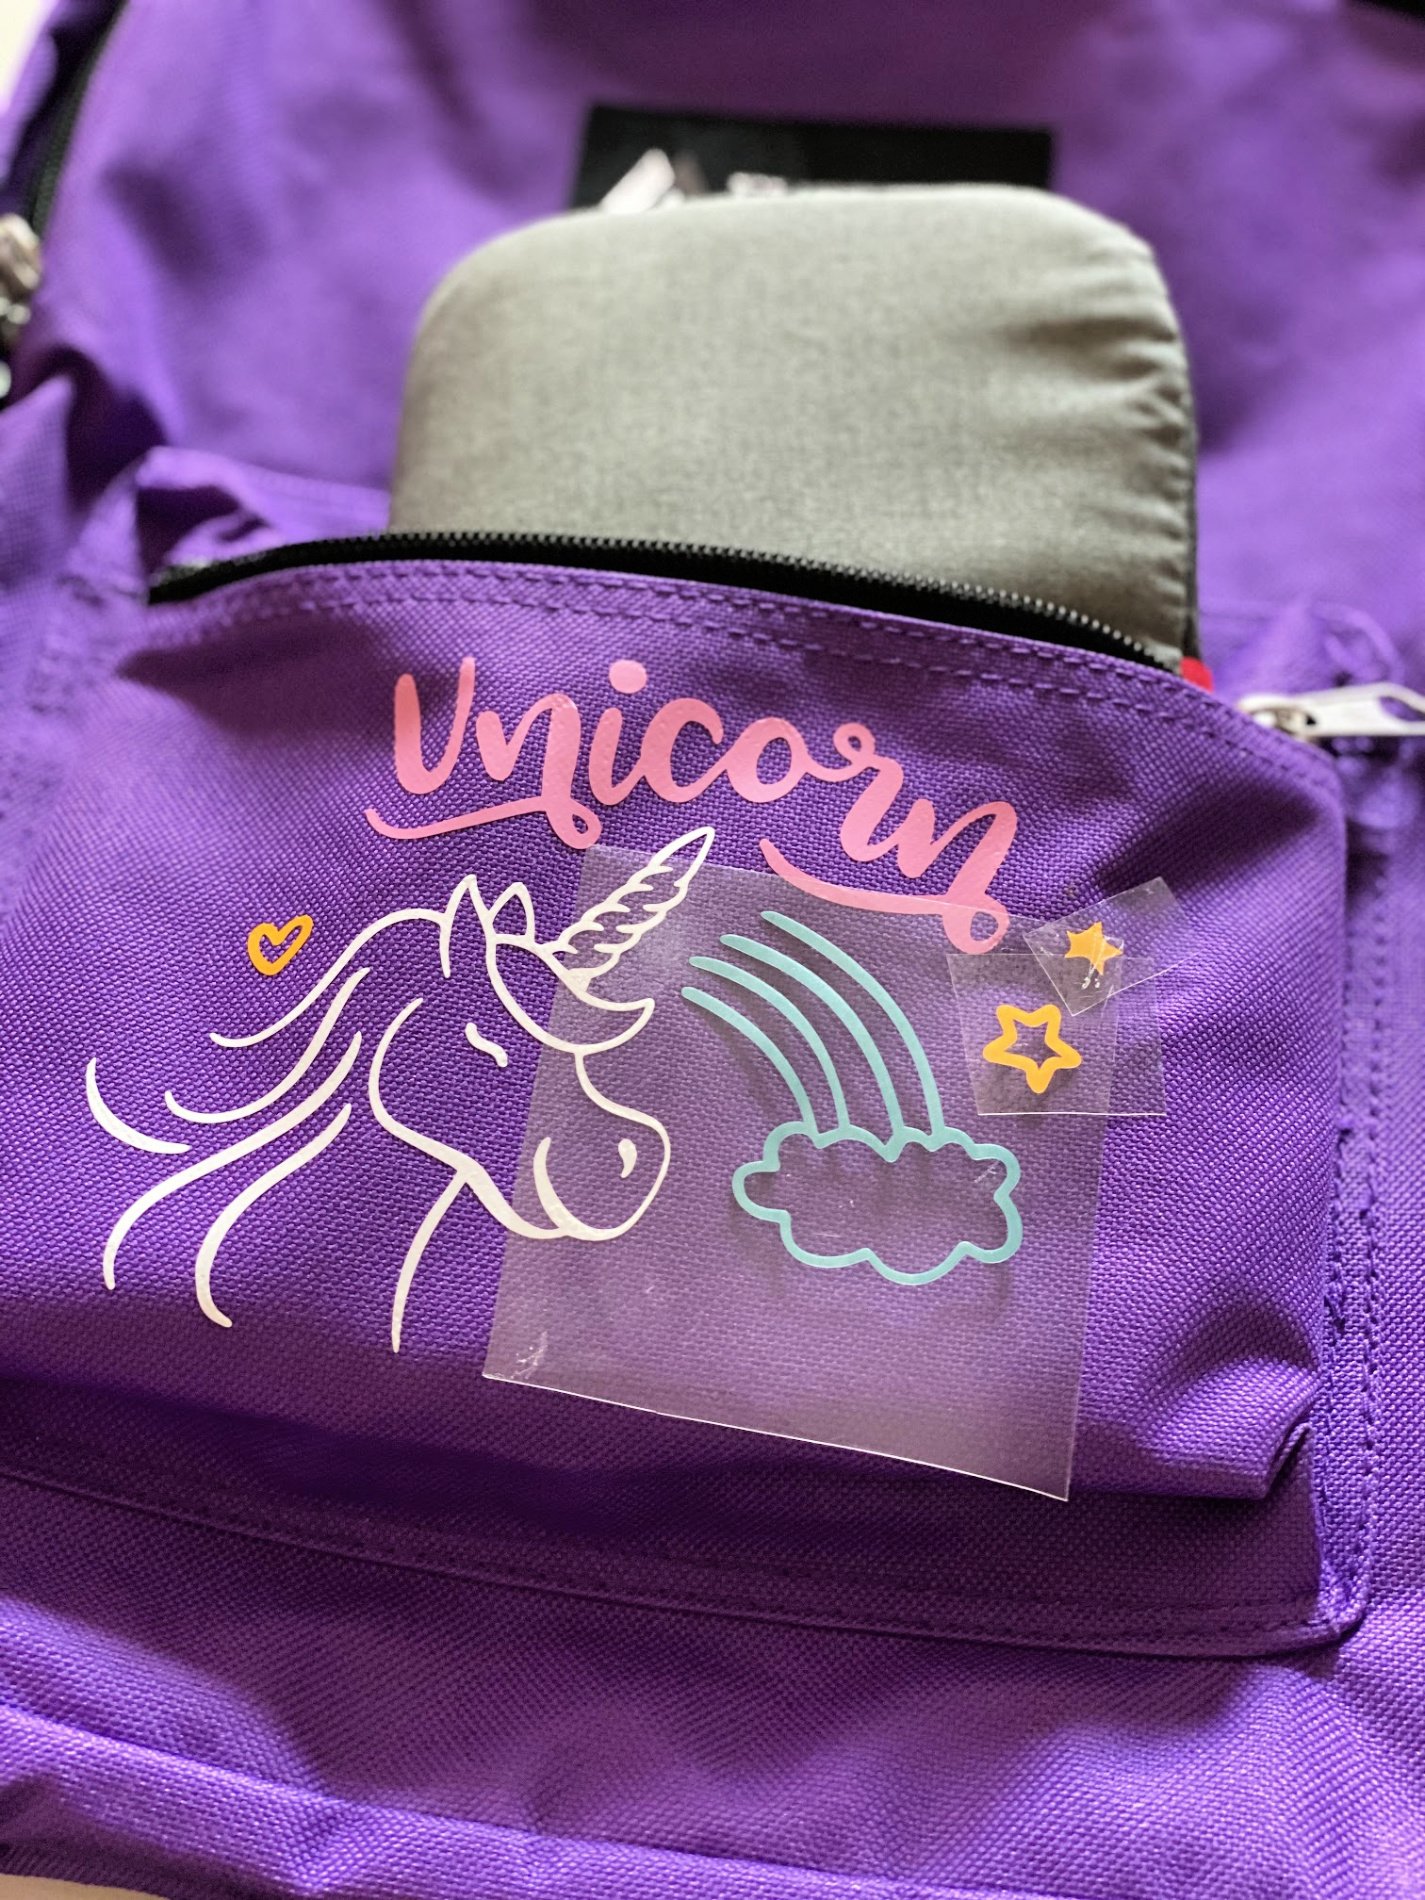
Next, place the EasyPress mat inside the book bag and add on the little unicorns on the top of the backpack.
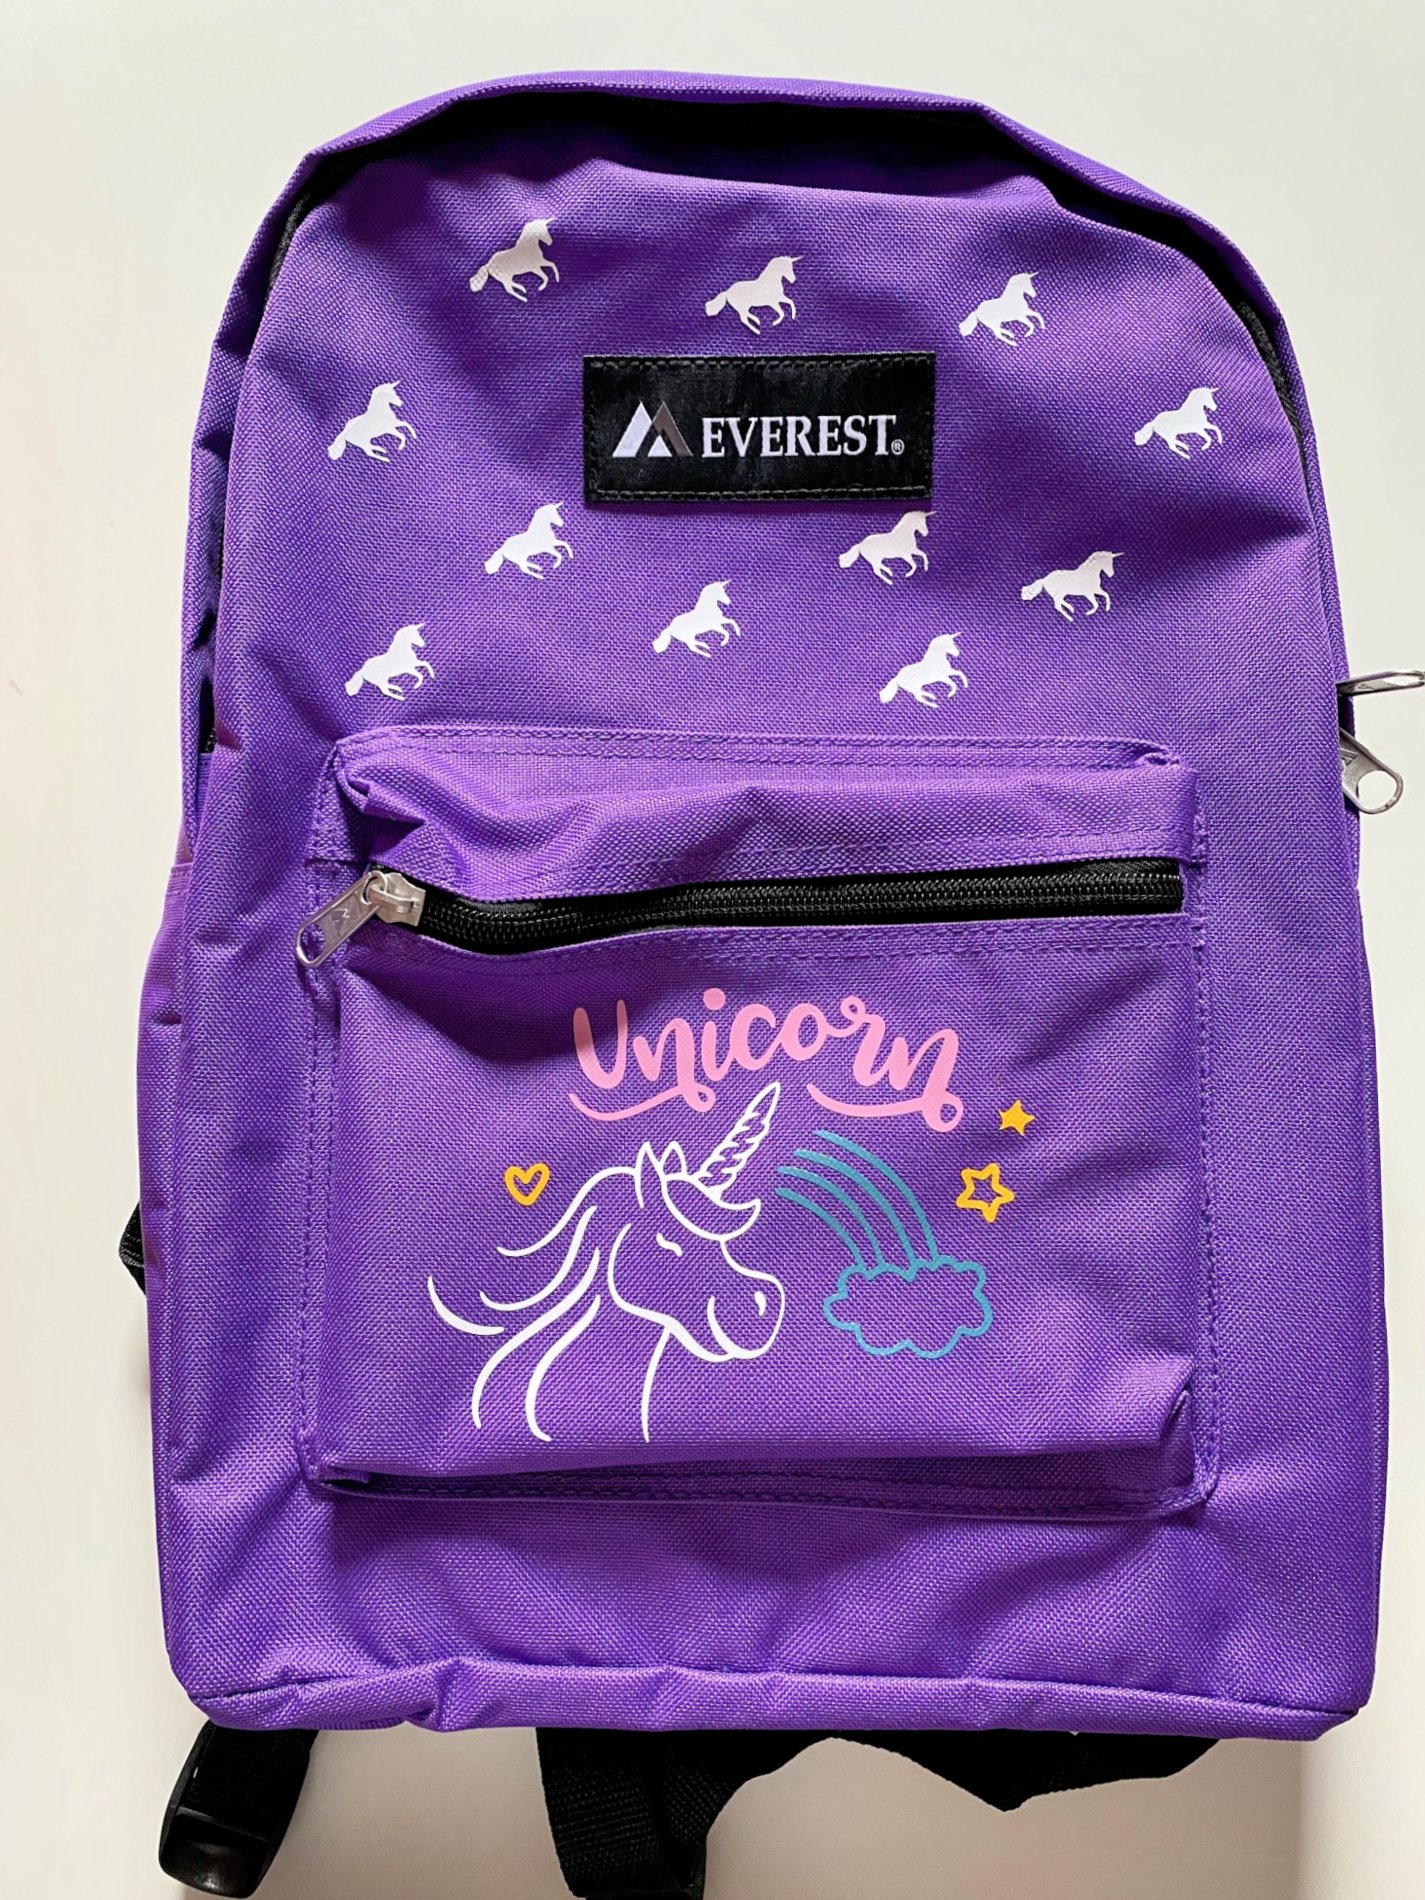
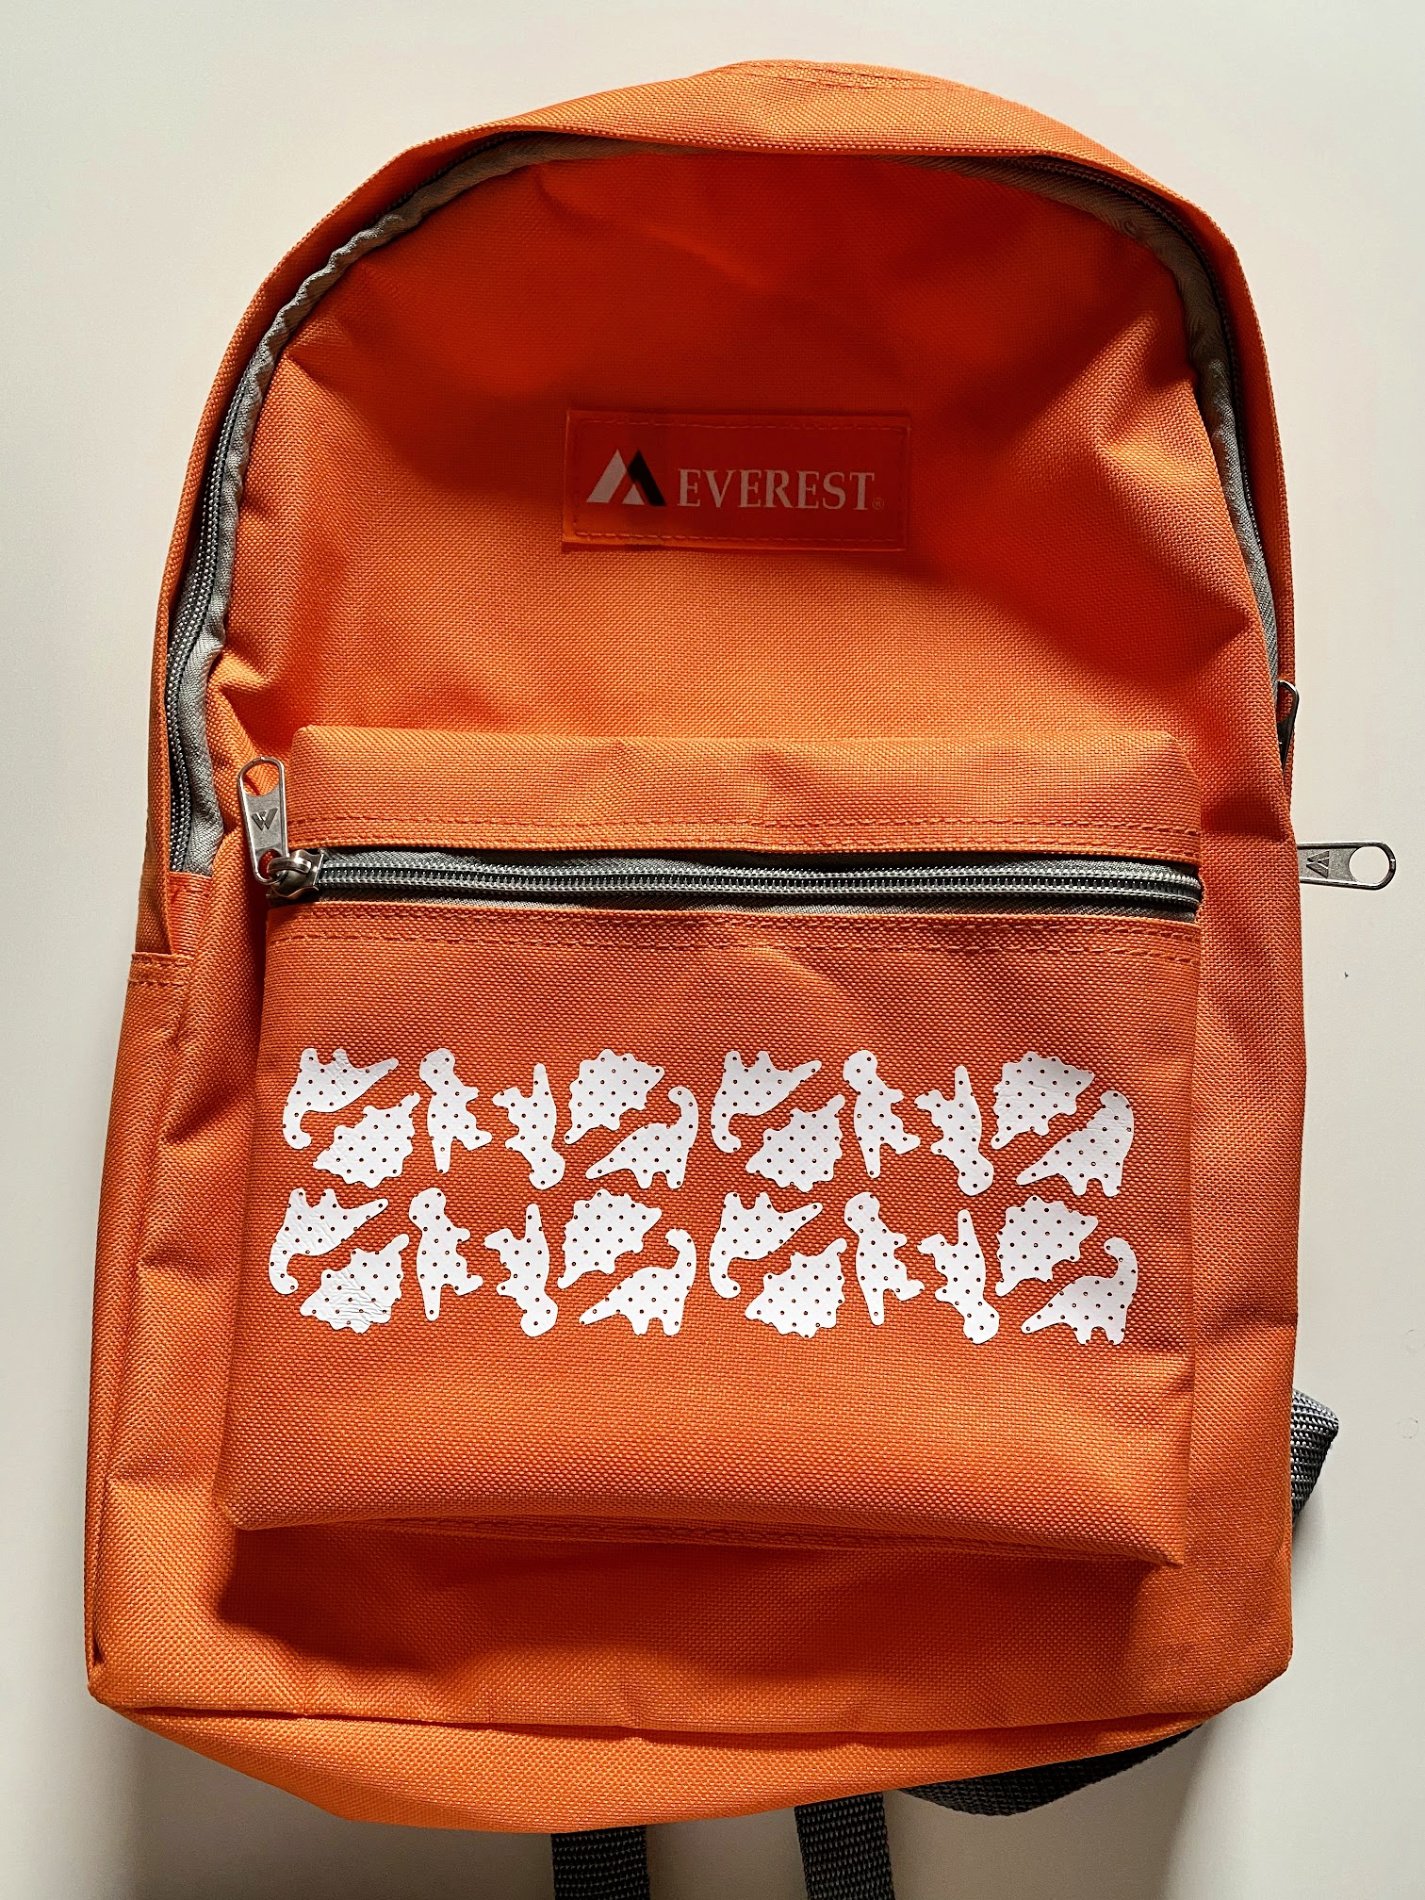
Backpack is all done and ready to be filled.
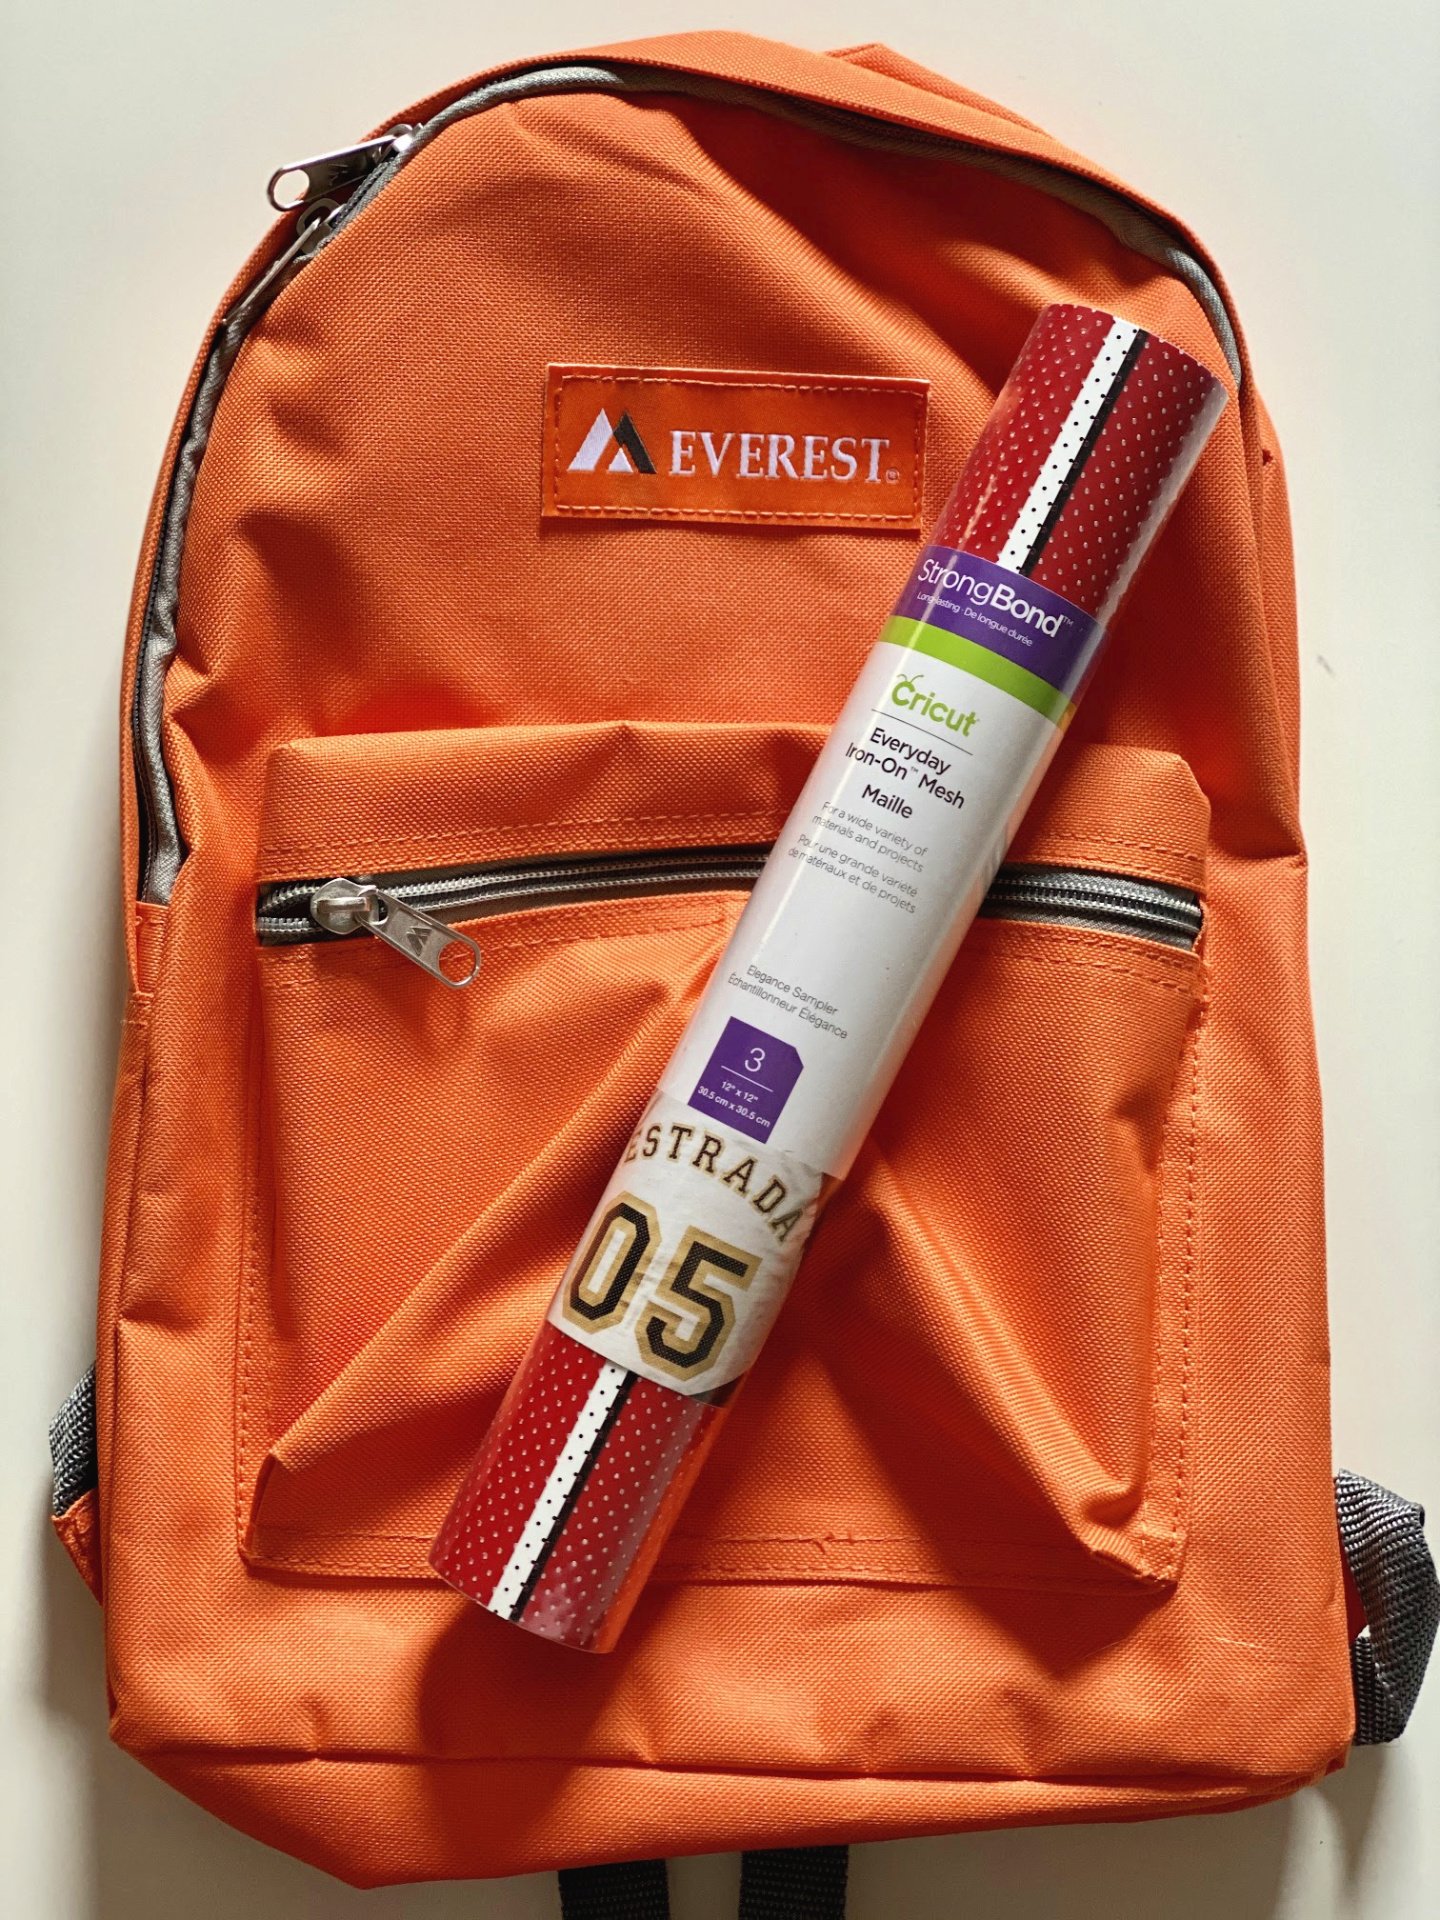
Supplies for Dinosaur Backpack
- Cricut Explore Air 2
- Dinosaur Backpack Cricut Design Space™ File
- Cricut Mat
- Iron-On Vinyl
- Cricut Tools
- Cricut EasyPress Mini
- Cricut Mat
- Backpack
How to Iron-On Vinyl on a Backpack

You are going to follow all the same steps you did for the unicorn backpack. But this time only one design to apply to the backpack.
I loved using the Cricut EasyPress Mini to make these backpacks.
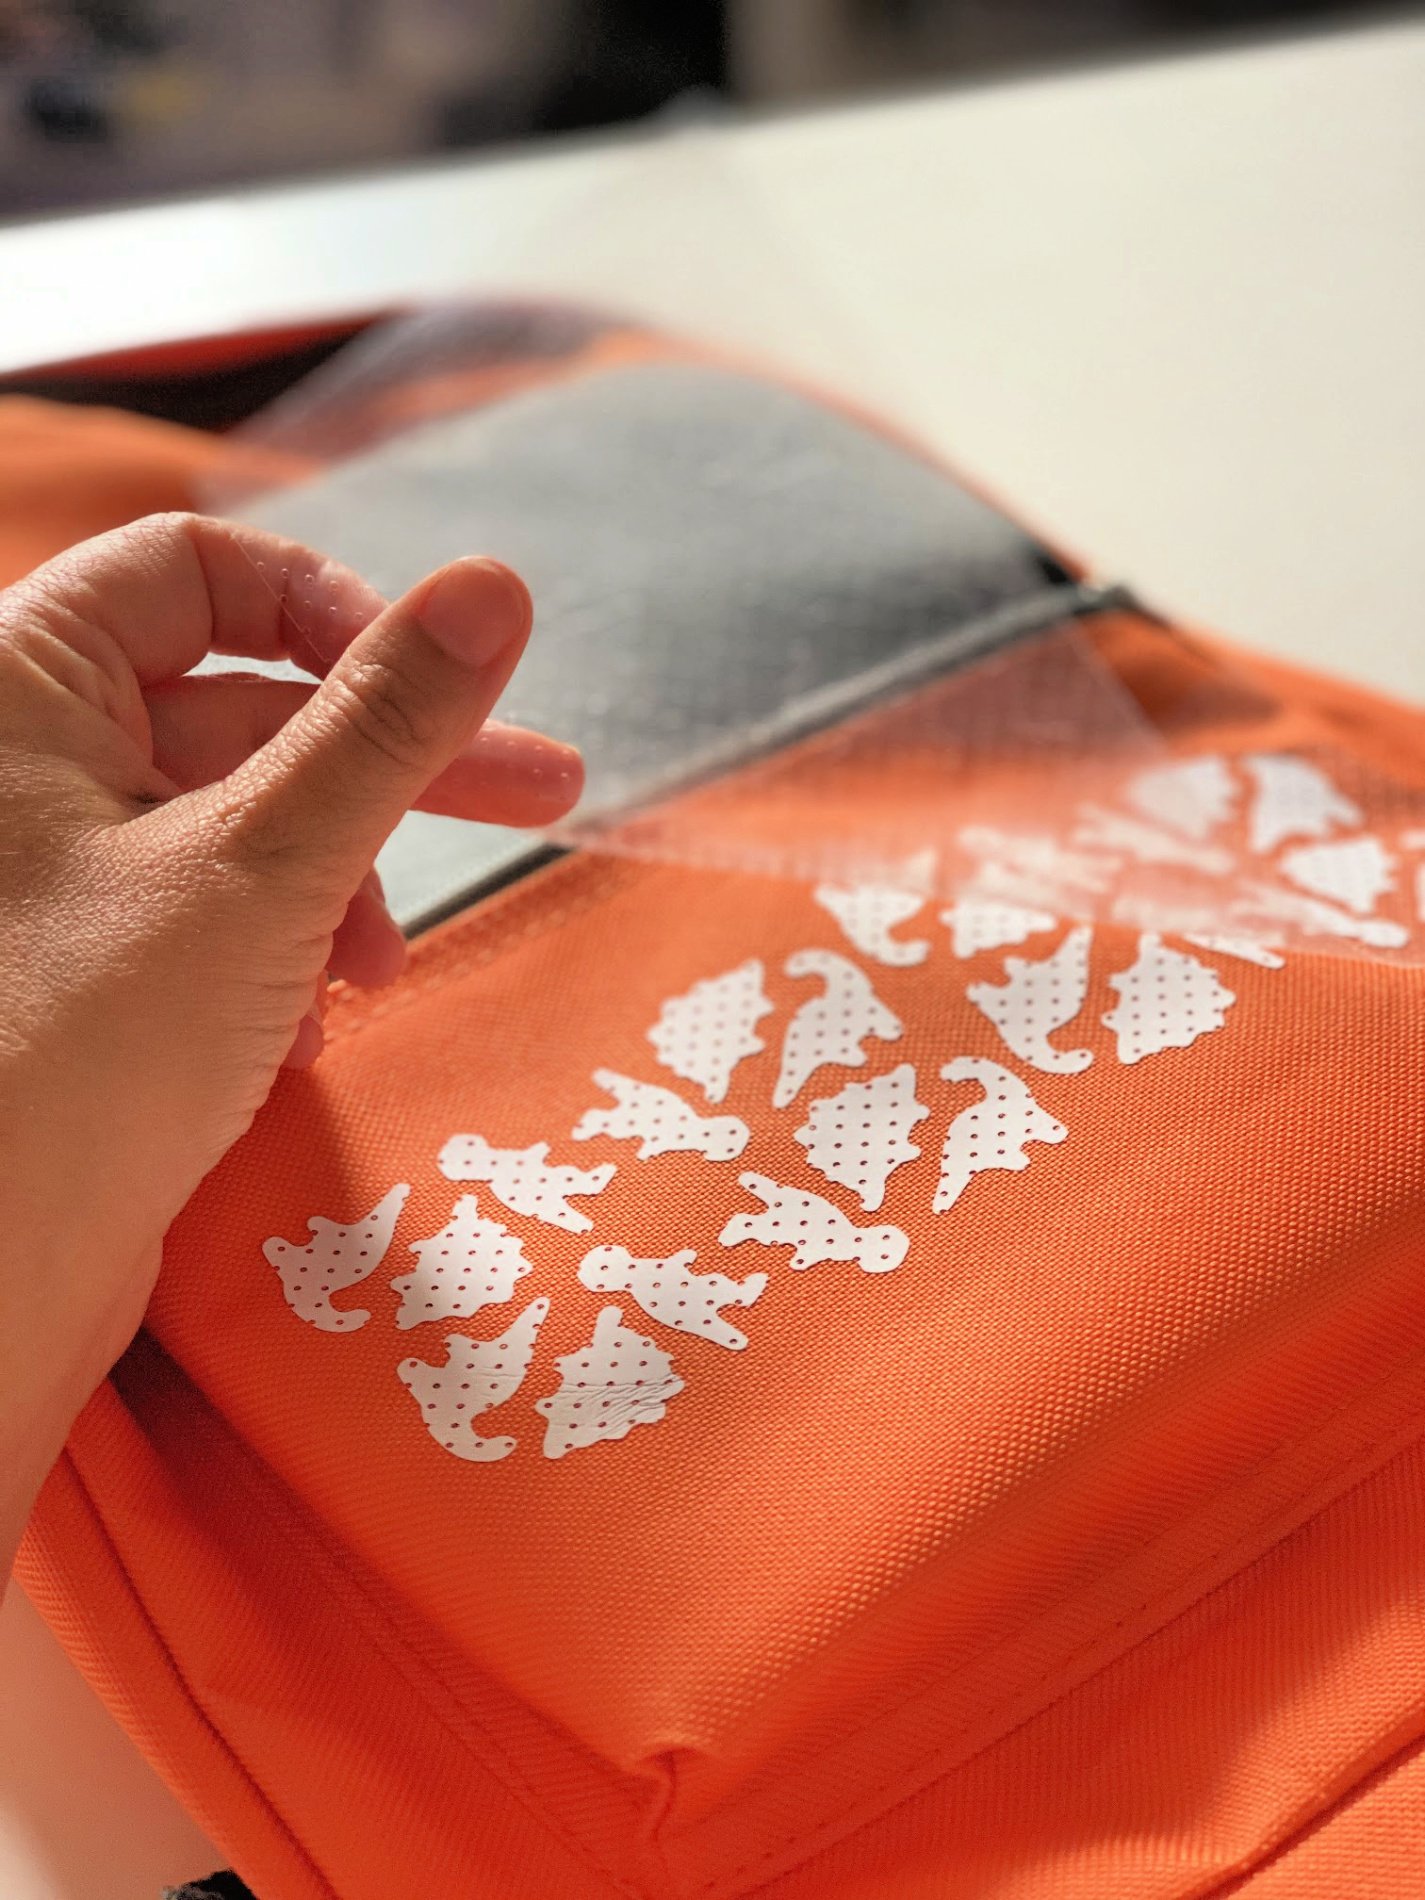
I loved the Mesh Iron-On Vinyl for this book bag. For mesh Iron-on Vinyl you have to do a cool peel. Meaning everything needs to become cool to touch in order to remove. I find that it’s much sticker and doesn’t remove off as easily as traditional Iron-On Vinyl.
If you want a way to help out head on over to the The Blue Ribbon Project and check out the list of what is needed. The non-profit breaks it down by age and gender.
DIY Backpack
Learn how to customize a backpack using the Cricut. I share two options that you can easily make using iron-on vinyl and in under an hours time.
Materials
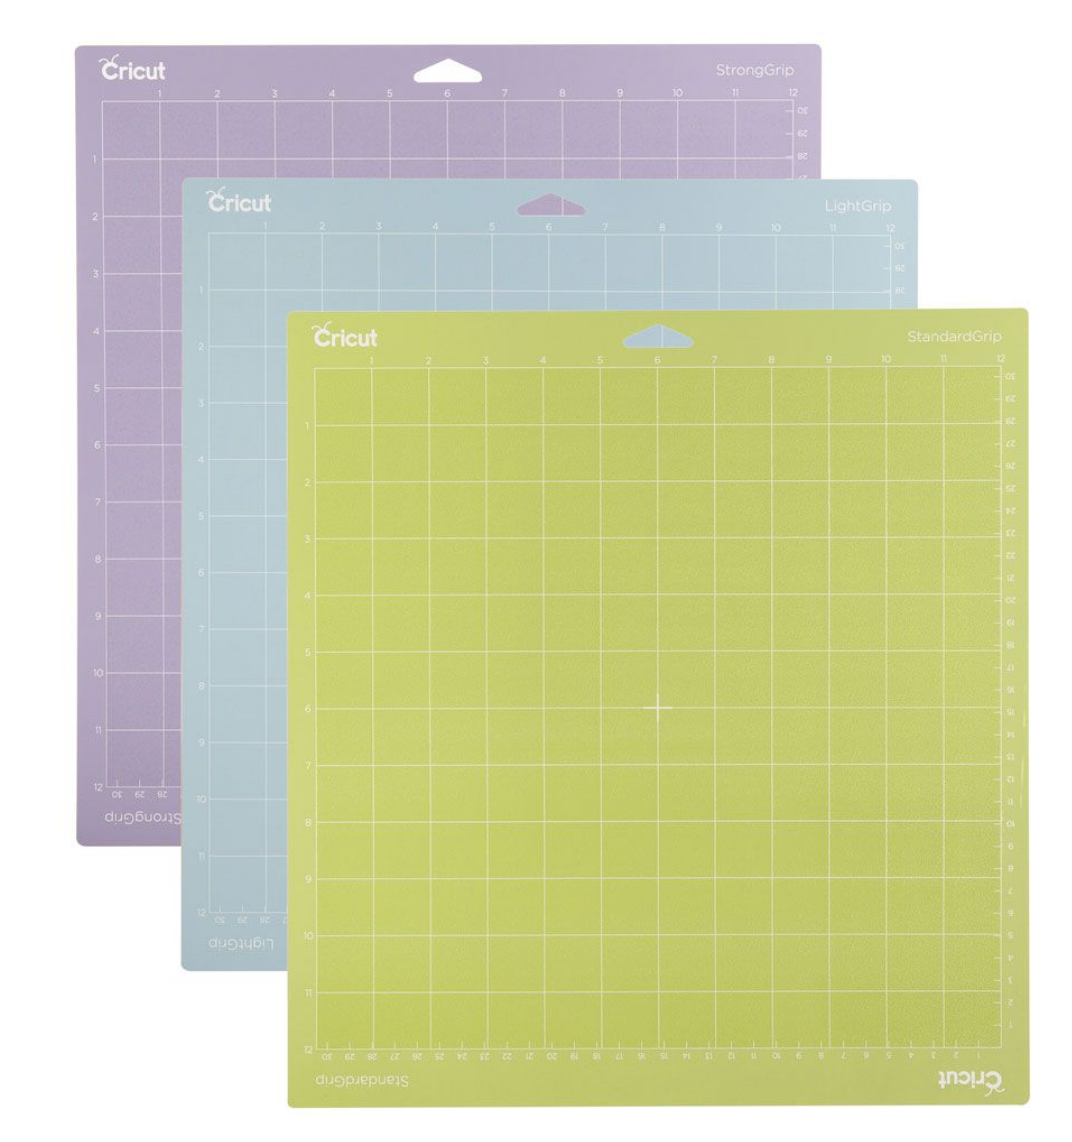
- Cricut StandardGrip Machine Mat
- Cricut Iron-On Vinyl
- Backpack
Tools
- Cricut Design Space™ Unicorn File
- Cricut Design Space™ Dinosaur File
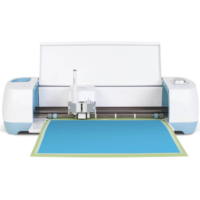
- Cricut Explore Air 2
- Cricut Tools
- Cricut EasyPress Mini
- Cricut EasyPress 2, 6x9
- Cricut EasyPress Mat, 8" x 10"
Instructions
- Locate the design in Cricut Design Space.
- Place the Iron-On Vinyl on the Cricut StandardGrip Mat. Make sure you place the color side face down on the stick part of the mat.
- Mirror image on Cricut Design Space. Then select "cut'.
- Weed the negative out of the Iron-On Vinyl.
- Heat the EasyPress Mini or EasyPress 2. Place the EasyPress mat inside the backpack. Place the design on the backpack.
- Press with the EasyPress of choice. Depending on Iron-On Vinyl whether or not you will do a warm or cool peel.
Notes
Refer to the Cricut EasyPress Inneractive Quick Reference Guide for heat press times.
Recommended Products
As an Amazon Associate and member of other affiliate programs, I earn from qualifying purchases.

Back to School Projects
Looking for more back to school projects? Check out a few more of my favorite projects.
If you make a DIY Backpack, I would be honored and love for you to take the time to leave a star rating and comment! I spend hours developing and testing these projects, and always love to hear feedback and user experience!
Don’t forget to FOLLOW ME on Facebook, Pinterest, and Instagram, and subscribe to my email list!
Leave A Reply!