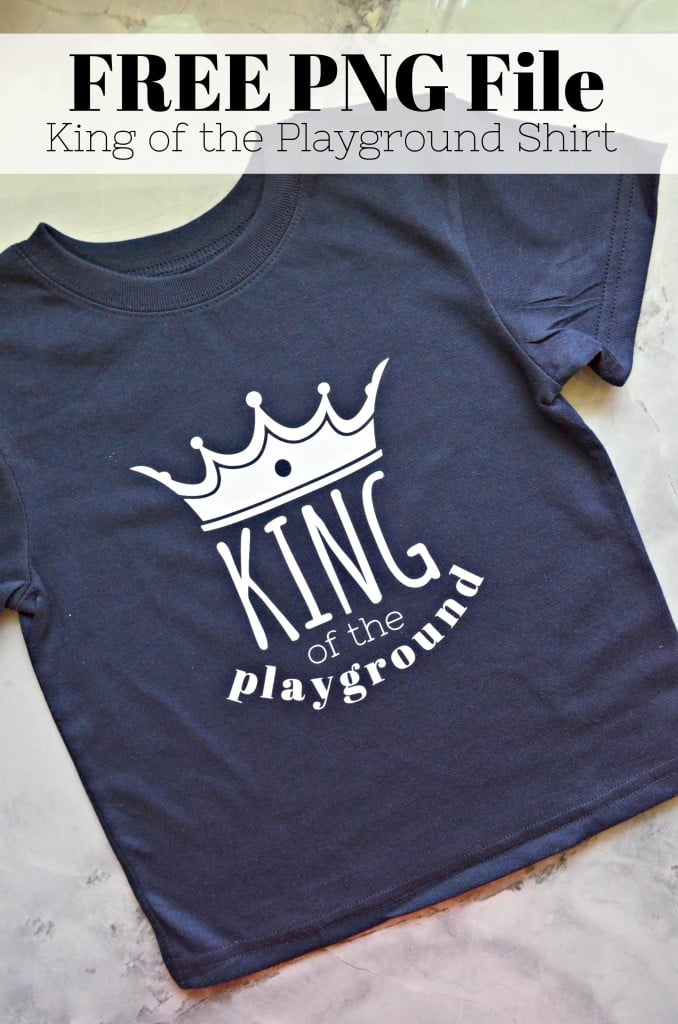
Do you have a little one that loves the playground? If so, download this free PNG file to create your own semi-customized t-shirt, cup, sweatshirt, bag and more!
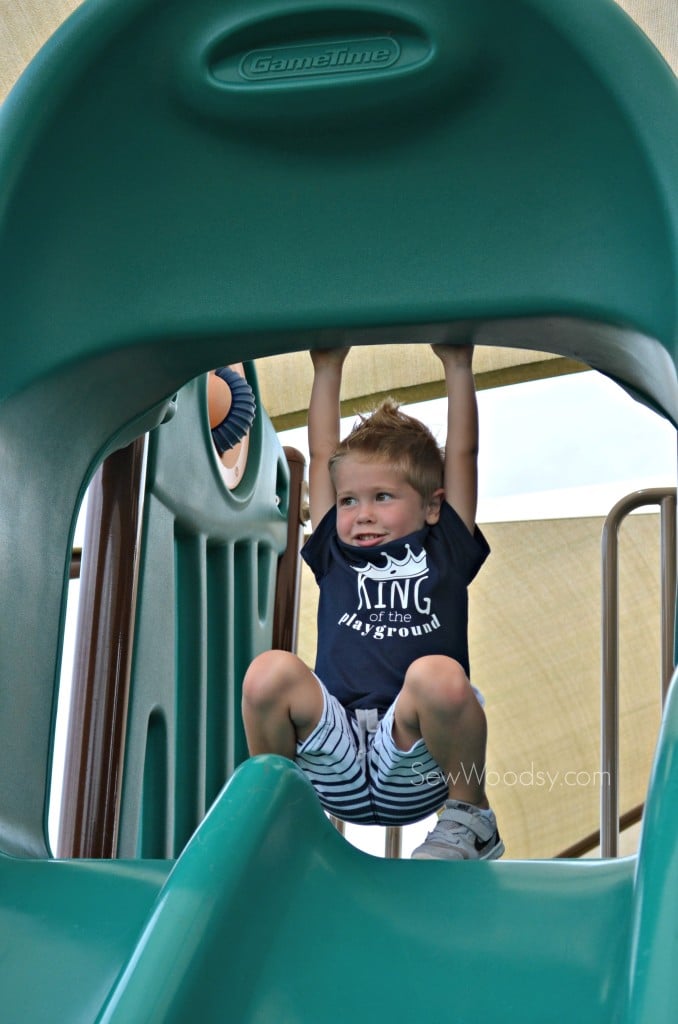
My son LOVES the playground. I mean what three year old doesn’t love the playground? He could play for hours. If the playground has dirt forget about it. We could spend the night at the playground. Ryder started preschool last month, and every time I pick him up from school and ask him what he did his first response is “I played in the playground”. Then I’ll ask what did you learn and almost always his response is “the playground”. Jon jokingly says “we pay for his playground time”.
That’s when my idea for a “King of the Playground” came about. Ryder is honestly the king of the playground. Of every playground he ever steps foot on. I’m excited to share with my readers this free PNG file. You can place it on a shirt or bag or where ever you would like.
Table of contents
Supplies
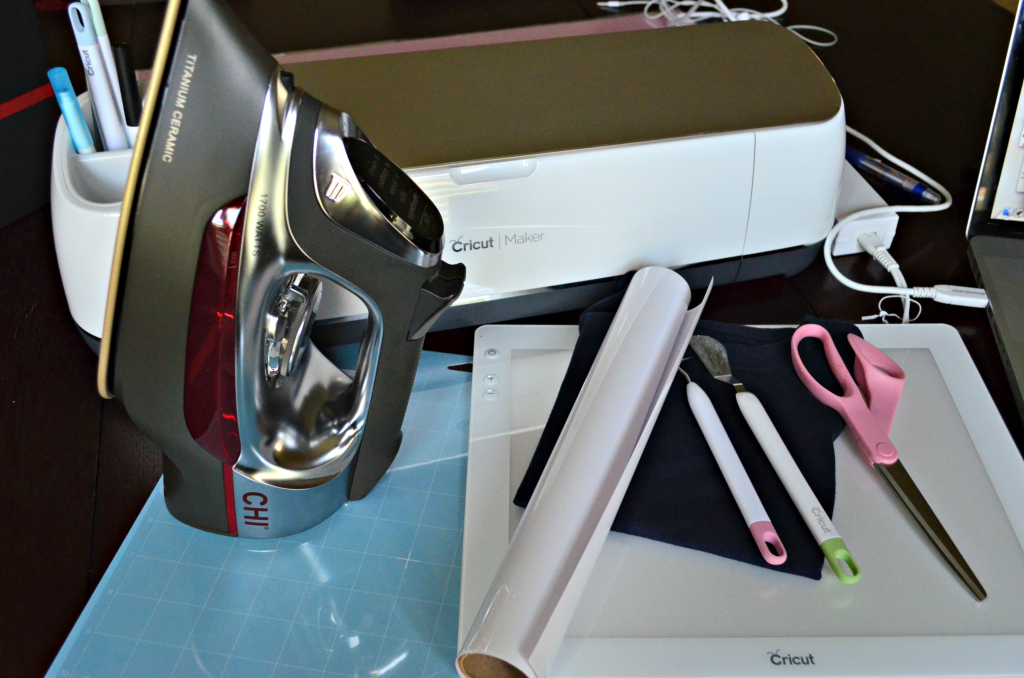
Here is the full list of supplies you’ll need to make this shirt.
- Cricut Maker
- Cricut Mat
- “King of the Playground” FREE PNG File
- White Iron-On Vinyl
- Blank T-Shirt
- Weeding Tool
- Cricut BrightPad
- Iron
- Ironing Board
- Muslin Cloth
How to Iron on Cricut Vinyl
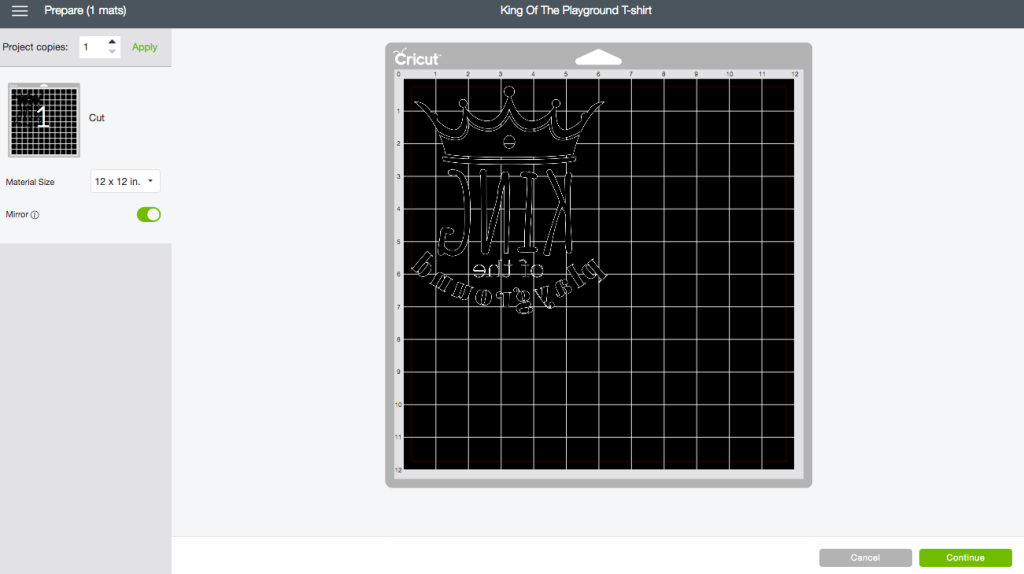
First you’ll want to upload the “King of the Playground” FREE PNG File into Cricut Design Space. Set it to the measurements you want and select “cut”. Then make sure you mirror the image if your making a shirt like I did!
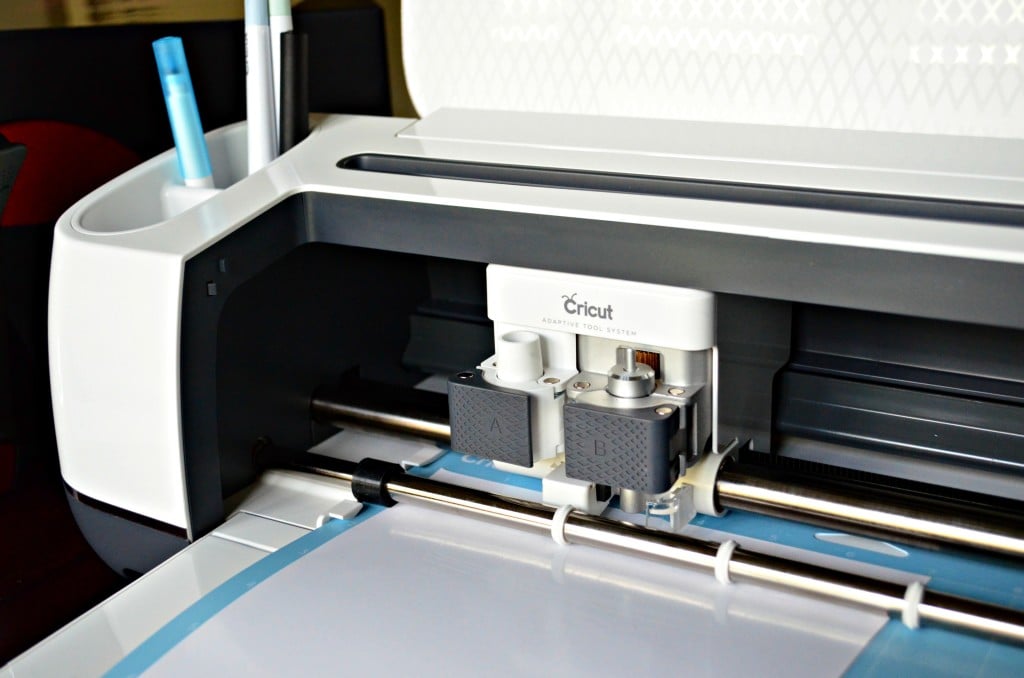
I used my new Cricut Maker to cut the design. I even selected the “fast” option and it was cut in no time.
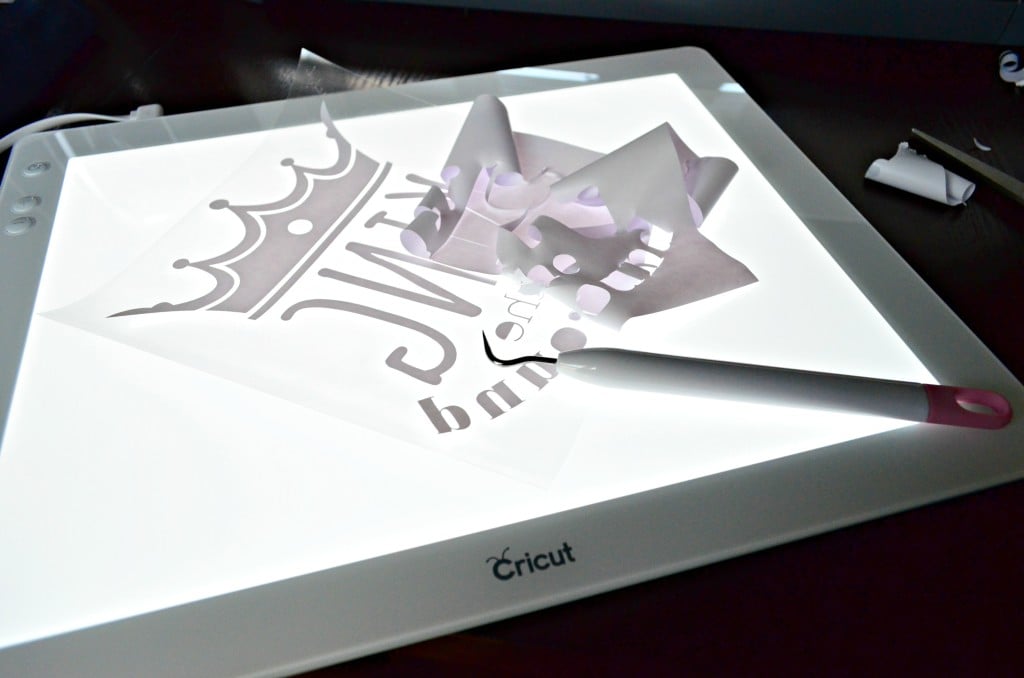
I used my Cricut BrightPad to weed out the negative from the design.
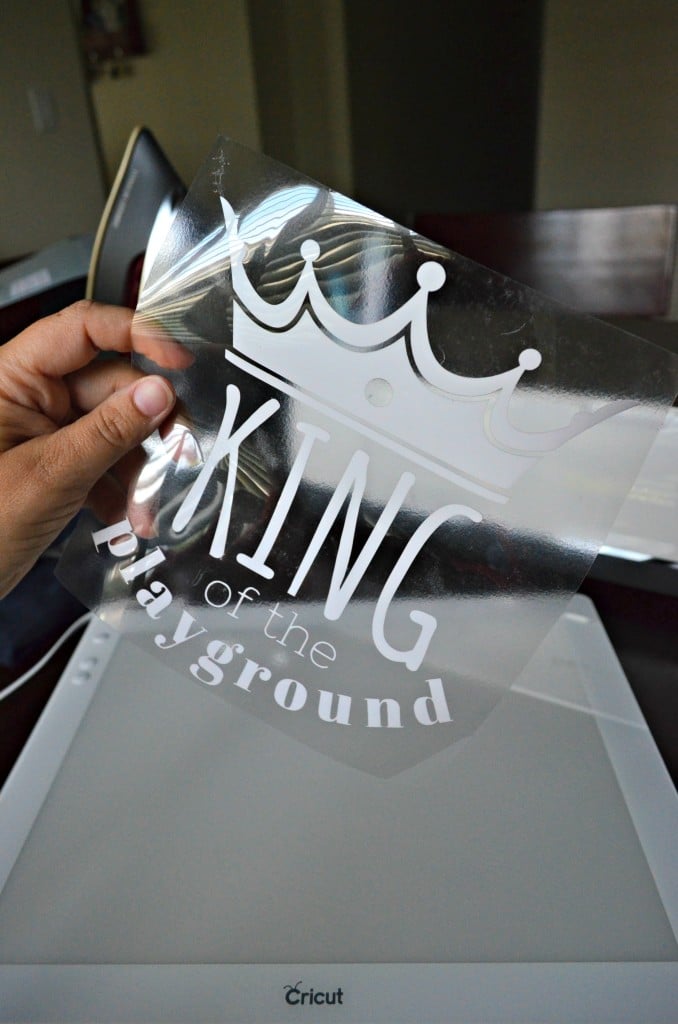
This is what the design looked like after I was done weeding the negative.
How to Iron on Cricut Vinyl with Iron
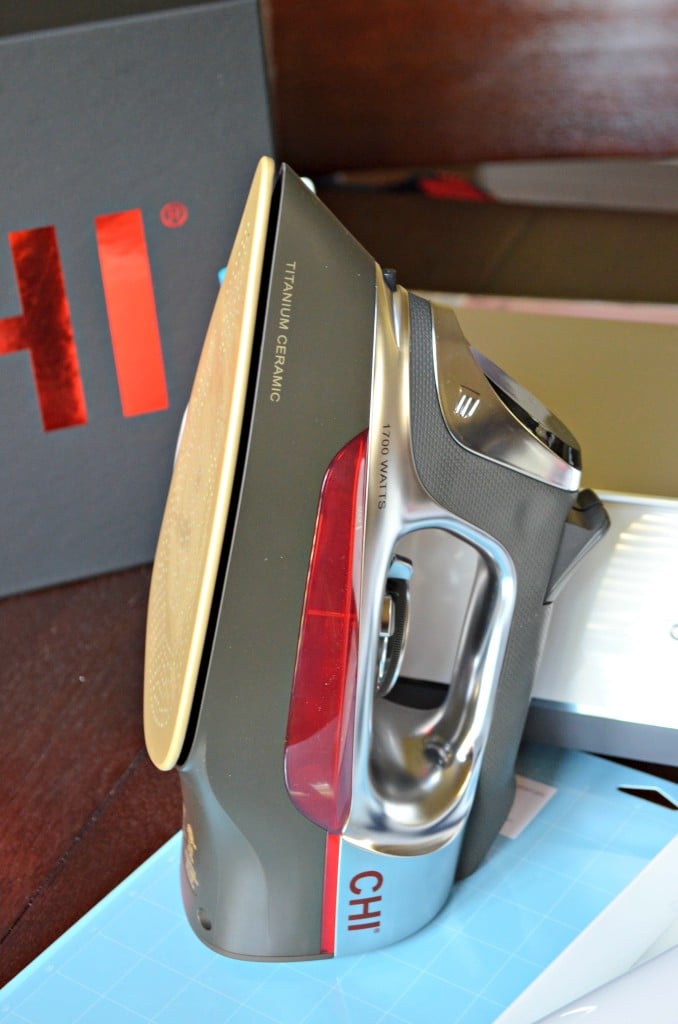
Note: When using a household iron, use the Cotton/Linen setting (generally the highest temperature setting). Make sure the steam setting is OFF.
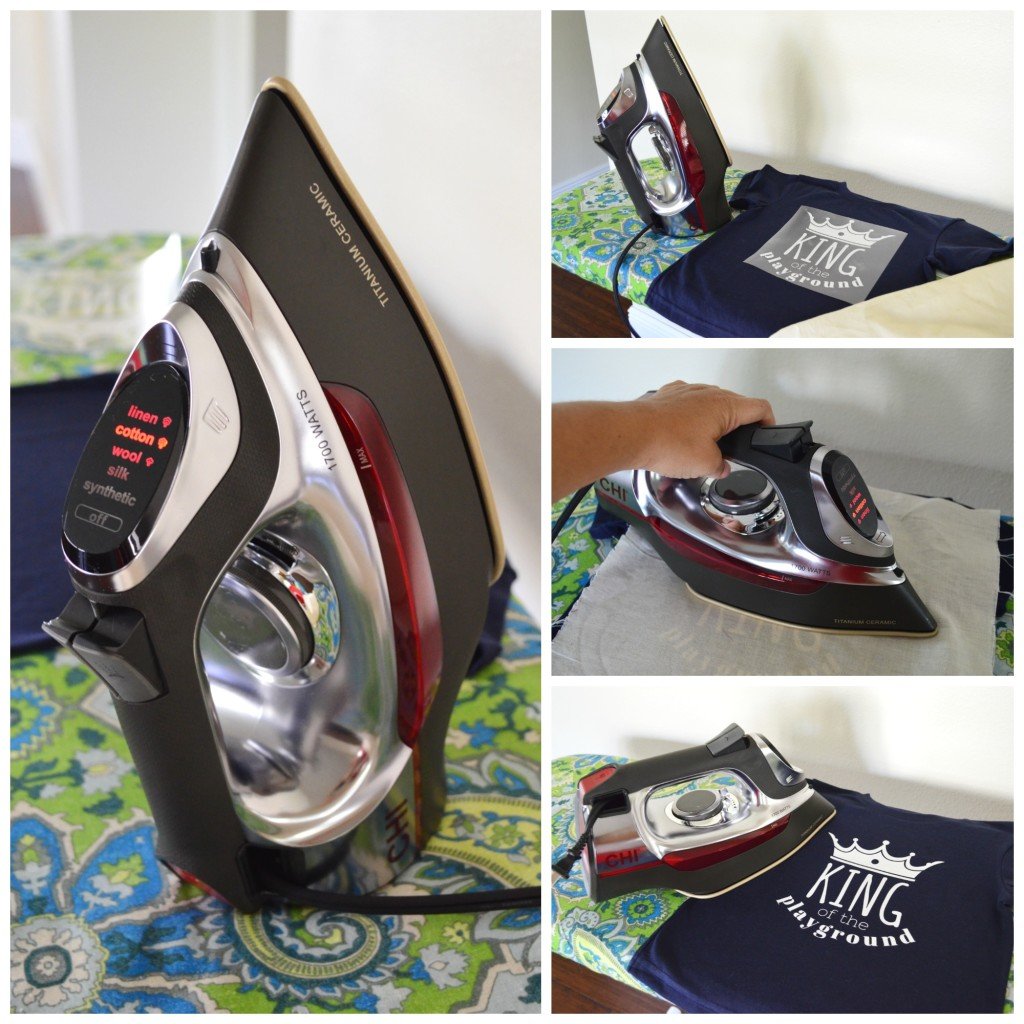
Preheat the application area of your base material (refer to the Heat Guide) for 10-15 seconds. Place the cut/ weeded image on the base material with the shiny liner side up, liner side up, onto the preheated material.
Apply medium pressure with the iron for 25-30 seconds. Flip the material over and apply medium pressure with the iron to the back of the material for an additional 25-30 seconds. Use a cool peel to remove the liner.
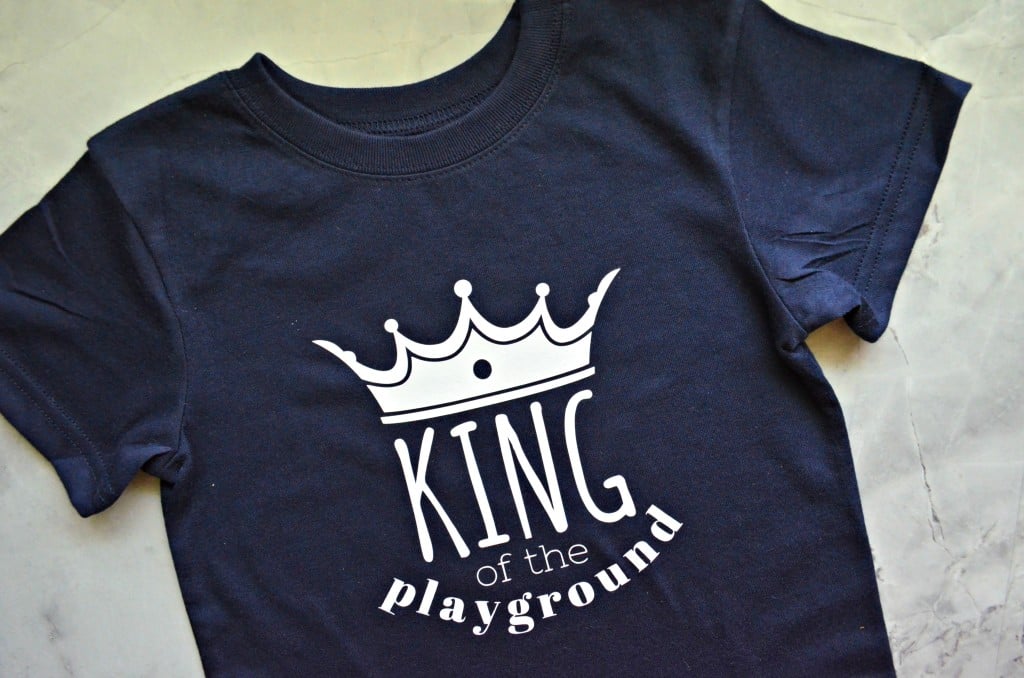
A quick and simple T-shirt project for my King of the Playground.
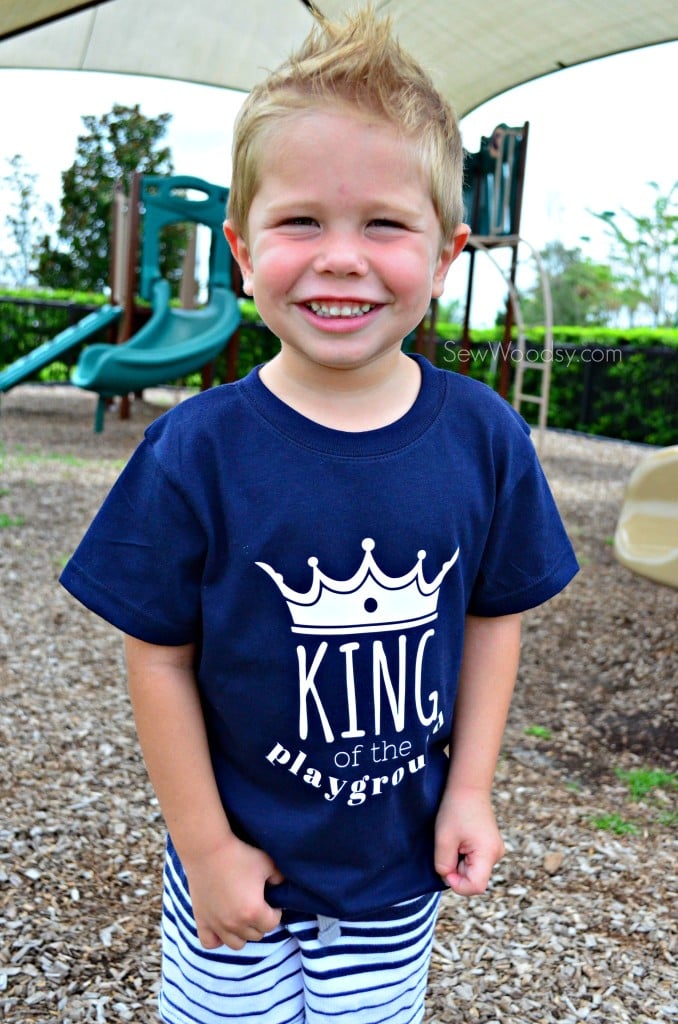
The best photo I could get of this kid with his new shirt. I made him take a few photos before he got to lay on the playground. It was killing him!
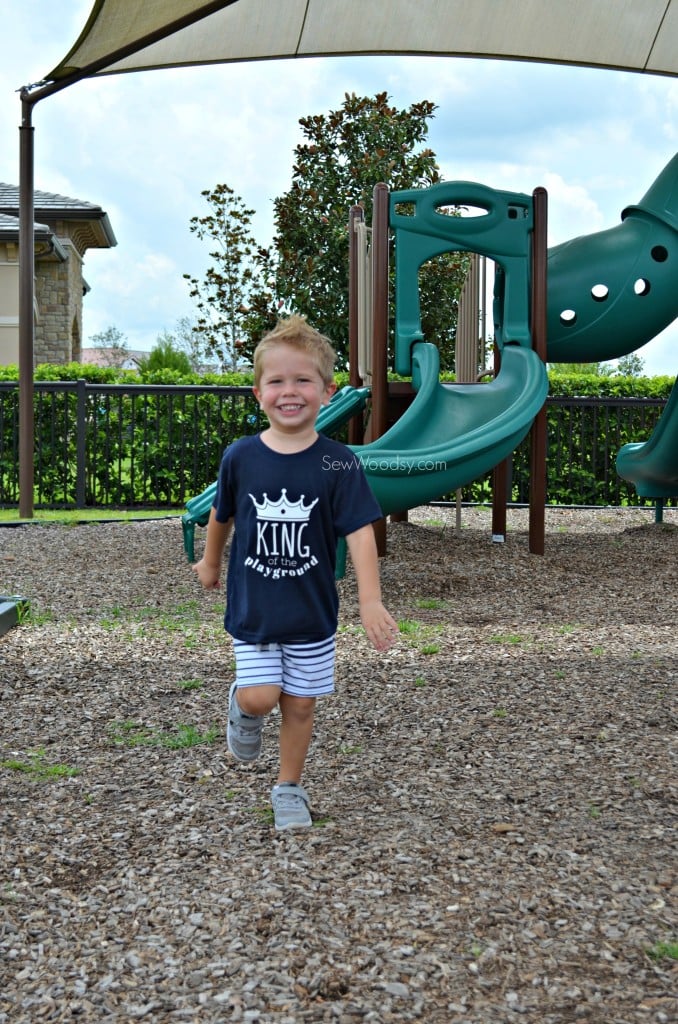
He’s such a blur in the photo but I love his spirit.
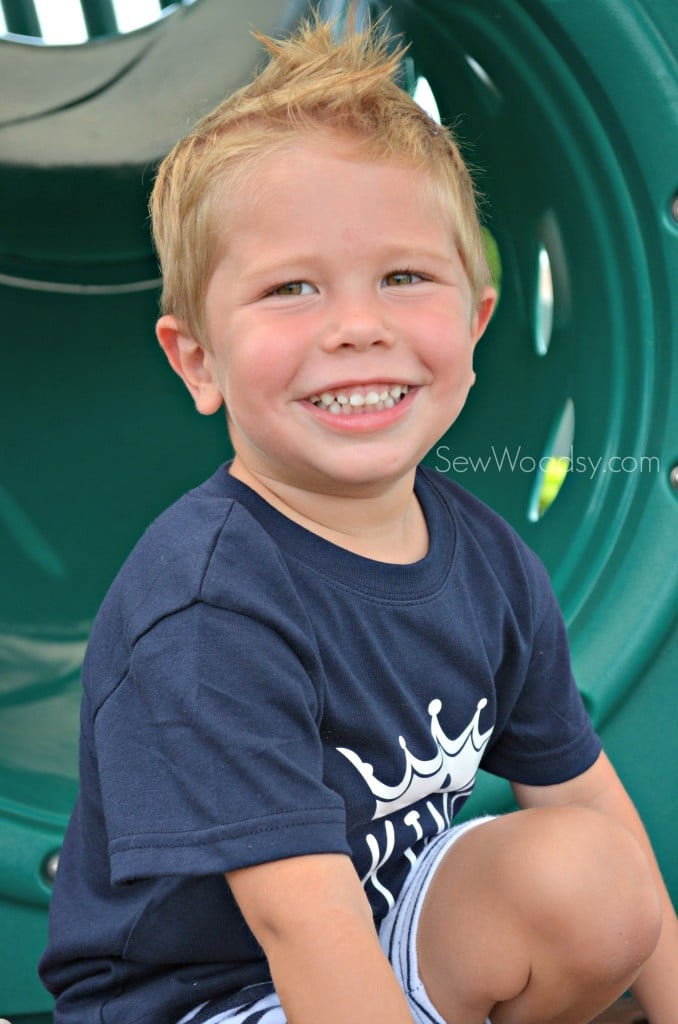
It’s become difficult to get this kid to have a nice smile and his eyes open when we are outside. His beautiful green eyes are so crazy sensitive. He loves his new shirt too!
Shirt Making FAQs
Pressure is equally as important to temperature and time spent pressing. Make sure to press firmly on the iron or heating device. If you don’t press long enough or at a high enough temperature, you likely won’t get the material hot enough to release its adhesive so it will stick to the fabric once cooled. If it’s peeling up then you most likely are not waiting for it to cool.
The iron on vinyl for shirts can start to lift and sometimes even fall off due to the heat inside the dryer. The heat can soften the adhesive used in the Iron-On vinyl and start to peel.
According to the Cricut website, Cricut iron-on is guaranteed to last up to 50 washes.
Yes, absolutely. If I noticed pieces of my design starting to lift. I simply preheat my iron or EasyPress, place a thin muslin cloth on top of the design and press until the vinyl adheres again.
Download the PNG File
You must download these files using a desktop computer. Unfortunately, the program I use is not compatible with a tablet or smart phone and will not work. Please only use the designs for personal use. Selling is absolutely NOT PERMITTED. If you would like to use any of these files not for personal use please email SewWoodsy@gmail.com to discuss licensing options.
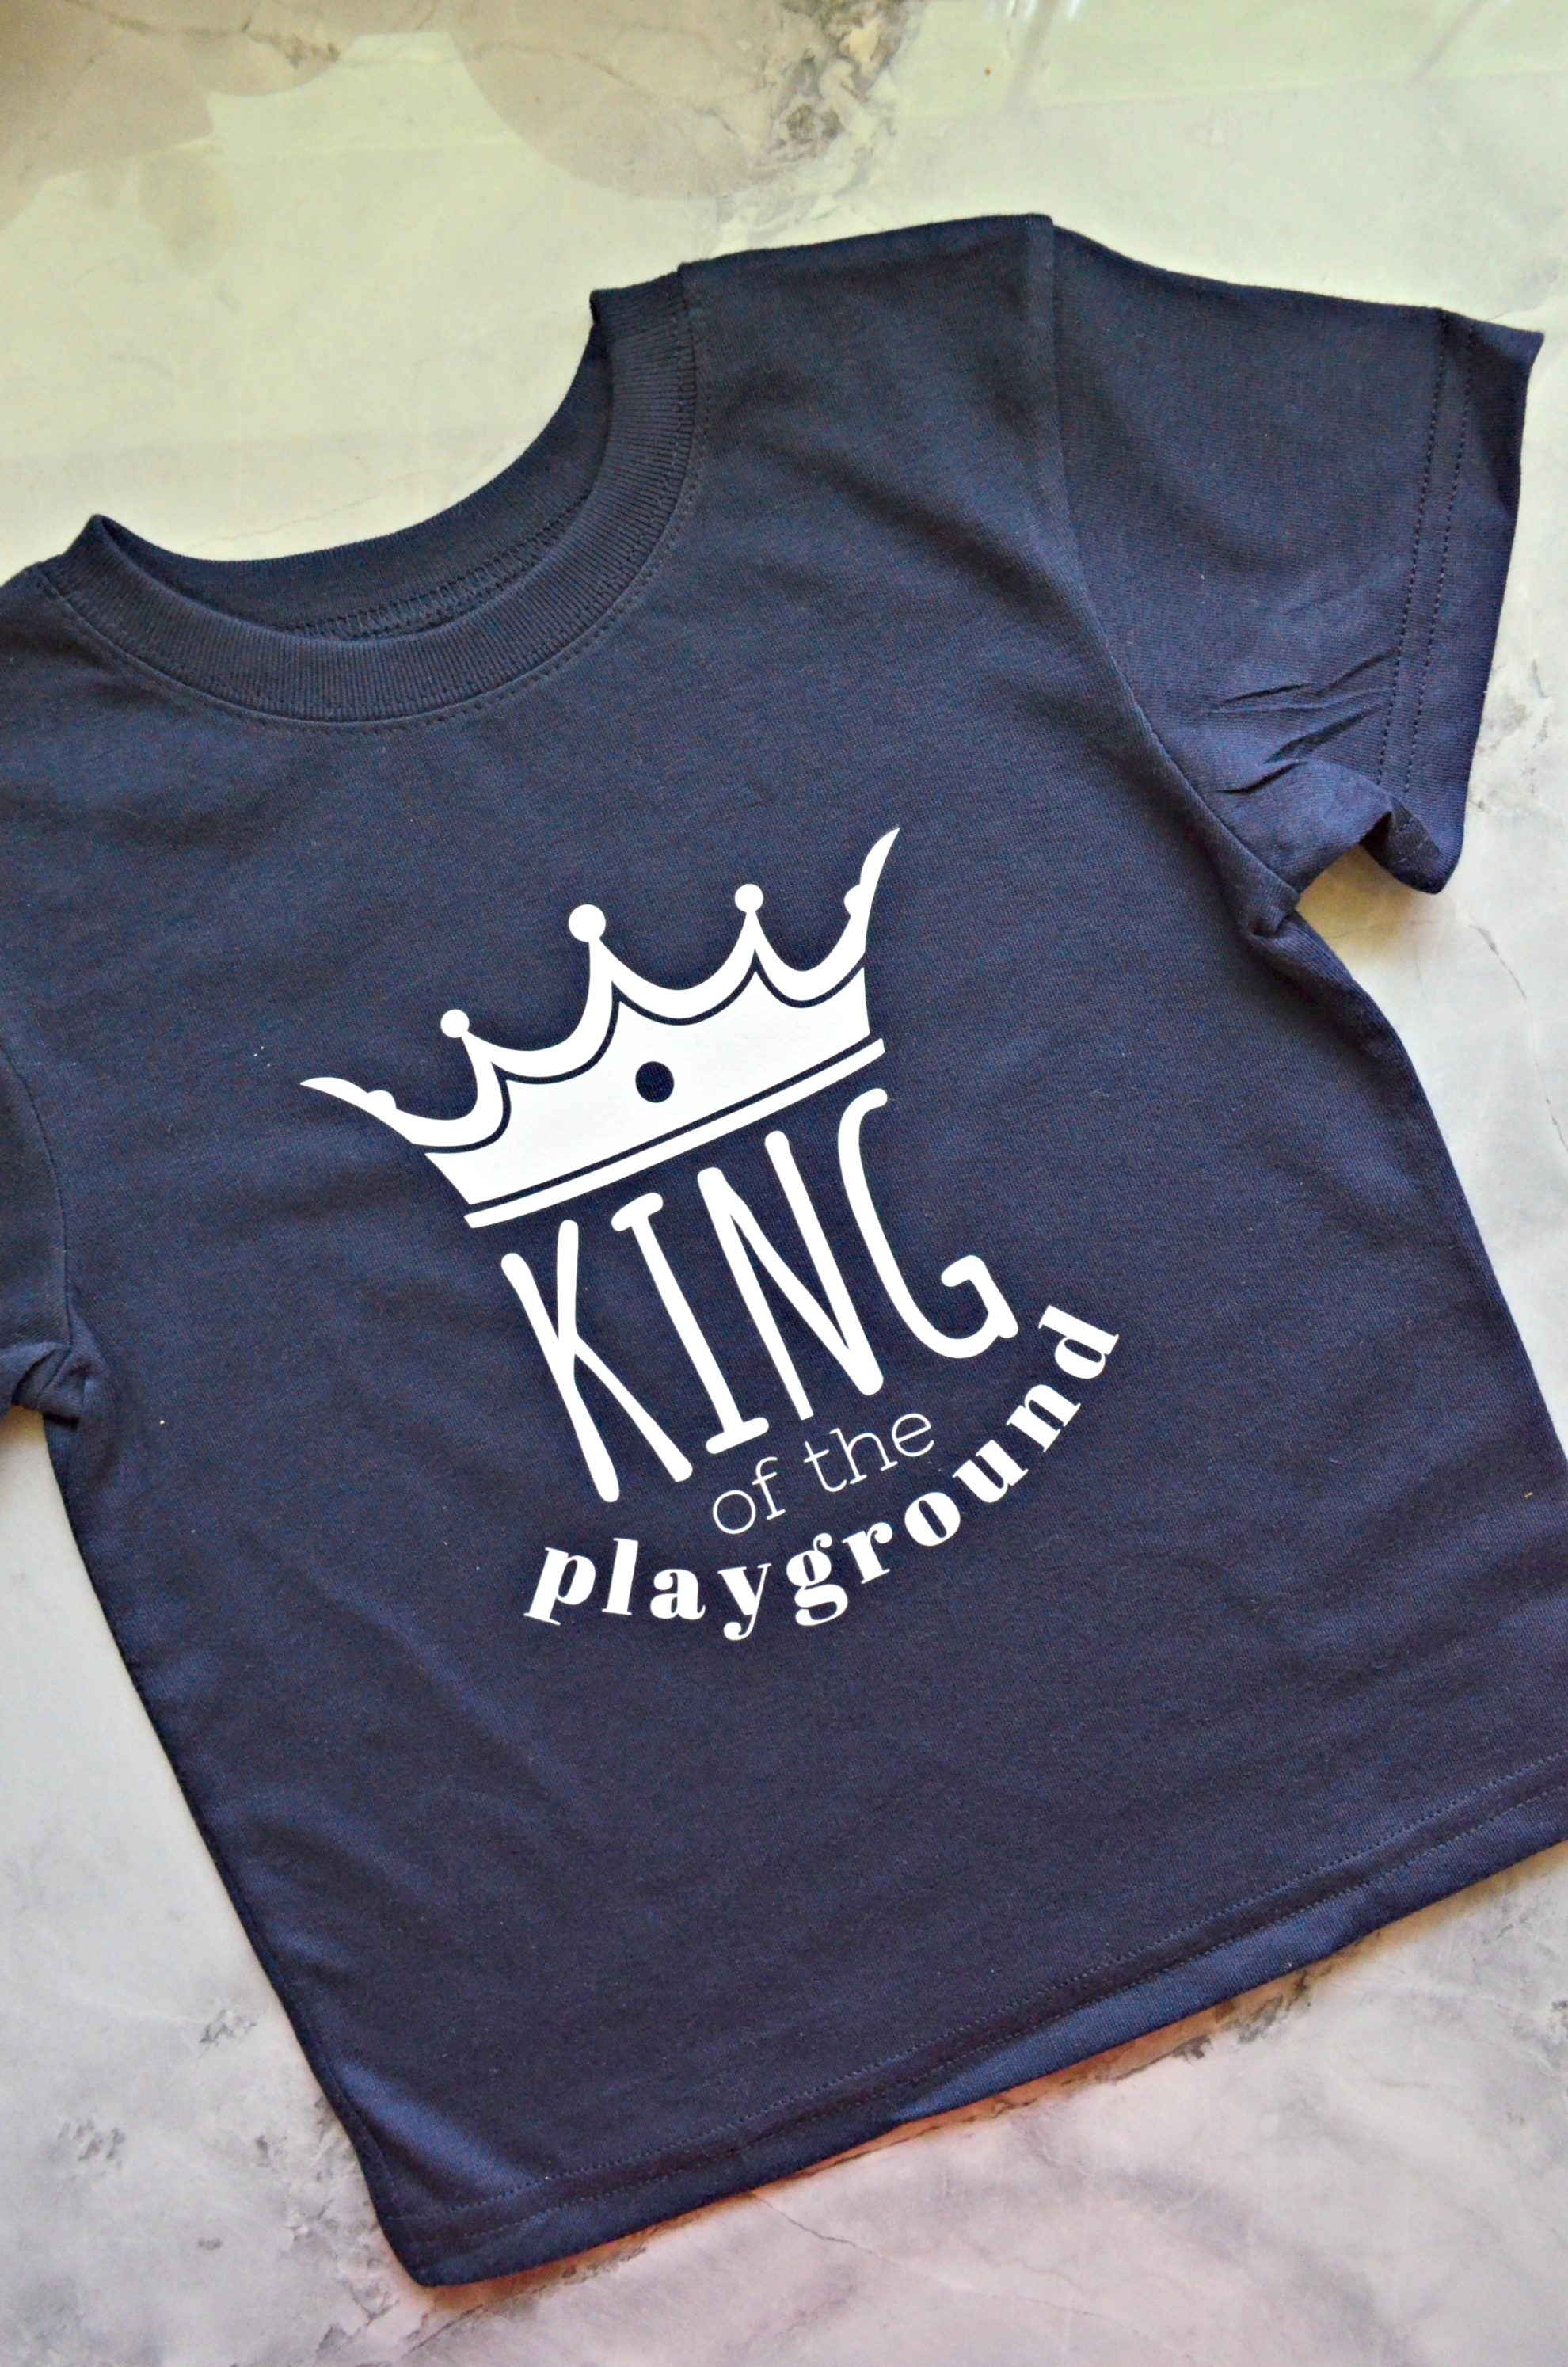
King of the Playground PNG File
Do you have a king of the playground? If so, add this to a t-shirt, sweatshirt, even a backpack!
DIY Shirt Ideas
Looking for more shirt’s to make? Check out 4 more DIY shirt ideas.
If you use this king of the playground png file, I would be honored and love for you to take the time to leave a star rating and comment! I spend hours developing and testing these projects, and always love to hear feedback and user experience!
Don’t forget to FOLLOW ME on Facebook, Pinterest, and Instagram, and subscribe to my email list!
Leave A Reply!