Make these DIY Personalized Mini Halloween Canvas Treat Bags for the toddlers in your life this Halloween season!

It’s September so do you know what that means? It’s time to officially start rolling out all the fun Halloween projects. I’m so excited to share this quick and easy Halloween project with you today. I first created these DIY Personalized Mini Halloween Canvas Treat Bags two years ago for my son’s 1-day a week play group.
Last year, I used the same design to create them for our Letter of the Week play group. Everyone has loved these bags and they have been perfect for toddler trick or treating. This was the first project I was able to test out my Cricut Explore Air 2 (last year) and it was a perfect one! I was able to hit the 2x faster mode which cut ALL the Iron-On Vinyl in a flash! And not one image or name was messed up from the faster cutting. Talk about a big win-win!
Supplies for DIY Personalized Halloween Canvas Treat Bags:
- Cricut Explore Air 2
- Cricut Design Space™
- Cricut Mat
- Cricut Iron-On Lite Vinyl; black
- Cricut Tools
- Mini Canvas Tote
- Iron or Heat Press
- Muslin Cloth

First, create your design in Cricut Design Space™. Here is the link to my project.
Font: Fontastic Fonts – DJ Doo
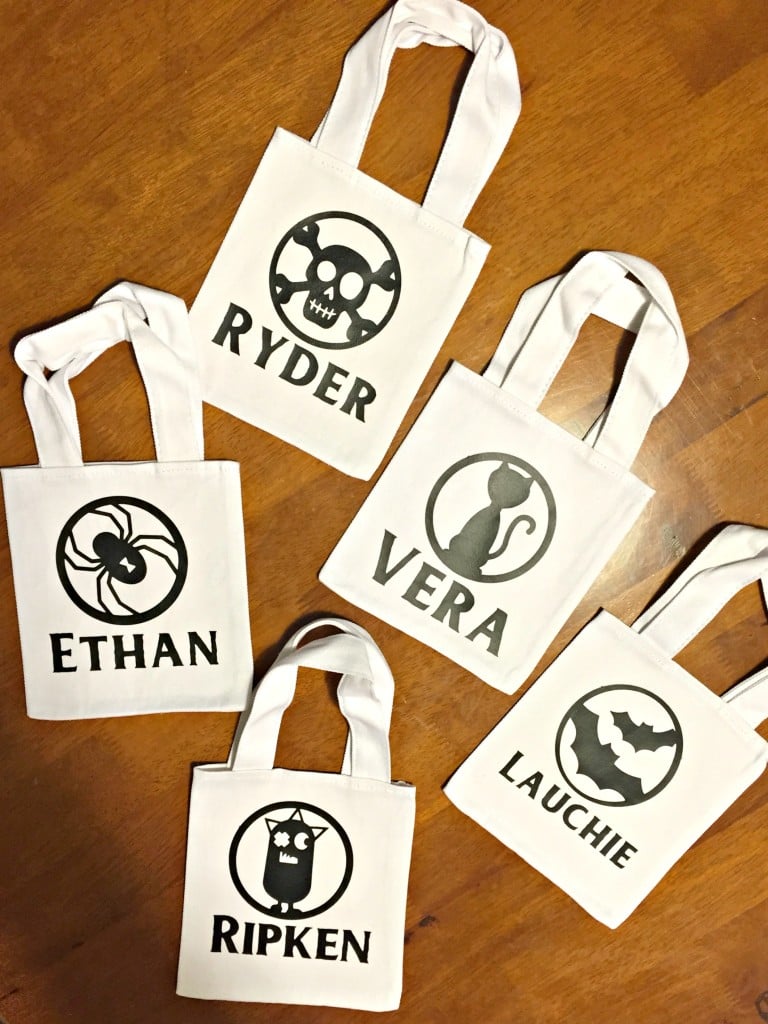
Images: Pumpkin Carvings Cartridge
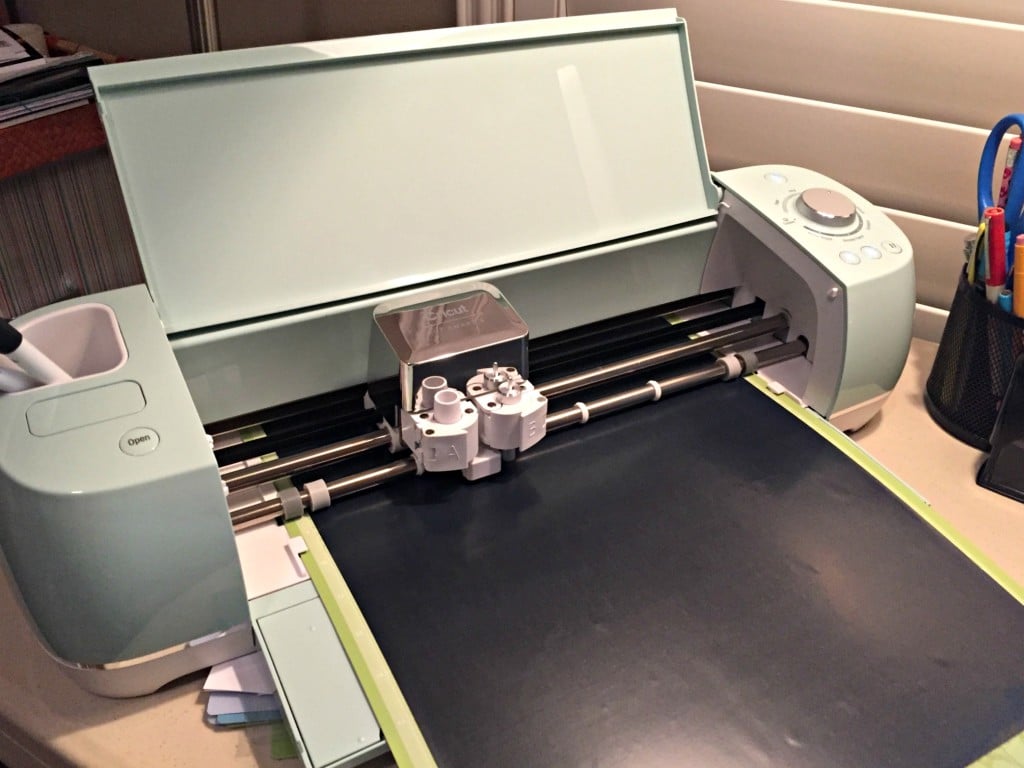
Then, I mirrored the images and went to cut. Each image is around 3-inches in diameter and the names are no longer than 4-inches long. I clicked on the 2x fast button to cut these even quicker. Then, I cut all the images and names individually, followed by weeding all of them.
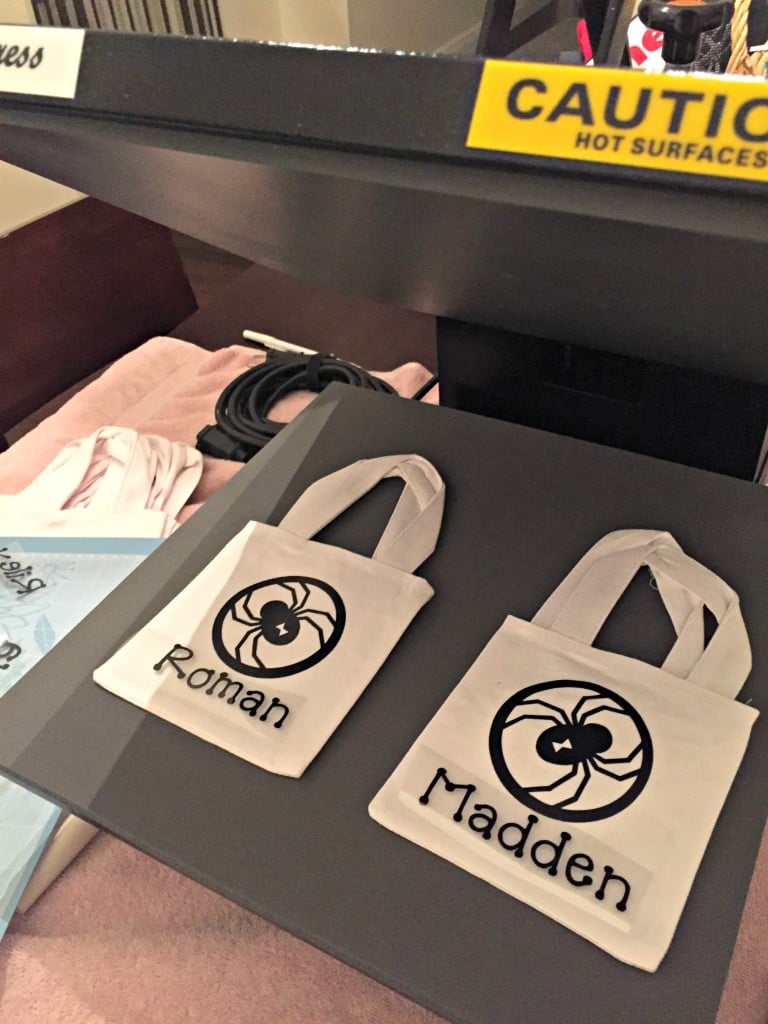 Next up, I started with 1 bag and pressed the image on first followed by the name. I use a heat press set at 350 degrees Farenheit for 10 seconds. I use a piece of muslin cloth when I press to prevent damage to my heat press. You definitely need the muslin cloth once you start to press multiple layers! This goes the same for the traditional iron. If your using an iron you might need to press for a little longer (30-45 seconds). Just read the direction on the packaging. Then, I got smarter (since I was making 10) and started pressing 2 bags at a time! This really sped up the process.
I filled my toddler canvas treat bags with Yum Earth Organics Vitamin C Lolly Pops, Gummy Bears, Gummy Worms, Annie’s Bunnies, and yogurt covered raisins! All things that I’m ok with my 2.5 year old eating.
How adorable are these bags?
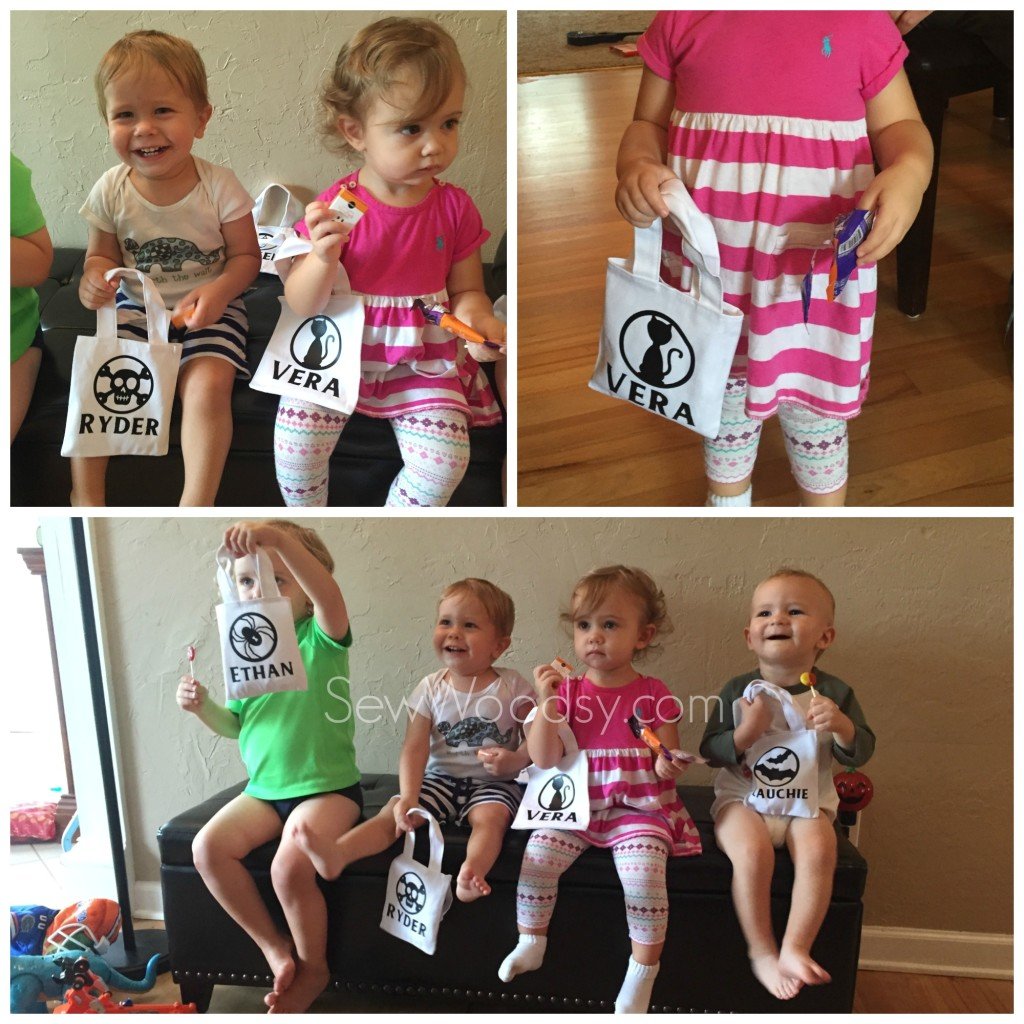
And what 2 year old doesn’t love carrying around and putting stuff in a bag? Hope you found this tutorial on how to make a DIY Personalized Halloween Canvas Treat Bags.
