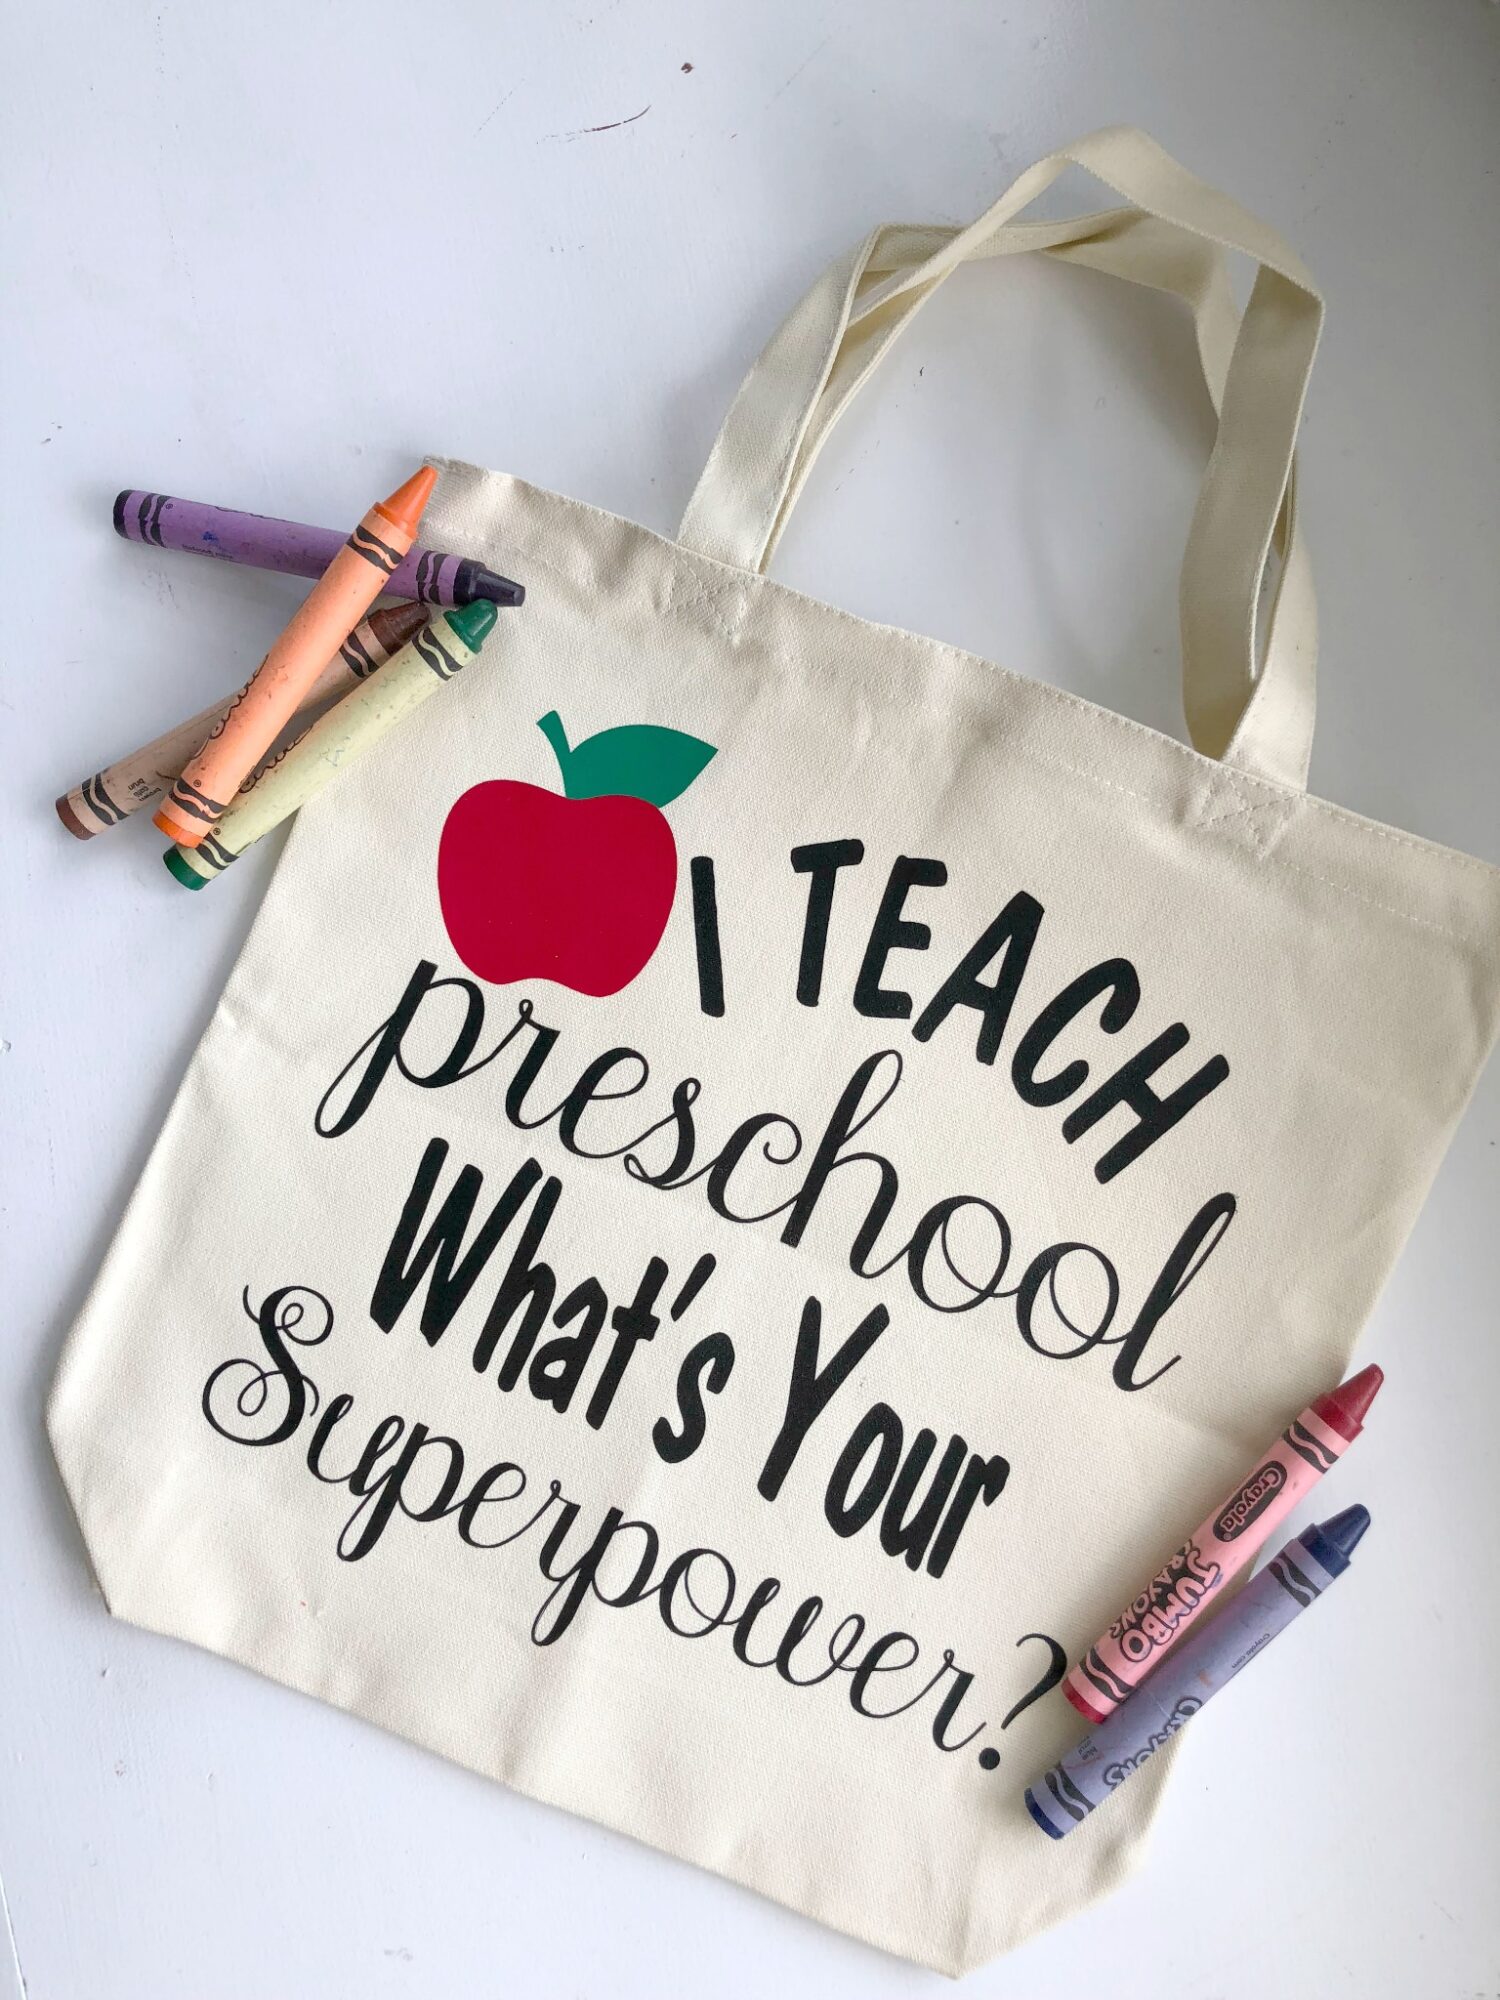
I feel like it was just yesterday that I dropped my son off to his first day of preschool. I cried. Like most mother’s do on the first day of school, and then I got over those sad feelings real fast and found myself like most of the other parents I know. Happy when they send their child off to school. I now fully understand why kids have to go to school. I mean obviously to learn, but also to give mom a break. Mom’s need a break for sanity purposes. Every time I pick up my son from school I thank his teachers. They are saints in my book. How they get 15+ children to sit at their tables, do activities, eat, etc is beyond me. I can barely get one child to do those things. I’m already starting to gather ideas of things to give my son’s teachers as an end of year gift. This bag is the base to a few gifts I’m going to give his teachers. You can make this DIY tote bag in 30 minutes!
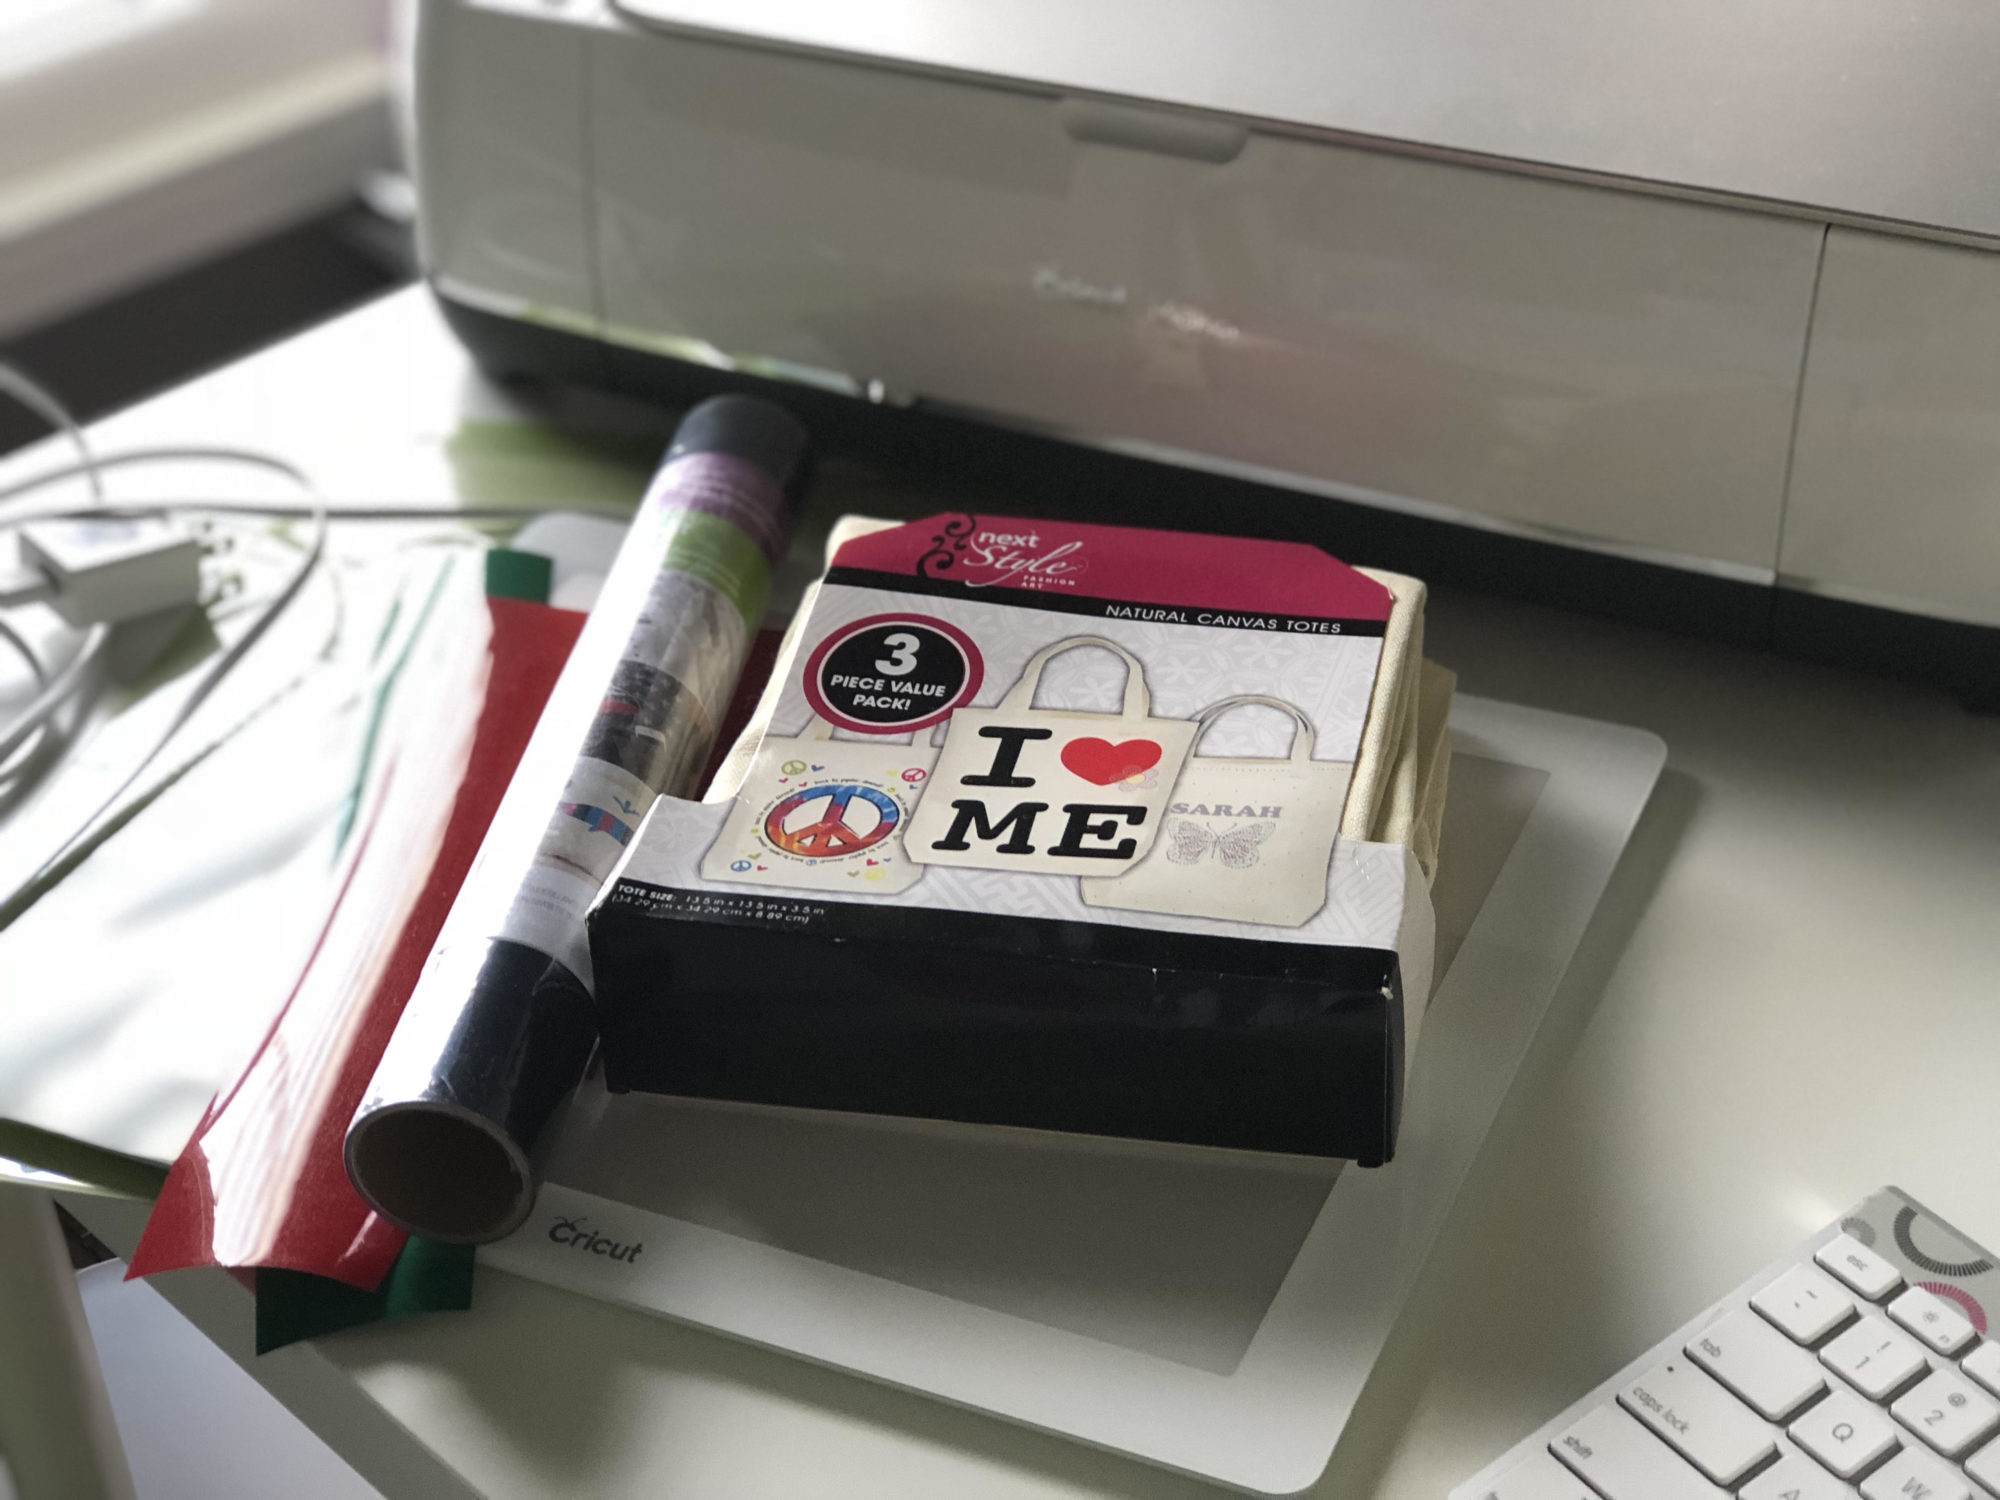
Supplies:
- Cricut Maker
- “I Teach Preschool. What’s Your Superpower?” file found on Cricut Design Space™
- Cricut Mat
- Cricut Iron-On Vinyl; black, red, and green
- Cricut Tools
- Cricut BrightPad
- Canvas Tote Bag
- Cricut EasyPress
- Cricut EasyPress™ Mat
- Cricut Iron On Protective Sheet
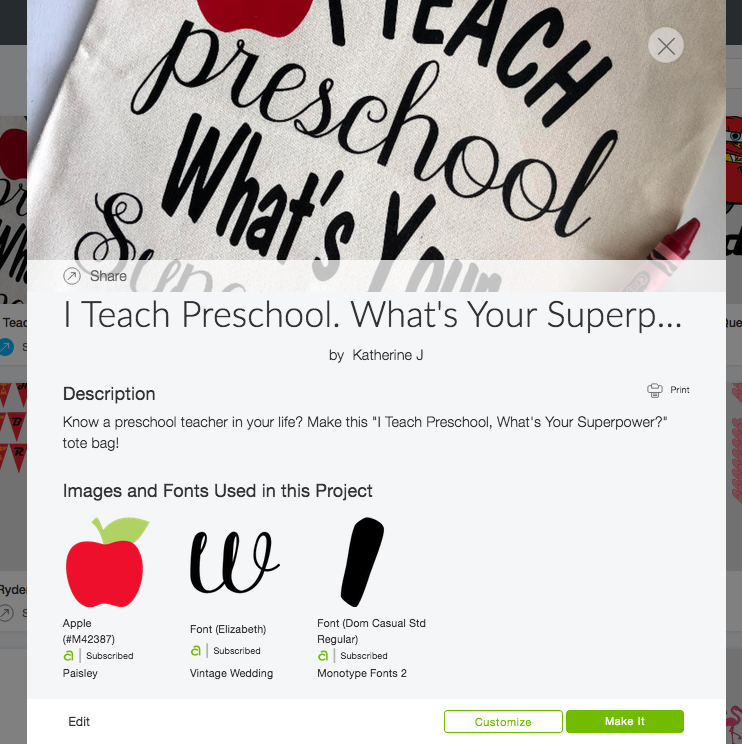
Cricut has a new feature where you can make your projects visible to the public! You can also add in a photo of your project! Here is the link to my “I Teach Preschool. What’s Your Superpower?” design.
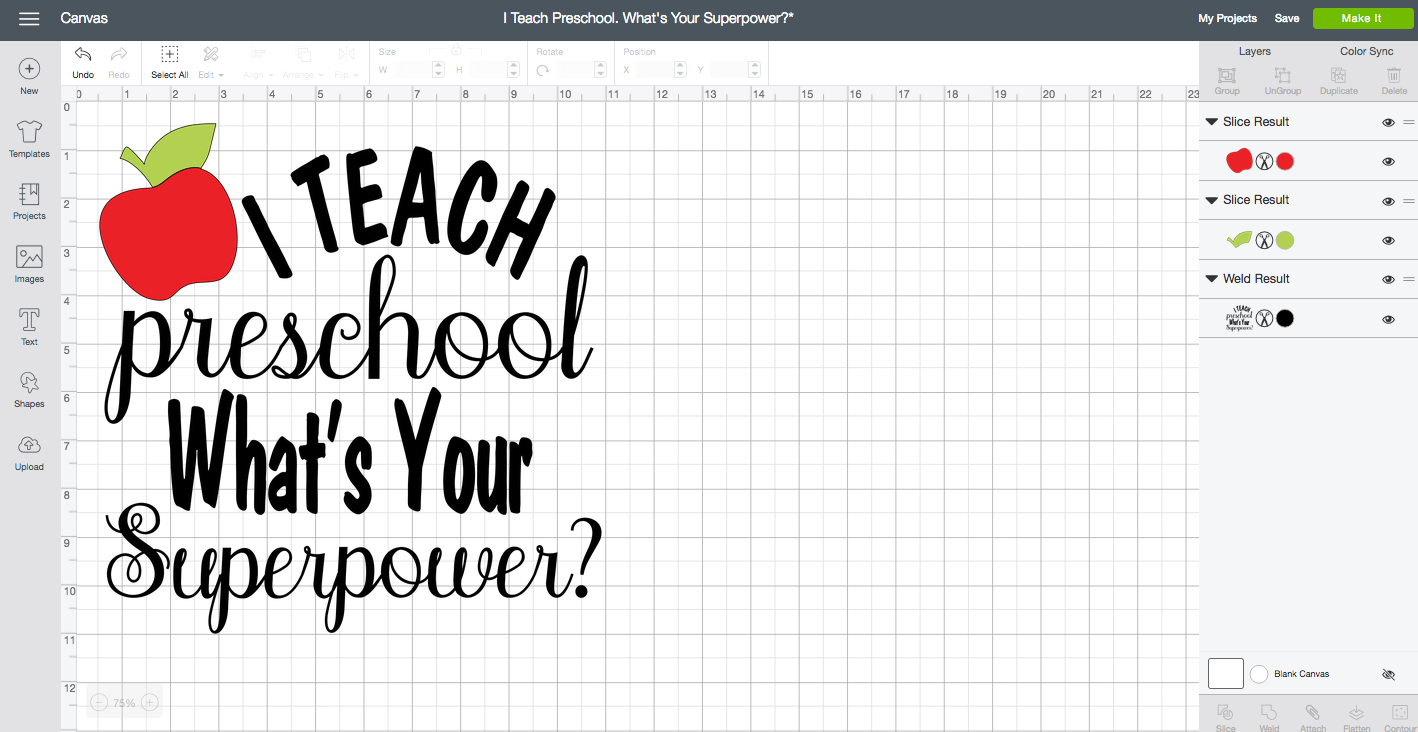
Here is what the design looks like in Cricut Design Space™ it has three layers. Make sure if you need to resize the image that you “select” all. You’ll notice the “I Teach” has a nice curve to it! I used the new Curve Text feature in Cricut Design Space. You can read how to use this new feature here.
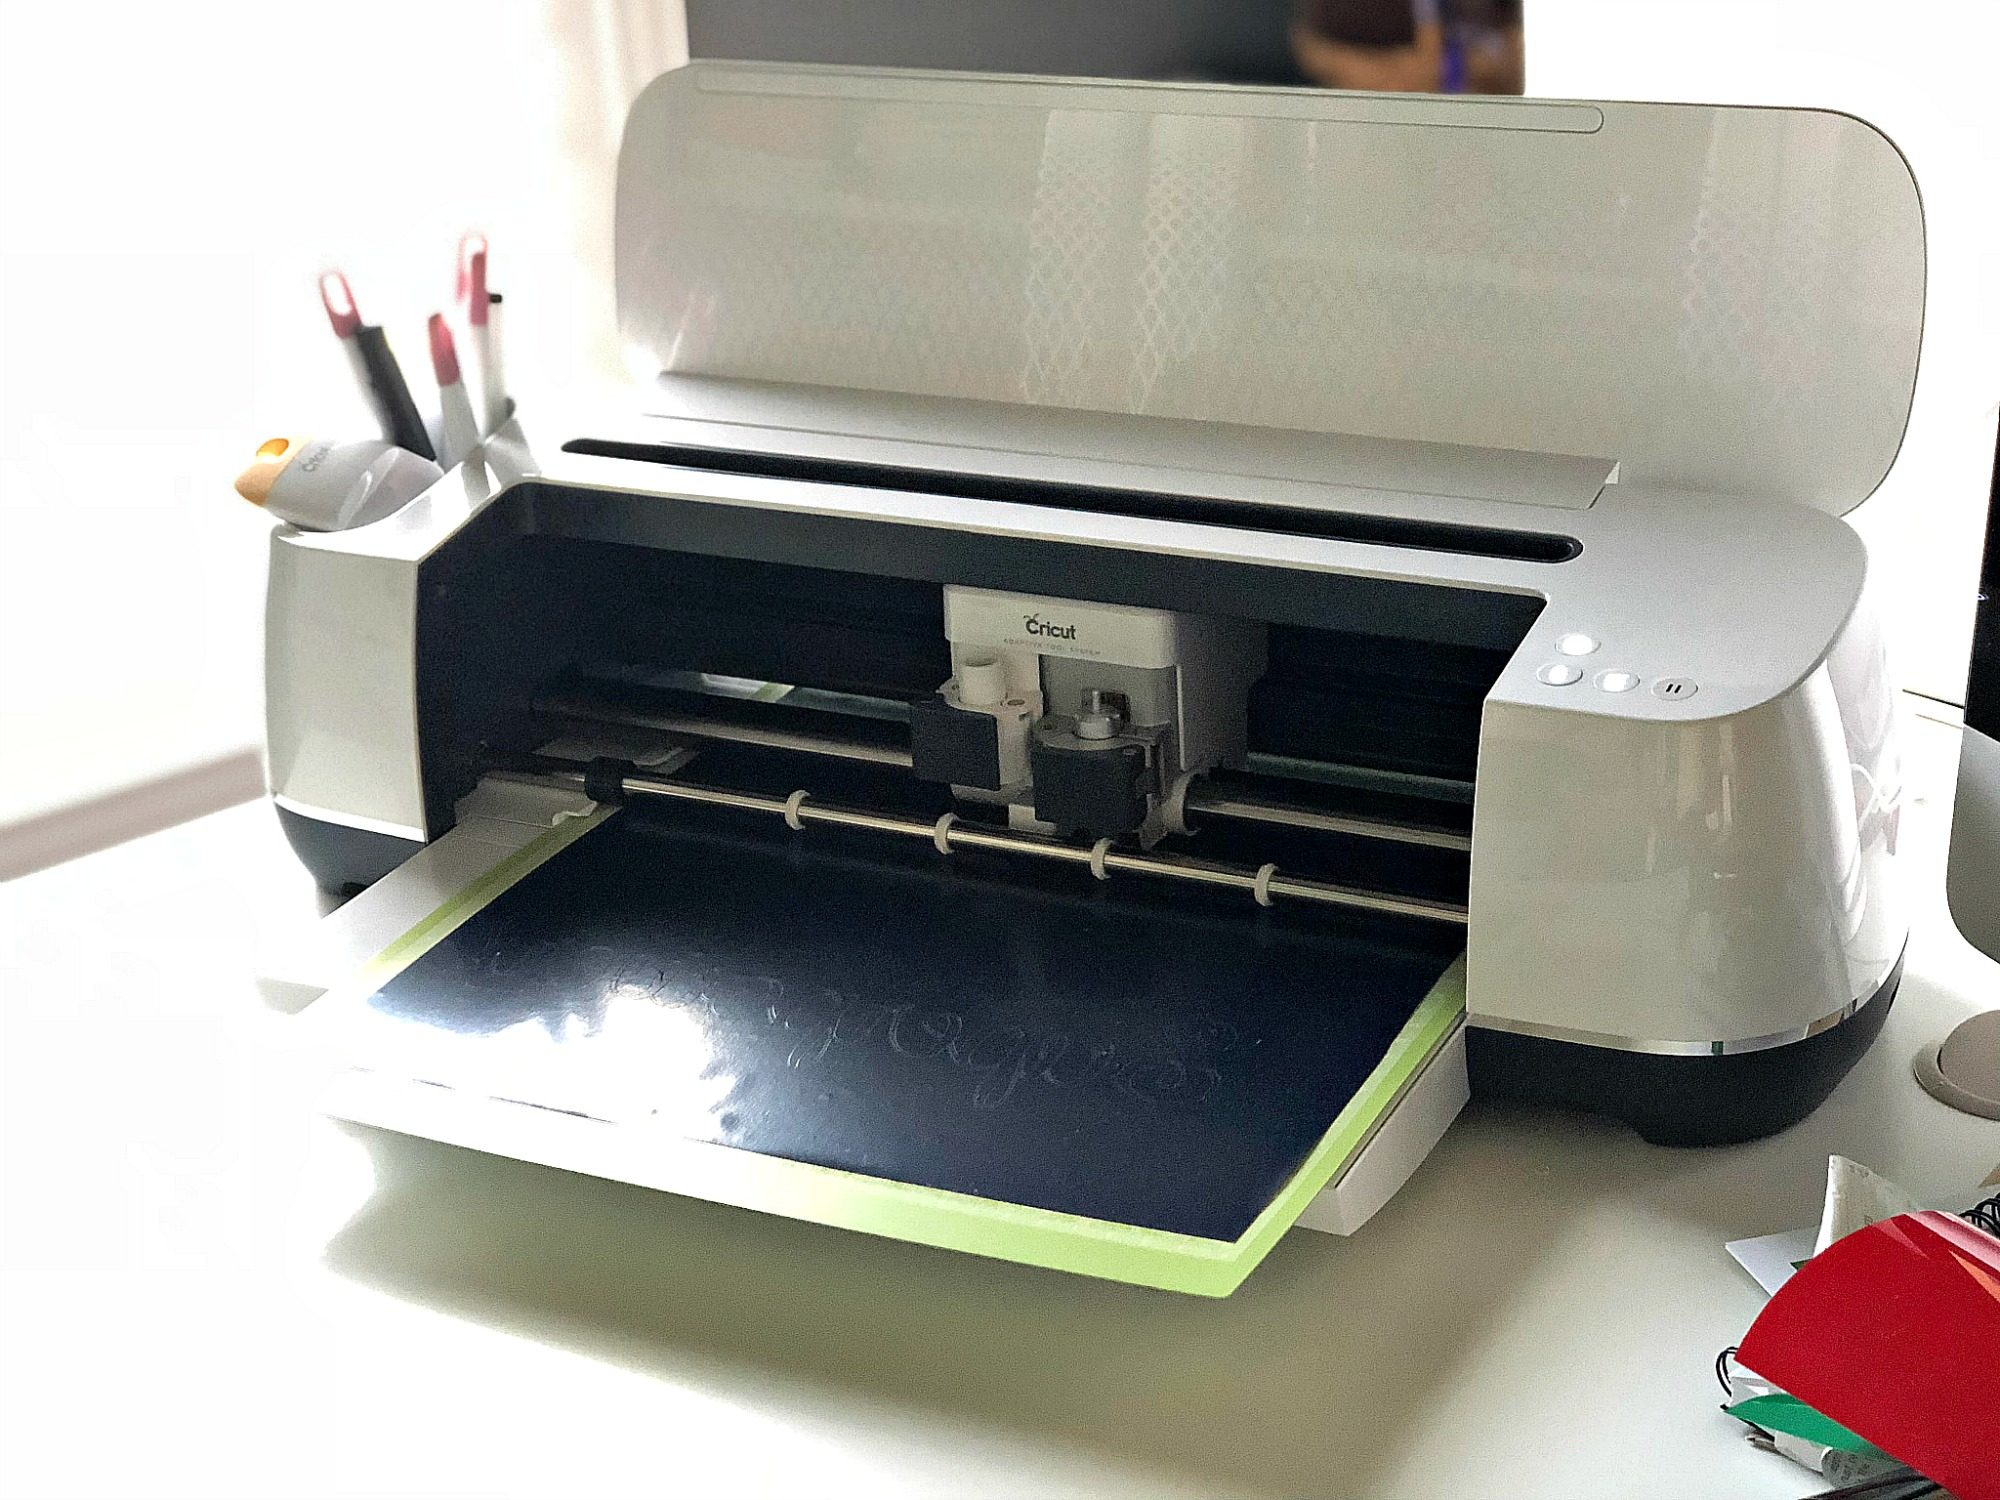
Next, it’s time to cut each piece of Iron On Vinyl. I used my Cricut Maker, but any Cricut machine will work. Make sure you select MIRROR IMAGE before you go to cut your design!
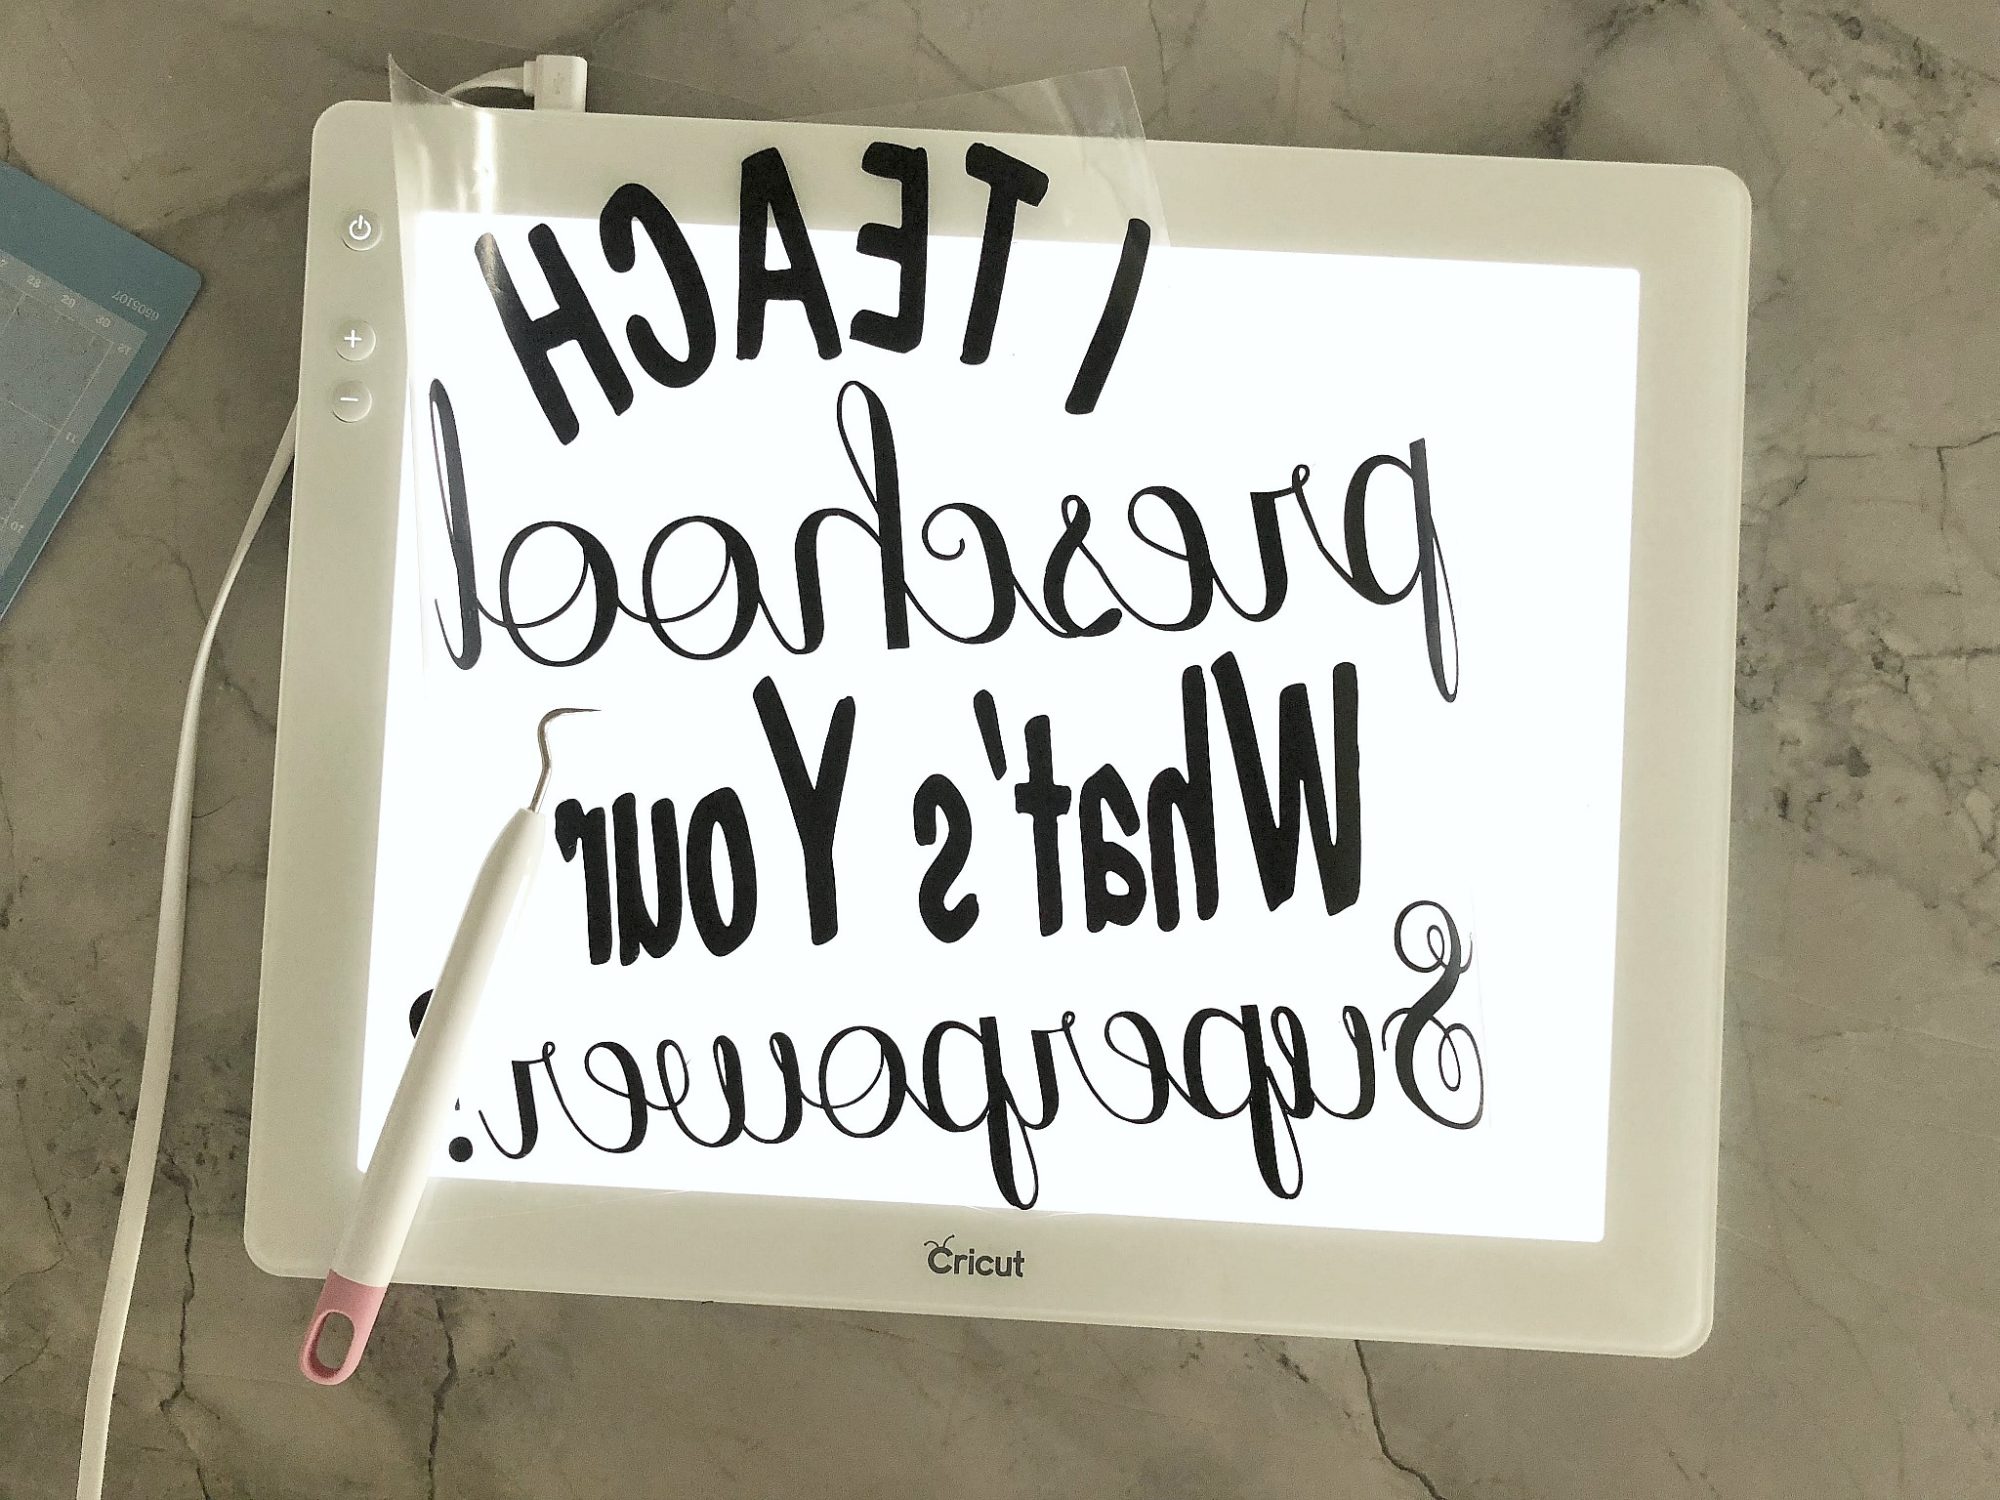
Next, grab your Cricut BrightPad, and begin weeding out the negative.
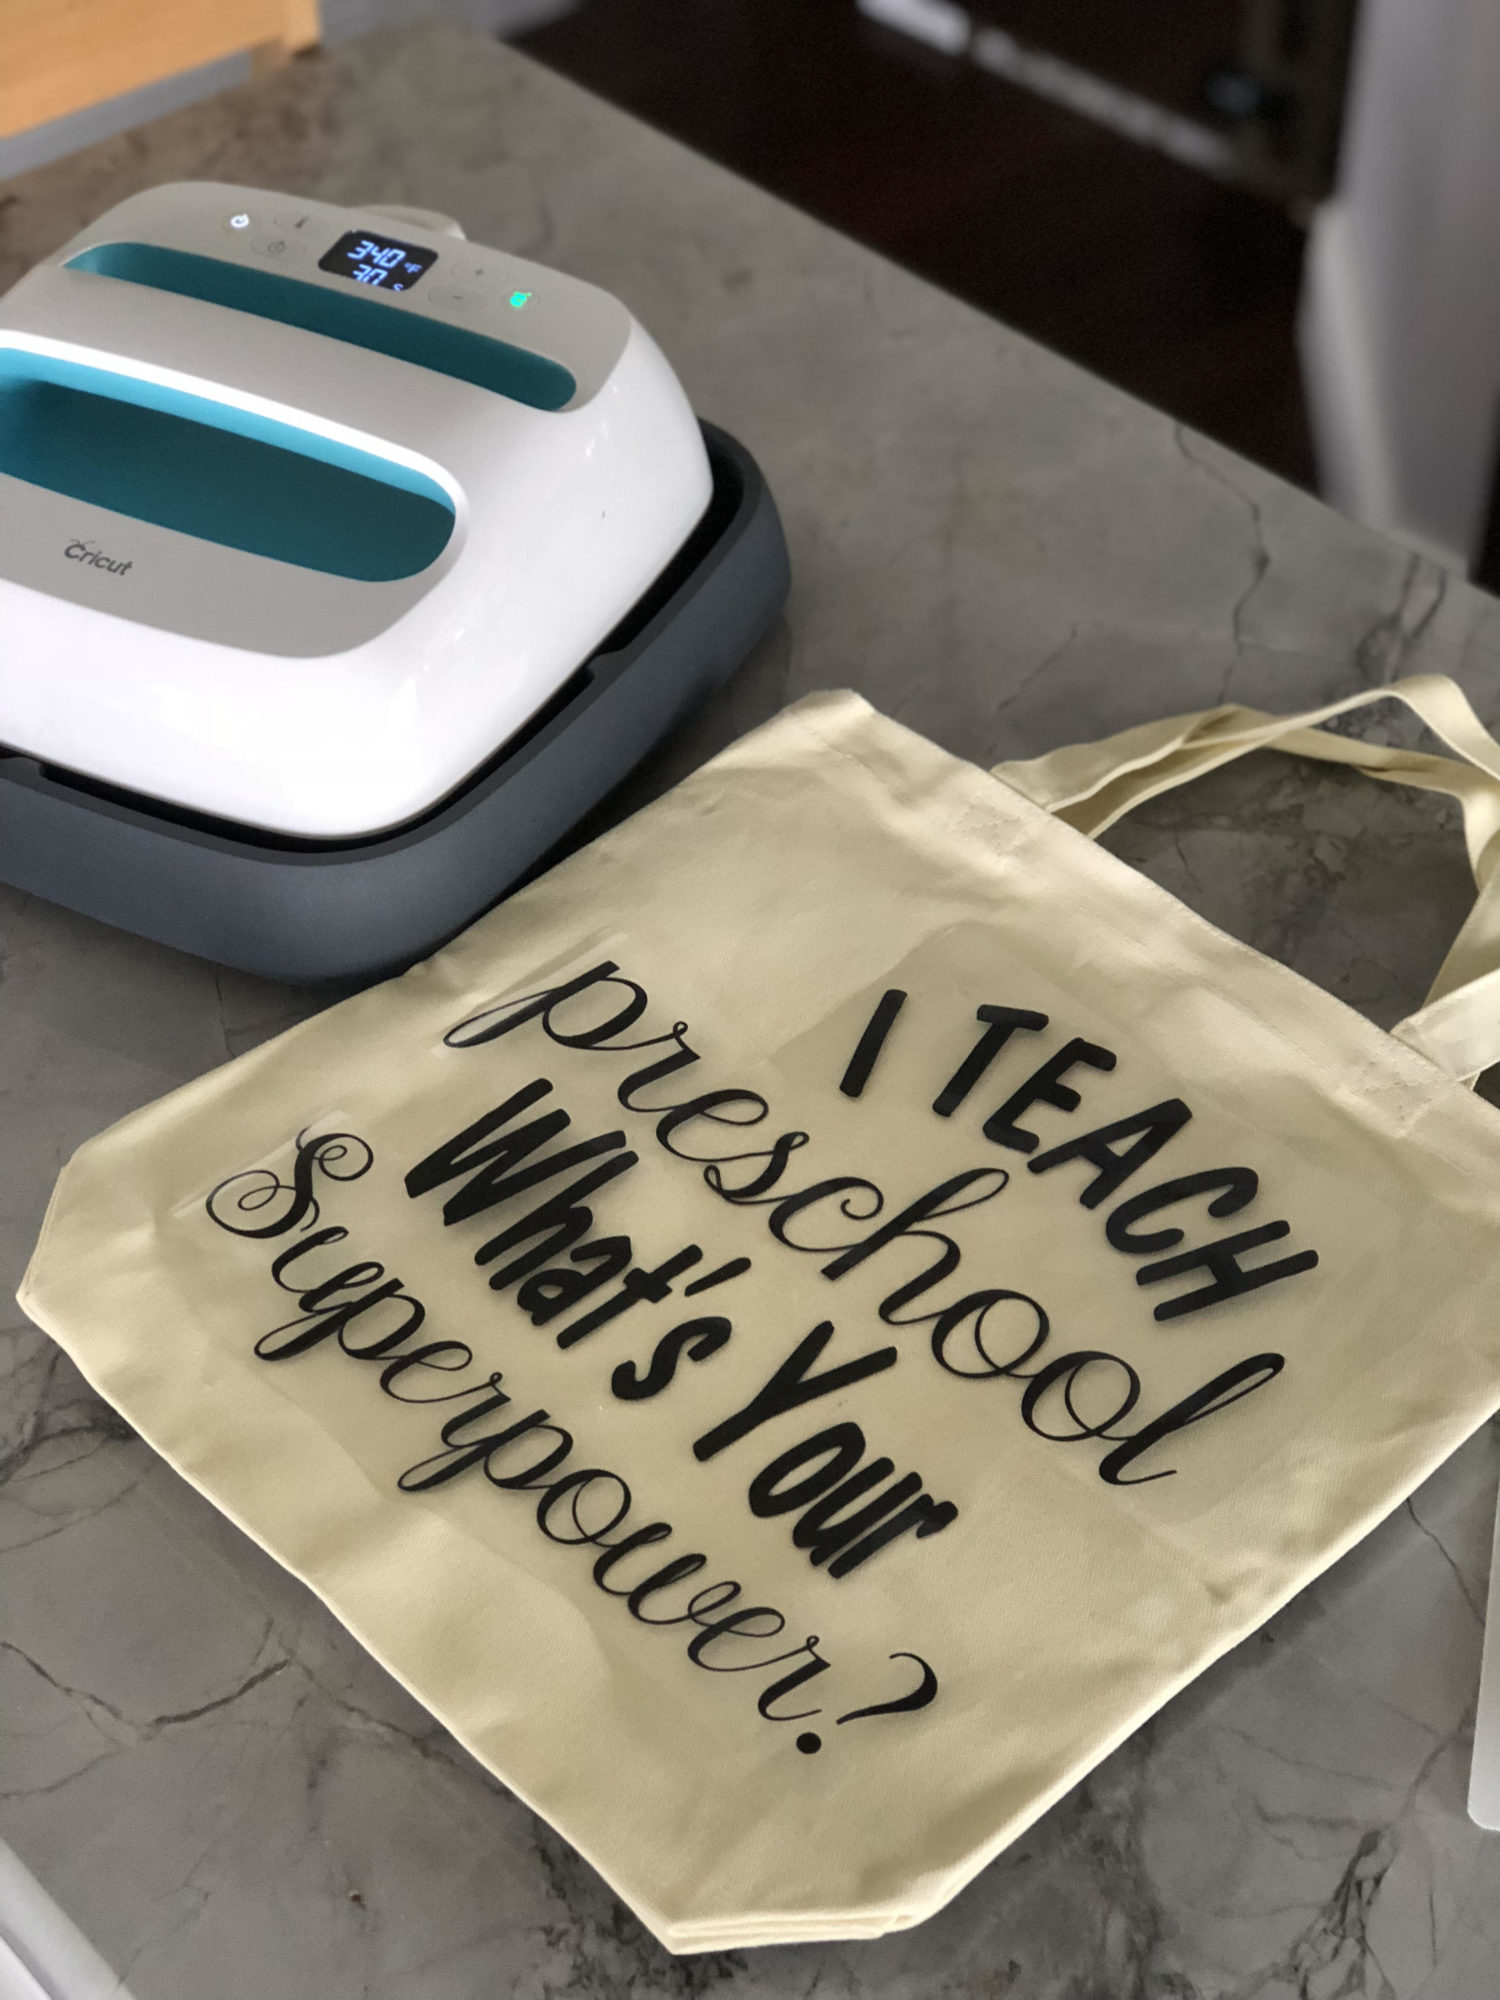
Preheat your Cricut EasyPress to 340 degrees Fahrenheit. You can’t see it because my canvas tote is blocking it but I used the NEW Cricut EasyPress™ Mat underneath the canvas tote. If your tote bag is made of a different material I highly suggest you reference the EasyPress chart online. It tells you what temperature and time you need for ALL your materials!
Next up, place the text portion of your Iron-On Vinyl on your canvas bag. Make sure you preheat your canvas bag for 5 seconds before placing the EasyPress on top. Then line up the text.
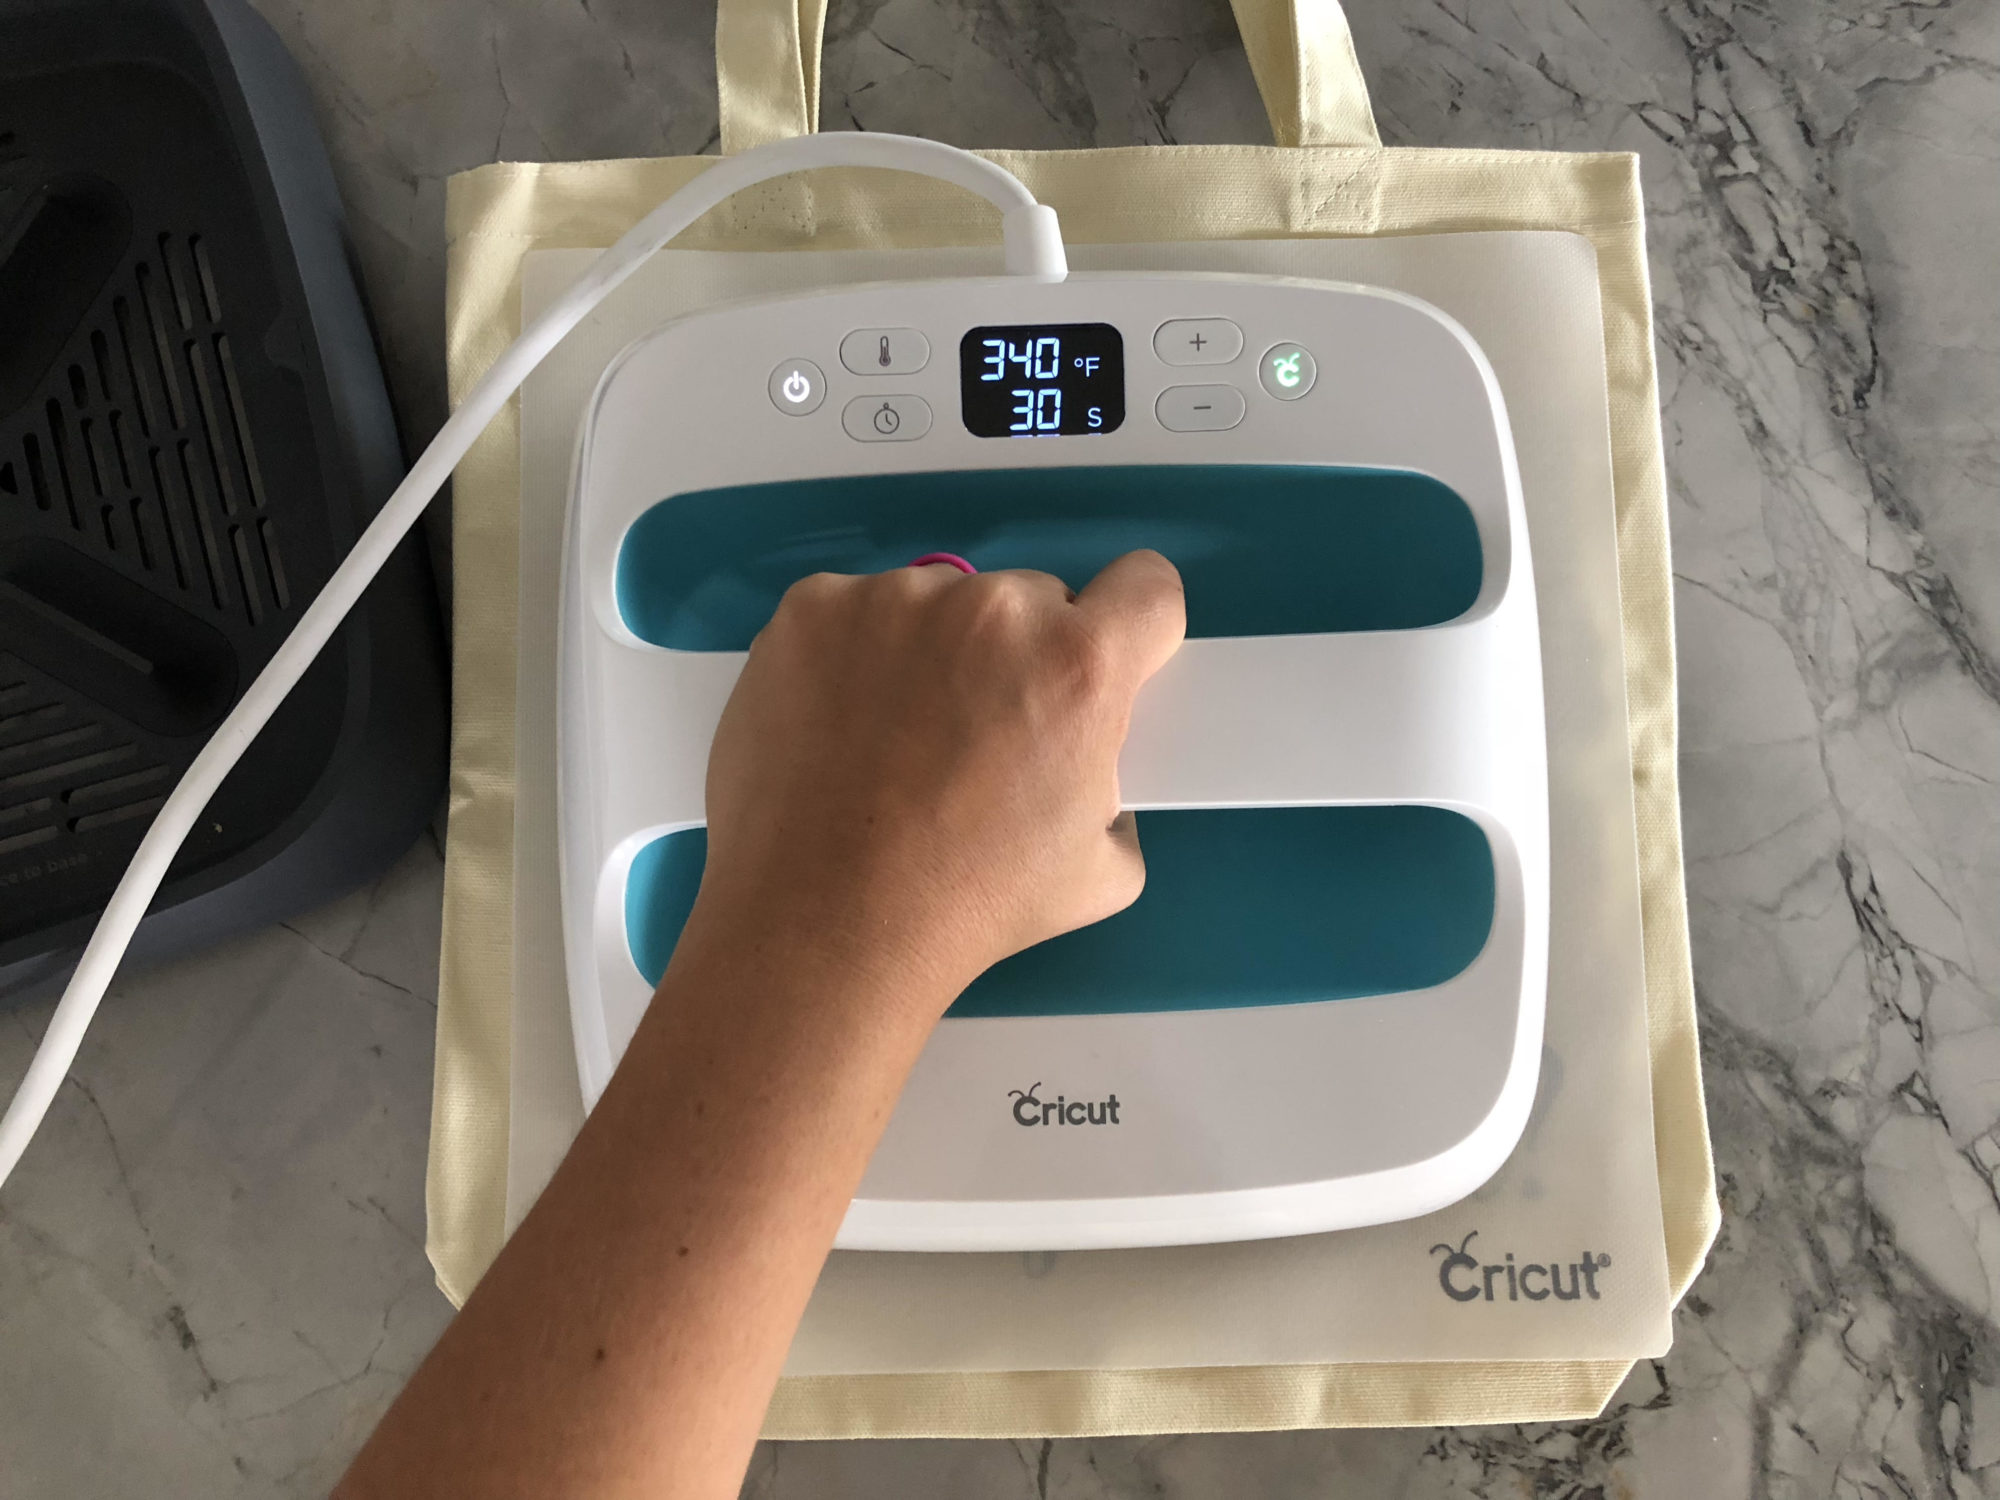
Place your Cricut Iron On Protective Sheet on top (side note: if you don’t have this mat you need it! pl T hen place your Cricut EasyPress on top of the protective sheet. Then press for 30 seconds on 340 degrees Fahrenheit. You will have to press in a few spots since the design is larger then the actual EasyPress itself.
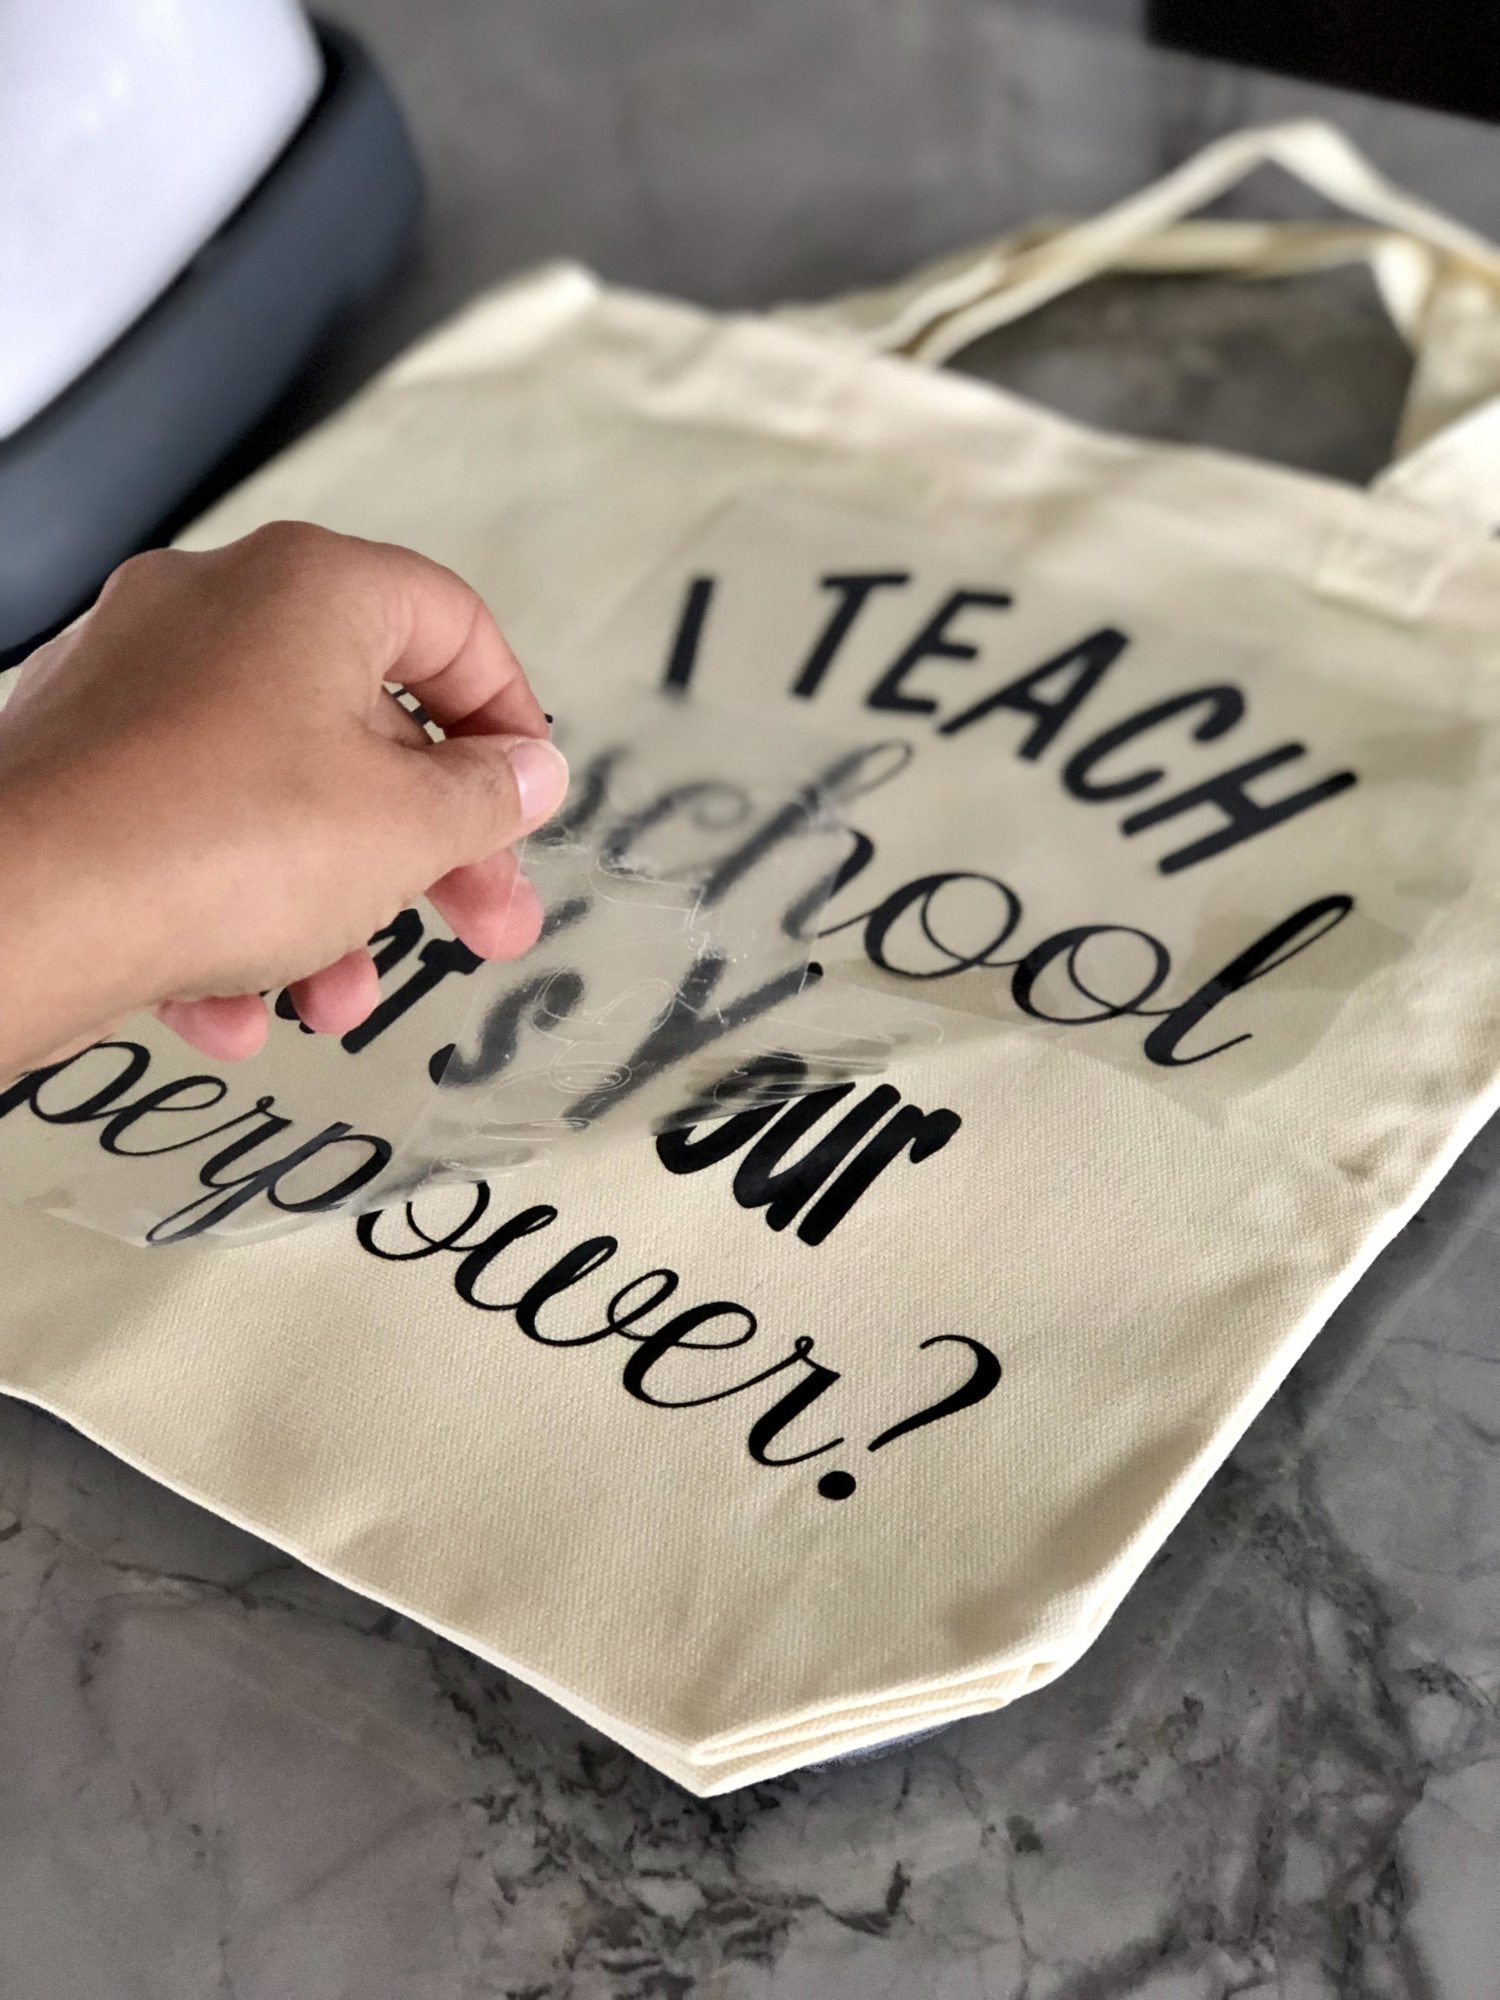
After you remove the EasyPress let the Iron-On vinyl rest for 15 seconds. Then carefully peel the plastic off the canvas bag.
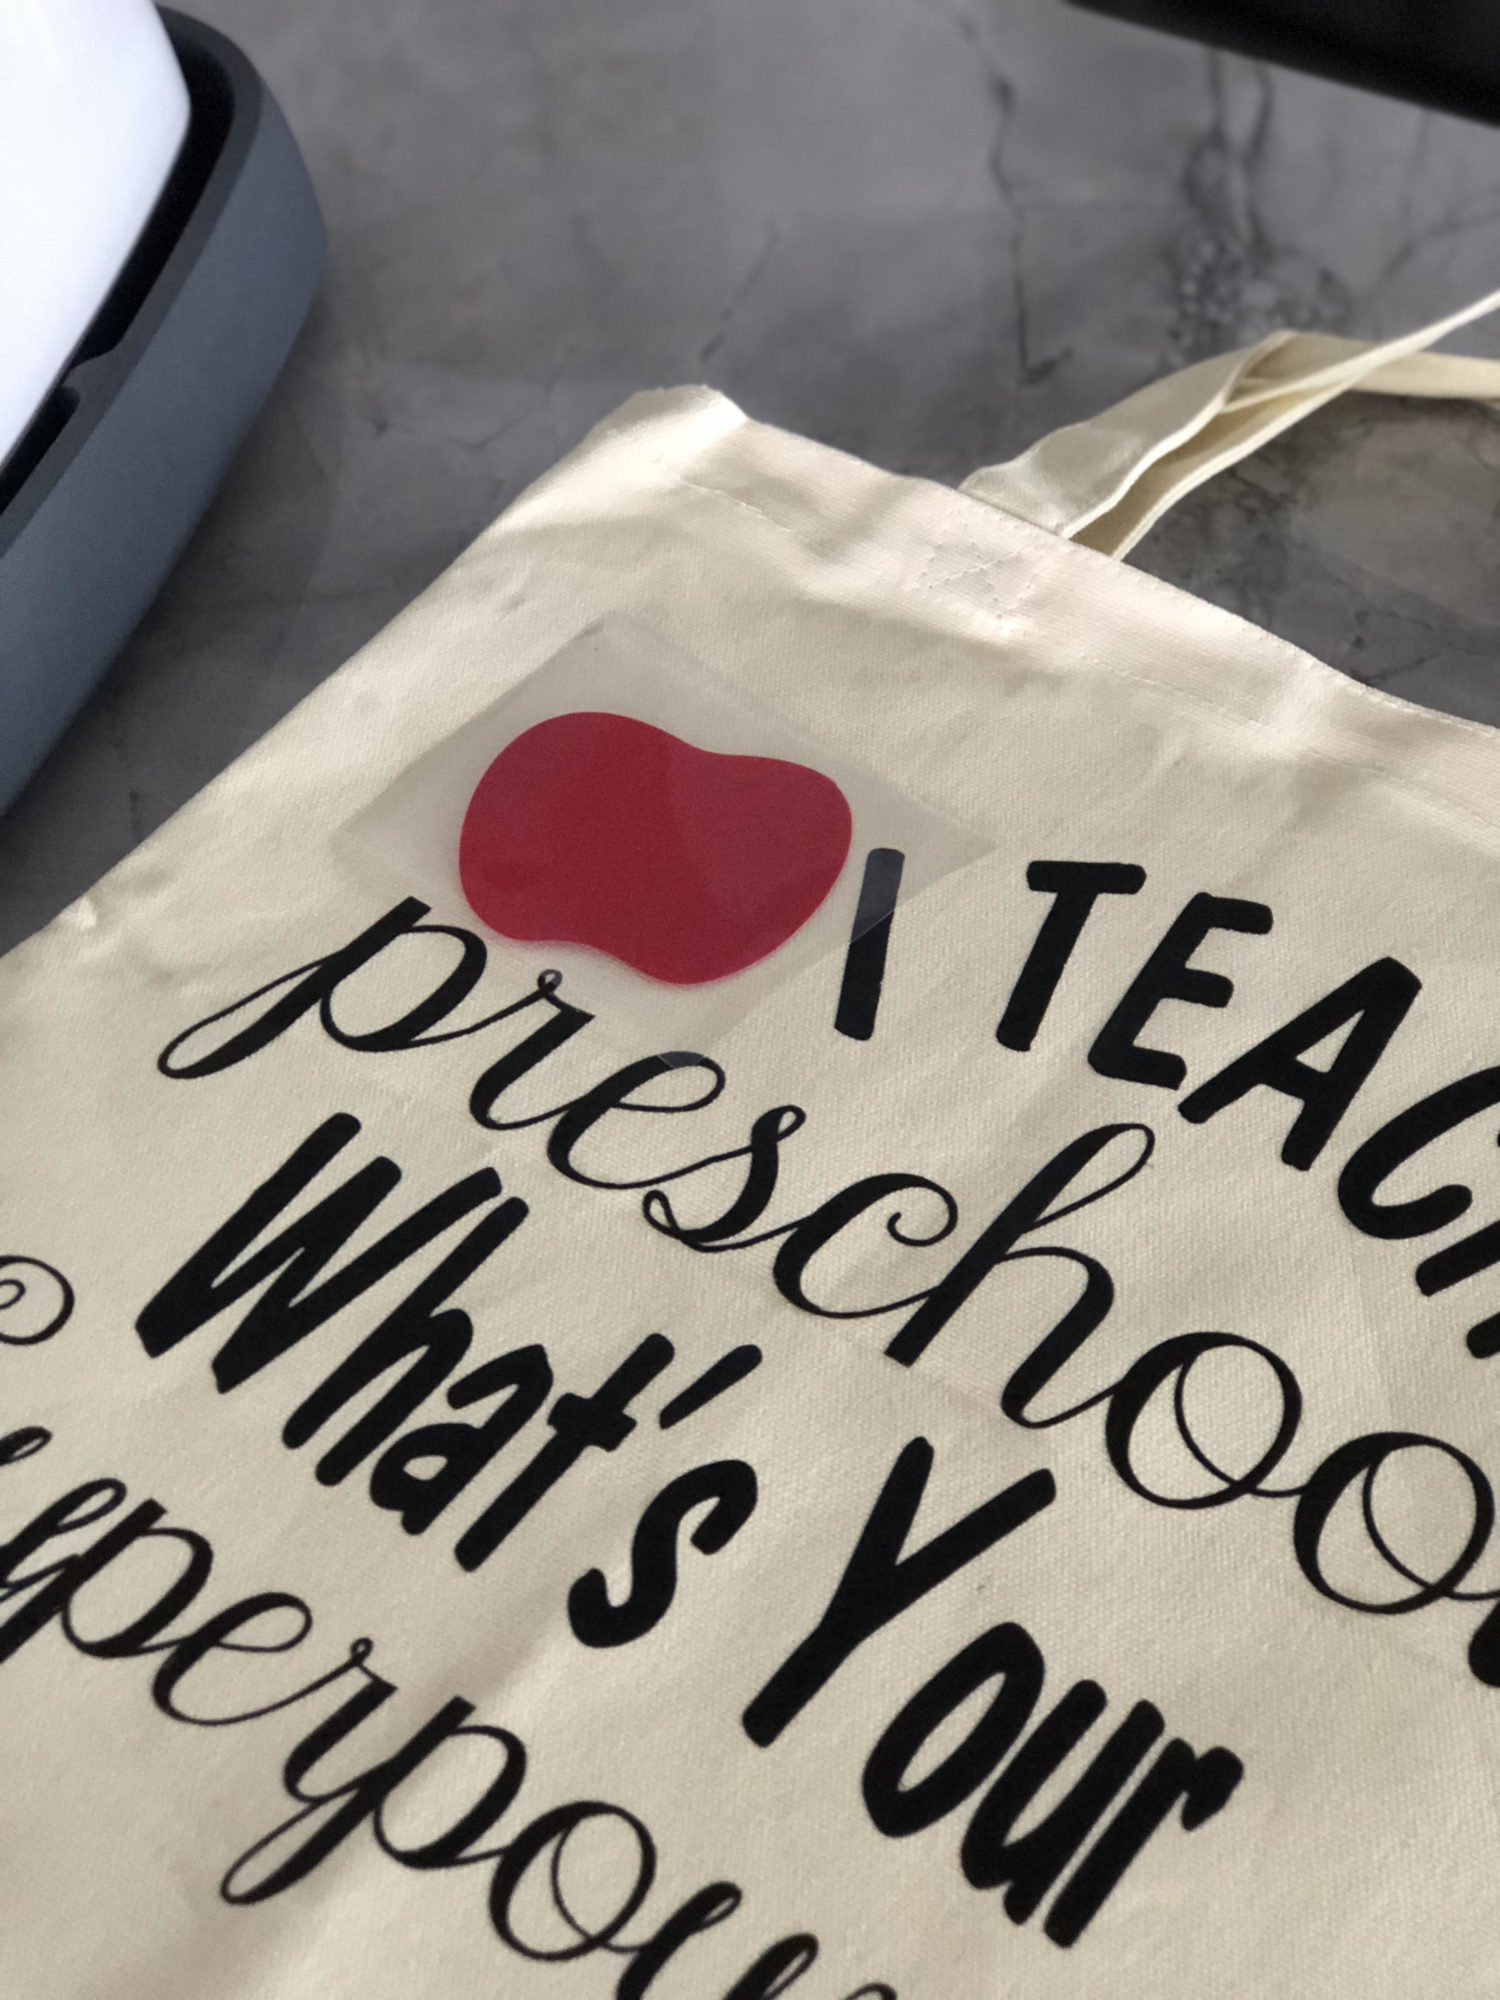
Next, add your red apple to your bag. Then place the protective sheet on top and press again for 30 seconds.
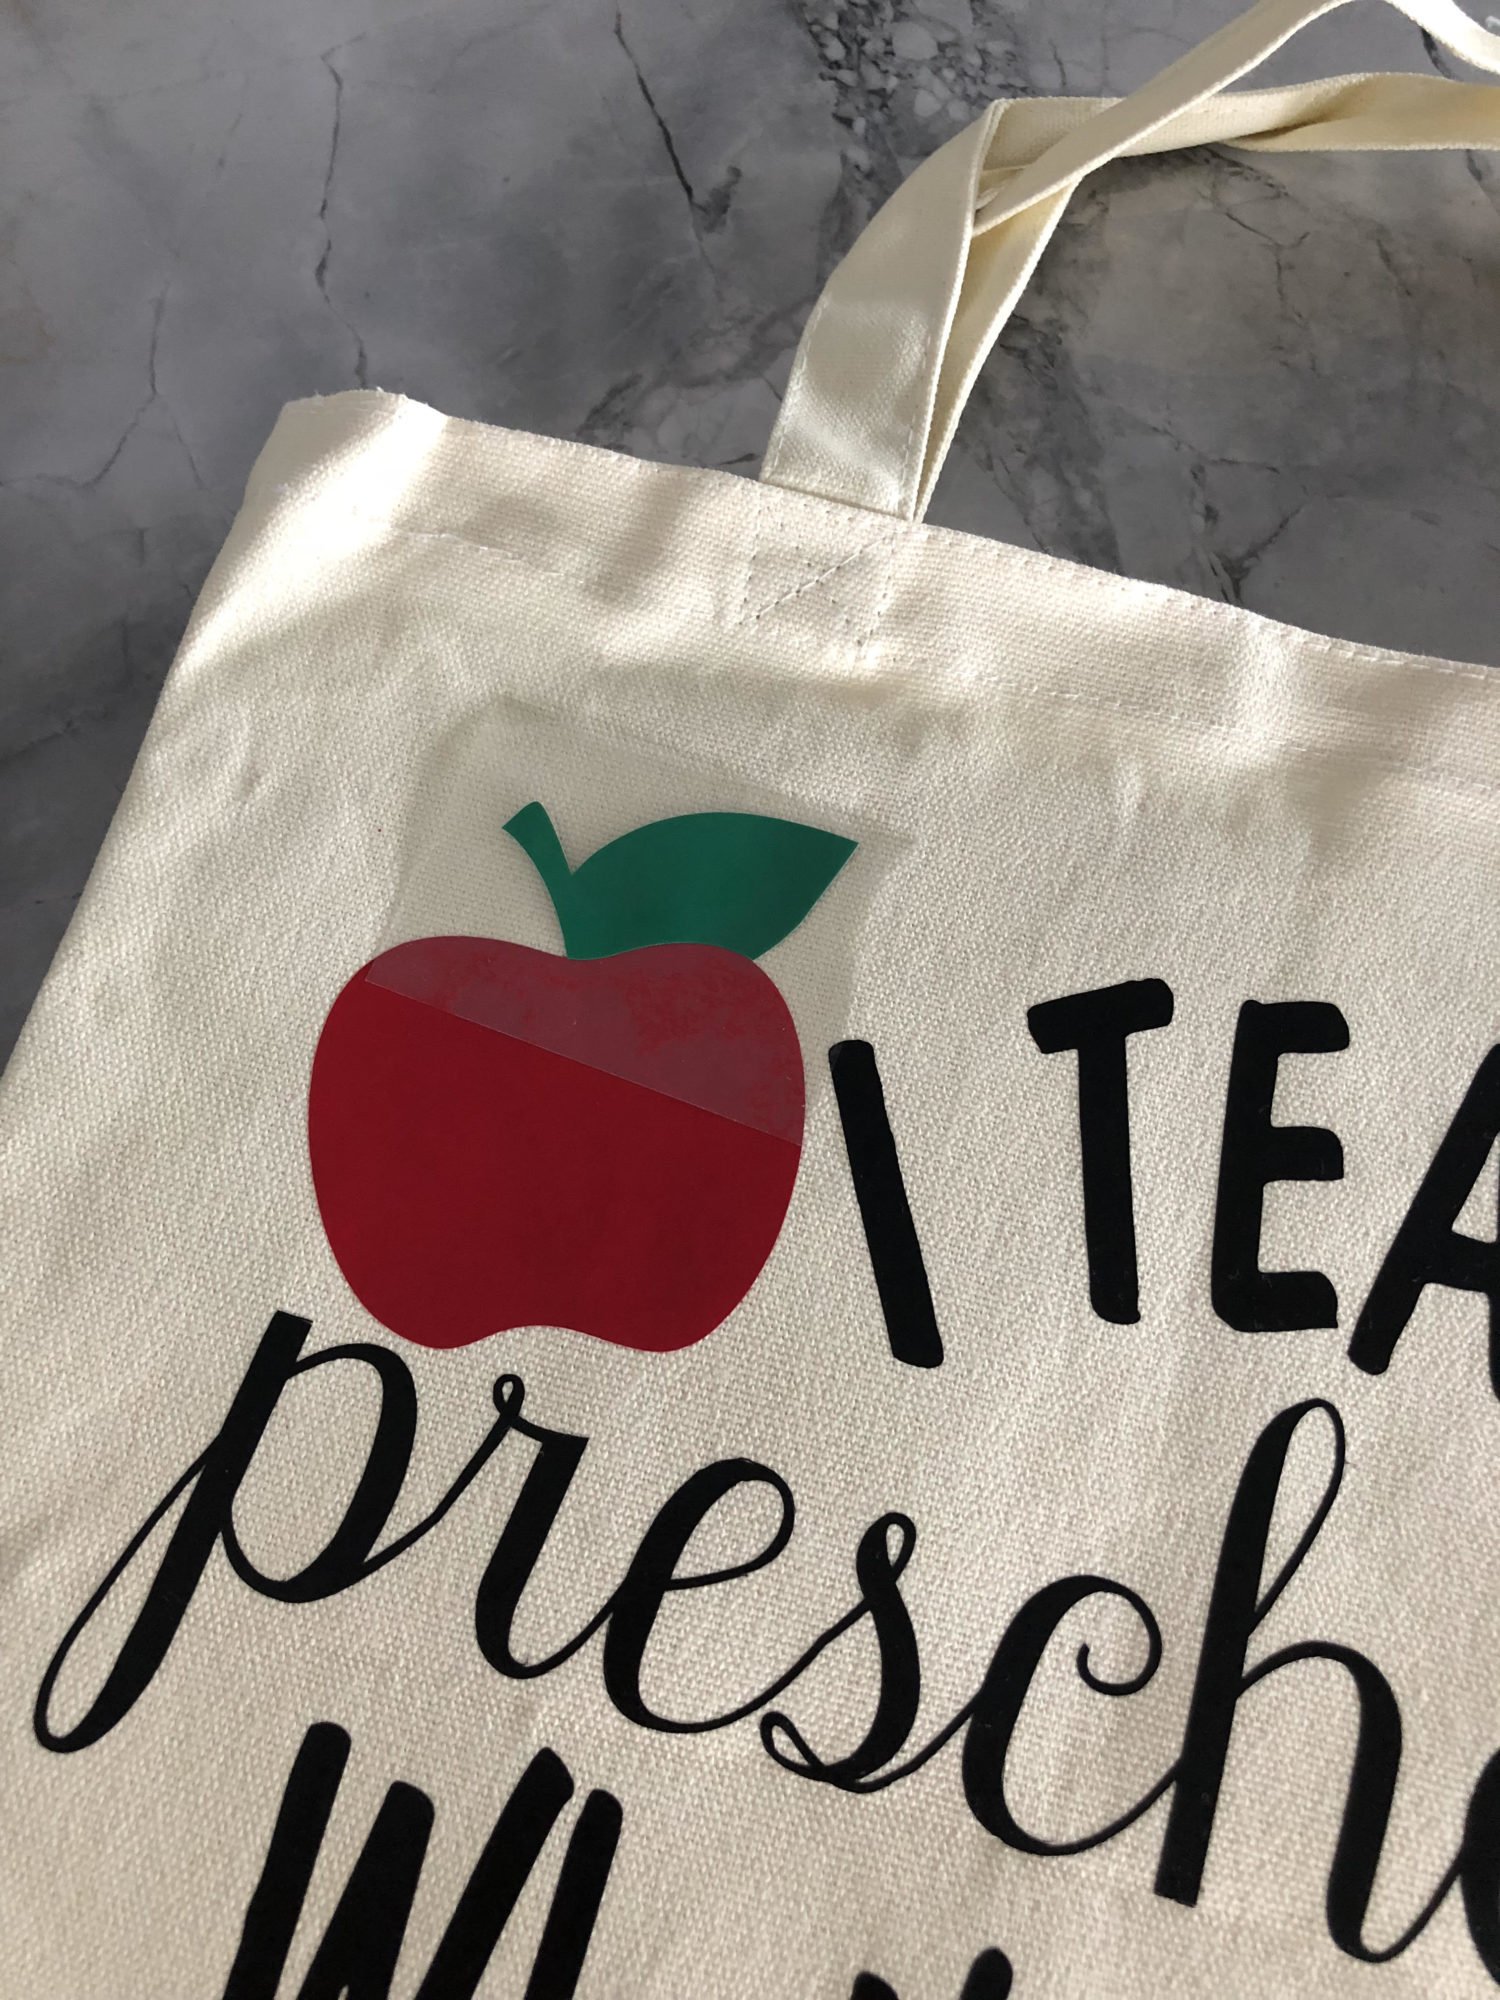
Carefully, remove the plastic from the red and carefully line up the green stem. Press one more time. Then carefully peel the plastic off after a 15 second cool down.
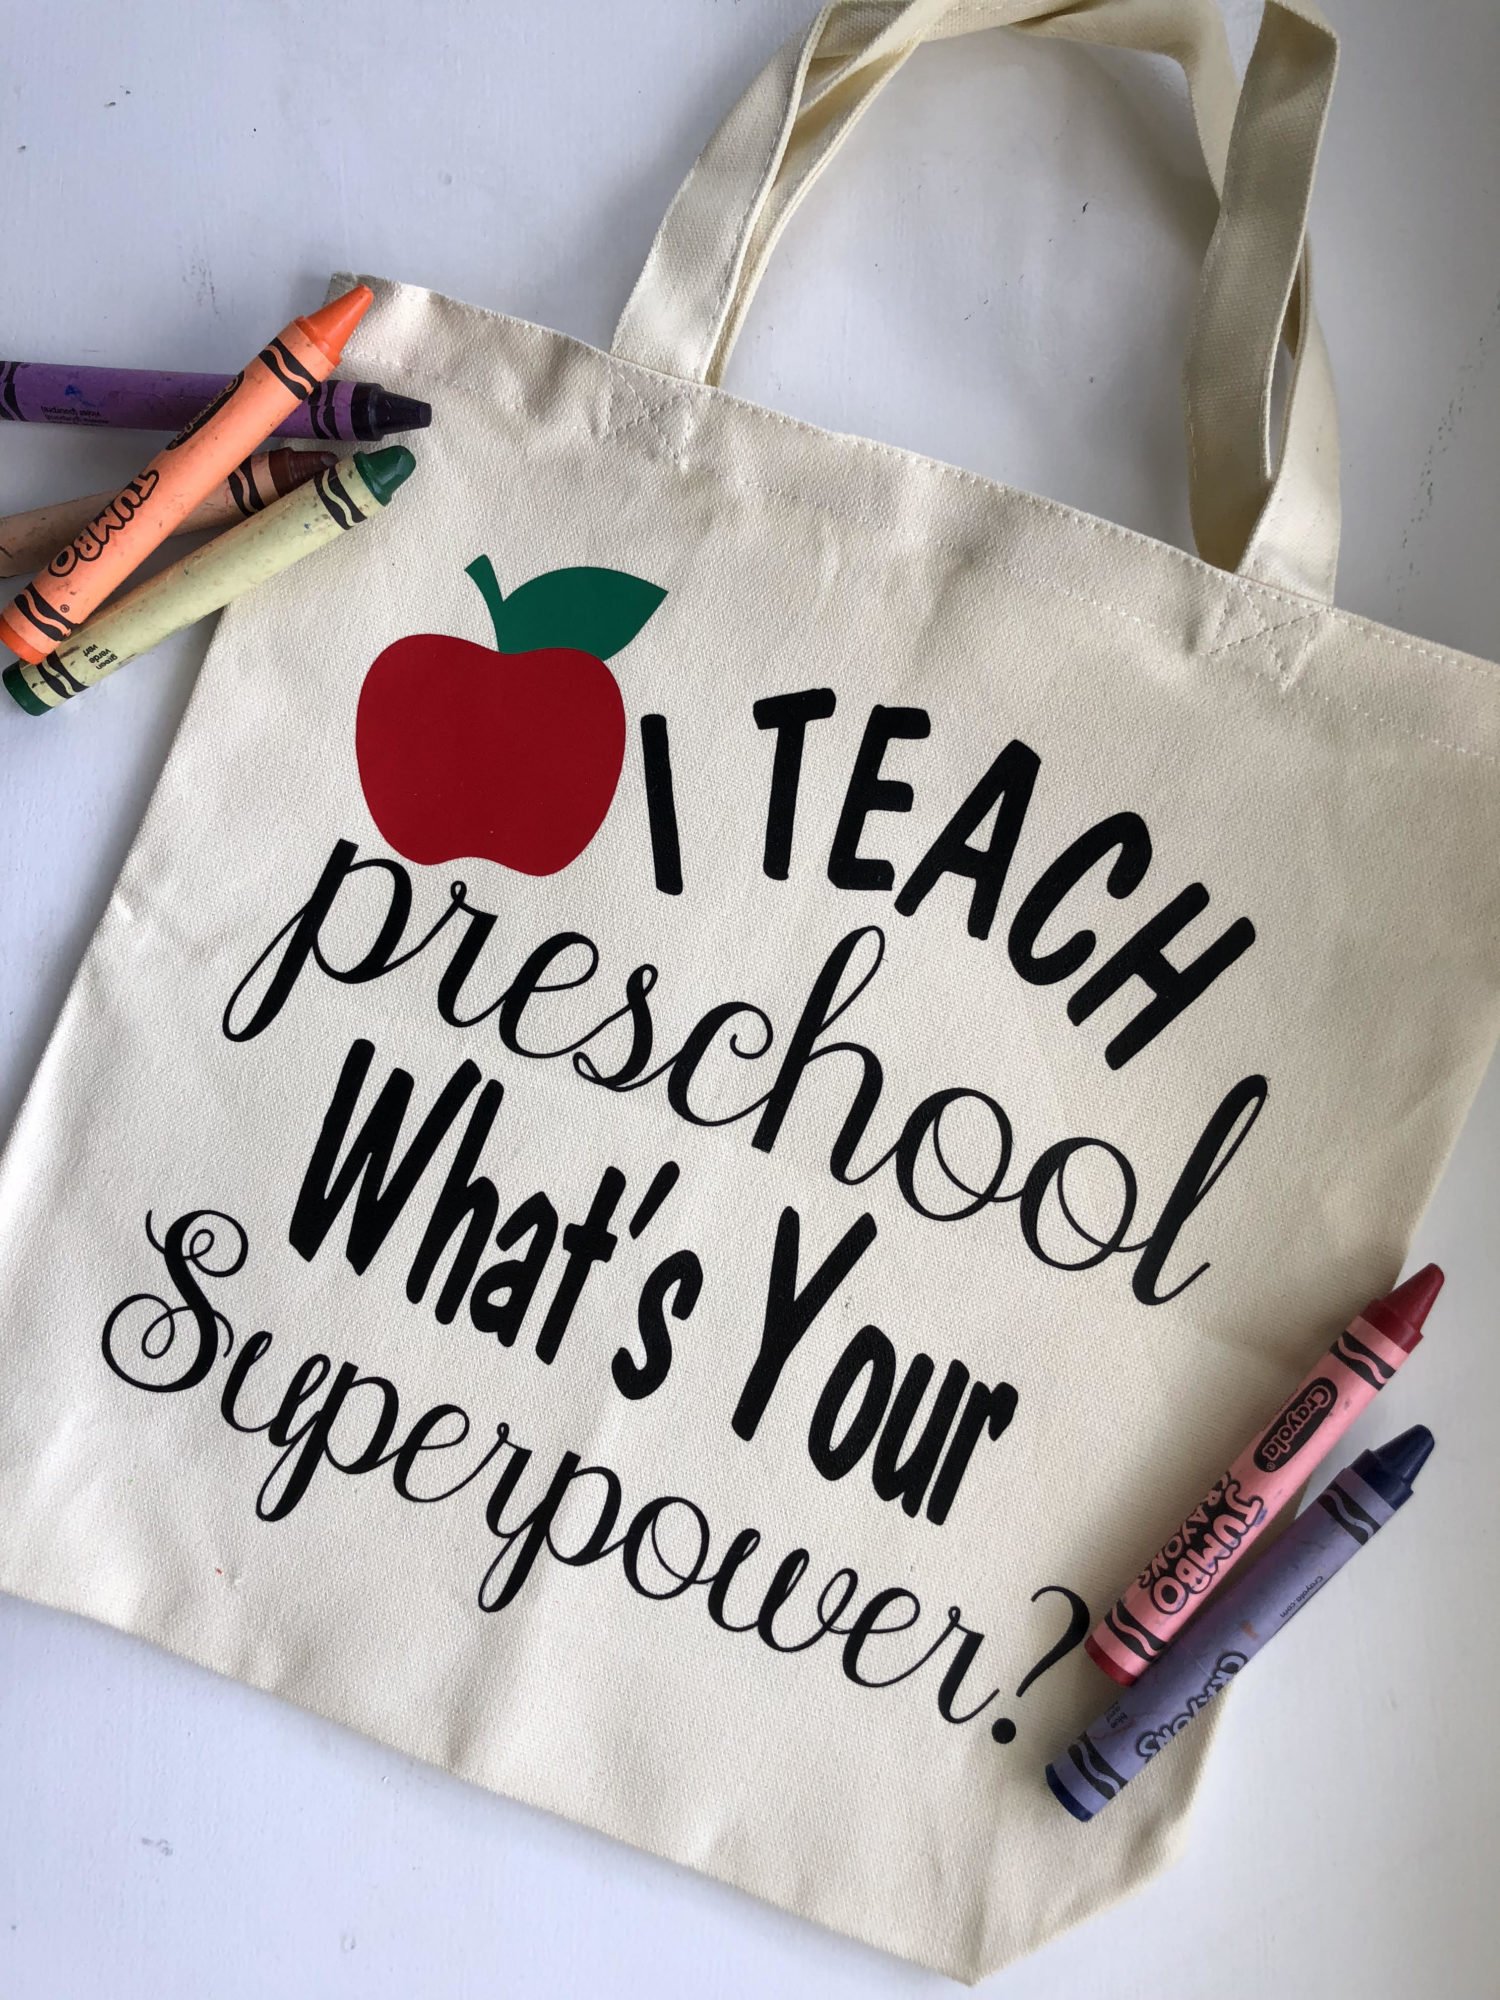
And in just 3 easy layers you have the cutest DIY tote bag for your favorite preschool teacher in your life.
Check out other fun Cricut inspired End Of School year projects:
Leave A Reply!