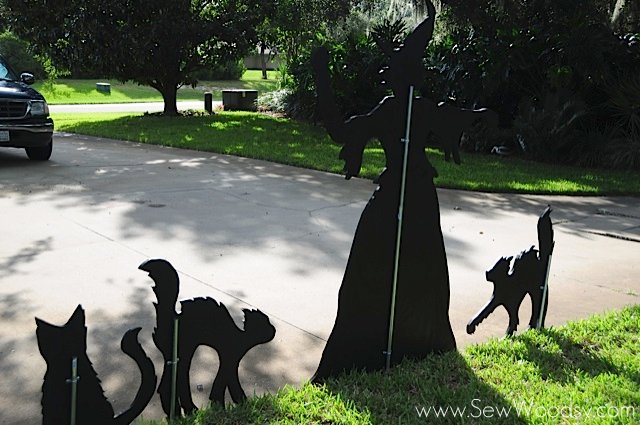
Looking to make inexpensive Halloween decorations for your yard? Make this Witch Wood Cut-Out that includes a free printable to make this witch silhouette yard decor.
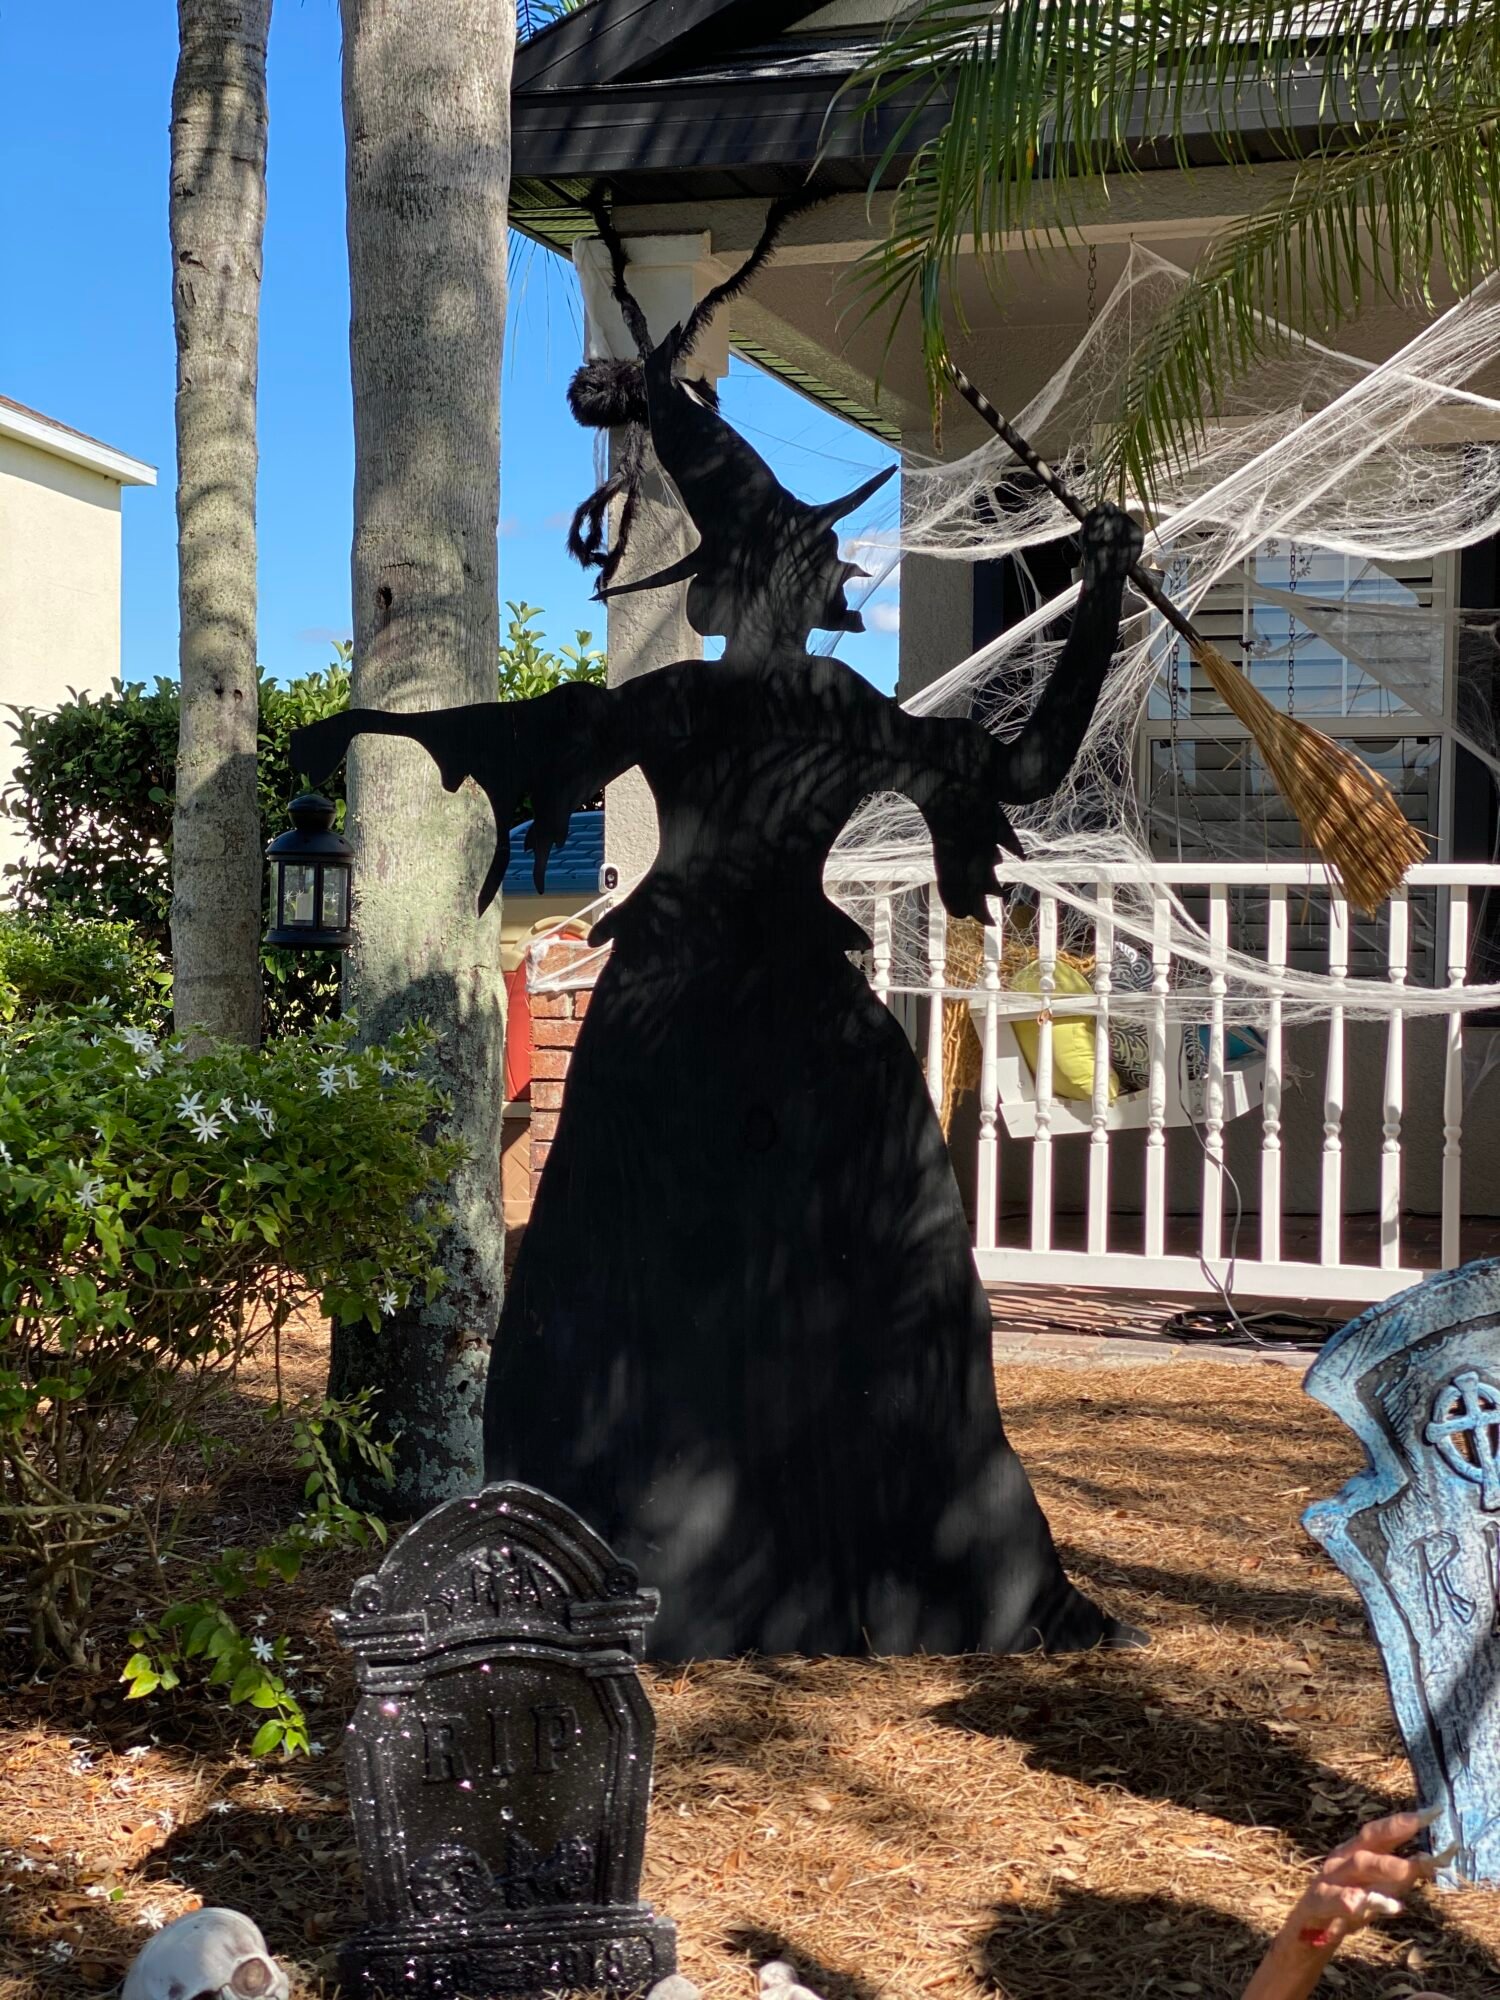
Unleash your inner sorcerer and embrace the enchanting world of witchcraft with our bewitching Witch Wood Cut-Out project, accompanied by an exclusive Free Printable template. Whether you’re a seasoned wood worker or a curious novice, this DIY craft offers a spellbinding opportunity to channel your creativity and bring a touch of magic into your outdoor Halloween decor. Read through our blog post then download our Free Printable template, and get to work on making your own witch wood cutouts for your yard.
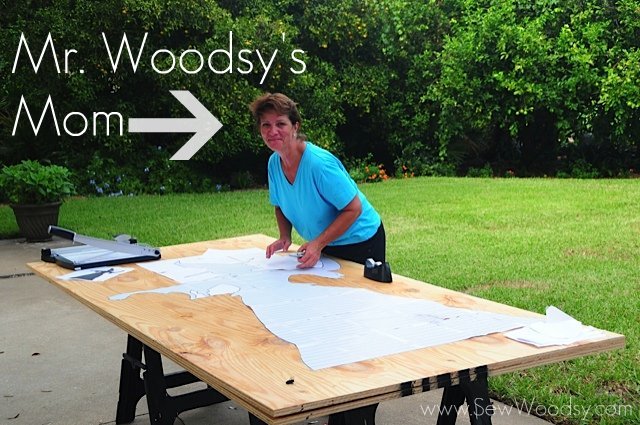
My mother in-law was the first to make the infamous wood witch cut-out over a decade ago. This is how we originally shared with our Sew Woodsy readers. My father in-law took some of the photos on the process of making the cutout.
Table of contents
Supplies Needed:
- Template for the Witch and for the Cats
- Printer and paper
- 4-by-8-foot piece of 3/4-inch plywood for witch
- 4-by-4-foot piece for 3 cats
- Repositionable spray adhesive
- Jigsaw
- 1 quart of black latex paint & paintbrush (or spray paint)
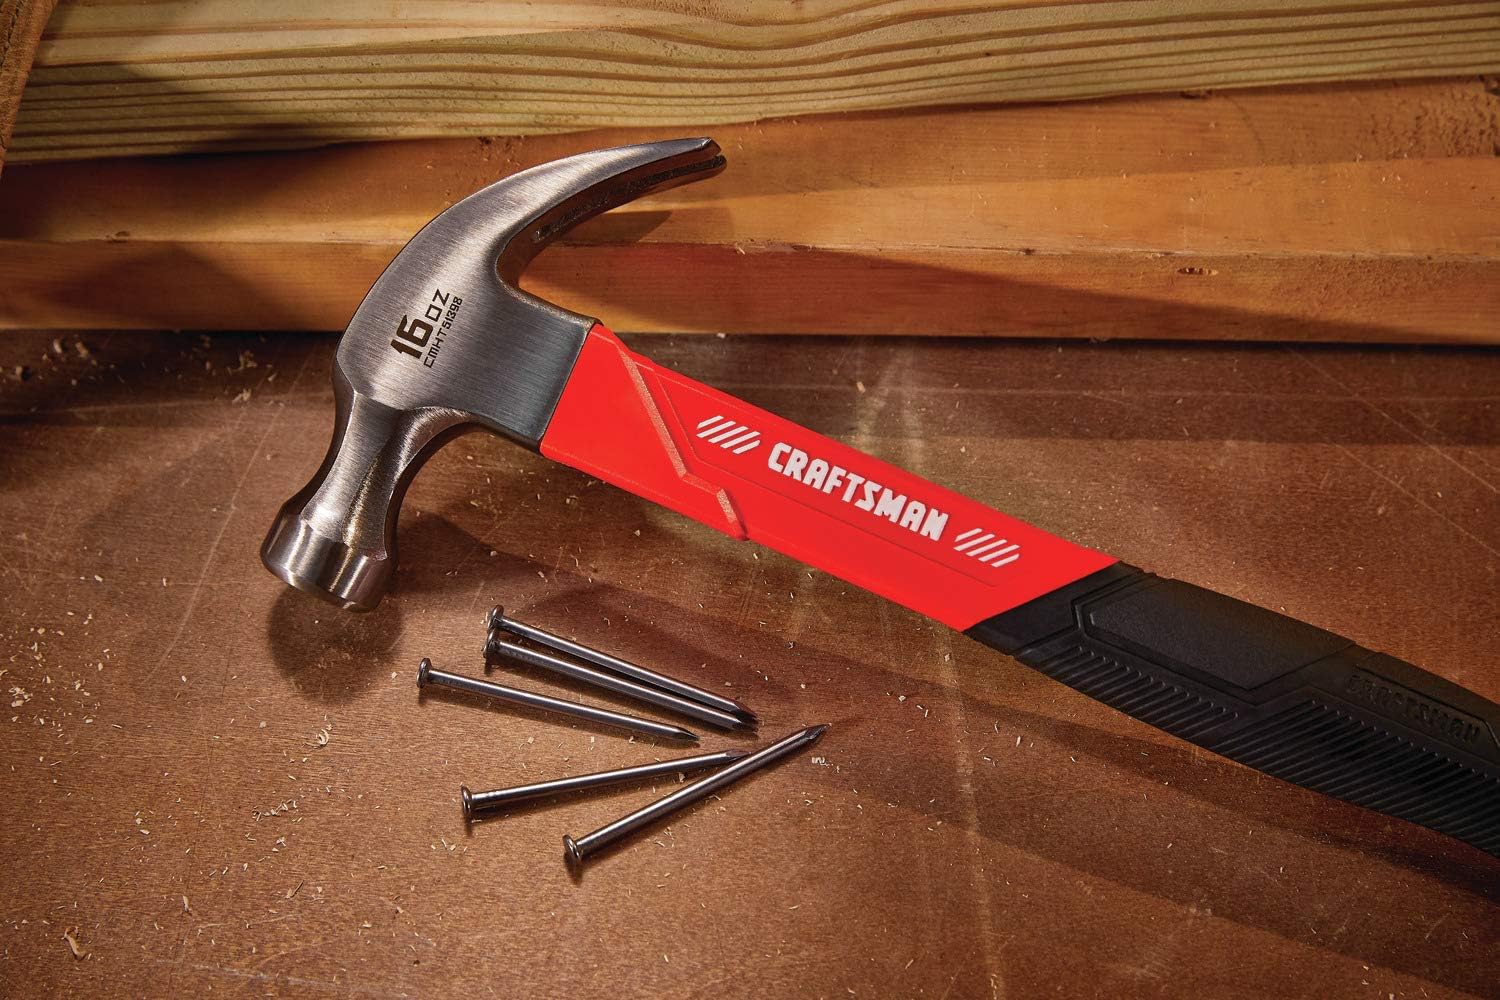
- Hammer and screwdriver
- 6-foot piece of heavy-wall conduit for witch; 3-foot piece for each cat
- Four 2-hole conduit straps and 8 wood screws for witch
- broom & lantern
- Cup hook (for hanging lantern)
Directions

Print out the full-size witch template and the 25 to 30 inch templates for cats. These will print out in sections known as tiling you’ll want to tape them together. Cut out and affix to plywood with reposition-able spray adhesive.
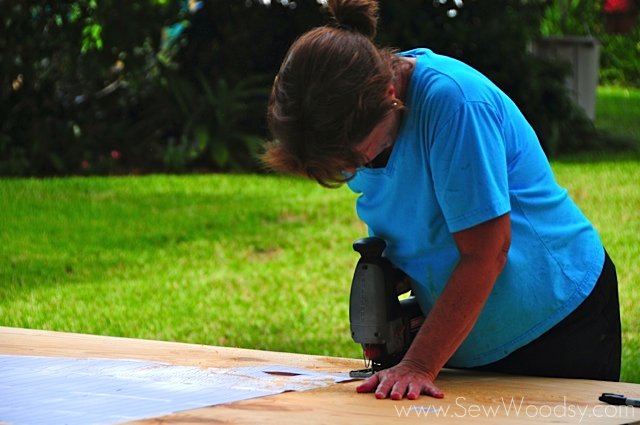
Using a jigsaw, carefully cut out witch and cat designs.

Because of the intricate cuts be prepared for this to take a little bit of time.
*Not pictured… peel off template, and paint plywood black. Let dry for 30 minutes. Hammer conduits into ground, sinking 12 inches for witch and 8 inches for cats. Attach figures to conduits using 3 conduit straps and 6 screws for the witch and 2 conduit straps and 4 screws for each cat. (The back of the cut-outs should look like how its pictured above!)

Now enjoy your witch and cat cut-outs!
FAQs
Jigsaws are best used for cutting shapes and curves like this witch cut out on plywood. A Jigsaw has a narrow blade which is perfect for cut-outs like this.
We made our witch cut out in 2011 and it still looks great and is not falling apart. We typically leave it out for the month of October. The wood is exposed to warm weather with rain throughout the month, and then stored in a dry place.
Outdoor Halloween Decorations
Here are a few of our favorite outdoor Halloween decorations that we have shared on the blog in the past.
- Halloween Wood Pallet Fence
- Halloween Graveyard Stakes
- Double Sided Painted Fall/Halloween Pillow Covers
- Halloween Rustic Wood Coffin
- 26 Halloween DIY Yard Decor Ideas
If you make this witch wood cut-out, I would be honored and love for you to take the time to leave a star rating and comment! I spend hours developing and testing these projects, and always love to hear feedback and user experience!
Don’t forget to FOLLOW ME on Facebook, Pinterest, and Instagram, and subscribe to my email list!
How to Make a Witch Wood Cut-Out
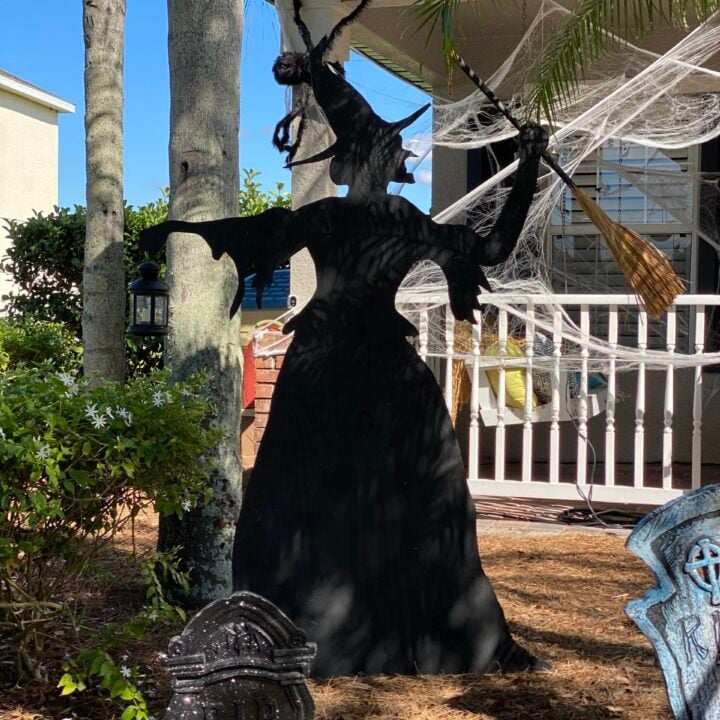
Witch Wood Cut-out
Looking to make inexpensive Halloween decorations for your yard? Make this Witch Wood Cut-Out that includes a free printable to make this witch silhouette yard decor.
Materials
- 1 quart of black latex paint & paintbrush (or spray paint)
- Reposition-able spray adhesive
- Printer
- Paper
Tools
- Hammer
- Screwdriver
- Safety Goggles
- Template for the Witch and for the Cats
- 6-foot piece of heavy-wall conduit for a witch; a 3-foot piece for each cat
- Four 2-hole conduit straps and 8 wood screws for witch
- Jigsaw
- 4-by-8-foot piece of ¾-inch plywood for witch
- 4-by-4-foot piece for 3 cats
- Cup hook (for hanging lantern)
- Broom
- Lantern
Instructions
- Print out the full-size witch template and the 25 to 30-inch templates for cats. These will print out in sections known as tiling you’ll want to tape them together.
- Cut out and affix to plywood with repositionable spray adhesive.
- Using a jigsaw, carefully cut out witch and cat designs. Because of the intricate cuts be prepared for this to take a little bit of time.
- Peel off the template, and paint the plywood black.
- Let dry for 30 minutes.
- Hammer conduits into the ground, sinking 12 inches for witches and 8 inches for cats.
- Attach figures to conduits using 3 conduit straps and 6 screws for the witch and 2 conduit straps and 4 screws for each cat. (The back of the cut-outs should look like how it's pictured above!)
- Enjoy your witch and cat cut-out.
Notes
Jigsaw Tool - Jigsaws are best used for cutting shapes and curves like this witch cut out on plywood. A Jigsaw has a narrow blade which is perfect for cut-outs like this.
Wood Witch Cut Out - We made our cut out 9 years ago in 2011 and it still looks great and is not falling apart. We typically leave it out for the month of October. The wood is exposed to warm weather with rain throughout the month.
Recommended Products
As an Amazon Associate and member of other affiliate programs, I earn from qualifying purchases.


