I shared this pillow on Tatertots & Jello a few weeks ago and am excited to share it on Sew Woodsy today. This pillow is dual purpose… you can use it in September and November, and flip it over during the month of October to acknowledge and celebrate Halloween!
Supplies:
Drop Cloth, Scissors, Painters Tape, Parchment Paper, Craft Tweezers
Sewing Machine, White Thread. 14″ zipper
Stencils, black tulle, gemstone sticker
Martha Stewart Crafts™ 2oz Multi-Surface Satin Acrylic Craft Paint – Carrot
Martha Stewart Crafts™ 2oz Multi-Surface Satin Acrylic Craft Paint – Beetle Black
Martha Stewart Crafts™ 6oz Tintable Fabric Medium
Martha Stewart Crafts™ Arabesque Laser-Cut Stencils
Martha Stewart Crafts™ Roller Tops

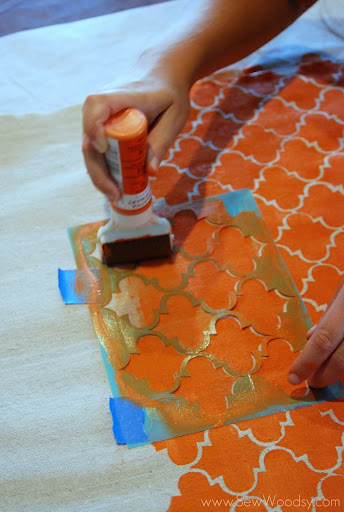
First, we will start on the large Pillow. I made this pillow a traditional envelope style pillow since it is not a double sided pillow. I cut the 3 pieces of drop cloth fabric to match the size of my pillow. My pillow is 20 x 20, so I cut one large square 21 x 21 (for extra room for seam allowance), and then the two envelope pieces 10 inches and 14 inches. I mixed up my acrylic paint and my paint medium. Placed my stencil on the 21 x 21 pieces of drop cloth and began rolling on the paint.

Keep painting and moving your stencil as you go. This is a tedious process–make sure you take your time. If you take your time it will show in the end product! I let the pillow dry for 24 hours then heat-set it according to the directions on the fabric medium bottle. Lastly, I sewed the fabric pieces together.
Next, we will make the double sided pillow. Cut two pieces of drop cloth to match the size of the pillow you want to cover. I believe my pillow was 14 x 20, so I cut my covering an inch up from the size to allow for my seam allowance.
Once your drop cloth is cut you can begin to paint each side of the pillow. I used my cricut and cut out the word “Harvest” using heavy card-stock for my fall side of the pillow. I taped the cut-out to the pillow. I also folded a small pieces of tape and adhered the small cut-outs to the “a” and “e” in the word “Harvest”. I used a long sheet of parchment paper to line my table so that no painted bled on to my table. Side fact: I hate touching newspaper, so I try to use parchment paper when it’s available… its inexpensive and keeps the paint from getting on to your surface.
I mixed up my acrylic paint and fabric medium, and began to carefully roll the paint on to the stencil and drop cloth. Make sure you evenly coat your stencil.
Luckily, none of the paint seeped through the card-stock!
This is what it looked like once I pulled the card-stock off the drop cloth. You’ll notice the “a” and “e” are still on the drop cloth.
Using craft tweezers carefully pull up the “a” and “e” leftover pieces.
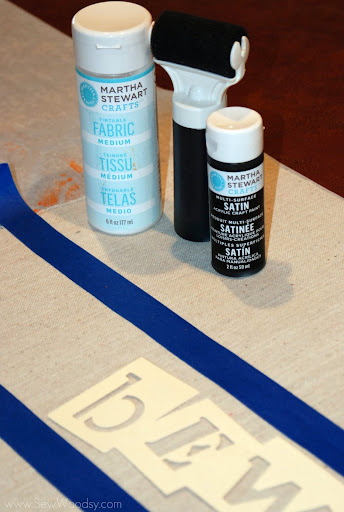
Next, we can begin on the Halloween side of the pillow. I cut out a phrase using my cricut. Then placed to straight lines of painters tape to “frame” the “beware” phrase.

Mix up the acrylic paint and fabric medium per the instructions on the bottle.
Begin to roll the paint carefully on to your drop cloth.
Once you’ve finished painting the drop cloth and stencil; carefully remove the stencil with craft tweezers.
Then, carefully remove the tape.
I wanted to add a raven to my pillow, so I taped it in place. I used a rhinestone 3-dimensional sticker for the eye to ensure that it wouldn’t move while I was painting the raven.
Once the raven is painted, remove the stencil. Let both pillows dry for 24 hours. Then remove the rhinestone sticker from the raven’s eye. Heat-set your pillows according to the directions on the fabric medium bottle.
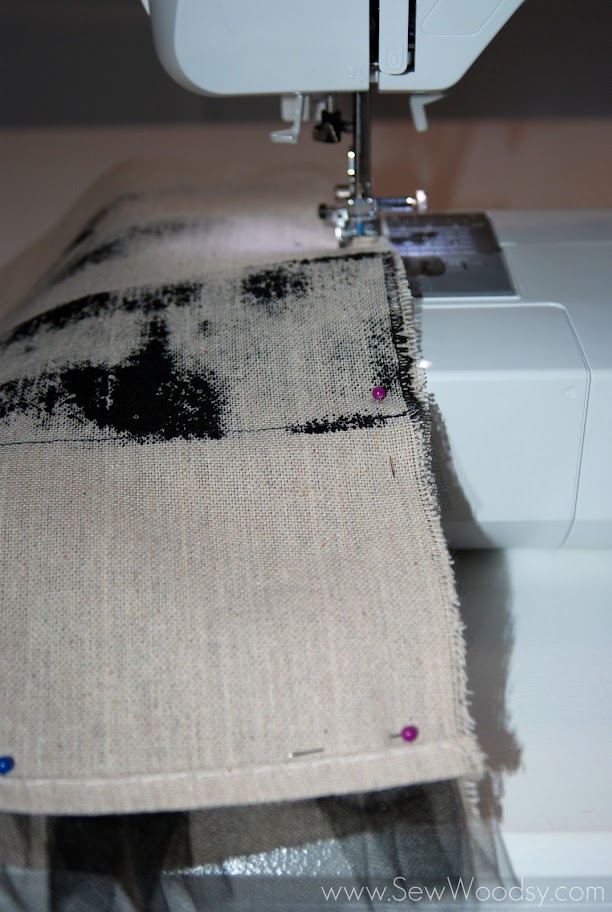
Once I heat-set my pillow I cut a double-sided 8-inch wide piece of black tulle (double the length of my pillow). I pinned the tulle on both ends, and began to gather and sew. I wanted it to have a pleated/ruffle look. It was much easier for me to gather as I sewed… if you have a better way of doing this, by all means do it!
This is what it looked like after the tulle was sewn on. In this picture I was trying to decide whether or not I wanted to keep the tulle out and free flowing or tuck it in and have the tulle sewn in. I like the left side better, so that’s what I did!
Next, you’ll want to sew on your zipper. It had probably been 6 months since the last time I had sewn a zipper onto something. I hate sewing zippers… they give me anxiety. I know they shouldn’t. To be honest they are really easy to sew, but for some reason I avoid them like the plague. Now, that I’ve told you about my current phobia I’ll try to explain how to sew a zipper on. Place your Harvest painted cover face up, then the zipper face down, and then the “Beware” fabric right side facing down. Pin your zipper in place and line up the three edges.

Using a zipper foot, start at one end of the pillow and sew down the edge of your zipper and fabric. You will want to stitch closer to the zipper foot and teeth. Repeat on the Harvest side of fabric.
This is what the final product should look like. Don’t worry if the end of the zipper goes past where the pillow is. We will sew that zipper in place once we close the pillow.
Next, pin the rest of the pillow together. Make sure that your tulle is laying flat since you will be sewing it into the pillow. *You also want to make sure that your zipper is half open. That way you can turn the pillow inside out without any problems.

Next, sew the three sides together using a straight stitch.
This is how your pillow should look once it’s been sewn together.
Cut off any excess drop cloth and tulle from the pillow. Then turn right-side out.
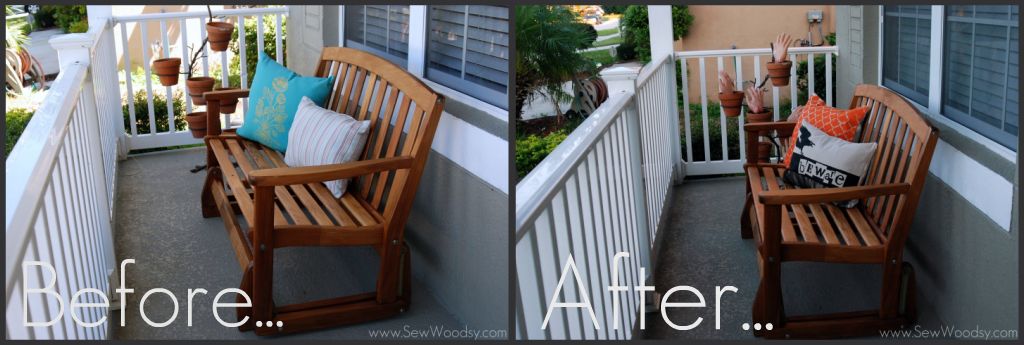
 Now your pillows are ready to be covered and displayed! Take a look at the before and after!!!
I’m in love with this pillow! I absolutely LOVE how it turned out. I love my Zombie Planted Hands in the background, too!
Look at the detail!!!
Now, turn over your pillow and you now have a Fall pillow! (Don’t mind the zombie hands in the background!)
I added a fabric rosette broach pin that can be removed prior to being washed. I also added a few fall leaves purchased at the dollar store. I also pinned those on the pillow cover so I can remove them when I go to wash the pillow covers.
I love the added detail of the fabric rosettes and the fall leaves.
You can only tell from the side that this pillow is double sided! Hides pretty well!
