• Skip to primary navigation
  • Skip to main content
  • Skip to primary sidebar

Sew Woodsy logo

  • DIY
  • Crafts
  • Cricut
  • Travel
  • About
menu icon
go to homepage
search icon
Homepage link
  • Home
  • Thanksgiving
  • DIY
  • Cricut
  • Travel
  • About Us
    • Email
    • Facebook
    • Instagram
    • Pinterest
    • Twitter
    • YouTube
  • ×

    Sew Woodsy » Holiday

    Published: Oct 15, 2019 by Katie · This post may contain affiliate links.

    Personalized Burlap Trick or Treat Bag

    Sharing is caring!

    42 shares
    • Facebook1
    • Twitter

    Learn how to make a last minute Personalized Burlap Trick or Treat Bag for your little one for Halloween using your Cricut!

    Personalized Burlap Trick or Treat Bag

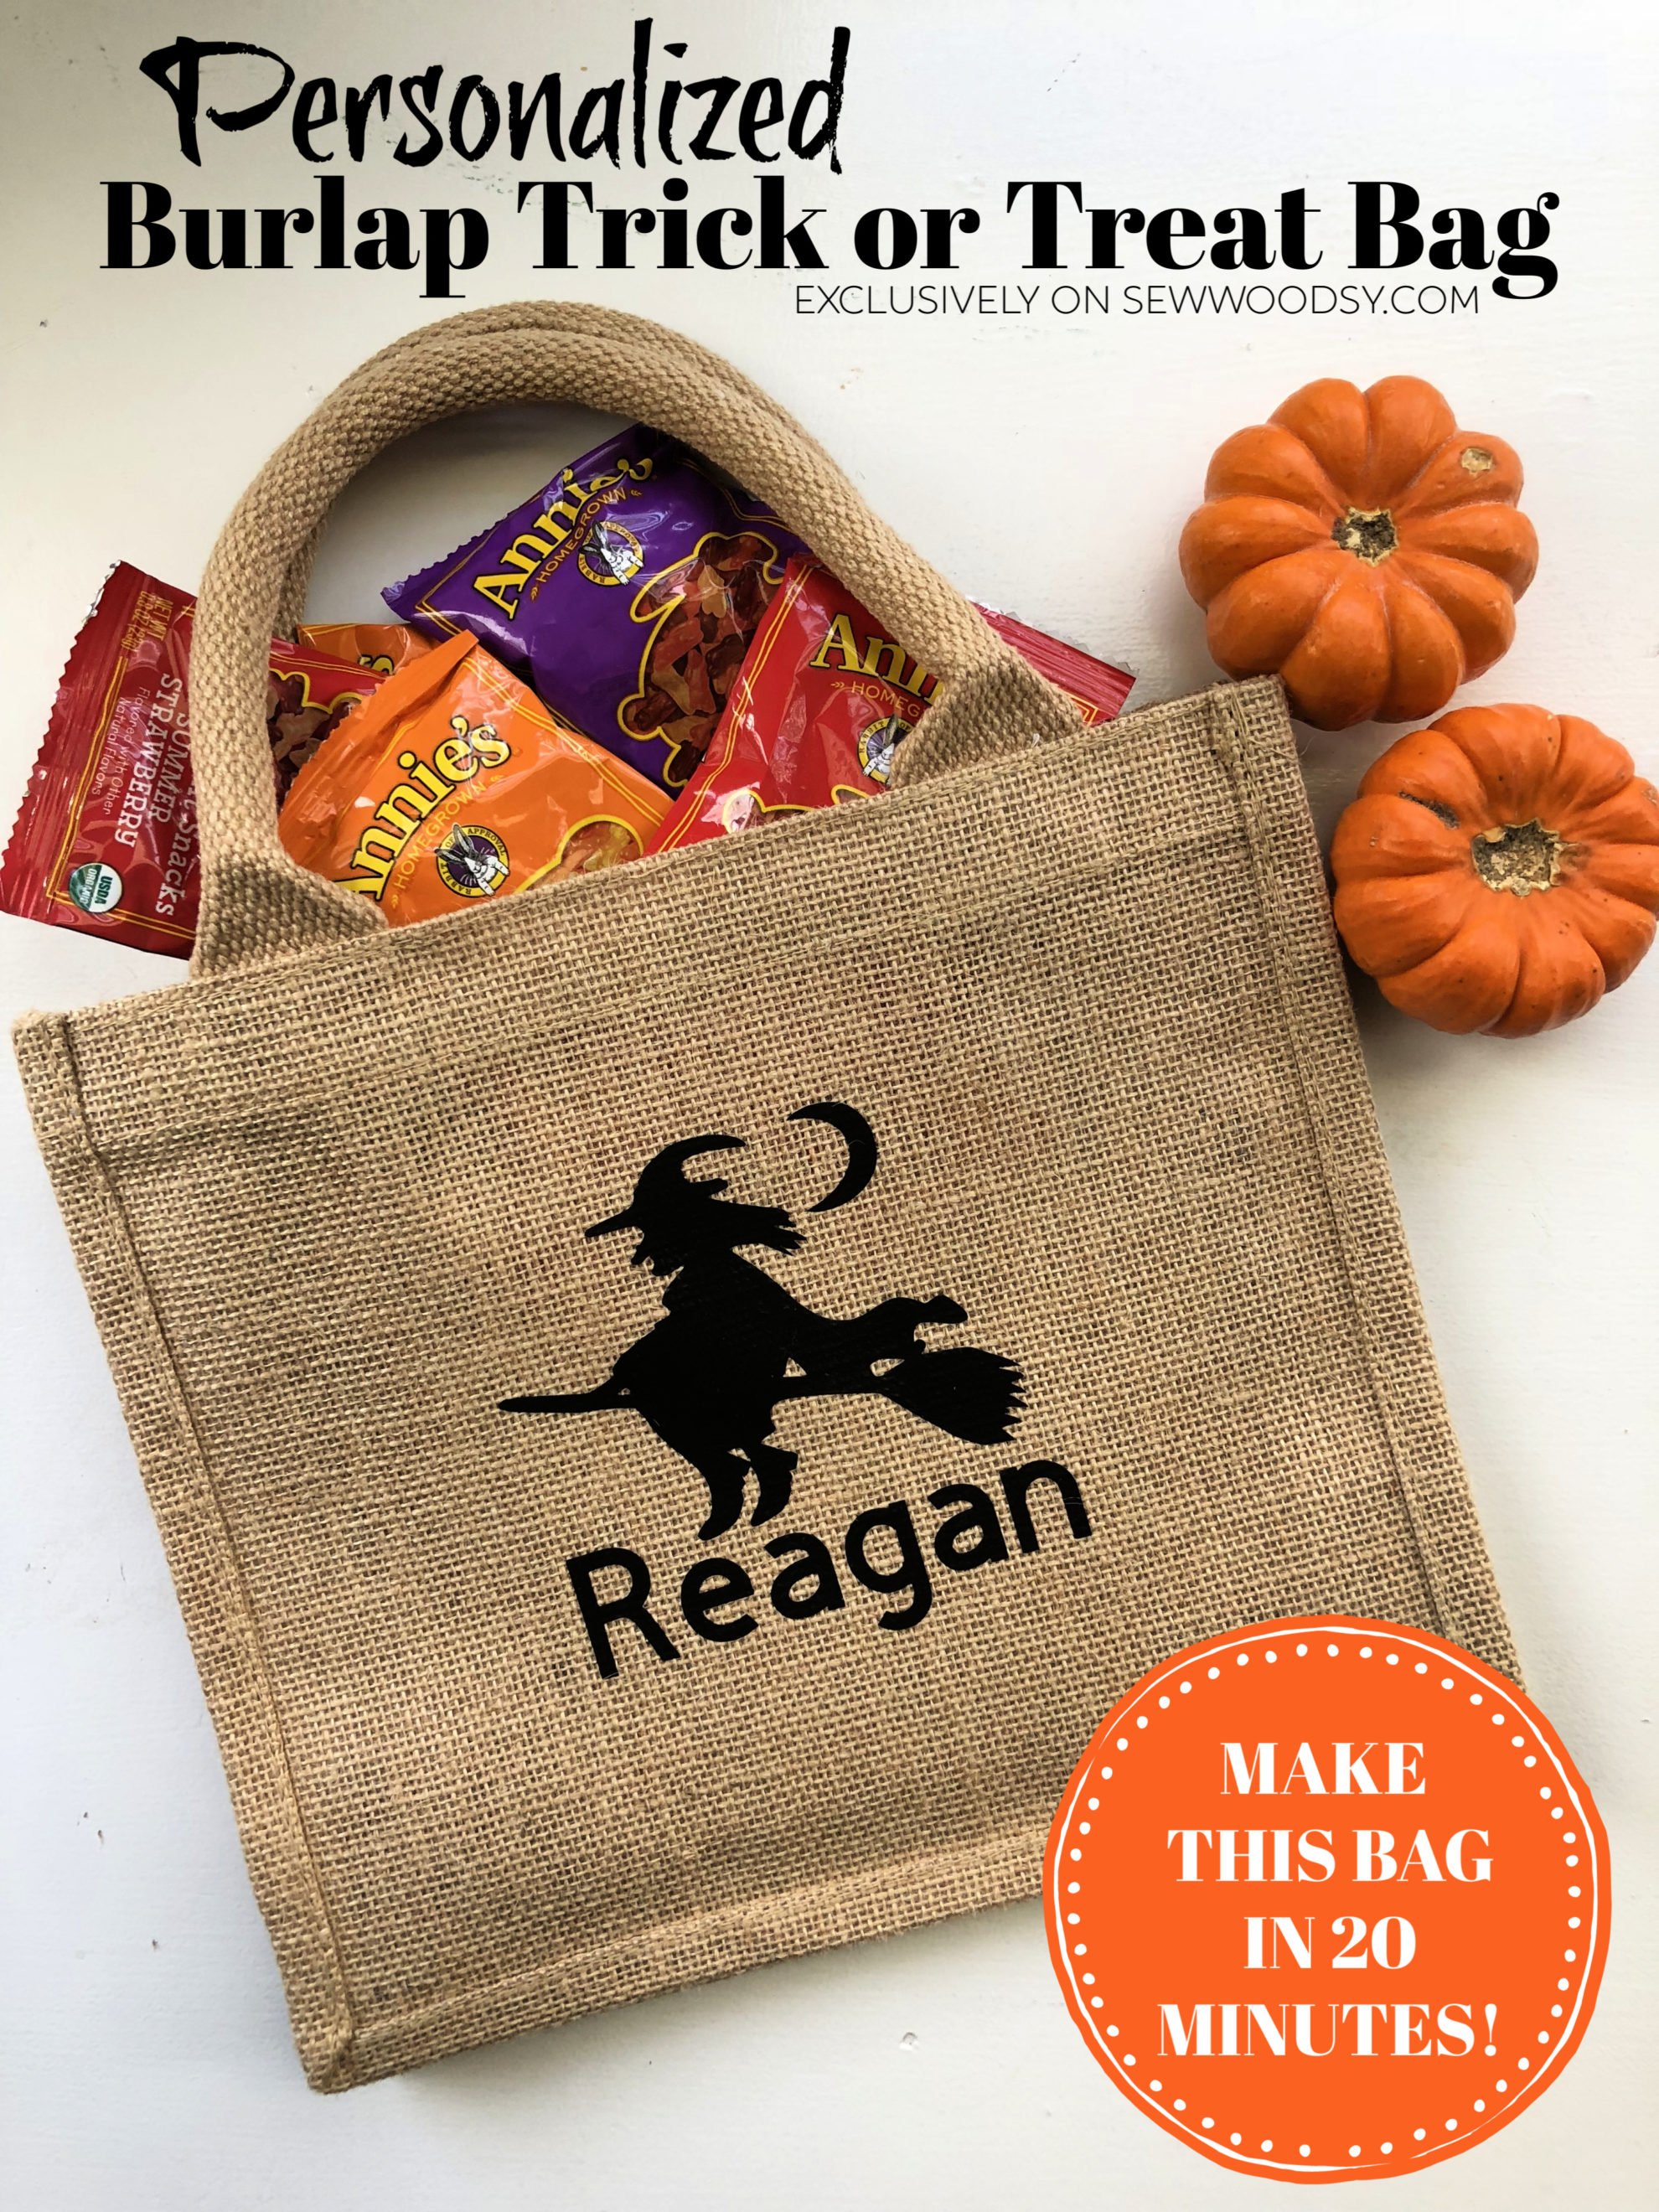
    I made this adorable personalized burlap trick or treat bag for my daughter last year. I whipped it up in less then 20 minutes a few days before Halloween. I forgot that she didn’t have a trick or treat bag and wanted something custom that she could use for many years to come. I loved how durable and sturdy the bag seemed, so I ran with it. I picked this bag up at Hobby Lobby, but you can also find a similar one (for more money) here on Amazon.

    Supply List for Burlap Trick or Treat Bag:

    • Cricut
    • Cricut Design Space with Personalization File
    • Burlap Bag
    • Cricut Mat
    • Cricut Black Iron-On Vinyl
    • Cricut Tools
    • Cricut BrightPad
    • Cricut EasyPress 2 6×7
    • Cricut EasyPress Tote
    • Iron / Heat Press / Cricut EasyPressCricut EasyPress™ Mat

    Cricut Explore Air 2 cutting Black Iron On Vinyl

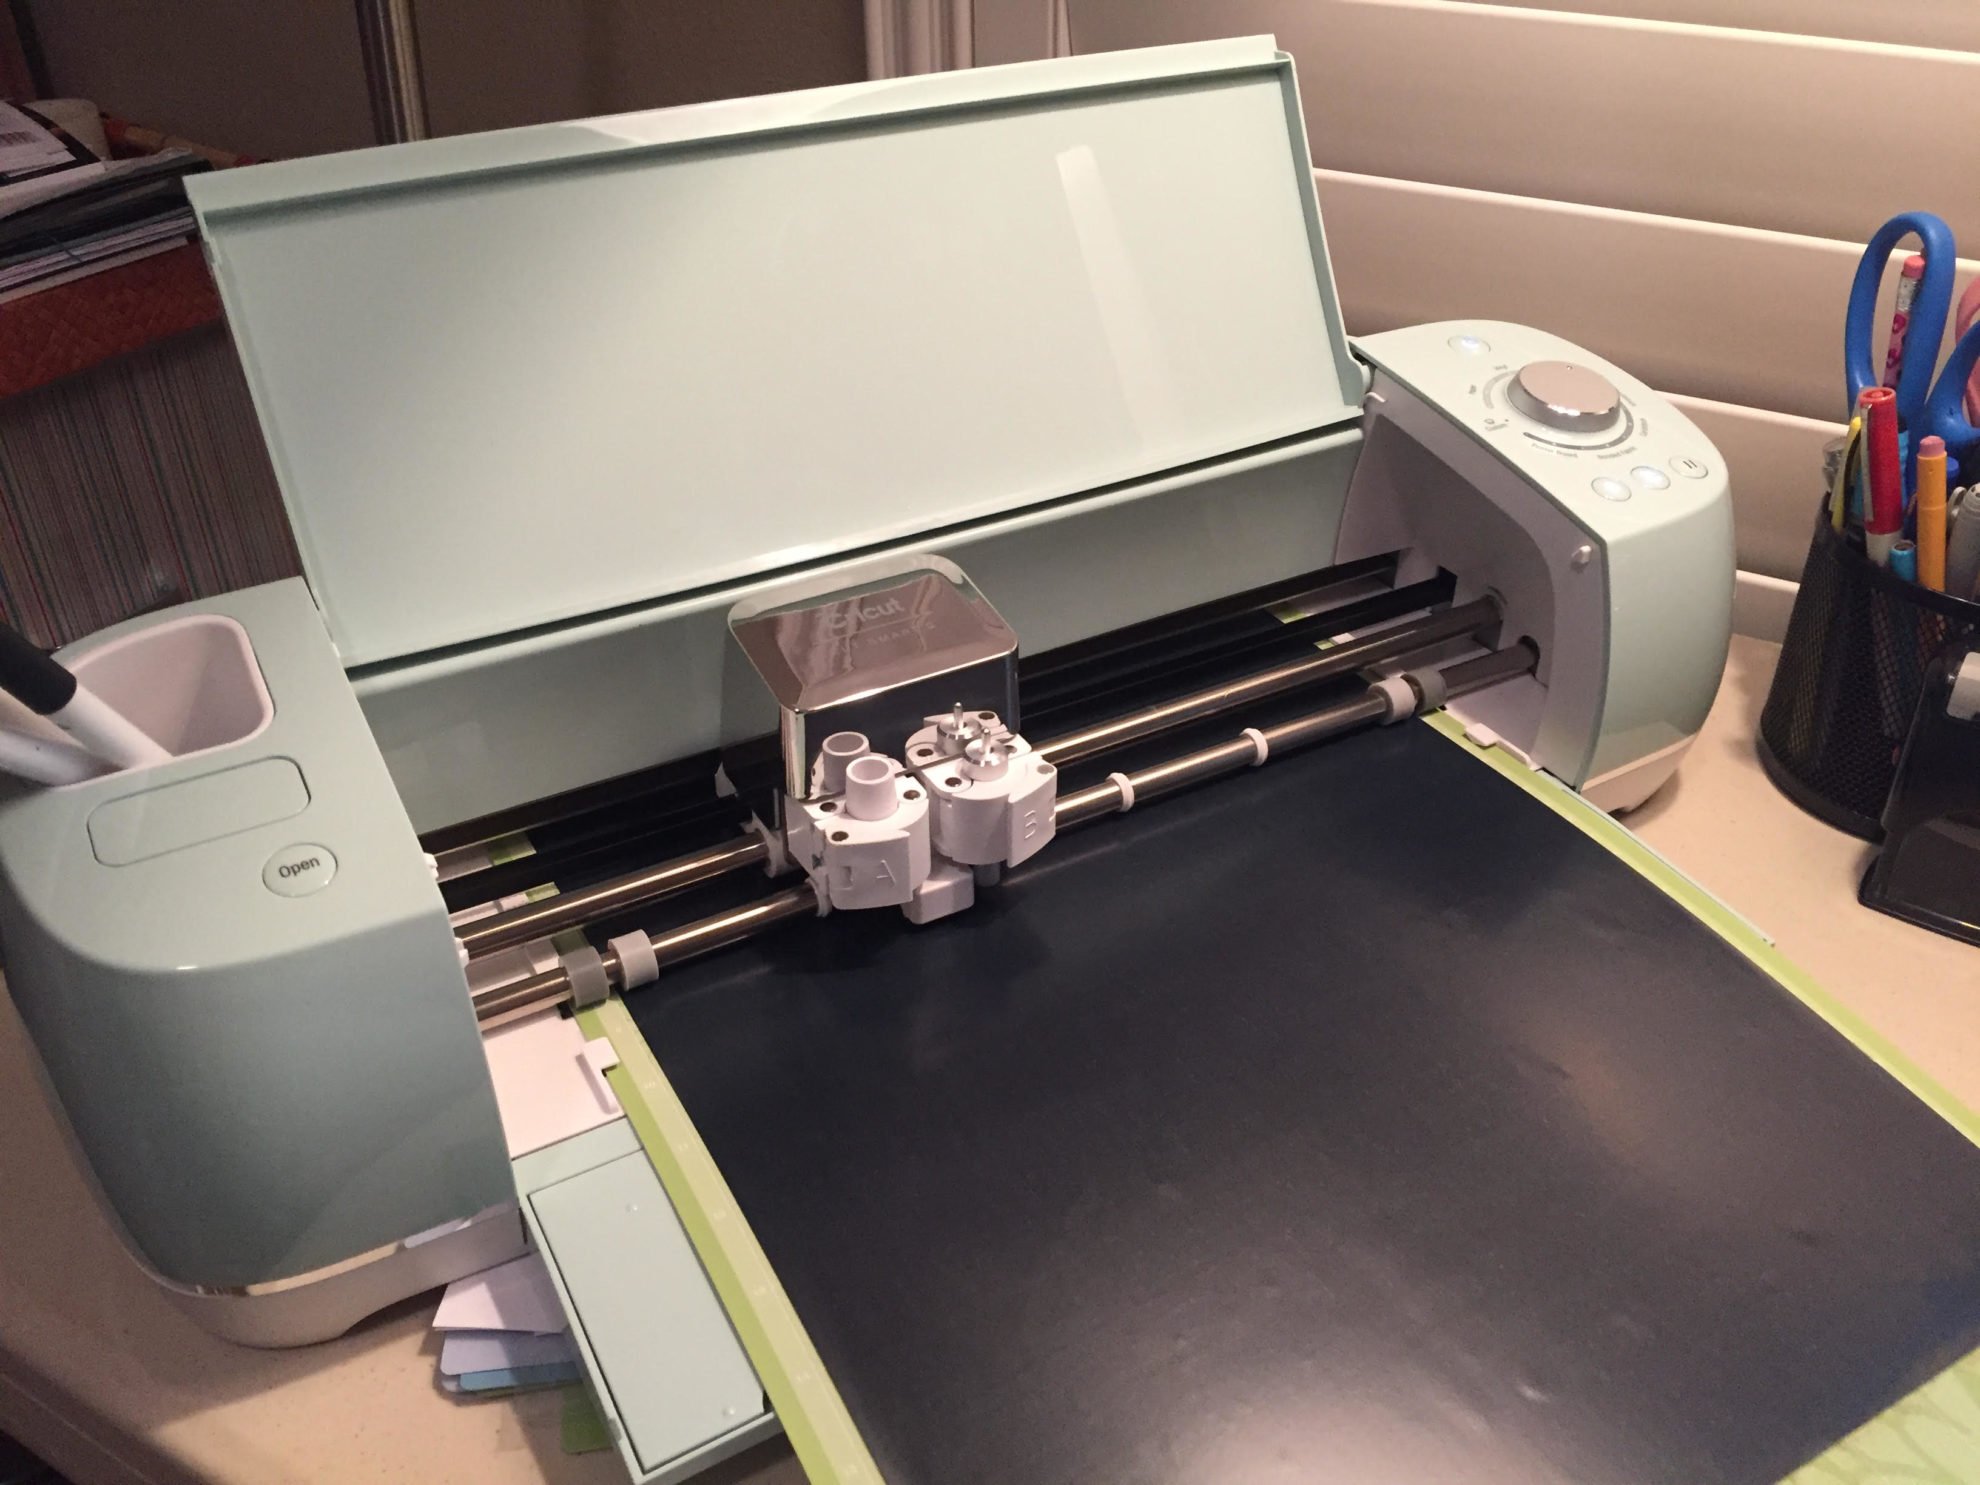
    First, cut out your image on your Cricut. Remember you are cutting Iron-On vinyl so you want to make sure you face tthe shiny side down and mirror your design before cutting!

    Personalized Burlap Trick or Treat Bag using Cricut Iron-On Vinyl

    Once your image is cut, weed the negative from the design. Then once your done weeding design it’s time to press the image. I kept it one color to keep things simple. Loved the simple silhouette of the witch!

    Personalized Burlap Trick or Treat Bag with Cricut EasyPress 2

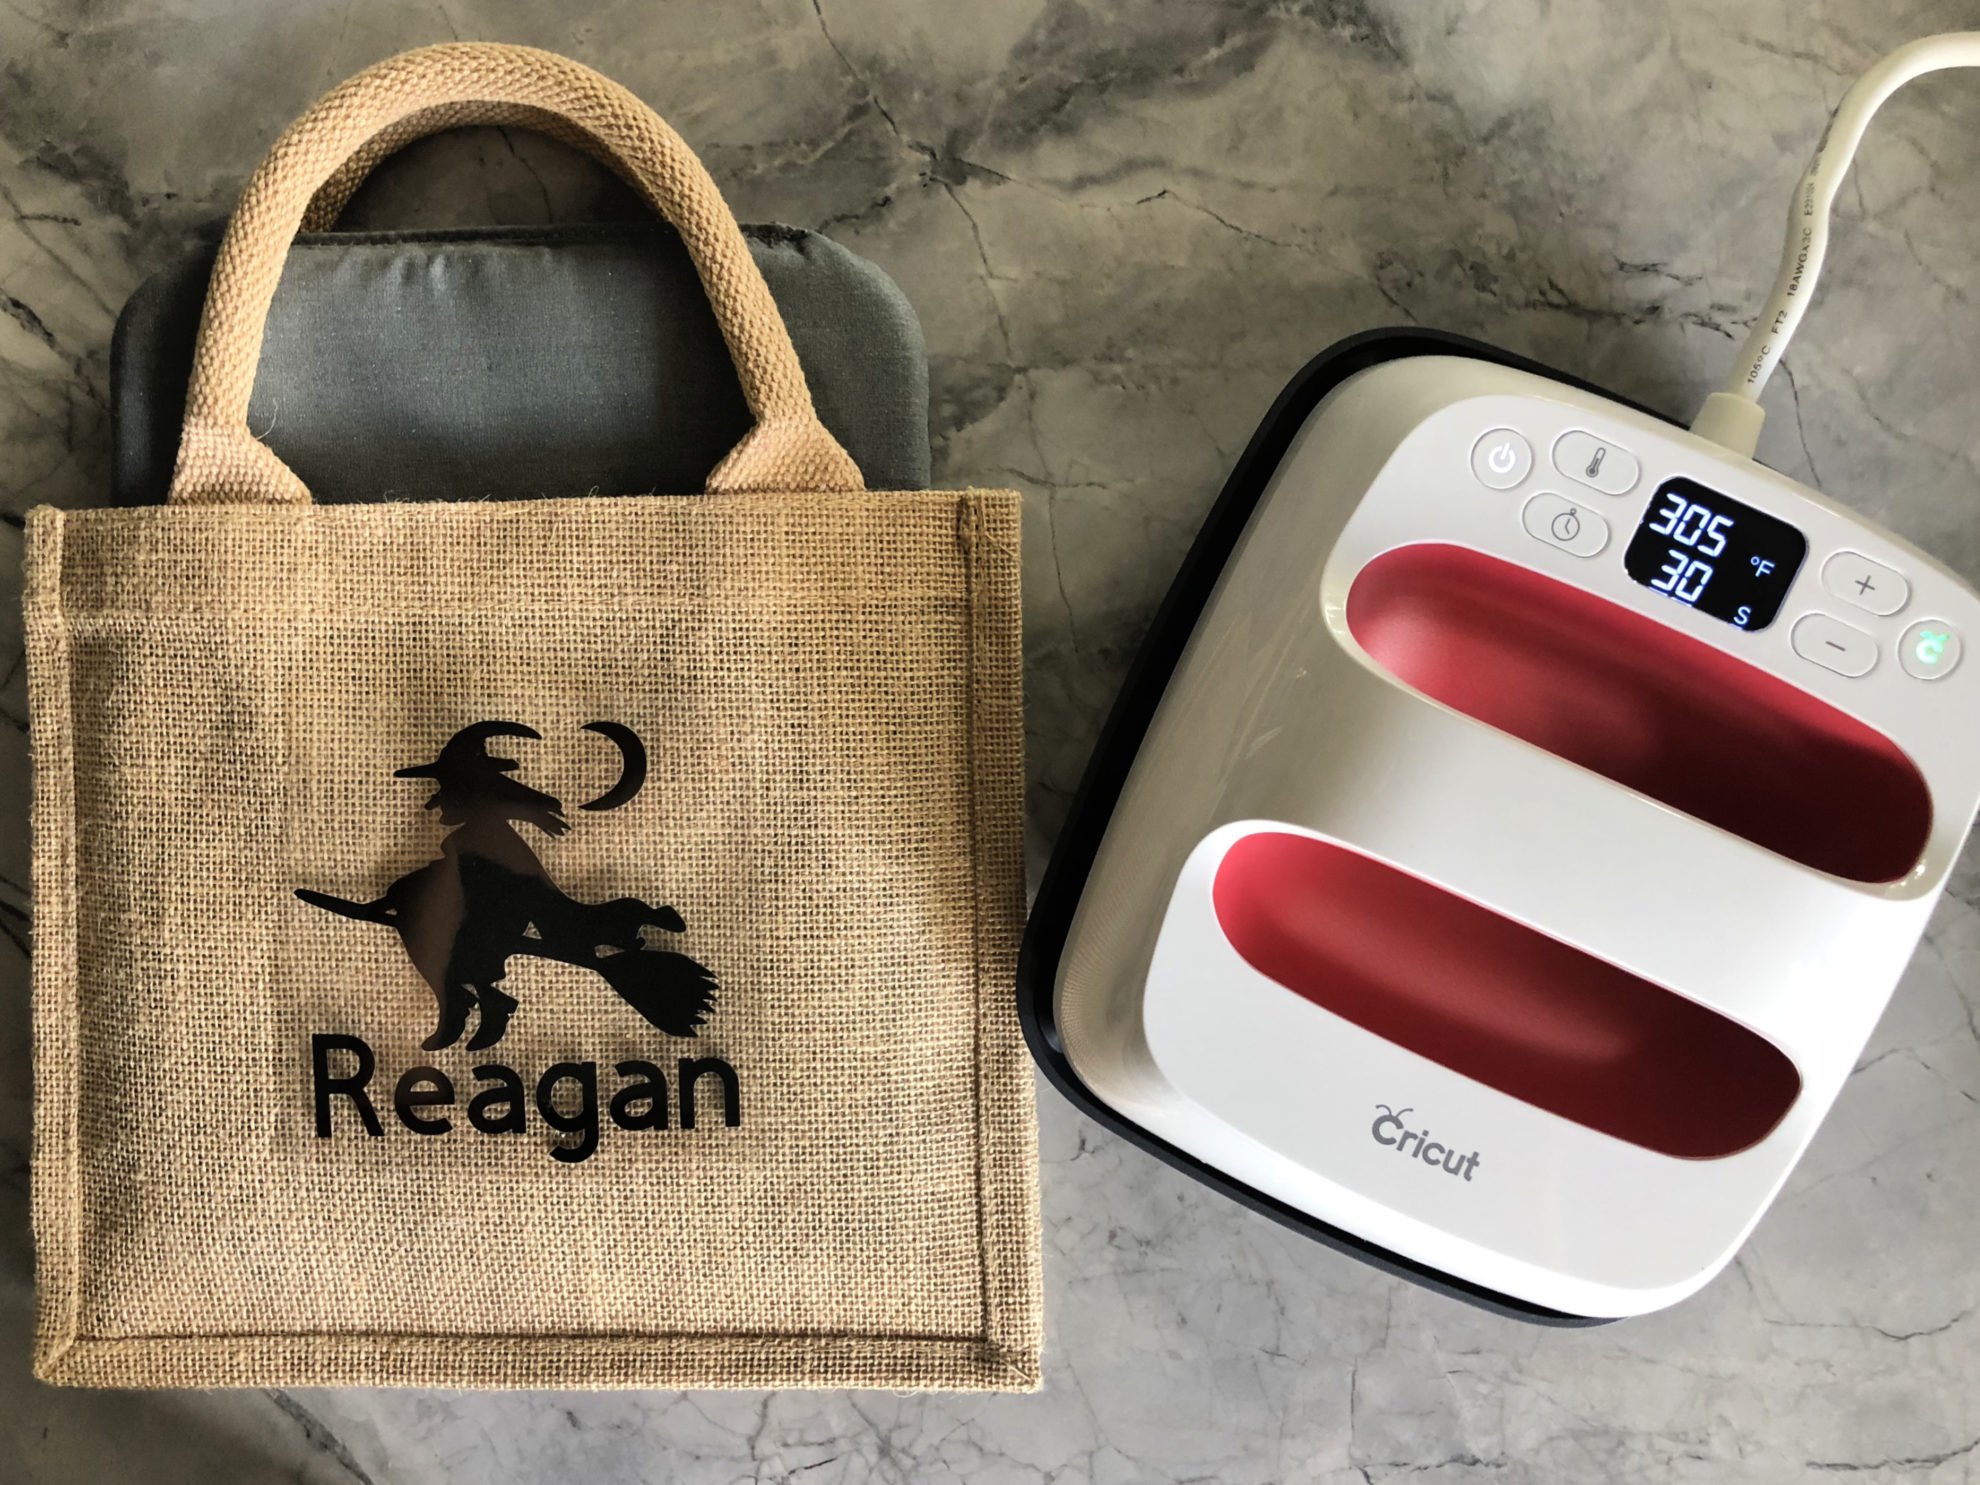
    Heat up the Cricut EasyPress 2 (6×7) to 305 degrees. You will want to press the burlap first for 5 seconds, then press for 30 seconds with the Cricut Iron On Protective Sheet. Flip burlap over and press for an additional 15 seconds. *Always refer to the Cricut EasyPress Heat Guide when working with any materials.

    Personalized Burlap Trick or Treat Bag peeling film off Iron-On Vinyl

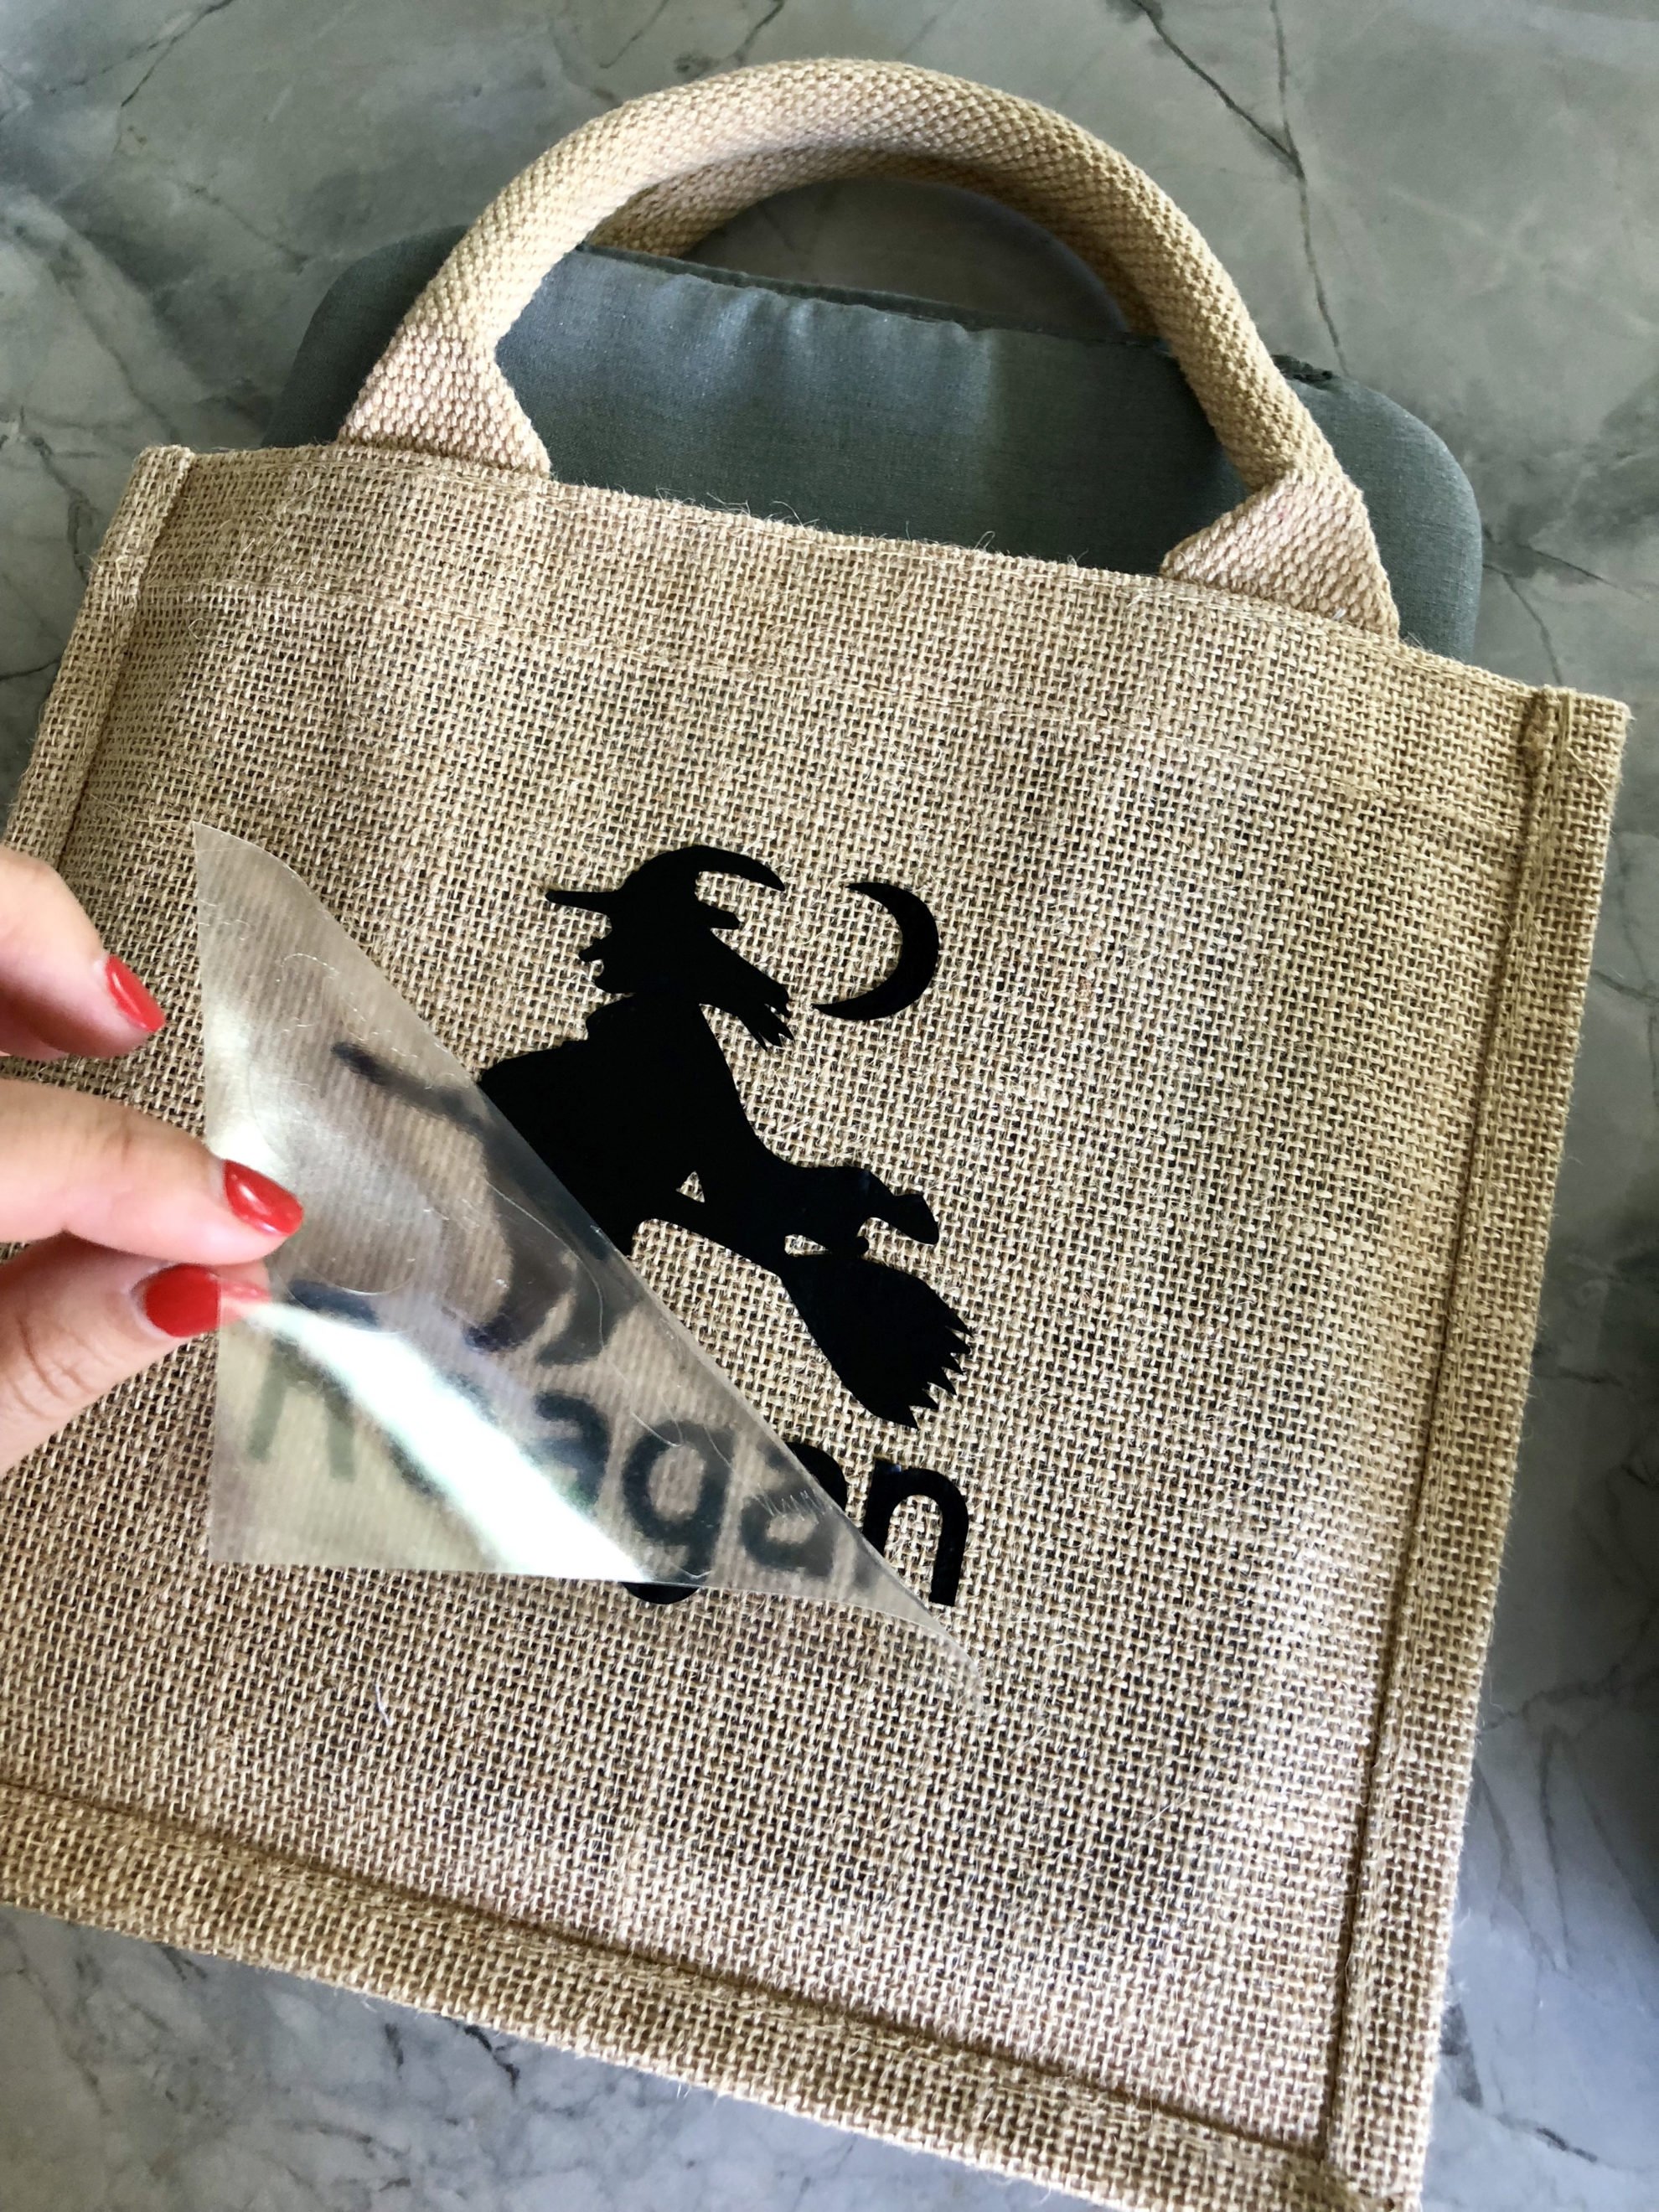
    Let it cool just a little then do a warm peel. After you peel the plastic covering off it. I like to place the Cricut Iron On Protective Sheet and press again for another 10-15 seconds. I find this especially helpful when creating with burlap.

    Burlap Trick or Treat Bag with Name

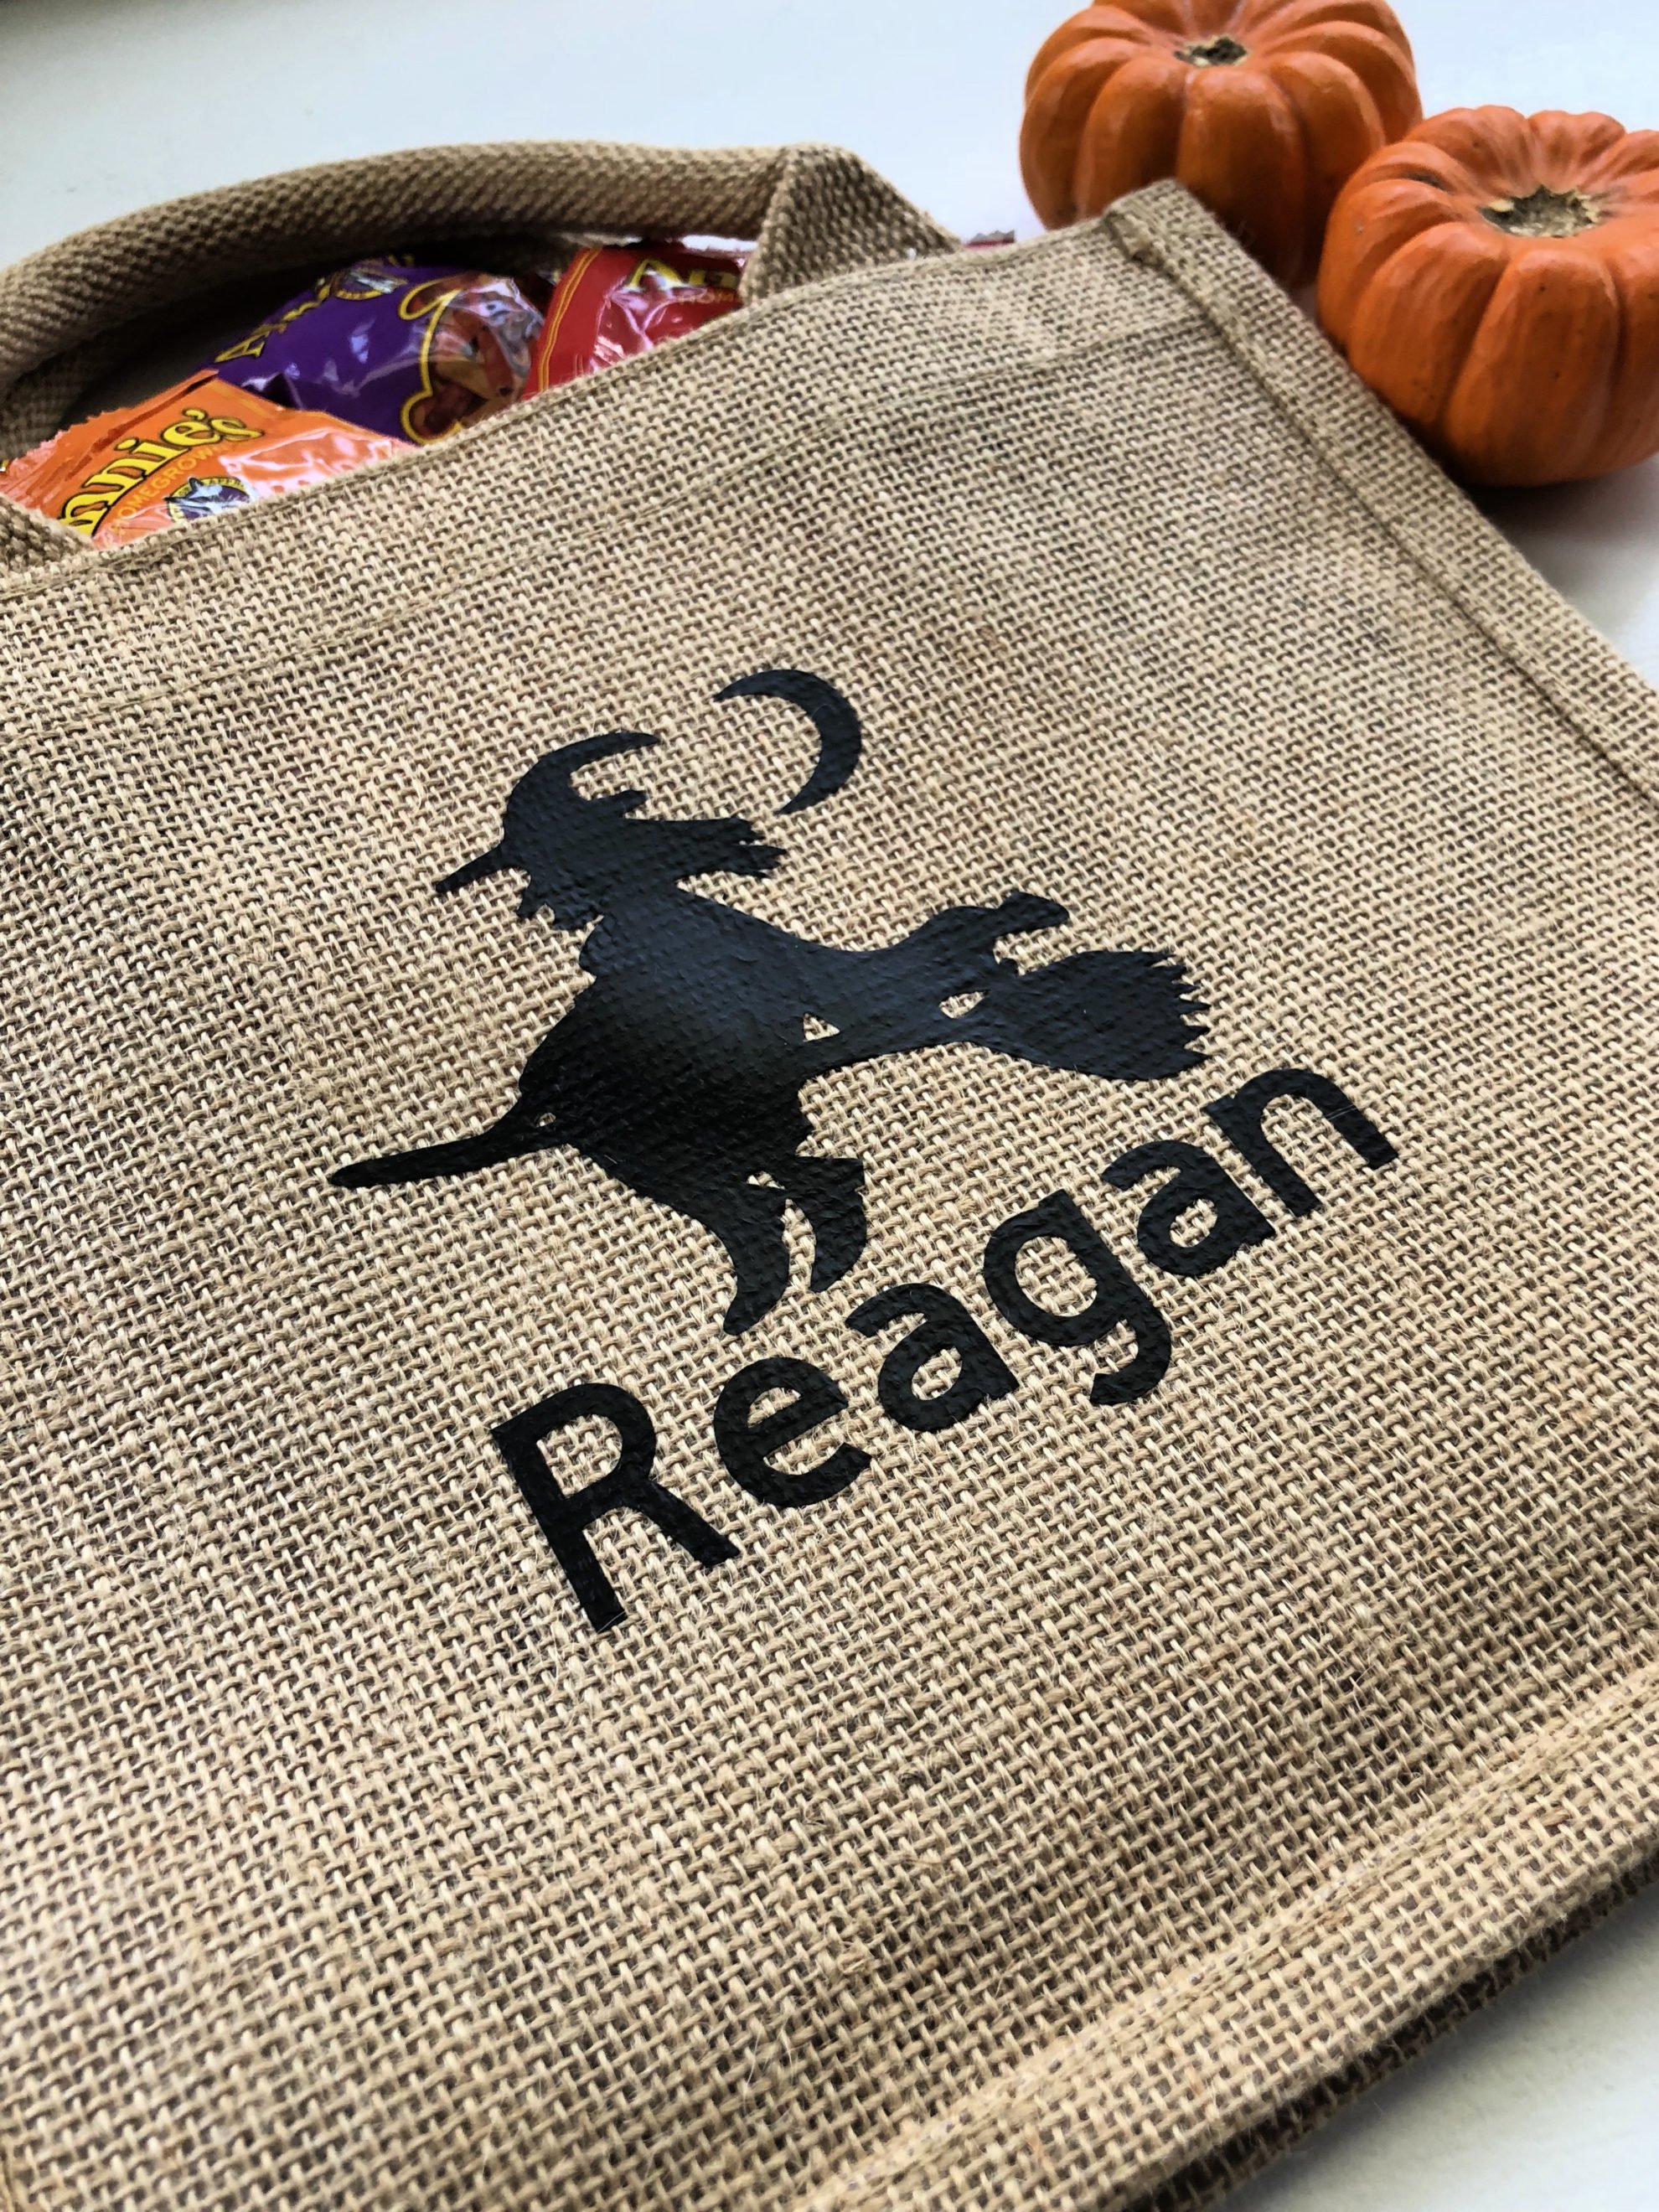
    In less then 20 minutes you have a personalized burlap trick or treat bag! Of course, you can change up the image you want, but this gives you the idea of what the possibilities could be.

    Personalized Burlap Trick or Treat Bag with Spider Girls Dress

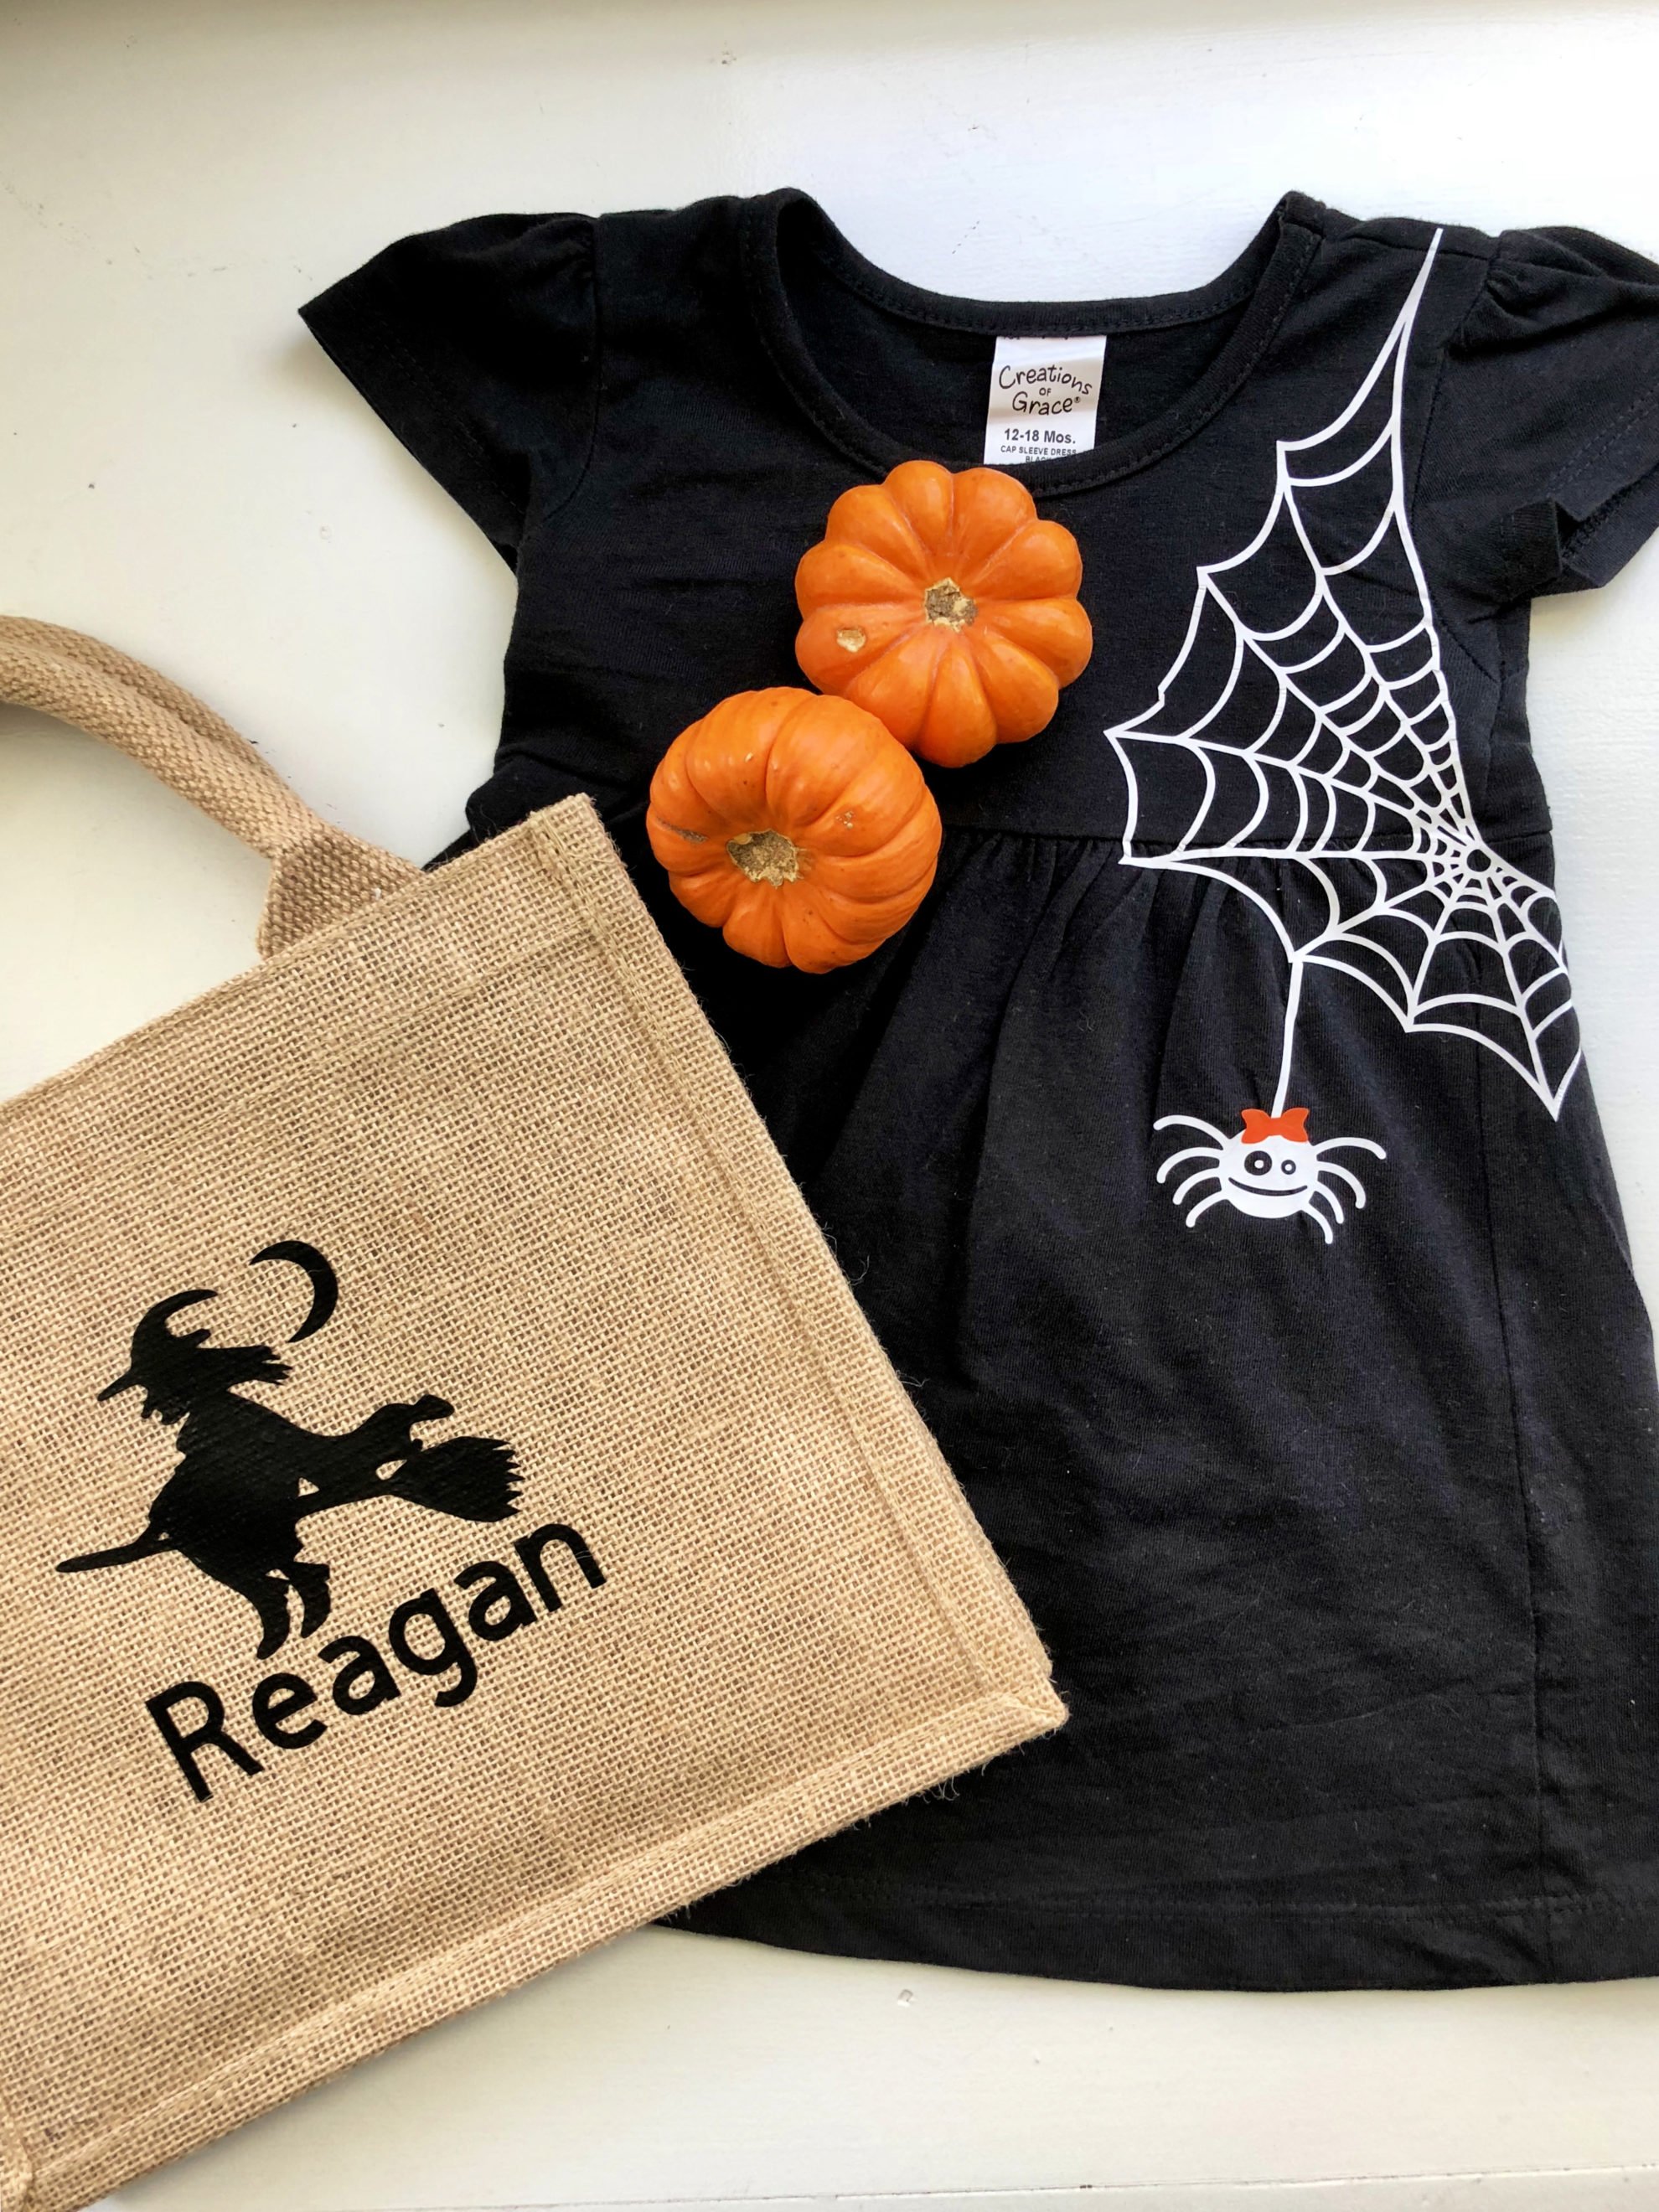
    Here is the Toddler Girls DIY Spider Web Dress I made for her last year! It was super cute and also whipped together last minute!

    Personalized Burlap Trick or Treat Bag For Halloween

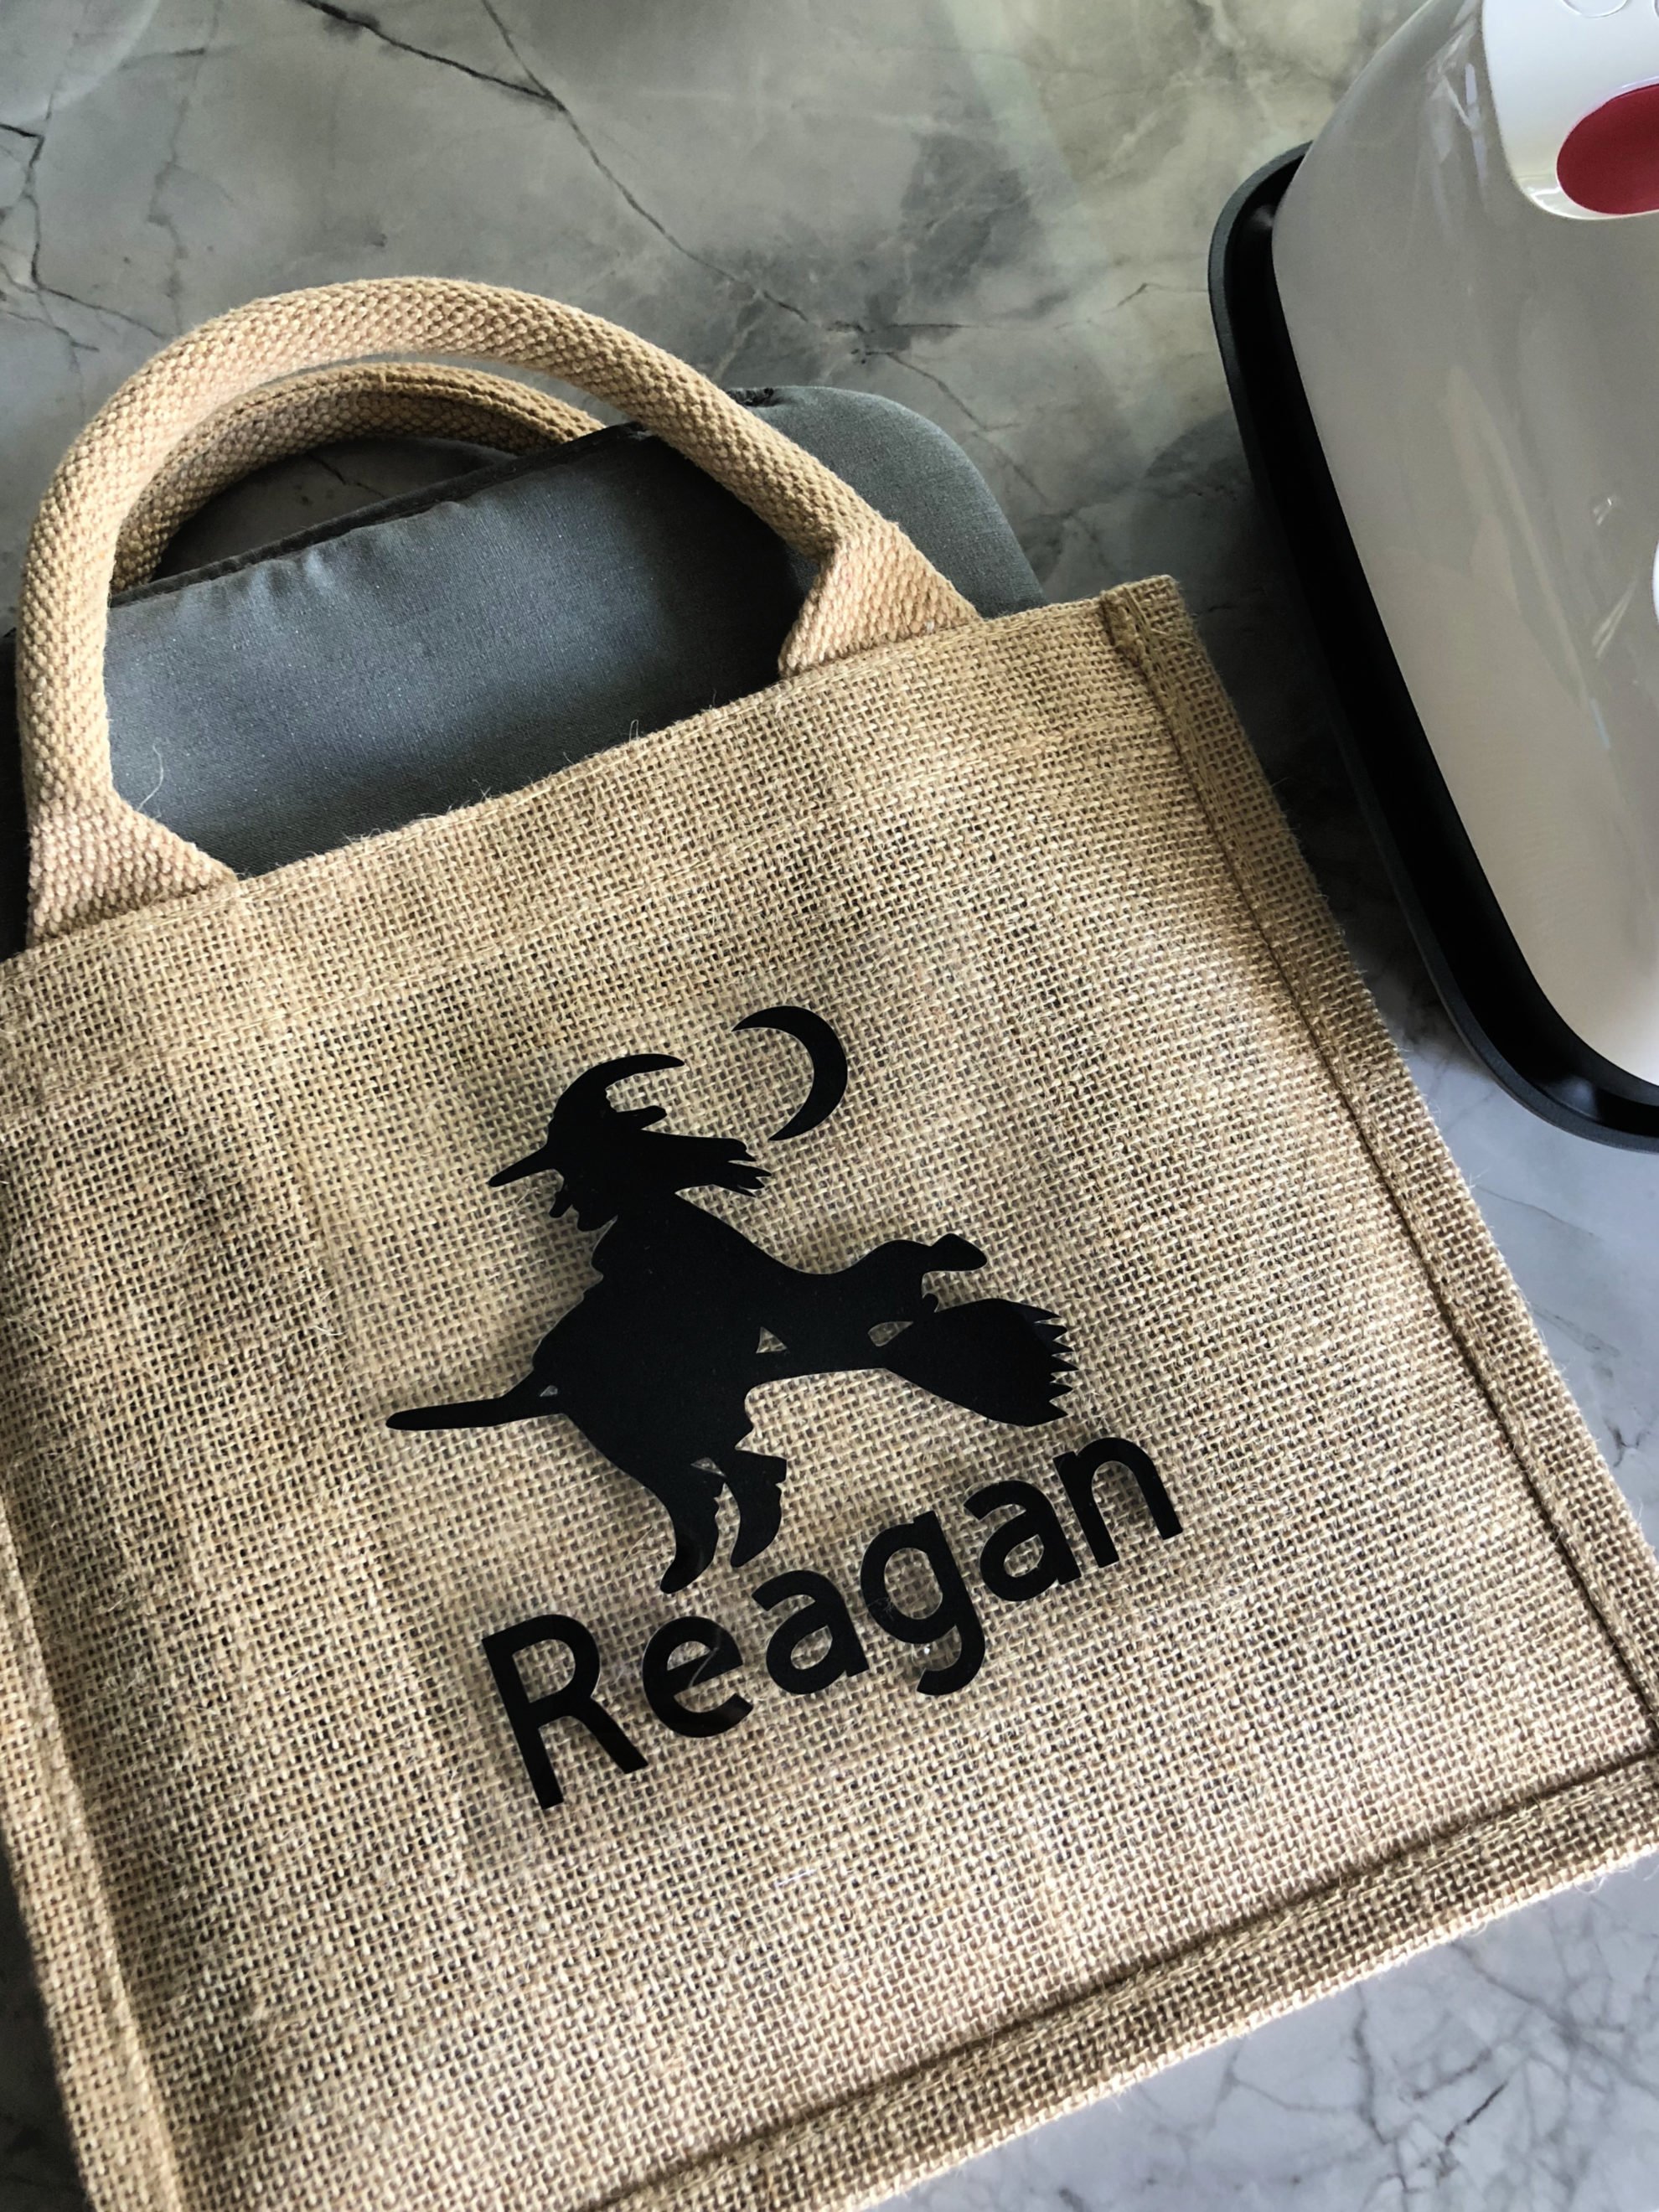
    I love how you can see the burlap patern through the Iron-on vinyl.

    Halloween Personalized Burlap Trick or Treat Bag

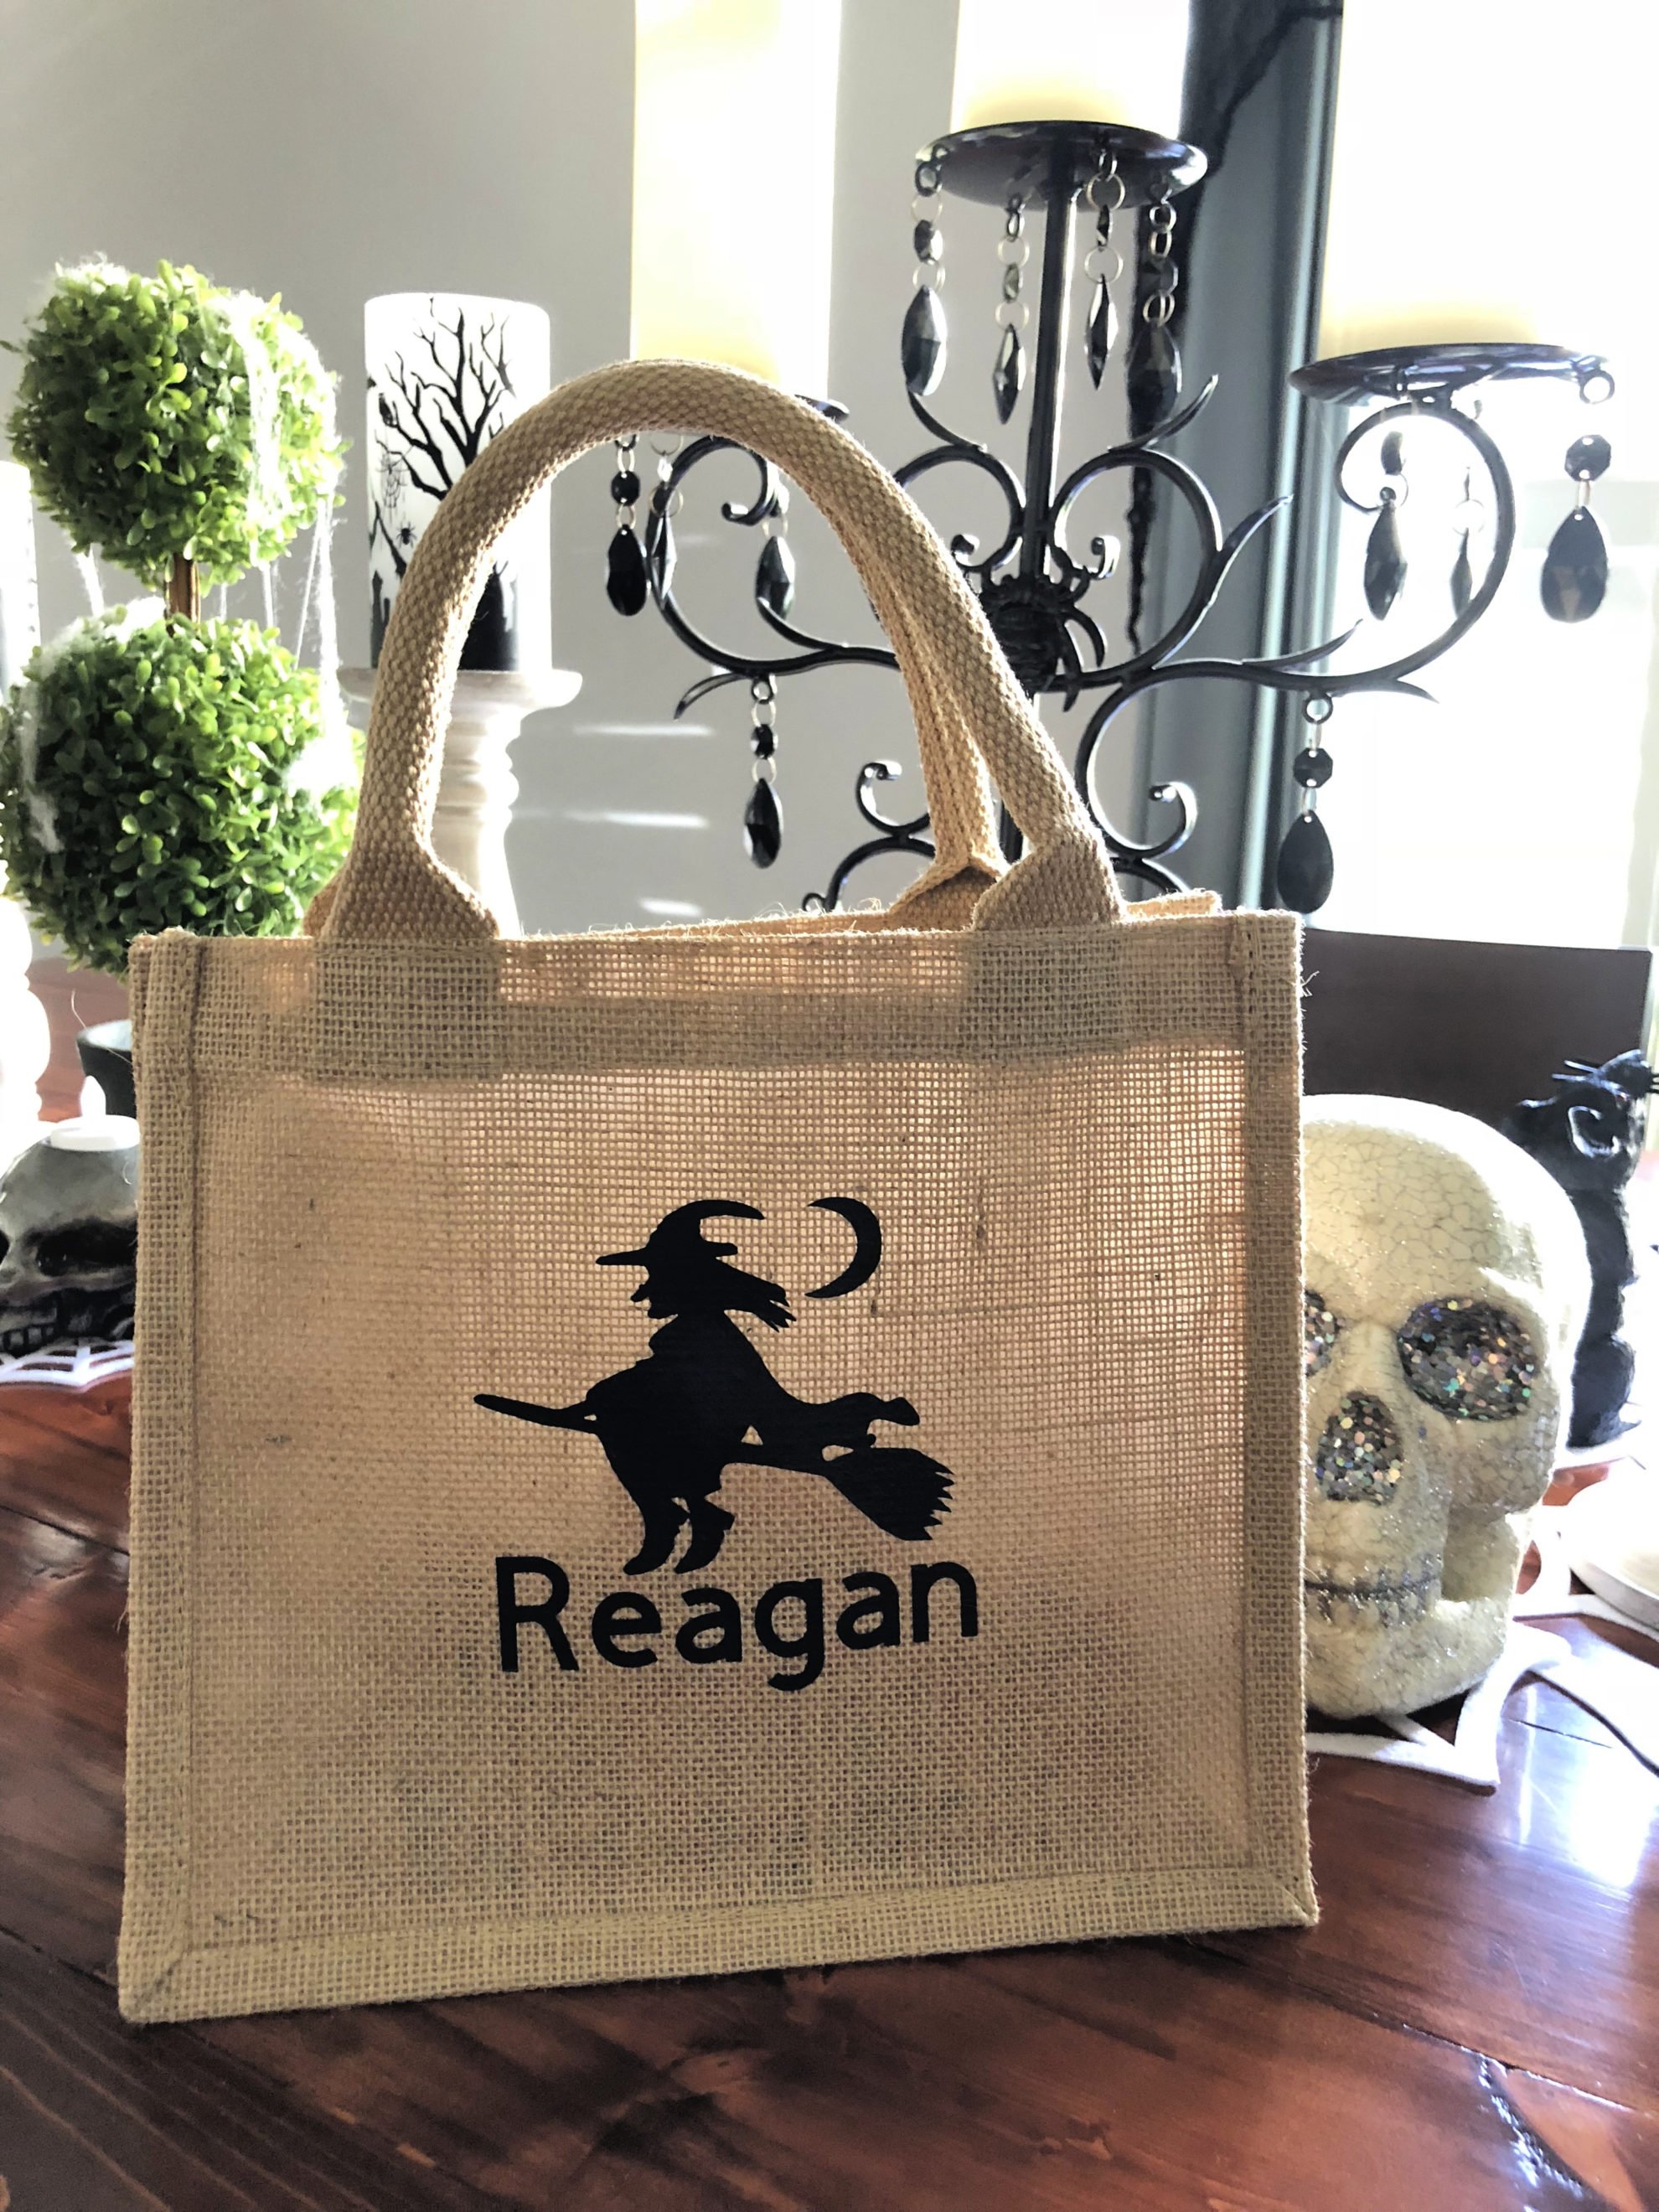
    This little witch is ready to go trick or treating!

    Cricut Deals

    If you are in the market to buy a new Cricut or supplies here are a few deals I have exclusively for Sew Woodsy readers!

    • Free Shipping to U.S. and Canada on orders of $99+. Use code OCTSHIP.
    • Cricut Explore Air 2 in any color for $229. Valid through 10/15.
    • Cricut EasyPress 2 starting at $79. Valid through 10/15.
    Disclaimer:  There are affiliate links in this post. That means, if you click on a link and purchase something from it we will receive a small percentage of the sale at no additional cost to you.
    « LEGOLAND® Florida Brick or Treat Tips for Families
    DIY Pirate Shirt Costumes »

    Reader Interactions

    Leave a Reply Cancel reply

    Your email address will not be published. Required fields are marked *

    Primary Sidebar

    • Email
    • Facebook
    • Instagram
    • Pinterest
    • Twitter
    • YouTube
    Male and female hugging on each other in the woods.

    Hi, we're Katie & Jon! Welcome to our home away from home!

    Sew Woodsy is a lifestyle blog focusing on crafts, home DIY projects, family, travel and all things life. Get comfy and join us on our adventure!

    More About Us →

    9 different logos from various media outlets where Sew Woodsy has been featured on.

    Easter Projects

    • Kids Easter Basket Ideas
    • 25 Easter Basket Ideas for Toddlers
    • Free Easter Coloring Pages
    • 17 Easter Craft Ideas

    Trending

    • How to Create a Natural Log Pathway + Video
    • Tips & Tricks on Installing Butcher Block Countertops
    • How to Host a Baby Shower at Work
    • How to Use Heat n Bond

    Male and female hugging on each other in the woods.

    Hi, we're Katie & Jon! Welcome to our home away from home!

    Sew Woodsy is a lifestyle blog focusing on crafts, home DIY projects, family, travel and all things life. Get comfy and join us on our adventure!

    More About Us →

    9 different logos from various media outlets where Sew Woodsy has been featured on.

    Easter Projects

    • DIY Follow the Bunny Pillow Cover
    • Bunny Kisses & Easter Wishes Burlap Garden Flag
    • Easter Bunny Family Pillow
    • DIY Easter Bunny Onesie with Name

    Trending

    • How to Create a Natural Log Pathway + Video
    • Tips & Tricks on Installing Butcher Block Countertops
    • How to Host a Baby Shower at Work
    • How to Use Heat n Bond

    Footer

    ↑ back to top

    9 different logos from various media outlets where Sew Woodsy has been featured on.

    About

    • About Us
    • Privacy Policy
    • Accessibility Statement

    Newsletter

    • Sign Up! for emails and updates

    Contact

    • Contact
    • Work with us
    • Advertise

    Copyright © 2010 - 2022 Sew Woodsy